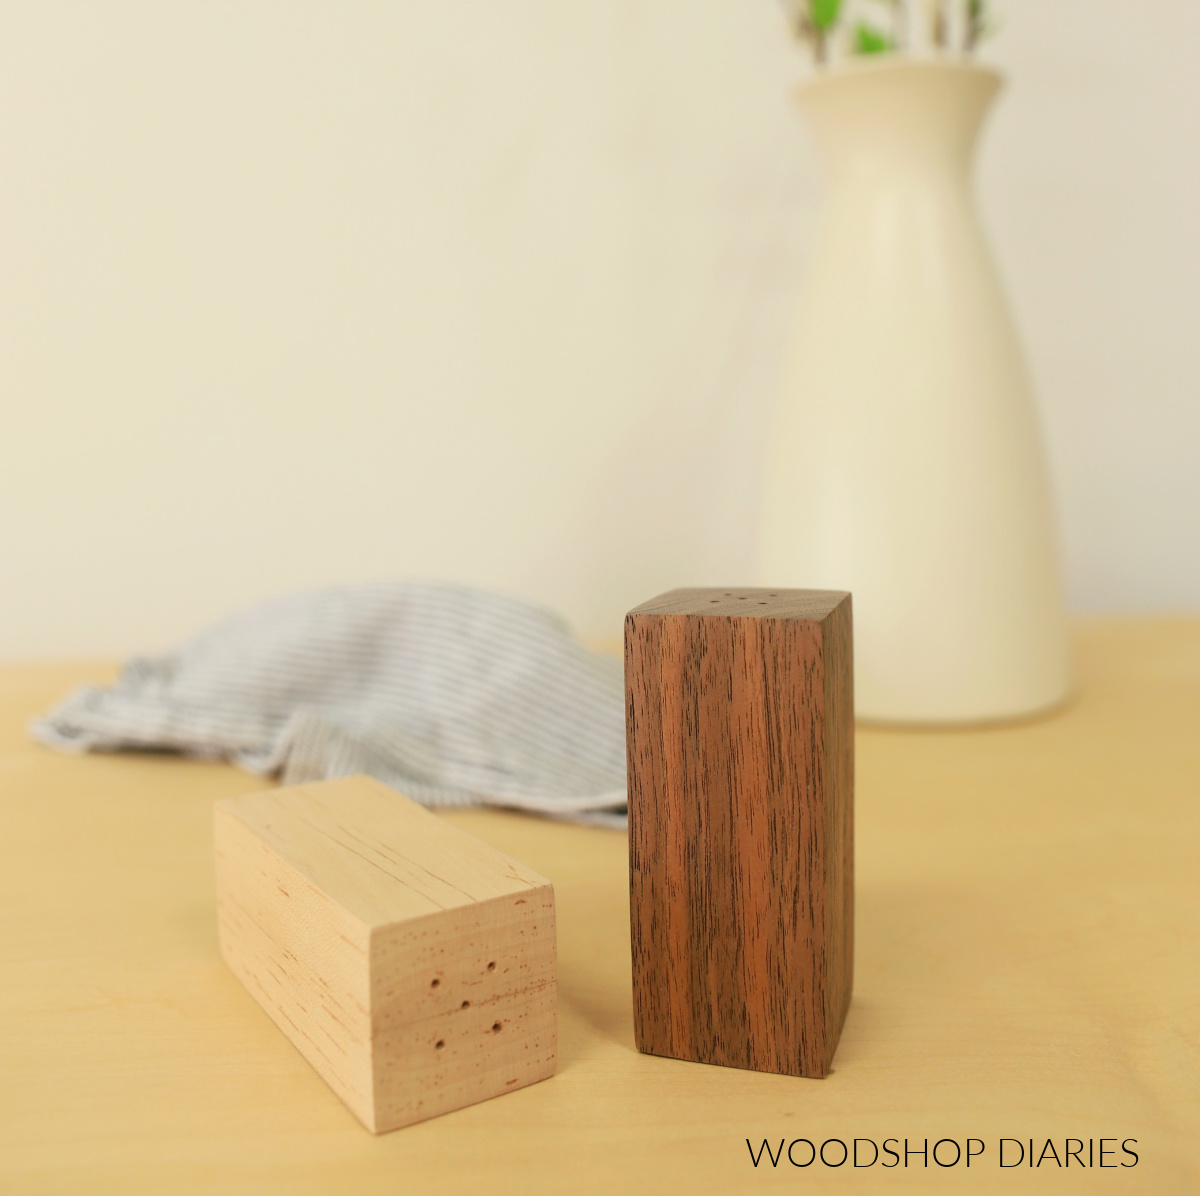
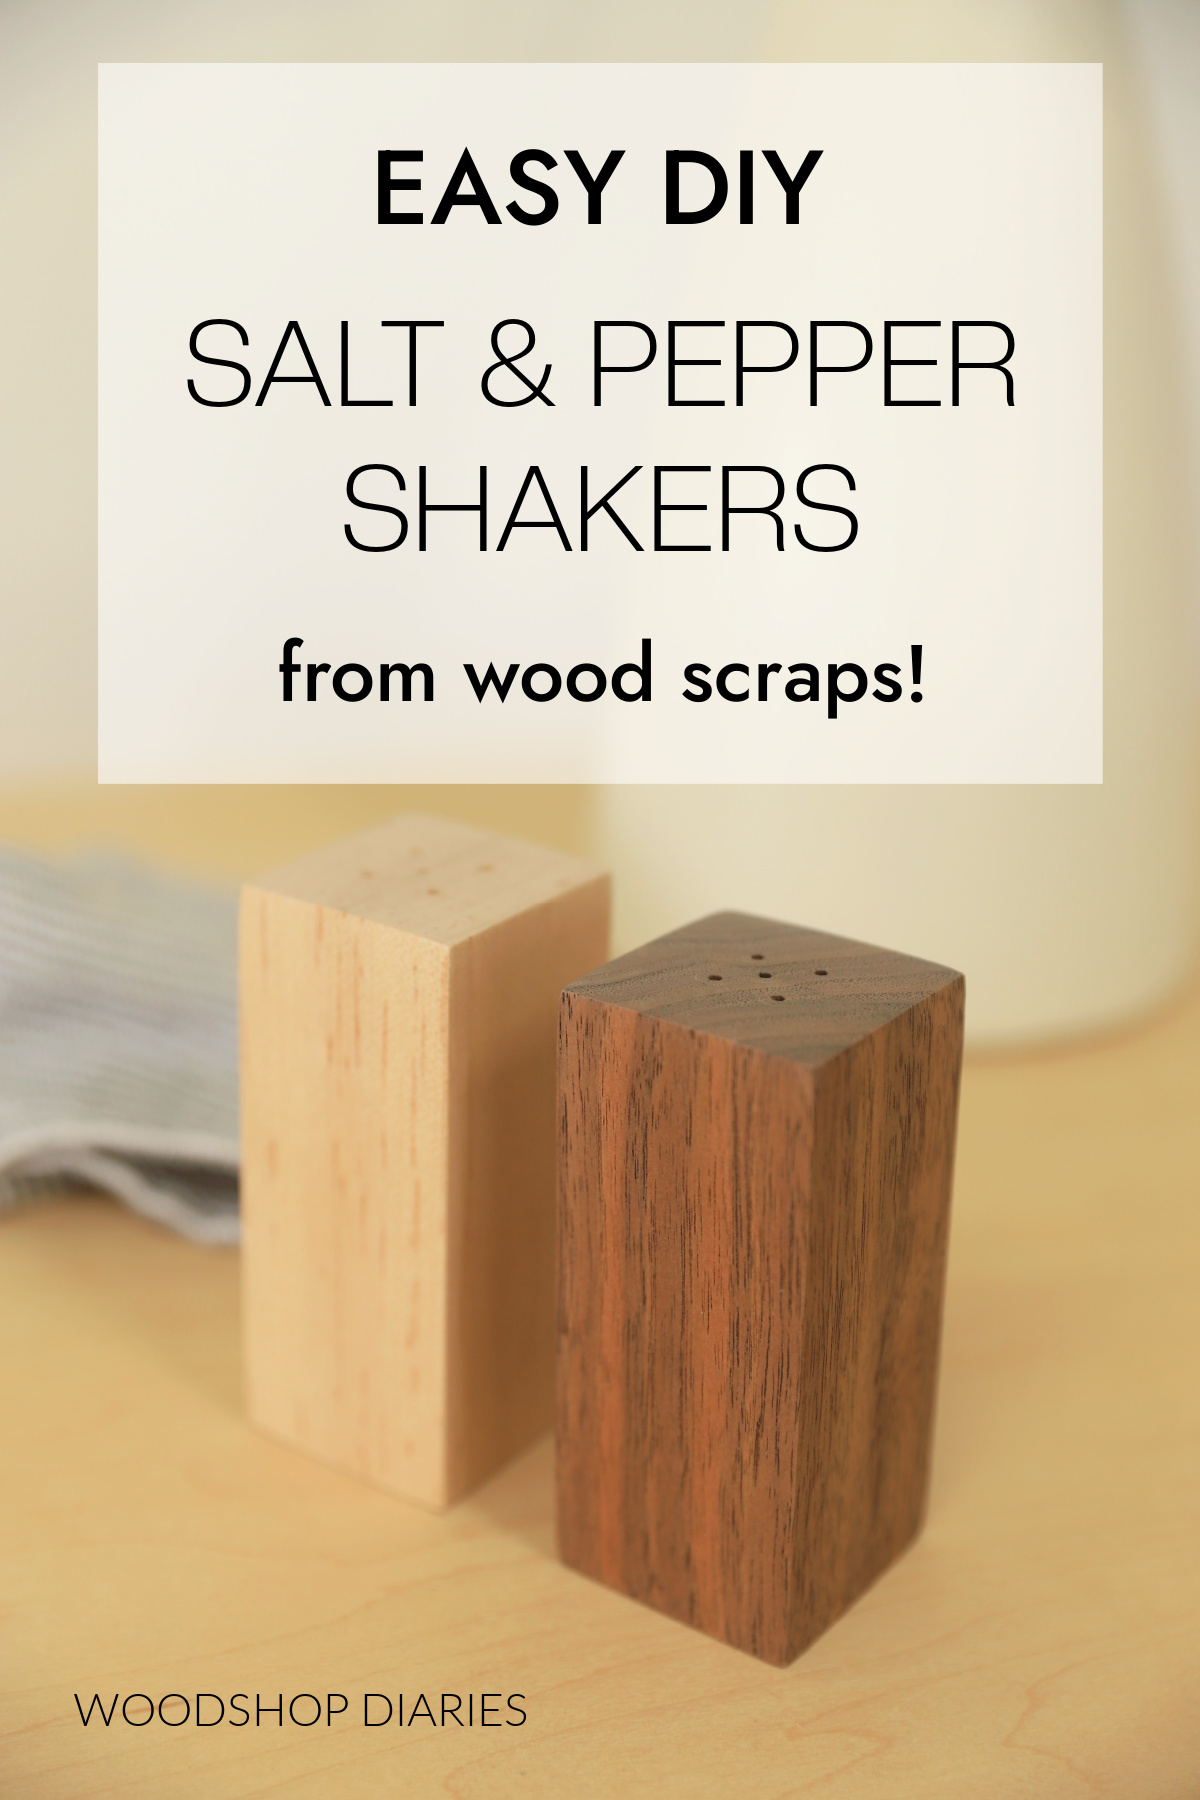
In this post, I’m sharing how to make DIY wooden salt and pepper shakers!
This is such a fun little project that makes a great handmade gift for the holidays, a housewarming, or a hostess gift!
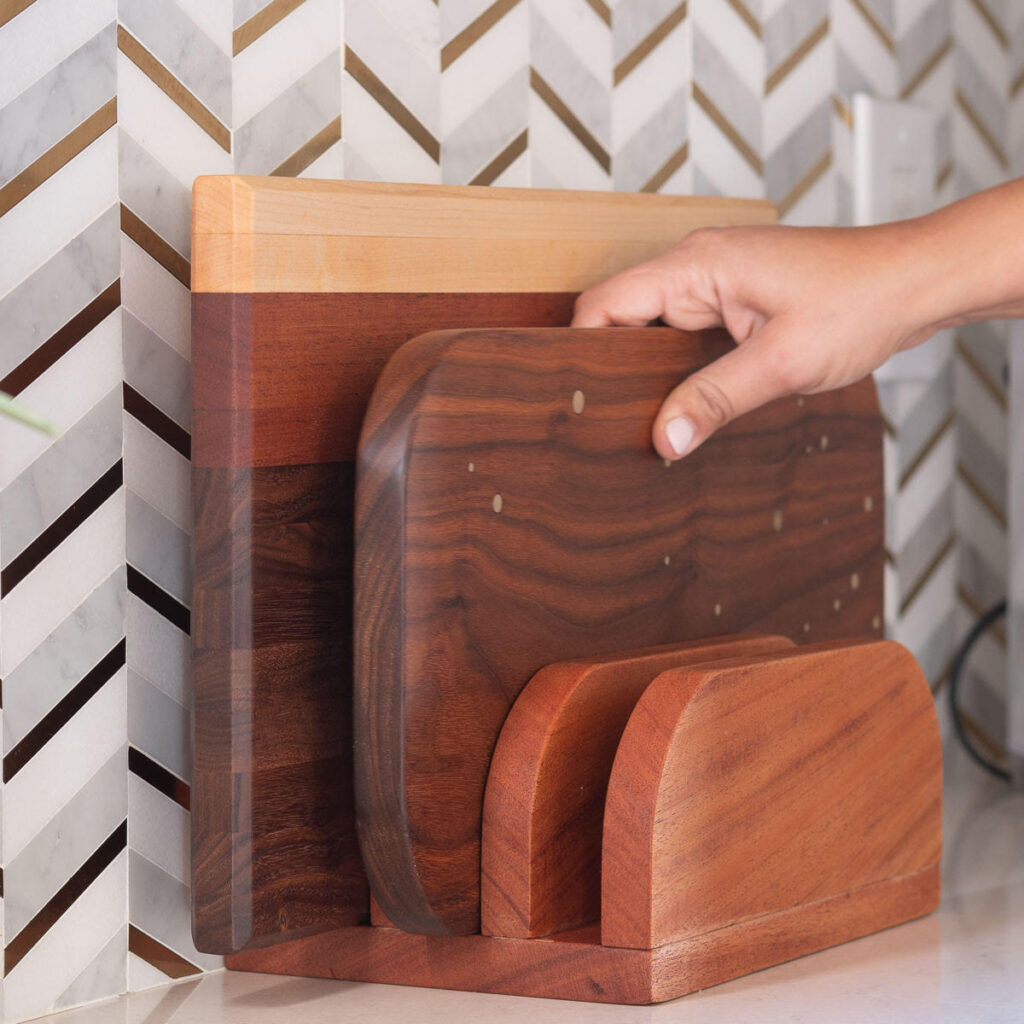
And the best part is, you only need a few wood scraps! I ended up having enough scraps leftover to make a matching napkin holder (you can see that in the video!).
These little shakers were so much fun to make, so let’s dive into the how to.
*This post contains affiliate links. See website policies.
Some notes before building
This is a super quick project that requires minimal tools and just about an a hour of working time.
What wood to use
You can use just about any type of wood you’d like for this project, but tight grained hardwoods like you’d use in a cutting board are recommended–like maple, walnut, cherry, acacia.
But softwoods like pine or poplar would also work. Just don’t use anything treated or plywood for this–you want solid, untreated lumber.
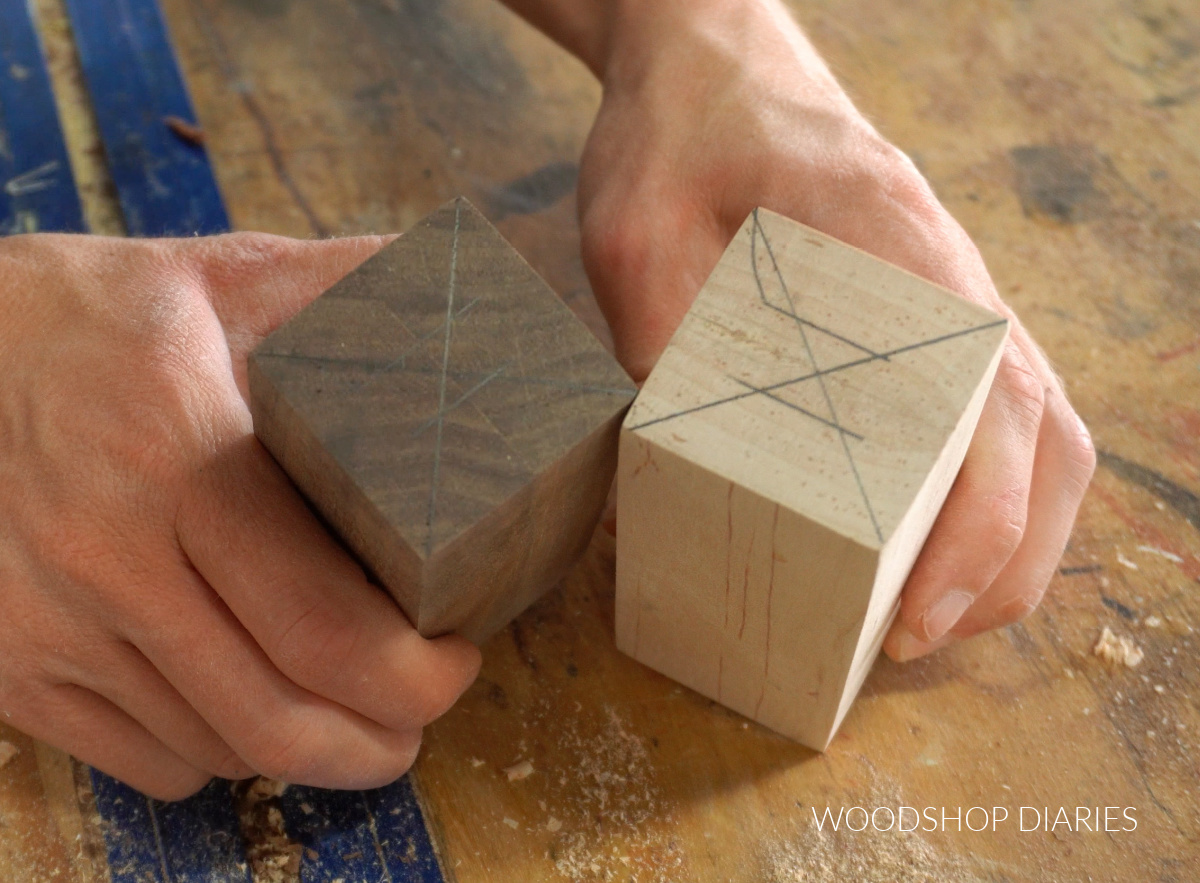
In this case, I made my salt shaker from maple and my pepper shaker from walnut.
These shakers can be made from either 2x2s, or 1x2s (glued together). You only need a very small amount of wood for this project.
Stopper Options
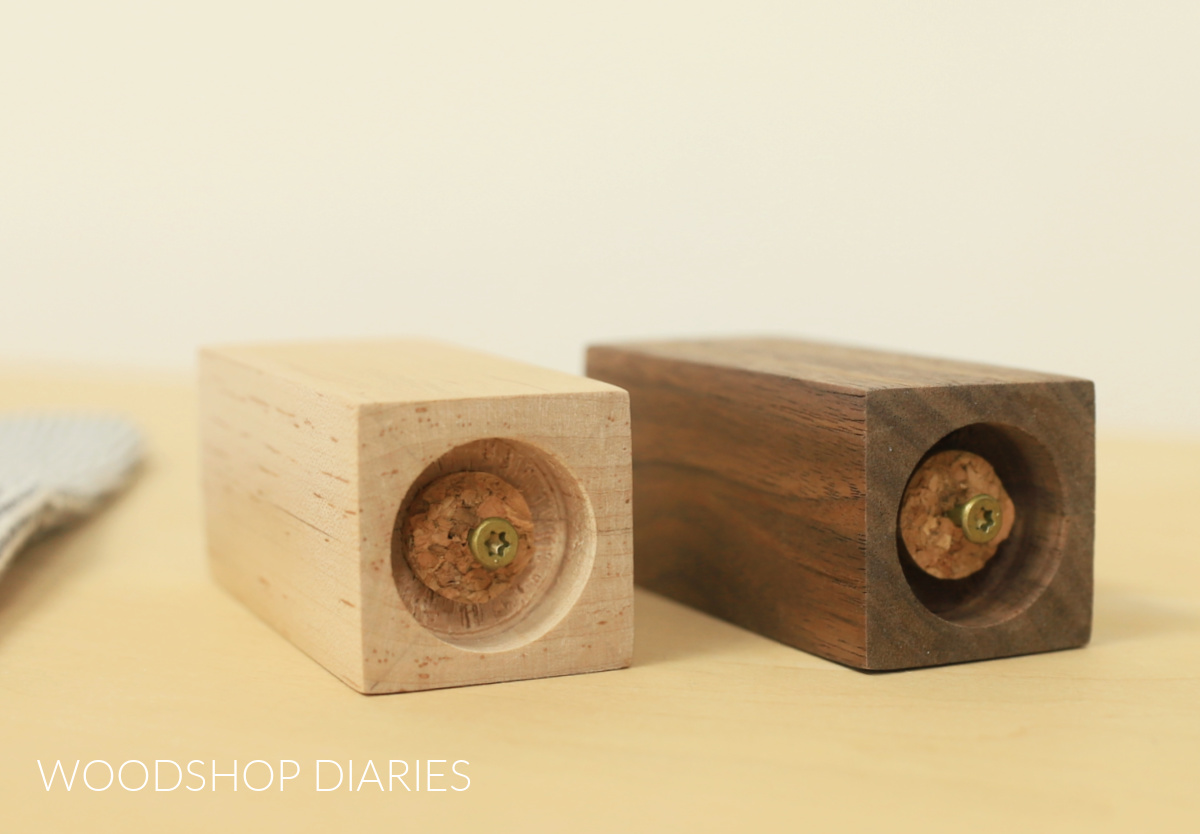
I used a cork to plug the holes on the bottom of these shakers, but in hindsight, I recommend using a silicone stopper instead.
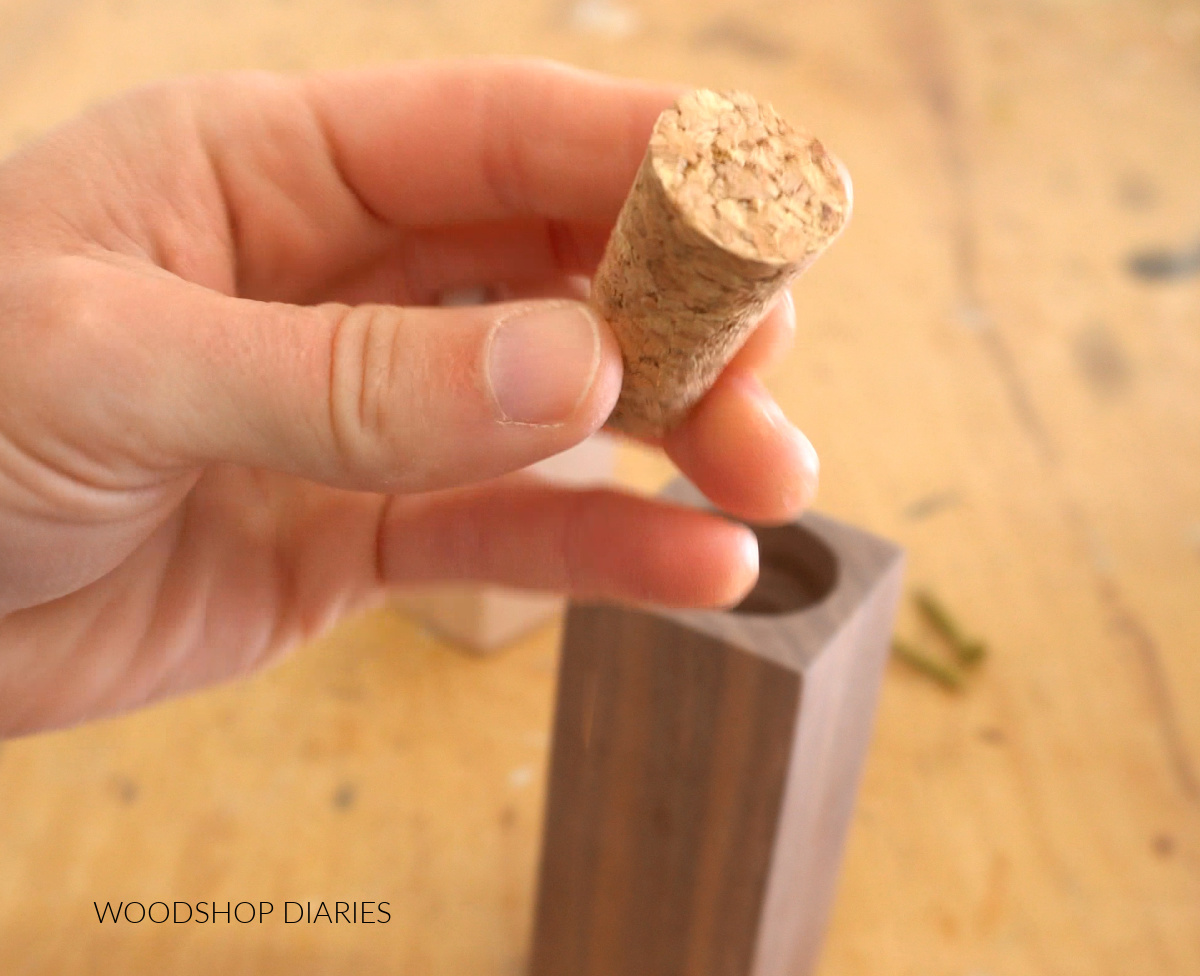
If you watch the video below, you’ll see that I struggled with the cork a bit and found them difficult to remove. I ended up having to trim them a little shorter and add a screw in the bottom for something to grab on to.
Silicone stoppers come in tons of sizes and styles, so you can simply find one you like that will fit the cavity that you drill in step 2 below.
Enjoy DIY projects and woodworking plans? Sign up for priority access for the latest posts on Woodshop Diaries!
How to make Wooden Salt and Pepper Shakers
If you prefer to watch, here’s a quick video showing how to make these wooden salt and pepper shakers PLUS a matching napkin holder.
Love watching how-to videos? Subscribe to my YouTube channel for plenty more where that came from!
Tools & Materials
Tools:
- Saw (any saw that can cut square–Miter saw suggested)
- Drill
- Forstner Bits (1 ¼″ and ¾″ diameter used here)
- 5/64″ drill bit (or something close in size)
- Clamps
Materials:
- 1×2 OR 2×2 scraps (see step 1)
- Cork OR Silicone stoppers (see notes above)
- Wood finish
Step 1: Glue and/or Cut Blocks
You can make these shakers from EITHER 2x2s or 1x2s. If using 2x2s, simply cut a piece 4″ long for each shaker, sand, then skip to step 2.
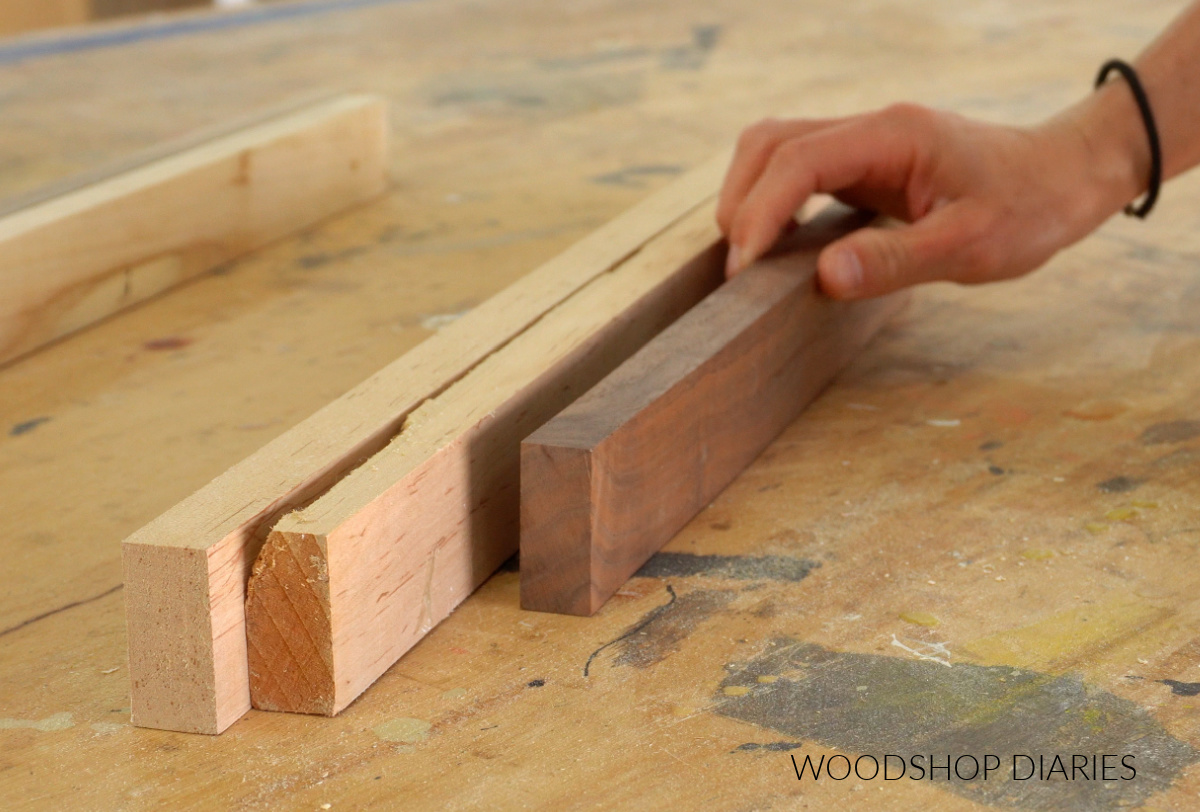
But, I wanted to make mine from walnut and maple and I didn’t have any 2x2s. So instead, I used 1x2s, and cut two pieces of each wood type 4″ long for each shaker.
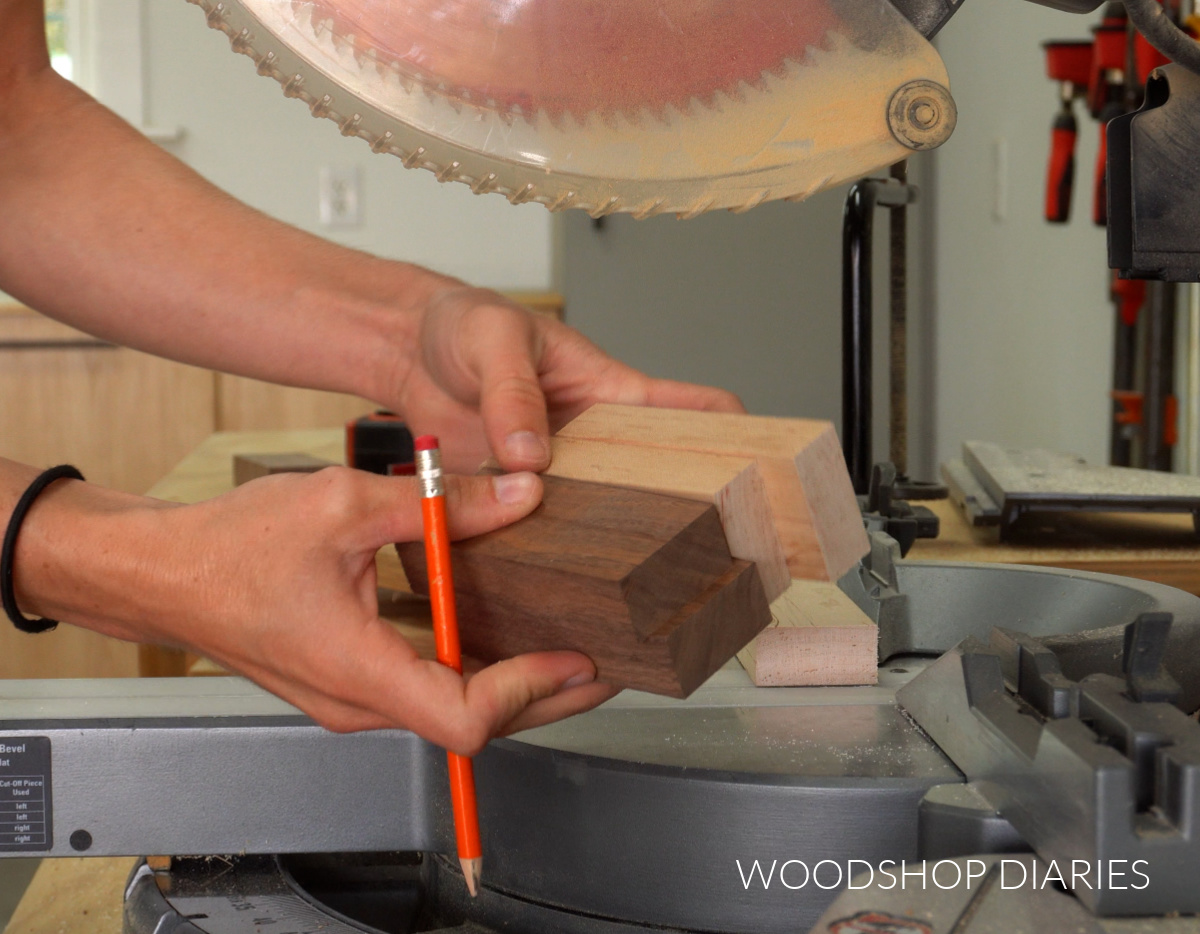
Then I glued these together to make my own 4″ long 2x2s.
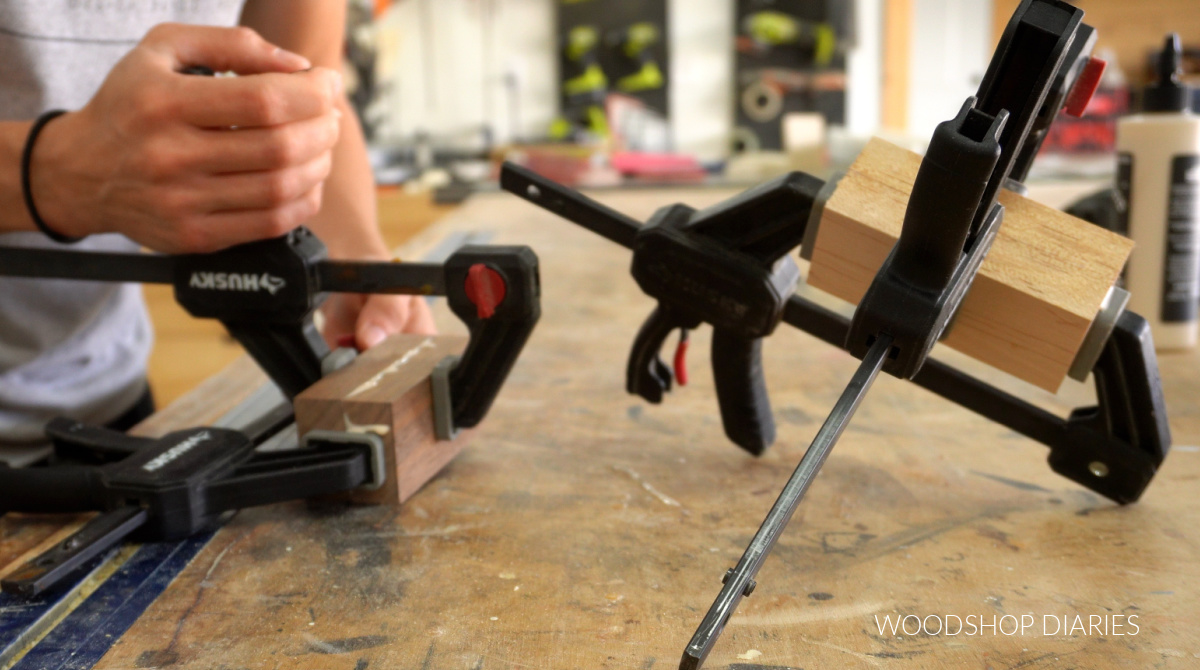
Once the glue dried, I sanded these well to remove all glue squeeze out and even out the glue joints.
Step 2: Drill Inside Cavity
I flipped these blocks upside down and drew a line across each diagonal to mark the center.
You could use a drill press to drill out your shakers if you want, but I just used a drill. It’s important to securely clamp the shaker so that it won’t move while drilling.
To do this, I used one clamp on the shaker, then used a second clamp to clamp that to my workbench.
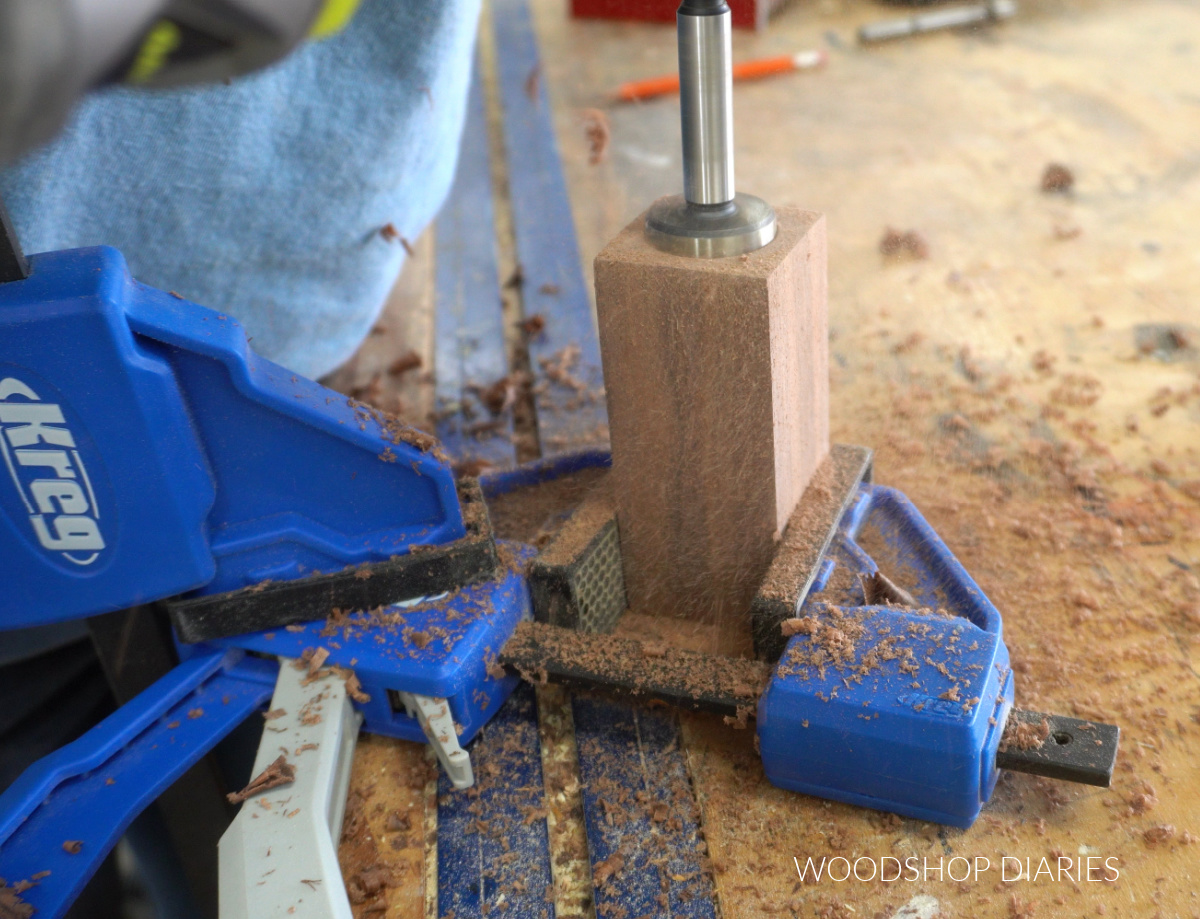
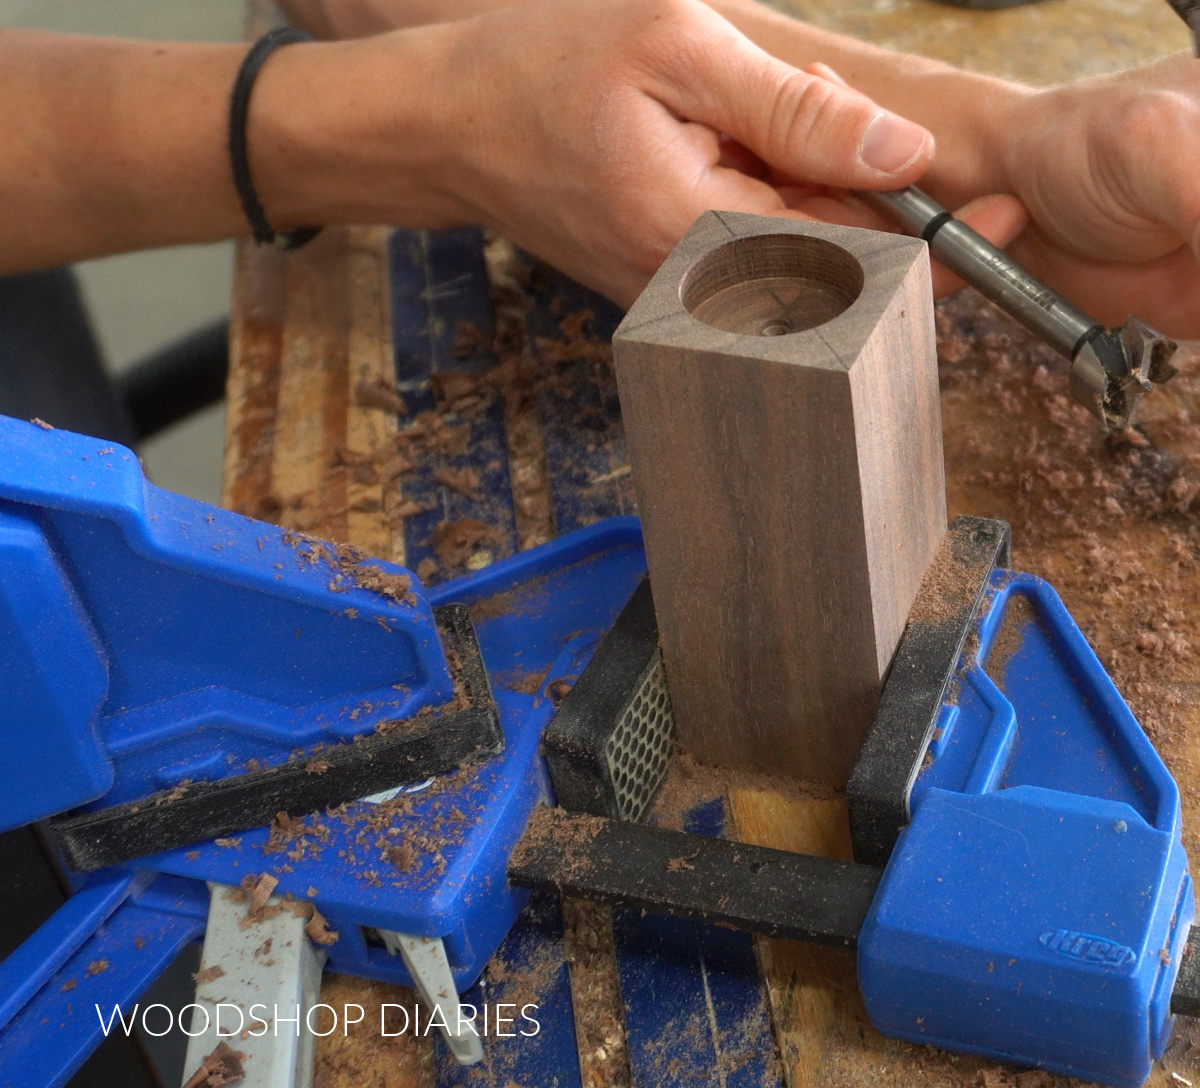
Then, I used a 1 ¼″ forstner bit to drill about ½″ deep into my shakers.
The exact depth here isn’t critical–this larger hole is just to make it easier to get your fingers into to replace and remove the stopper.
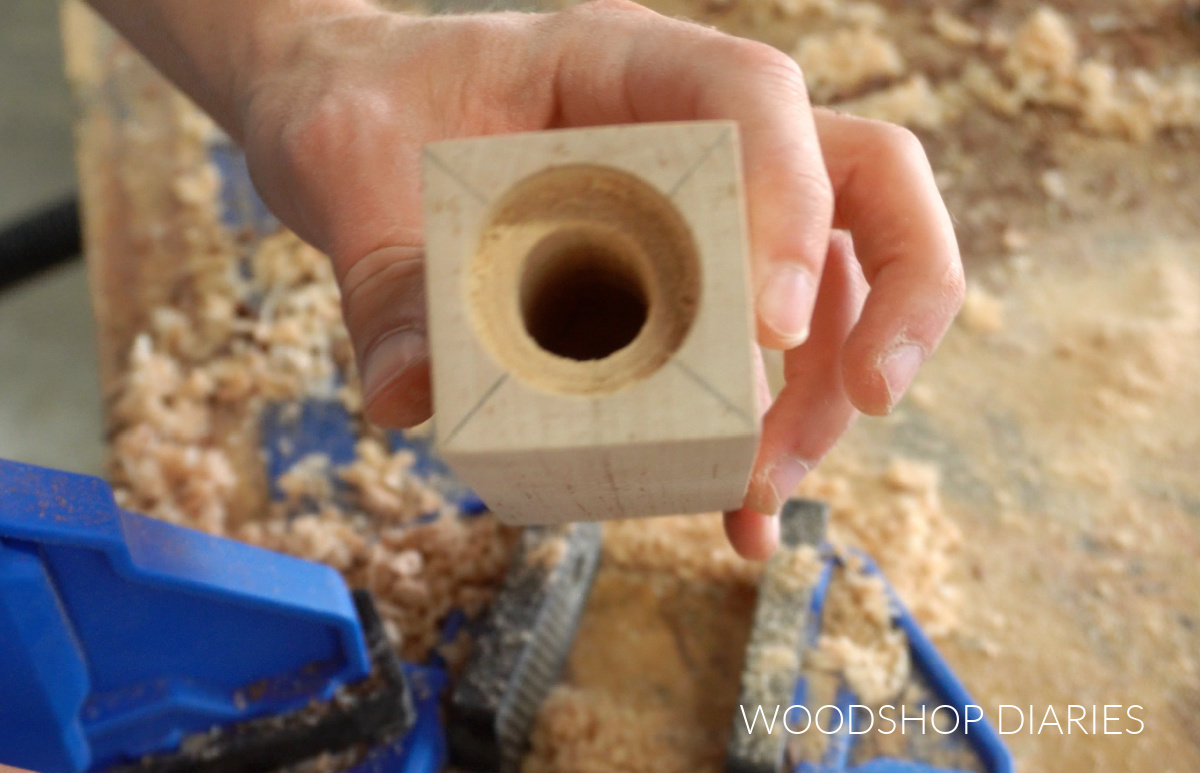
After the larger hole was drilled, I swapped to a ¾″ forstner bit and drilled this as deep as it would go.
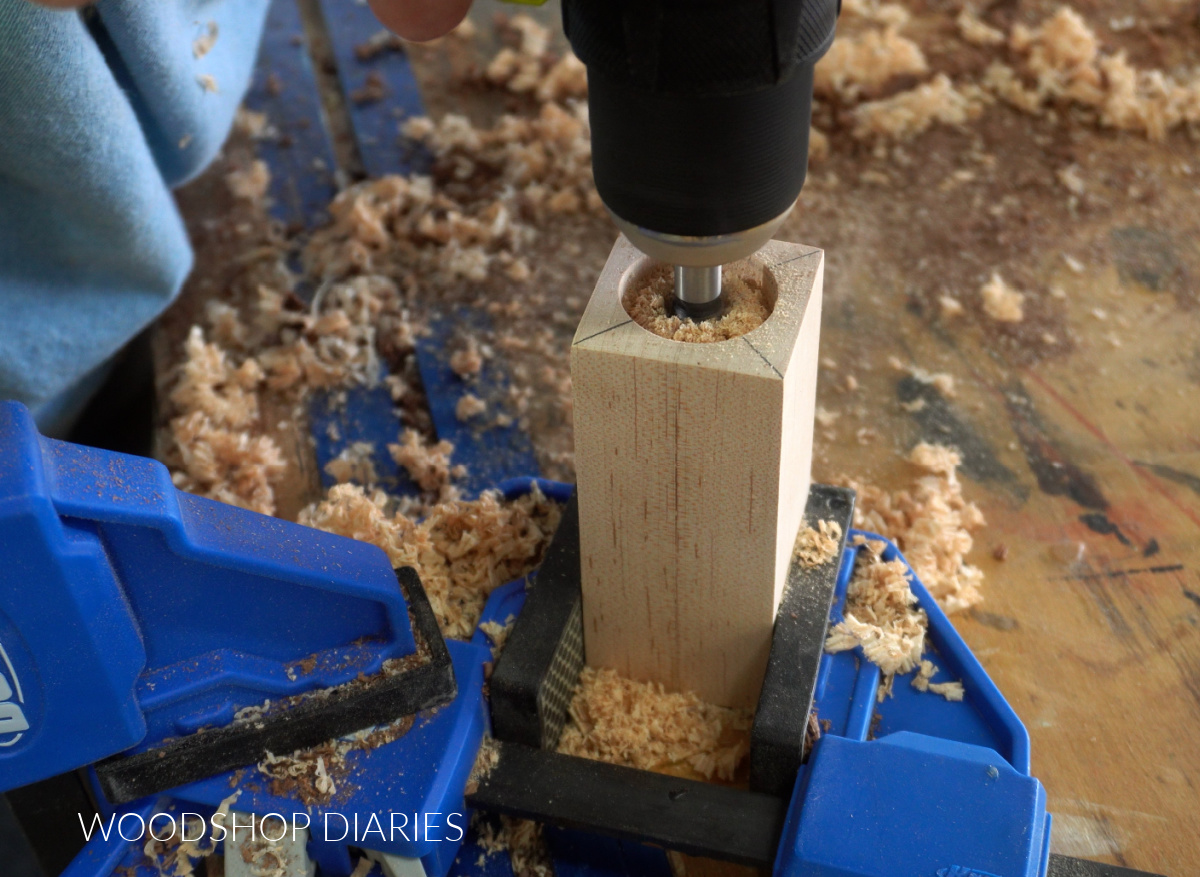
My drill bit wasn’t long enough to go all the way through, but if yours are longer, make sure you leave at least ¼″ material at the bottom. Don’t drill all the way through!
NOTE: You CAN drill a larger inside cavity than ¾″ diameter if you want–just make sure whatever size hole that you drill matches the size stoppers you’re using.
Step 3: Drill Shaker Holes
I flipped the shakers back right side up and marked the center and four surrounding holes to drill out for the salt and pepper to shake out.
Make sure the holes will fall within the size cavity you drilled out in step 2.
Then I drilled these through using a 5/64″ drill bit. You could use a different size bit if you wanted more/less salt and pepper to come out when you shake.

Step 4: Finish & Add Stopper
I blew out all the sawdust from inside the shakers and thoroughly wiped them clean. Then I worked on my stopper situation.
The corks I had bought for these were tapered and were 0.87″ at the large end. That’s why I drilled my cavities ¾″. If I had drilled them the next size bigger (⅞″), the corks would be smaller than the hole, so it wouldn’t plug it.
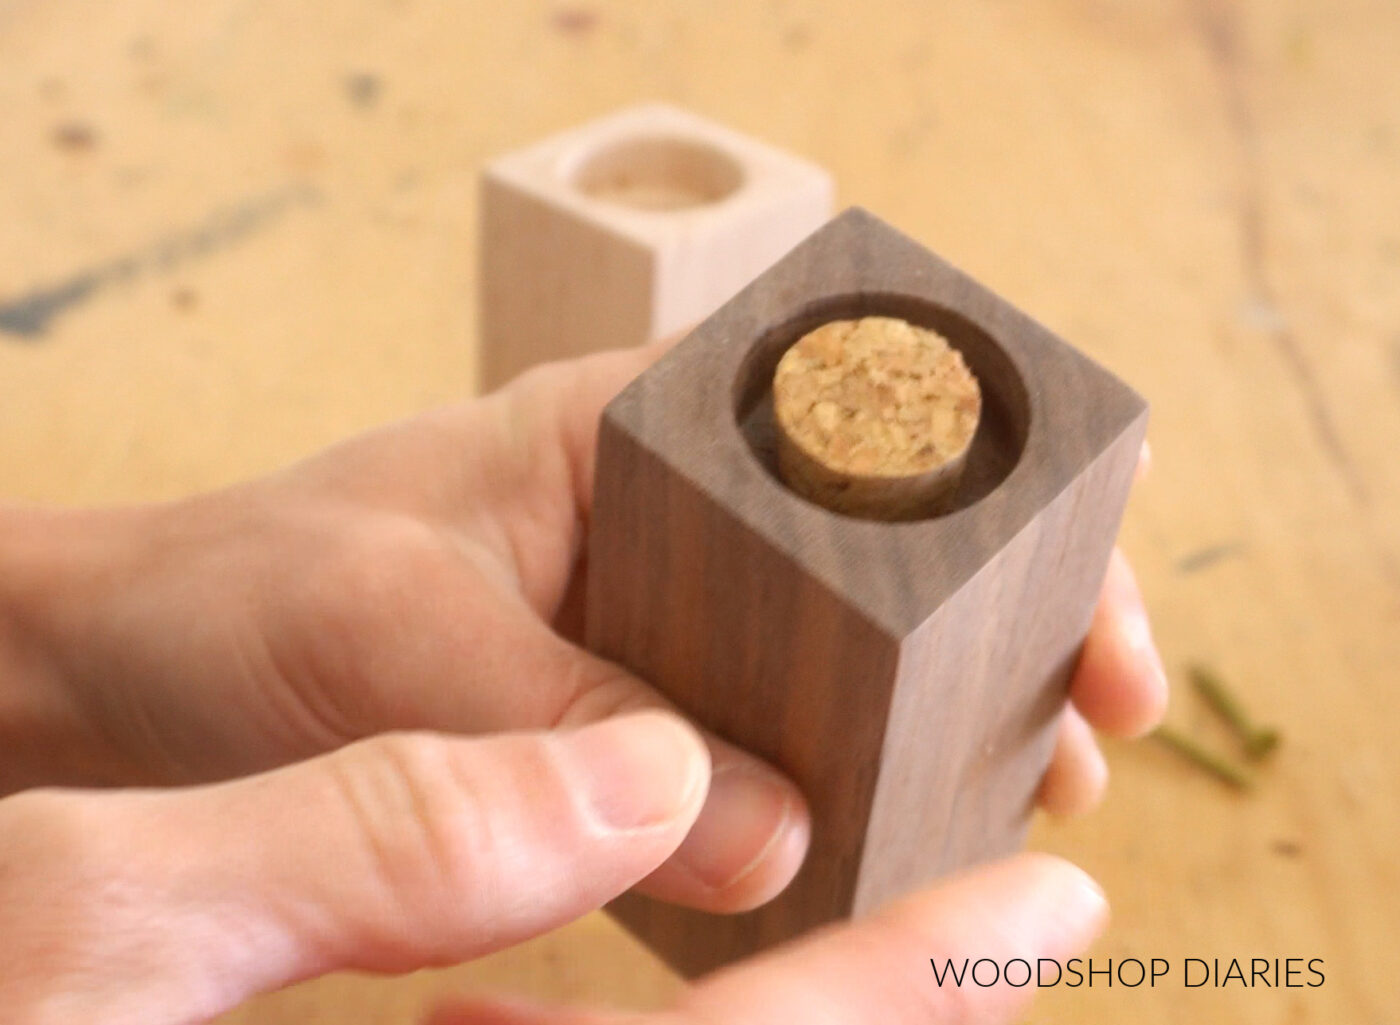
However, once I put them in, getting them back out was a challenge. So I ended up trimming them down a little.
But even still, they were tough to get out. So, I drove a screw into them and that allowed me to grab hold of them to make removing them easier.
This is obviously not ideal, so I recommend opting for a silicone stopper instead. These are made in various sizes and you can get one to fit the same diameter cavity you drilled in your shakers.
To seal and finish the shakers, I applied a couple coats of Minwax Polycrylic and allowed to dry.
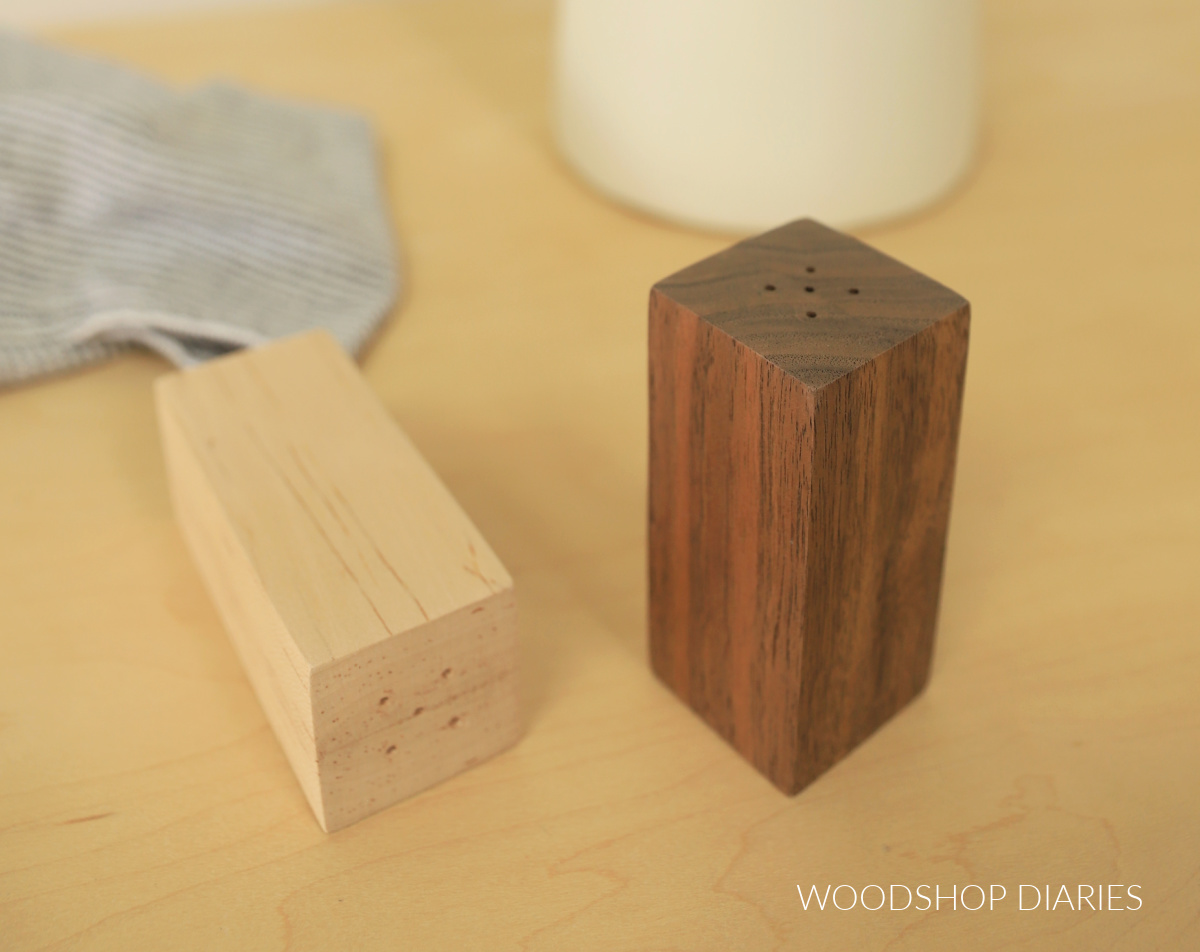
And now they’re ready for the table.
Looking for more handmade gift ideas?
Every occasion is a great opportunity to give a heartfelt handmade gift.
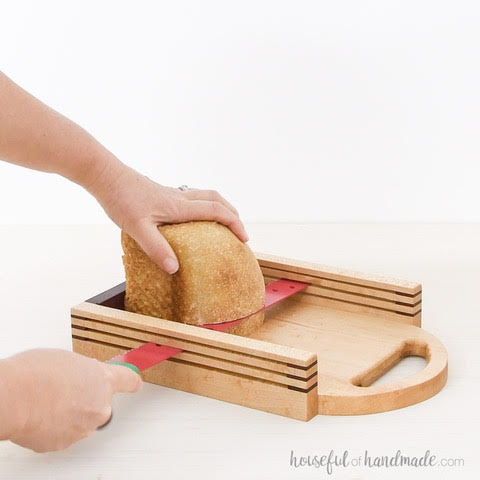
With the upcoming holidays, I’ve teamed up with my friend, Kati, from Houseful of Handmade and Anika from Anika’s DIY Life to share some easy and fun gift ideas that you can make this season!
I’ve included their projects in the gallery below plus a few of my own (click on the images to see how to make each one).


Enjoyed this project and want to save it for later? Be sure to pin it or share it to your favorite social channel!
Until next time, happy building!