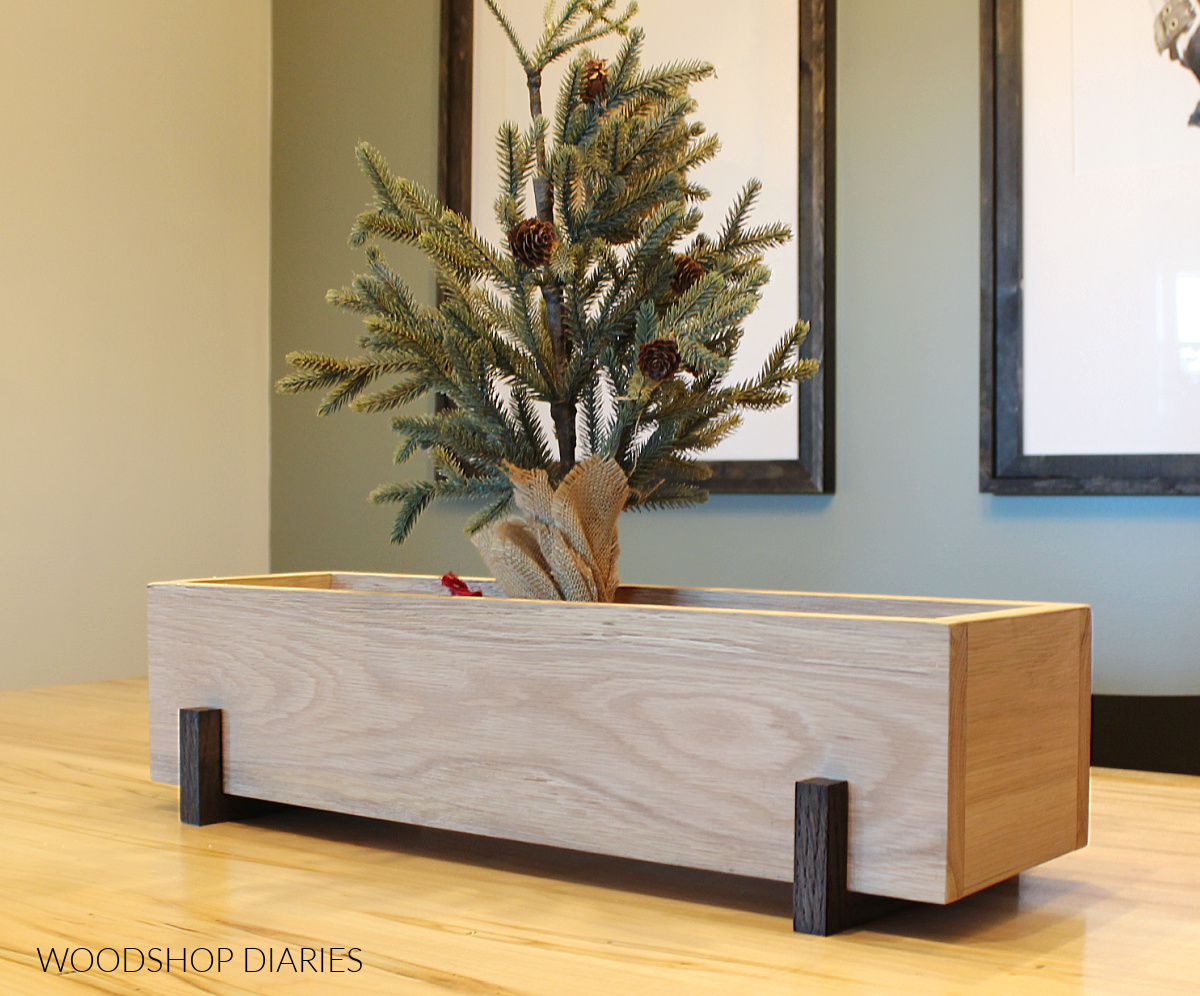
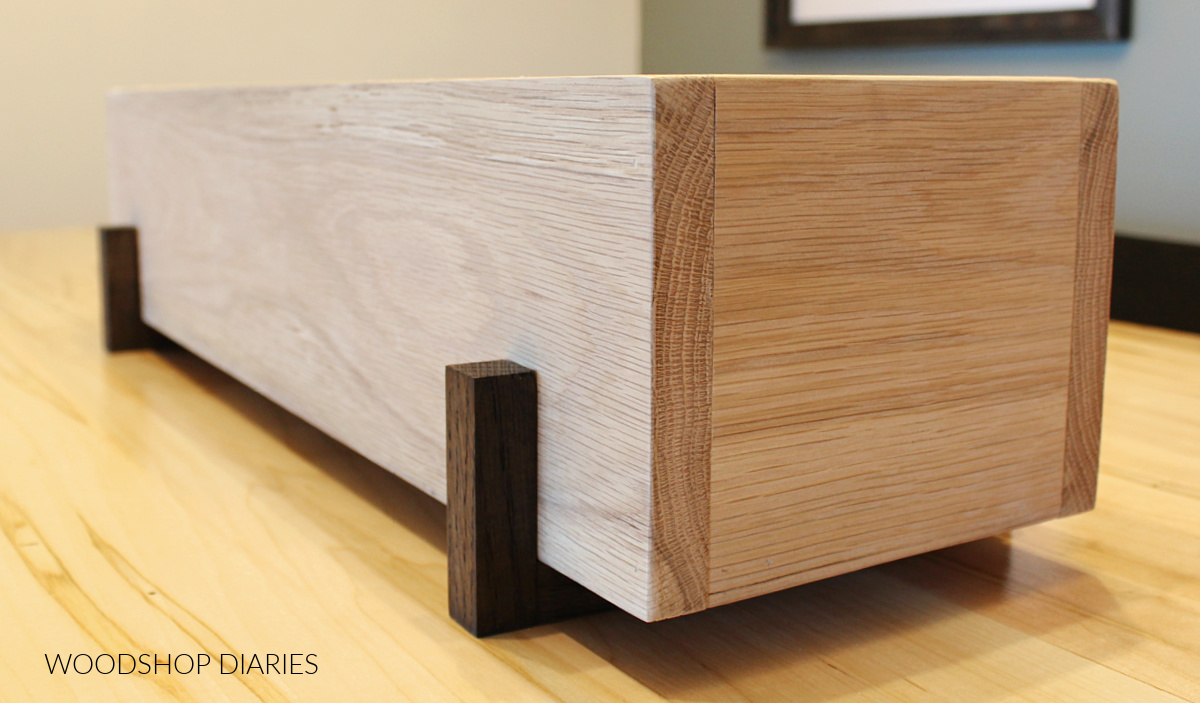
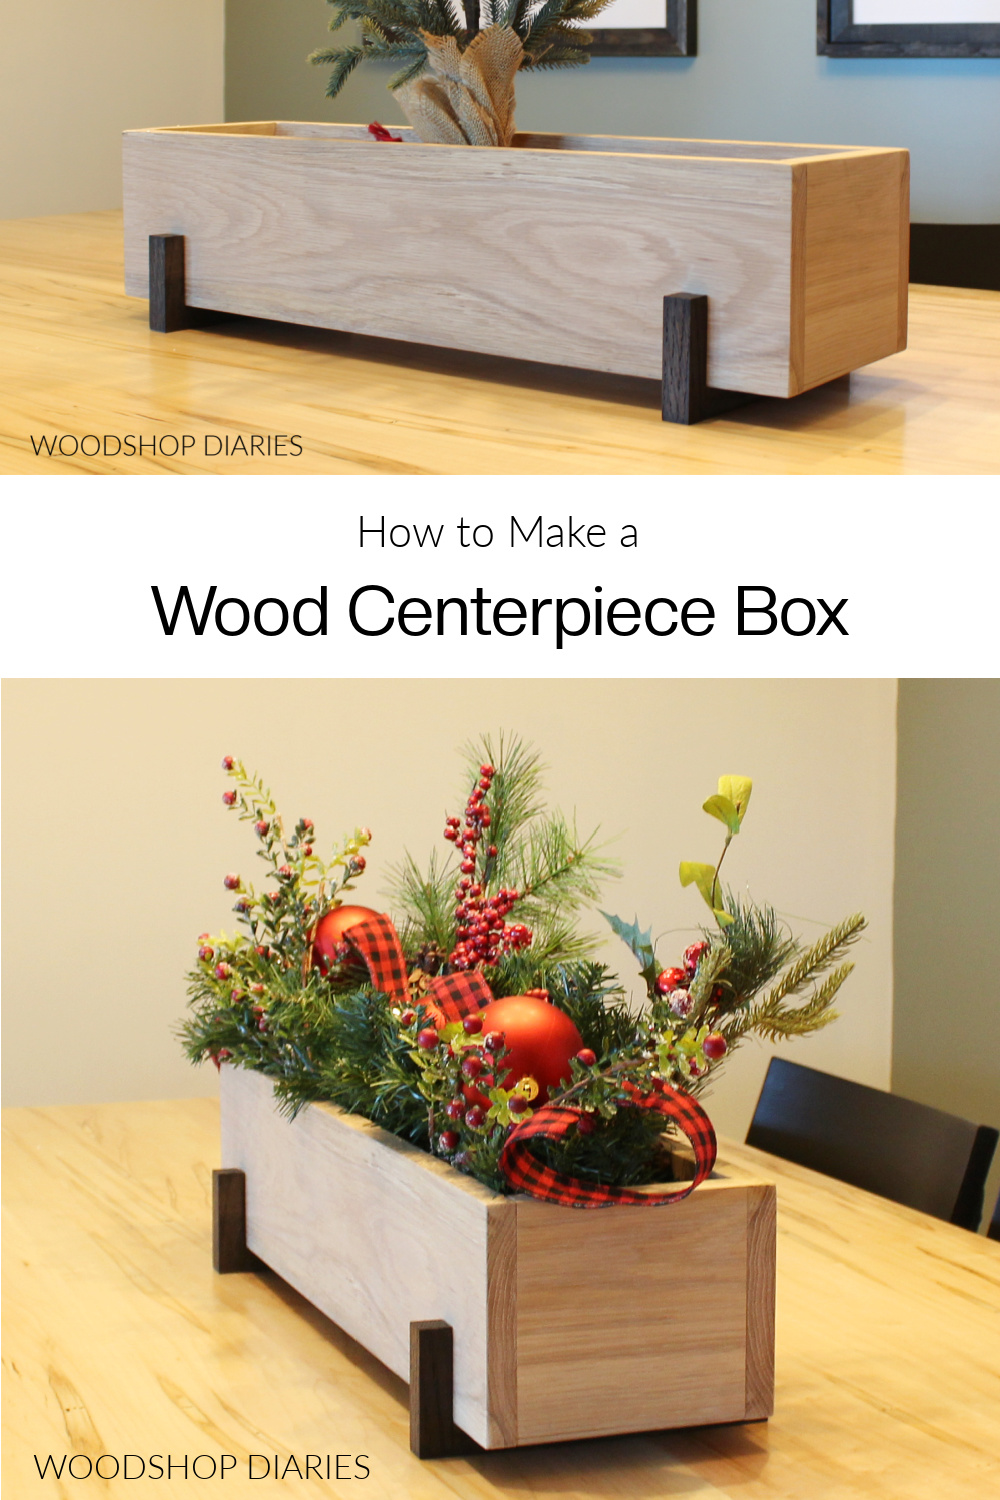
In this post, I’m sharing how to make a simple DIY wooden box for your table centerpiece!
If you’ve followed along for very long and this looks a little familiar, you may remember that I built a very similar DIY centerpiece box several years ago.
I built several of those and gave them away as Christmas gifts that year to several friends and family members.
Years later, they still talk about them and a few recipients still send me pictures as they change out their decorations for different seasons.
It’s safe to say these made excellent gifts!
So this year, I built a couple more of these DIY wooden box gifts, this time, with a few changes and some optional added “risers” on the bottom.
Building a simple wood box like this is an INCREDIBLY easy project that you can build from a single 1×6 board (or scraps!) and they make perfect handmade gifts for the holidays, housewarmings, or even weddings.
So if you’re ready to get building, let’s dive in.
Tools & Materials
*This post contains affiliate links. See policies.
Tools:
- Miter Saw (or any saw you can cut straight lines with)
- Brad Nailer
- Sander
- Clamps (optional)
Materials:
- 1x6x8 board
- ¾″ square dowel (optional–for the “risers” under the box)
- Wood Glue
- 1 ¼″ Brad Nails
- Wood Finish of Your Choice
How to Build a Simple Wooden Box Centerpiece
This is a really simple project to build, but there are several ways you can make it.
I used wood glue and brad nails here, but feel free to skip the nails and use wood glue only if you’d rather. In that case, you can simply clamp the pieces tight until the glue dries.
Or, swap the nails for screws instead. You could go with some black screws for a little extra “industrial” detail.
You can also add some corner braces for extra detail and stability as well.
The risers I added are totally optional, so feel free to skip those if you aren’t feeling them 🙂
Prefer to print your plans? Grab the printable version of this project here.
Step 1: Cut Wooden Box Pieces to Size
You can make this entire box (minus the risers) from a single 1x6x8 board.
Cut List:
- (2) 1×6 @ 5 ½″ long
- (2) 1×6 @ 28 ½″ long
- (1) 1×6 @ 27″ long
The 5 ½″ pieces will be the short sides, the 27″ piece will be the bottom and the 28 ½″ pieces will be the long sides.
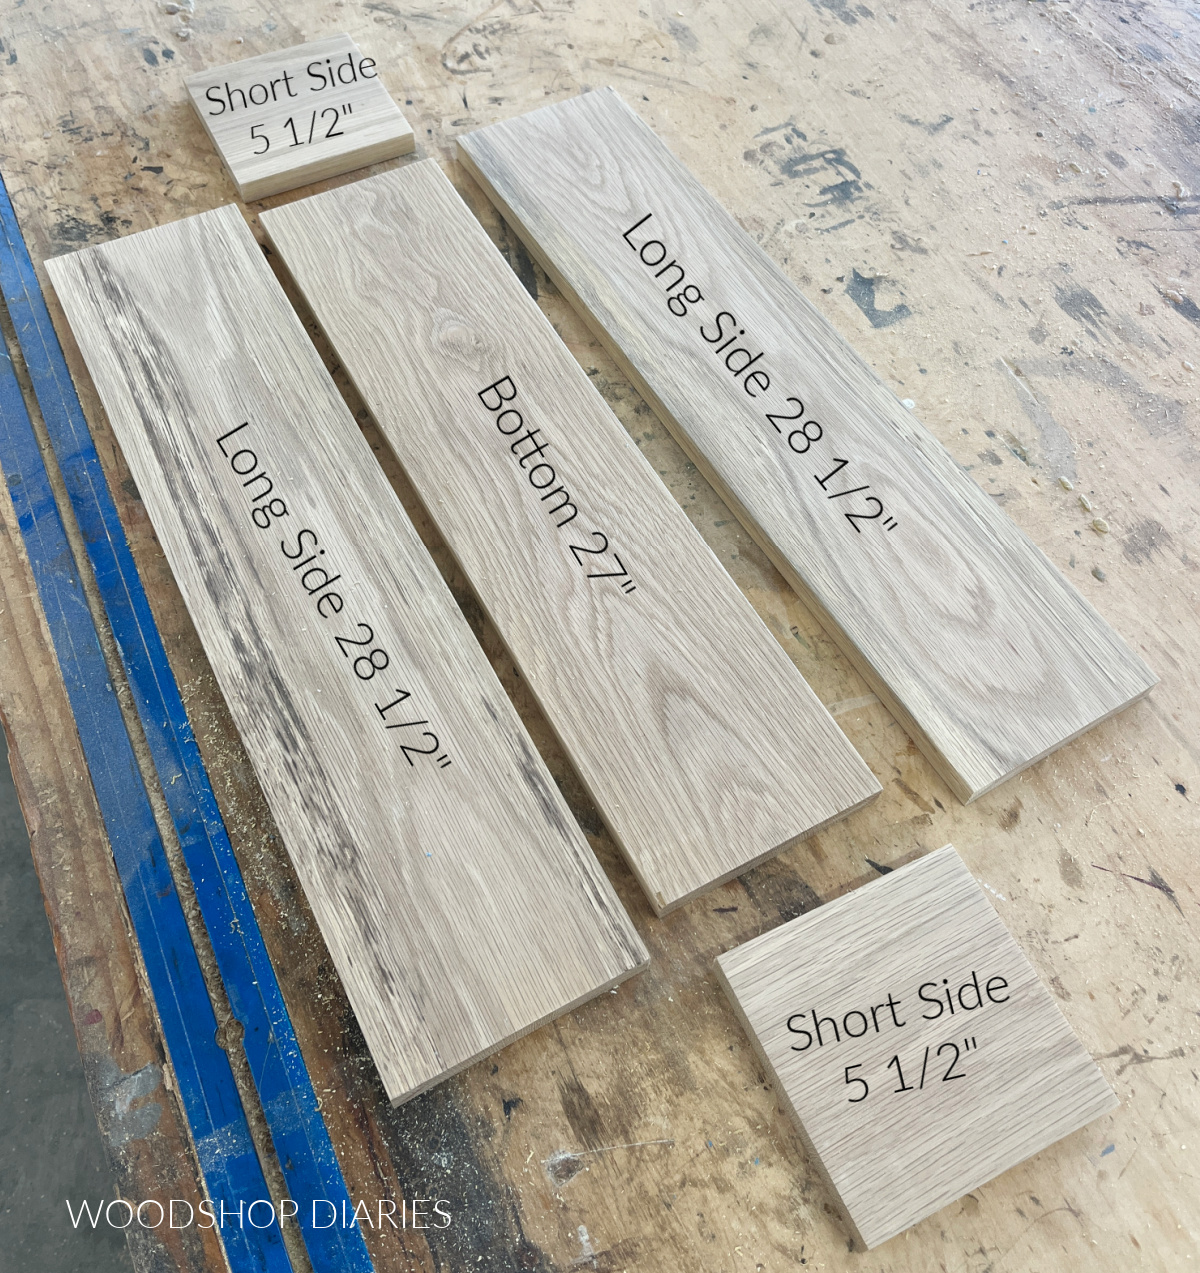
I cut these pieces from my board (I used white oak here, in case you were wondering) and sanded them well before assembling.
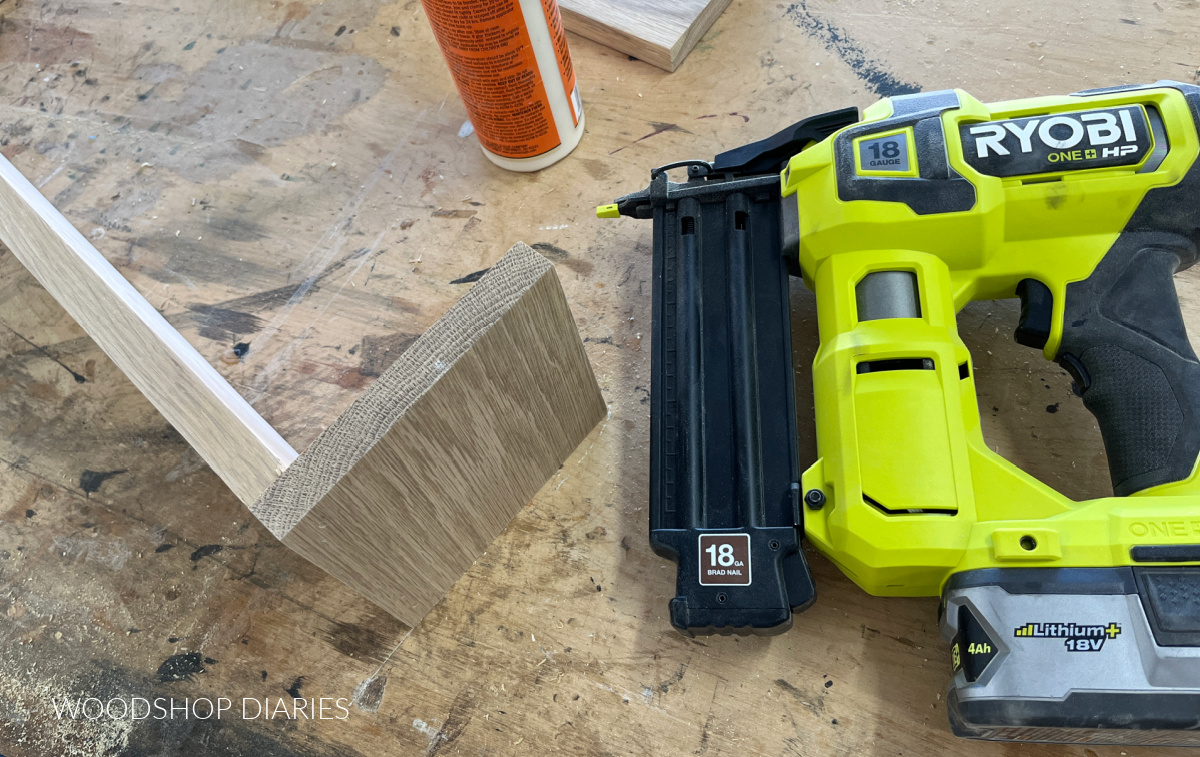
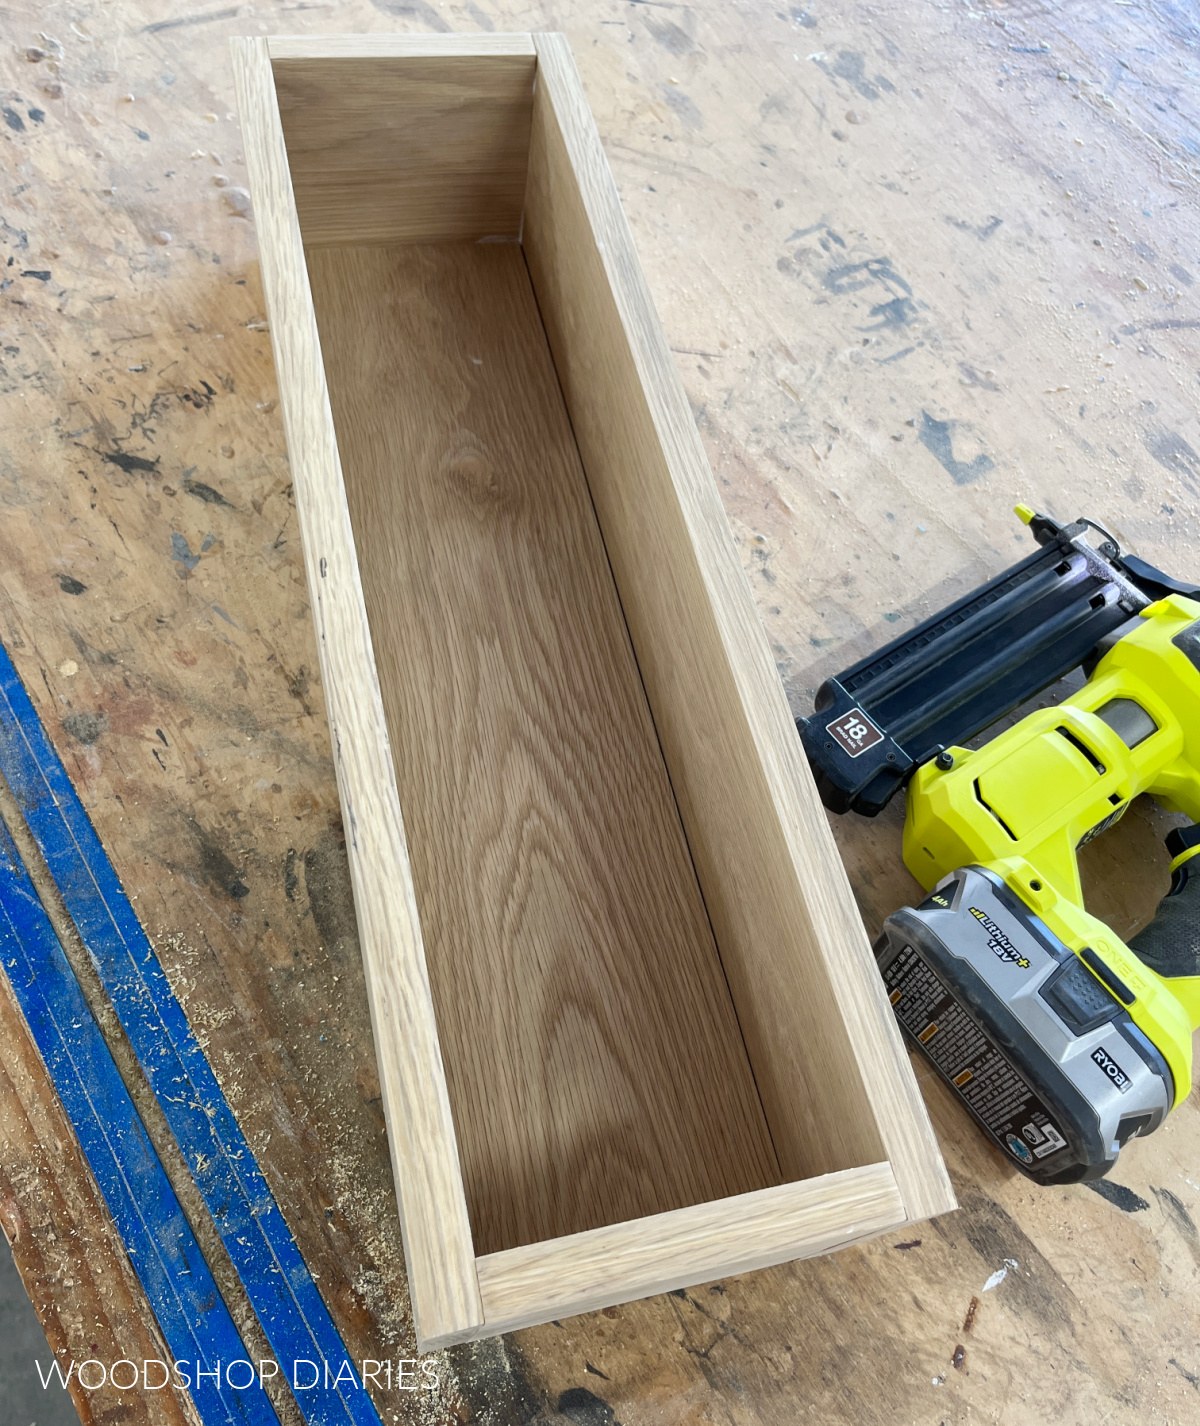
Step 2: Assemble Short Sides to Bottom
I mentioned earlier that I used wood glue and brad nails to assemble my DIY wooden box.
So I ran a bead of wood glue between the short end of the bottom piece and one of the side pieces and used a couple brad nails to tack it in place.
You could use Fast Dry Wood Glue if you prefer–it’s a little cleaner. But if your boards are a little warped and don’t fit together really tight, the Fast Dry Wood Glue likely won’t work very well.
Note that the wood grain on the side piece is running opposite the bottom piece.
Since these 5 ½″ long pieces are 5 ½″ square (1x6s are 5 ½″ wide in case you didn’t know 🙂 ), you can technically run the grain either direction.
But I didn’t want the end grain on the top edge, so I ran it the other way.
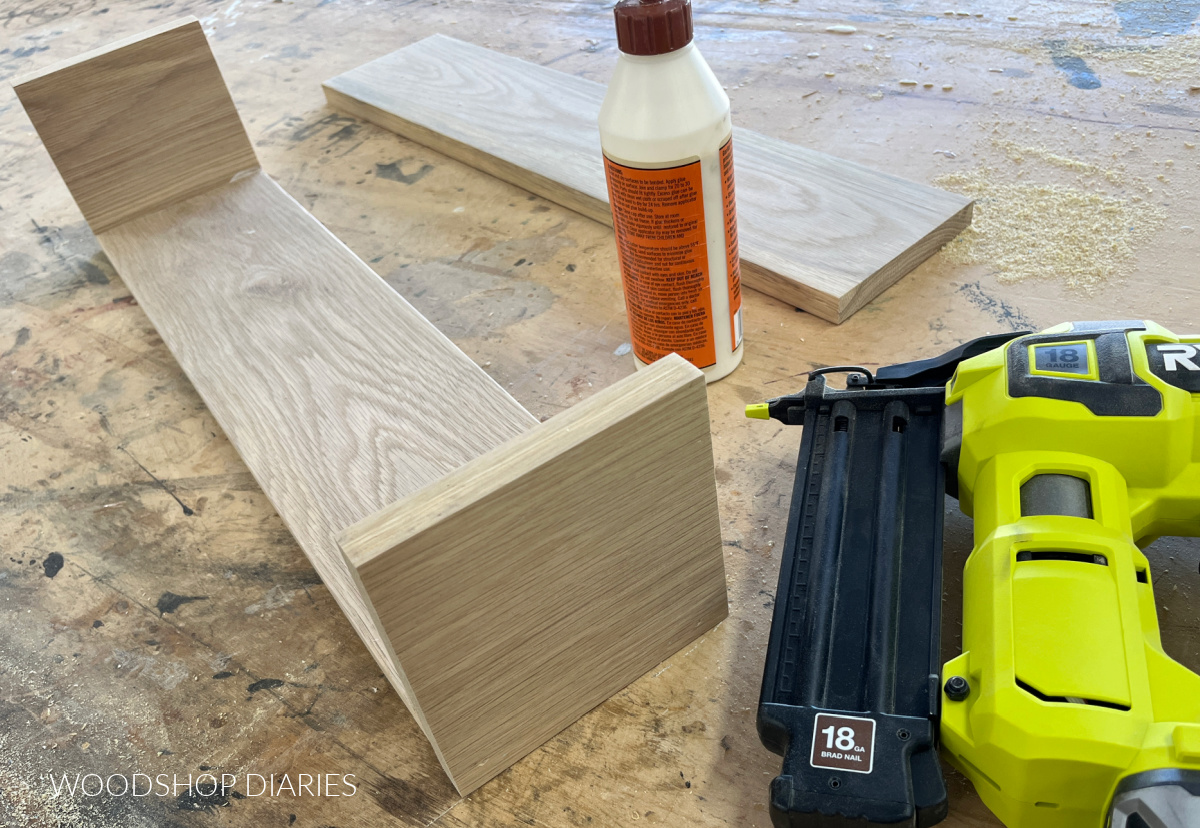
Once the first side was secured to the bottom, I repeated to add the other short side piece.
Step 3: Add Long Sides to Wood Box
Once the short sides were assembled, I used wood glue and brad nails to secure the long sides to complete the box.
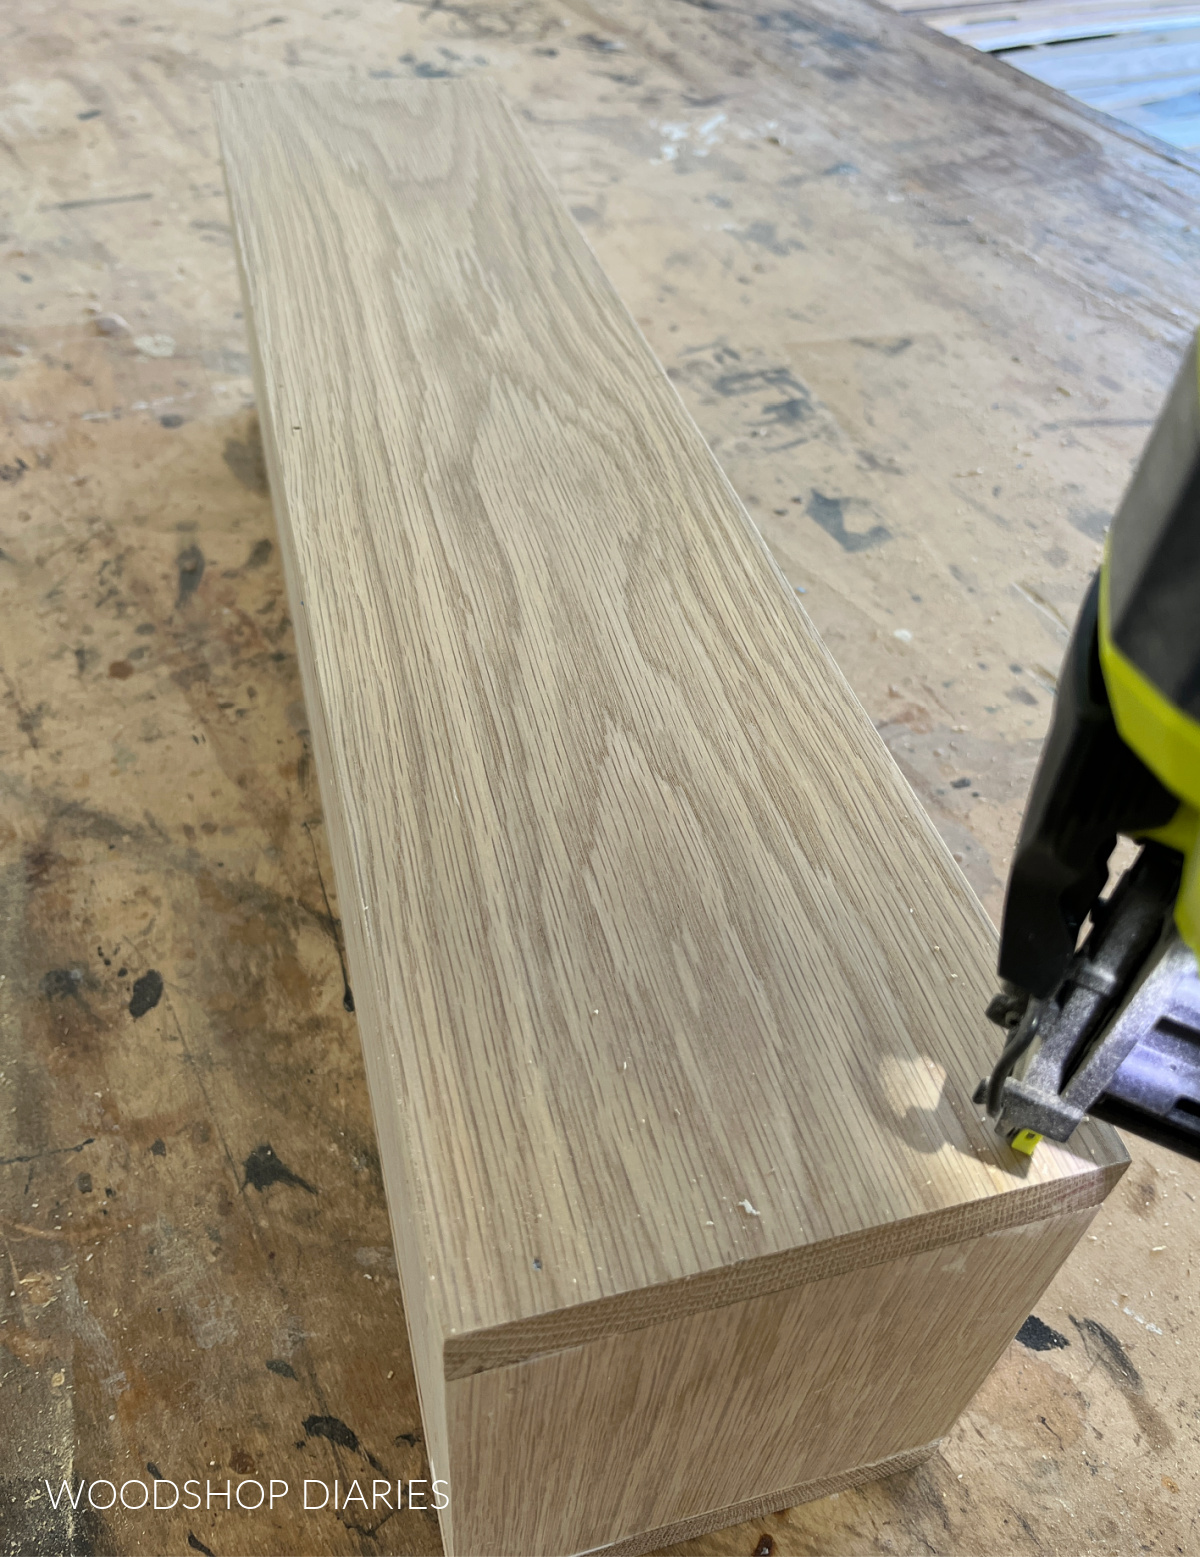
Make sure to nail at both the top and bottom to help keep the short side pieces secure.
Step 4: Assemble Risers (Optional)
The risers here are optional. However, they’re a fun little addition that makes this simple box feel a little more “modern.”
If you want to make one, it’s simple. They’re assembled from ¾″ square dowels.
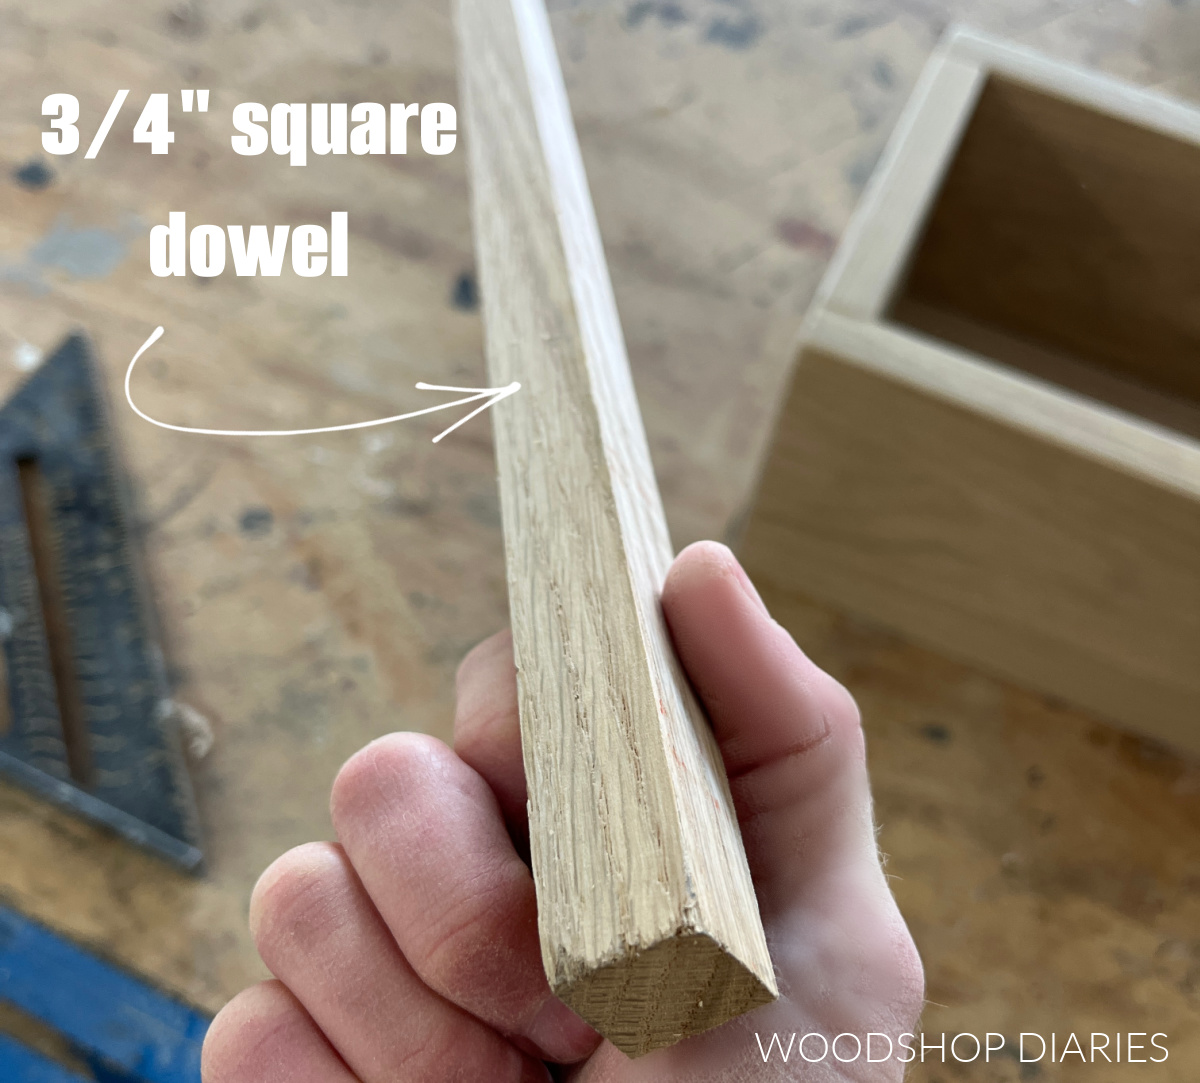
You can buy precut dowels, or, if you have a table saw, you can cut your own from scrap 1x material.
Cut List for Risers:
- (2) ¾″ square dowel @ 7 ⅛″ long
- (4) ¾″ square dowel @ 3″ long
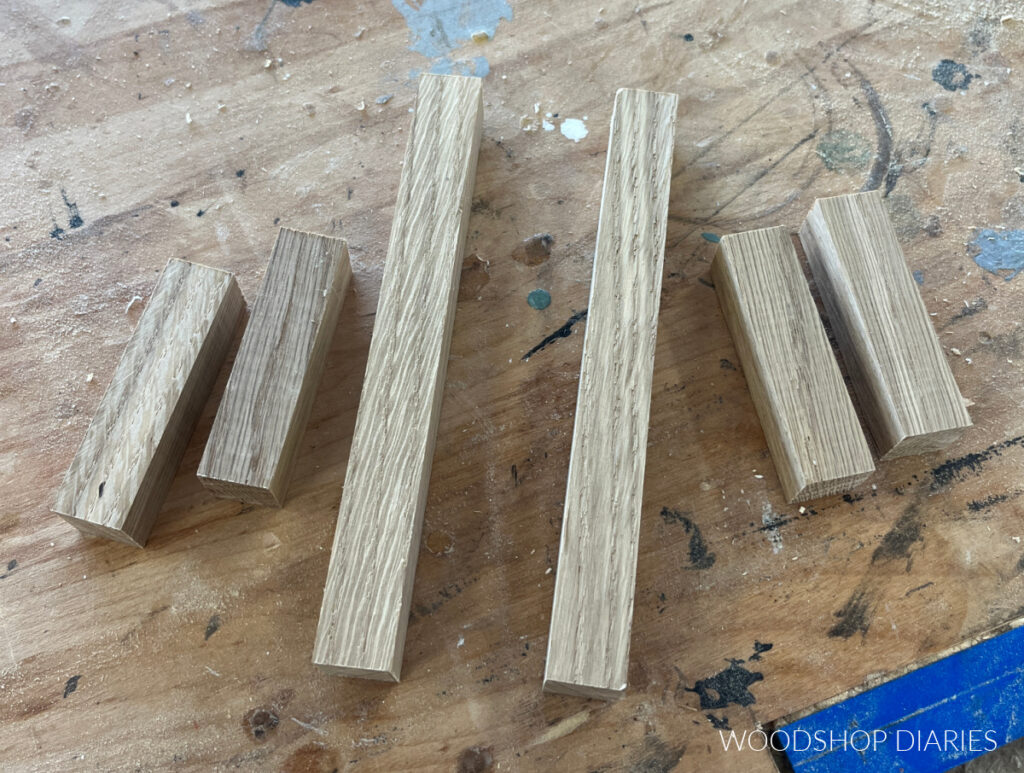
After lightly sanding each one, I used Fast Dry Wood Glue to assemble two 3″ pieces onto each end of each 7 ⅛″ pieces.
You can use regular wood glue instead, but I was impatient.
You can also use brad nails in addition to glue, but it’s tricky sometimes to nail these small pieces, so I didn’t try it.
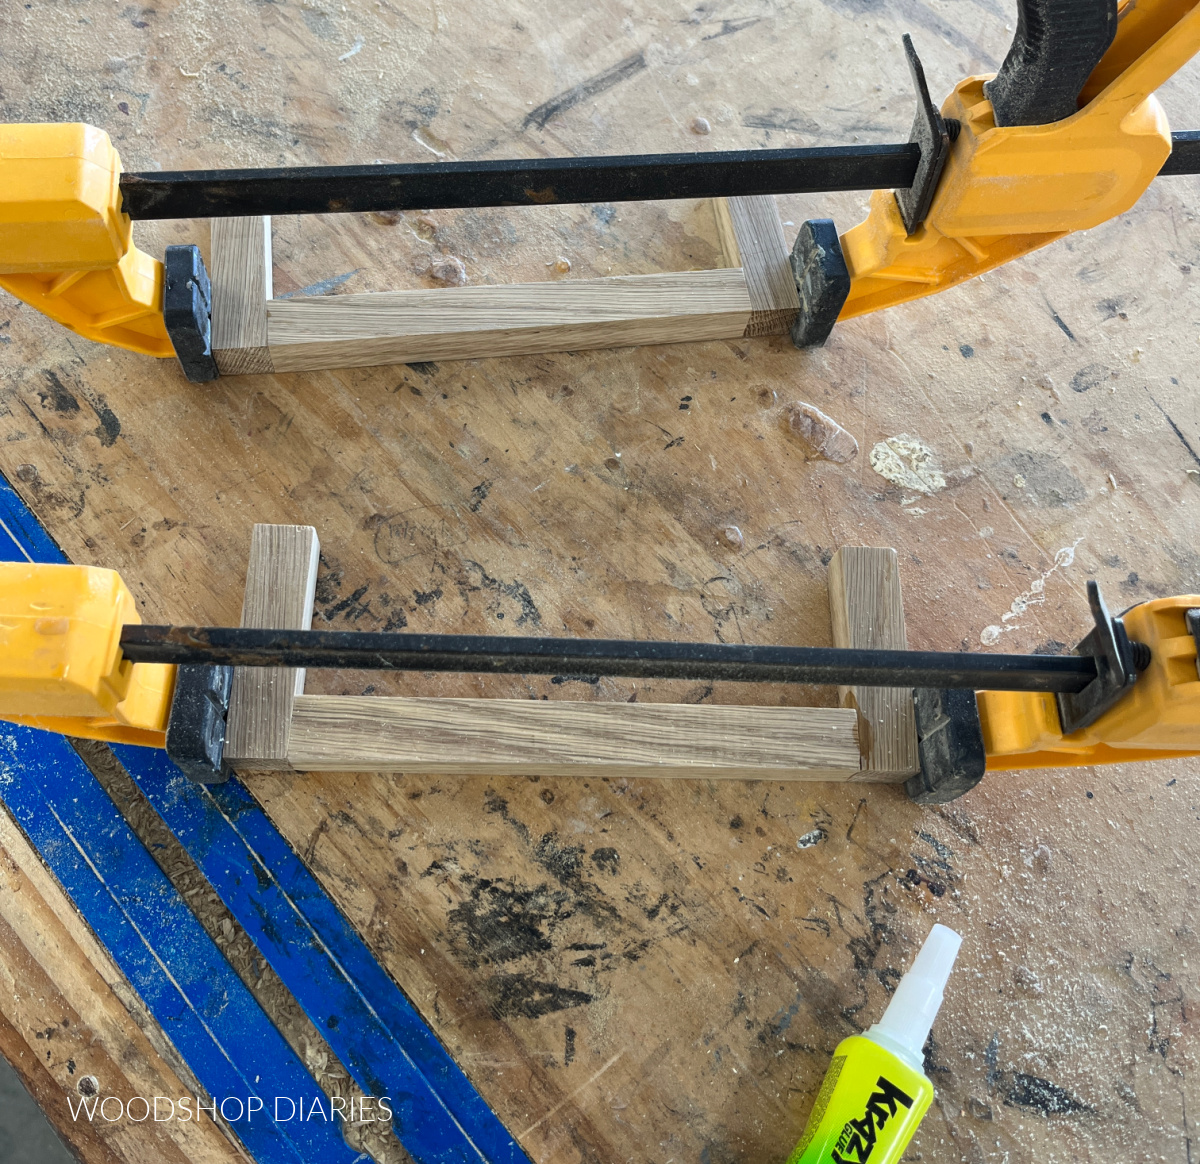
I clamped these together for about 5 minutes, then gave them a coat of black wood stain.
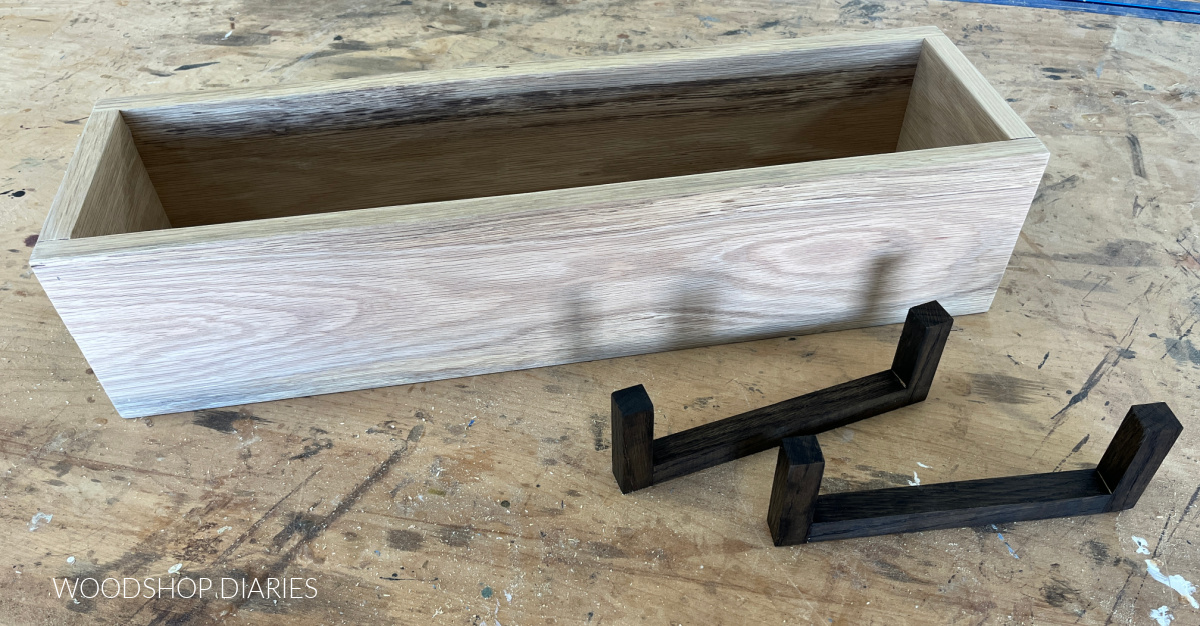
Step 5: Finish
Speaking of stain, at this point, you can finish (stain, paint, etc) as desired.
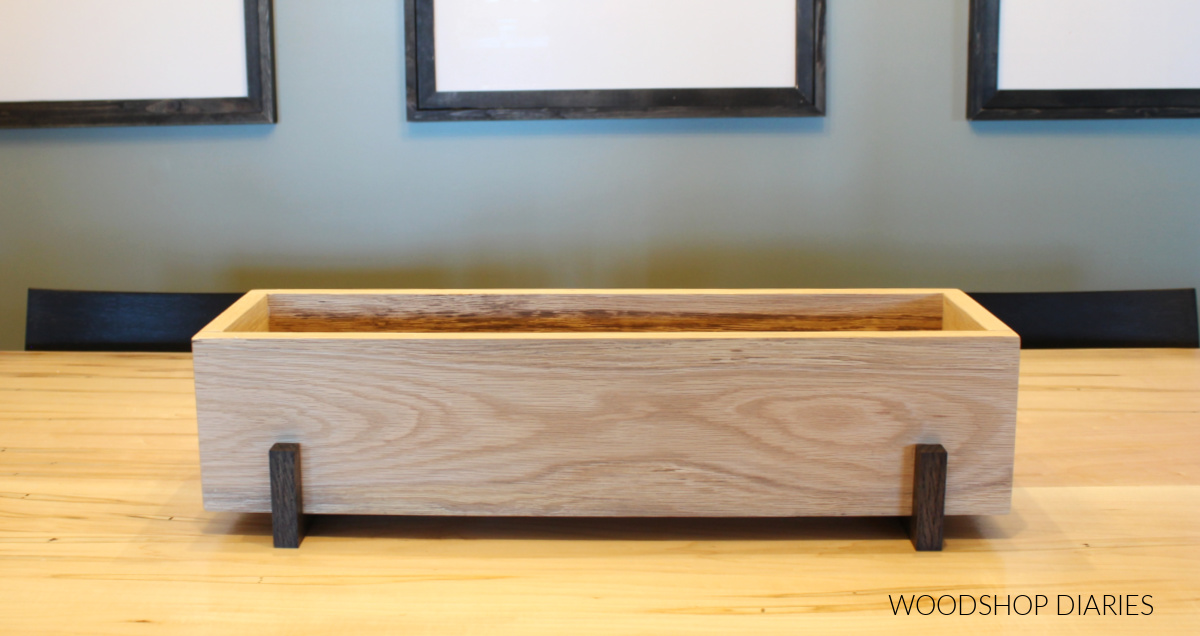
I left the box a natural white oak color and stained the risers black for some contrast.
You’re welcome to finish these however you’d like and once it’s dry, you can simply place the box on the risers where you want it.
I didn’t attach the risers so that they are easy to remove later if I decide I don’t want them.
However, if you do want them permanent, you can secure them with brad nails through the bottom of the box.
Now it’s ready to fill with garland and Christmas decorations, simple vases, Mason jars and flowers, etc.
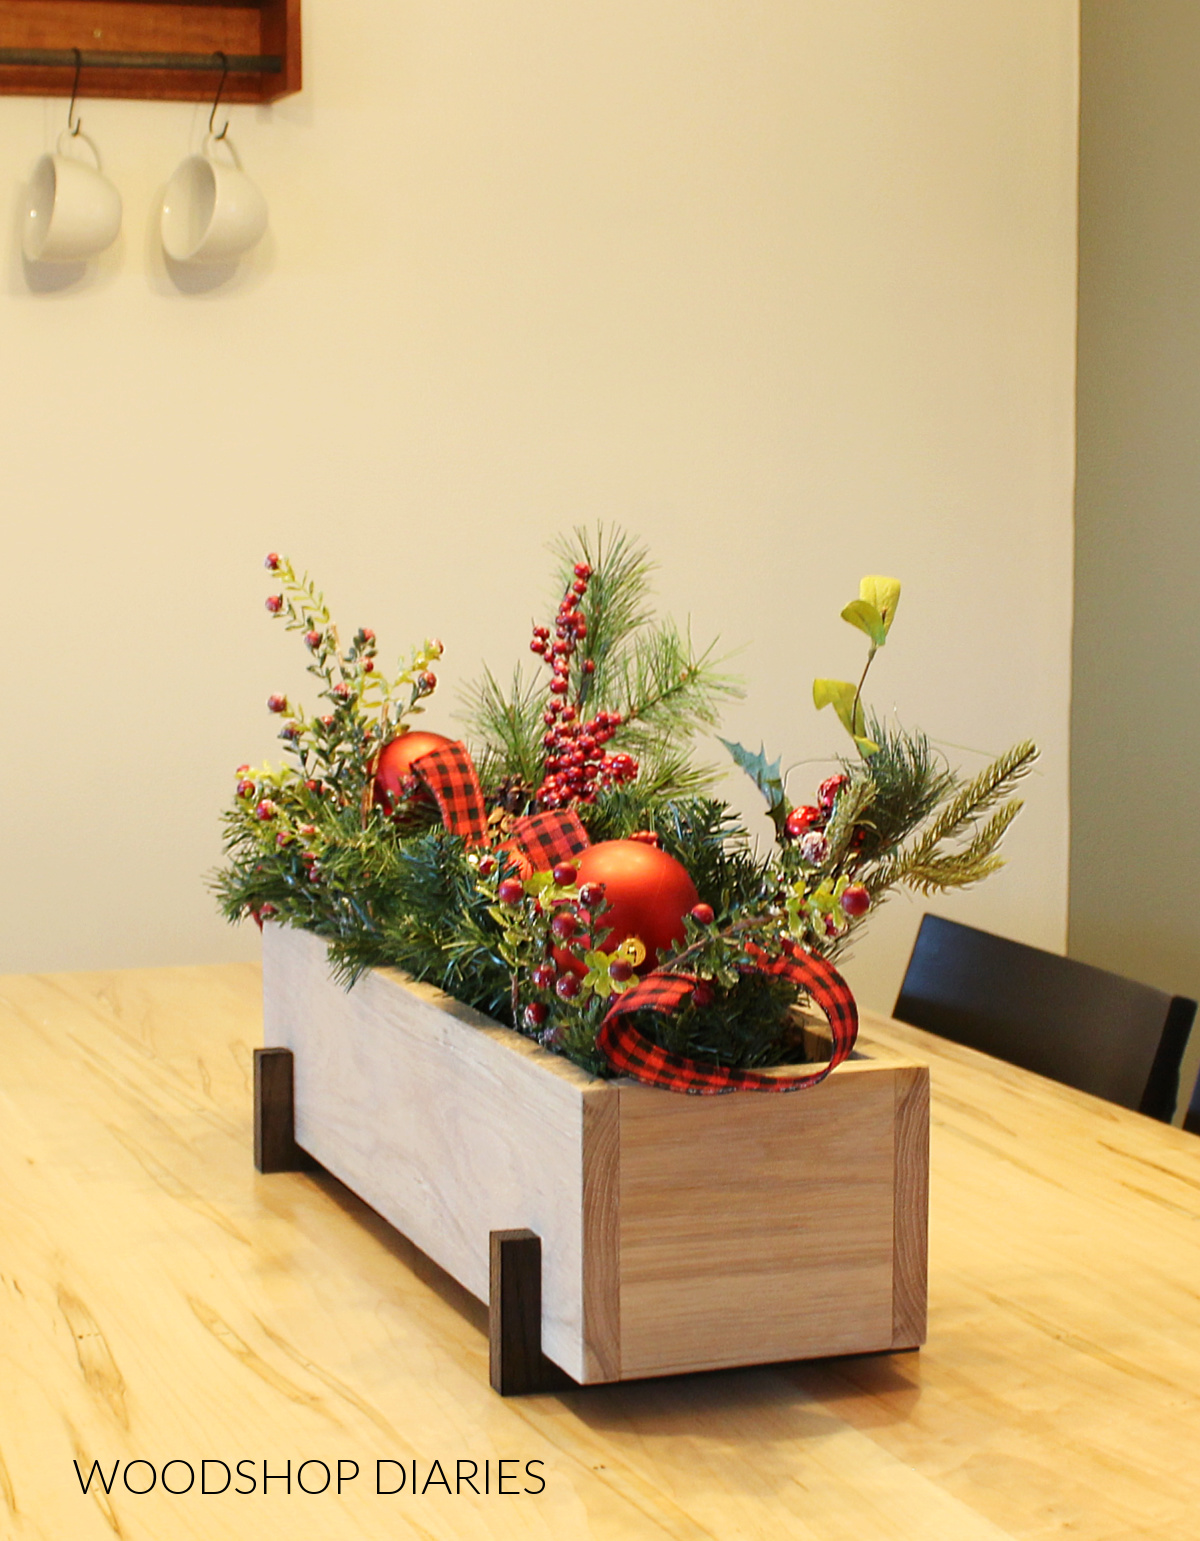
These would be so much fun to change around with the different seasons!
Prefer to print your plans? Grab the printable version of these plans here:
WANT SOME MORE DIY GIFT IDEAS?
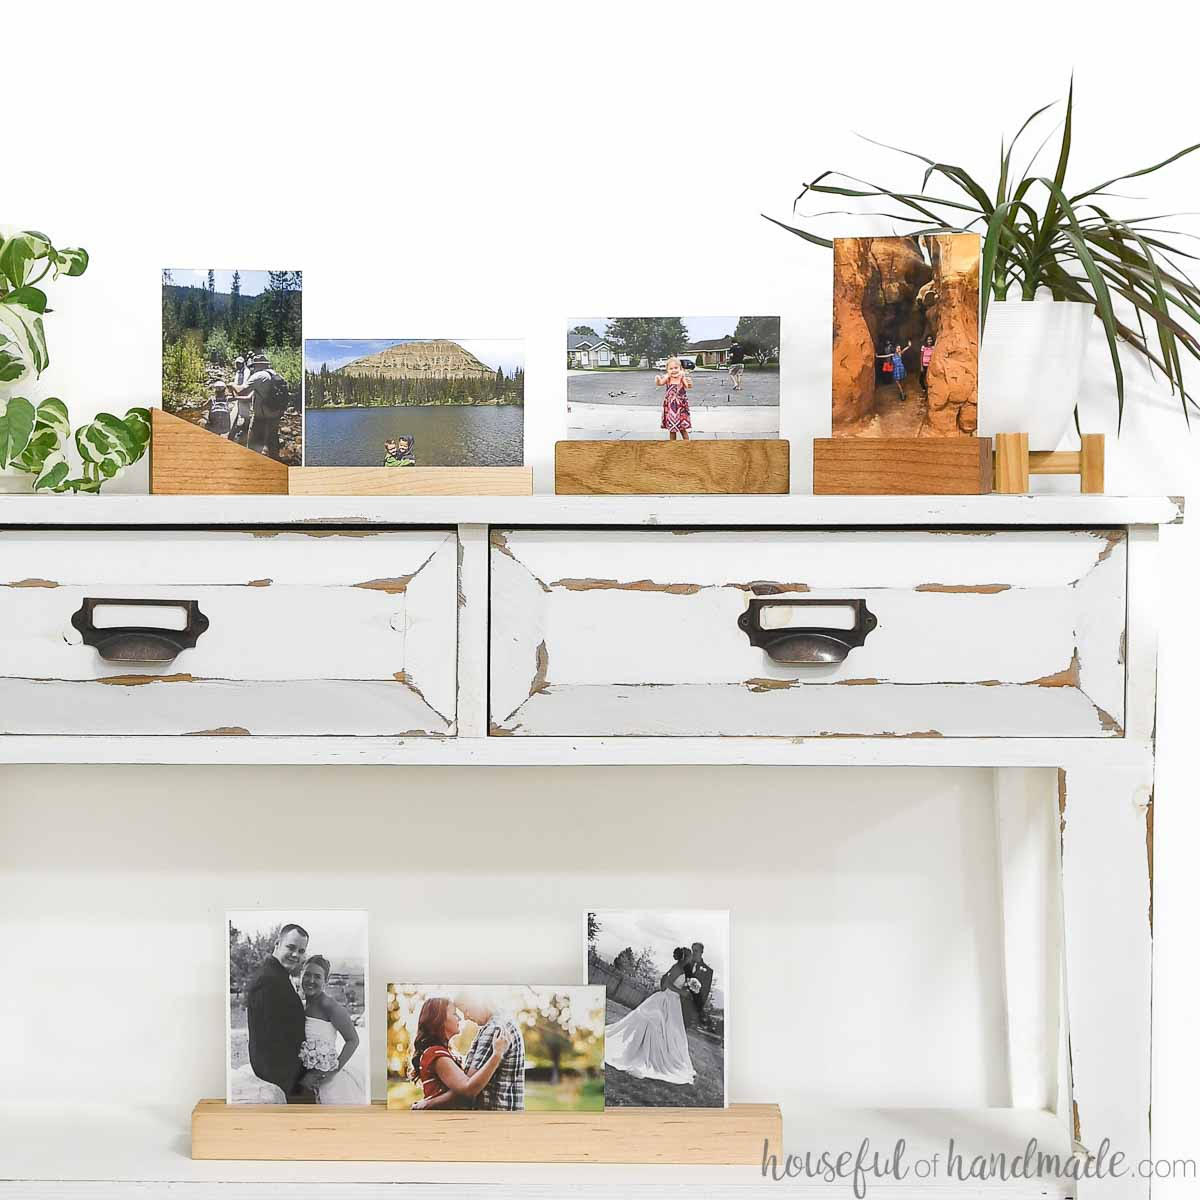
With the upcoming holidays, I’ve teamed up with my friend, Kati, from Houseful of Handmade to share some easy and fun gift ideas you can make this season!

If you can’t wait to see what’s next, be sure to subscribe to the FREE newsletter below for priority access to all the latest projects and plans!
And if you enjoyed this DIY wooden box project and want to save it for later, don’t forget to pin it and share it to your favorite social channel!
Until next time, happy building!