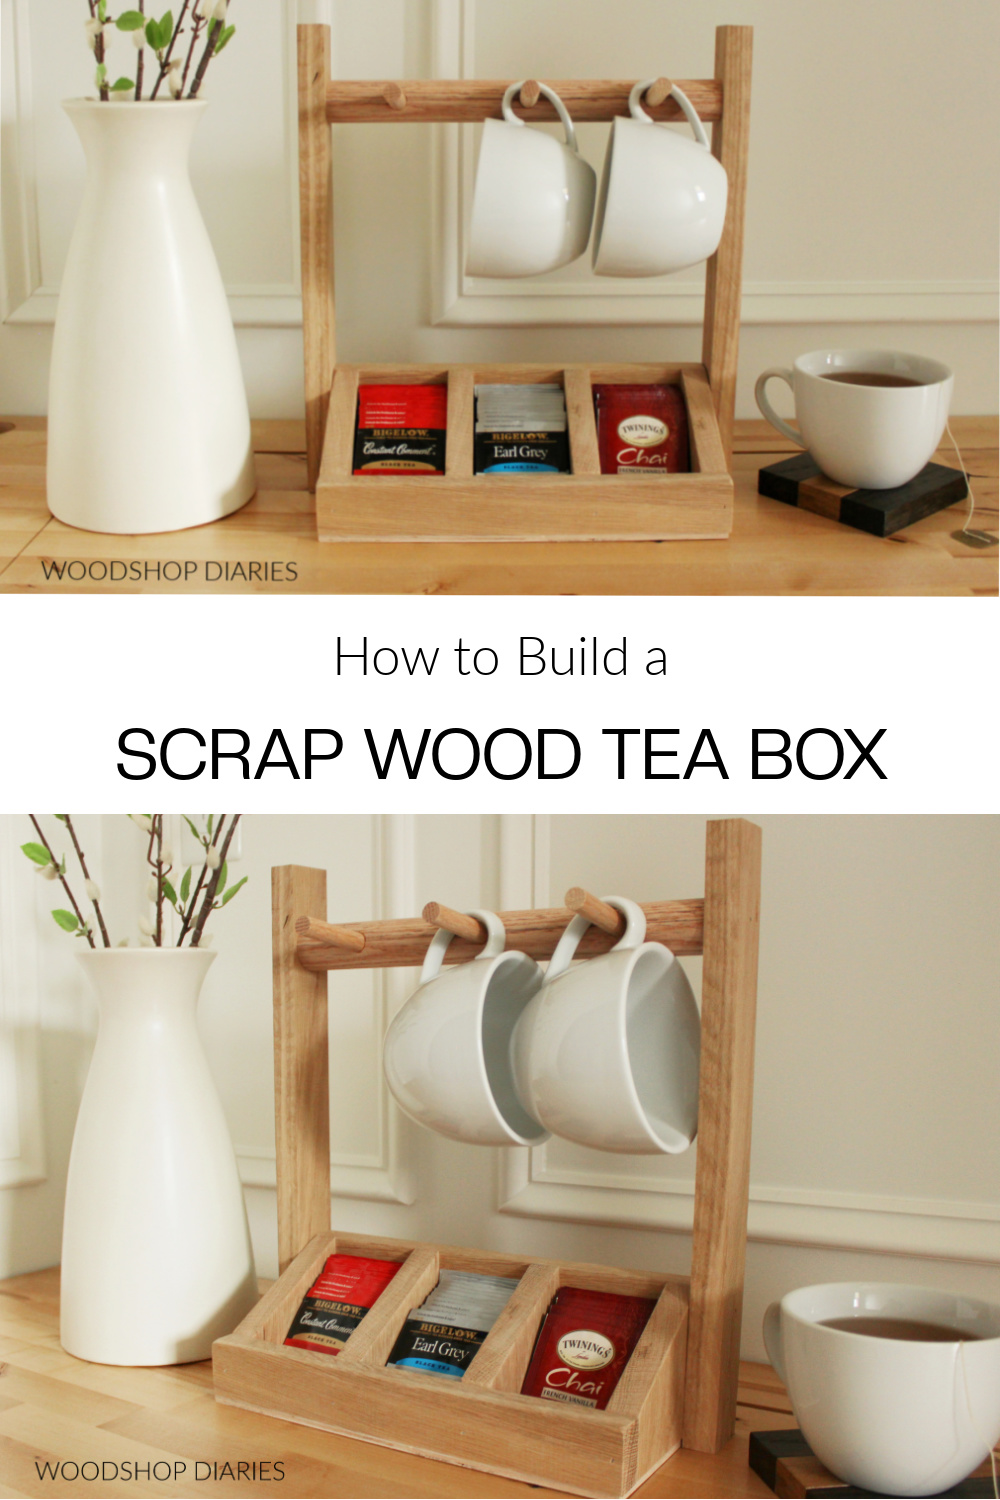
In this post, I’m sharing how to build a scrap wood DIY tea storage box with a mug holder!
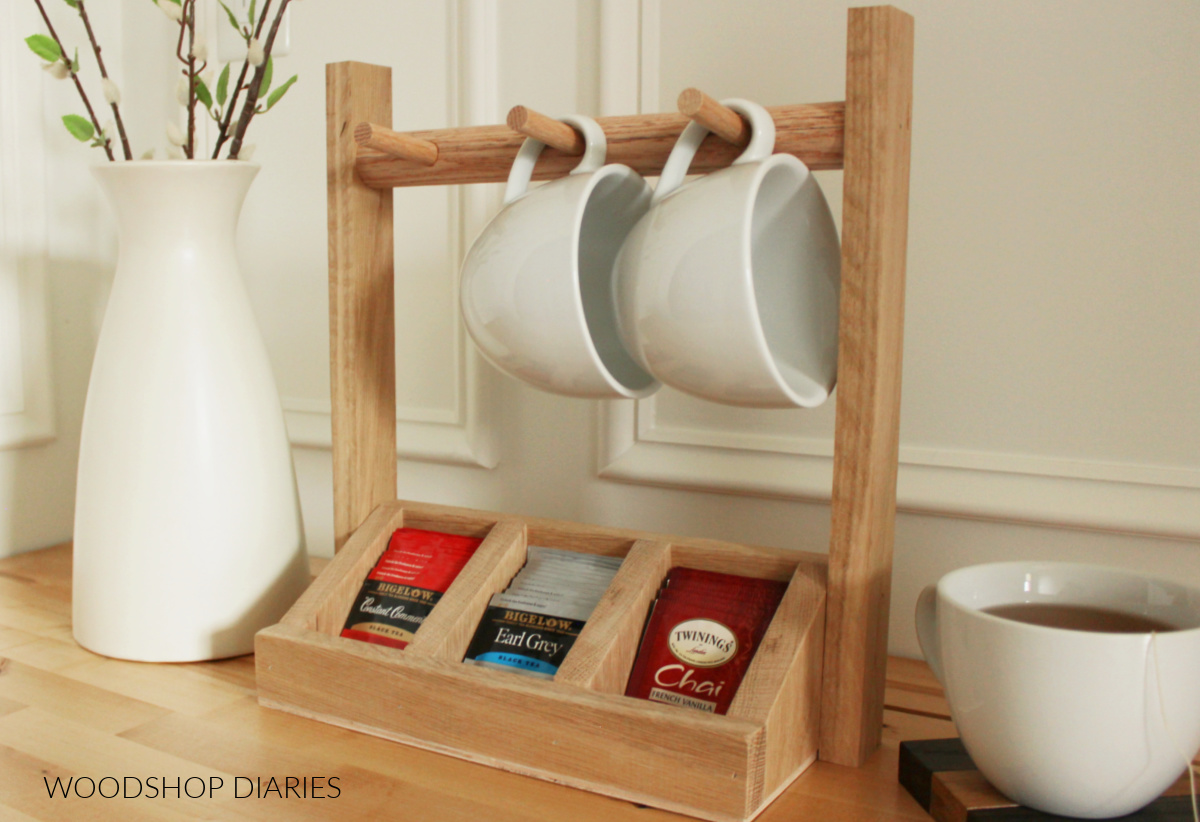
This is the perfect handmade gift idea for the tea enthusiast or the hard to shop for person on your list.
Personally, I would LOVE to open something like this as a gift! You can include some fun mugs and unique teas they may not have tried before.
It’s also a great easy DIY woodworking project to build for yourself from scraps you already have in your shop.
It fits perfect on the countertop, in the pantry, or tucked away in the cupboard.
So if you’re ready to build a DIY tea storage box with a built in mug holder, let’s dive in to the how-to!
Tools & Materials:
*This post contains affiliate links. See website policies.
Materials:
- Scrap 1x4s
- Scrap 1x2s
- Scrap ¼″ plywood
- 1 ¼″ dowel
- ½″ dowel
- Wood Glue
- 1 ¼″ brad nails
How to Build a DIY Tea Storage Box
This is a simple project and was built to have three sections to fit basic/standard tea bag packaging and three basic size mugs.
Feel free to adjust the sizing to fit however many sections and/or however many mugs you’d like.
Below is the cut list for this project. Take a look around your scrap pile for these pieces–it’s likely you may already have everything you need!
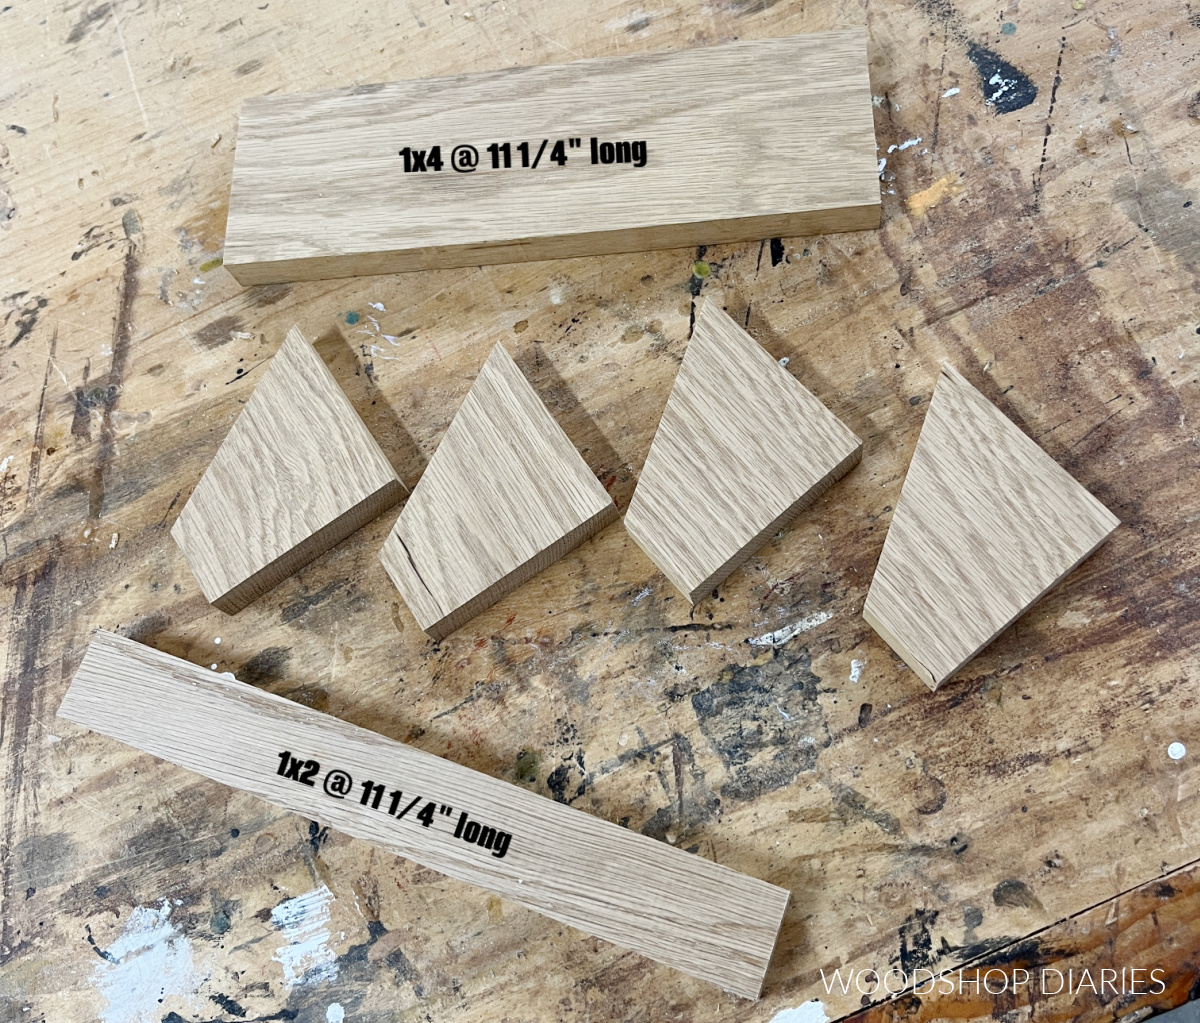
Cut List:
- 1x4s
- (1) 11 ¼″ long
- (4) 3 ½″ long (30 degree mitered ends–see step 1)
- 1x2s
- (1) 11 ¼″ long
- (2) 14″ long
- ¼″ plywood
- (1) panel 5″ x 11 ¼″
- 1 ¼″ wood dowel
- 12 ¼″ long
- ½″ wood dowel
- (3) 2 ½″ long
Prefer to print your plans? Grab the printable version of these plans here.
Step 1: Cut Tea Storage Box Pieces to Size
This tea bag storage box was made with three sections that fit basic tea bag packaging (packages approximately 2 ½″ wide).
You can adjust your measurements as needed if you’d like to make fewer or more sections.
But for this one, I trimmed 4 pieces of 1×4 for the sides and dividers with a 30 degree miter so that the back edge was 3 ½″ long and the front edge was 1 ½″ long.
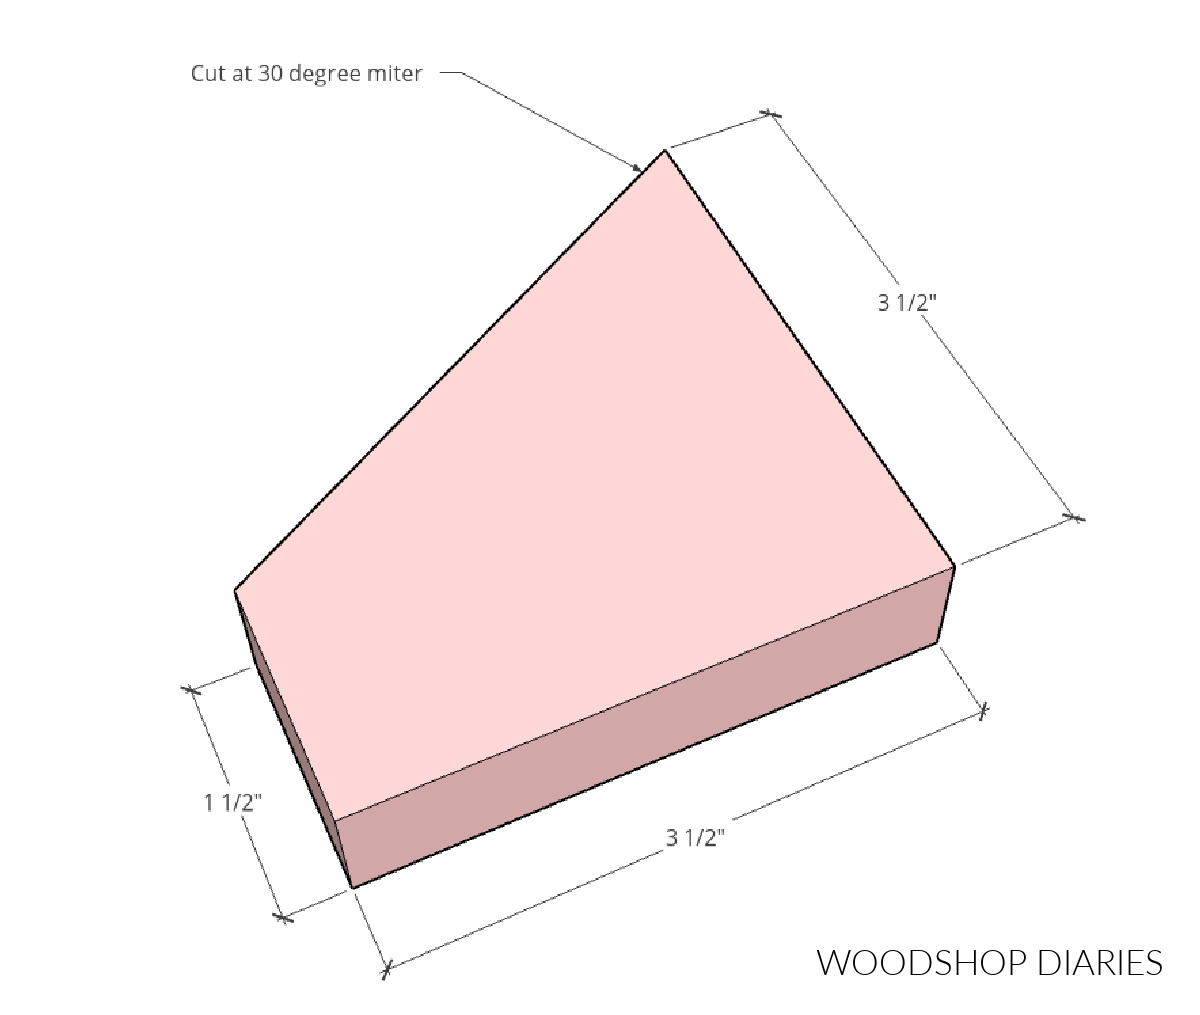
I also trimmed one piece of 1×4 to 11 ¼″ long for the back and one piece of 1×2 to 11 ¼″ long for the front.
Step 2: Assemble Tea Box Organizer
I used wood glue and 1 ¼″ brad nails to secure the dividers to the back 1×4 board leaving 2 ¾″ space between them.
As a side note, if you wanted to use screws instead or just use glue and clamp until dry (and skip the nails altogether), you certainly can.
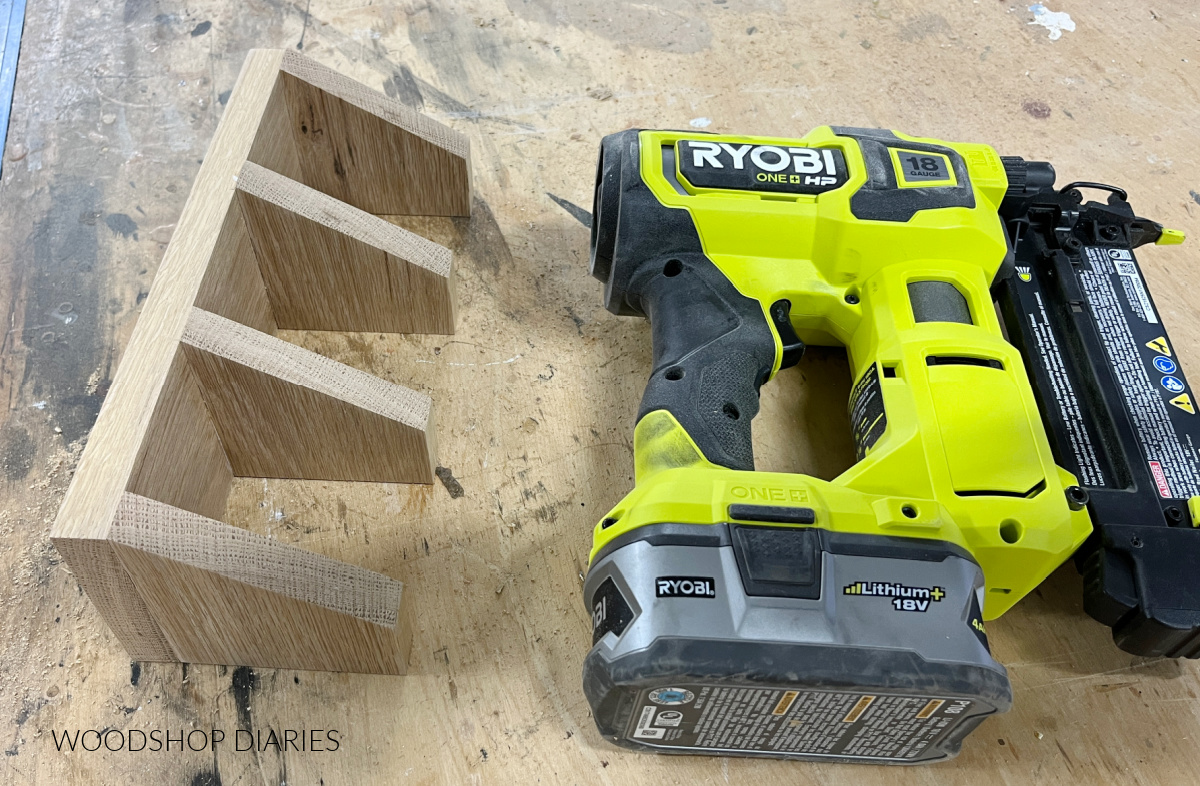
After the sides and dividers were attached to the back panel, I used wood glue and brad nails again to secure the front 1×2 across these pieces.
I made sure to keep 2 ¾″ spacing between the pieces. And again, if you wanted to use screws or just glue and no nails, you can.
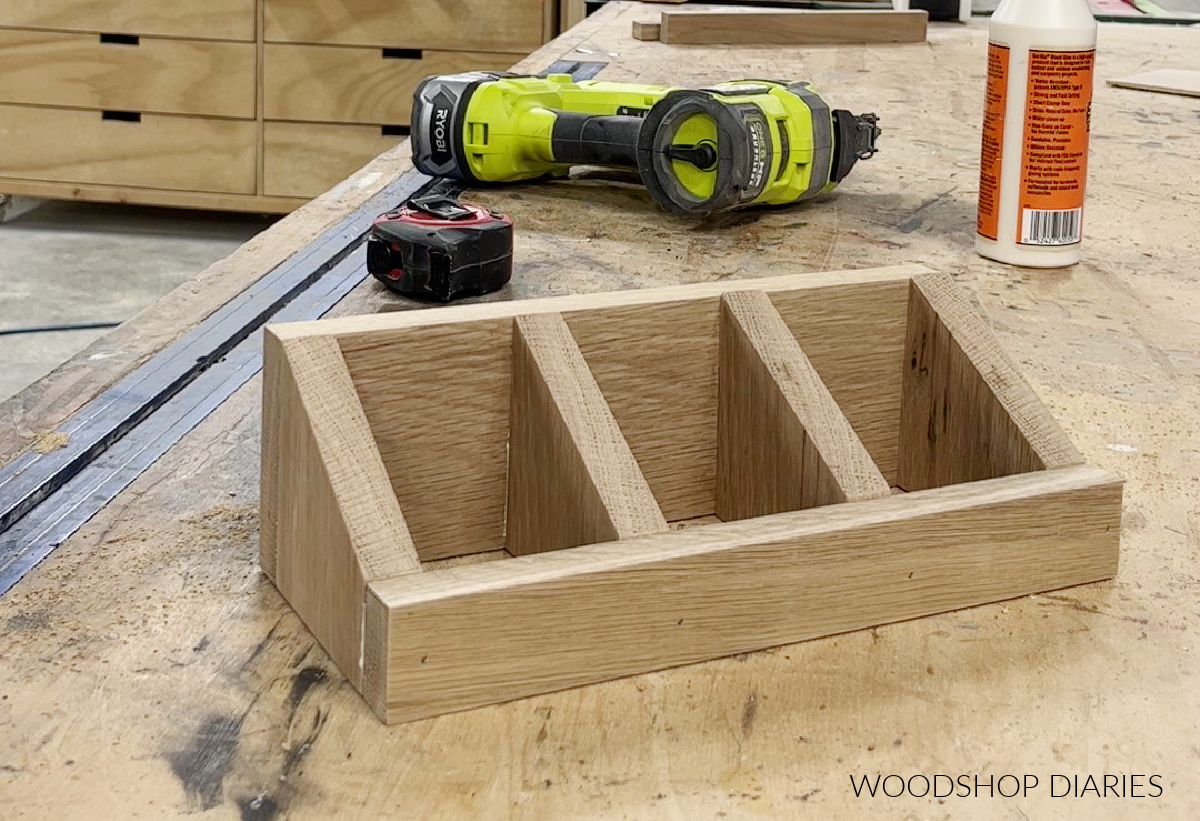
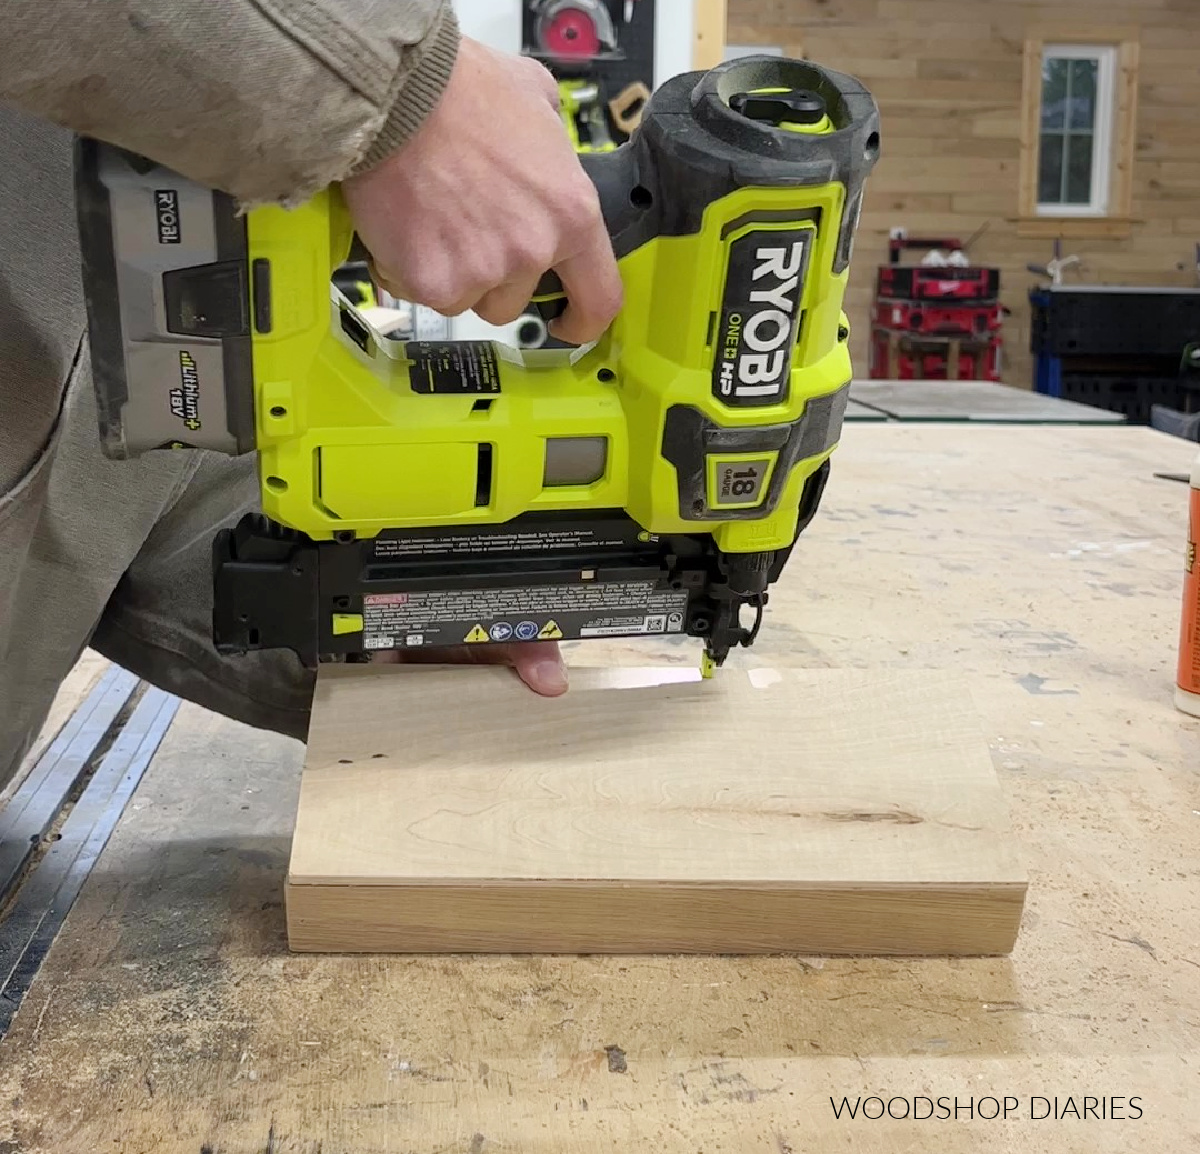
Next, I trimmed a piece of ¼″ plywood scraps to fit over the bottom of the box.
You could use ¼″ or ½″ or even ¾″ plywood or solid wood for this, but ¼″ scraps work great.

I applied some wood glue and used brad nails to secure along the bottom edge of the box.
Step 3: Create Mug Holder Pegged Dowel
If you just wanted a tea box, then you can stop after step 2. However, to add the mug holder stand, I needed to grab some dowels.
I cut a 1 ¼″ wooden dowel to about 12 ¼″ long and clamped it to the workbench securely.
I used a ½″ forstner bit to drill three holes along the dowel–one in the center and one about 2 ½″ from each end.
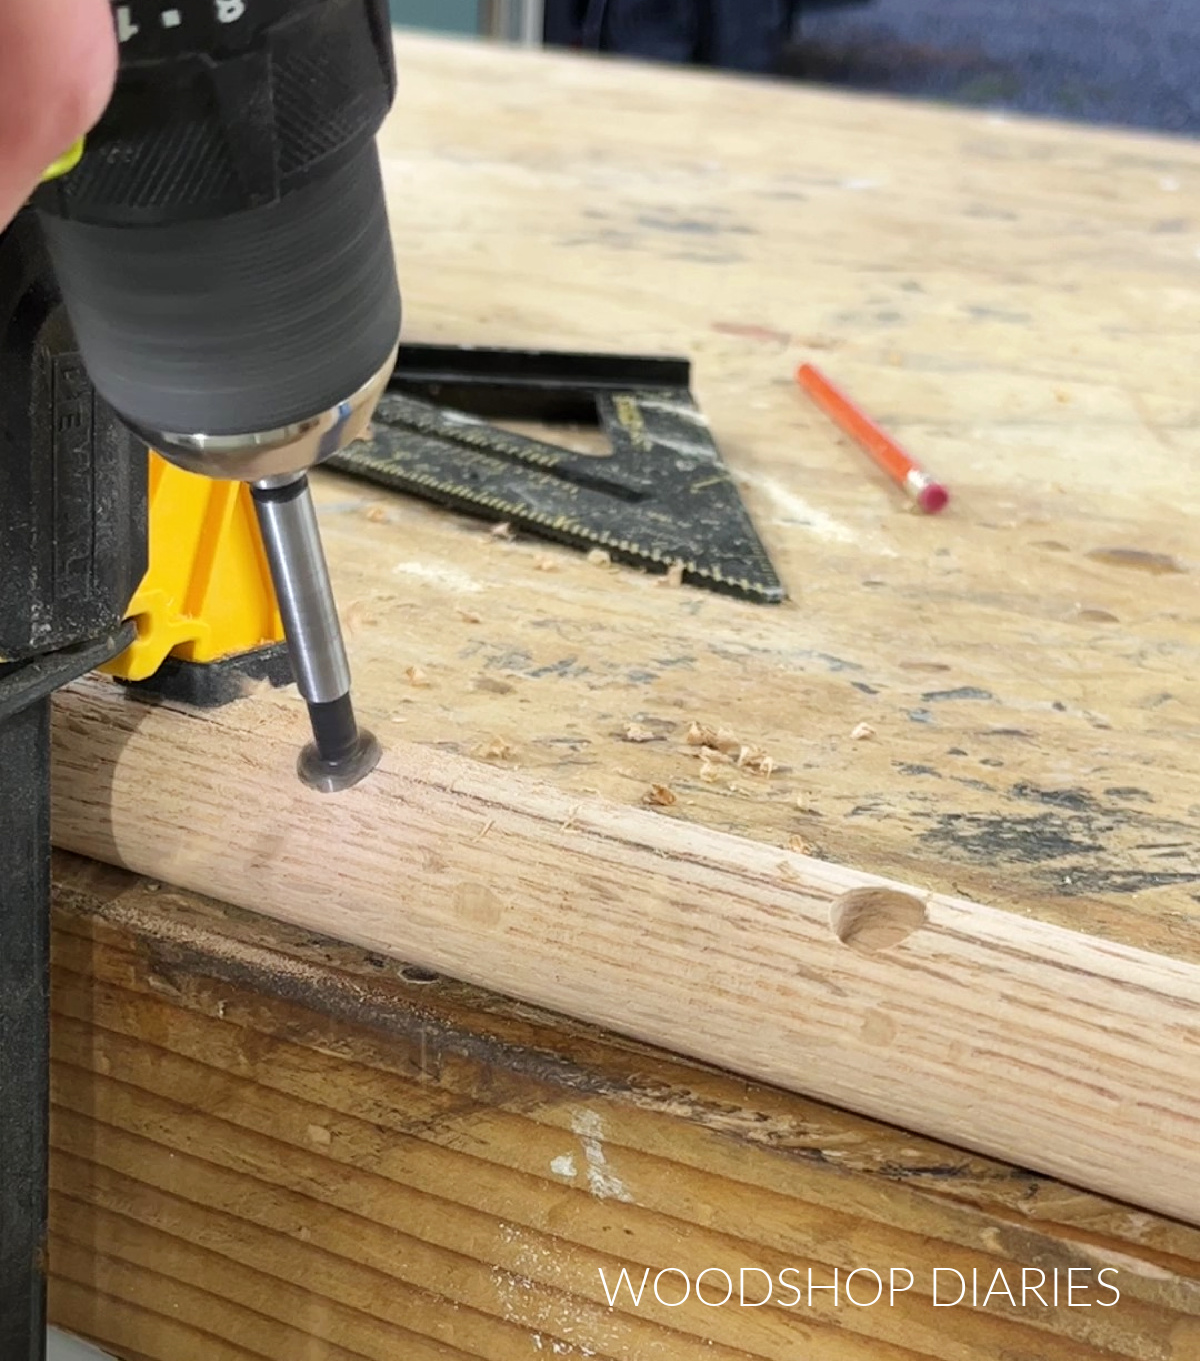
I drilled these holes about ½″ deep–they don’t need to be all the way through.
Then, I trimmed three pieces of ½″ wooden dowel to about 2 ½″ long.

I used some wood glue to install these into the holes and allowed to dry.
NOTE: Before drilling holes for pegs to hold your mugs, measure and check that these hole locations will work for your mugs.
Depending on the size, style, and type of mug, you may need to adjust your peg locations to fit your mugs.

Step 4: Attach Mug Holder to Tea Storage Box
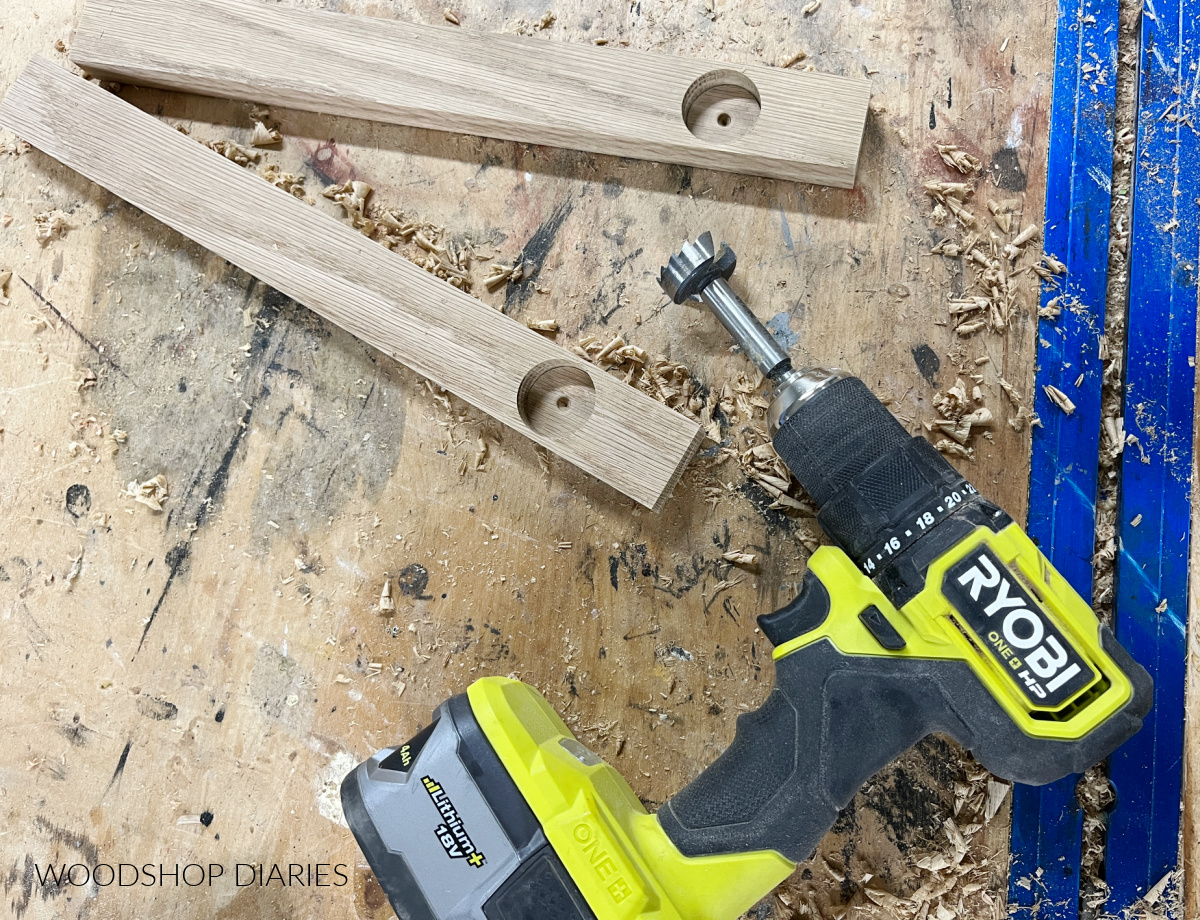
To hang this pegged dowel, I cut two more pieces of 1×2 about 14″ long.
I measured 2″ down from the top and marked the center at that location and used a forstner bit to drill 1 ¼″ holes about ½″ deep on both pieces.
I used wood glue and brad nails to secure one of these 1x2s to the side of the tea box holder so that the drilled hole was at the top and faced toward the inside.
The back and bottom edges of the 1×2 are flush across the back and bottom edge of the tea box.
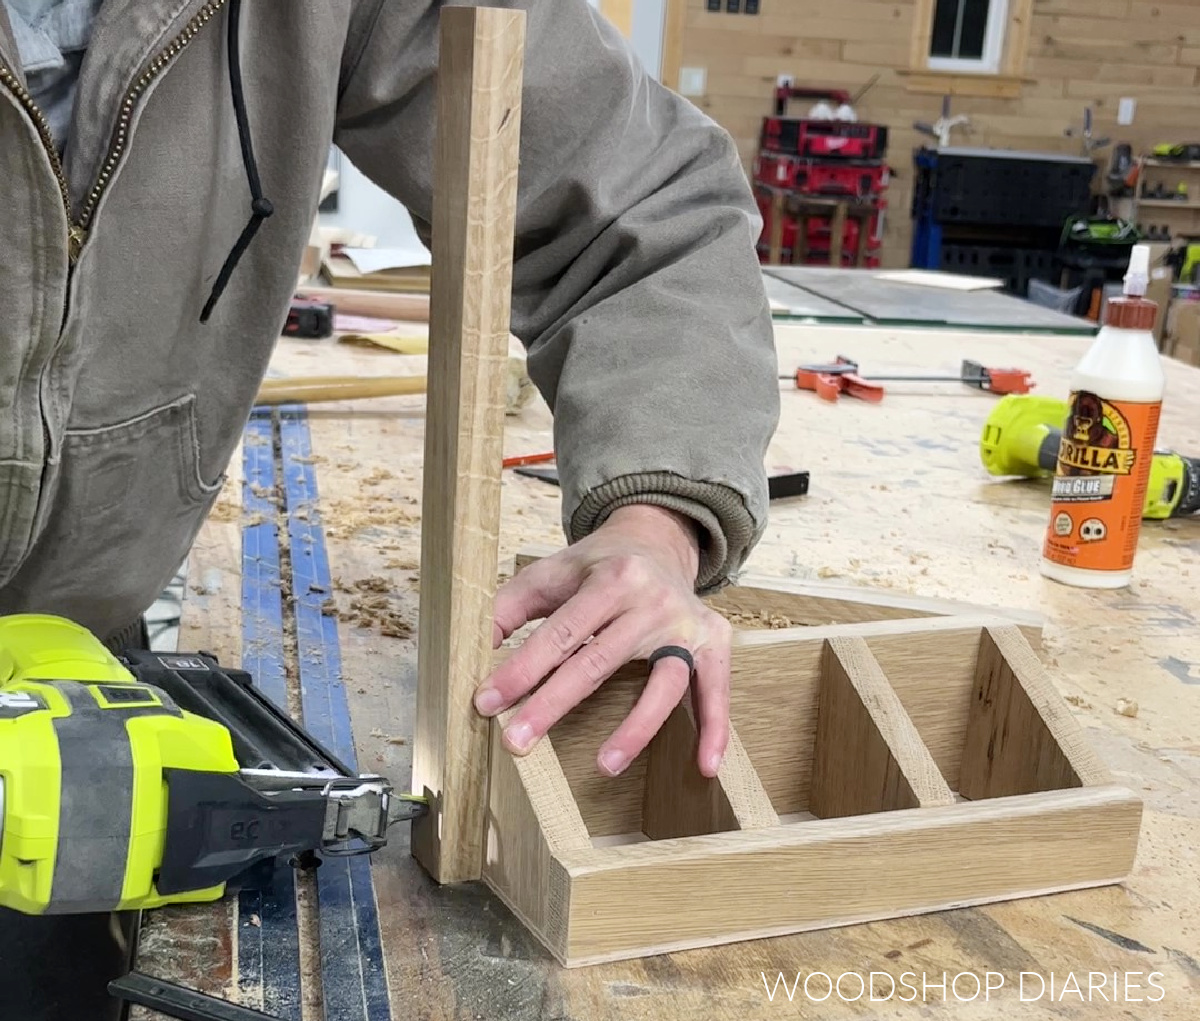
Then, I put a little wood glue in the drilled hole and inserted the pegged dowel from step 3.
Before the glue dried, I applied glue to the other 1×2 piece, and nailed it to the other side of the tea box.
It may be helpful to use a rubber mallet or clamp to make sure the dowel is fully inserted into the drilled out holes.
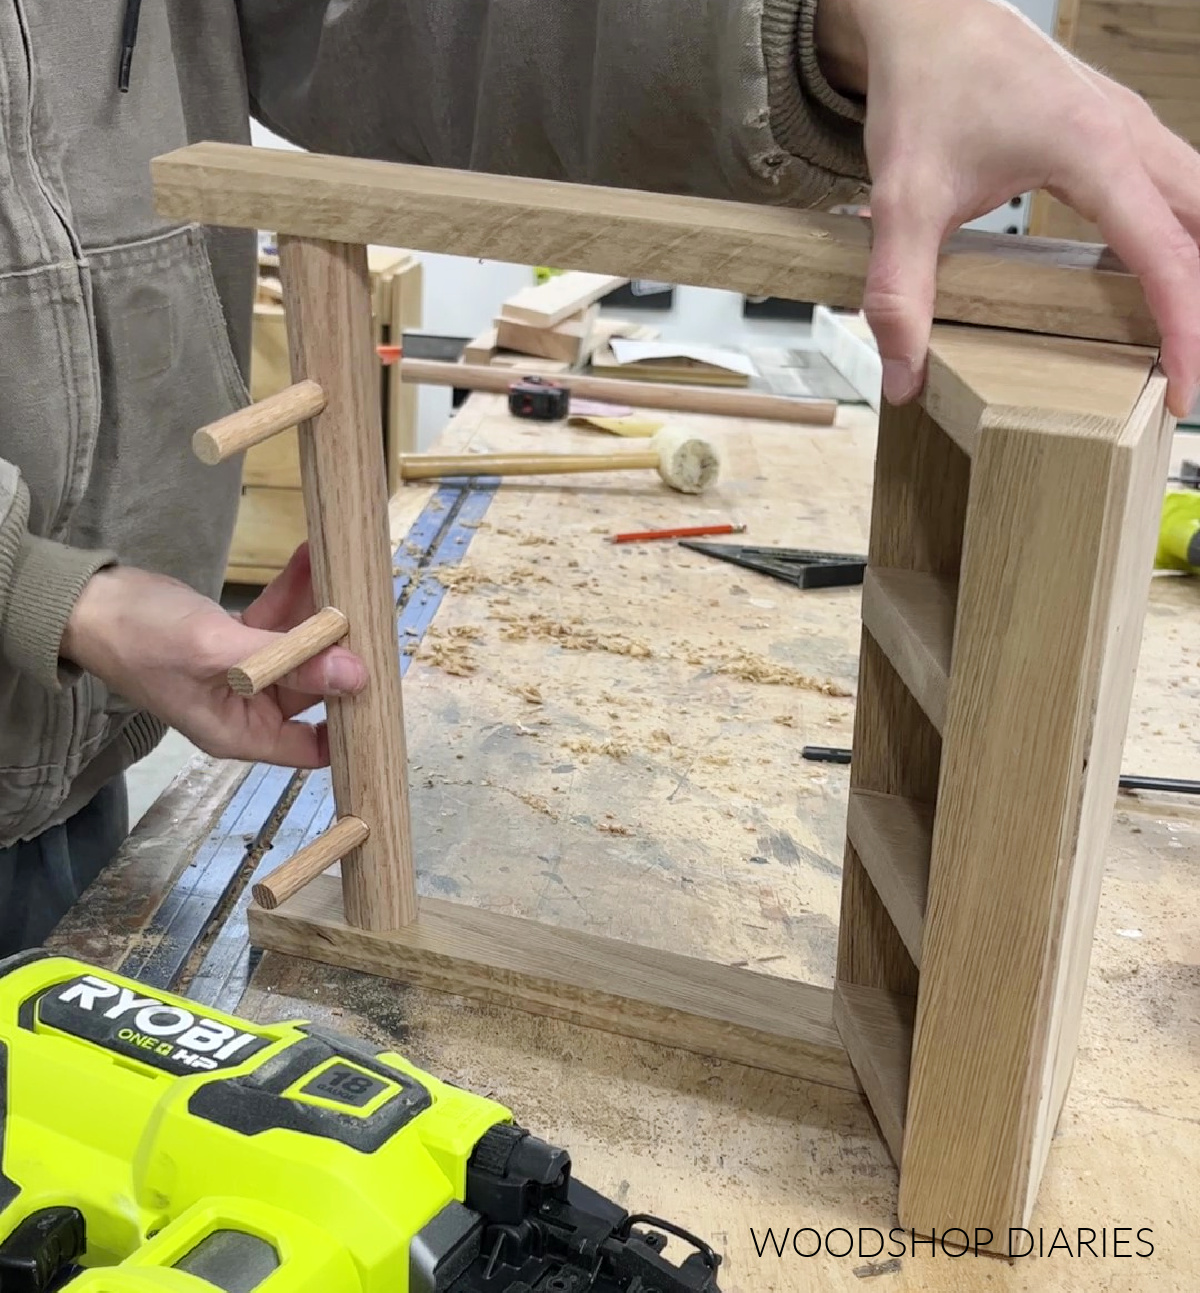
I adjusted/rotated the dowel inside the holes so that the pegs tilted slightly upward before allowing the glue to dry.
They should be straight or tilted slightly up to prevent the mugs from sliding off the end.
After allowing time for the glue to dry and cure, it was ready to be put to use!

Prefer to print your plans? Grab the printable plans for this easy DIY tea box with mug holder here:
WANT SOME MORE DIY GIFT IDEAS?
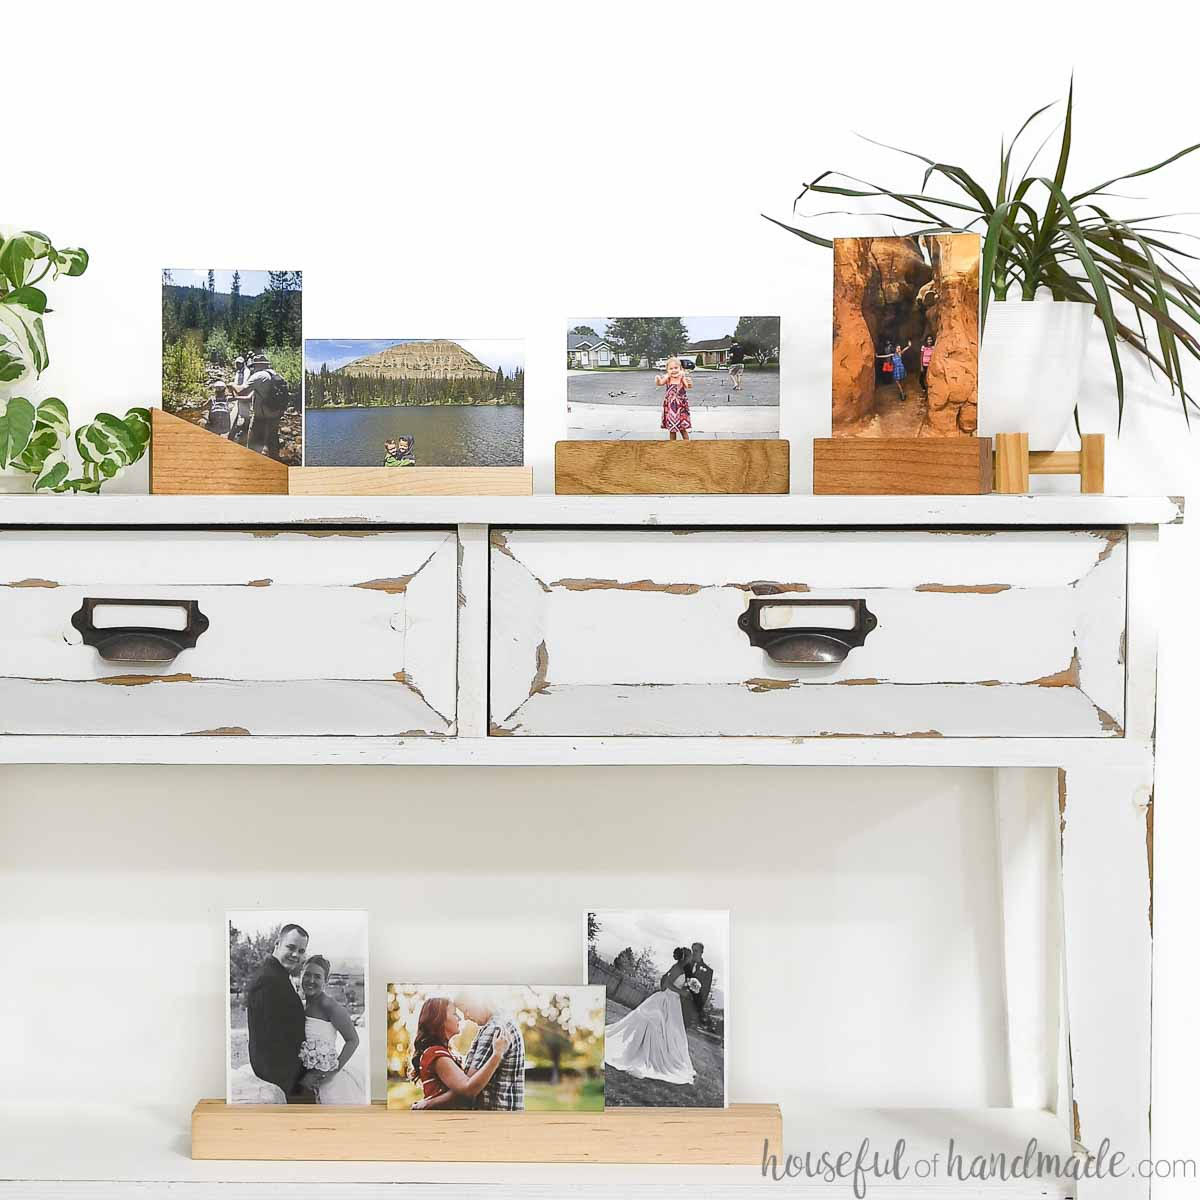
With the upcoming holidays, I’ve teamed up with my friend, Kati, from Houseful of Handmade to share some easy and fun gift ideas you can make this season!
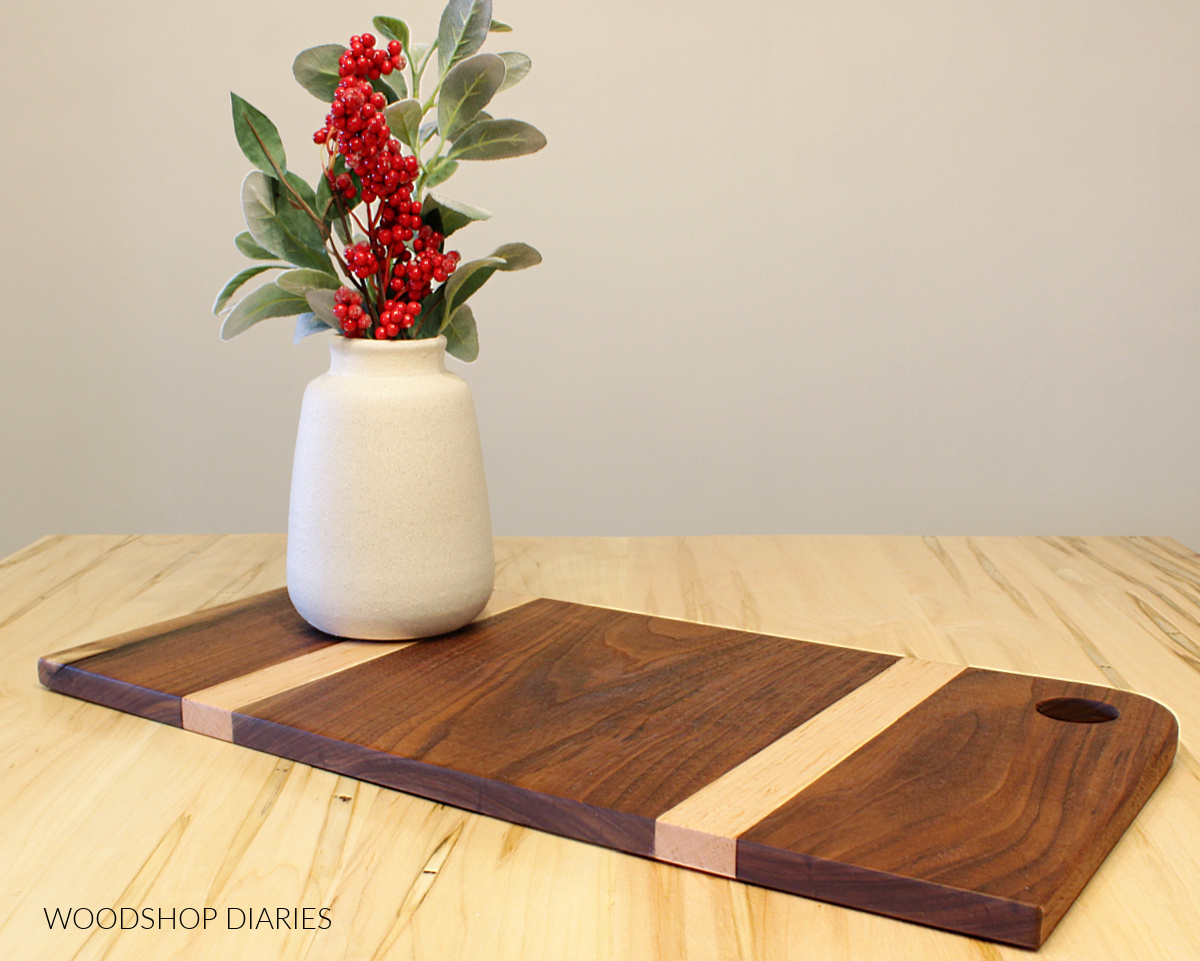
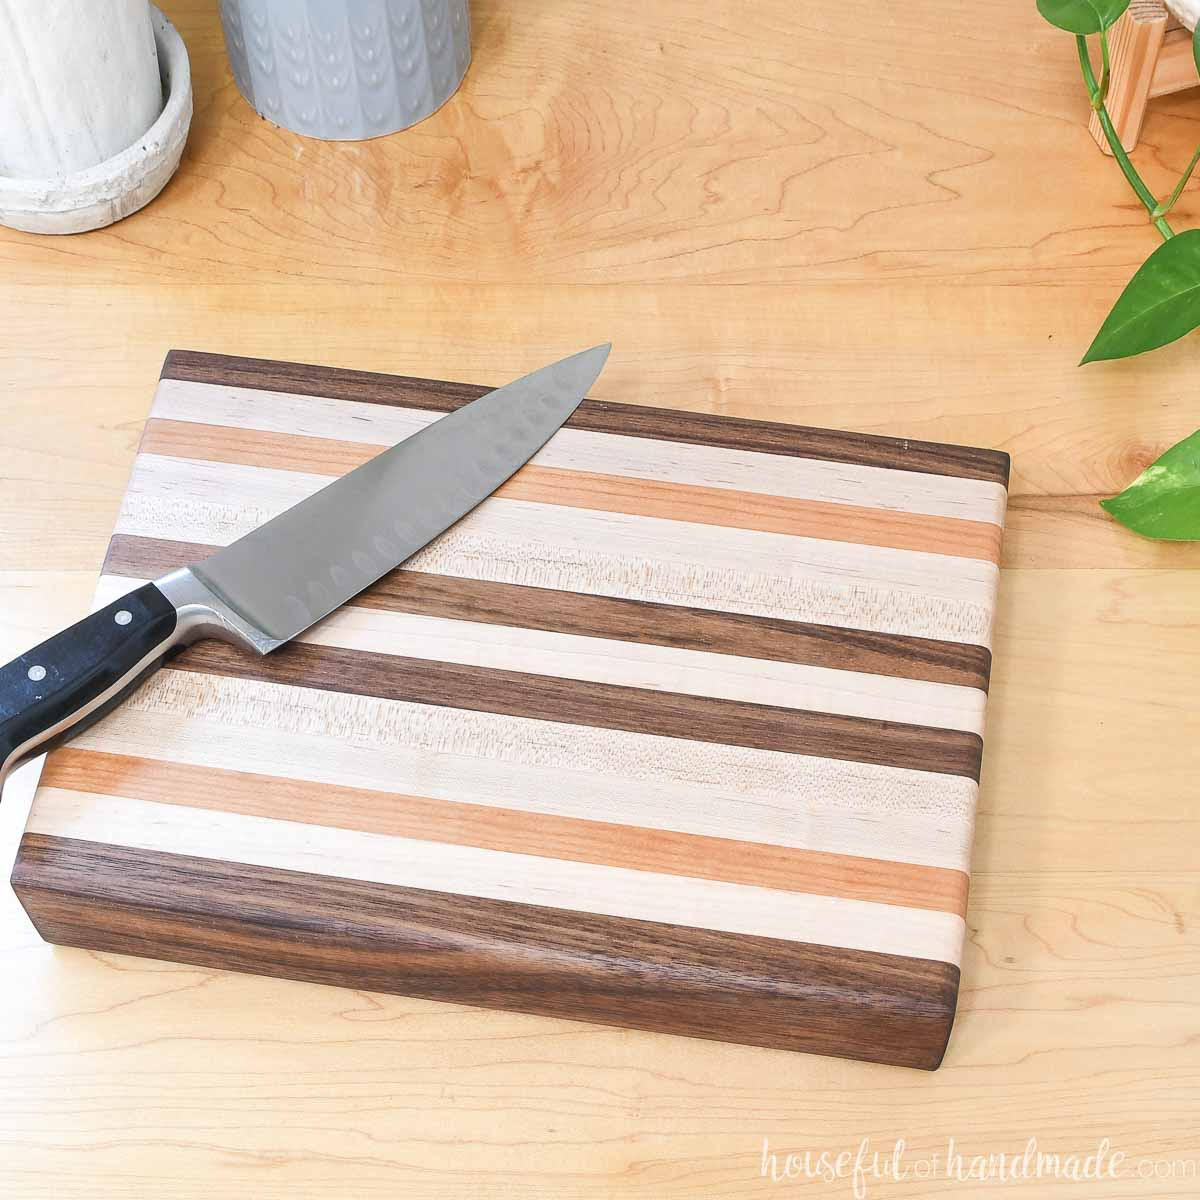
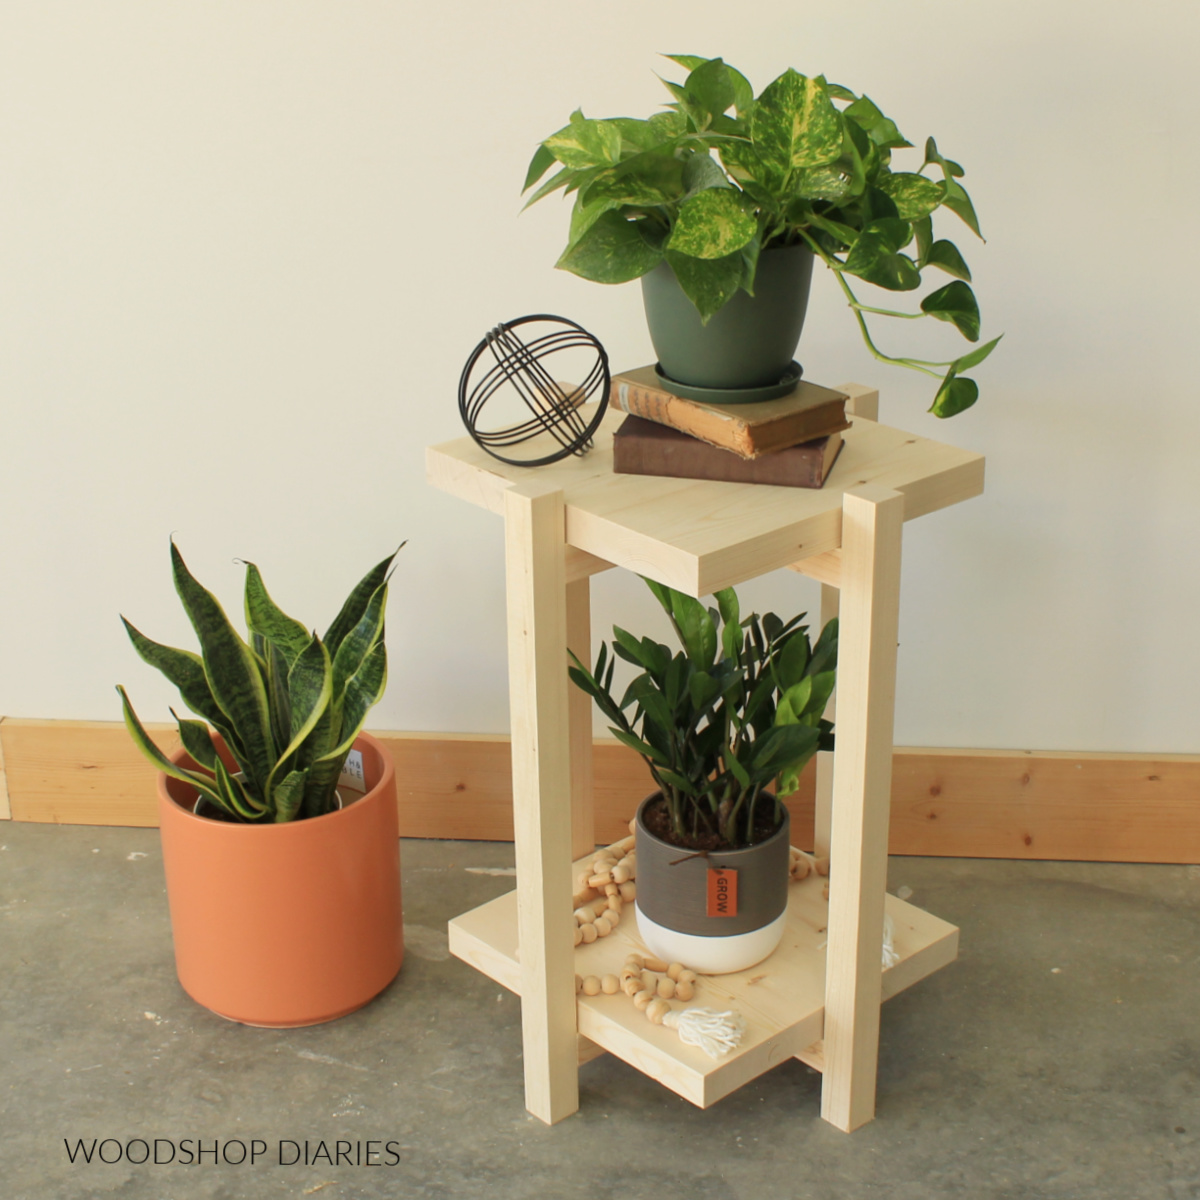
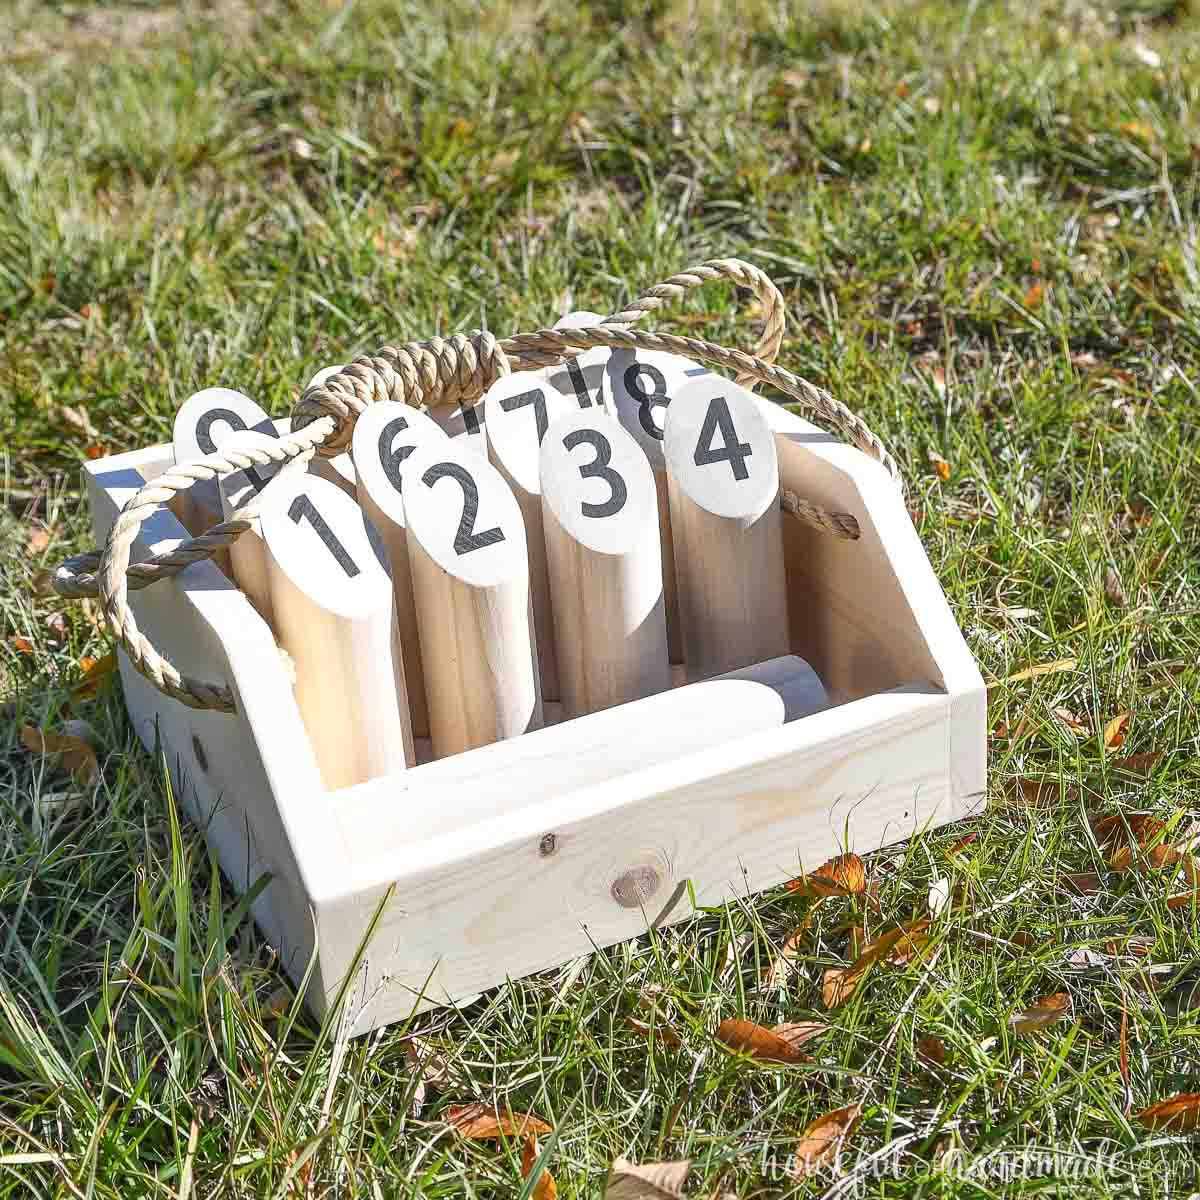

We are adding new projects to this list every day this week, so stay tuned for new ideas!
If you can’t wait to see what’s next, be sure to subscribe to the FREE newsletter below for priority access to all the latest projects and plans!
And if you enjoyed these DIY tea storage box project and want to save it for later, don’t forget to pin it and share it to your favorite social channel!
Until next time, happy building!