Woodshop Diaries

  • Shop
  • About
    • Work With Me
    • Frequently Asked Questions
  • DIY Projects
    • DIY Furniture Plans
      • DIY Bed Plans
      • DIY Dresser Plans
      • DIY Nightstand Plans
      • DIY Desk Plans
      • DIY TV Stand Plans
      • Coffee and Side Table Plans
      • Tables
      • Shelves and Bookcase Plans
      • DIY Storage Trunk Plans
      • DIY Bench Plans
      • DIY Storage Cabinet Plans
      • DIY Bathroom Vanity Plans
      • Kids Projects and Furniture
    • DIY Scrap Wood Projects
    • DIY Workshop Projects
    • DIY Home Decor Projects
  • Getting Started
    • Cabinet Building
    • Woodworking Basics
    • Furniture Finishing Tips
    • Tool Guides & Reviews
  • Blog
menu icon
go to homepage
  • Shop
  • About
    • Work With Me
    • Frequently Asked Questions
  • DIY Projects
    • DIY Furniture Plans
      • DIY Bed Plans
      • DIY Dresser Plans
      • DIY Nightstand Plans
      • DIY Desk Plans
      • DIY TV Stand Plans
      • Coffee and Side Table Plans
      • Tables
      • Shelves and Bookcase Plans
      • DIY Storage Trunk Plans
      • DIY Bench Plans
      • DIY Storage Cabinet Plans
      • DIY Bathroom Vanity Plans
      • Kids Projects and Furniture
    • DIY Scrap Wood Projects
    • DIY Workshop Projects
    • DIY Home Decor Projects
  • Getting Started
    • Cabinet Building
    • Woodworking Basics
    • Furniture Finishing Tips
    • Tool Guides & Reviews
  • Blog
search icon
Homepage link
  • Shop
  • About
    • Work With Me
    • Frequently Asked Questions
  • DIY Projects
    • DIY Furniture Plans
      • DIY Bed Plans
      • DIY Dresser Plans
      • DIY Nightstand Plans
      • DIY Desk Plans
      • DIY TV Stand Plans
      • Coffee and Side Table Plans
      • Tables
      • Shelves and Bookcase Plans
      • DIY Storage Trunk Plans
      • DIY Bench Plans
      • DIY Storage Cabinet Plans
      • DIY Bathroom Vanity Plans
      • Kids Projects and Furniture
    • DIY Scrap Wood Projects
    • DIY Workshop Projects
    • DIY Home Decor Projects
  • Getting Started
    • Cabinet Building
    • Woodworking Basics
    • Furniture Finishing Tips
    • Tool Guides & Reviews
  • Blog
×
Home » Woodworking » DIY Scrap Wood Projects

DIY Utensil Holder for Party

Modified: Nov 27, 2025 · Published: Nov 27, 2025 by Shara, Woodshop Diaries ·

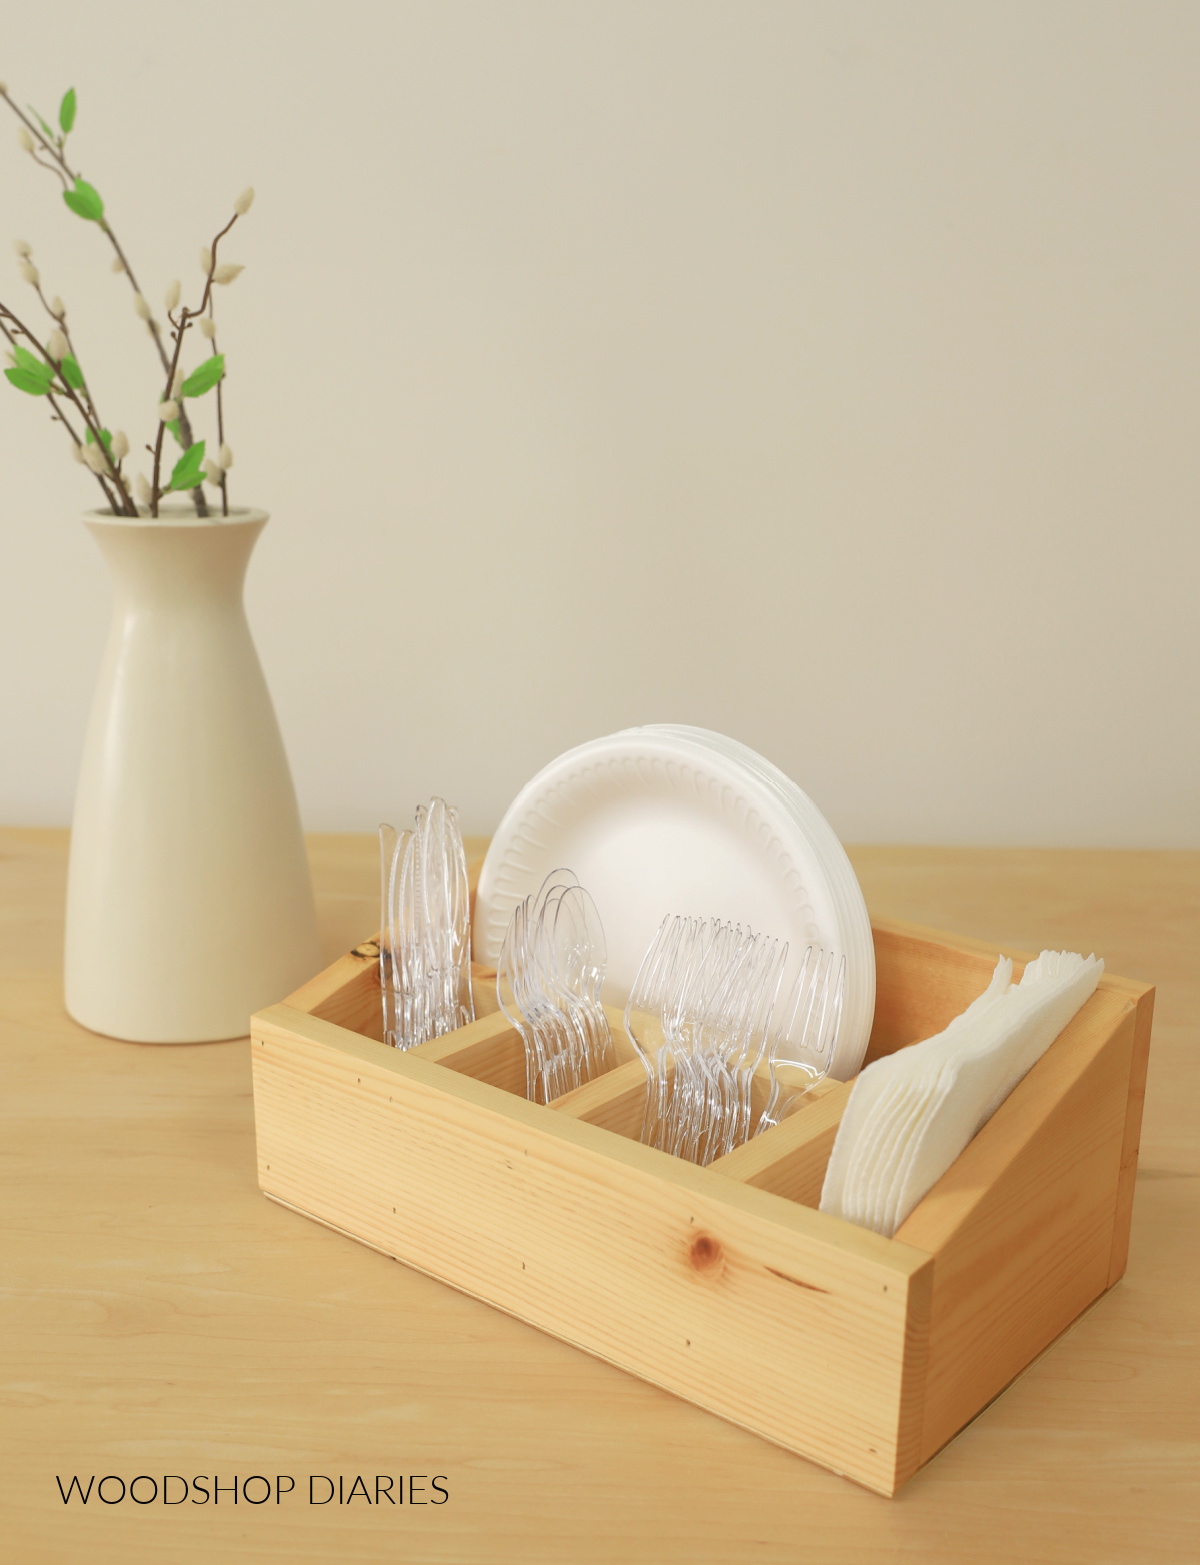
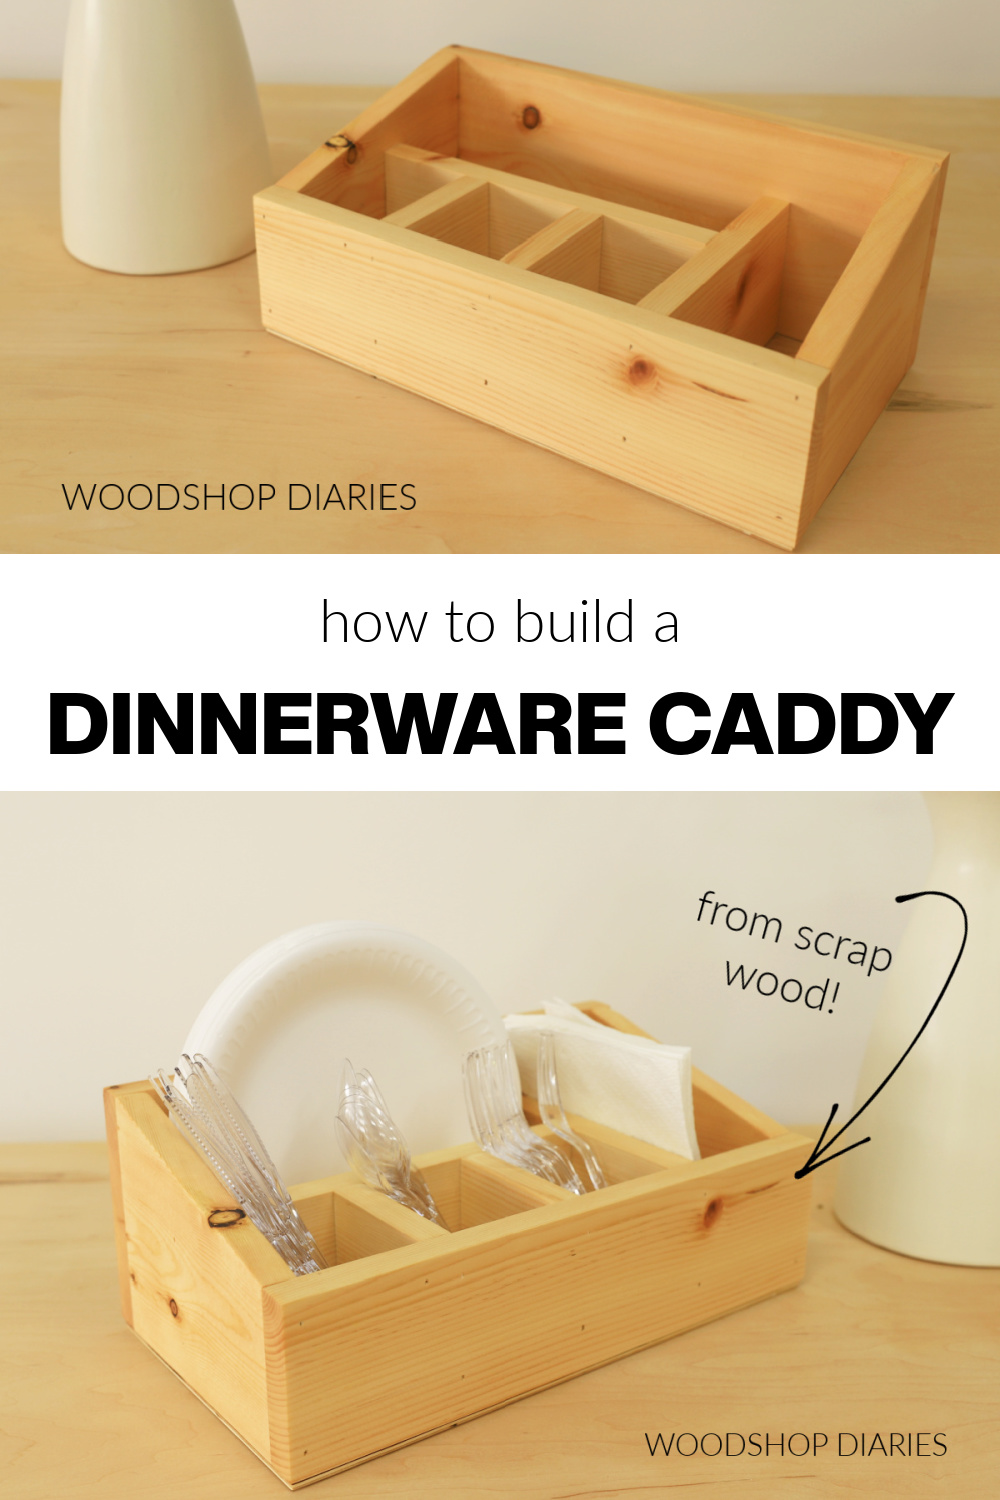
In this post, I’m sharing how to build a simple utensil caddy for plates, napkins, and cutlery.

This is perfect for dinner parties and get togethers and the best part is, you can make it from scrap wood!

wooden utensil caddy for disposable dinnerware with paper plates, napkins, and plastic cutlery in between dividers

It’s also nice to have everything stocked and neatly organized so you can set it out when needed and easily put it away when you don’t.

This may be a simple project, but it can help make hosting a meal a little easier so if you’d like to build your own, I’ve got all the details below.

*This post contains affiliate links. See website policies.

What to consider before building

One of the great things about having these items in a caddy is that it makes it easier for guests to grab what they need as they go through the line to get their food.

But, it also takes up vary little space on the countertop, too!

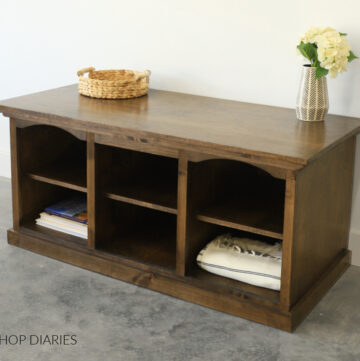
The overall dimensions of this project are approximately 8″ deep x 5 ¾″ tall x 14″ wide.

Overall dimensional diagram of wooden dinnerware holder with dividers

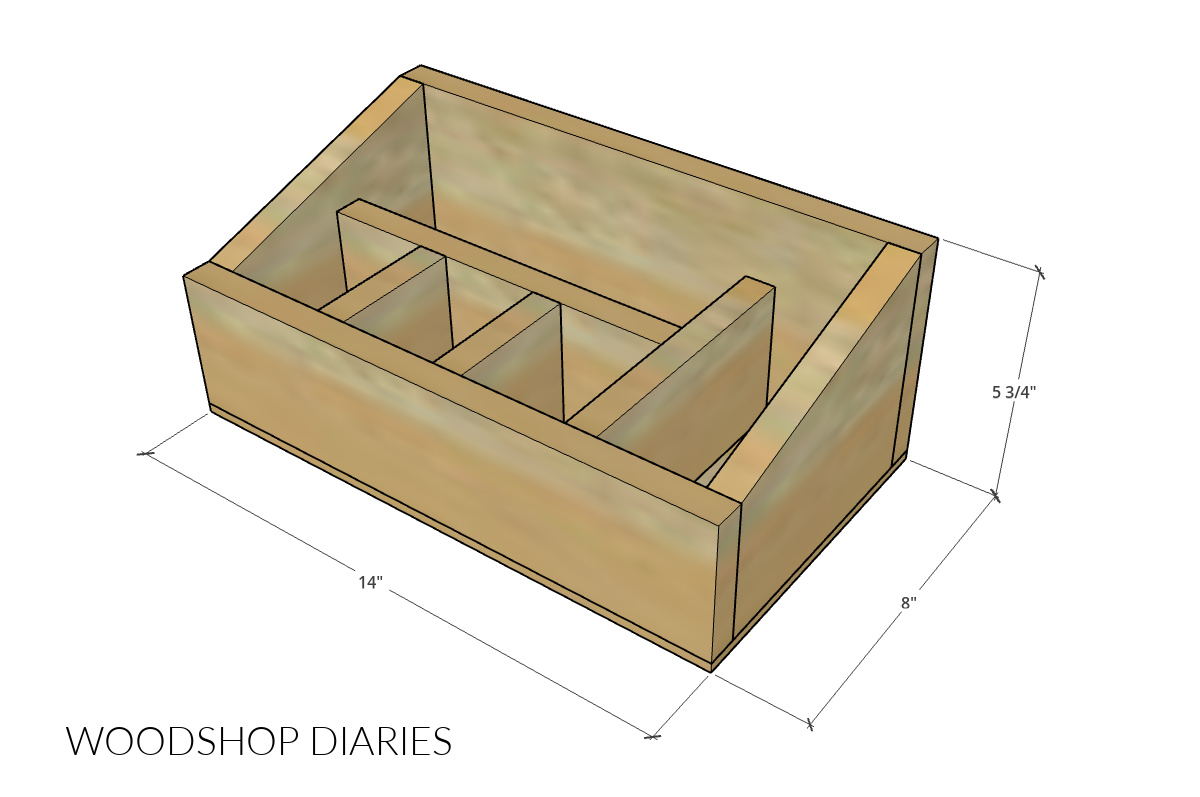
Because this project is so small, it’s an excellent scrap wood build. You only need about 30″ of 1×6 board and about 40″ of 1×4 board plus a small piece of ¼″ plywood scrap to build it.

So I encourage you to check your scraps before buying any new lumber. You might already have everything you need!

Want to be the first to know about new projects and plans? Subscribe to the newsletter for priority access!

How to Build a Dinnerware Caddy

I’ve included the step by step instructions below. But, if you prefer to watch, I’ve also included a build video as well. 

Love watching how-to videos? Subscribe to my YouTube channel for plenty more where that came from!

Prefer to print? Grab the printable DIY utensil caddy building plans here:

Tools & Materials:

Tools:

  • Miter Saw
  • Jig Saw
  • Brad Nailer

Materials:

  • 1×6 scrap board (30″ long)
  • 1×4 scrap board (40″ long)
  • ¼″ plywood scrap (8″ x 14″)
  • 1 ¼″ brad nails
  • Wood Glue

Step 1: Cut Utensil Caddy Box Pieces

First, I cut the front, back and sides of my utensil caddy box. I cut the two sides and the back from 1×6 boards and the front piece from a 1×4.

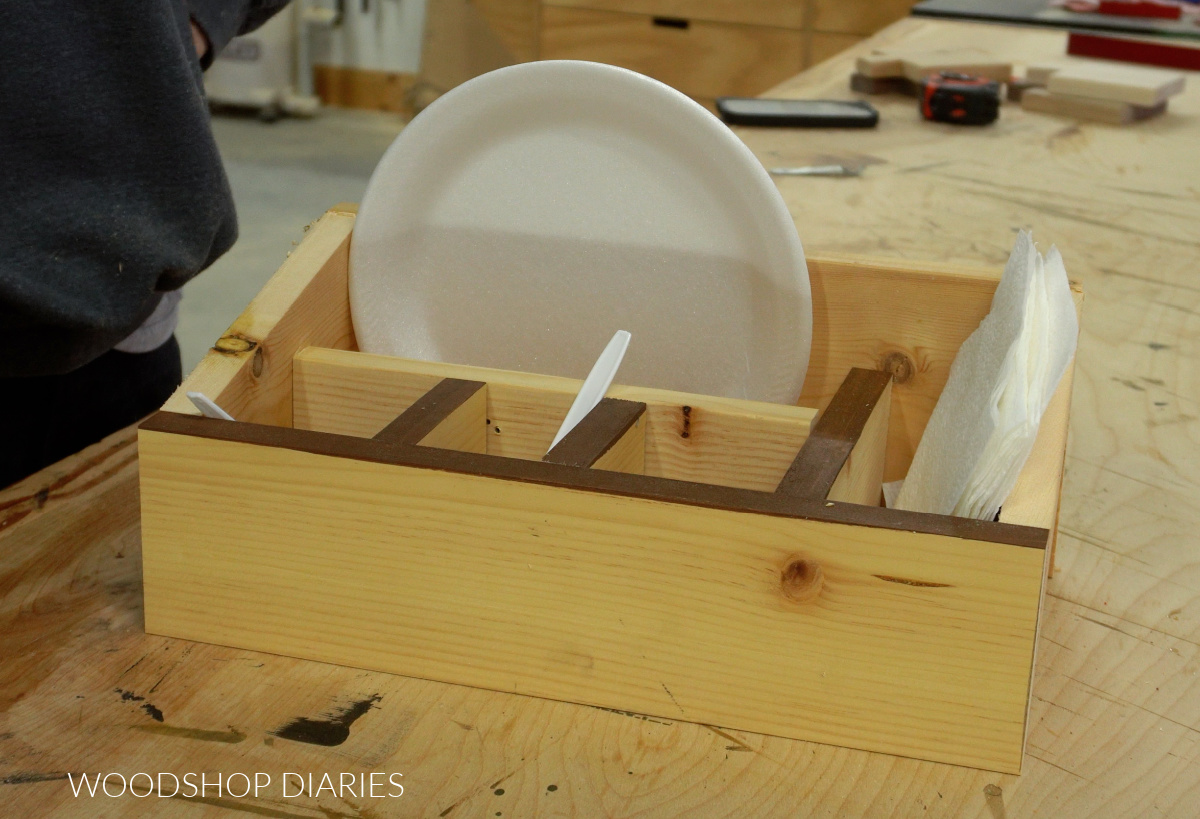
Then I kind of test fit the pieces together to make sure it seemed like a good size.

Shara Woodshop Diaries dry fitting wood pieces of dinnerware caddy together on workbench

You can customize the size of your caddy however you’d like, so there’s no one size this has to be. I just made mine large enough to fit the usual disposable dinner items–plates, napkins, forks, spoons, and knives.

I’ve included the dimensions I used in the printable plans for reference.

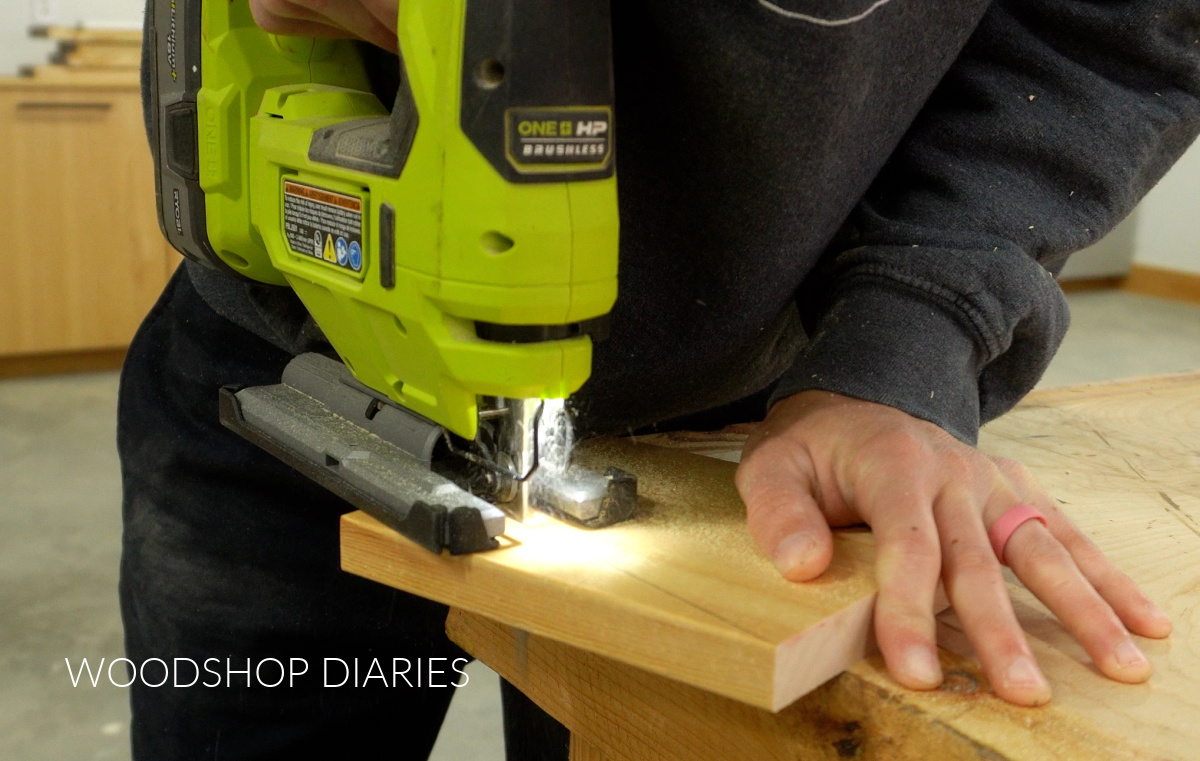
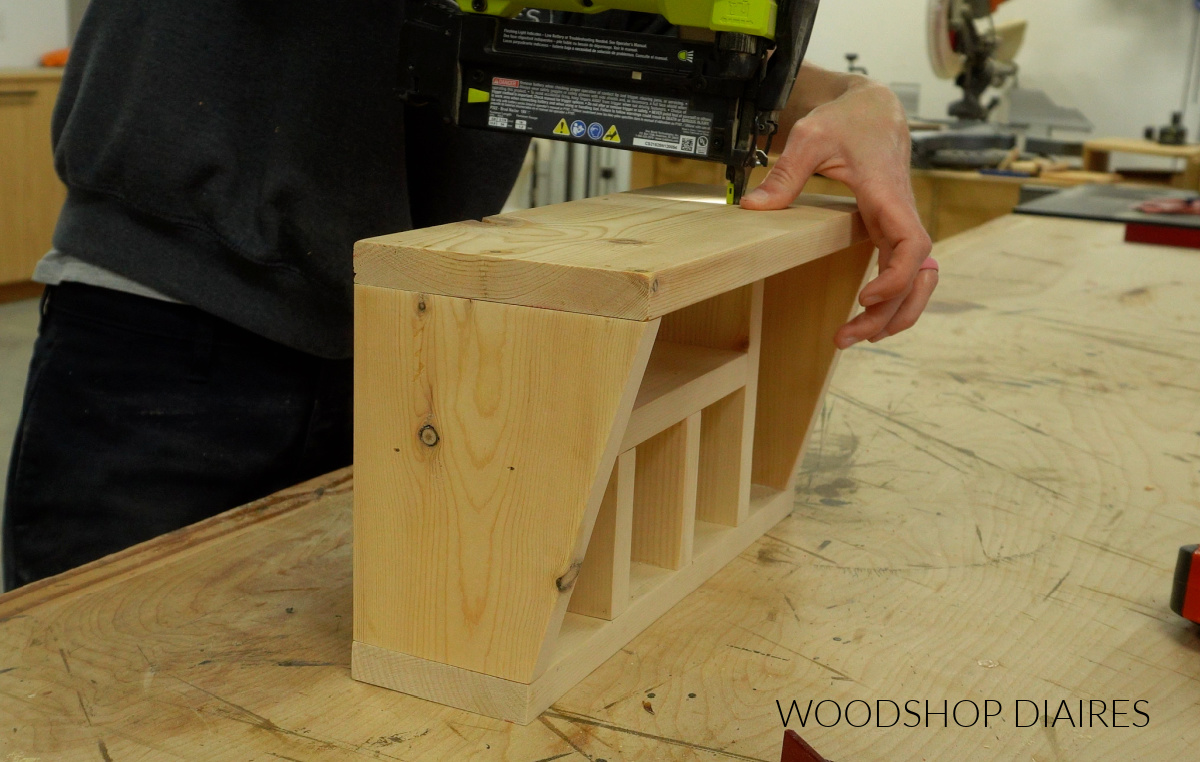
Since the back is taller than the front, I used a jig saw to cut a slant on both side pieces so they would slant from the back to the front.

Shara Woodshop Diaries cutting slants on sides of utensil holder pieces with jig saw

Step 2: Cut Caddy Dividers

Then, I cut pieces of 1×4 to divide out the box. Again, these don’t have to be any specific size. I just cut mine so they’d fit what I planned to store inside.

I test fit all my pieces together to make sure it would work well. Then, I sanded each piece well before assembling.

Test fitting dividers into wooden cutlery caddy before attaching

Prefer to print? Grab the printable building plans for this DIY utensil caddy here.

Step 3: Assemble Utensil Caddy Box

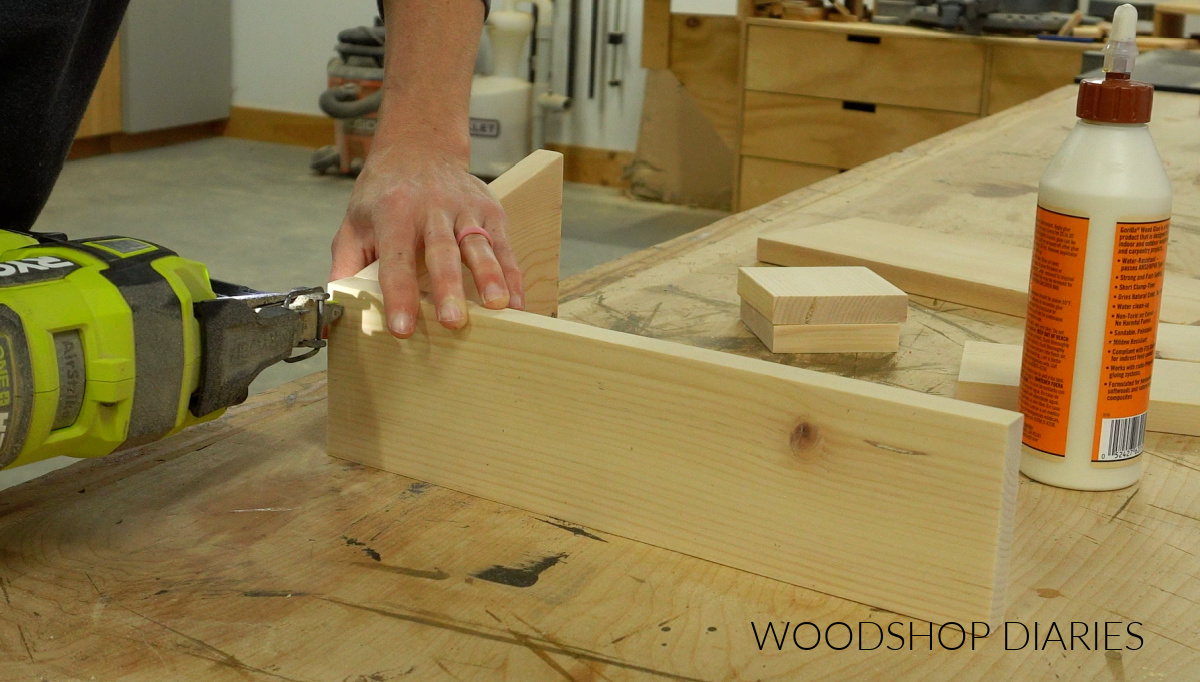
This project is VERY simple, but the one tricky part is deciding what order to assemble the pieces of the box so that there’s room to get the brad nailer in.

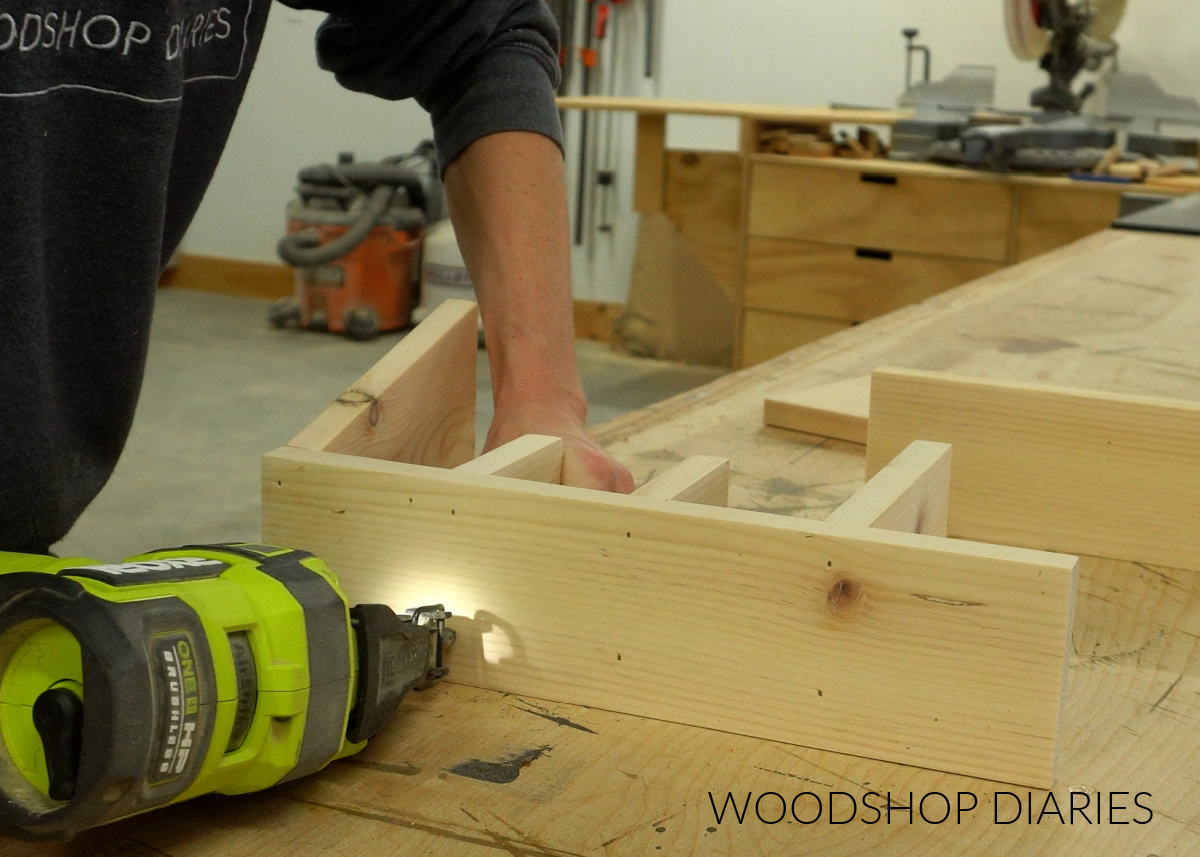
So first, I glued and brad nailed the left side and the front piece together like you see below.

Shara Woodshop Diaries nailing dinnerware caddy together on workbench

Then, I glued and brad nailed the napkin divider and cutlery dividers to the front piece of the caddy.

Shara Woodshop Diaries brad nailing cutlery dividers onto dinnerware caddy

Next, I glued and nailed the plate divider between the left side and the napkin divider. I also made sure to attach these to the back of the cutlery dividers as well.

And finally, I could glue and nail the right side and back onto the caddy to finish up.

Shara Woodshop Diaries nailing back piece onto utensil holder on workbench

Grab the printable dinnerware caddy plans here.

Step 4: Attach Bottom

Now all that’s left was cutting a piece of ¼″ plywood to fit over the bottom of the caddy.

Once cut, I glued and brad nailed this panel in place.

Close up of brad nailing ¼" plywood panel onto bottom of wooden caddy

Step 5: Finish & Use Dinnerware Caddy

If you’d like, you can fill the nail holes with wood filler or a mixture of sawdust and wood glue. I personally didn’t fill mine–this project is more for function than looks so I wasn’t concerned with them.

I applied a food safe finish (cutting board oil works well!) to the caddy and now it’s ready to stock up with all the things!

Completed DIY wooden utensil holder caddy empty on tabletop

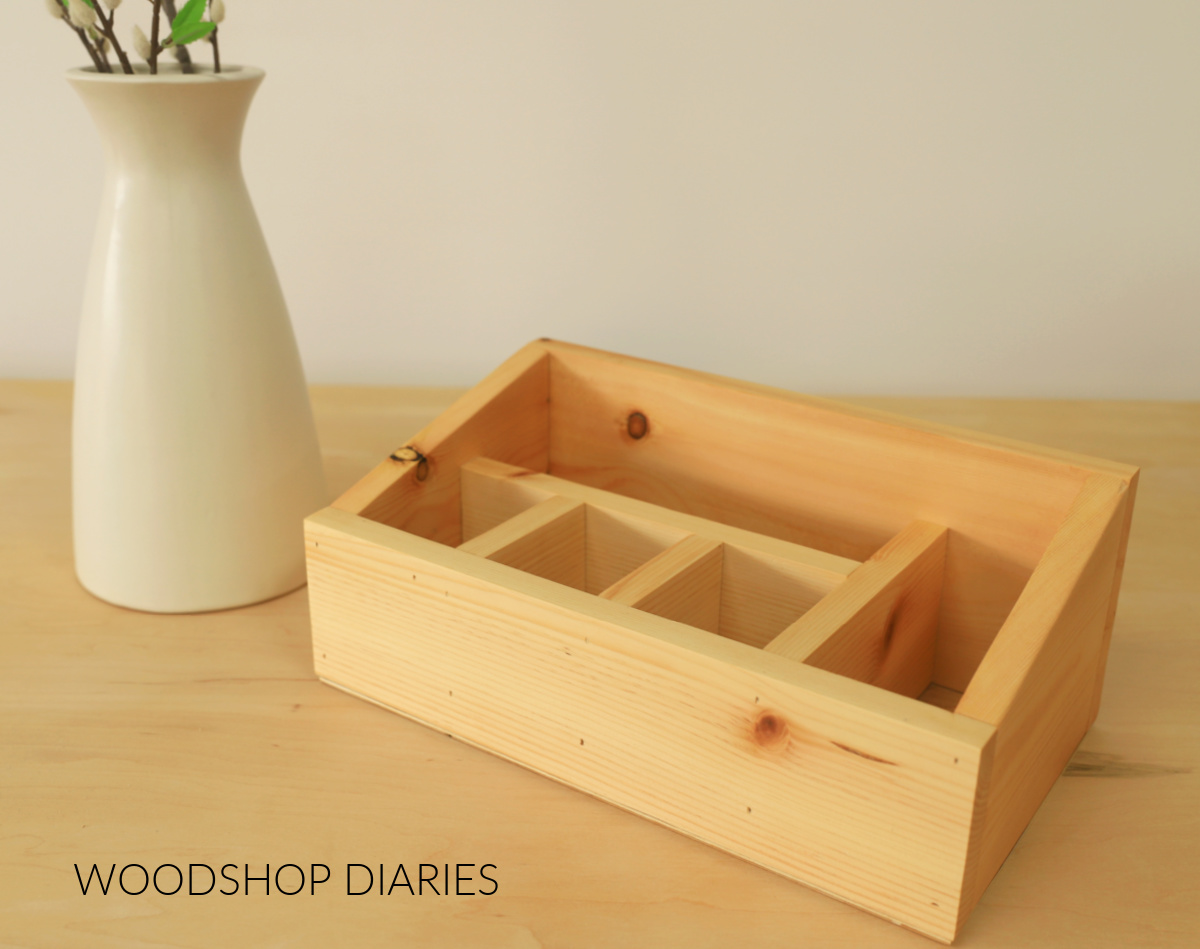
There’s plenty of room for plates, napkins and cutlery and this caddy makes it easy for guests to grab as they walk by. Having it all neatly organized makes this easy to put away until the next get together, too!

Completed DIY wooden dinnerware holder caddy full of plates, napkins, forks, spoons, and knives on tabletop

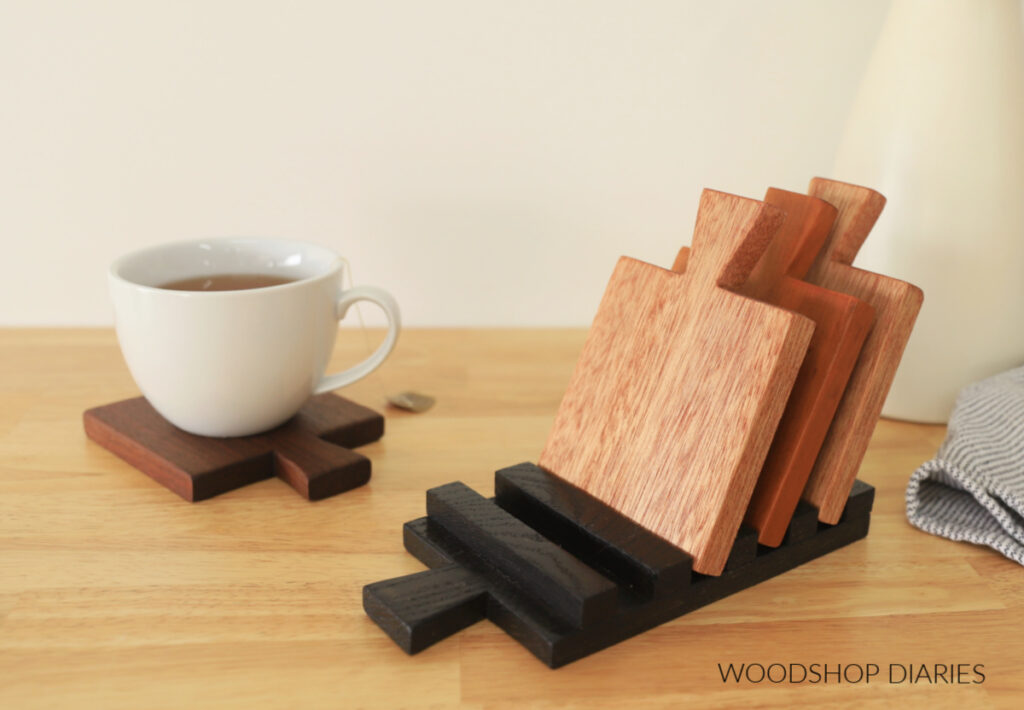
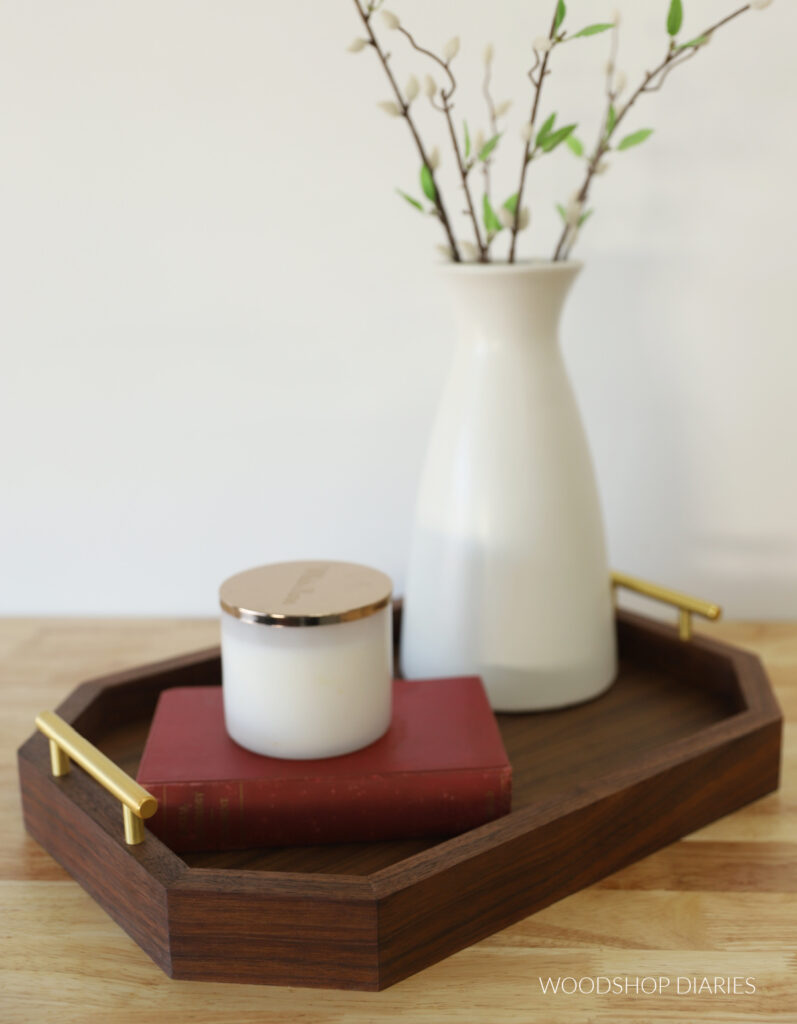
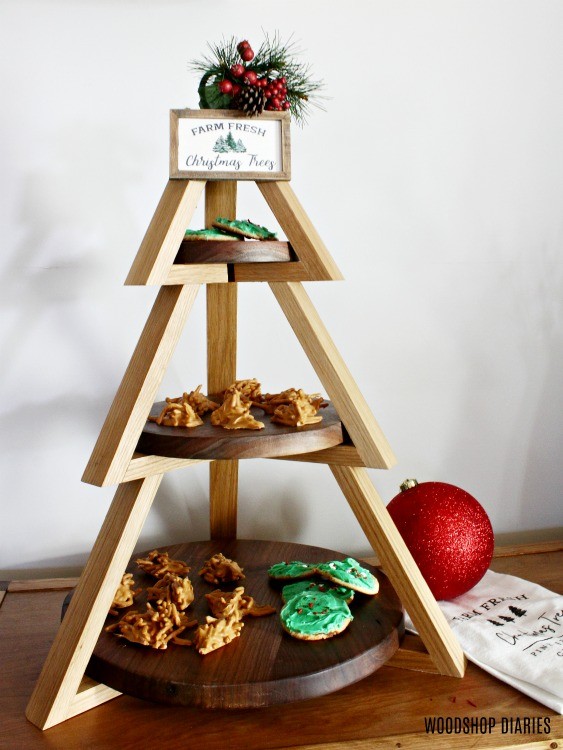
Looking for More DIY projects for your next Party?

Enjoyed this project and looking for more? Here are a few more fun projects that are easy to build and would work perfectly at your next gathering:

DIY Cake Stand
Cup Holder with Marker
Cutting Board Drink Coasters
DIY Serving Tray with Handles
DIY Christmas Candy Tray

Enjoyed this project and want to save it for later? Be sure to pin it or share it to your favorite social channel!

Pinterest collage image showing empty caddy at top and full caddy at bottom with text "how to build a dinnerware caddy"

Until next time, happy building ????

« Easy DIY Modern Cake Stand
DIY Wooden Cross Trivets »

Related Posts

DIY TV Stand Console
DIY Coat Rack With Shelf
DIY Bookshelf with Hidden Storage

Hi! I'm Shara, the designer, maker, and videographer behind Woodshop Diaries. Let's get building, friends :)

Learn more →

Woodworking Tips & Guides

  • How to make simple Shaker style cabinet doors!!
    DIY Simple Shaker Cabinet Doors
  • 5 Tools To Get Started Woodworking
  • DIY Kitchen Cabinets–From Only Plywood
  • How to Square Board Edges and Make Your Own 2x2s

Footer

↑ back to top

Tips to Take Your Projects to the Next Level

--5 Secrets to Professional Looking DIY Furniture

--How to Properly Paint Wood Furniture

--How to EASILY Cover Plywood Edges

--How to Sand Wood

--10 Must Have Tools for Furniture and Cabinet Building

Printable Building Plans

Check out our shop to browse printable PDF building plans!

Website Policies

This website is for entertainment purposes. Using any information provided is to be at your own risk.

This site uses cookies to provide you with a better experience.

All images and text on this site are property of Woodshop Diaries, LLC. Please be respectful and don't steal this content.

See Policies and Privacy page on this site for more information.

Want to get in touch? Contact Us Here

Copyright © 2026