
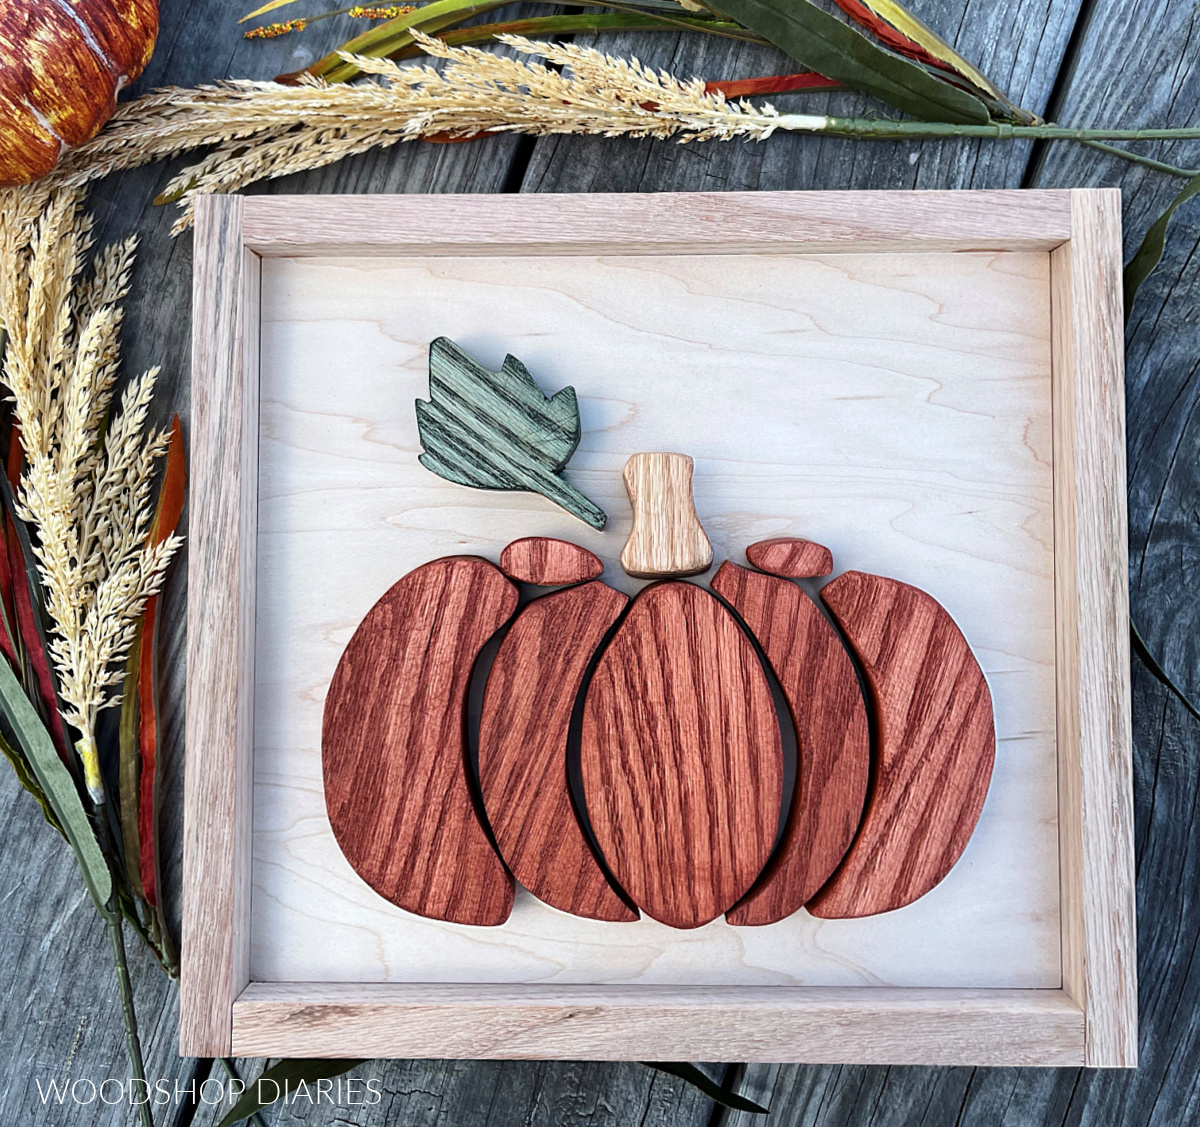
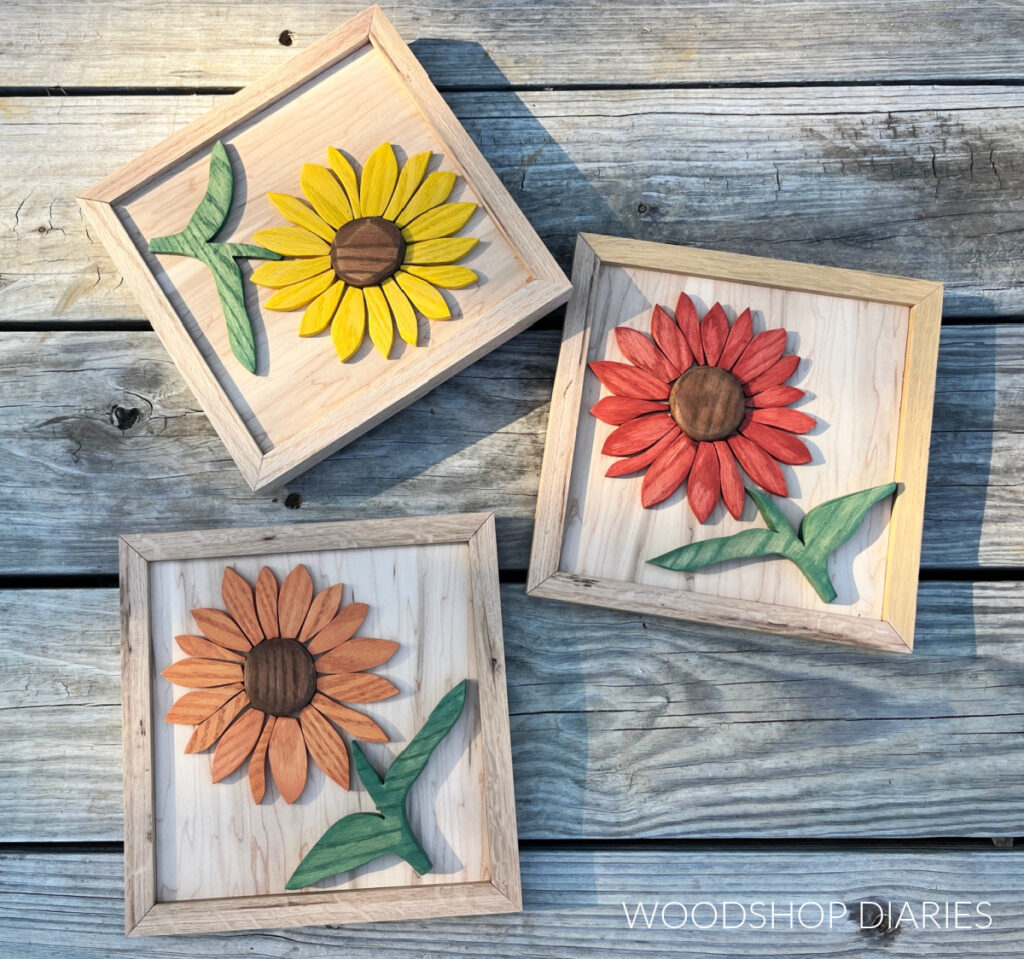
In this post, I’m sharing how to make this ADORABLE DIY fall pumpkin sign from your wood scrap pile!
You guys know I love a huge furniture build, but sometimes these small scrap wood projects just fill my soul and make me smile.
There’s something so satisfying about starting and completing a project in just an hour or so. I know I’m not the only one, right??
And I’m always (and I mean ALWAYS) up for a fun fall project. It’s my favorite time of the year.
So, despite it’s small size and simplicity, this DIY fall pumpkin sign definitely tops my list of favorite projects. And I’m so excited to share how I made it with you below!
Tools & Materials:
*This post contains affiliate links. See website policies.
Materials:
- Scrap Wood (see notes below)
- Pumpkin shape (or other shape as desired) printed on paper
- Painters or Masking Tape
- Wood Stain
- Wood Glue
Some Notes About this DIY Fall Pumpkin Sign
Scrap Wood Options:
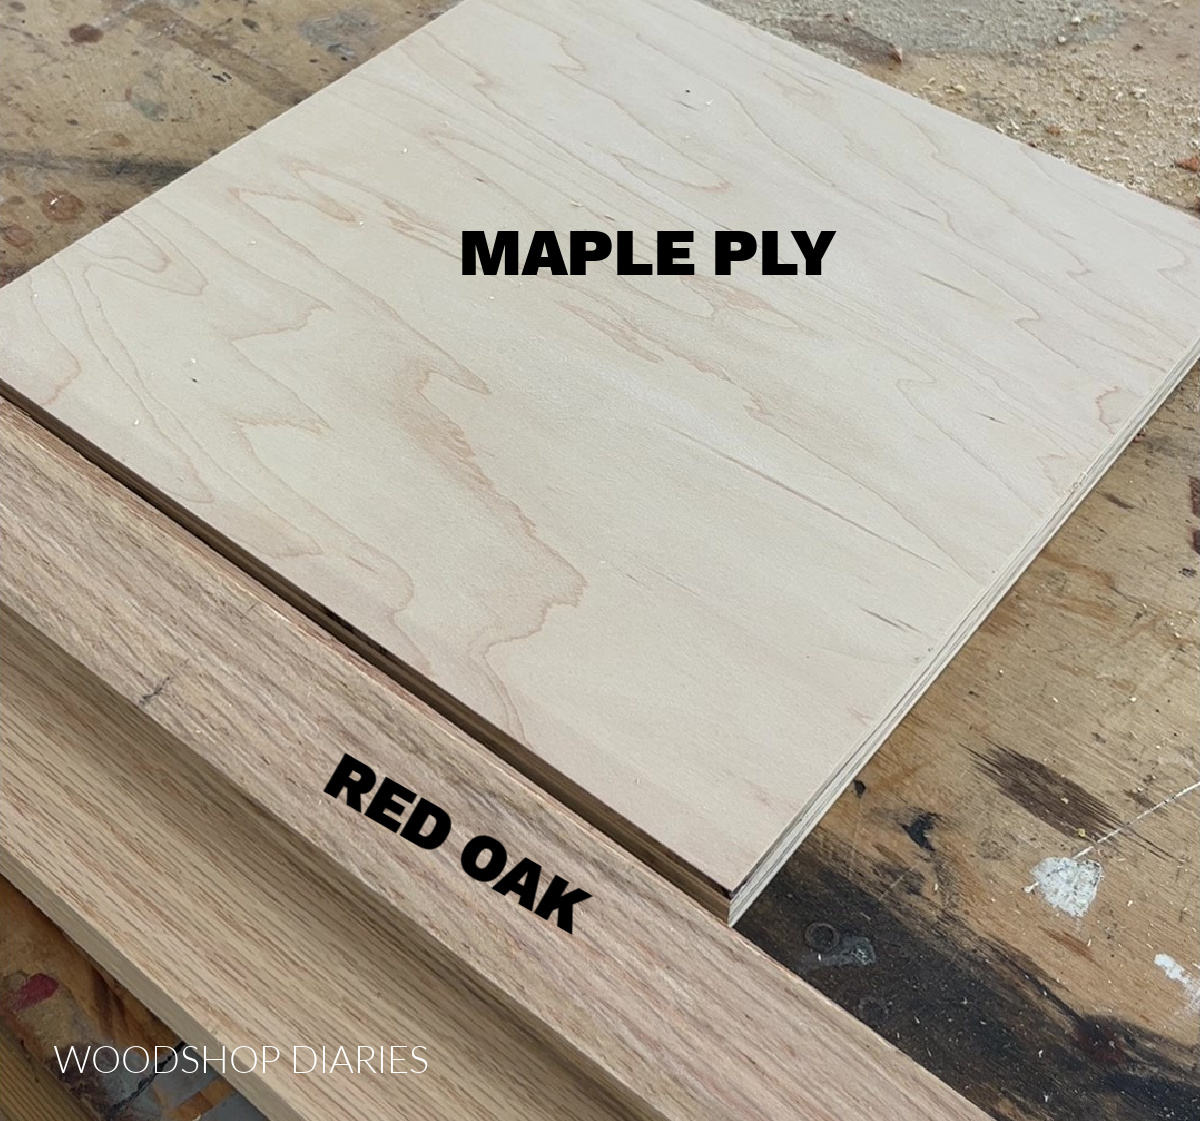
For this project, I used some scrap ¾″ maple plywood for the back–the part that I glued the pumpkin cut out onto.
And I used a small piece of scrap 1×4 red oak for the actual pumpkin pieces.
I also used some scrap 1×2 red oak wood for the frame.
However, you can use any type of wood you’d like for this to make whatever size sign you want.
Pumpkin Templates:
For my pumpkin design, I just did a quick Google image search for “pumpkin cartoon shapes” and browsed around until I found one I liked.
Then, I added the image to a Word Document, sized it to fit the ¾″ plywood scrap piece that I was using for the back, and printed it out.
You can sketch your own shape to use or do something completely different from a pumpkin. The possibilities are endless here.
You could even cut something out of a coloring book haha! You just need a shape to cut.
Stain Colors:
Feel free to get creative with the colors you use, but I actually bought some “fallish” stain colors this year to play with for some seasonal projects and they worked perfect for this.
For the pumpkin, I used Minwax Samara. It’s a really pretty orange.
For the stem, I used Minwax Weathered Oak, and for the leaf, I used Minwax Evergreen.
FYI…the Samara and Evergreen colors are not “off the shelf” colors. They are Minwax colors, but they have to be mixed–like paint.
I stopped by my local Sherwin Williams to get them to mix these up for me, but you can check out Minwax’s website here to see where all you can purchase it from and to see all their other color options as well.
It was such a fun color combo and they all looked really good on this red oak.
Tools:
I used a jig saw (with a scroll blade) to cut out my pieces and a miter saw to cut my frame.
However, you could also use a scroll saw or band saw to cut out your shape pieces instead and the same saw to cut your frame.
The miter saw is TOTALLY optional and you can definitely just use one type of saw for this entire project.
How to Make a Wooden Pumpkin Sign From Scraps
Ready to dive in? Let’s get building!
I’ve got the written step by step tutorial below, but I also put together a fun video as well that you can check out here:
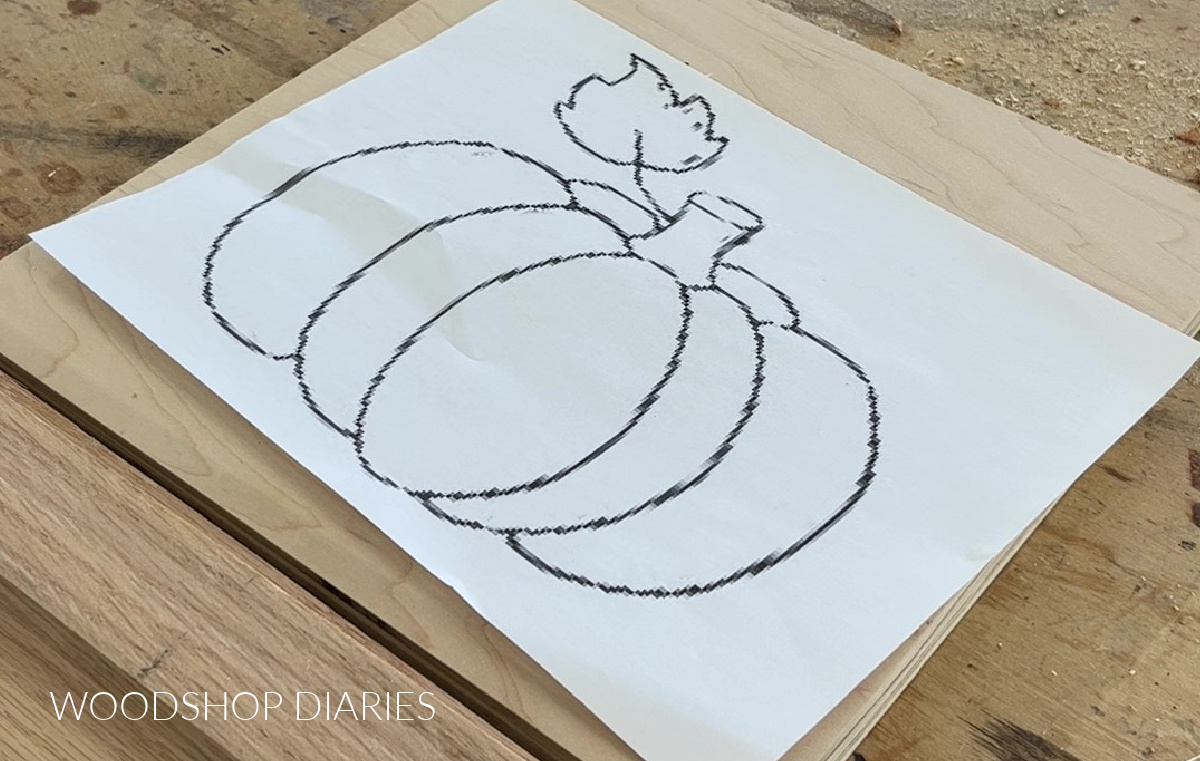
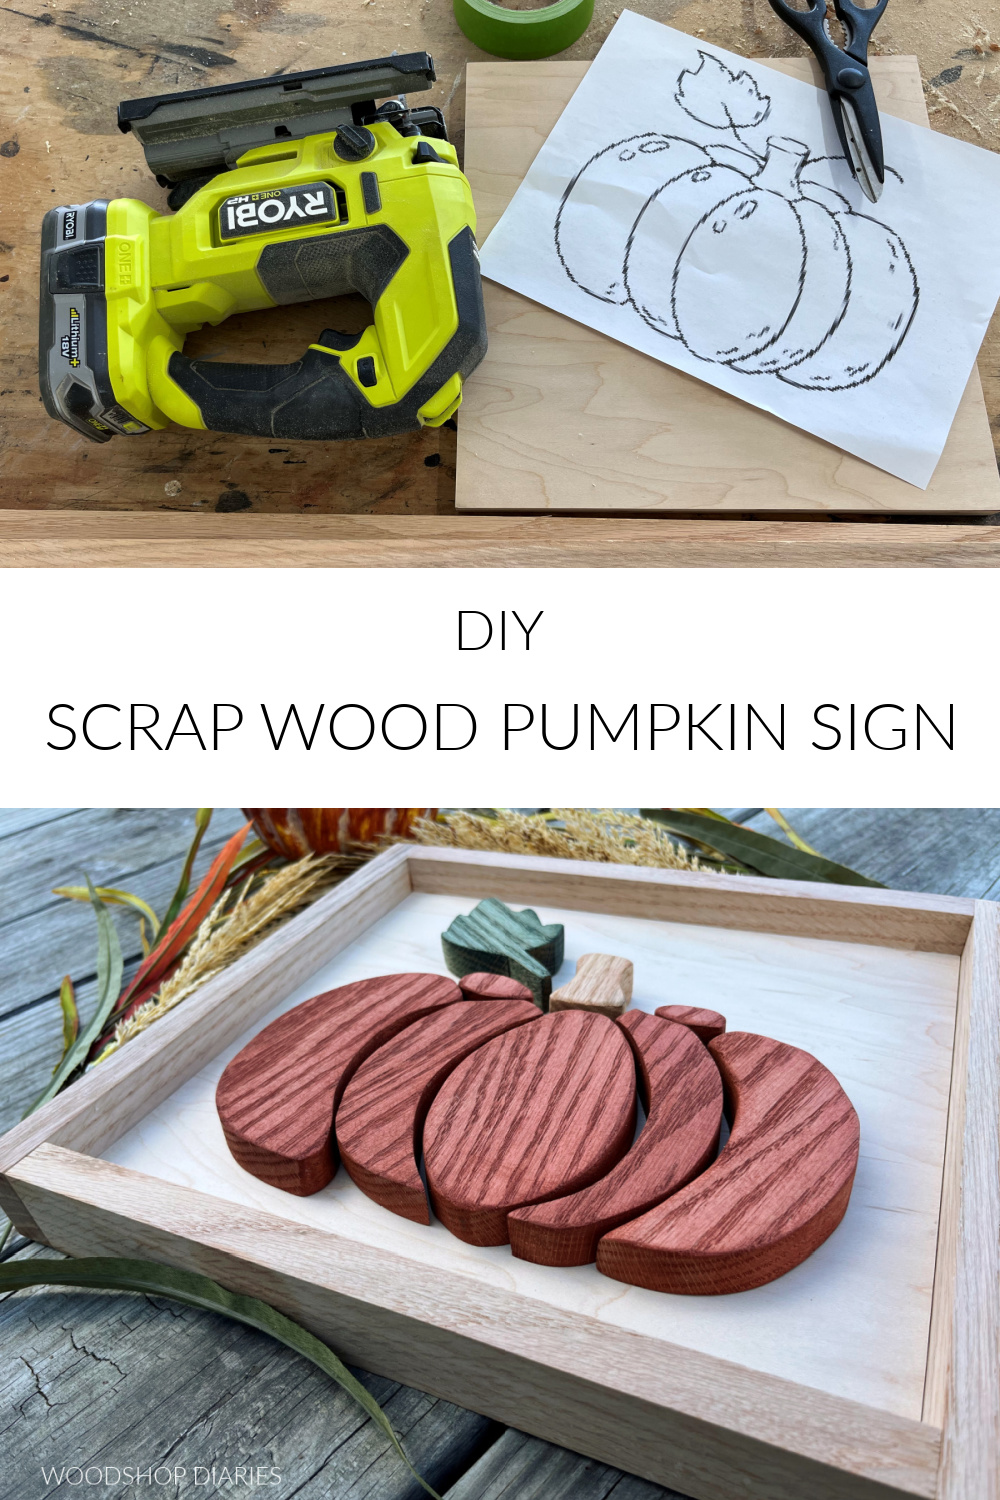
Step 1: Cut Out Pumpkin Template
You can use this tutorial for any shape, any size. Obviously, in my case, I chose a pumpkin. You can sketch your own design if you’re good at drawing.
However, I just found a sketch of a pumpkin cartoon from a Google search and pasted the image into a Word Document.
I sized it so that it was about the size of a sheet of paper (you can size it however you like) and printed it out (see notes above).
Then, I used scissors to cut the pieces of the pumpkin shape apart.
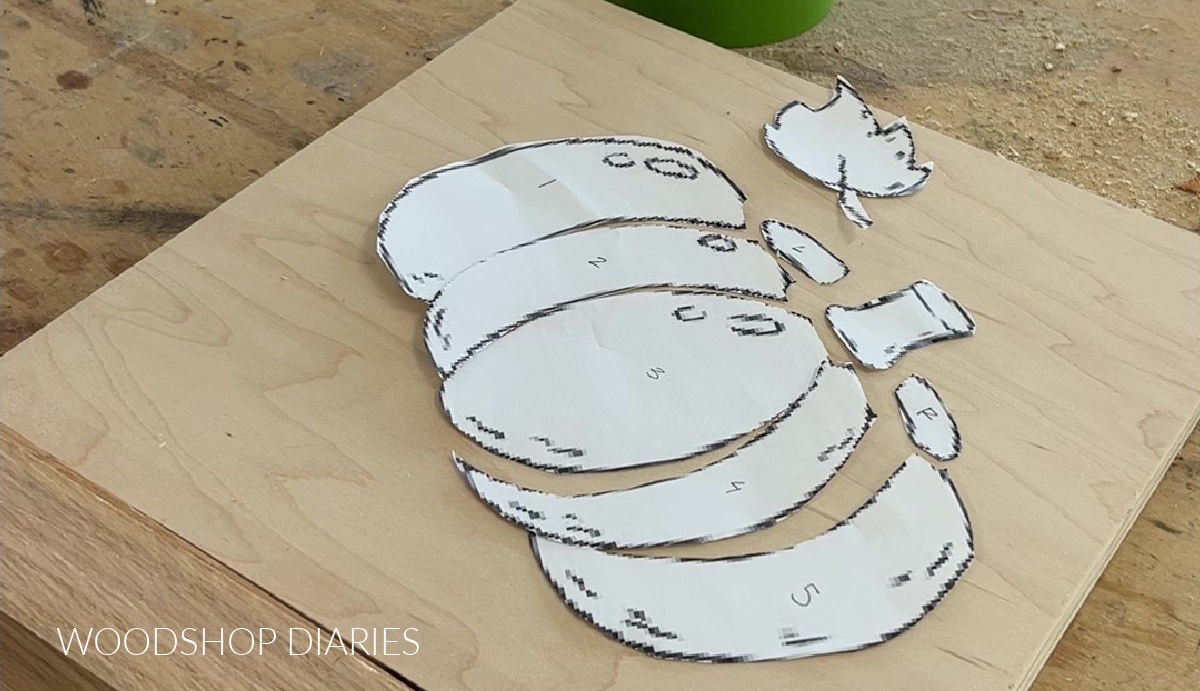
I used a pencil to label each piece so I would know how they fit together because in the next step, they’ll get out of order.
Step 2: Lay Out Your Cuts
I cut my pumpkin pieces from some scrap 1×4 red oak so the board I was working with was pretty narrow.
So I just laid out my cut out pieces however they would fit on my board.

Once they were all laid out, I used some painters tape to stick them all in place.
Step 3: Cut Out Wood Pumpkin Pieces
Using a jig saw with a scroll blade, I carefully cut out each piece along the paper cut outs.
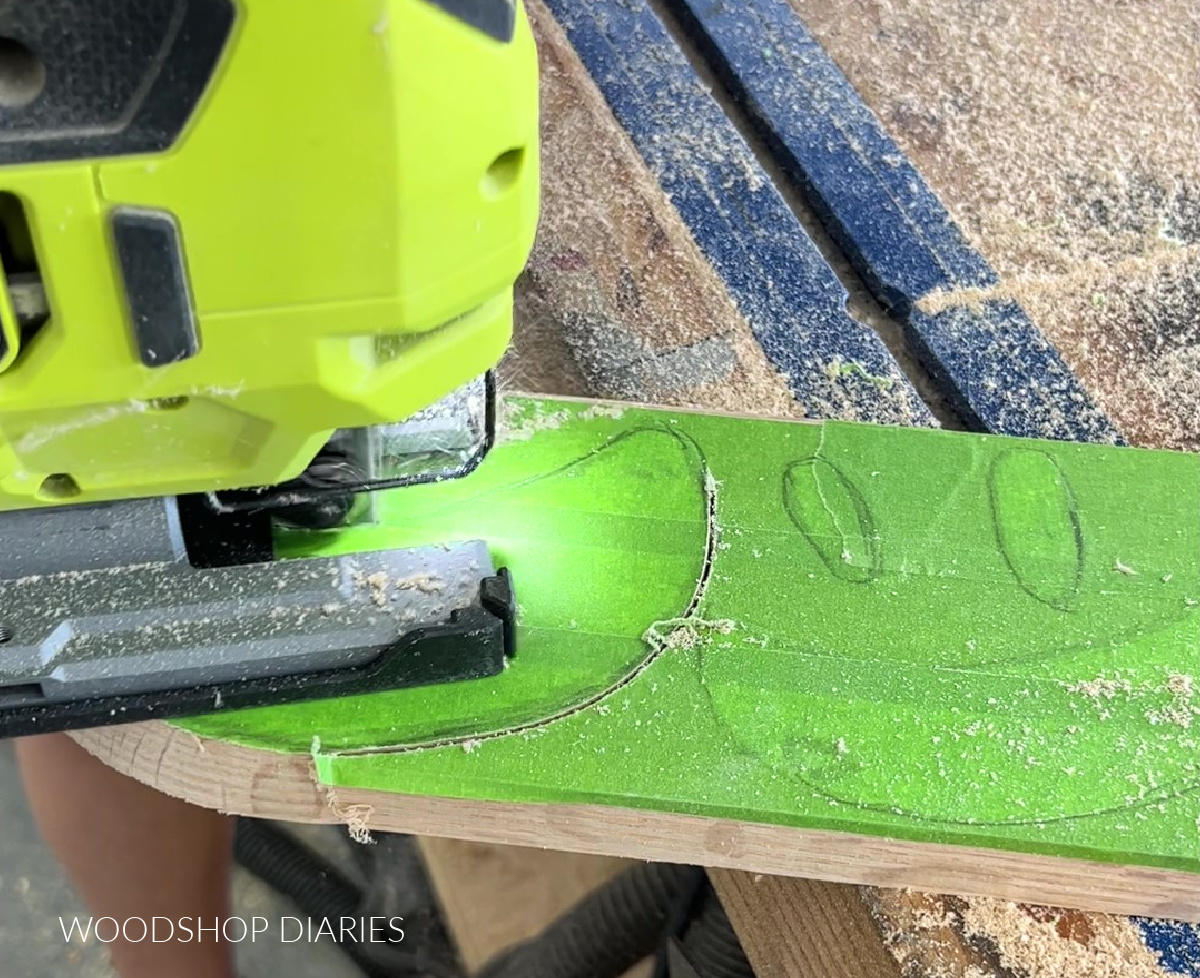
You could also use a scroll saw or a band saw instead of a jig saw.
You should be able to see the paper templates through the painters tape.
These cuts should be fairly close to the templates, but they don’t have to be PERFECT.
As you cut each piece, be sure to keep them labeled so you don’t get the pieces mixed up.
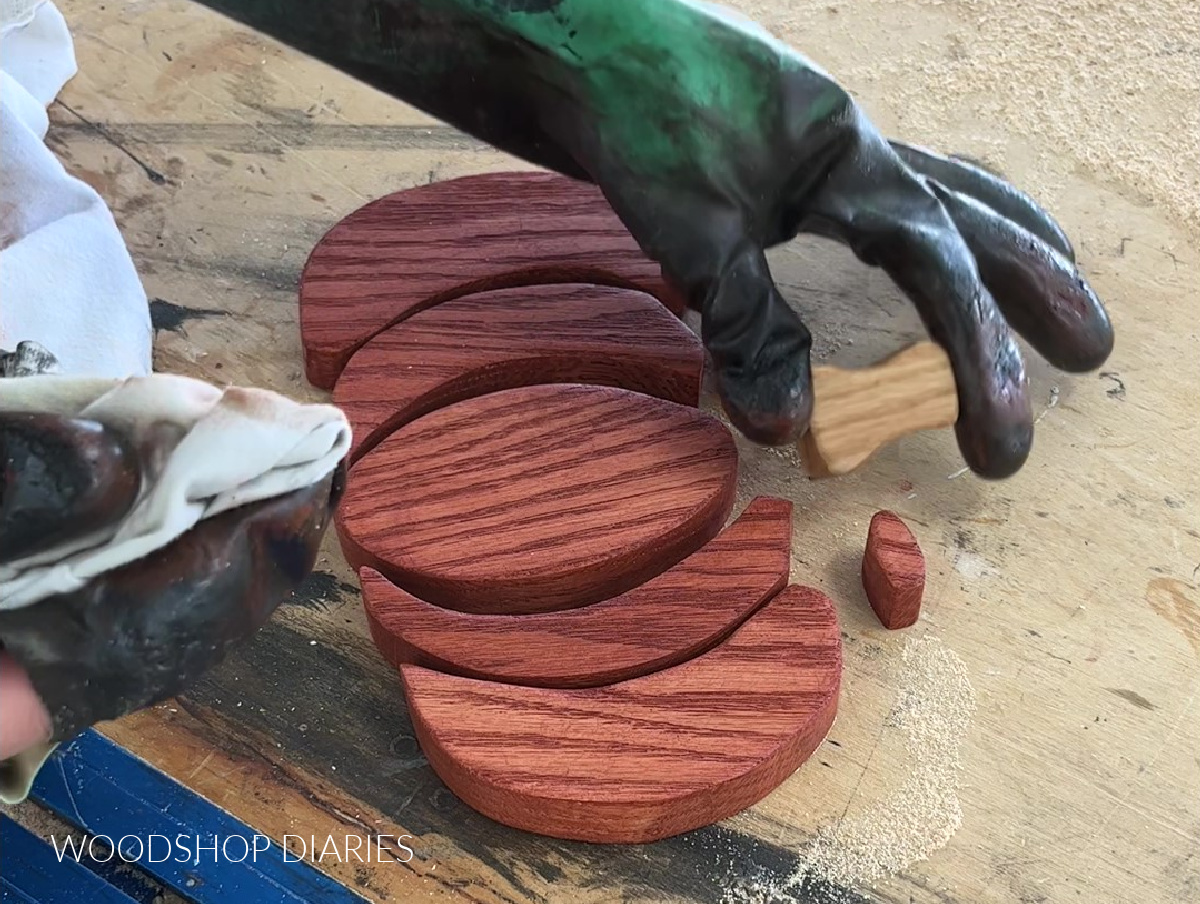
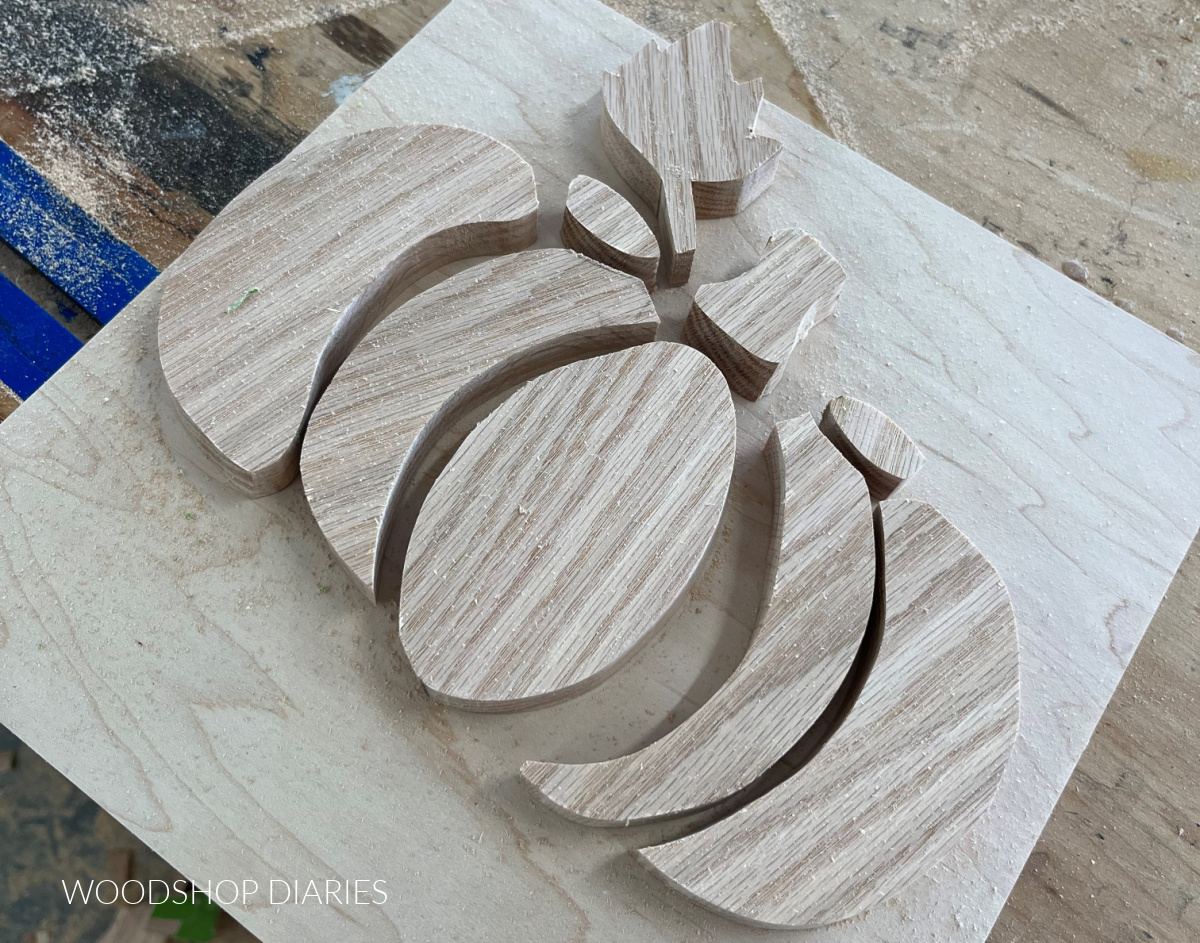
Step 4: Apply Wood Stain
Sand each piece well.
Then, stain as desired. I tried to mimic the natural colors of a pumpkin and used Minwax Samara for the body of the pumpkin.
Then, I used Minwax Weathered Oak for the stem, and Minwax Evergreen for the leaf.
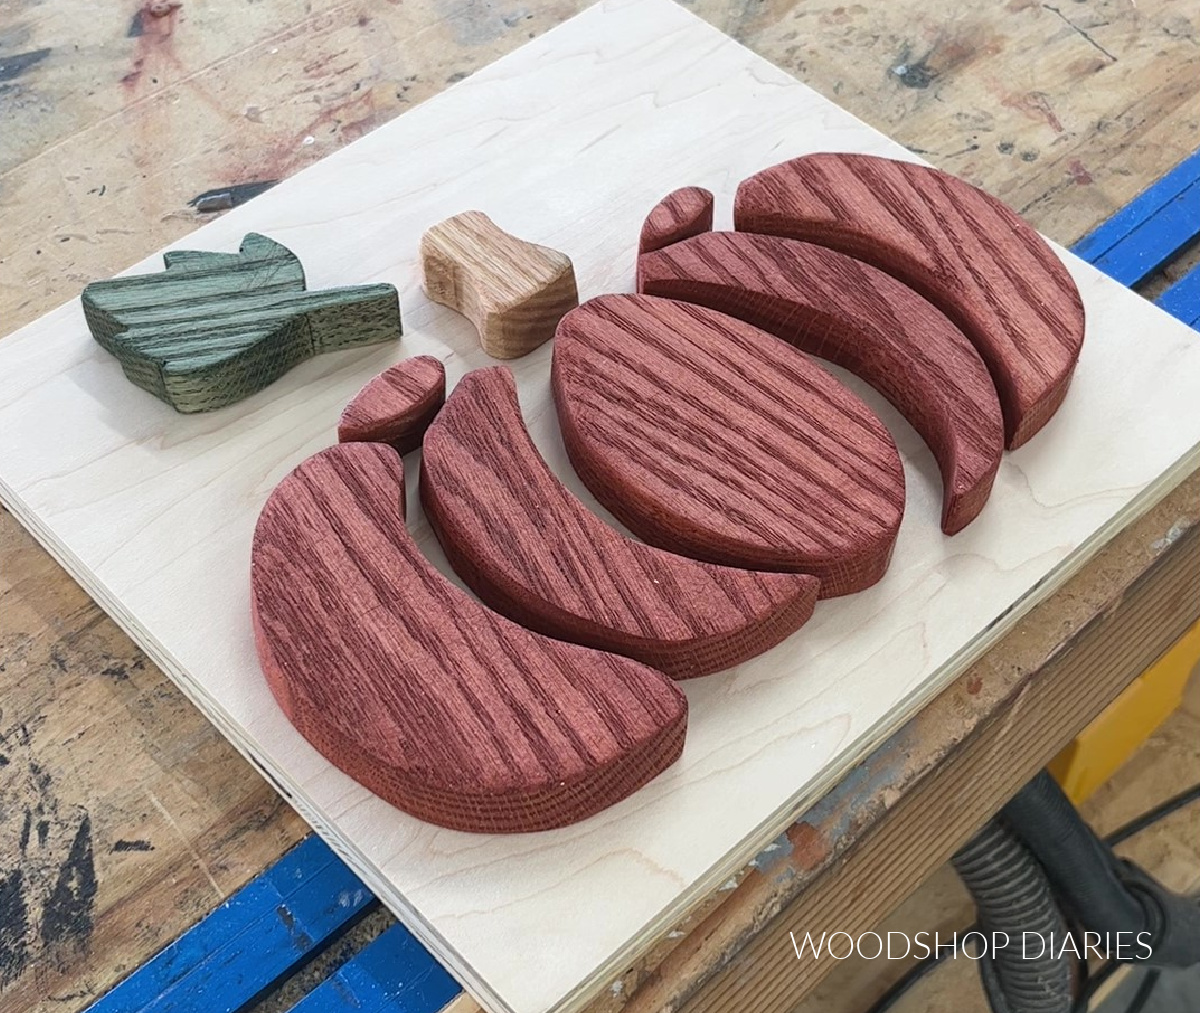
Of course, you’re welcome to get creative and go crazy with whatever stain or paint colors you’d like 🙂
Step 5: Glue Pumpkin Pieces In Place
I used a piece of scrap ¾″ plywood a little larger than my overall pumpkin shape and laid these pieces out on them how I wanted to attach.
Then, I glued each piece, one at a time onto the plywood using some Krazy Glue Fast Dry Wood Glue.
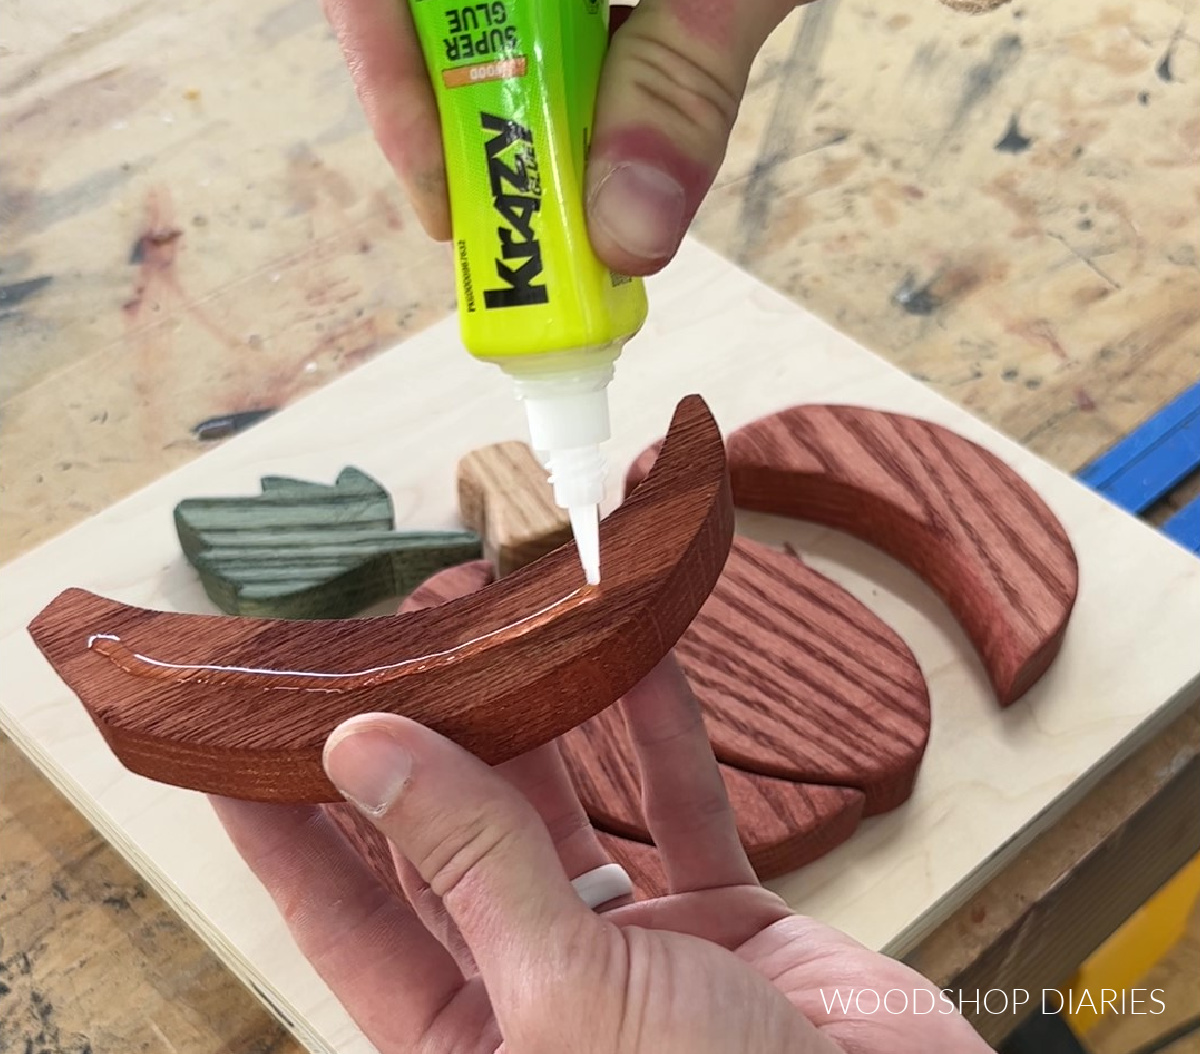
Regular wood glue would work fine instead, but this dries clear and a lot quicker. But either one will work 🙂
Step 6: Add Frame to Wooden Pumpkin Sign
Once the pumpkin pieces were dry on the plywood, I cut and glued some 1×2 pieces around the edges to frame this sign out.
You don’t have to add the frame, but I think it looks a little more finished with it on.
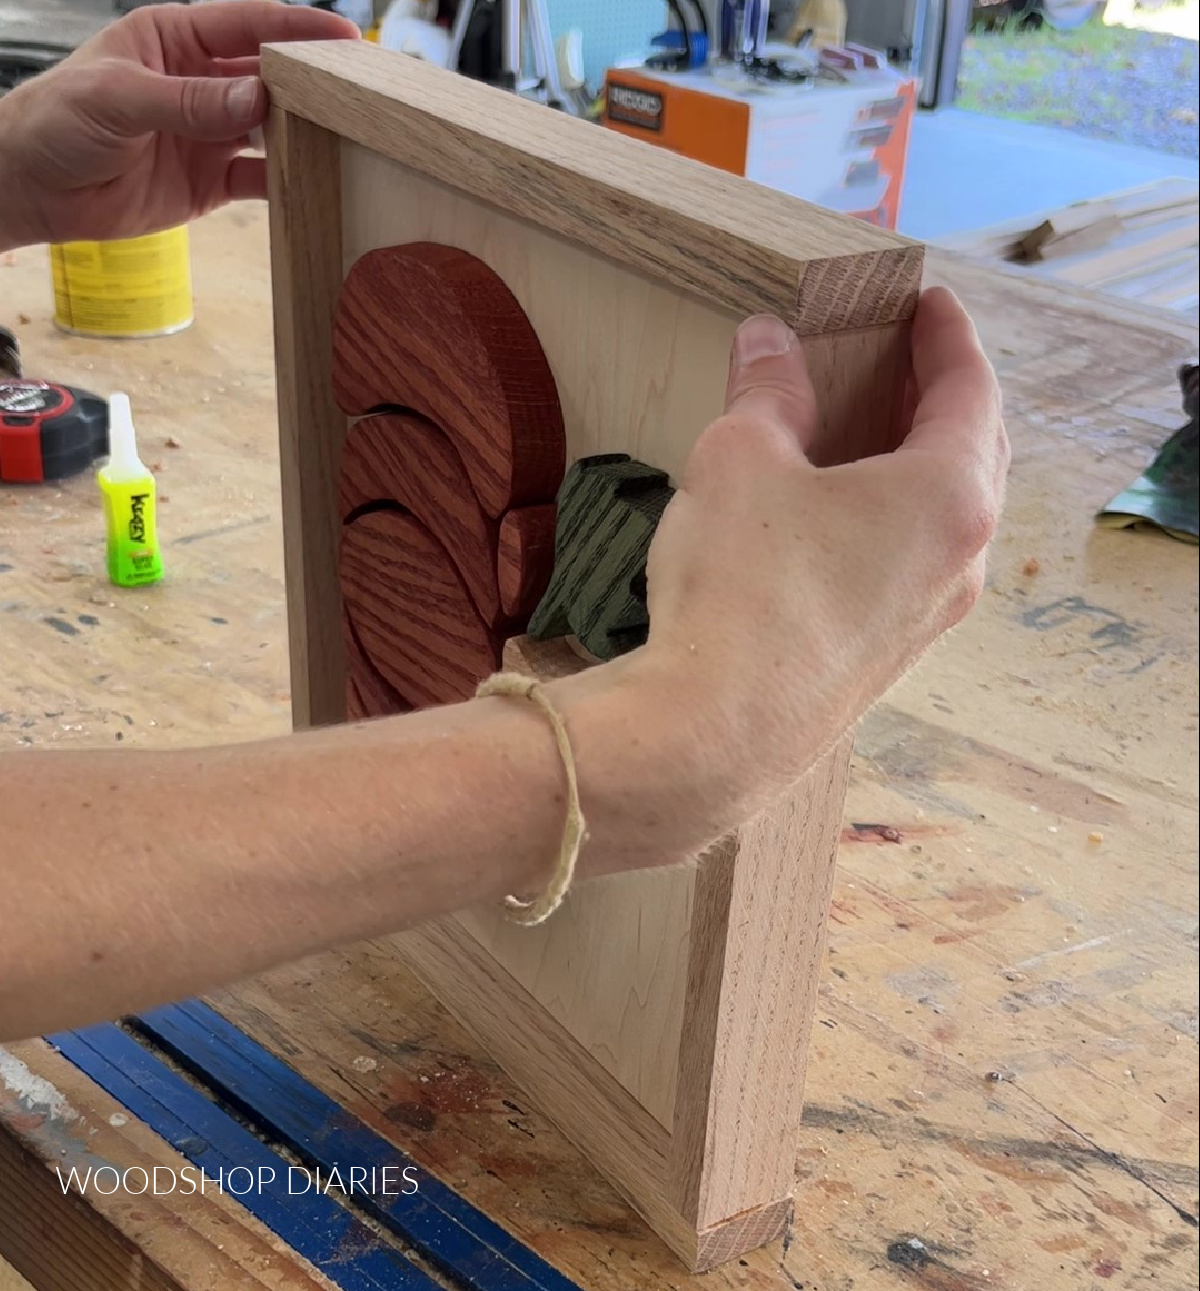
Again, I just used some Krazy Glue to attach these pieces, but you could also use regular wood glue or brad nail these pieces as well.
And with that, this adorable little sign is ready for display!
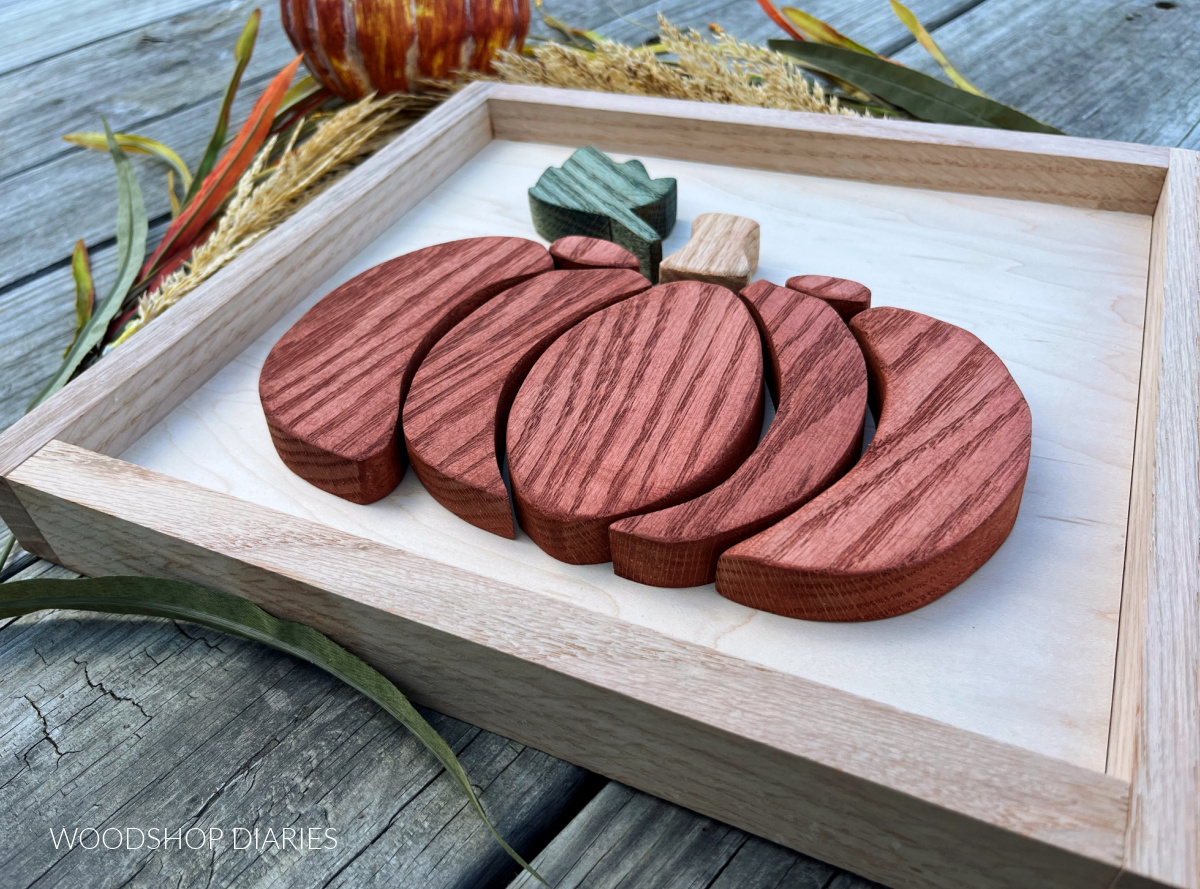
I planned to just set this on my bookshelf, so I didn’t add any hanging hardware. But if you wanted to hang it, you can easily just add a little sawtooth hanger on the back side.
Now I want to make one of these for all the seasons!
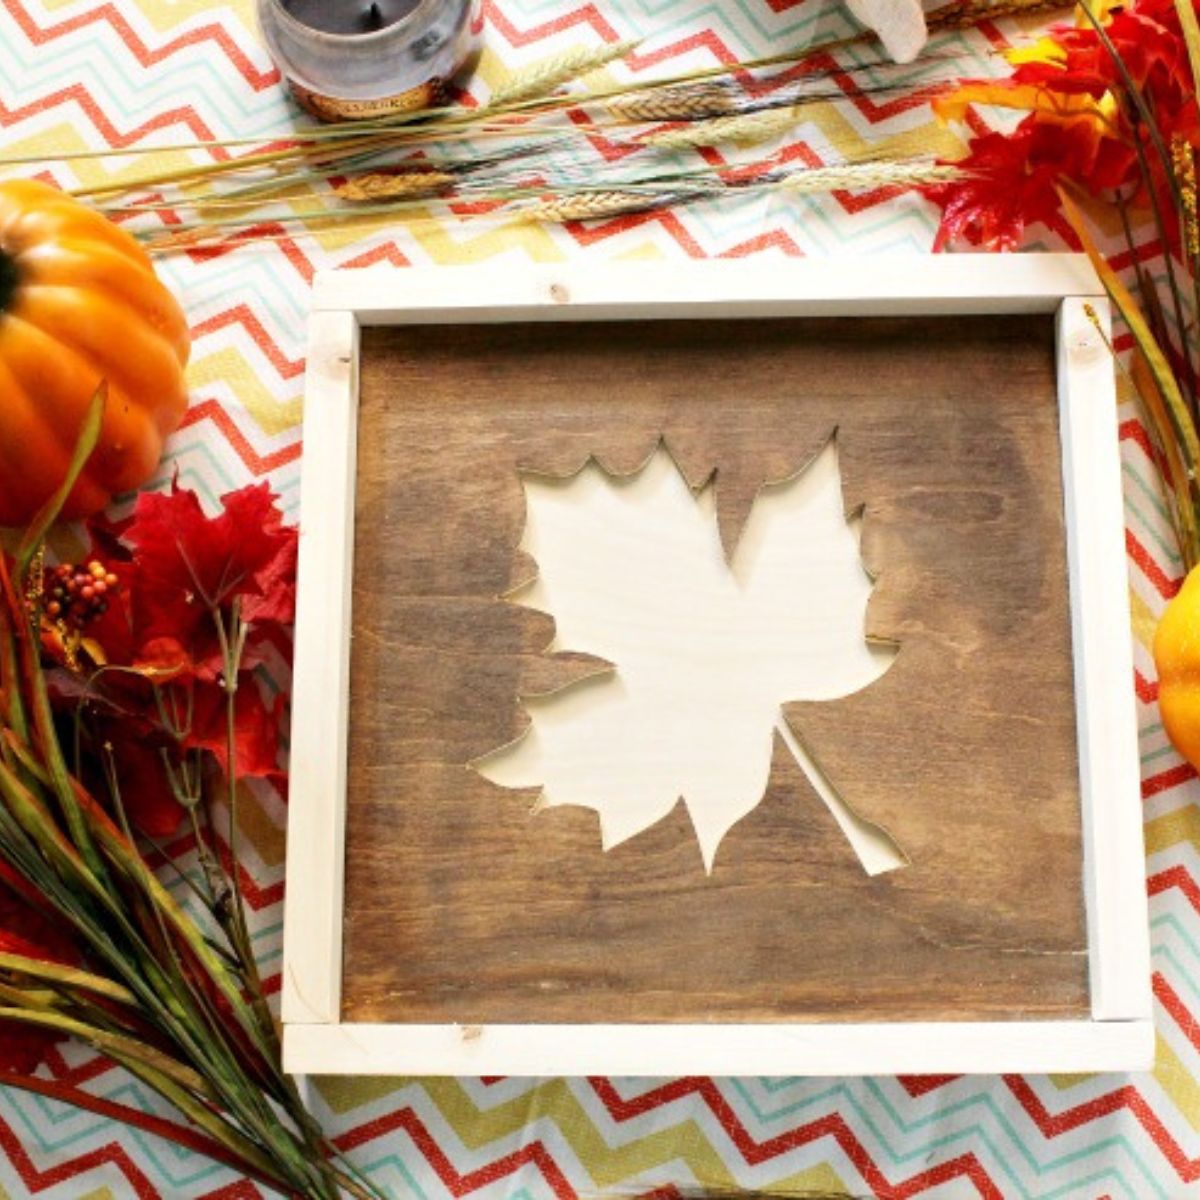
Looking for More Fun Fall Projects?
I really hope you enjoyed this fun and simple DIY fall pumpkin sign even half as much as I did haha.
.
But, if you’re looking for even more fun fall project ideas, I’ve got a few to share!

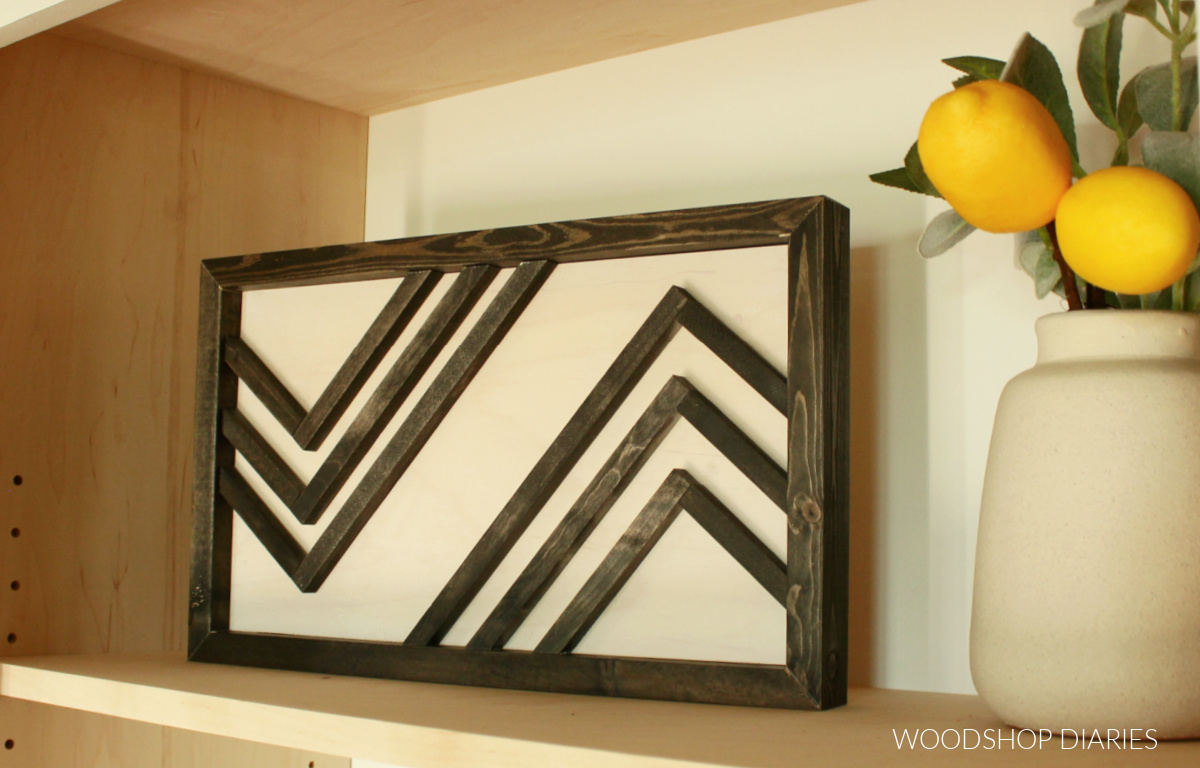
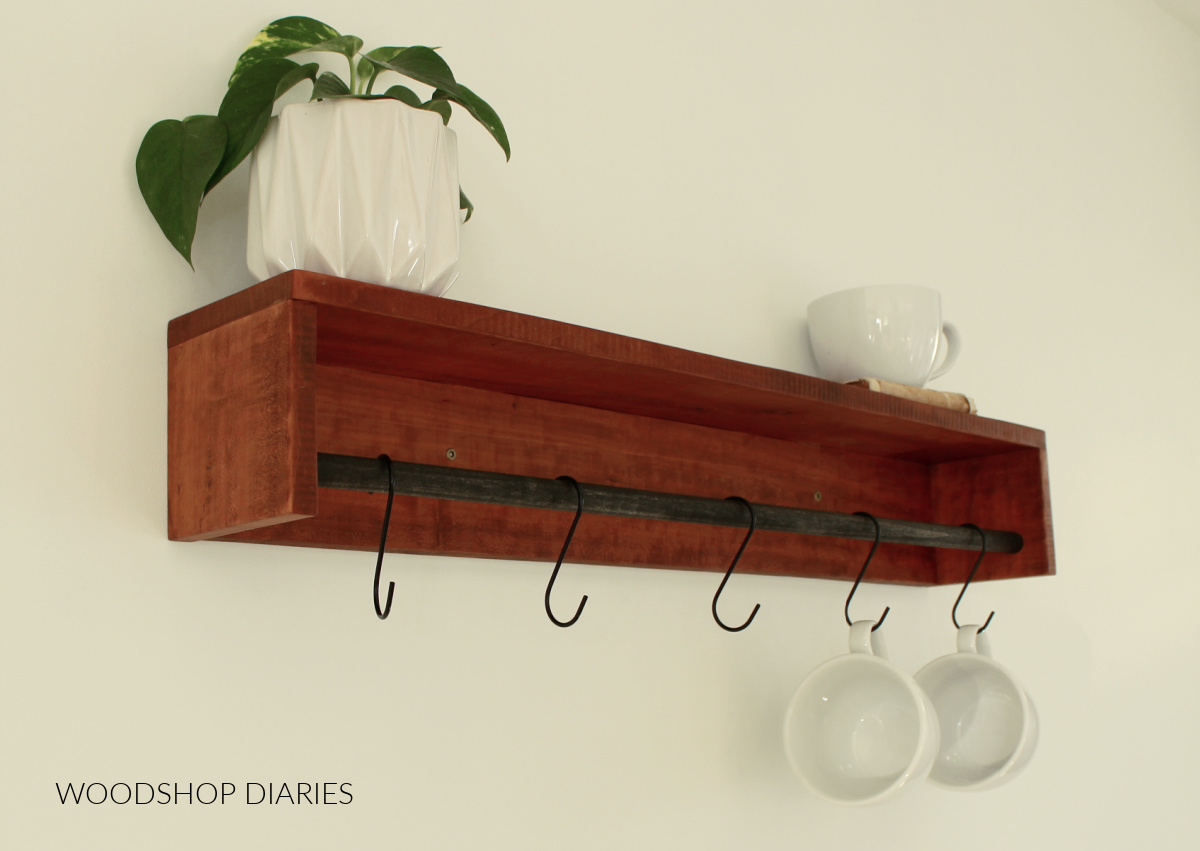
More Fun With Scrap Wood
Can’t get enough scrap wood projects?? I’m teaming up with my friend, Kati, from Houseful of Handmade all month long to share some “Scrap Wood Summer” Projects!
Check out all the projects in the series so far below. Click on an image to learn how to make each one!


We will be posting new Scrap Wood Summer projects every Tuesday through this entire month.
Subscribe to the newsletter to be the first to know when the new scrap wood projects come out!
If you’d like to save this project for later, don’t forget to pin it or share it to your favorite social channel!
Until next time, friends, happy building!