Woodshop Diaries

  • Shop
  • About
    • Work With Me
    • Frequently Asked Questions
  • DIY Projects
    • DIY Furniture Plans
      • DIY Bed Plans
      • DIY Dresser Plans
      • DIY Nightstand Plans
      • DIY Desk Plans
      • DIY TV Stand Plans
      • Coffee and Side Table Plans
      • Tables
      • Shelves and Bookcase Plans
      • DIY Storage Trunk Plans
      • DIY Bench Plans
      • DIY Storage Cabinet Plans
      • DIY Bathroom Vanity Plans
      • Kids Projects and Furniture
    • DIY Scrap Wood Projects
    • DIY Workshop Projects
    • DIY Home Decor Projects
  • Getting Started
    • Cabinet Building
    • Woodworking Basics
    • Furniture Finishing Tips
    • Tool Guides & Reviews
  • Blog
menu icon
go to homepage
  • Shop
  • About
    • Work With Me
    • Frequently Asked Questions
  • DIY Projects
    • DIY Furniture Plans
      • DIY Bed Plans
      • DIY Dresser Plans
      • DIY Nightstand Plans
      • DIY Desk Plans
      • DIY TV Stand Plans
      • Coffee and Side Table Plans
      • Tables
      • Shelves and Bookcase Plans
      • DIY Storage Trunk Plans
      • DIY Bench Plans
      • DIY Storage Cabinet Plans
      • DIY Bathroom Vanity Plans
      • Kids Projects and Furniture
    • DIY Scrap Wood Projects
    • DIY Workshop Projects
    • DIY Home Decor Projects
  • Getting Started
    • Cabinet Building
    • Woodworking Basics
    • Furniture Finishing Tips
    • Tool Guides & Reviews
  • Blog
search icon
Homepage link
  • Shop
  • About
    • Work With Me
    • Frequently Asked Questions
  • DIY Projects
    • DIY Furniture Plans
      • DIY Bed Plans
      • DIY Dresser Plans
      • DIY Nightstand Plans
      • DIY Desk Plans
      • DIY TV Stand Plans
      • Coffee and Side Table Plans
      • Tables
      • Shelves and Bookcase Plans
      • DIY Storage Trunk Plans
      • DIY Bench Plans
      • DIY Storage Cabinet Plans
      • DIY Bathroom Vanity Plans
      • Kids Projects and Furniture
    • DIY Scrap Wood Projects
    • DIY Workshop Projects
    • DIY Home Decor Projects
  • Getting Started
    • Cabinet Building
    • Woodworking Basics
    • Furniture Finishing Tips
    • Tool Guides & Reviews
  • Blog
×
Home » Quick DIY projects

How to Build a DIY Keepsake Box from Scrap Wood

Modified: Jul 11, 2017 · Published: Jul 12, 2017 by Shara, Woodshop Diaries ·

I’m not normally a sentimental person. But even the most unsentimental person has a few keepsakes. Most of my “keepsakes” are letters and notes from either Danny or my granny (who are the only ones who ever write me notes haha) and they all reside in a shoe box in a cabinet somewhere.

.

But there has got to be a better way to store your keepsakes than in an old cardboard box with the word “NIKE” written on the side.

.

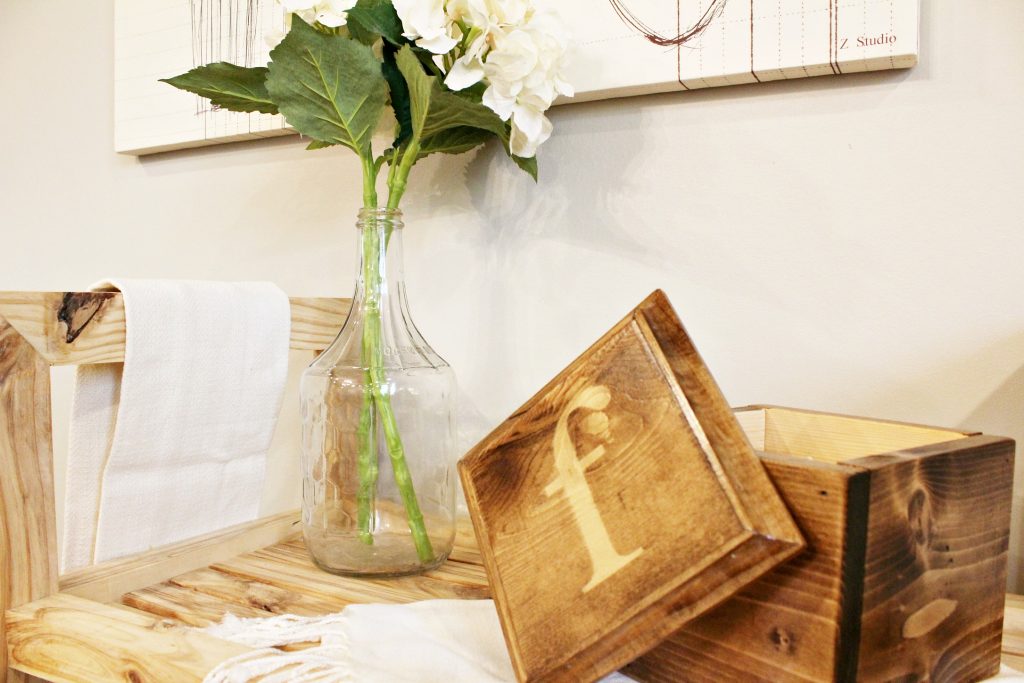
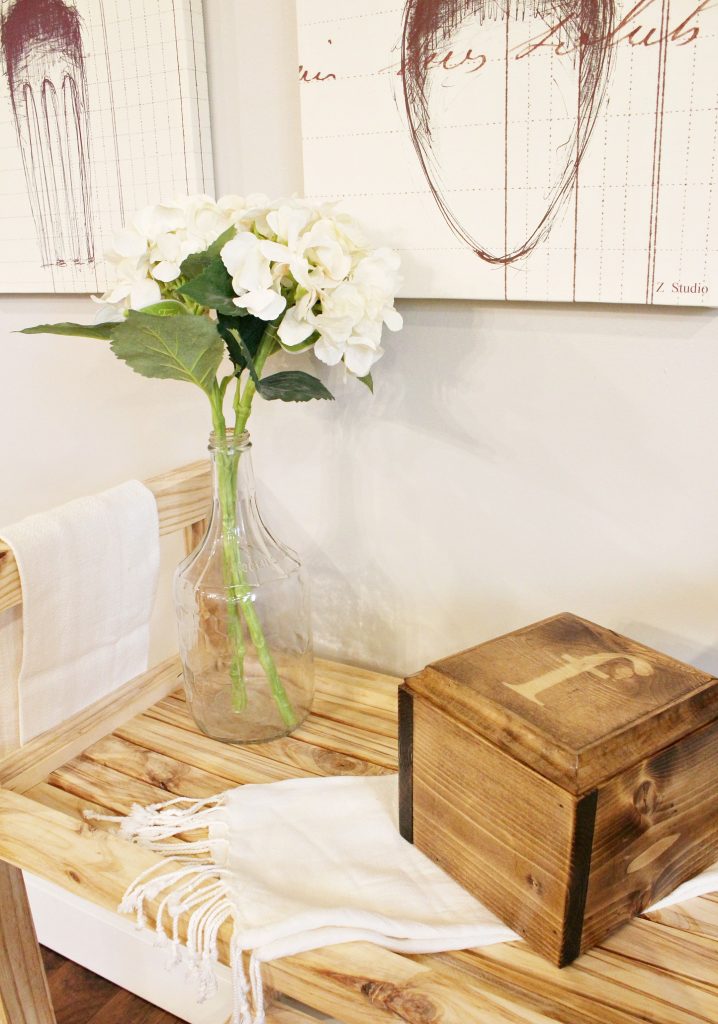
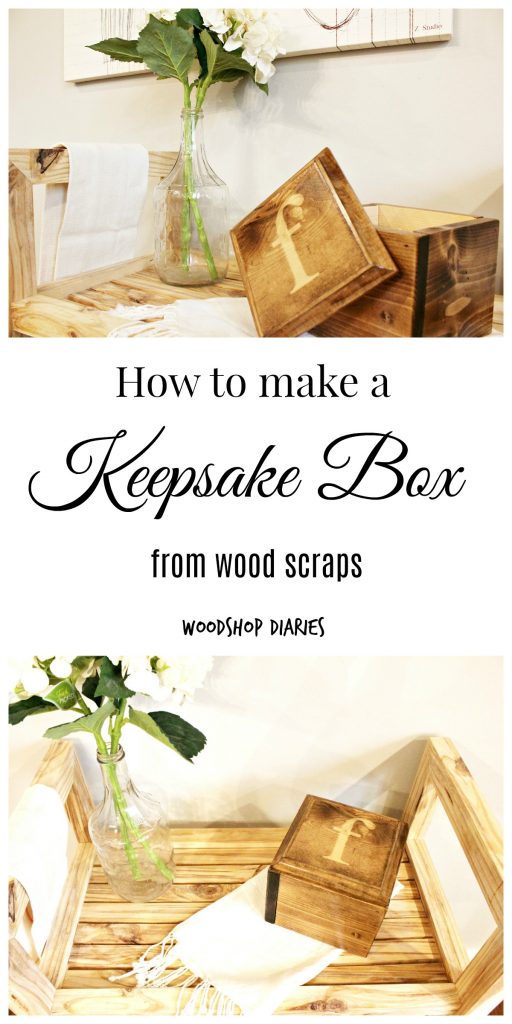
You know, maybe in something like this:

How to Make an Easy DIY Scrap Wood Keepsake Box

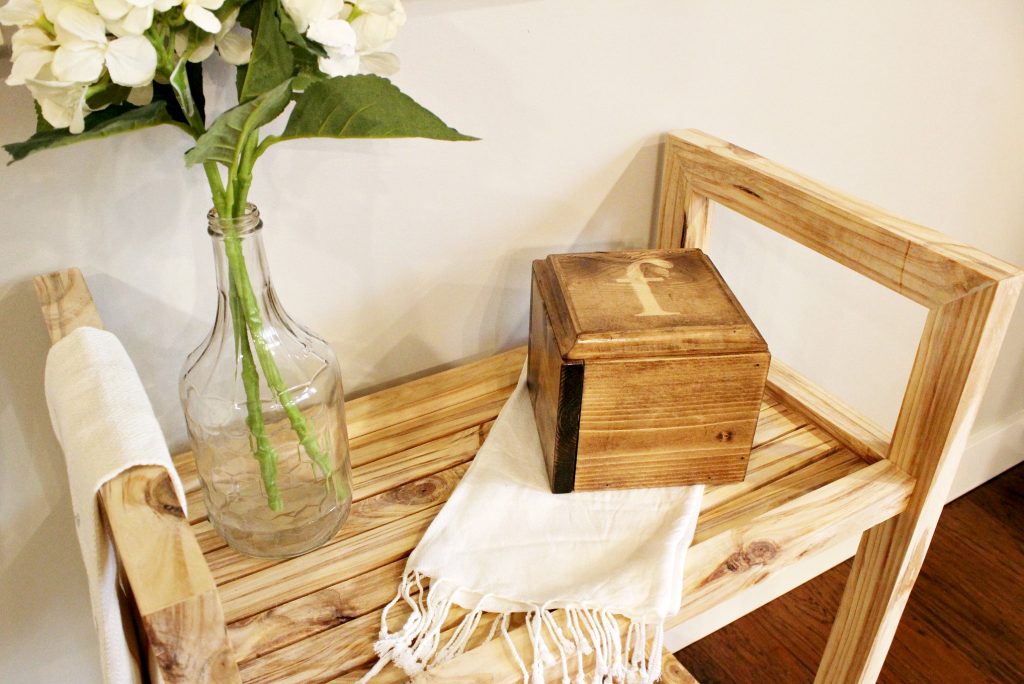
And you can build one of these from a few scraps and about an hour of your time. Have you noticed I’m on a roll lately with all these scrap projects?? Did you miss the scrap wood caddy??  I’ve got another scrap wood project to show you next week, too!

.

The cool thing about this little box is you can use it for keepsakes like trinkets and notes, but you could also use it for jewelry or accessories, or anything really. And since it’s a little more presentable than an old cardboard shoe box, you can display it somewhere for easier access when you want to take a look inside.

.

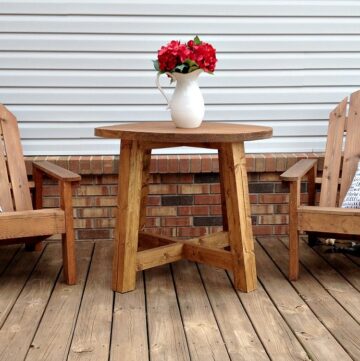
(PS see that bar cart??  It’s a DIY I made recently from a single board!!  Check it out here 🙂 )

.

So grab some scrap 1x6s and let’s do this thing.

.

This post contains affiliate links. Please see disclosure policy for details. Thank you for supporting this site to keep the content free!

.

You will need:

Tools & Materials

Miter saw

Nail gun (or hammer and nails)

Measuring Tape

Scrap 1x6s (or a 1×6 board)

Scrap cove molding (or a stick of it if you don’t have scraps)

Wood finish

Wood Glue

Stencil (optional)

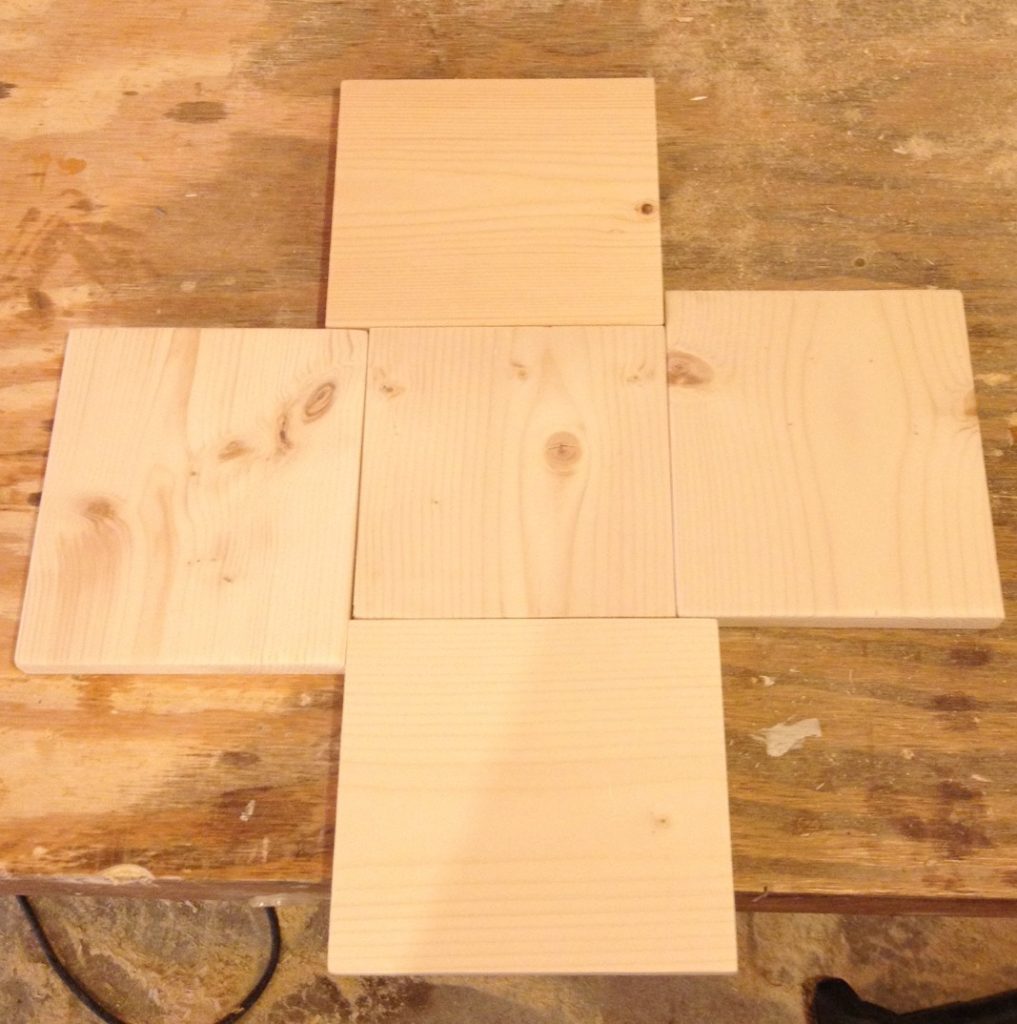
Step 1: Cut pieces for the box

I made my box a square so all sides are the same size. If you wanted, you could make it more of a rectangle and lengthen one side. Totally up to you. But I cut a piece of 1×6 scrap at 5 ½” long (to make a square bottom piece) and four side pieces at 6 ¼” long like the picture below.

How to Make a Scrap Wood Keepsake Box

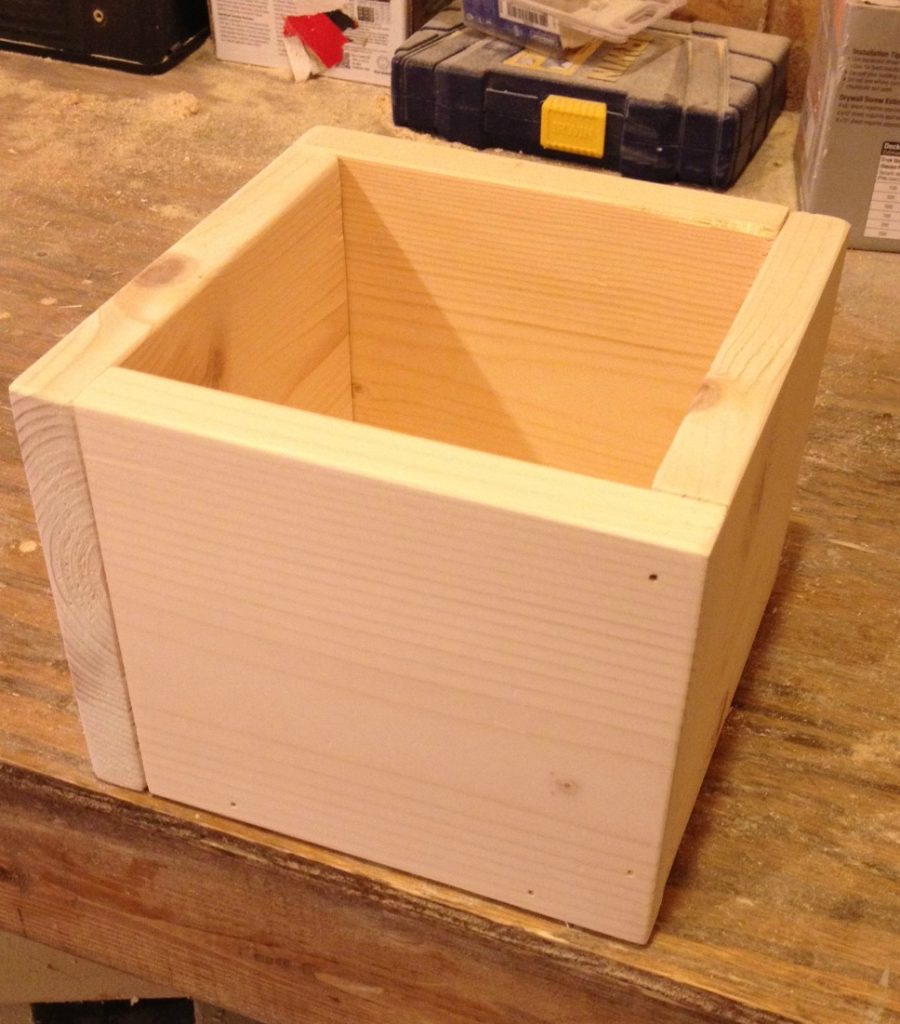
Step 2: Assemble the box

Next, I “folded” the sides up and glued and nailed them together.

How to Make a Scrap Wood Keepsake Box

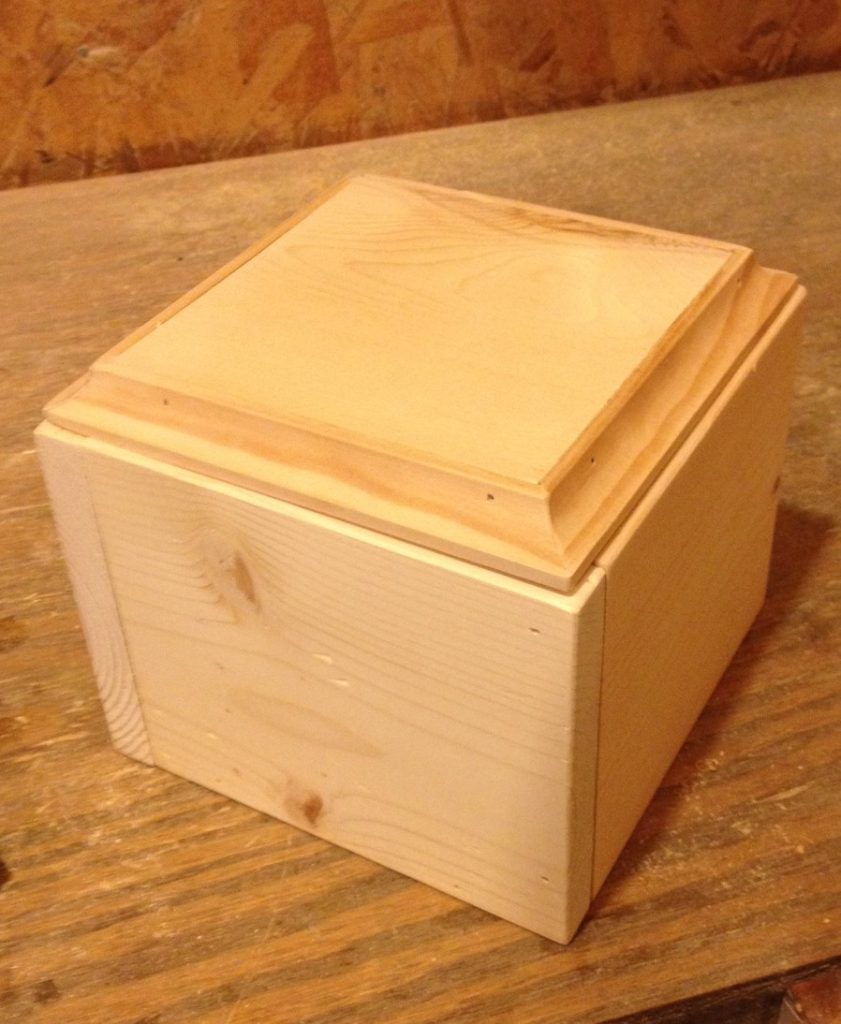
Step 3: Make the top

To make the top, I cut a piece of 1×6 at 5 ½” long and cut scrap cove molding to fit around the edges. I nailed these pieces along the sides of the top.

How to Make a Scrap Wood Keepsake Box

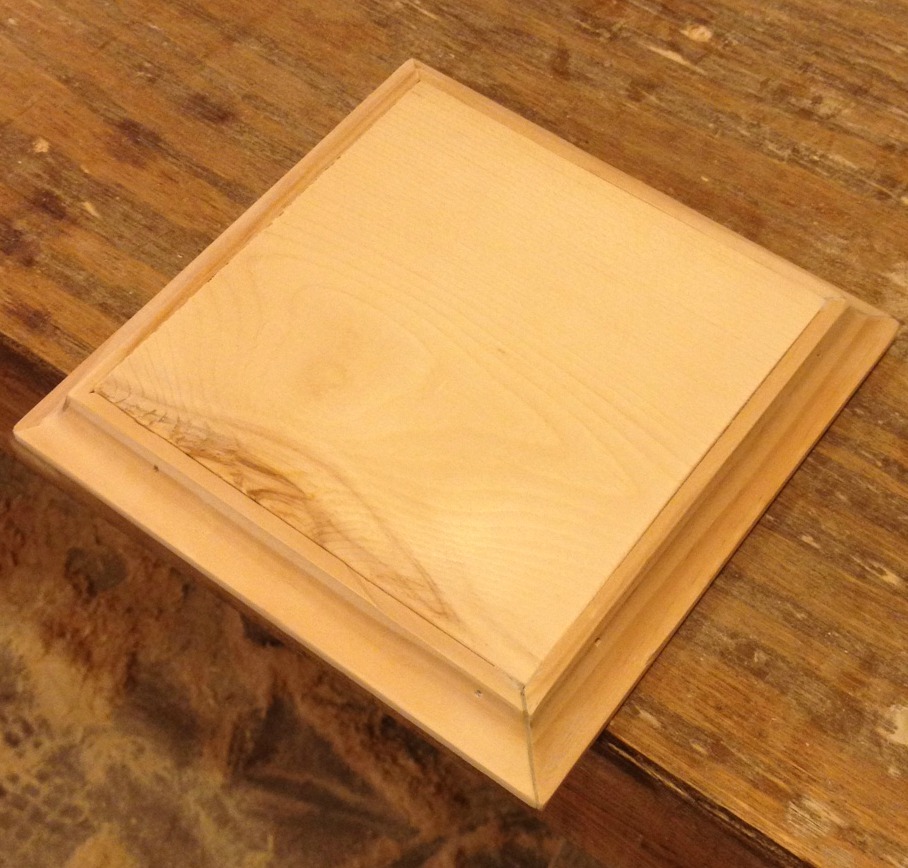
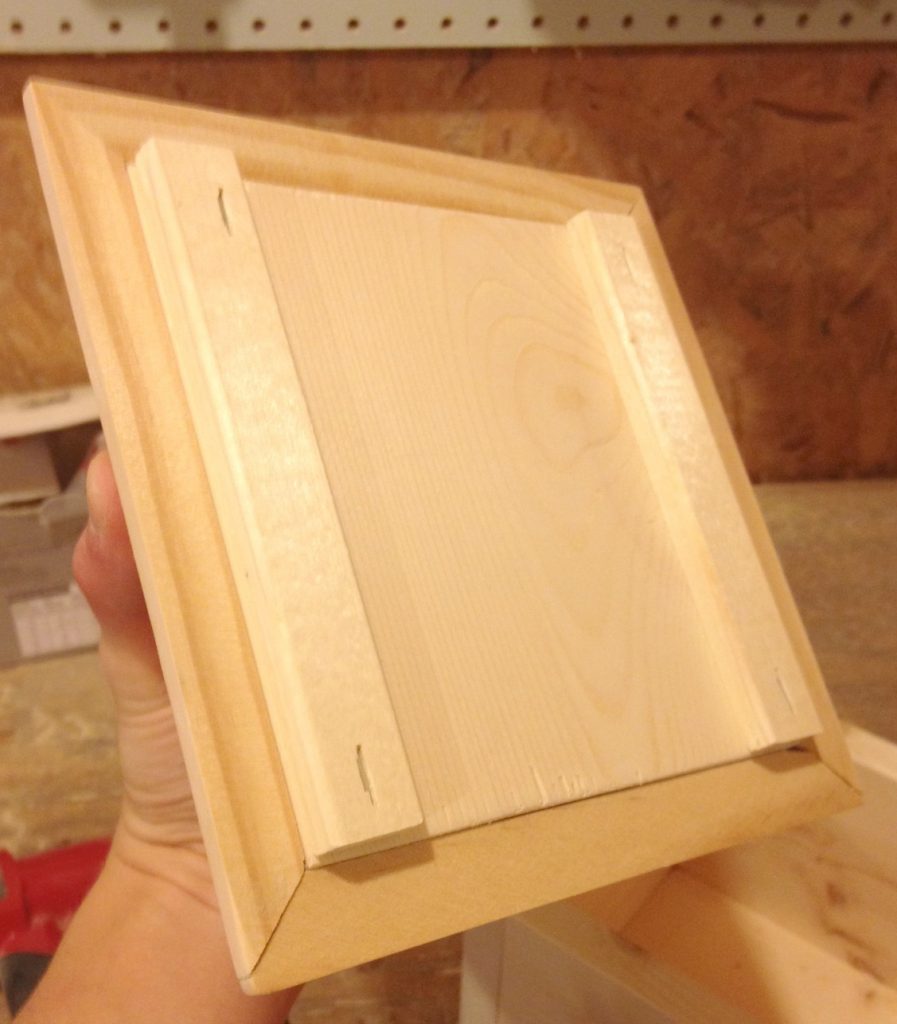
In order to keep the top in place when it’s set in the box, I cut two thin pieces 5 ½” long (you could cut a couple small pieces off another scrap 1×6) and glued them onto the bottom of the top piece. This helps the lid stay in place.

 How to Make a Scrap Wood Keepsake Box

How to Make a Scrap Wood Keepsake Box

Step 4: Finish the box

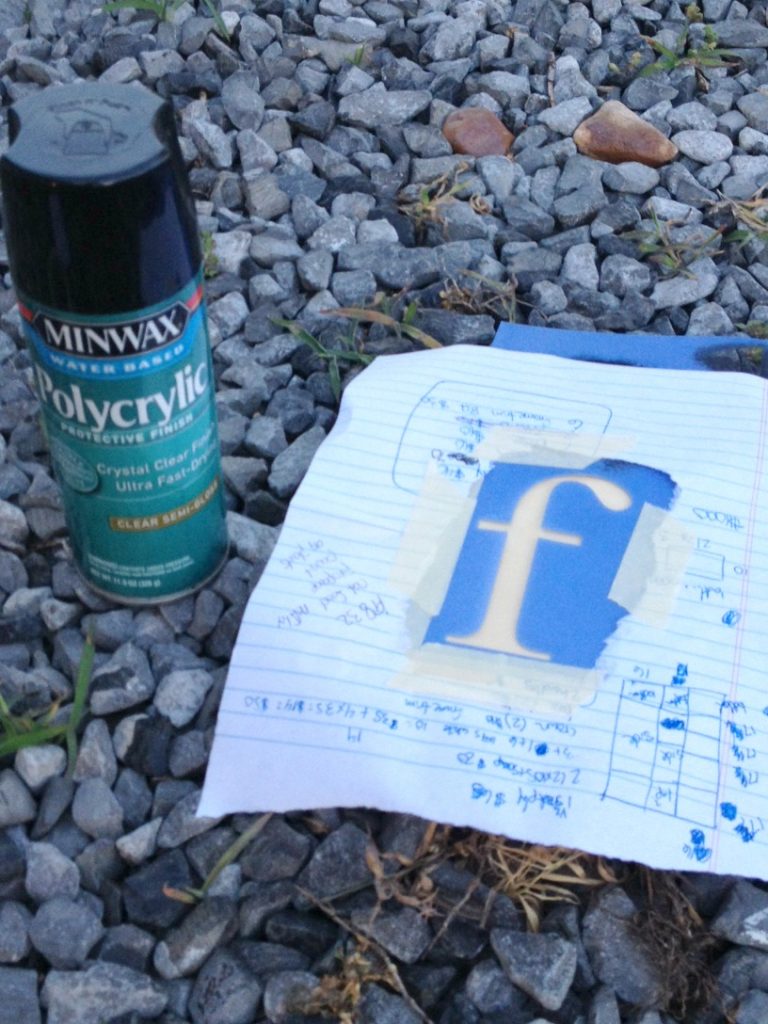
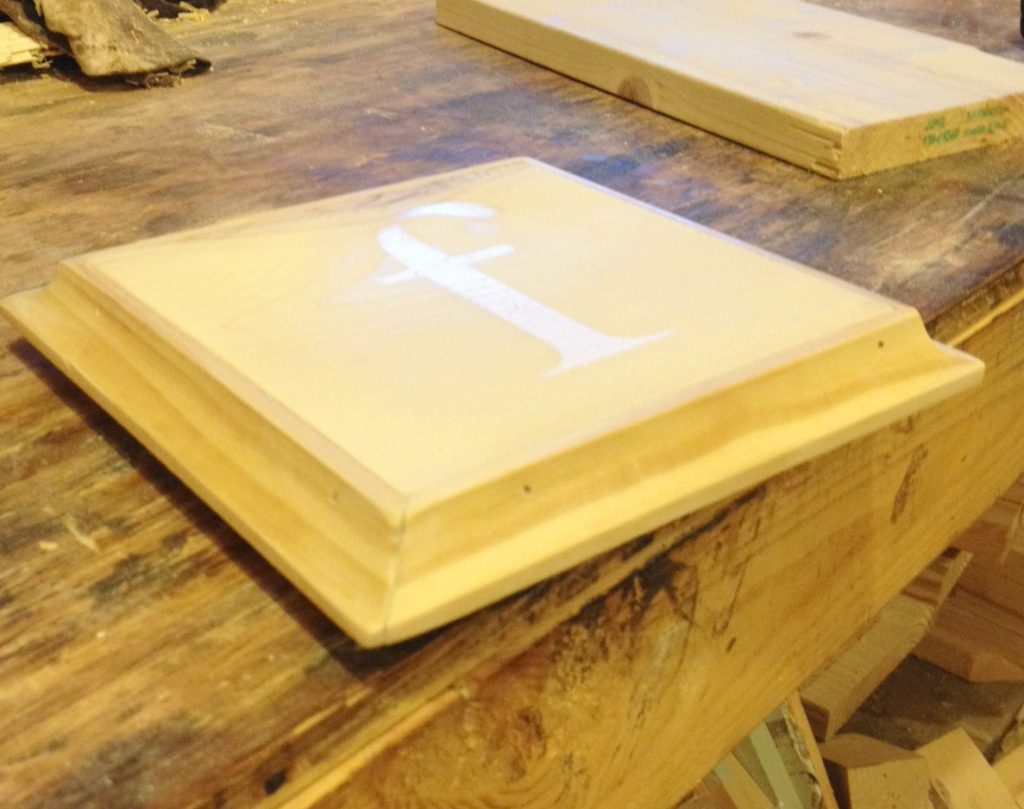
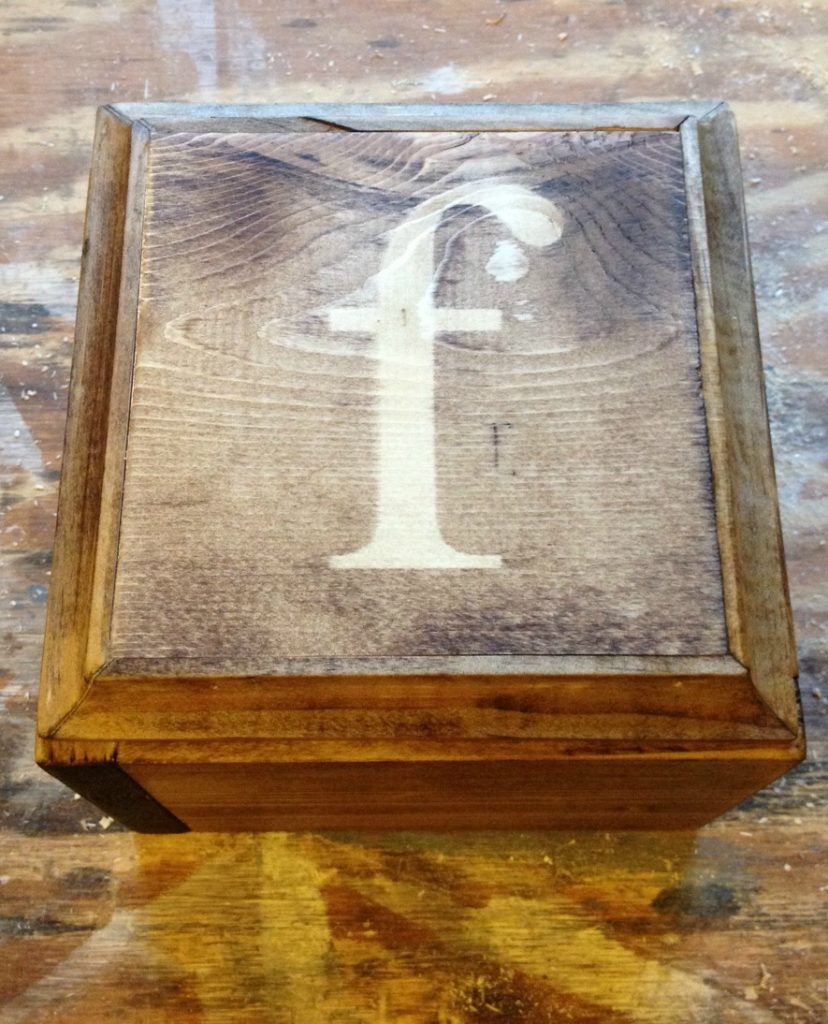
I wanted an initial on this box. But, I didn’t have a good stencil for stain because it likes to soak into everything, so instead, I taped a plastic stencil on the lid and used spray Poly to spray on the letter. After a few coats, I removed the stencil and let it dry.

How to Make a Scrap Wood Keepsake Box

Once it was dry, I stained it with Minwax Provincial. The stain wiped right off the letter where the poly was sprayed. Once the stain dried, I polyed the whole box. Then it was ready to go.

How to Make a Scrap Wood Keepsake Box

How to Make a Scrap Wood Keepsake Box

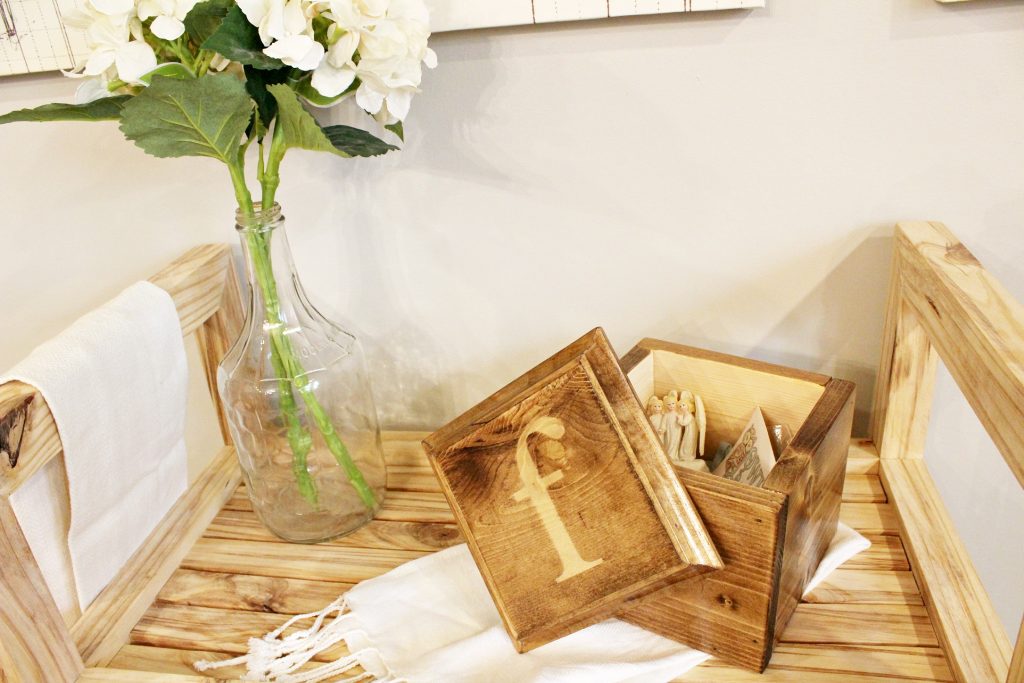
The lid is easy to open, but you could even add a small knob or pull to the top if you wanted.

How to Make an Easy DIY Scrap Wood Keepsake Box

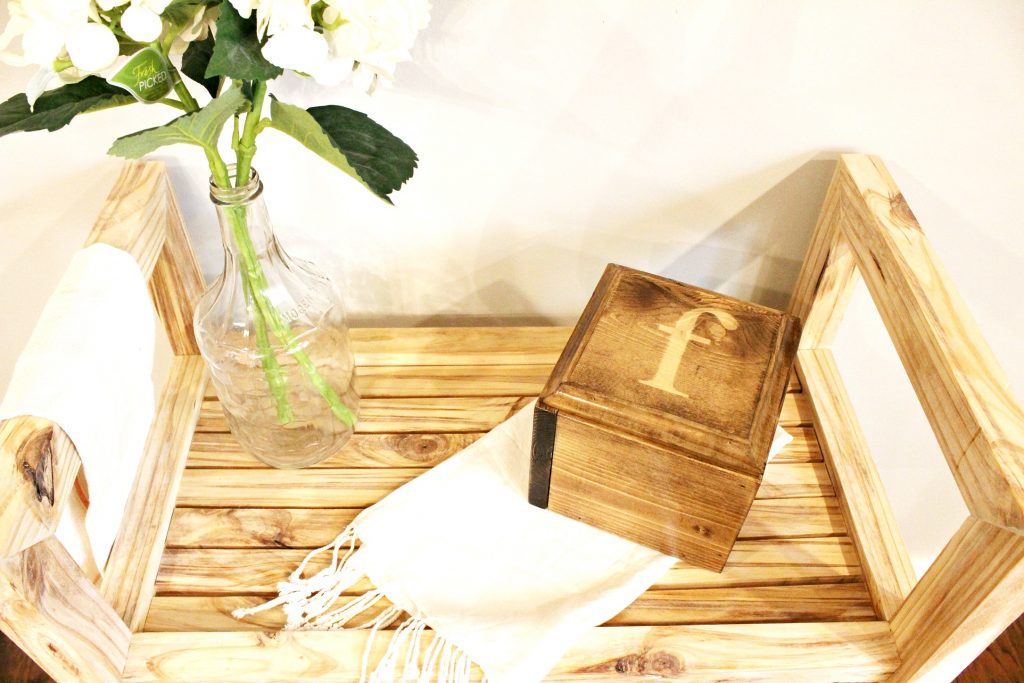
By the way, do you recognize the scenery here?? It’s the DIY bart cart I posted recently. I made it from a single board and it’s one of my favorite projects! I thought this little keepsake box fit perfectly right here.

How to Make an Easy DIY Scrap Wood Keepsake Box

How to Make an Easy DIY Scrap Wood Keepsake Box

How to Make an Easy DIY Scrap Wood Keepsake Box


What do you think?? Go grab a few pieces from your scrap pile and get to building…right after you pin for later 🙂

How to Make an Easy DIY Scrap Wood Keepsake Box

Until next time, happy building!

« DIY Console Cabinet with Open Shelf
How to Make a Wooden Spoon {That’s Shaped Like a Pineapple!} »

Related Posts

A Simple Modern Outdoor Table
How to make a DIY house shaped business card holder
Super Easy DIY Business Card Holder
The Real Real Life House Tour–Live Video

Comments

  1. Tom Clarke says

    July 12, 2017 at 11:56 am

    Love the simplicity but most of all I love the fact this is the first project in a long time where you didn’t use pocket screws. I hate pocket screws as I can never seem to get them lined up right. My problem not yours. 🙂

    • Shara, Woodshop Diaries says

      July 12, 2017 at 12:11 pm

      Thanks Tom! Oh no, I didn’t know you hated them that bad! I hate to say it, but several upcoming projects have them, BUT I do have one post coming up next week that didn’t use any screws or nails at all that you won’t want to miss 😉 Hope you are doing well! I always appreciate you following along!

Trackbacks

  1. DIY Cake Box Carrier says:
    July 27, 2017 at 7:52 am

    […] Scrap Wood Keepsake Box […]

Hi! I'm Shara, the designer, maker, and videographer behind Woodshop Diaries. Let's get building, friends :)

Learn more →

Woodworking Tips & Guides

  • How to make simple Shaker style cabinet doors!!
    DIY Simple Shaker Cabinet Doors
  • 5 Tools To Get Started Woodworking
  • DIY Kitchen Cabinets–From Only Plywood
  • How to Square Board Edges and Make Your Own 2x2s

Footer

↑ back to top

Tips to Take Your Projects to the Next Level

--5 Secrets to Professional Looking DIY Furniture

--How to Properly Paint Wood Furniture

--How to EASILY Cover Plywood Edges

--How to Sand Wood

--10 Must Have Tools for Furniture and Cabinet Building

Printable Building Plans

Check out our shop to browse printable PDF building plans!

Website Policies

This website is for entertainment purposes. Using any information provided is to be at your own risk.

This site uses cookies to provide you with a better experience.

All images and text on this site are property of Woodshop Diaries, LLC. Please be respectful and don't steal this content.

See Policies and Privacy page on this site for more information.

Want to get in touch? Contact Us Here

Copyright © 2026