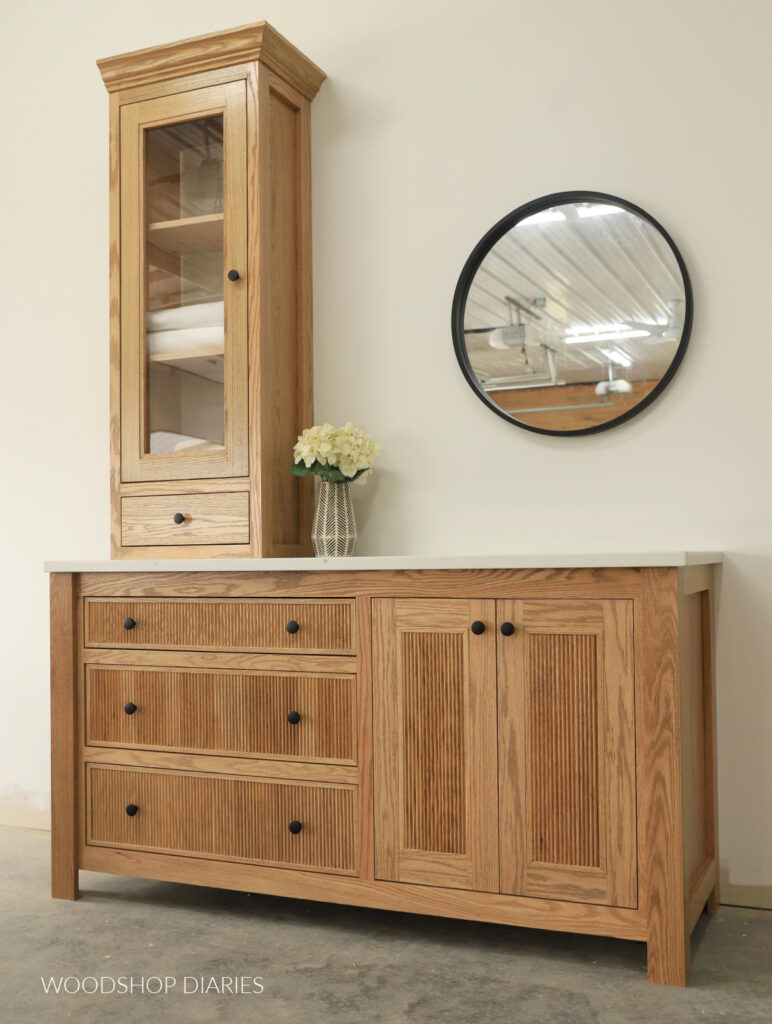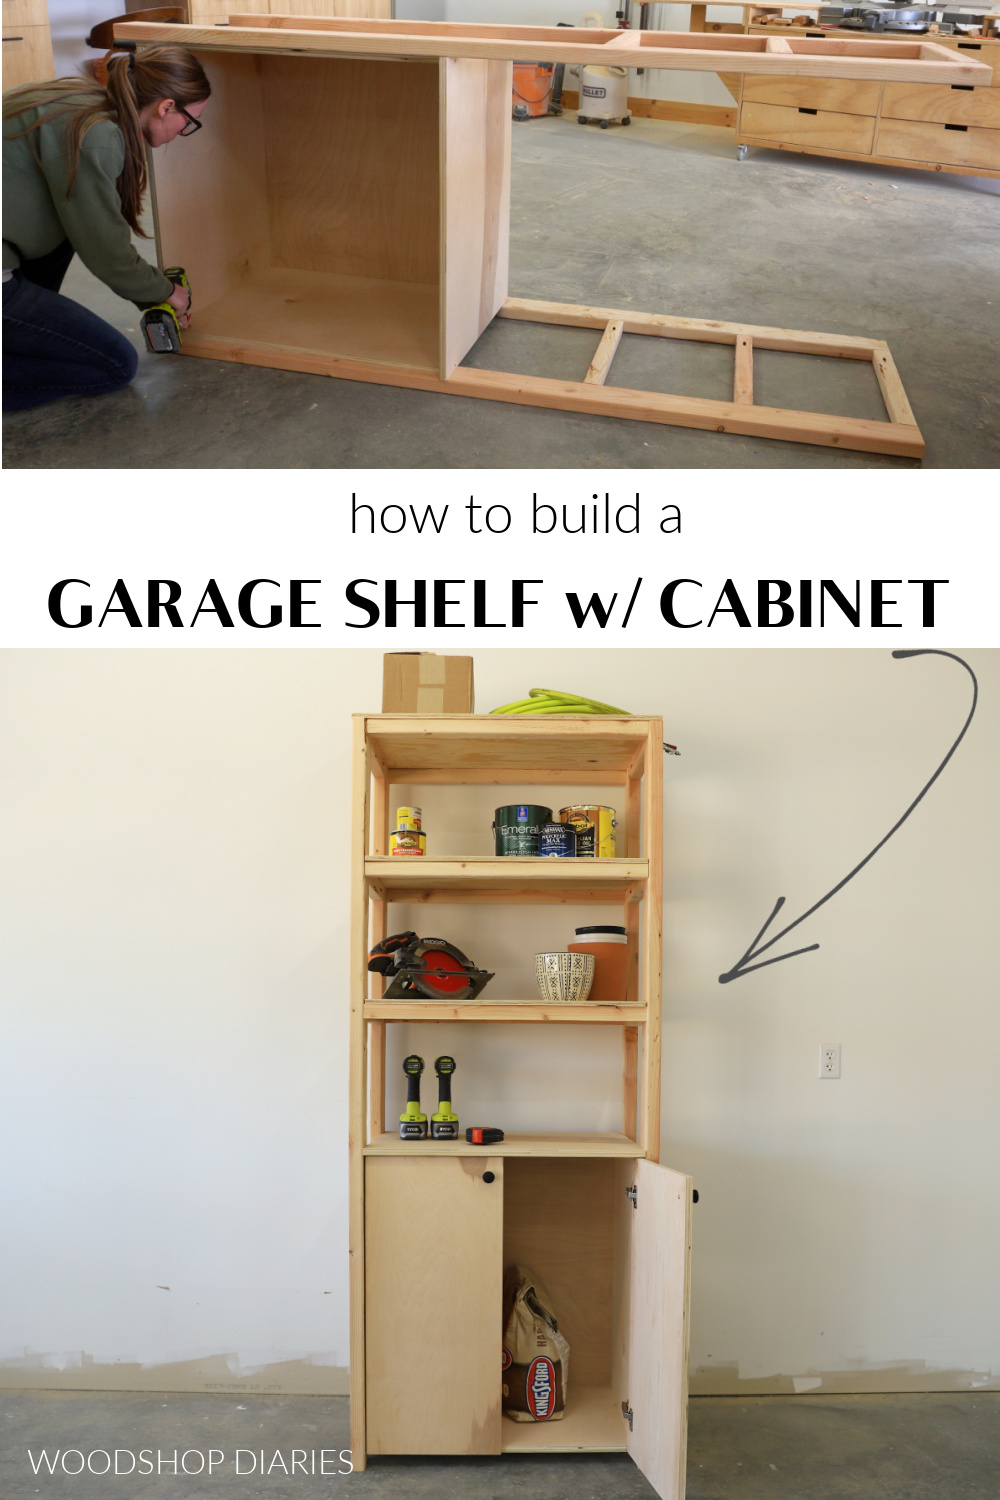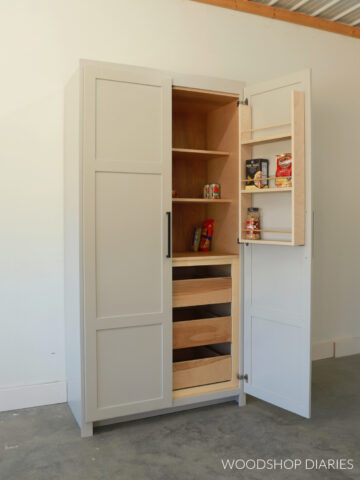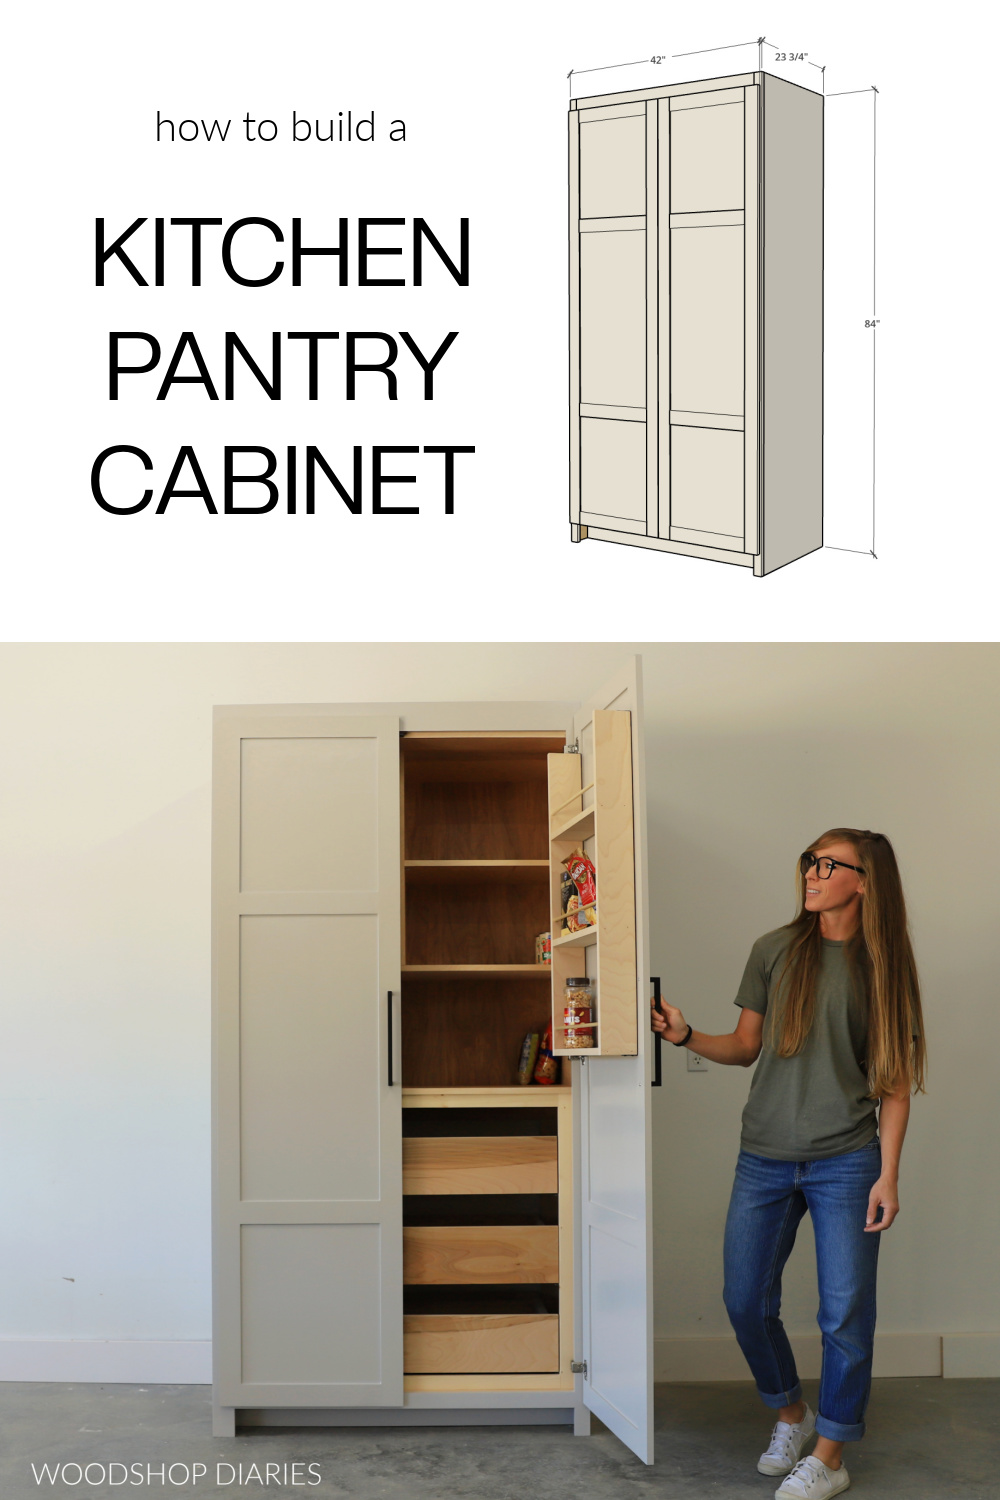
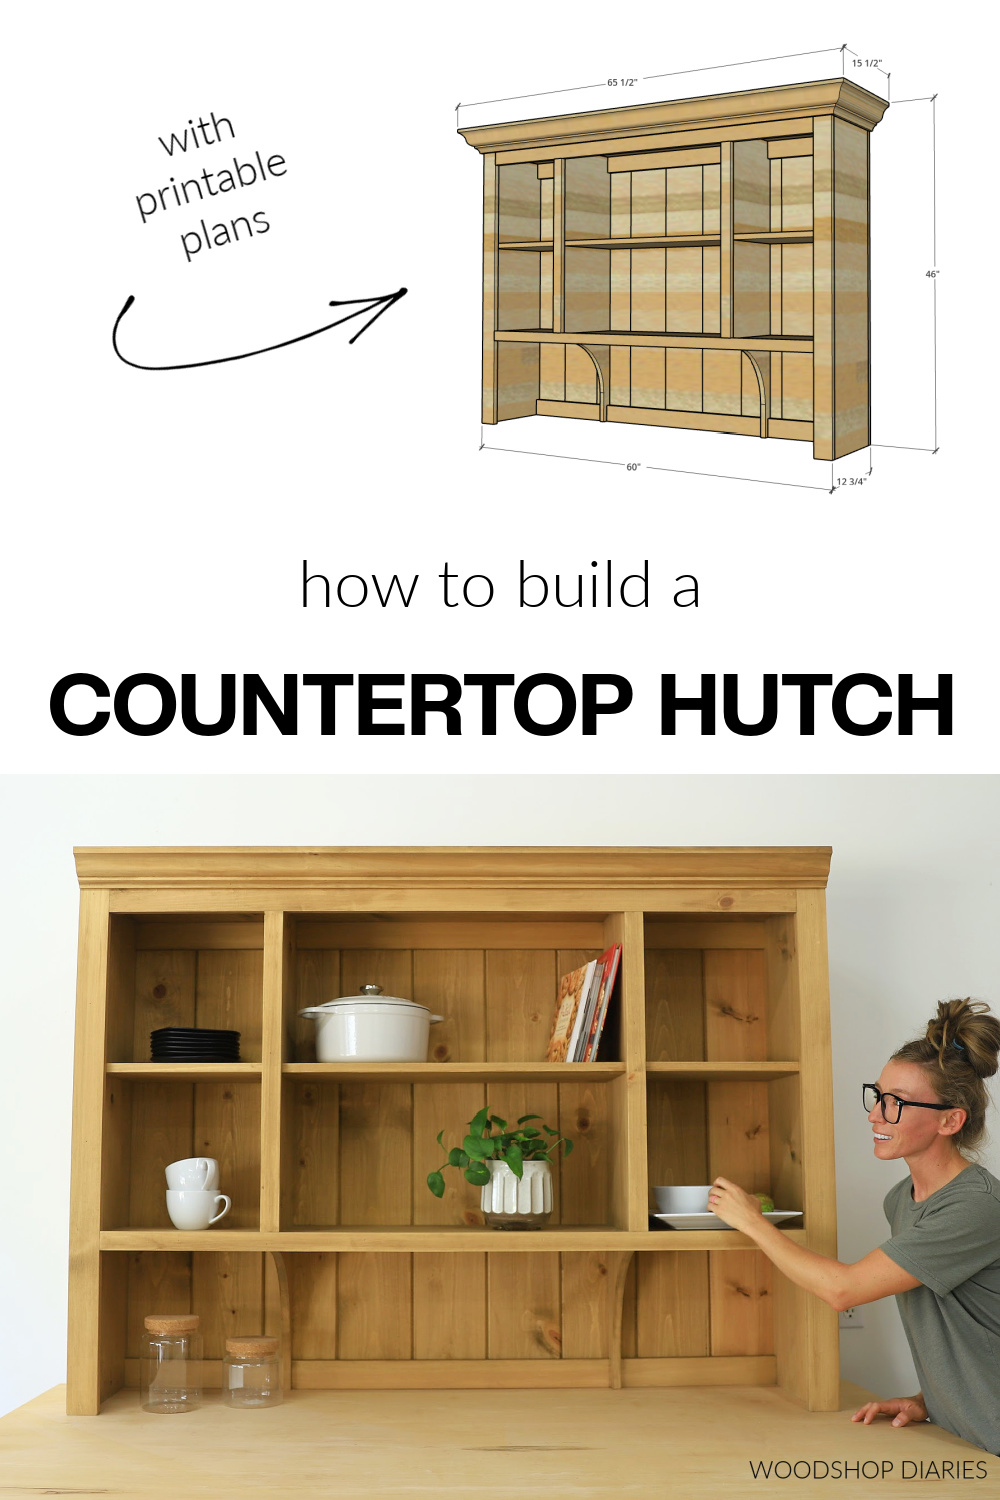
In this post, I’m sharing how to build a classic countertop hutch.
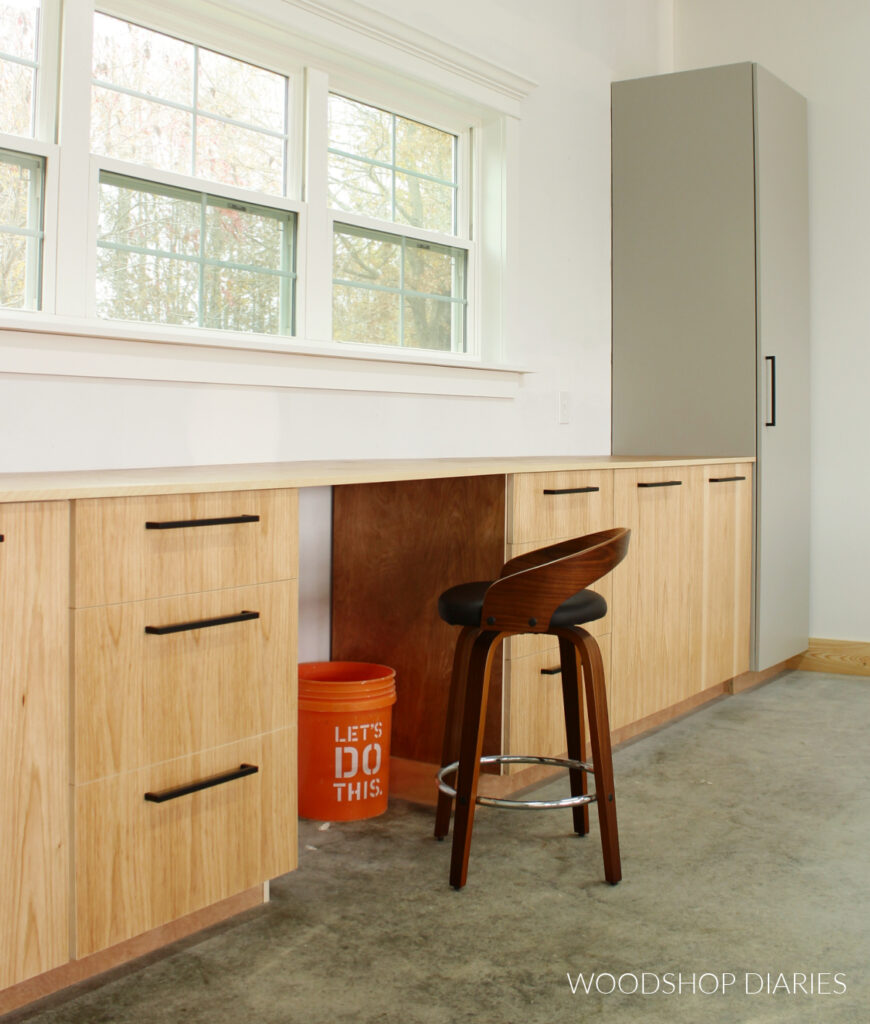
This is the perfect solution to add practical storage to your kitchen, dining room, or pantry because it’s designed to sit on top of an existing base.
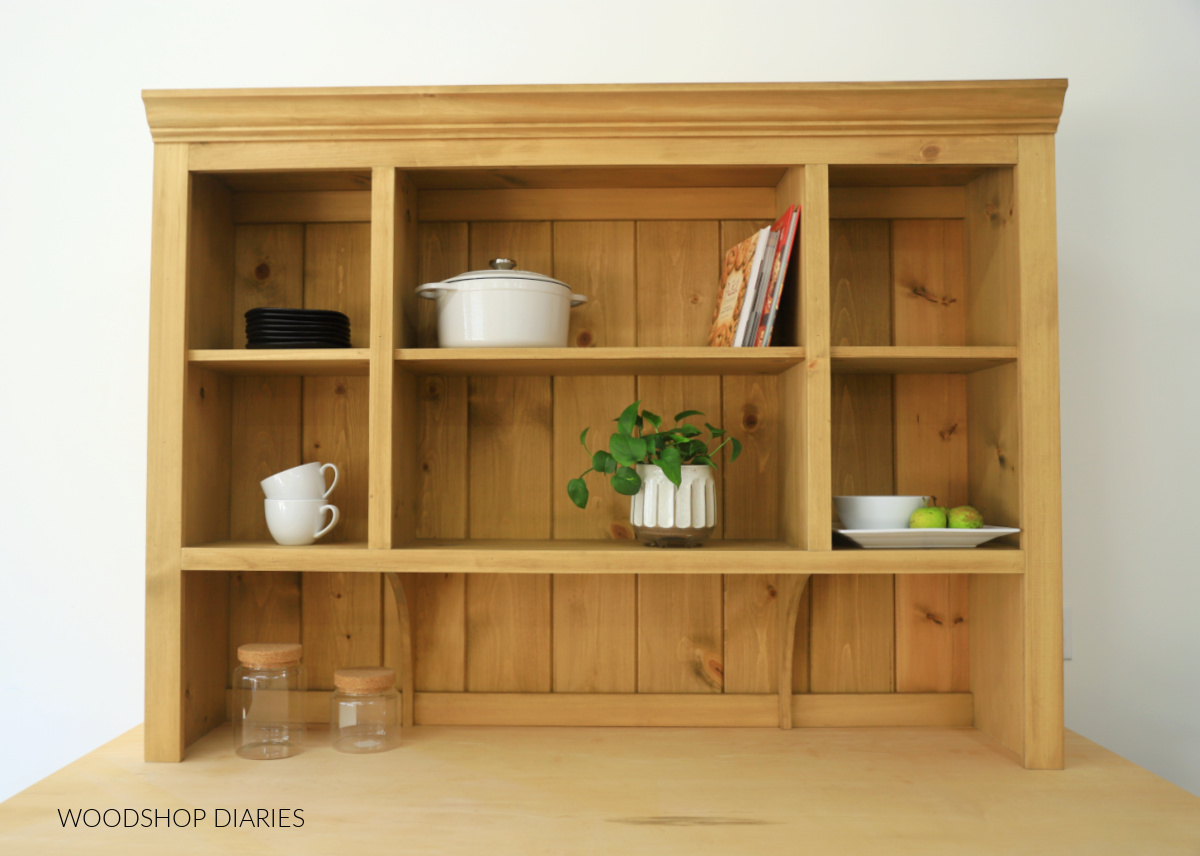
So if you have base cabinets, a console, or a dresser already there, you can simply set this hutch on top to add additional shelving for dishes, books, etc.
I built it to go in my pantry that I’ve been slowing remodeling since the beginning of the year (it’s July, so when I say slowly, I mean SLOWLY ha!).
This was a really fun and simple project to put together, so I’m excited to show you how to build it below.
*This post contains affiliate links. See website policies.
What to Know Before Building
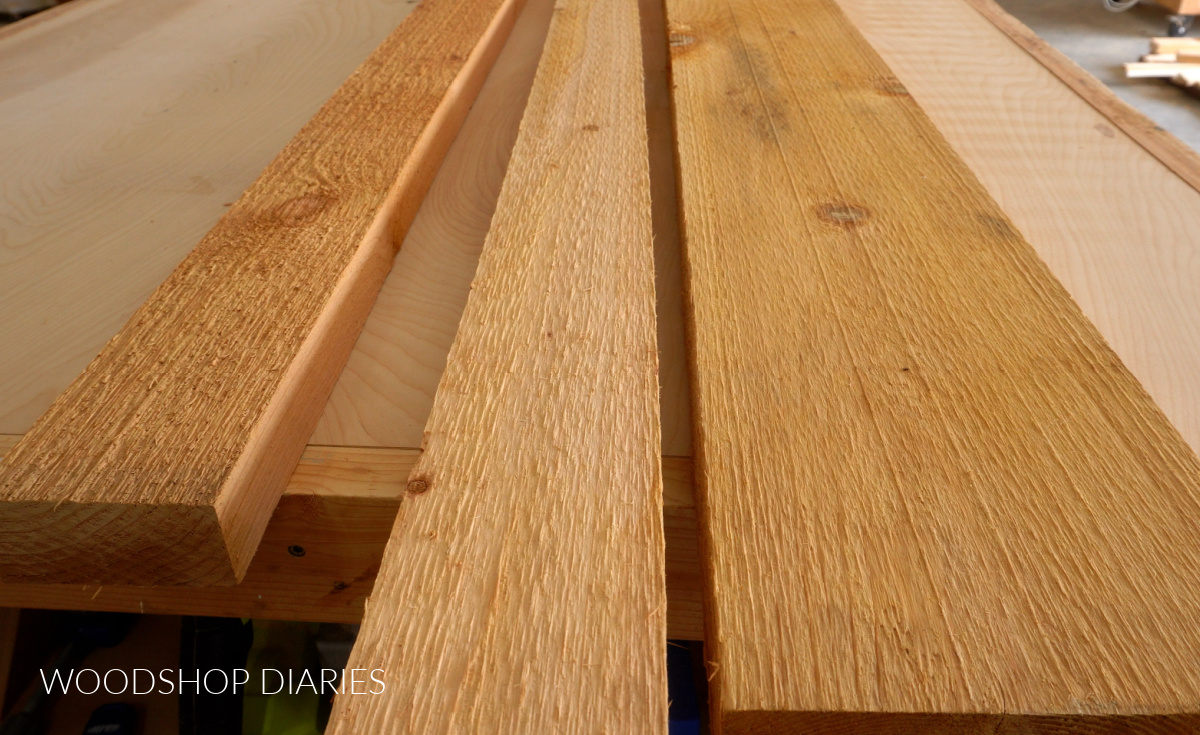
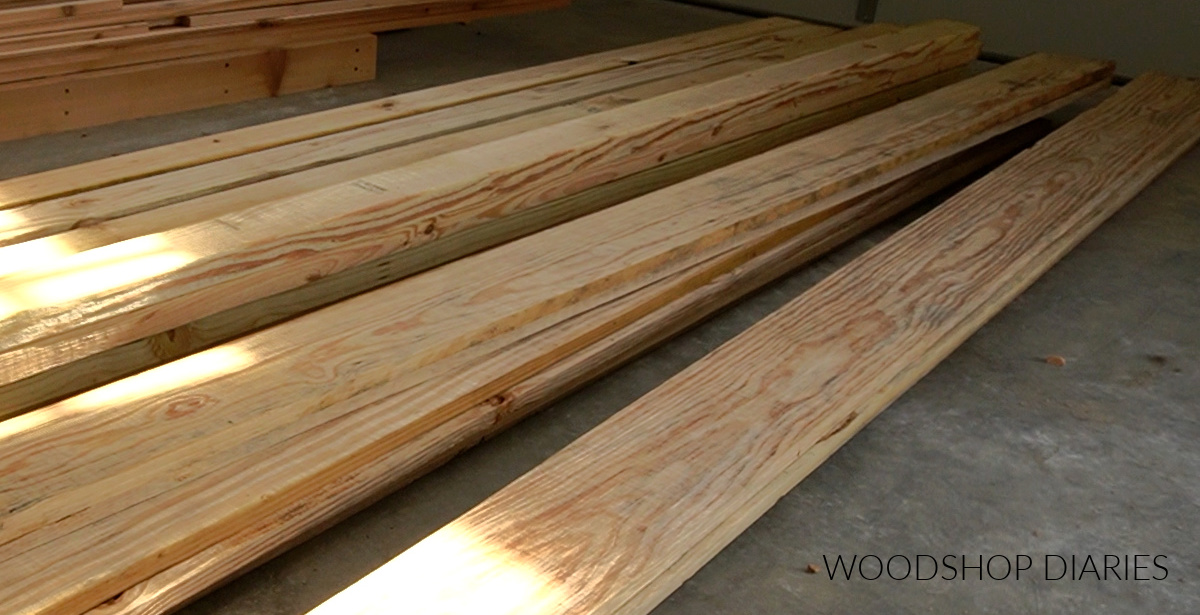
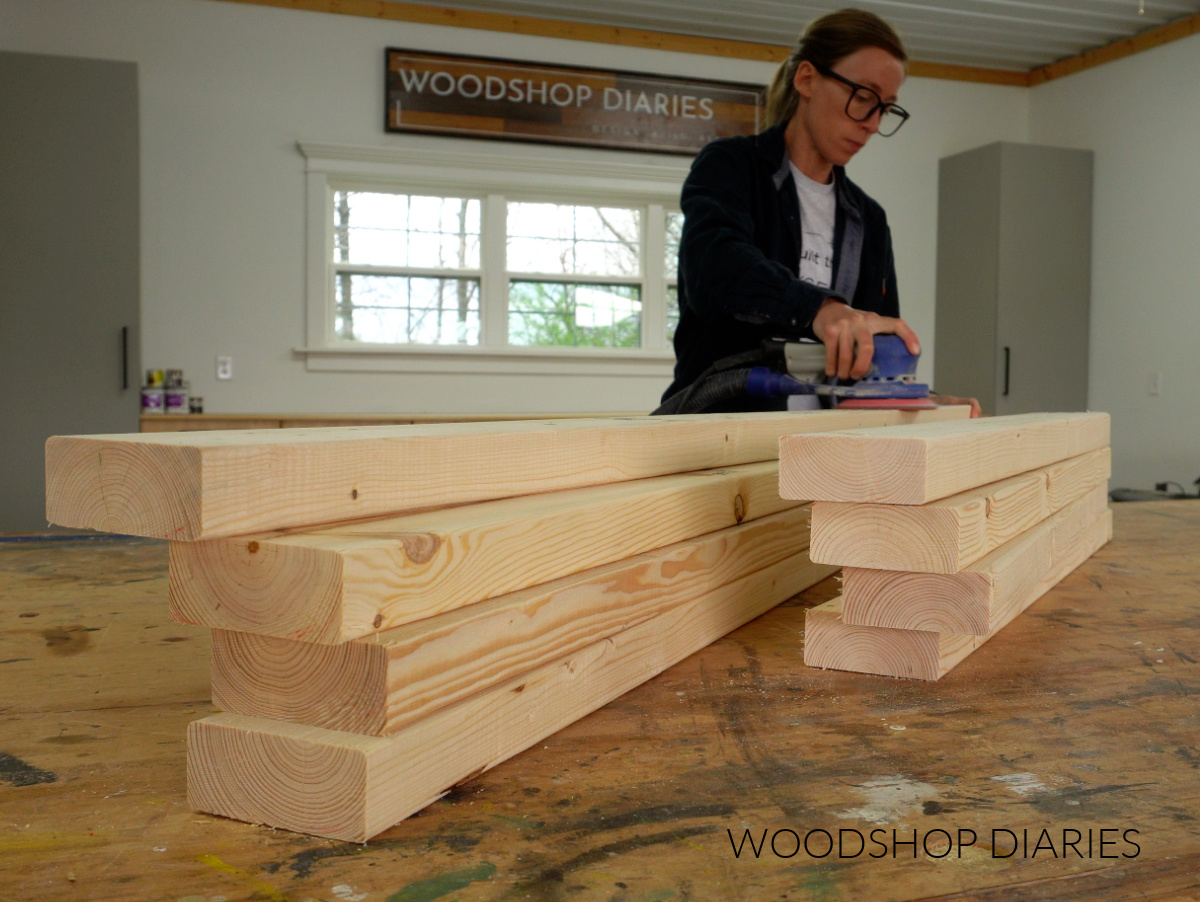
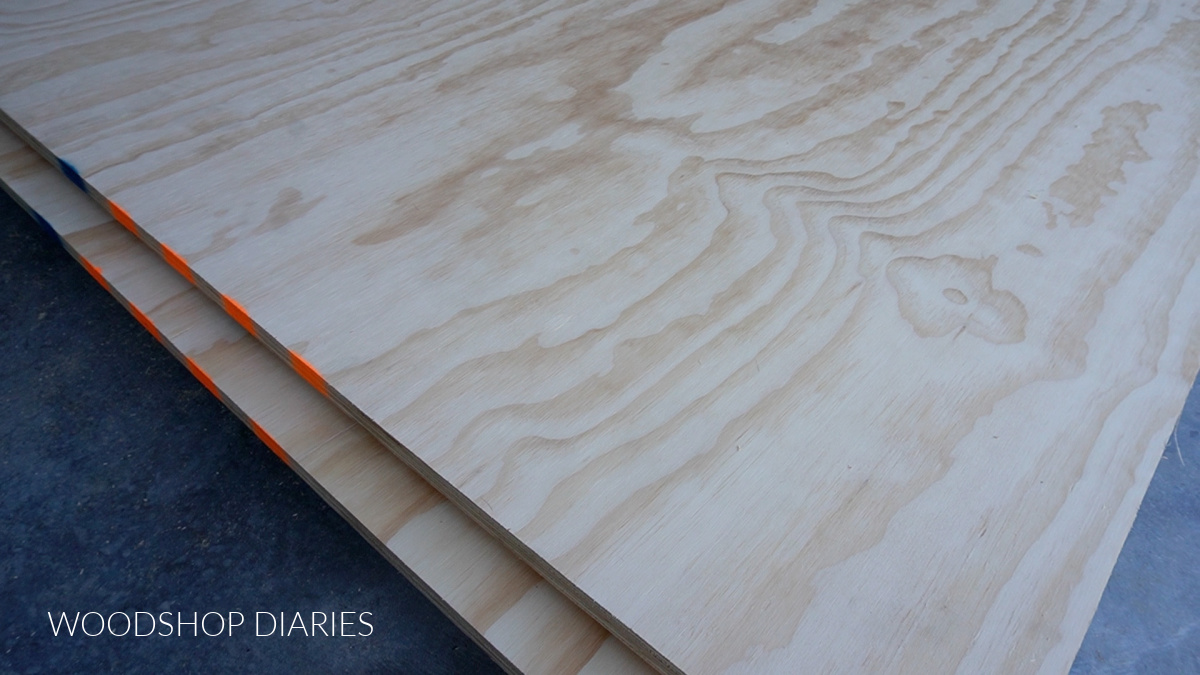
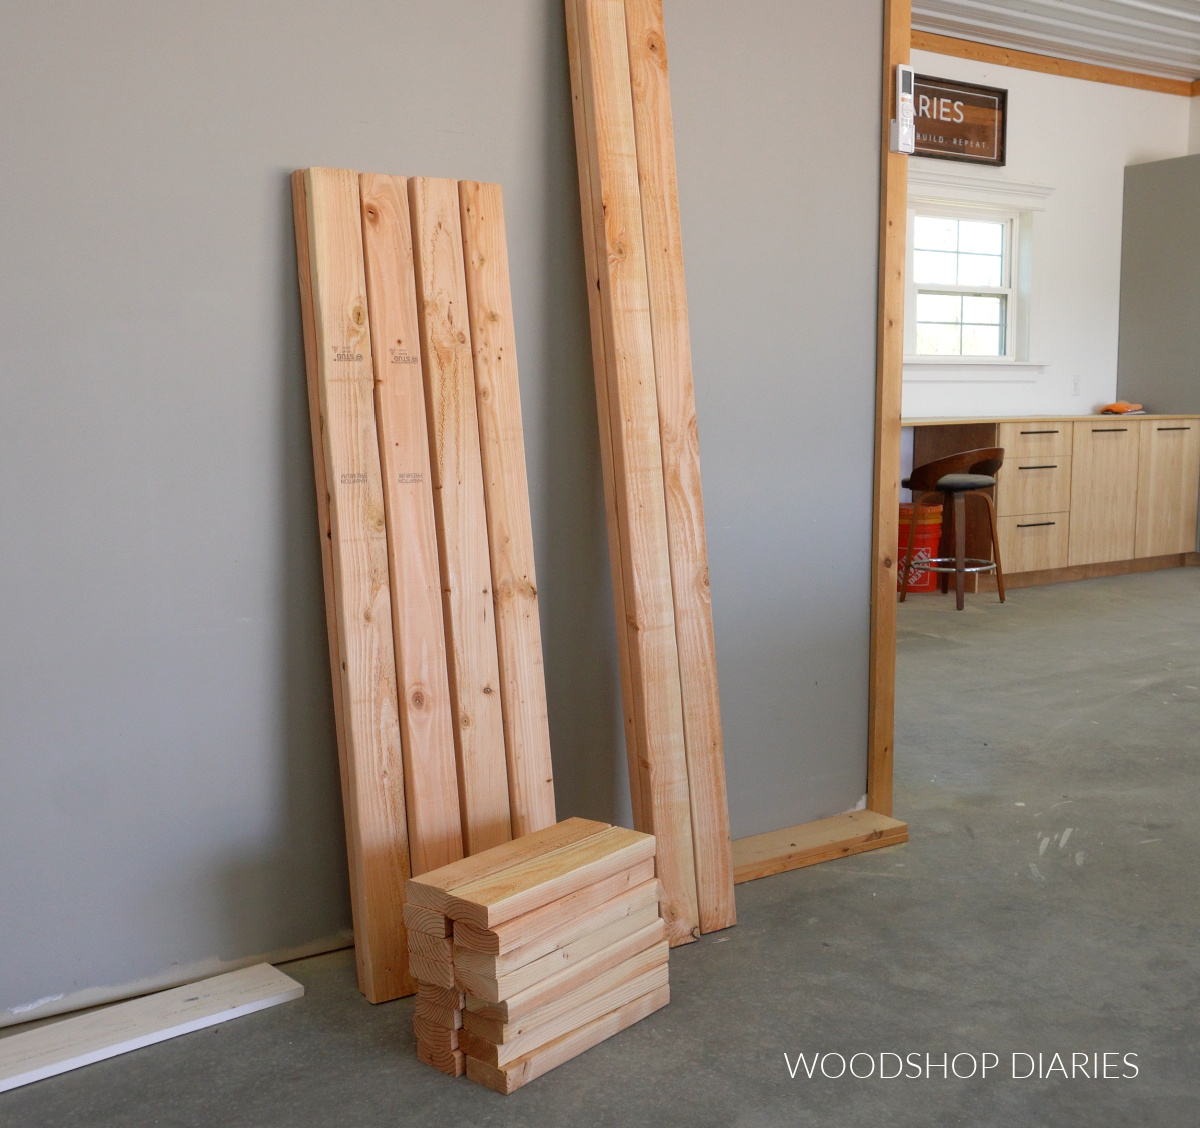
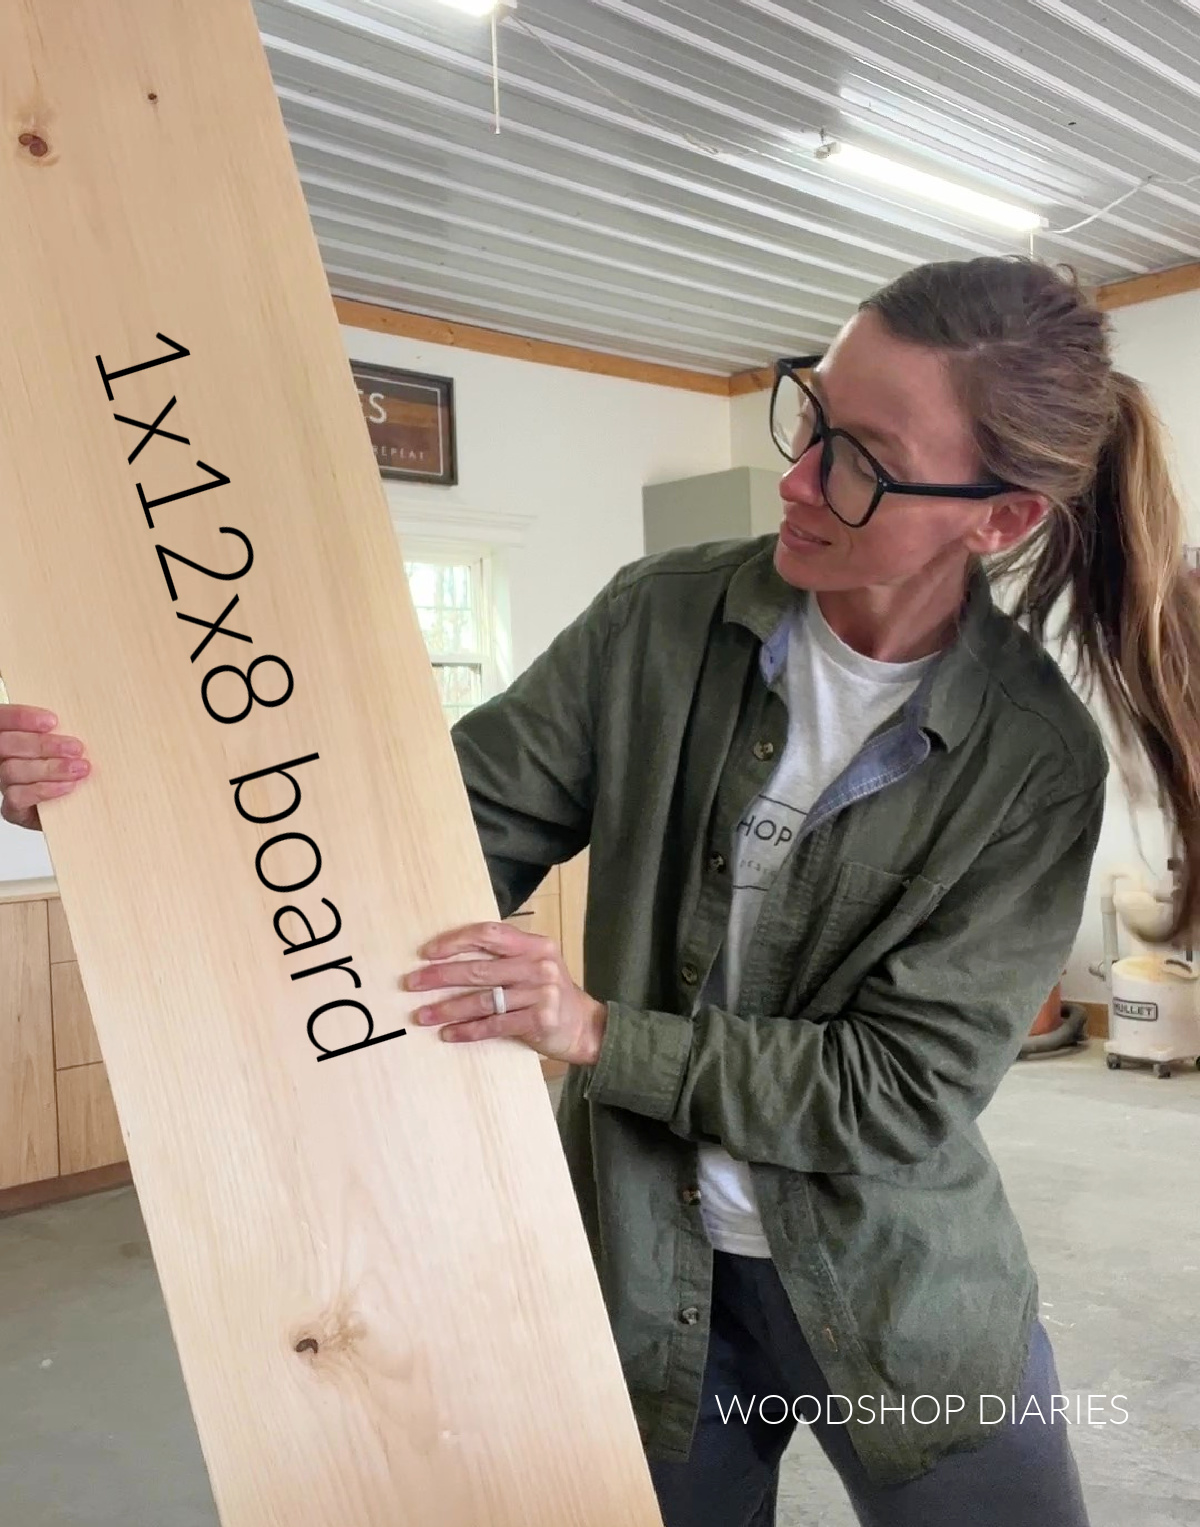
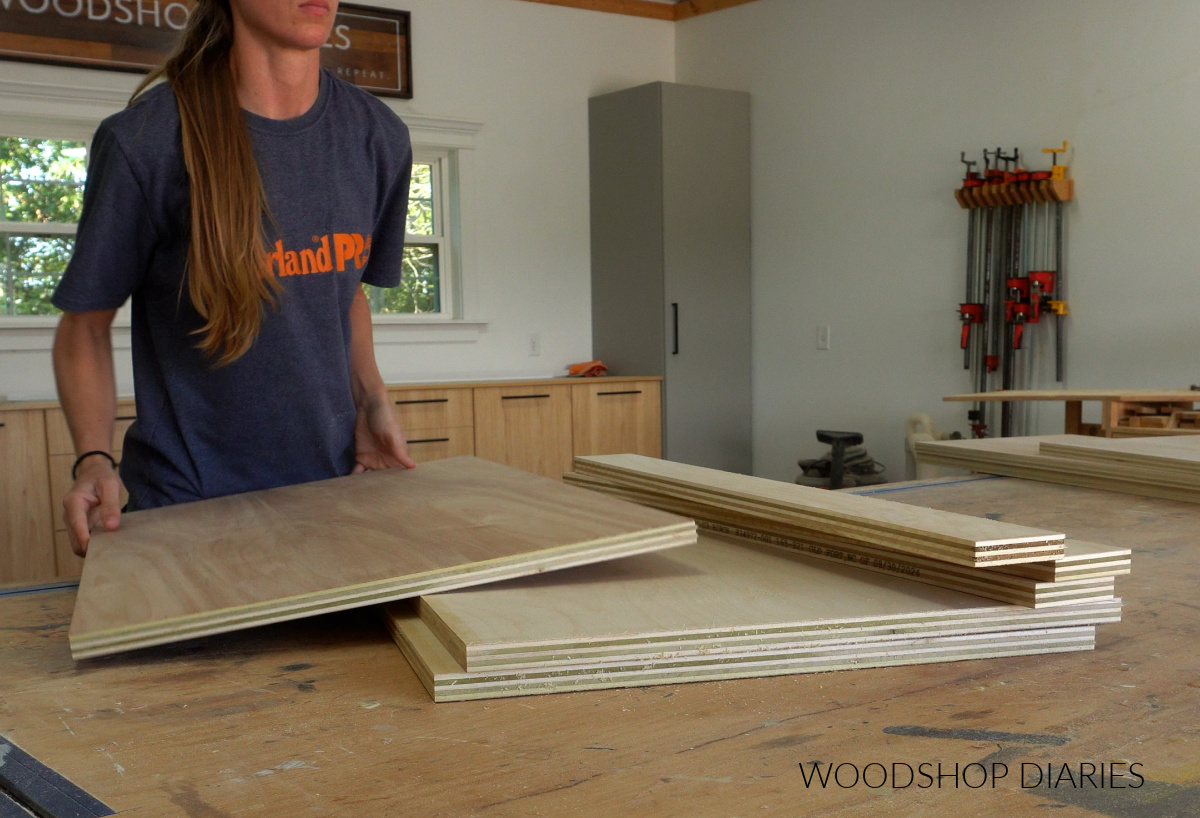
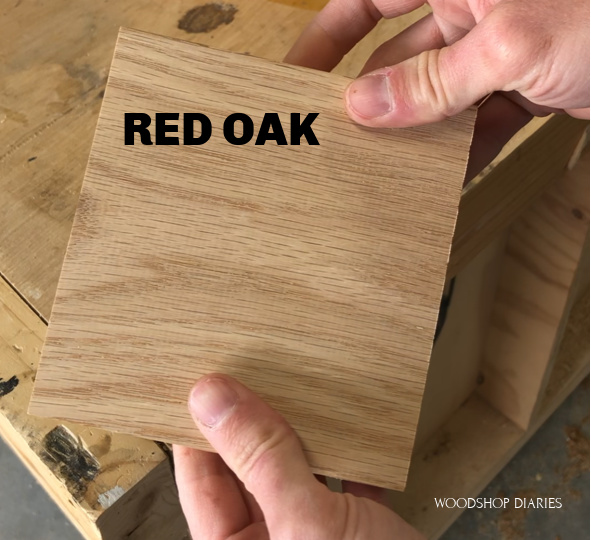
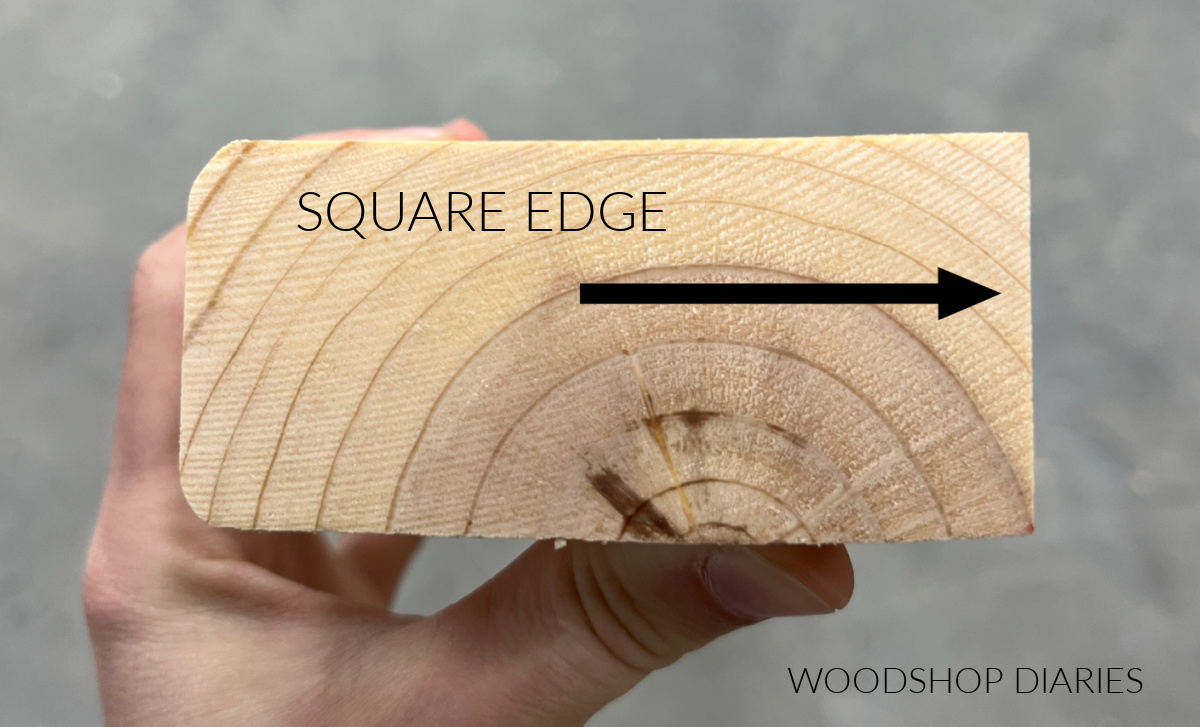
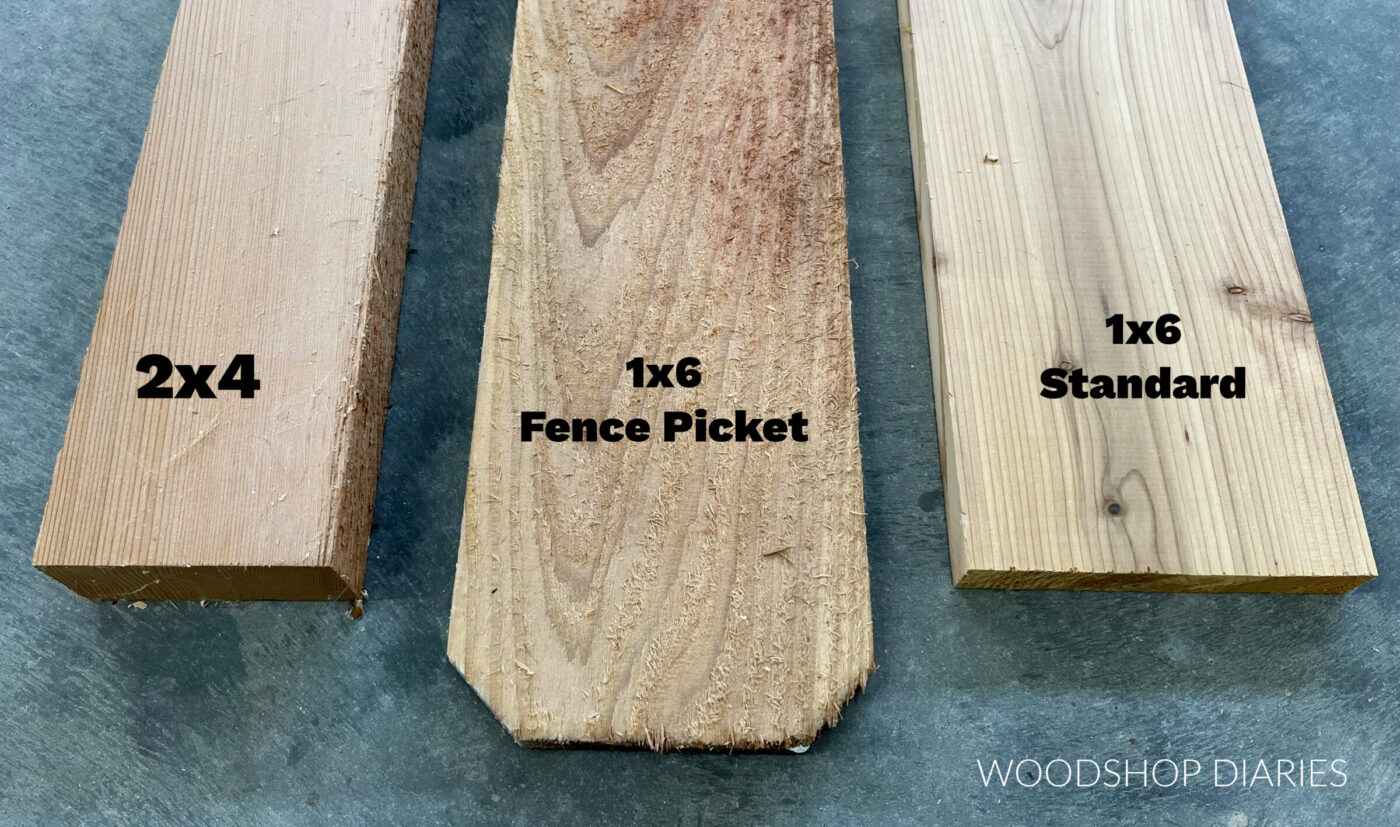
To keep this project budget friendly…and also to give it that subtle country vibe I wanted in my pantry, I built this hutch from 1x construction lumber (spruce/pine).
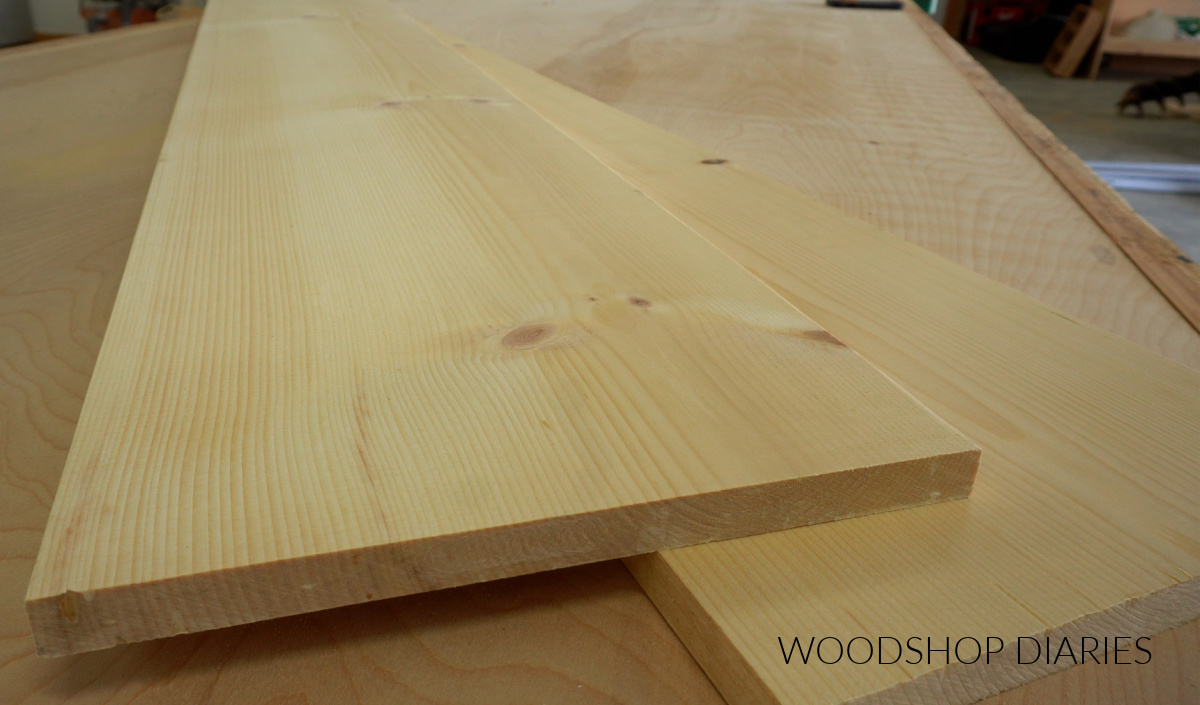
I think it turned out exactly how I’d hoped, but if pine isn’t your thing, I get it. You can substitute for any other kind of wood you’d like OR even use ¾″ plywood instead.
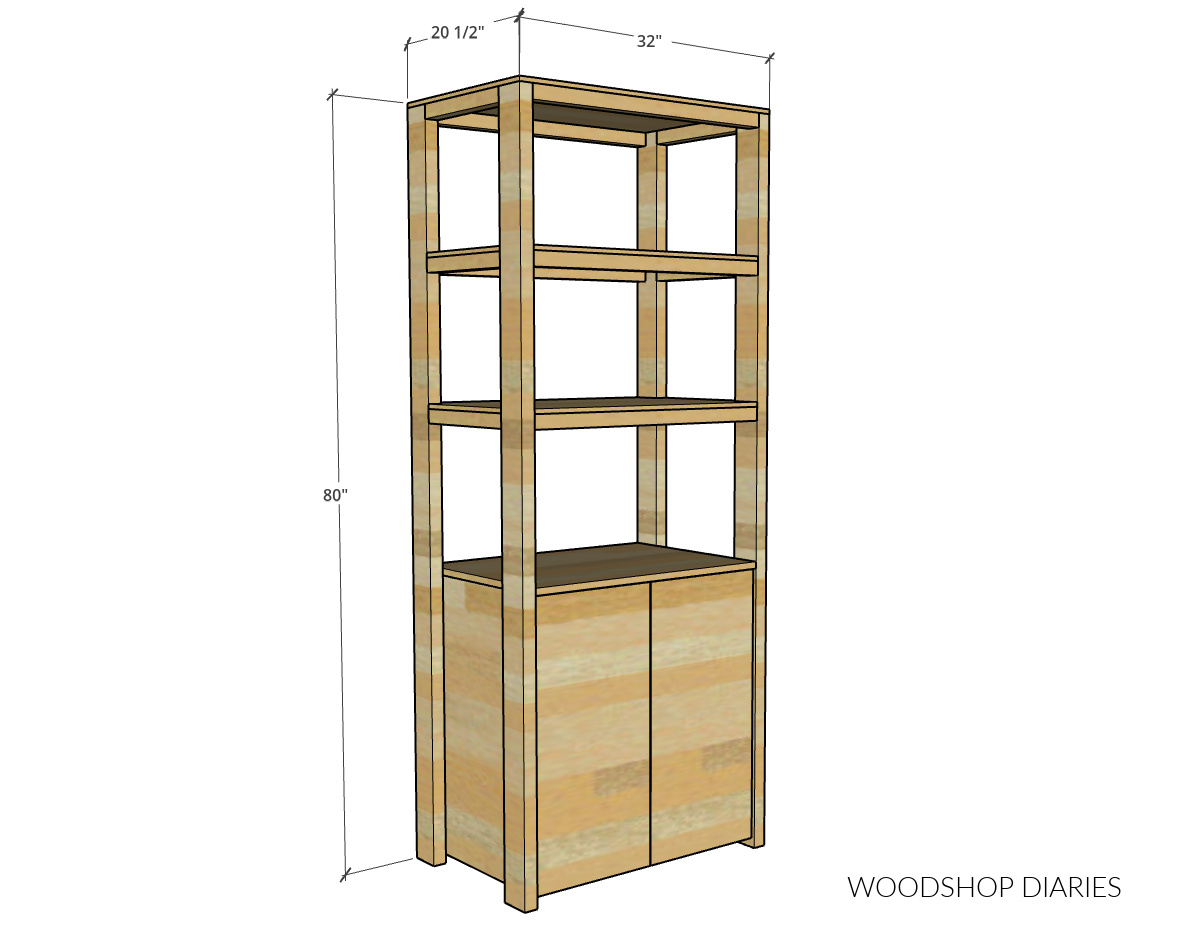
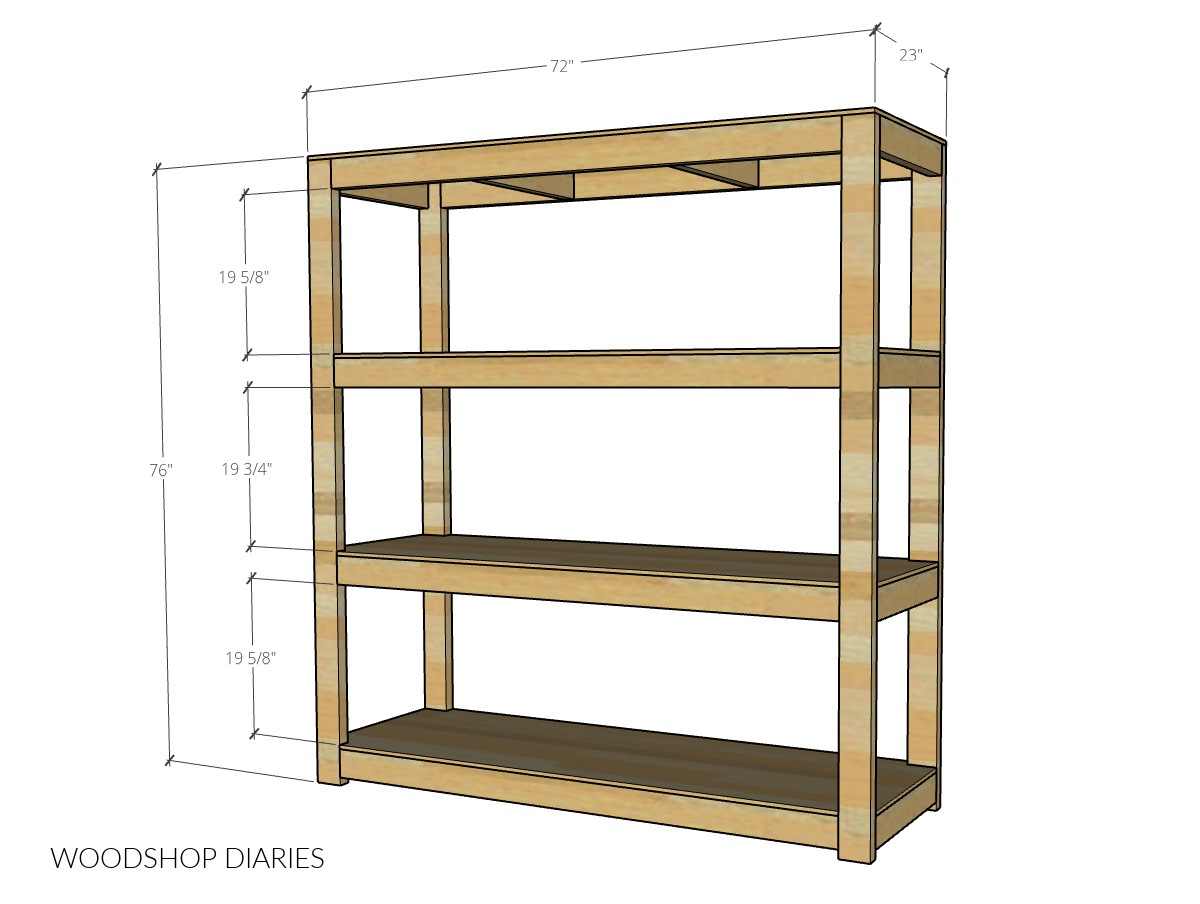
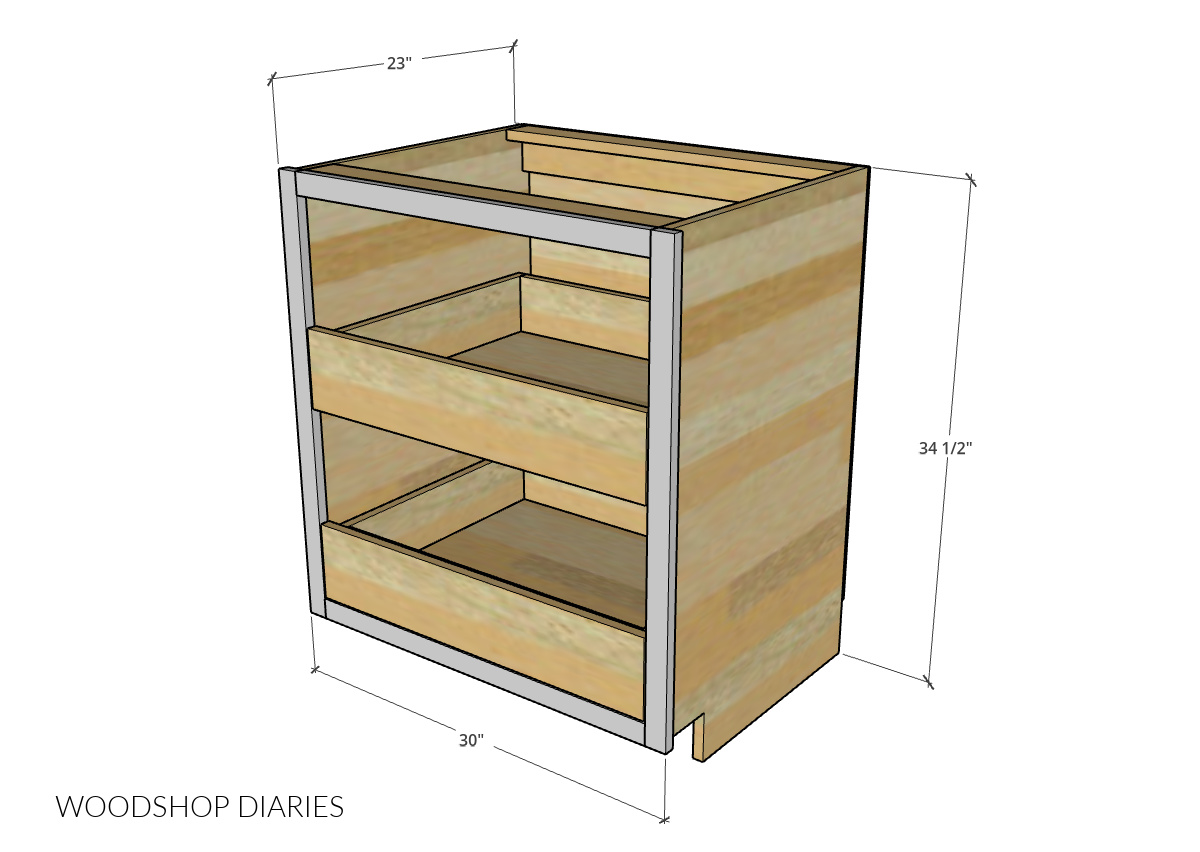
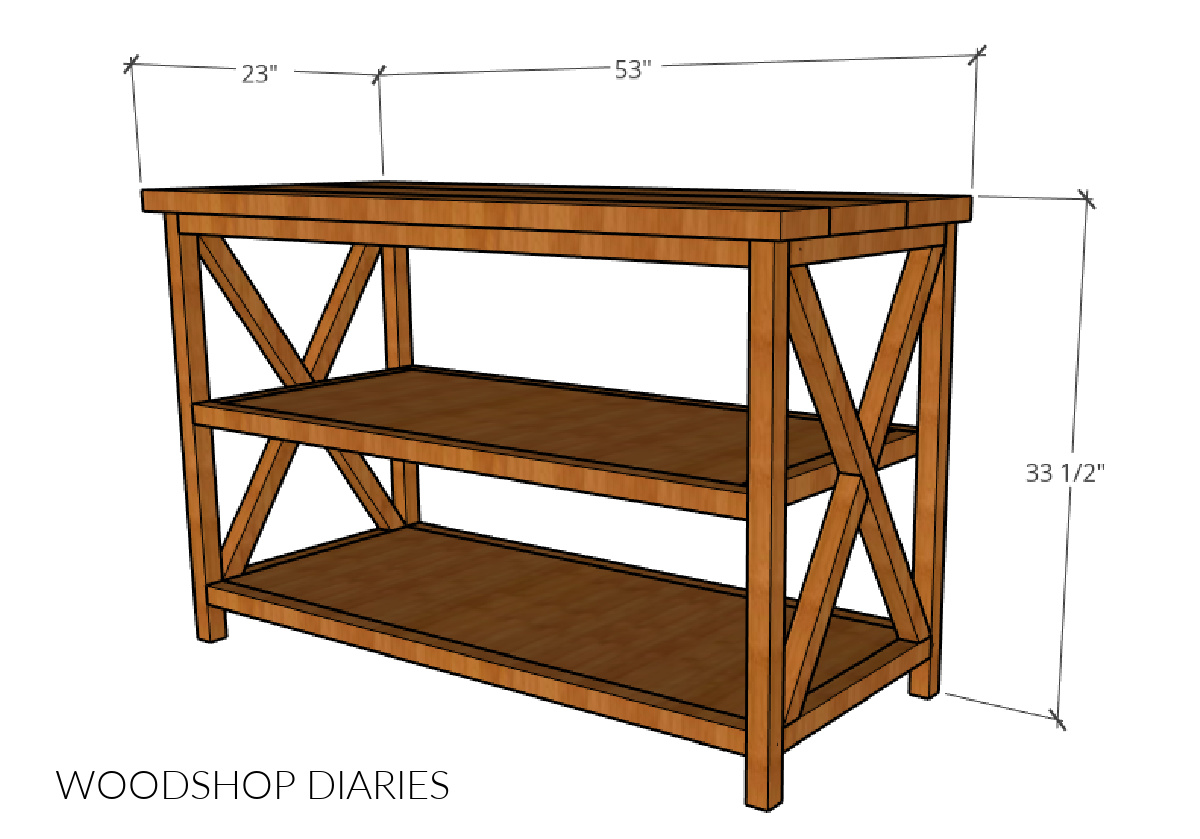
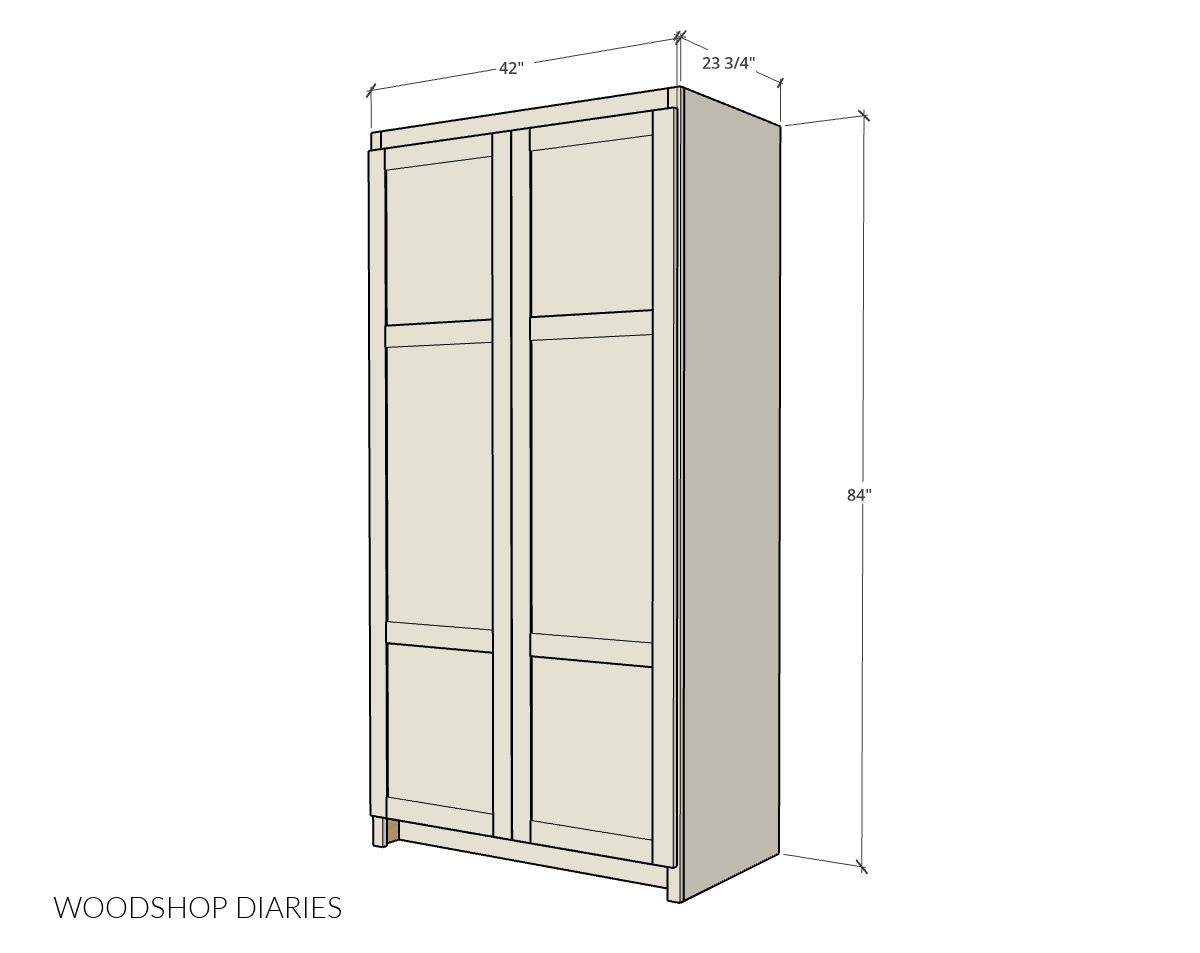
Overall Dimensions
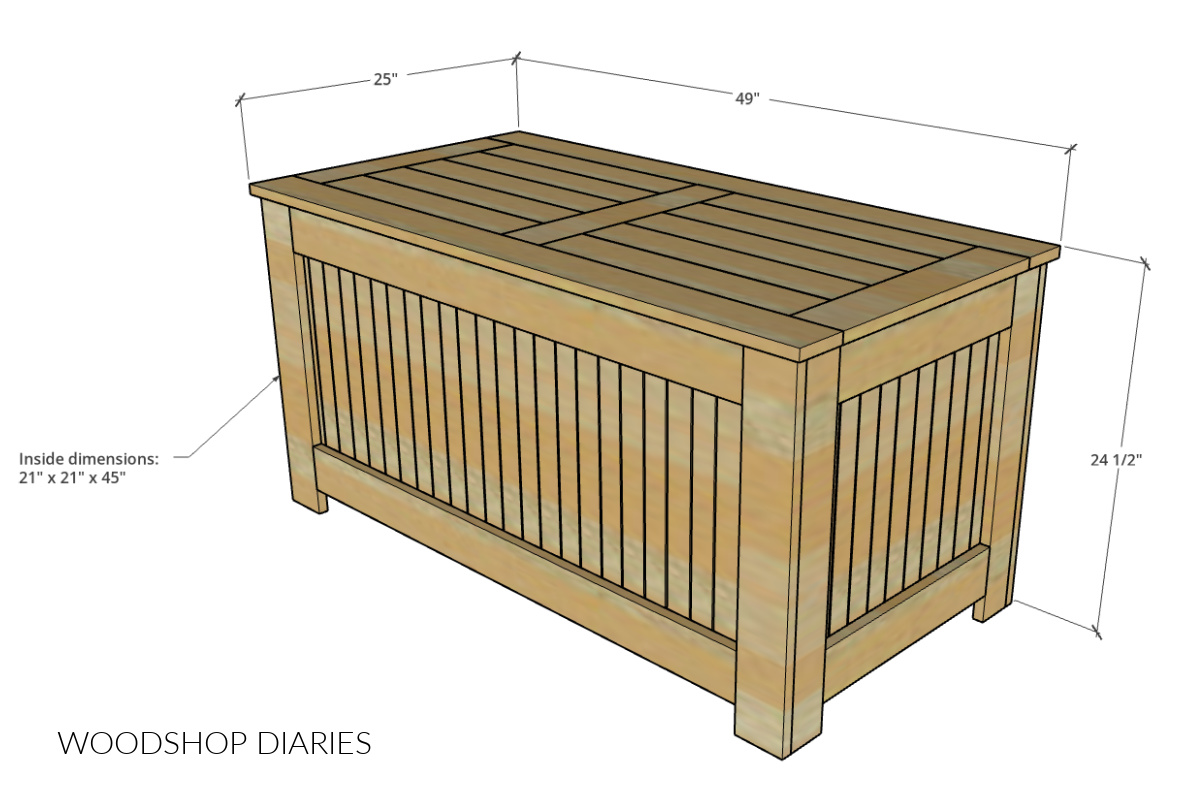
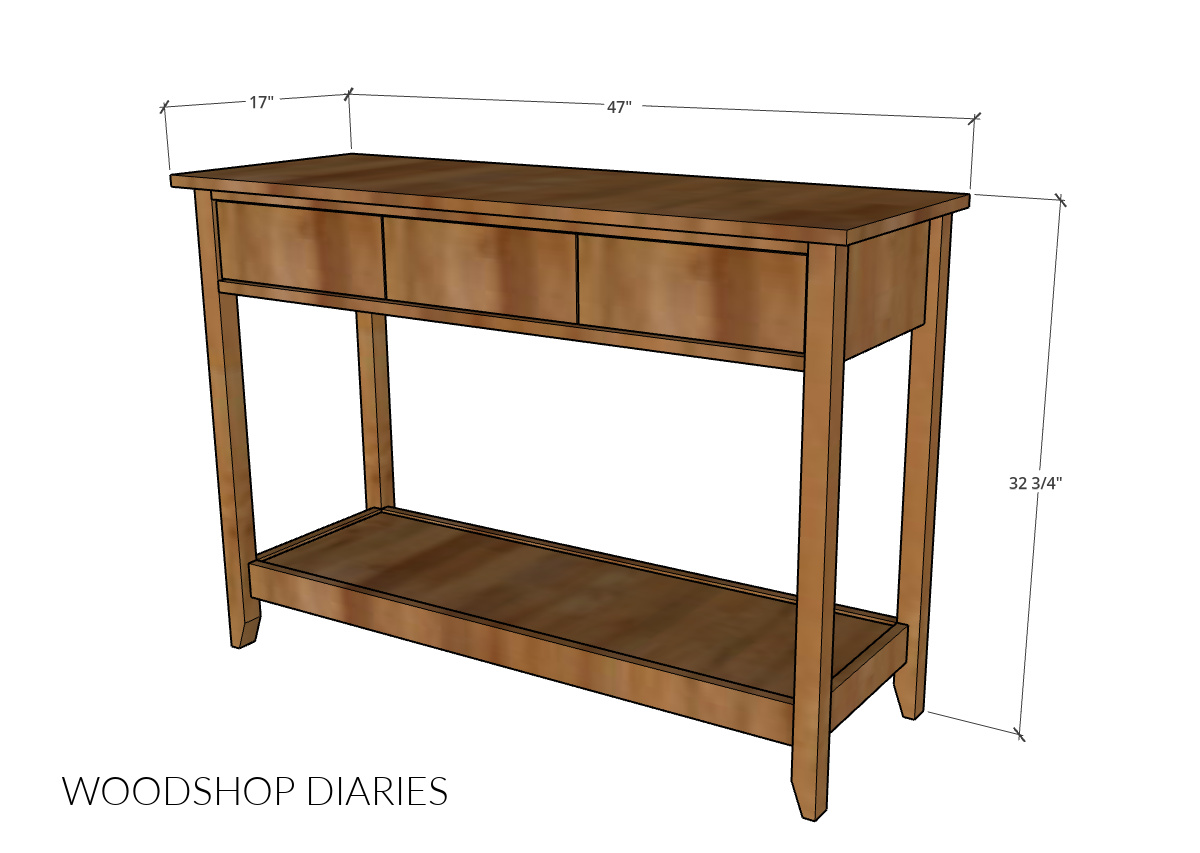
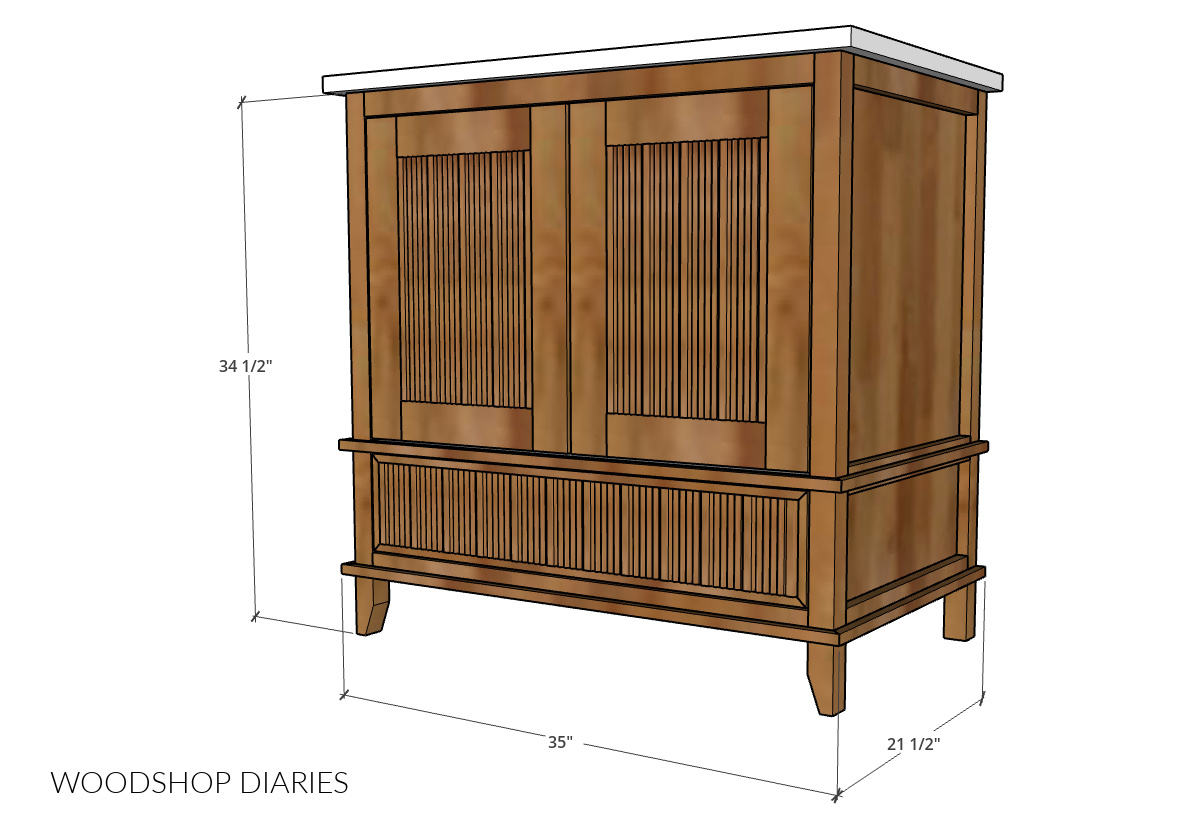
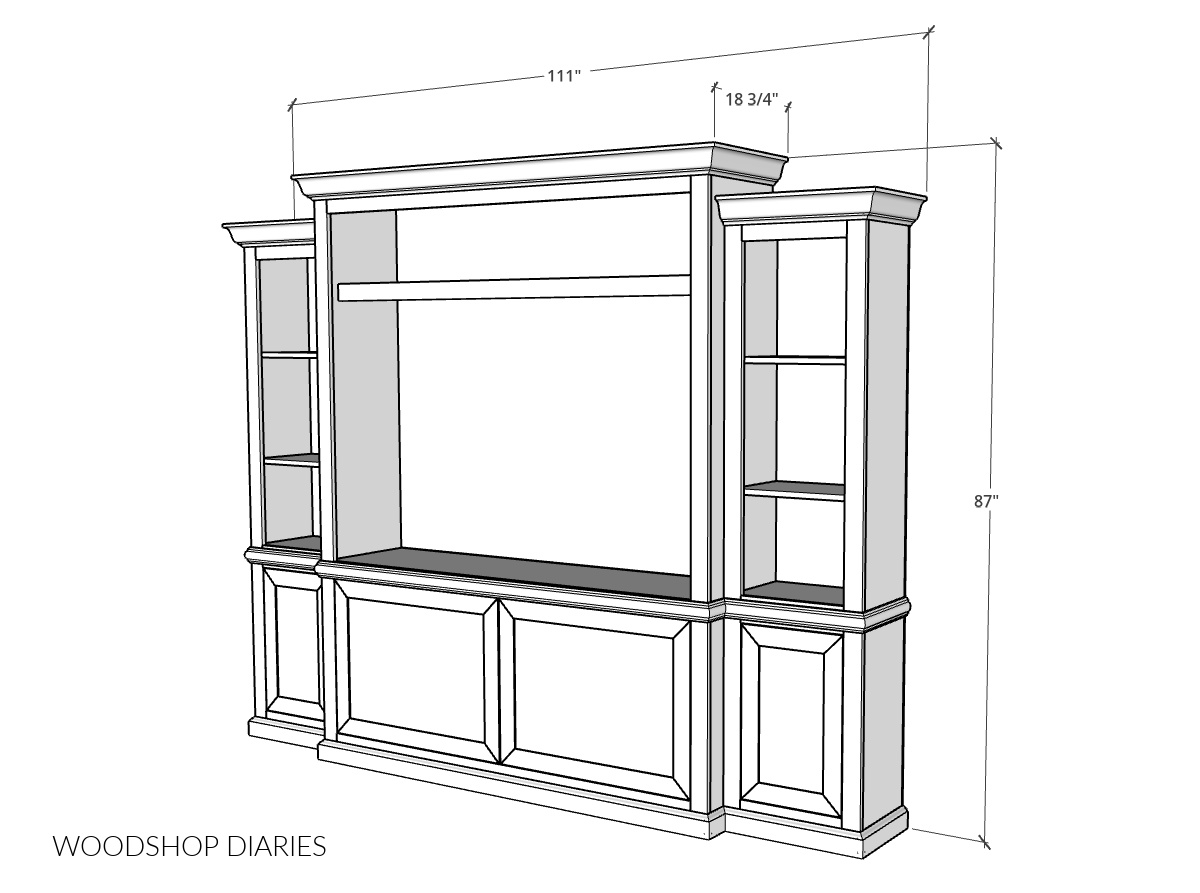
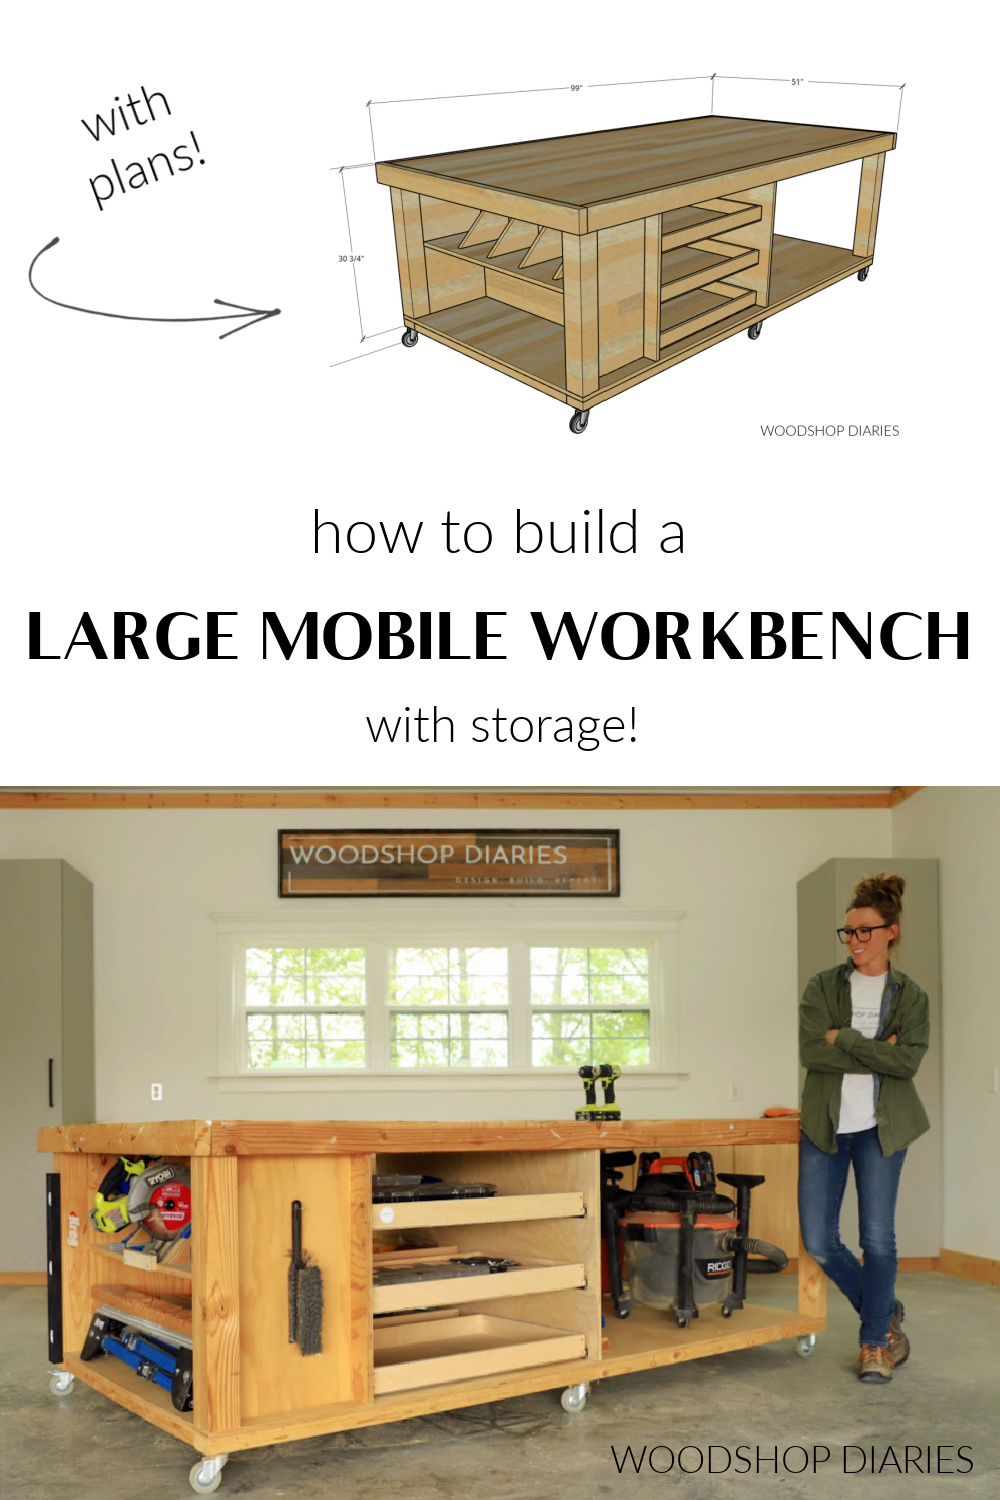
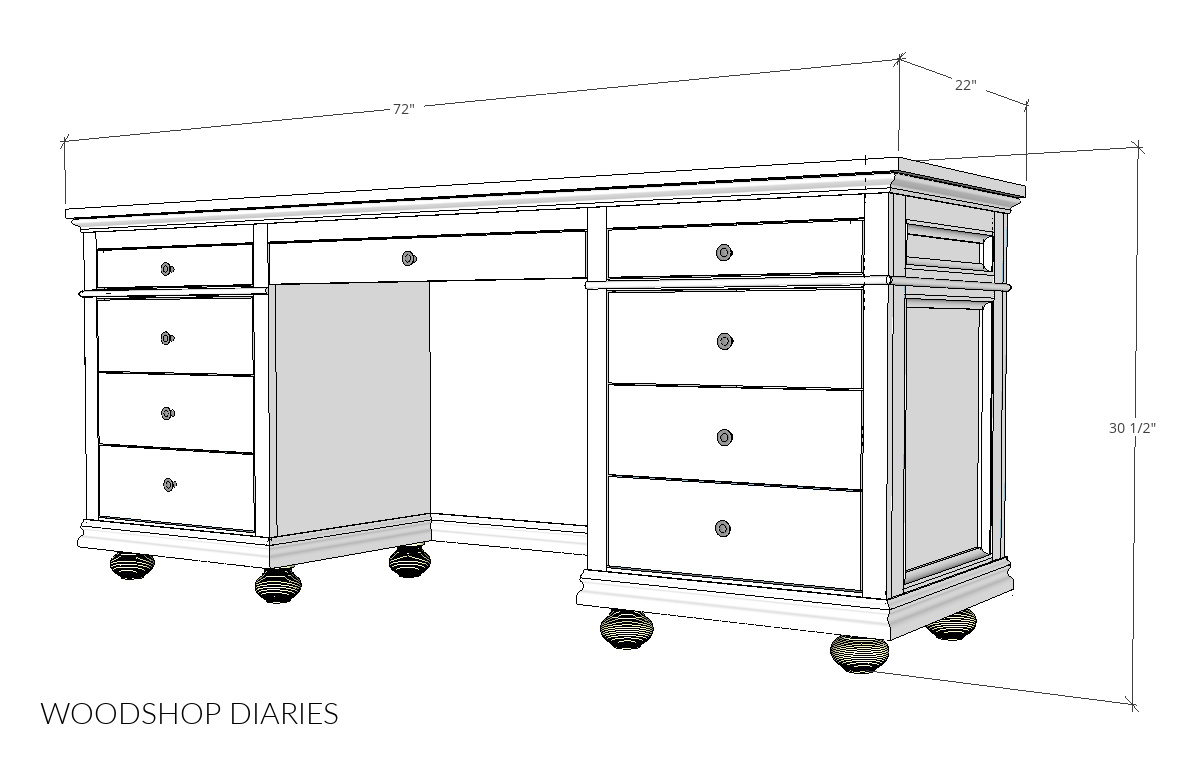
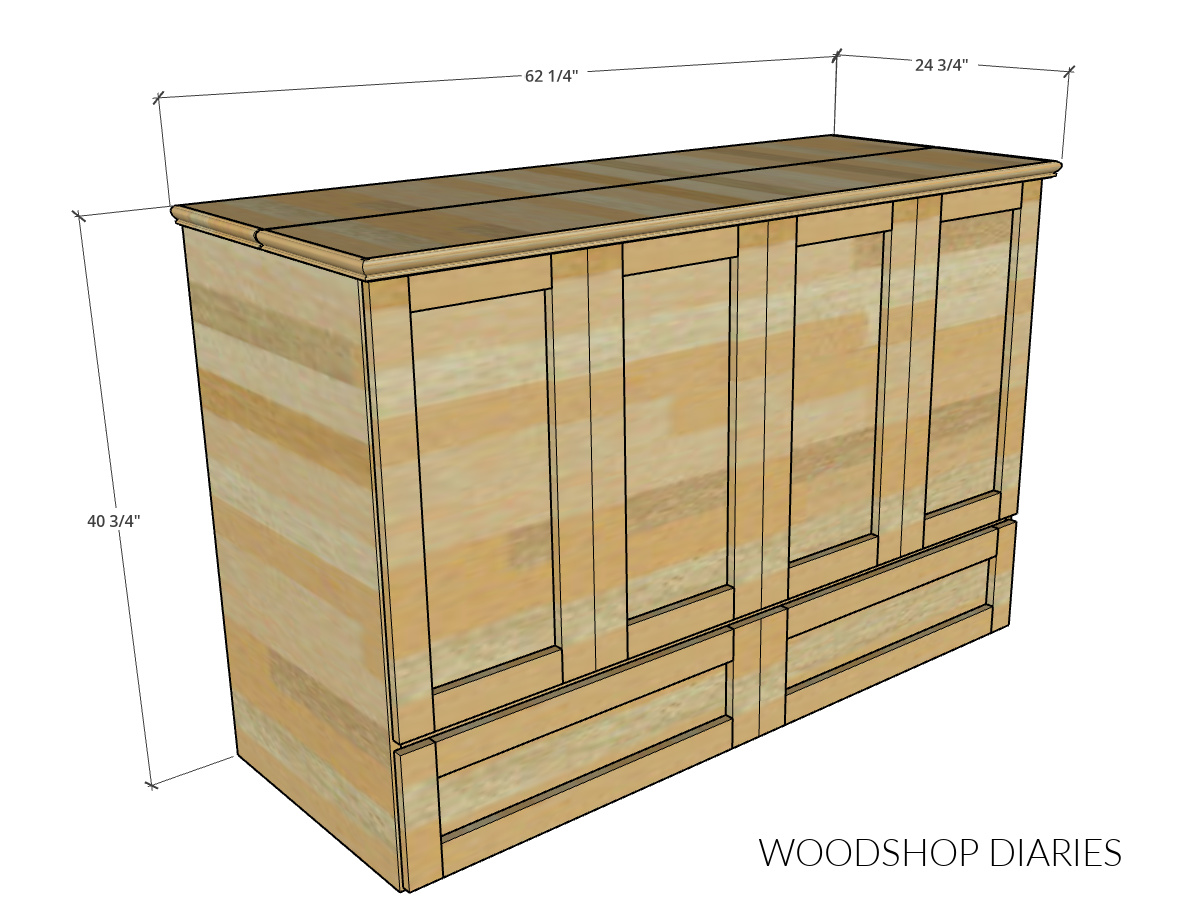
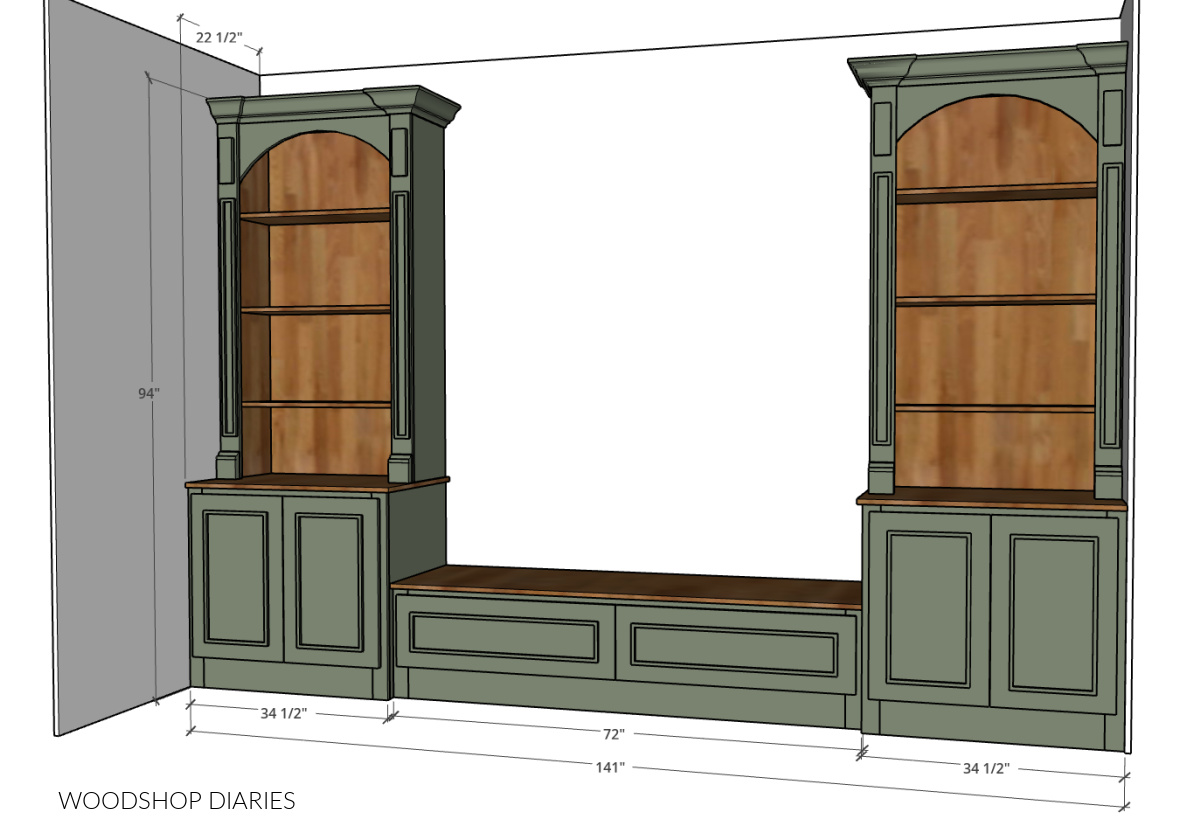
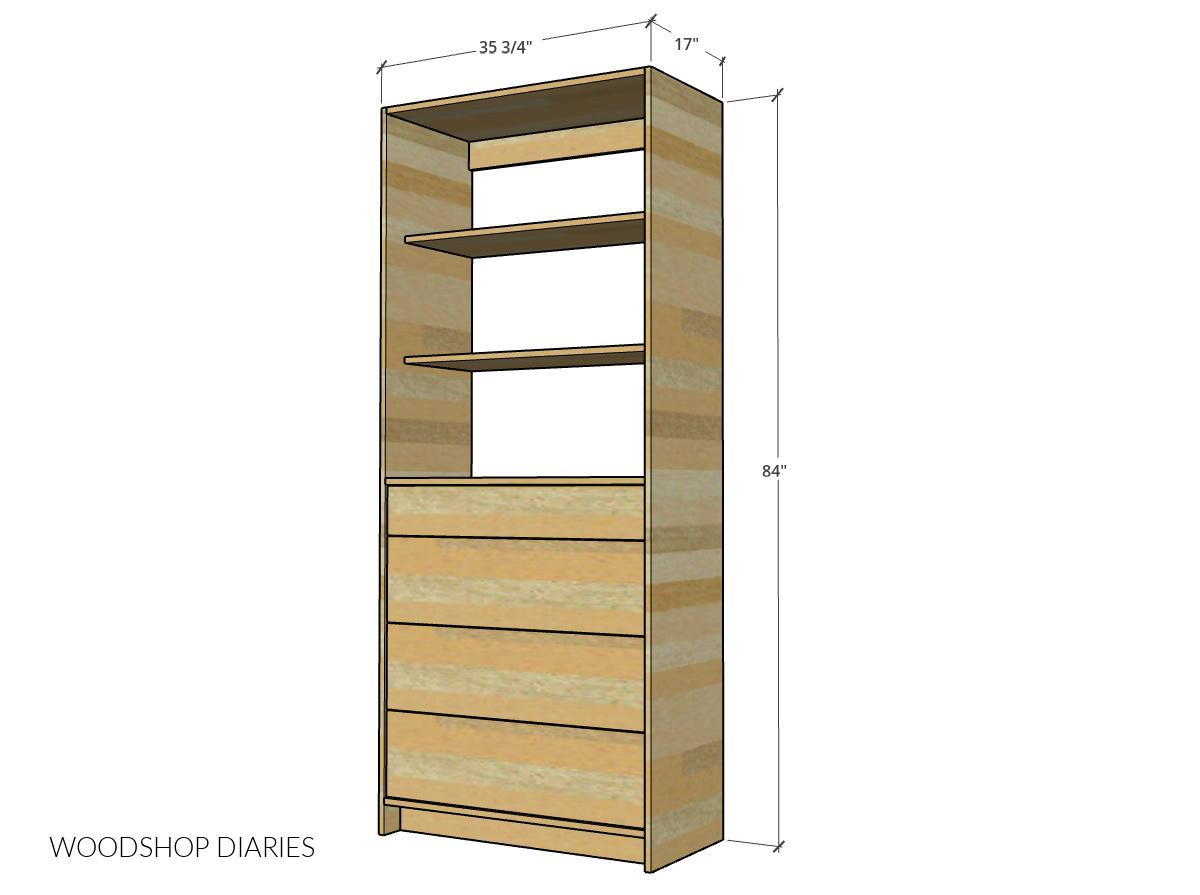
The overall dimensions of this hutch are roughly 15 ½″ deep x 46″ tall x 65 ½″ wide. Note that that includes crown molding around the front and sides.
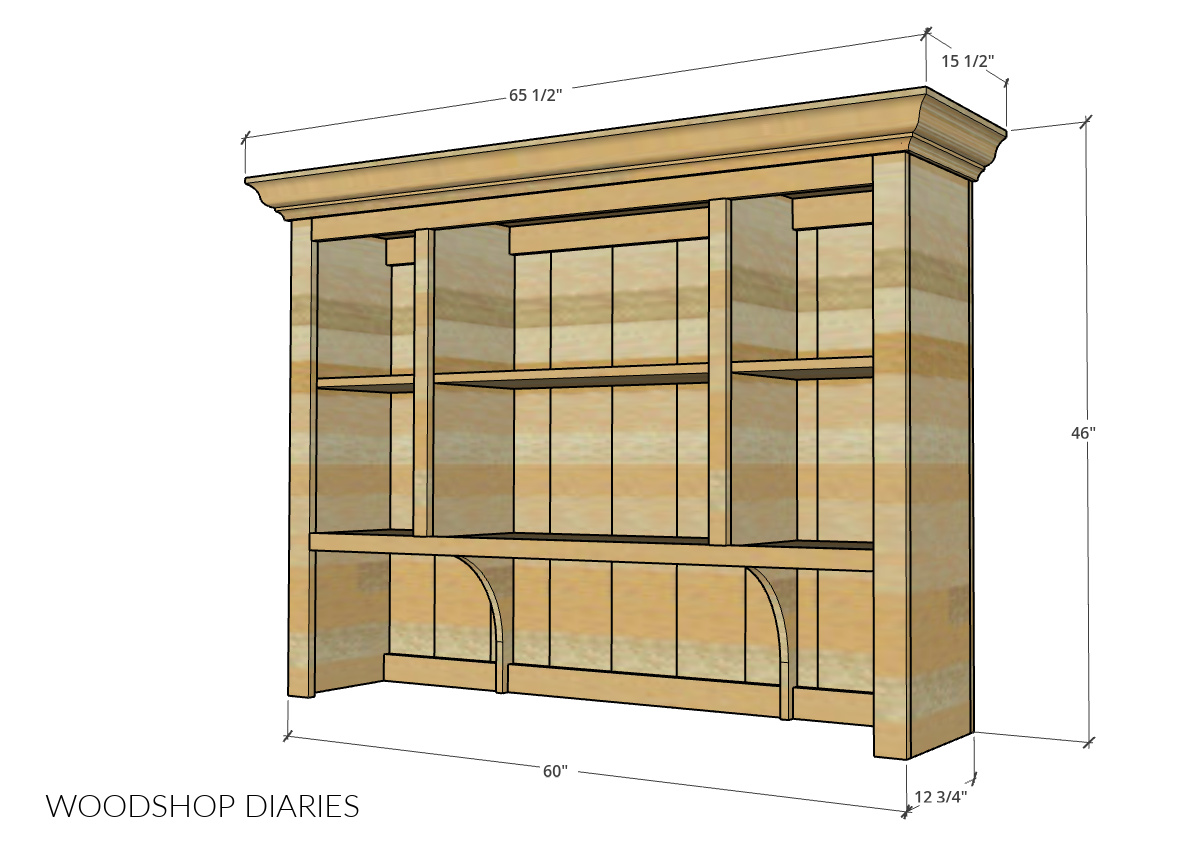
Without the crown molding, the hutch itself is roughly 12 ¾″ deep x 43″ tall x 60″ wide.
Installation Considerations
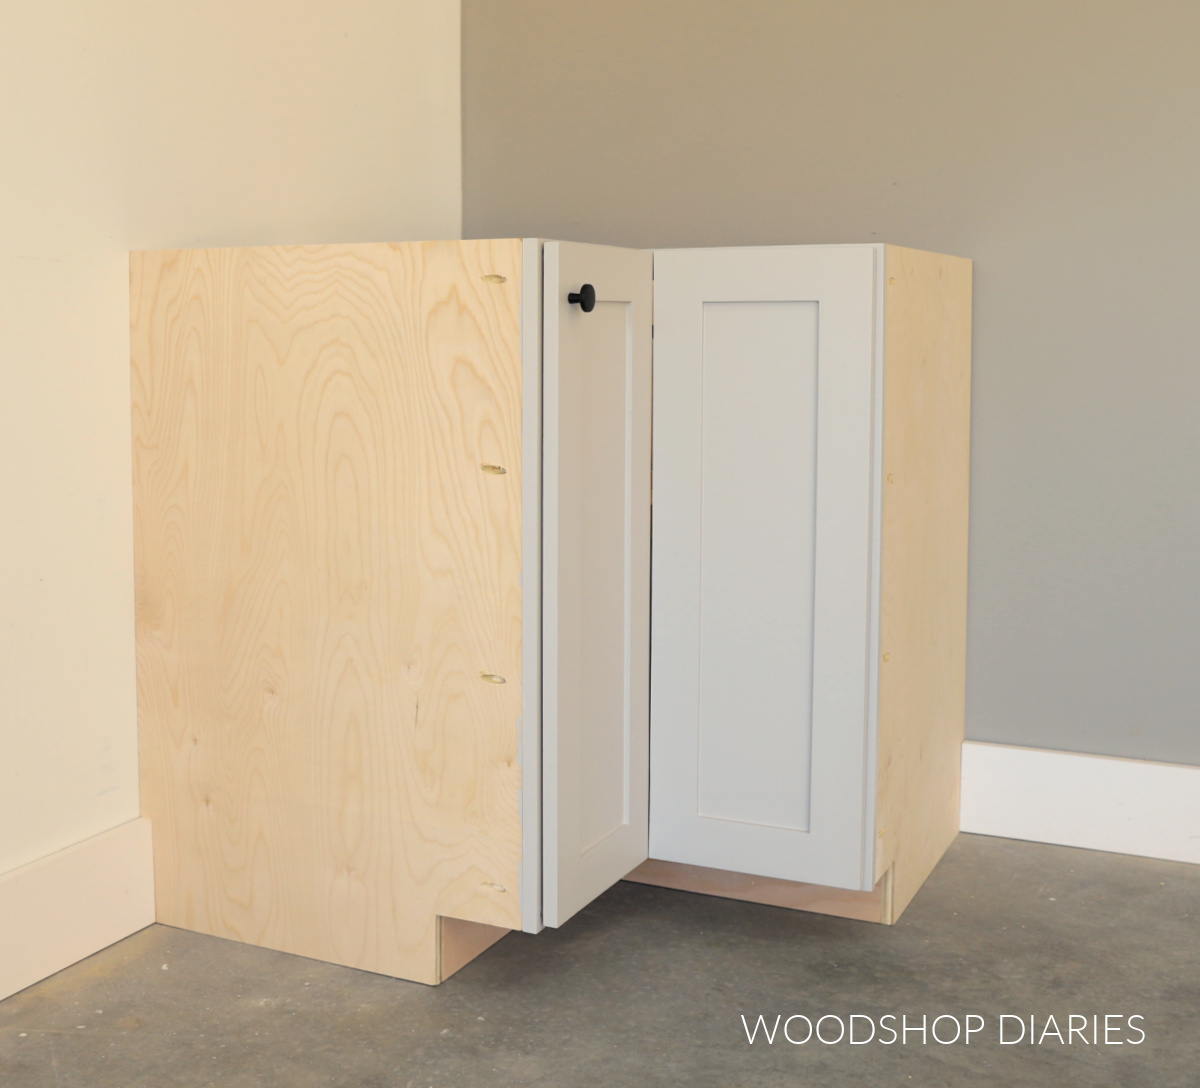
I built this hutch to fit perfectly between the wall and an existing cabinet in my pantry. So it can work really well in a nook.
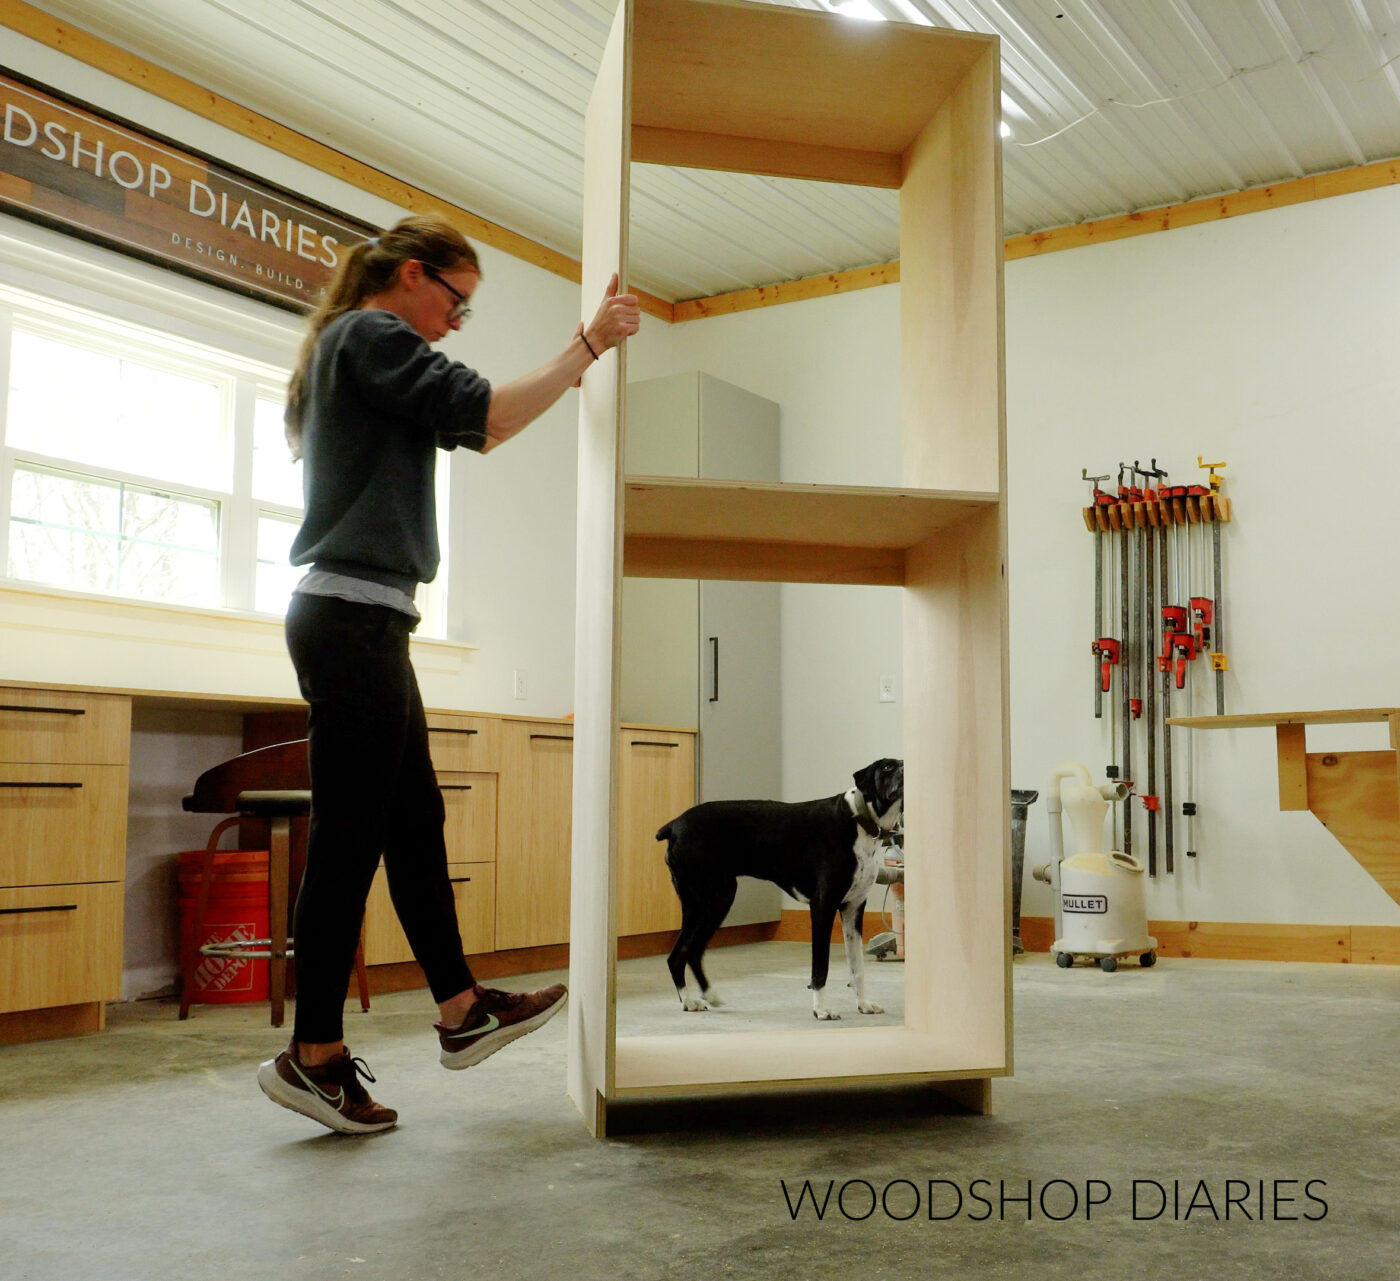
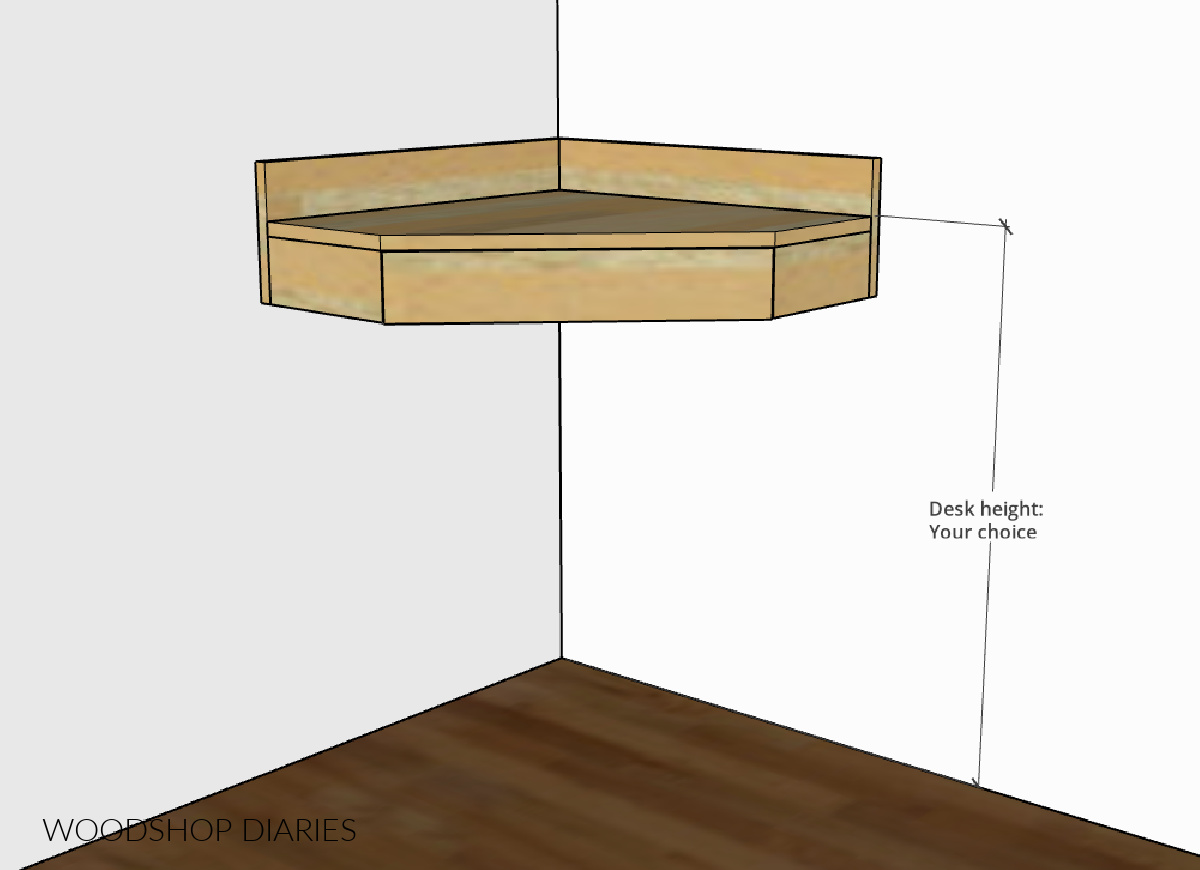
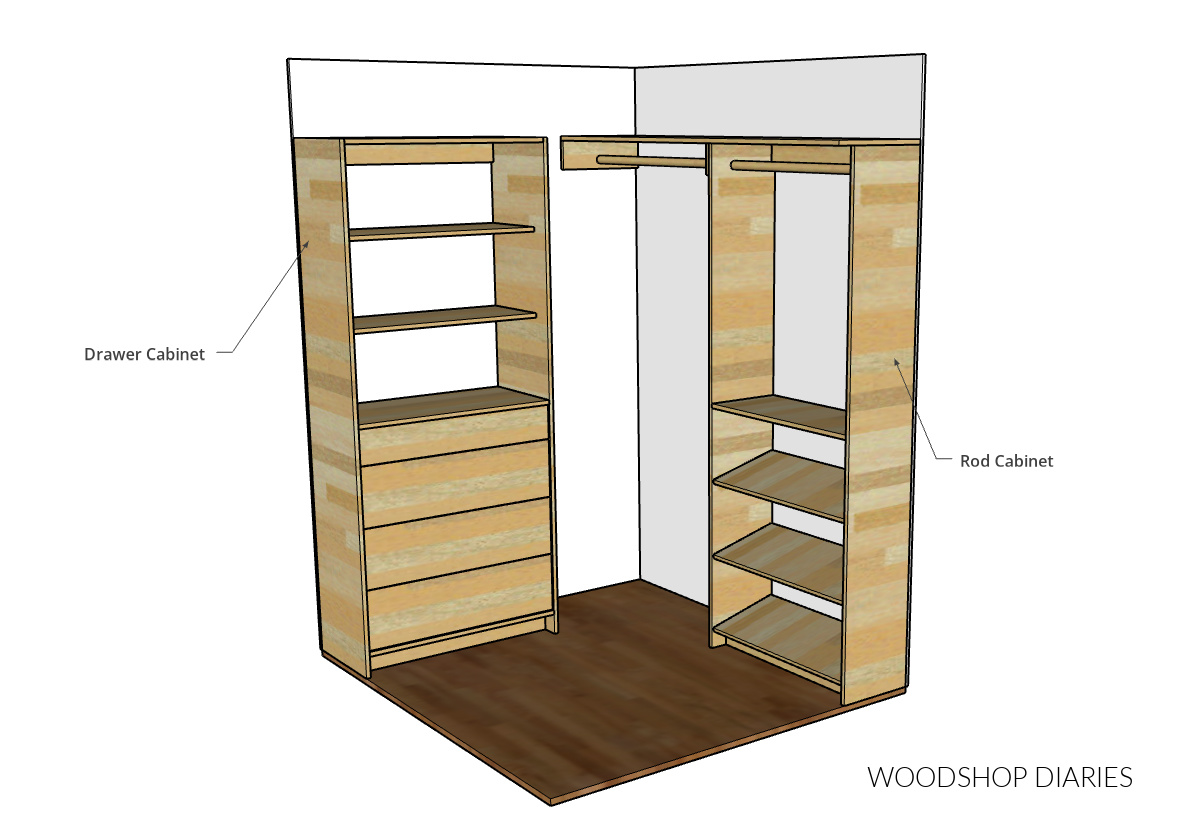
Or, it can also work where both sides are open and it’s more of a “stand alone” piece. (That’s how I’m showing it in the plans as that’s likely a more common choice.)
If you’re building it to fit into a nook, I recommend carefully measuring your space and building the hutch body a little smaller than your opening. (I built my hutch about 1 ½″ narrower than my opening.)
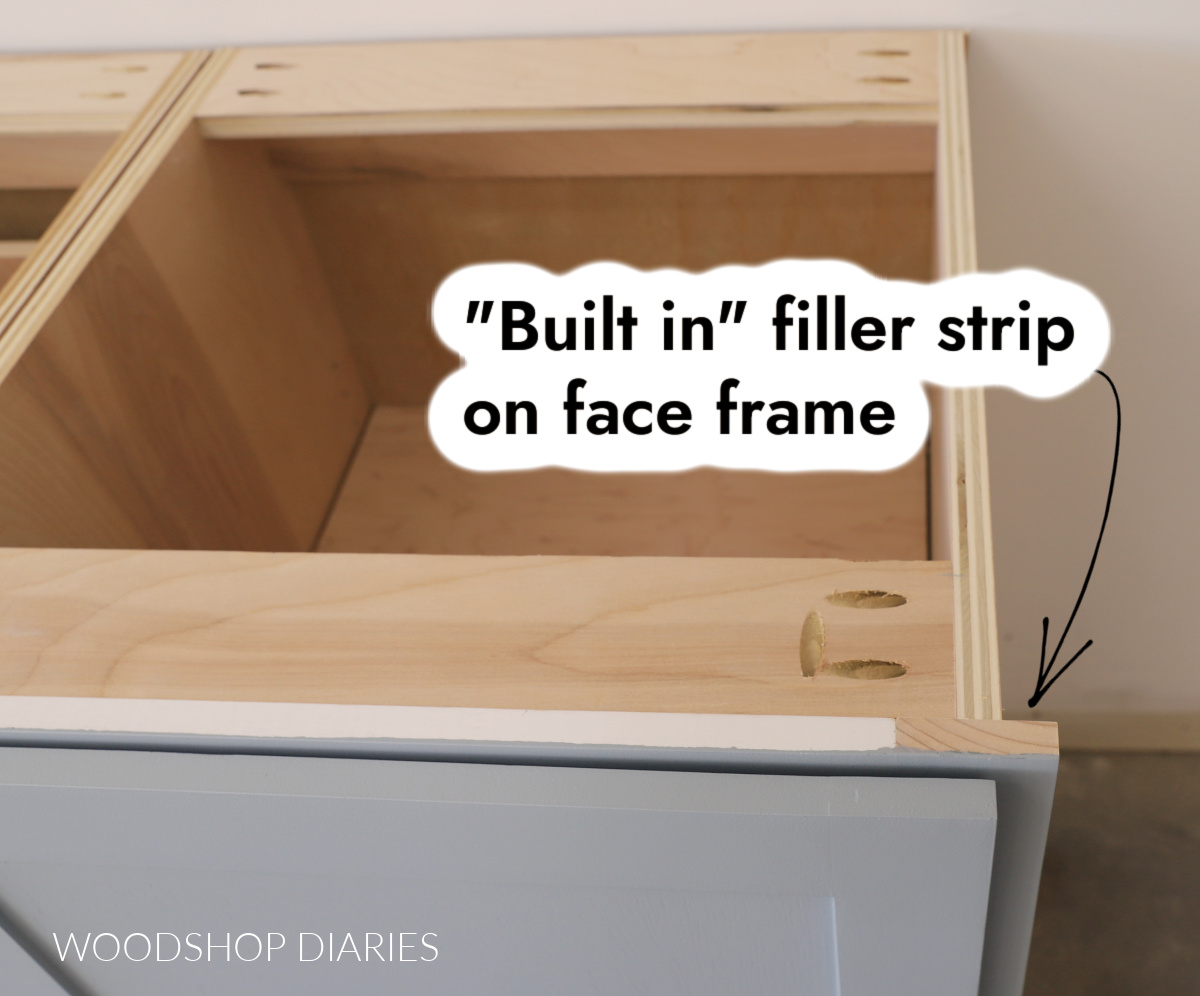
Then, build the face frame the exact size of the opening. Since the face frame would be larger than the hutch, just let it overhang the sides of your hutch a little on each side.
This makes installation much easier–if you need to shave a little off for it to fit, it’s much easier to sand down or shape the edge of a face frame vs the entire side of a cabinet.
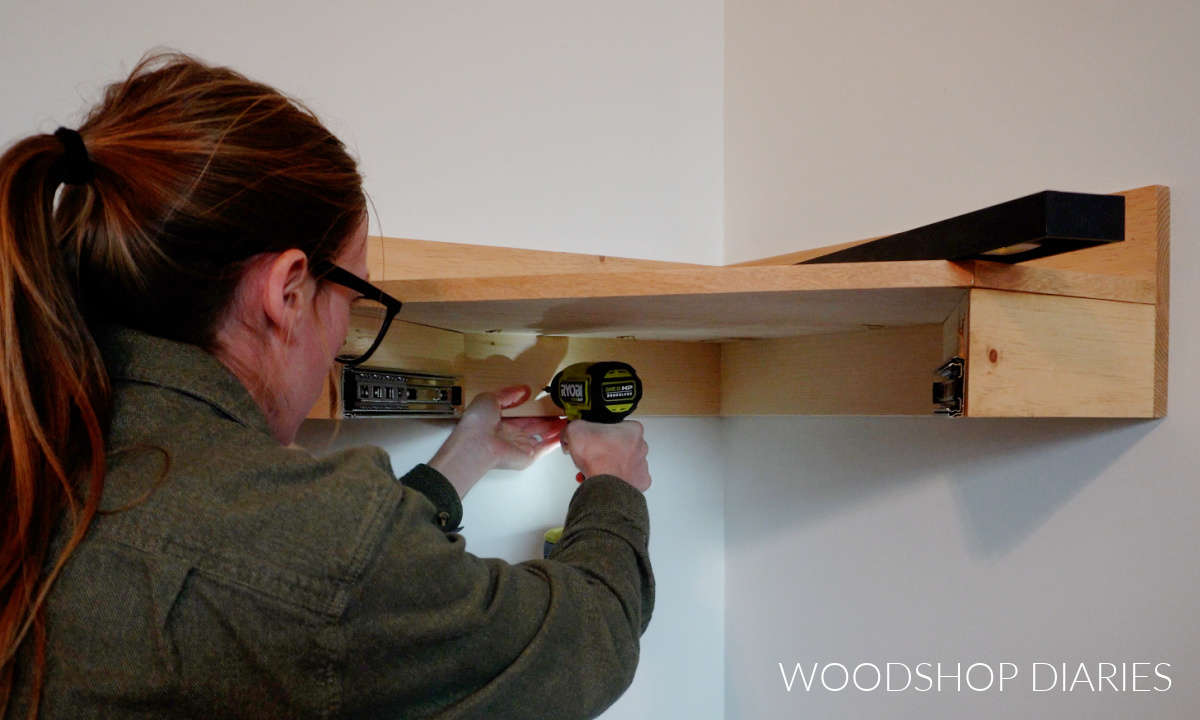
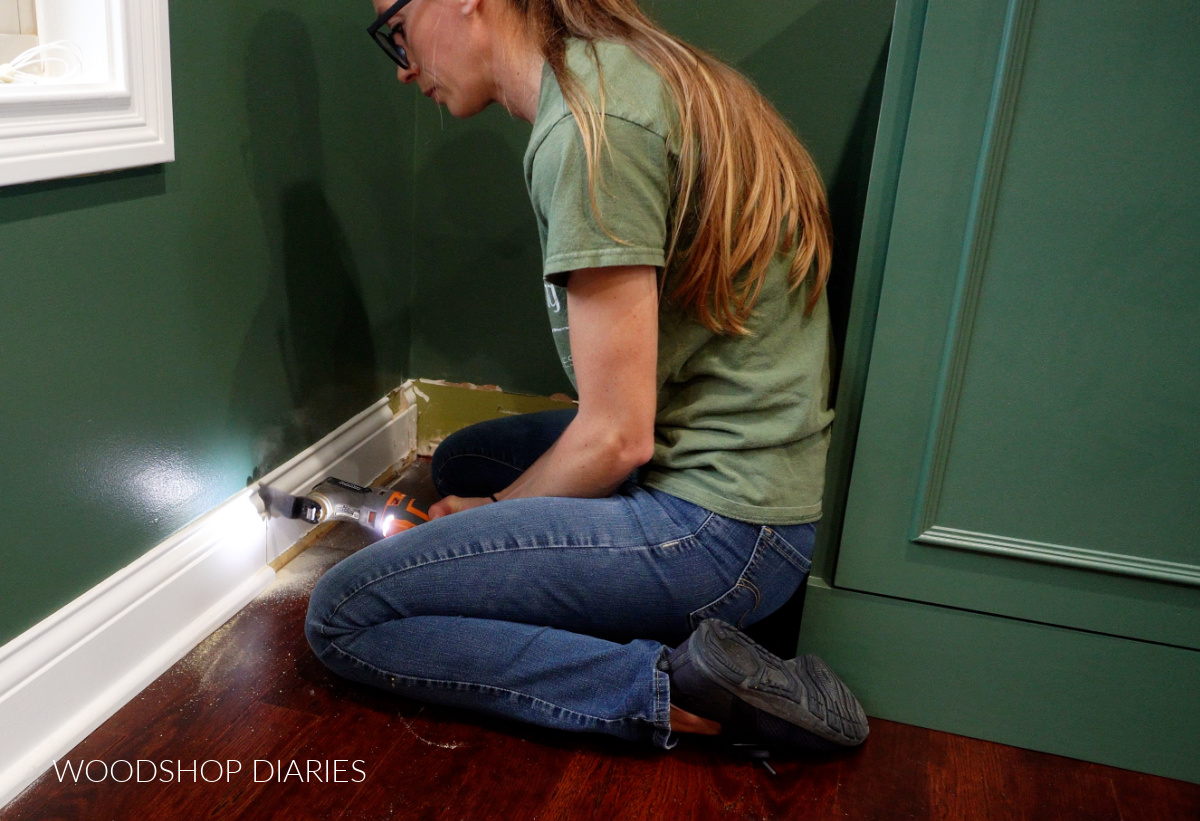
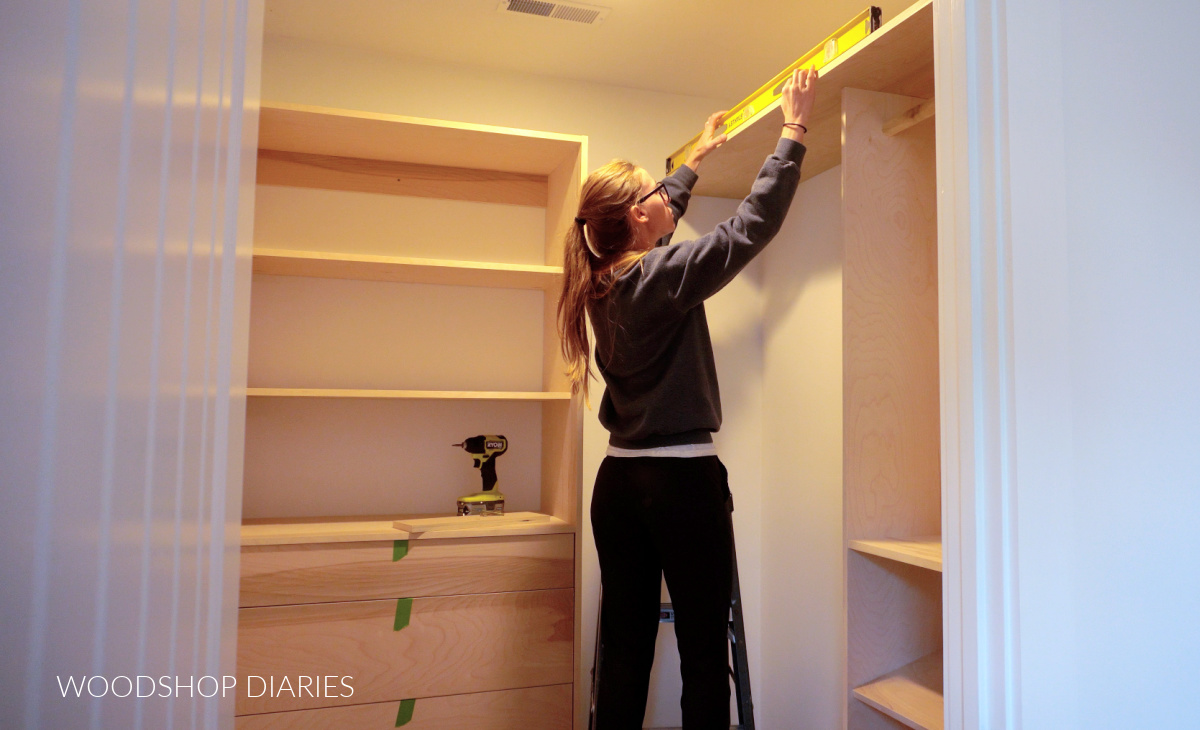
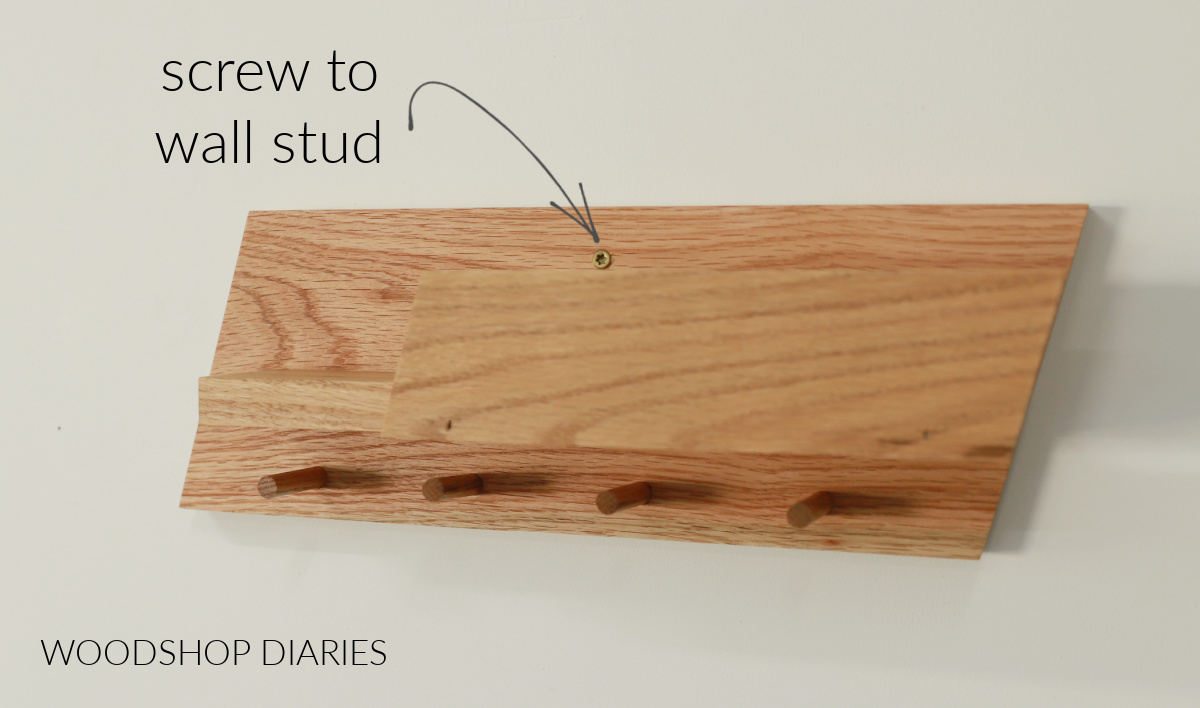
Once the hutch is in place on its base, it should be secured to the wall studs behind it with screws through the back supports to prevent accidentally tipping over.
Finishing Tips
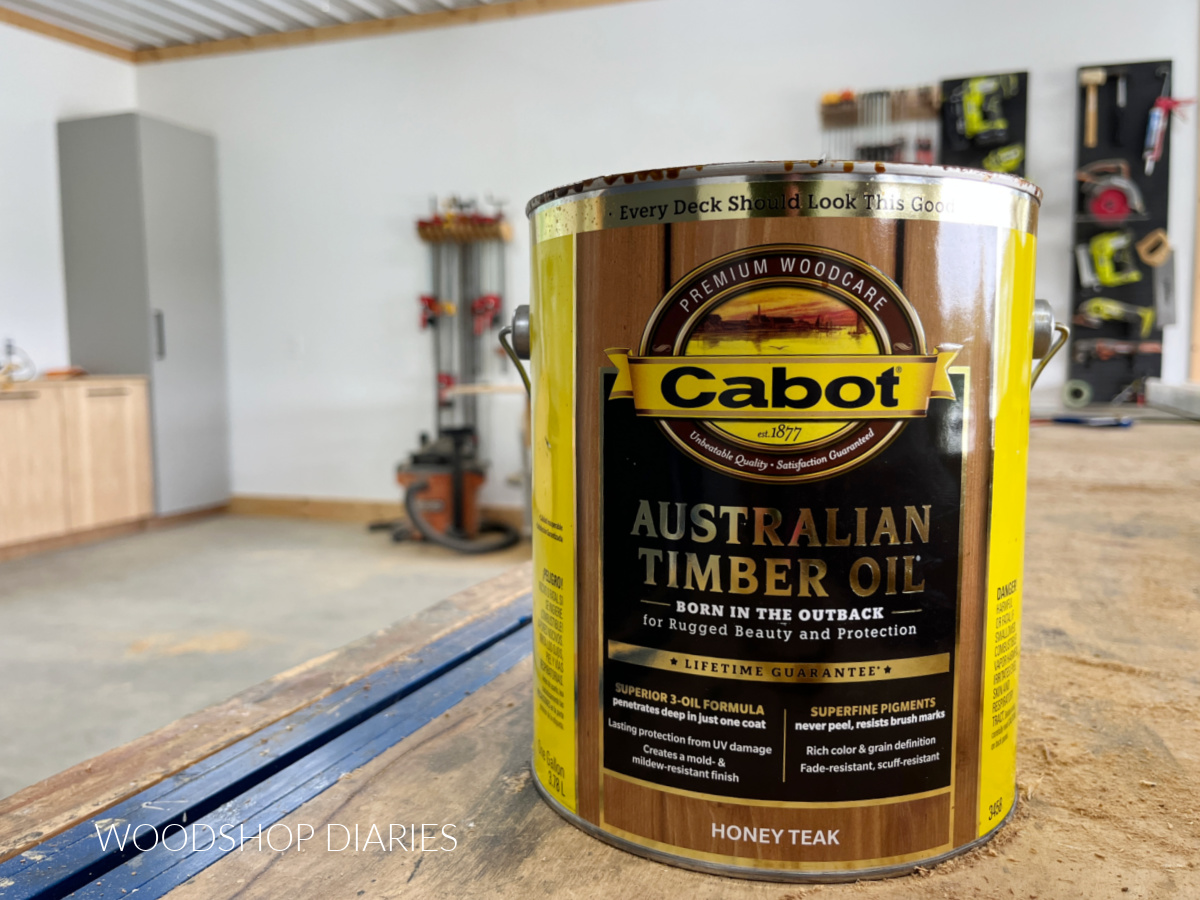
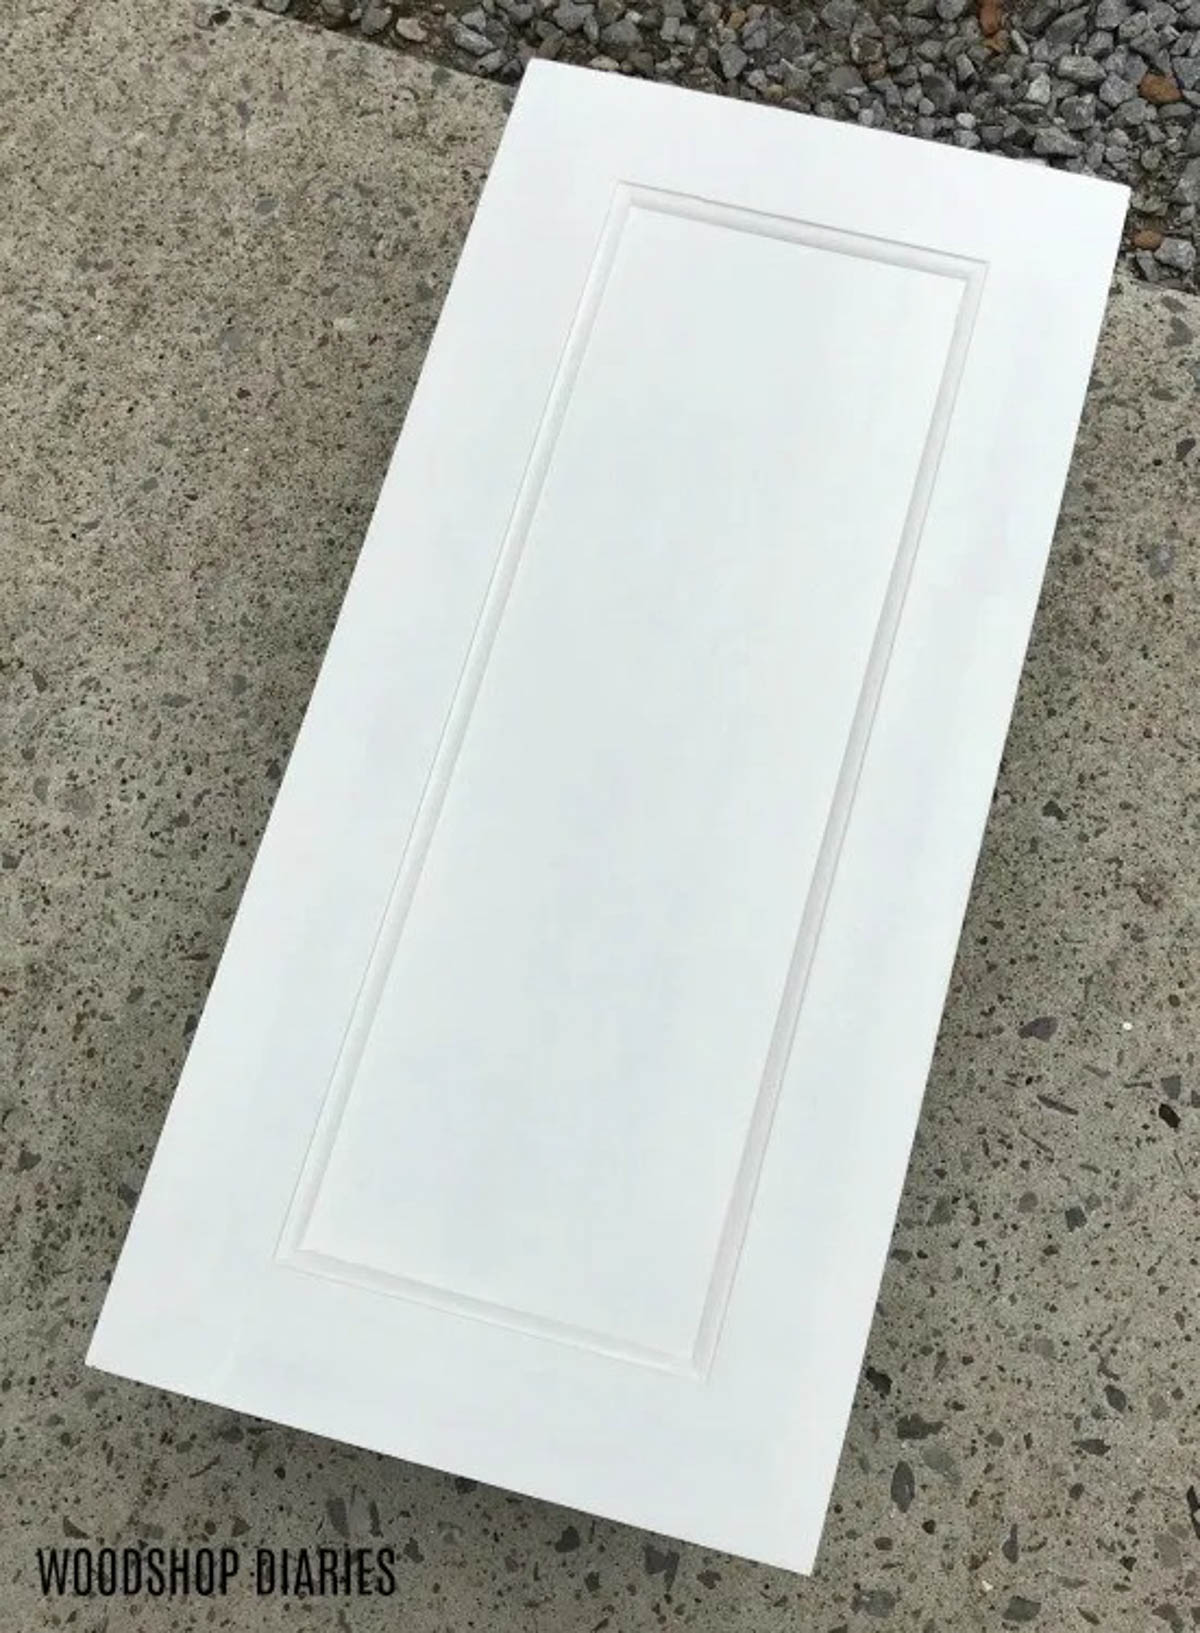
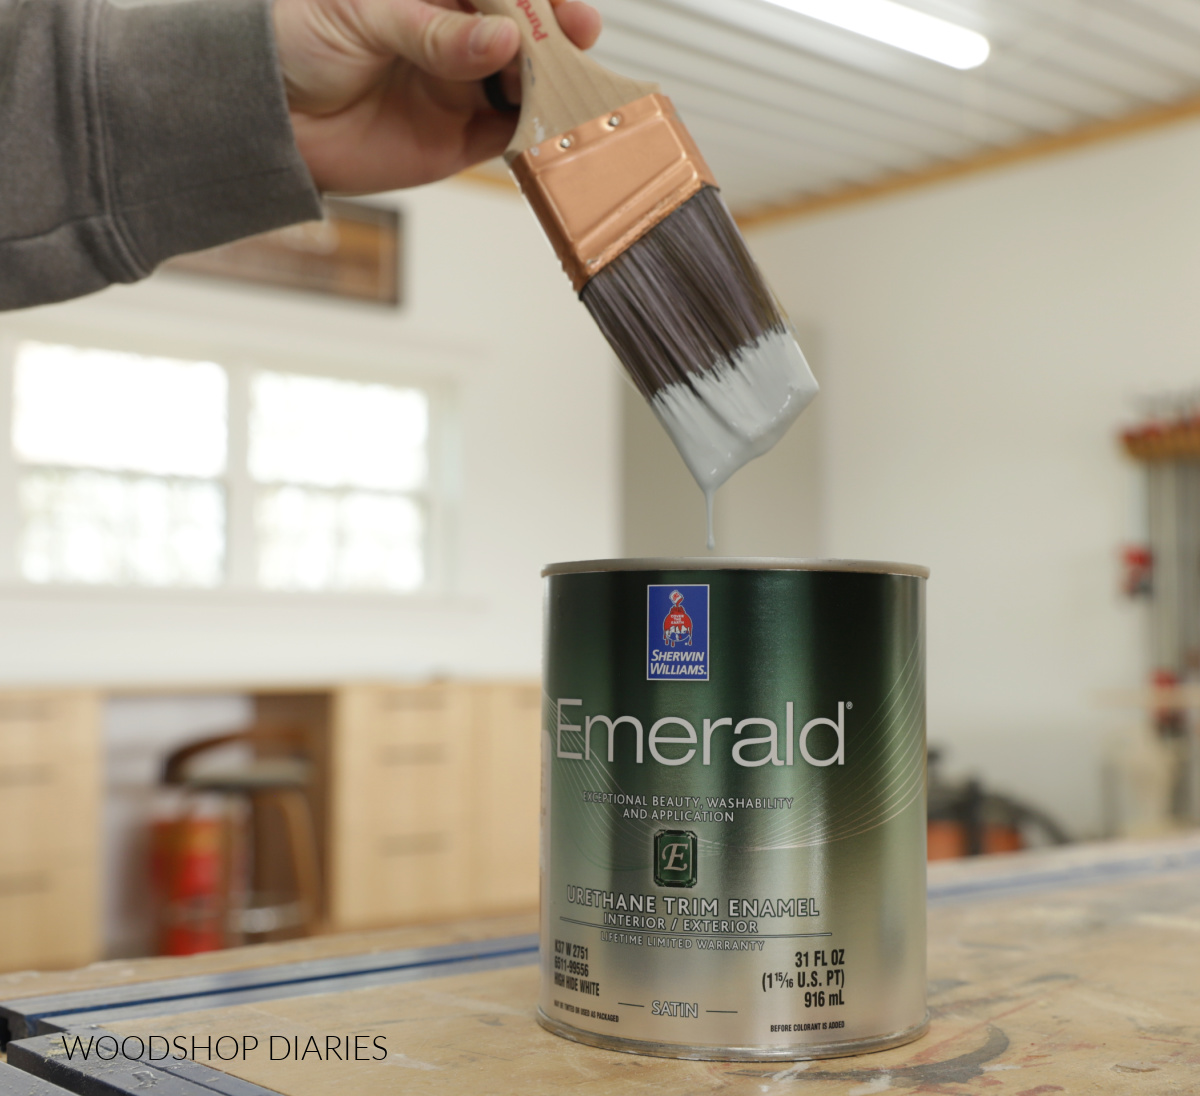
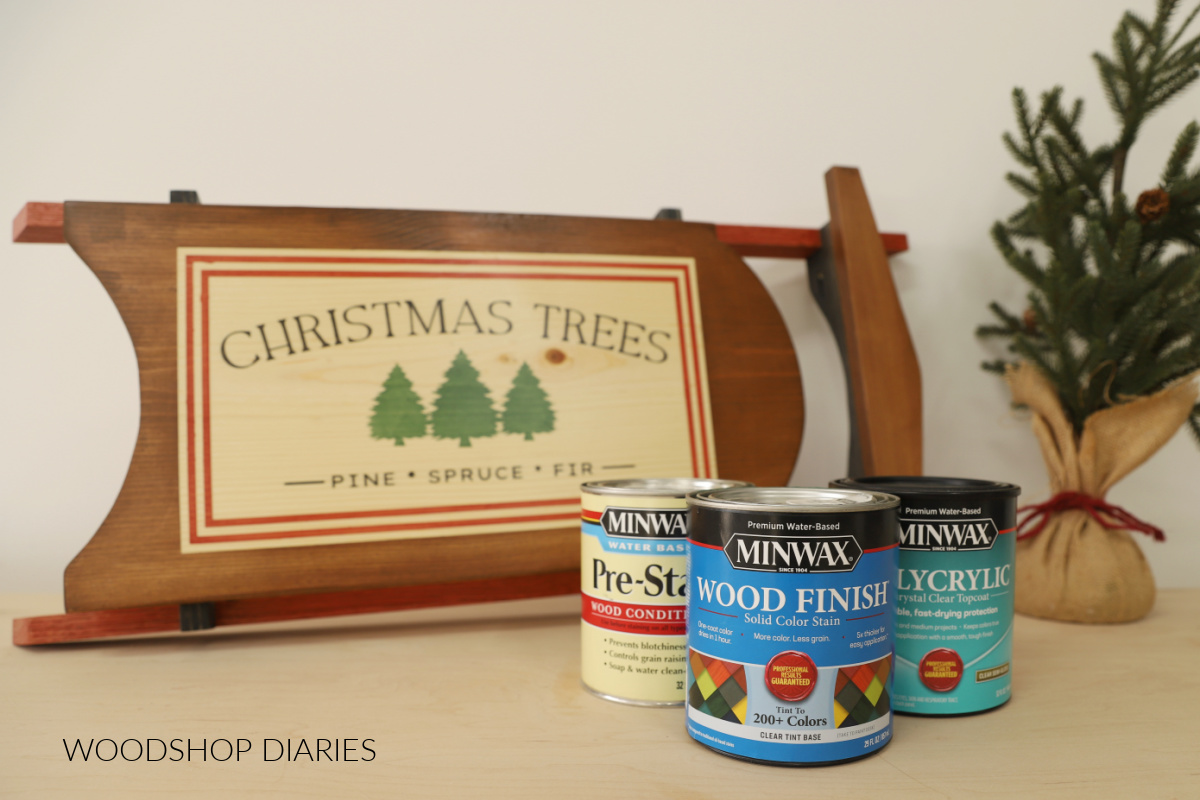
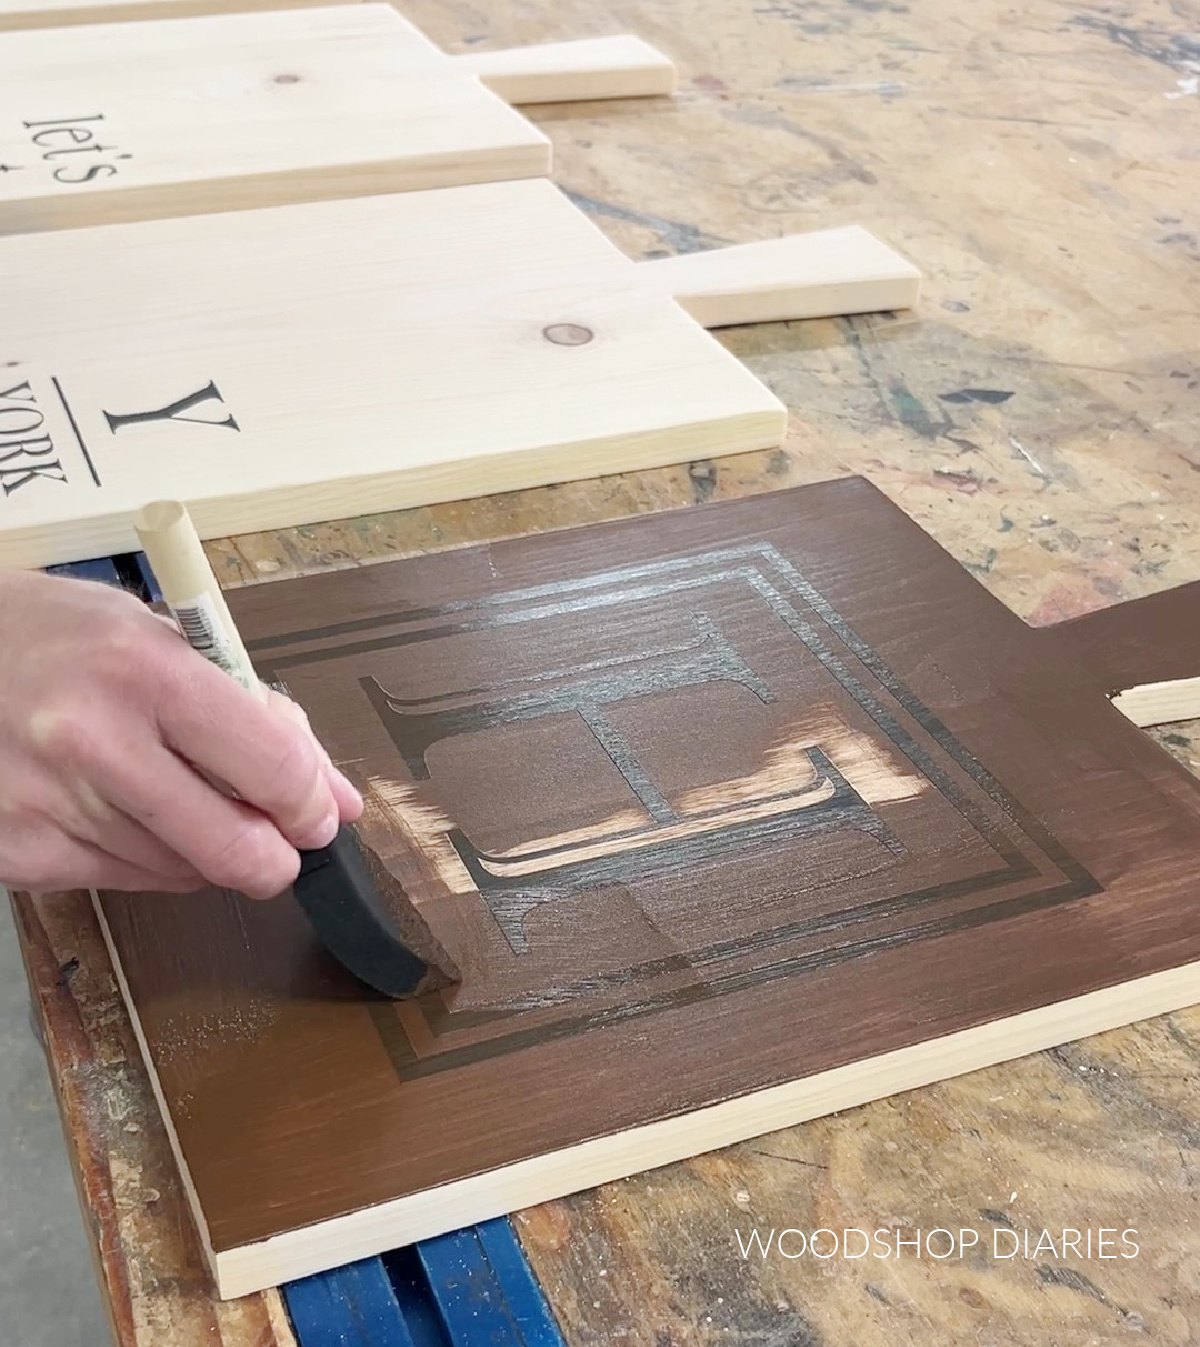
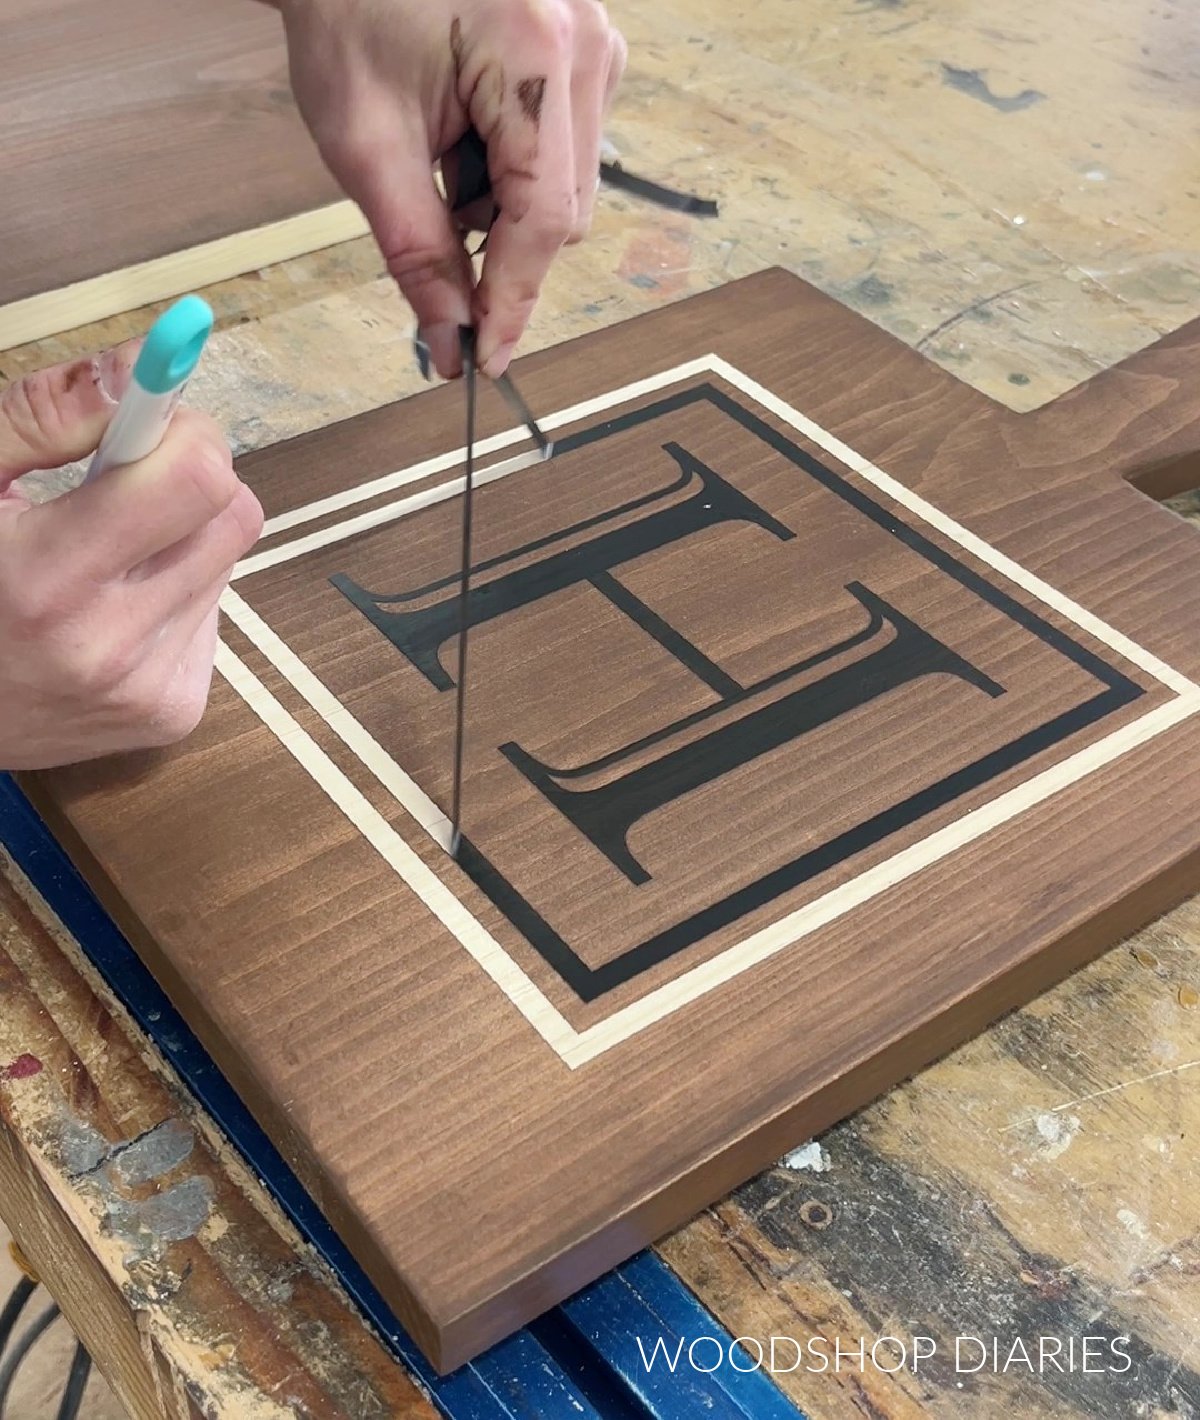
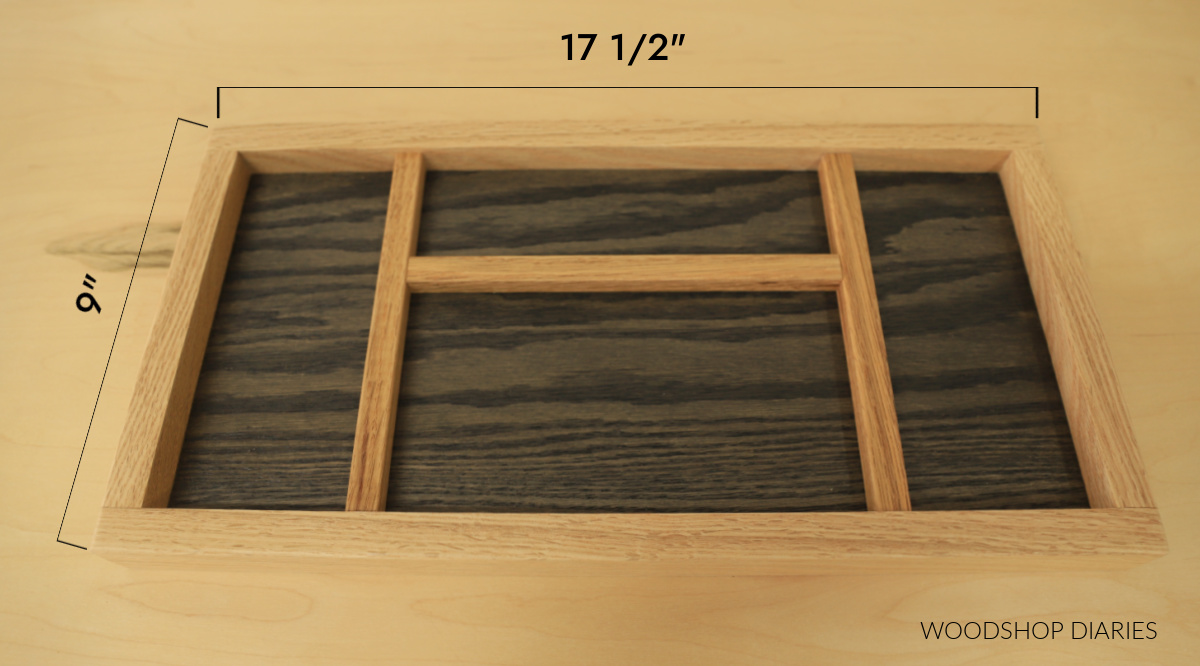
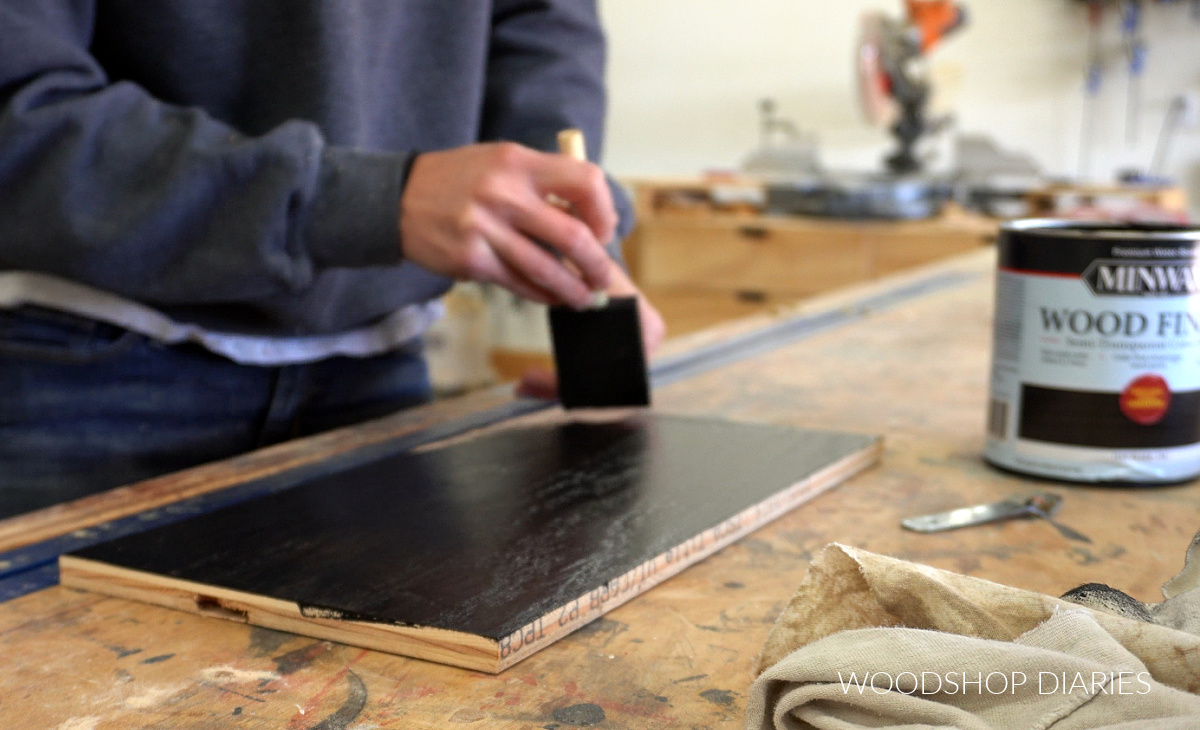
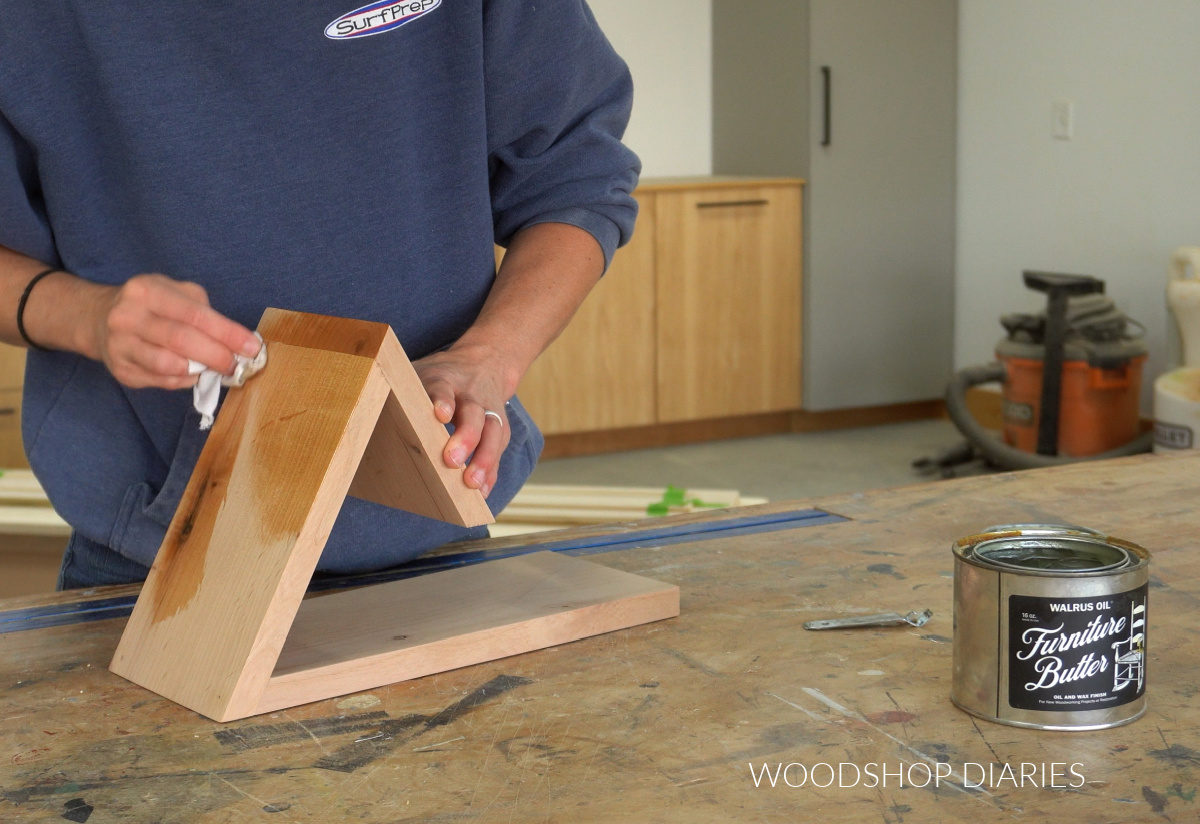
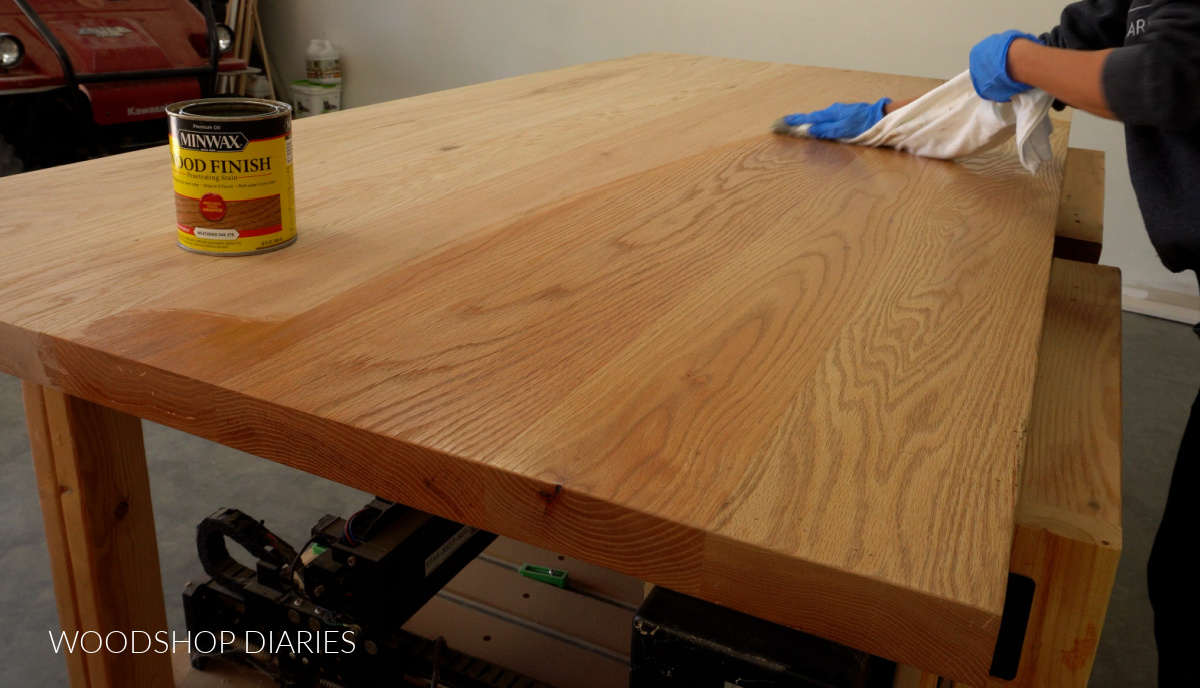
I chose to finish this hutch using Minwax Water Based Stain (semi-transparent) in Driftwood. If you’re not familiar with water based stains, they provide a great finish, but are a bit tricky to apply.
Usually, I prefer to wait until the project is assembled before staining or painting, but because water based stains dry so fast, they’re a bit difficult to apply and wipe away evenly on larger projects.
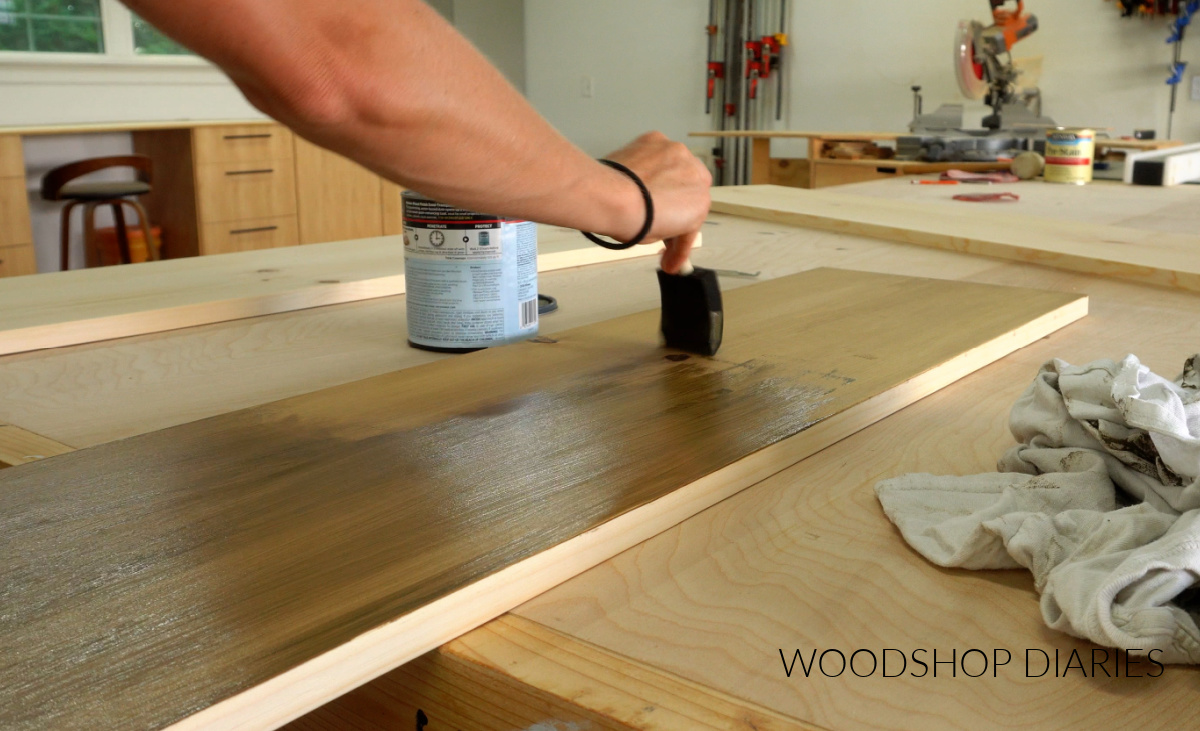
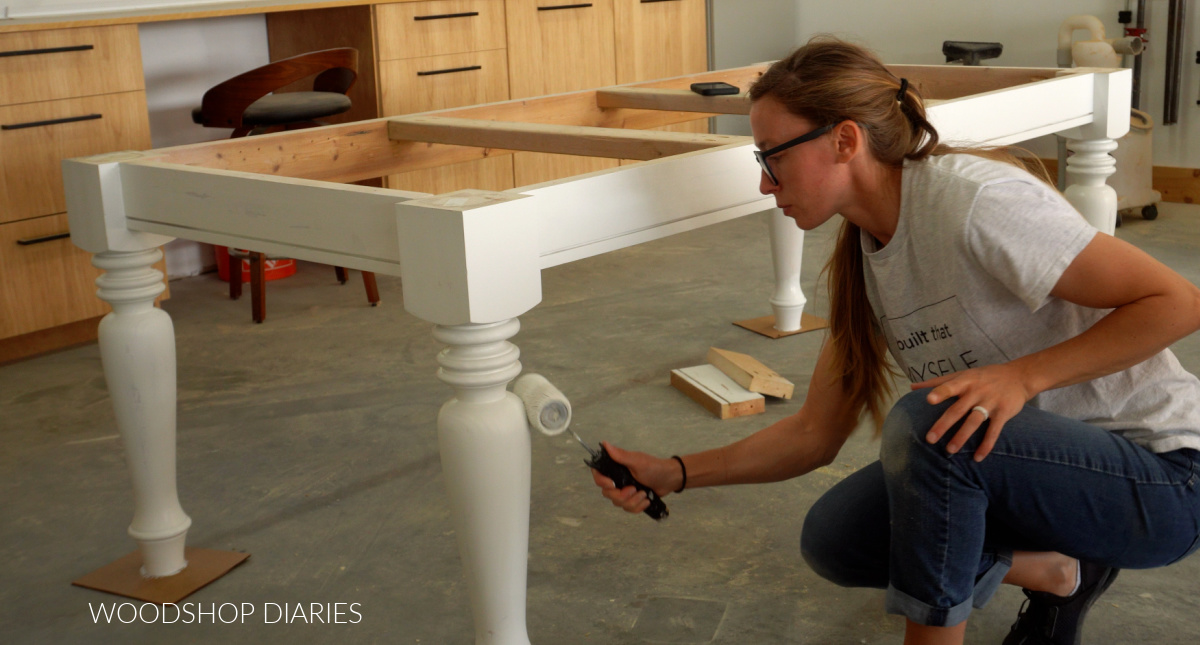
Instead, I opted to stain each piece separately before putting them together (you can see this in the build video). Personally, I find this method more difficult and time consuming, so I only do it when using a water based stain.
RELATED: How to stain wood projects
You may find these resources helpful throughout the build:
Are DIY projects your thing? Sign up for our newsletter for priority access to the latest projects and build plans!
How to Build a Countertop Hutch
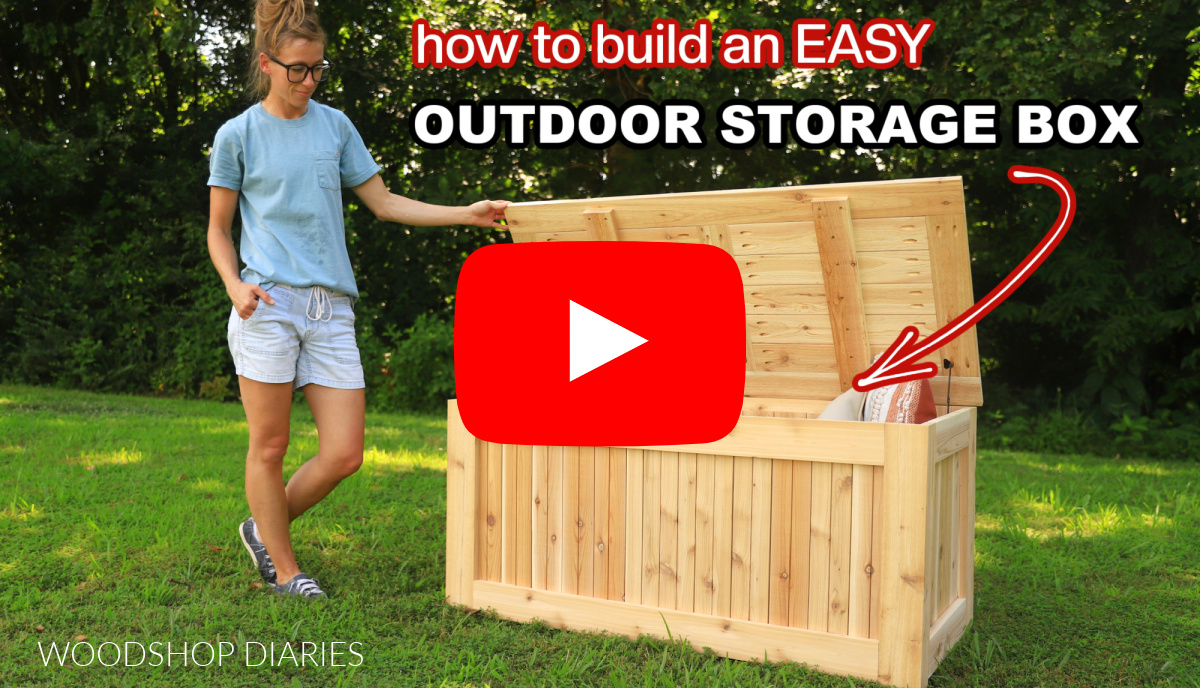
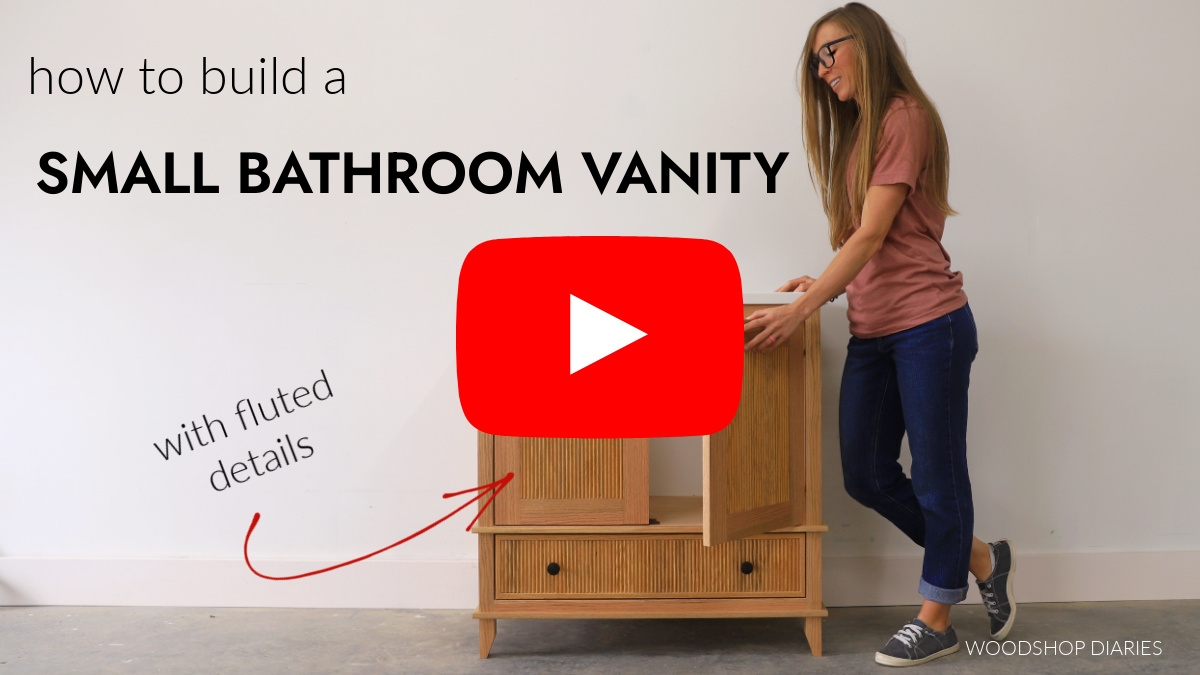
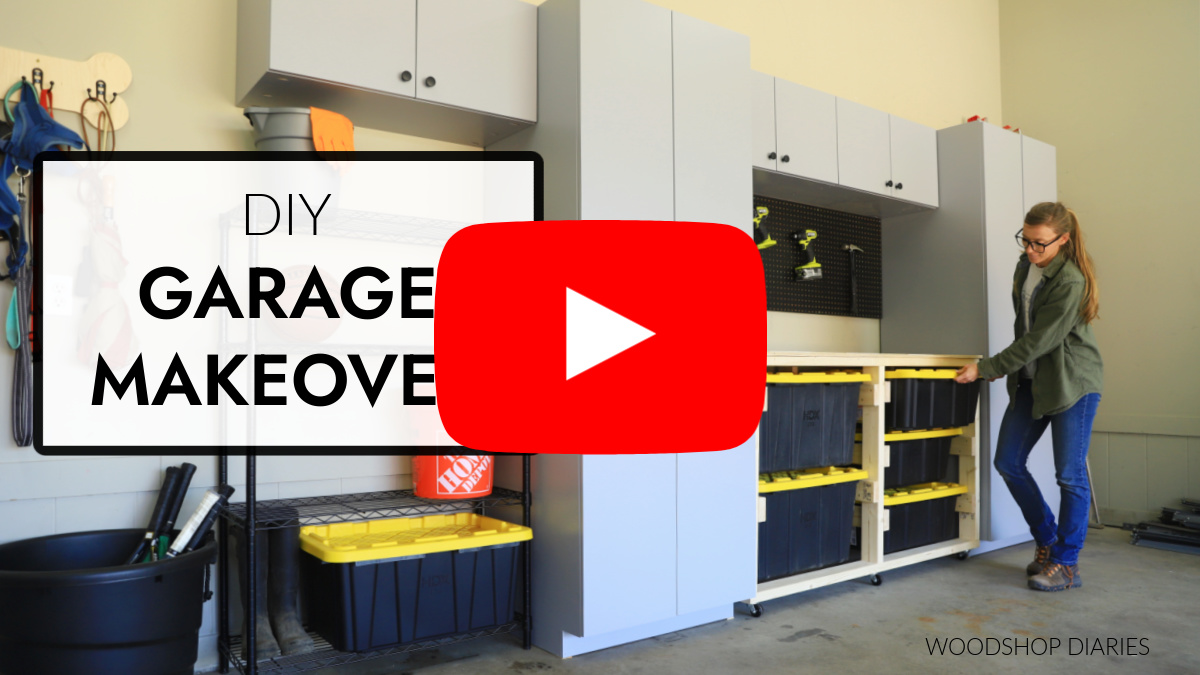
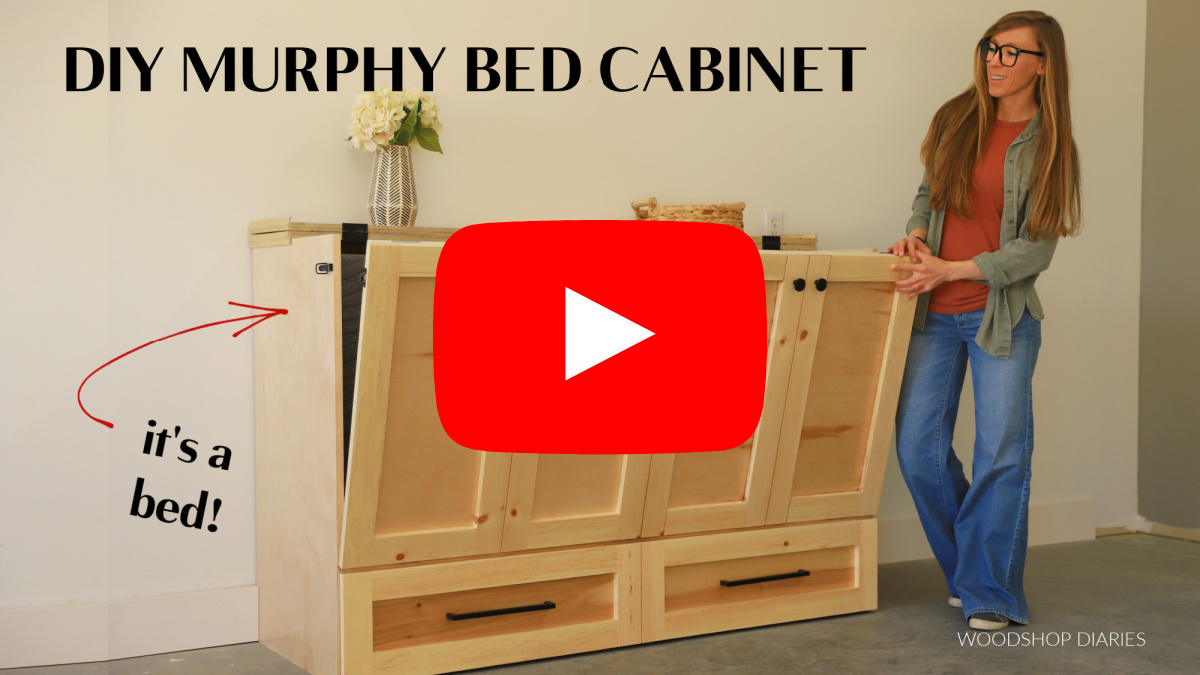
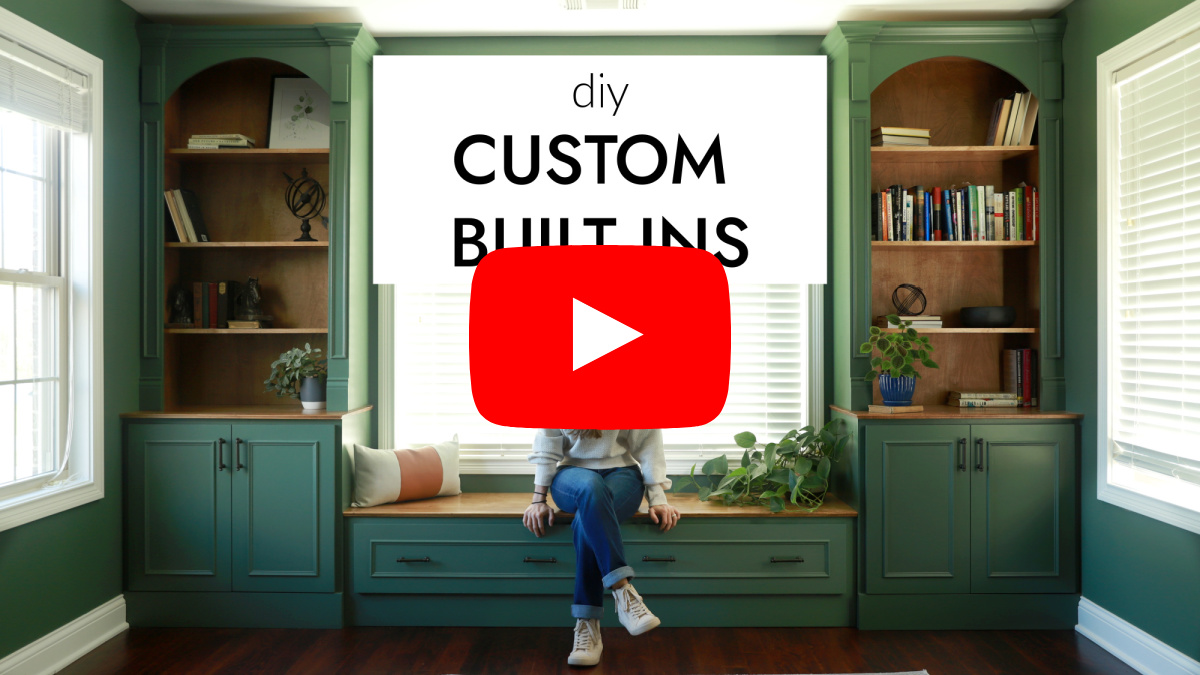
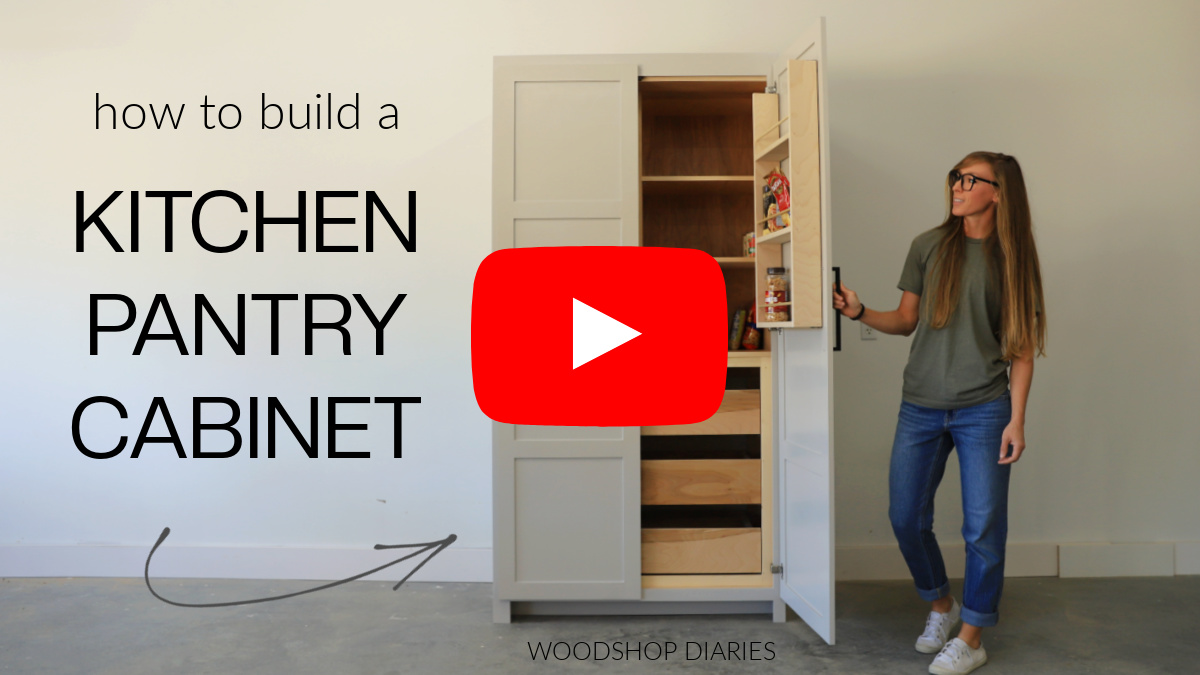
If you prefer to watch, I’ve shared the full build video with tons of tips, behind the scenes, and additional details on my YouTube Channel here.
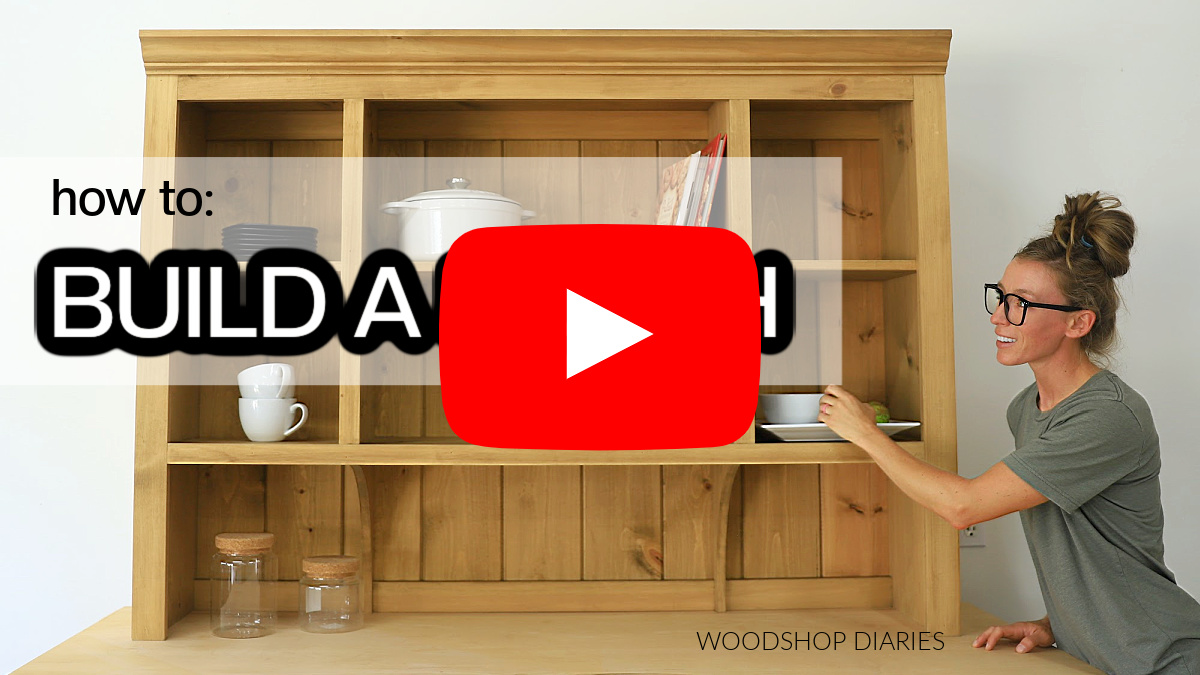
Love watching how-to videos? Subscribe to my YouTube channel for plenty more where that came from!
Prefer to print? Grab the printable countertop hutch building plans here:
Tools & Materials
Tools:
- Miter Saw
- Table Saw
- Drill/Driver
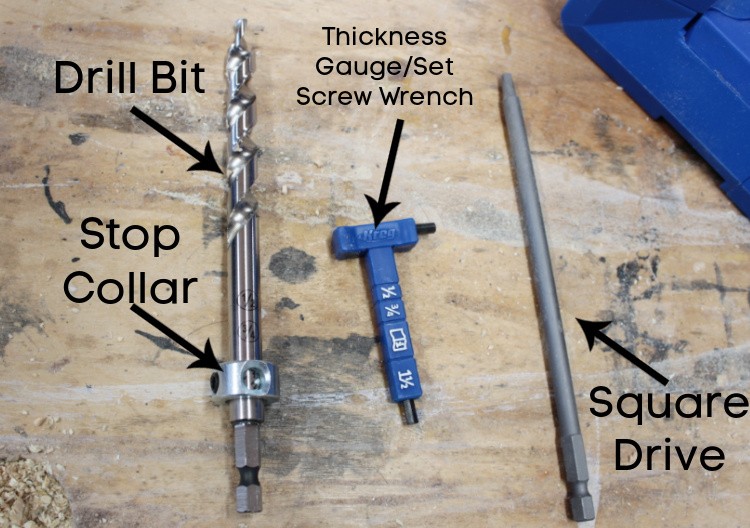
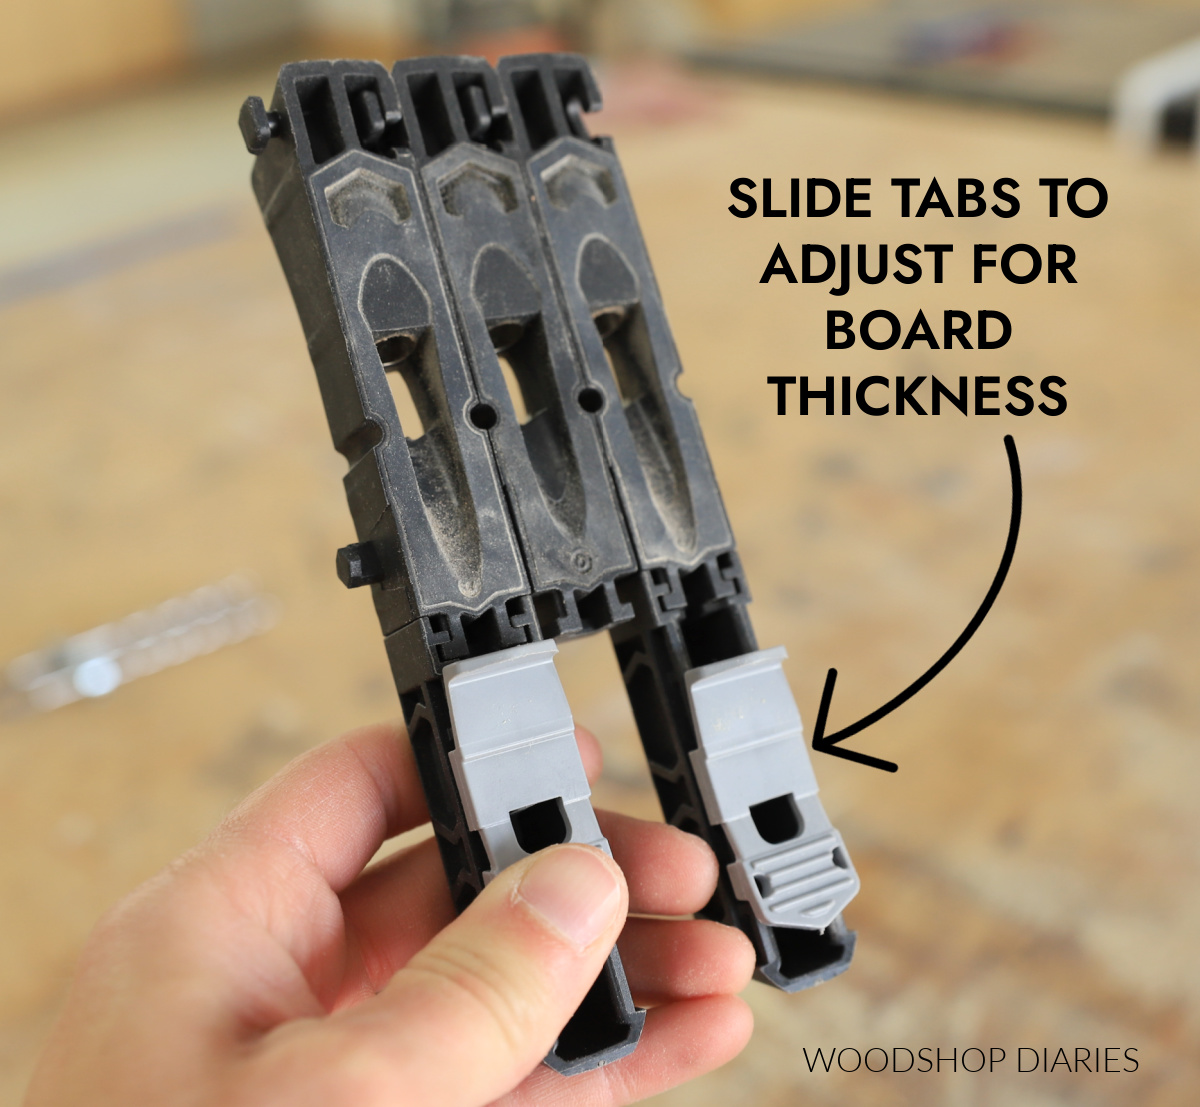
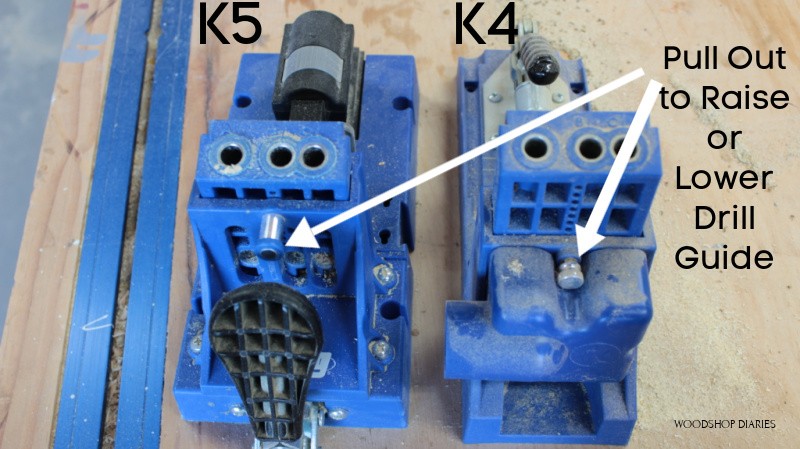
- Pocket Hole Jig
- Brad Nailer
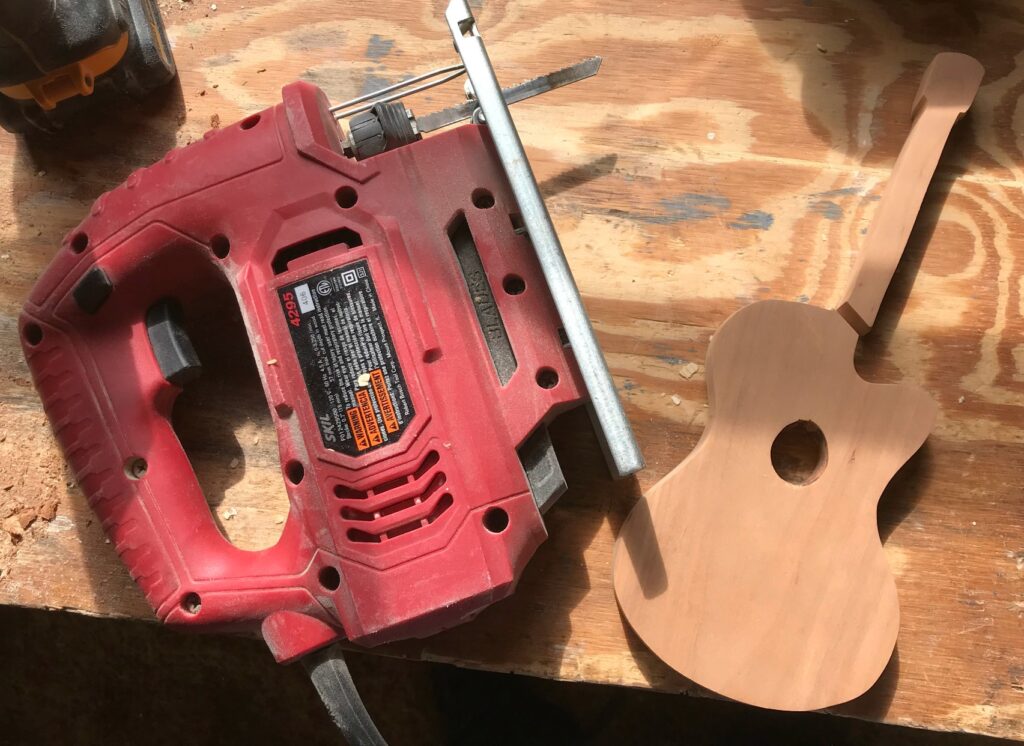
- Jig Saw
Materials:
- (5) 1x12x6 boards
- (3) 1x3x8 boards
- (2) 1x2x6 boards
- (1) 8ft long piece crown molding
- (5) 1x8x8 shiplap boards
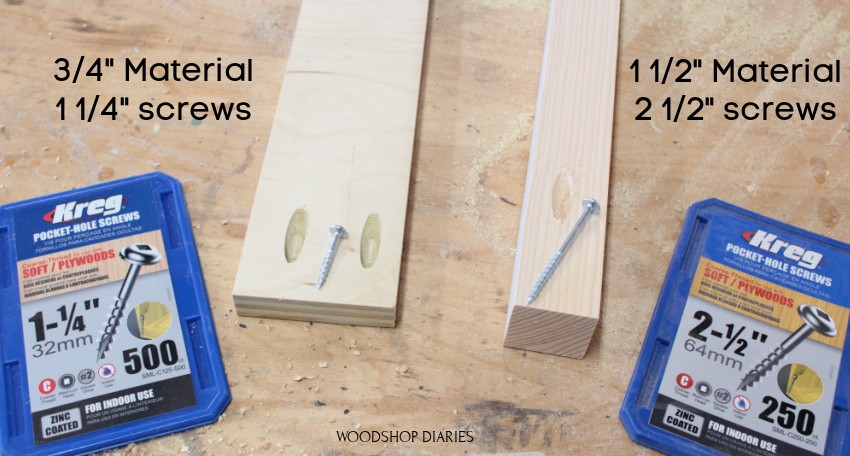
- 1 ¼″ pocket holes screws (100 count box)
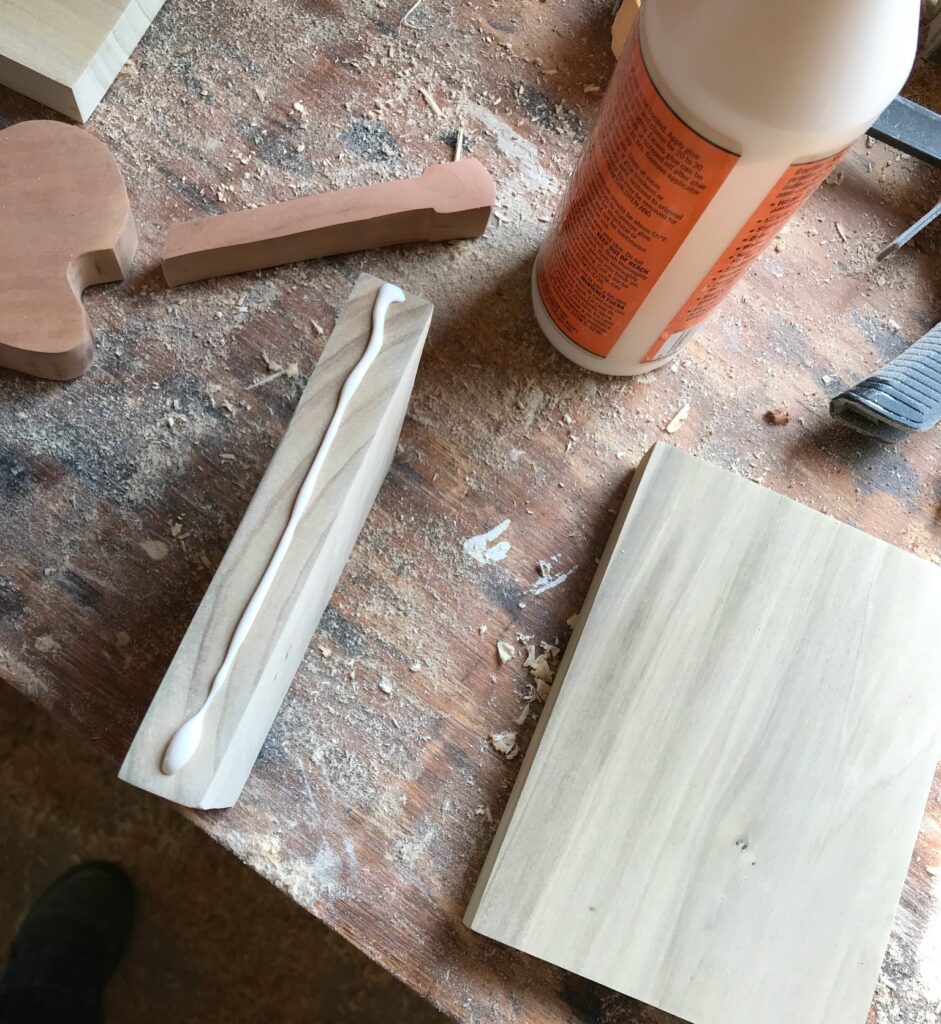
- Wood Glue
- 1 ¼″ brad nails
- 1 ¼″ wood screws (1 lb box)
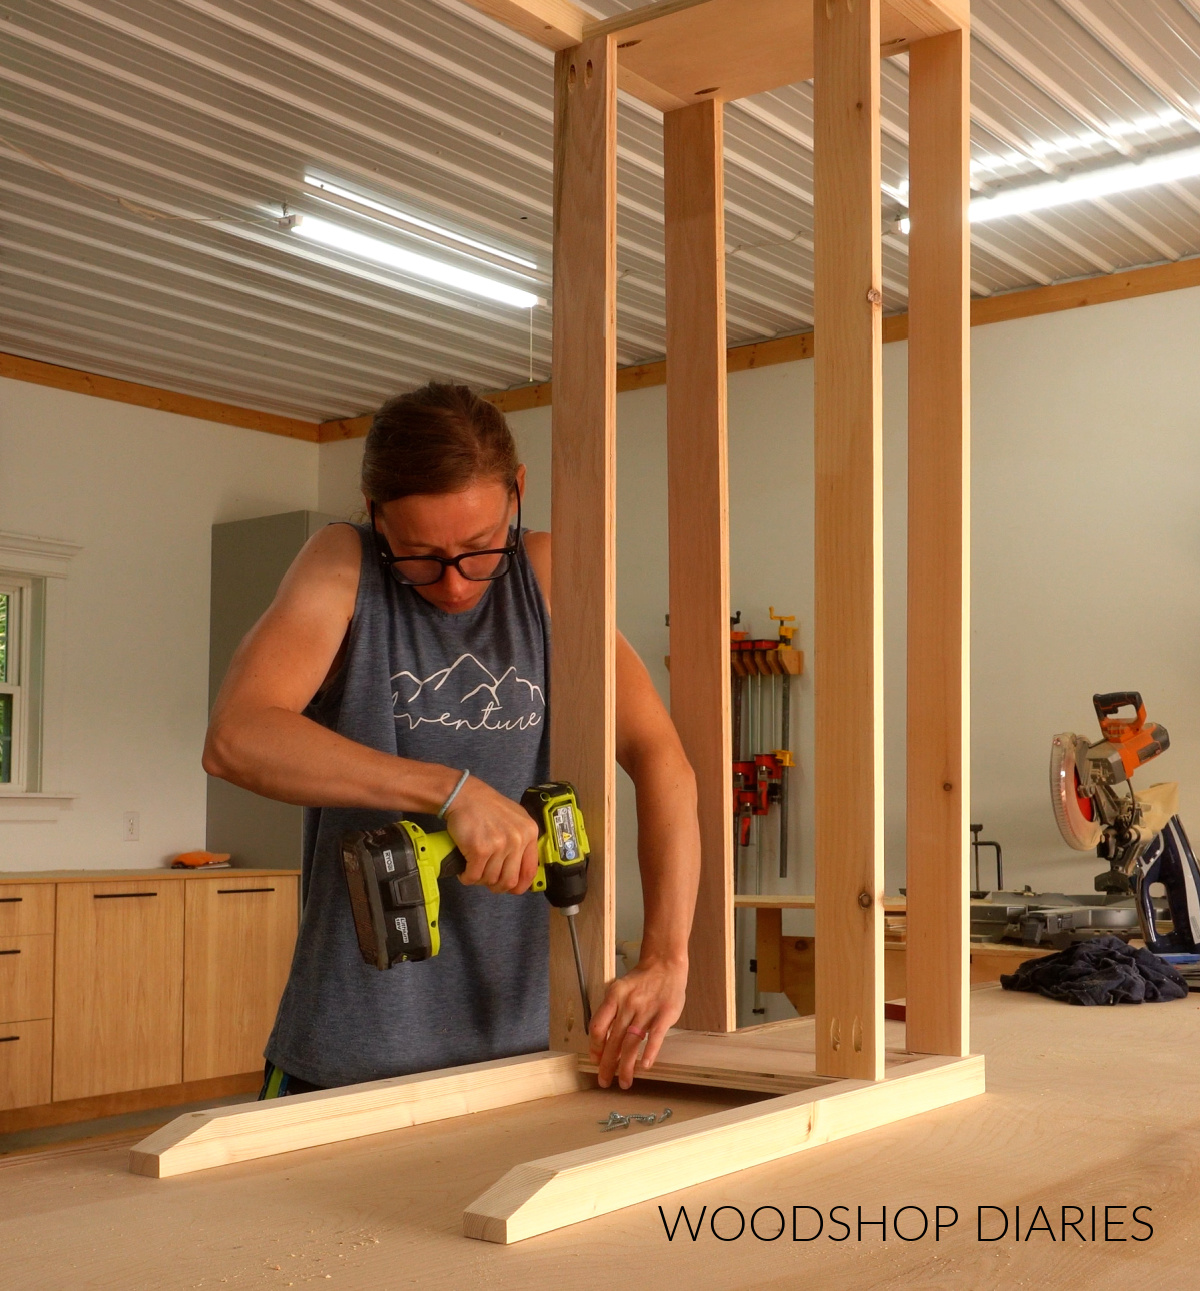
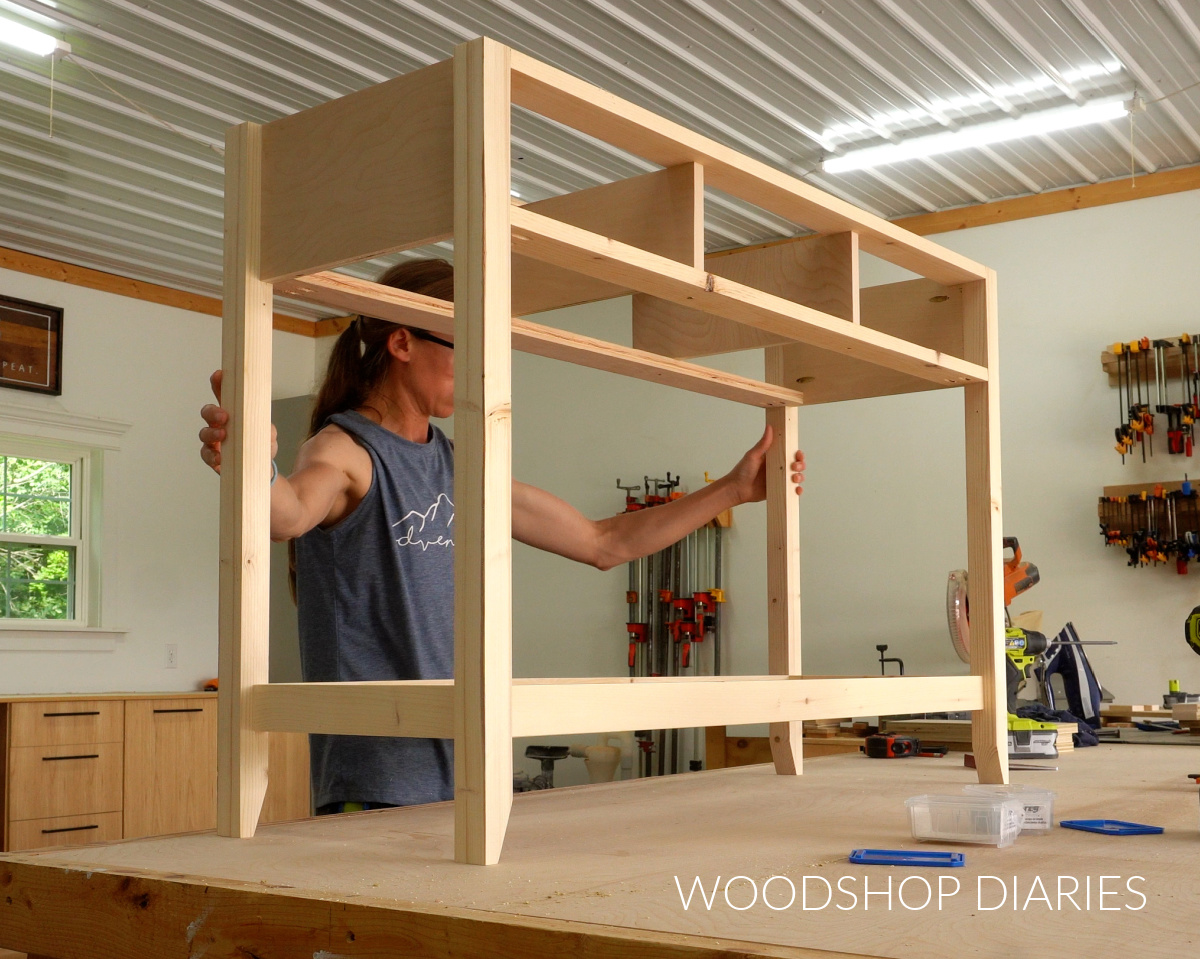
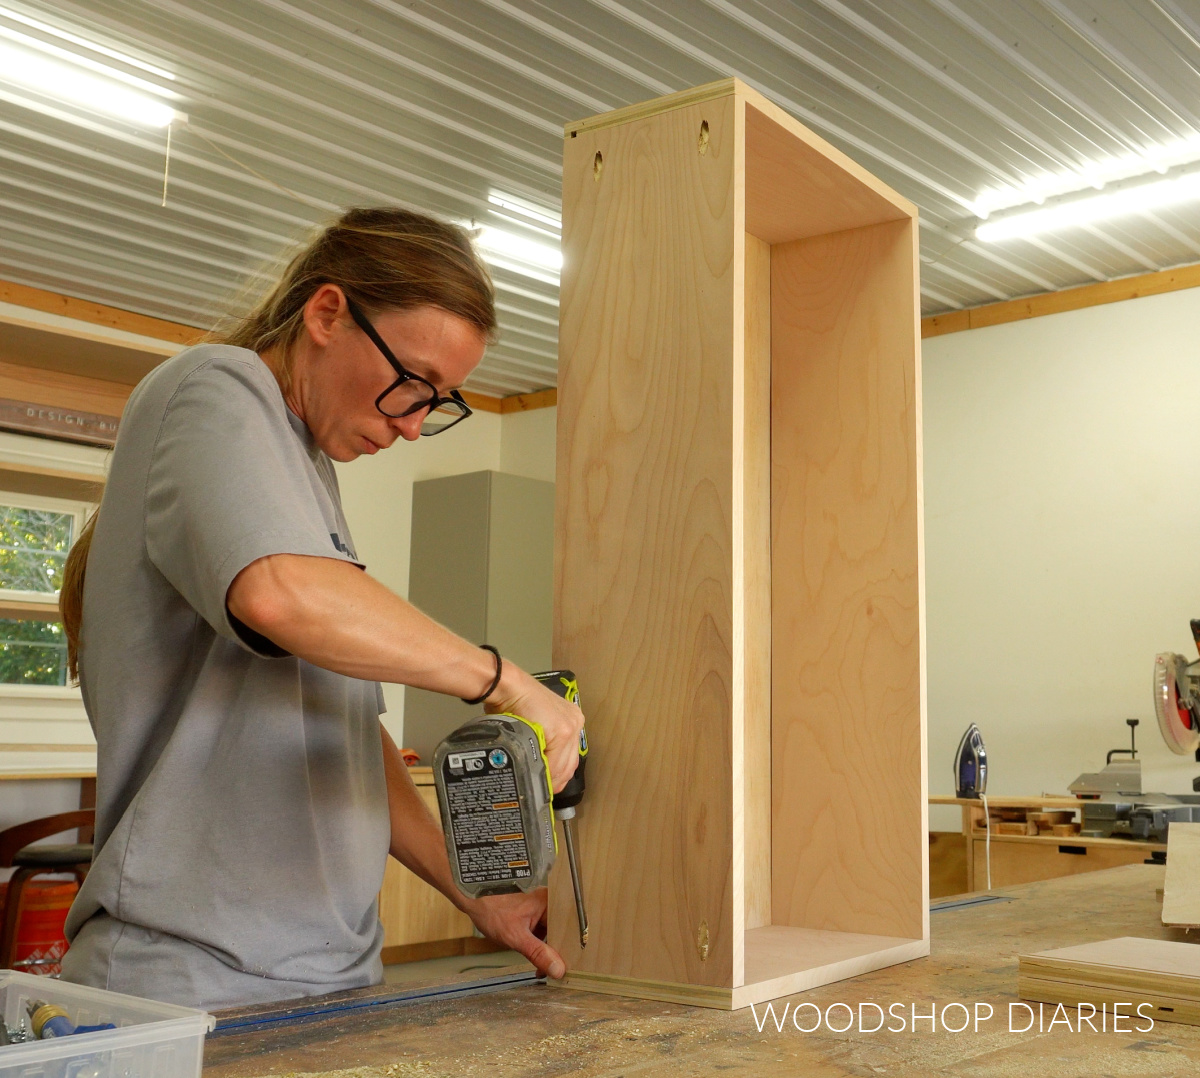
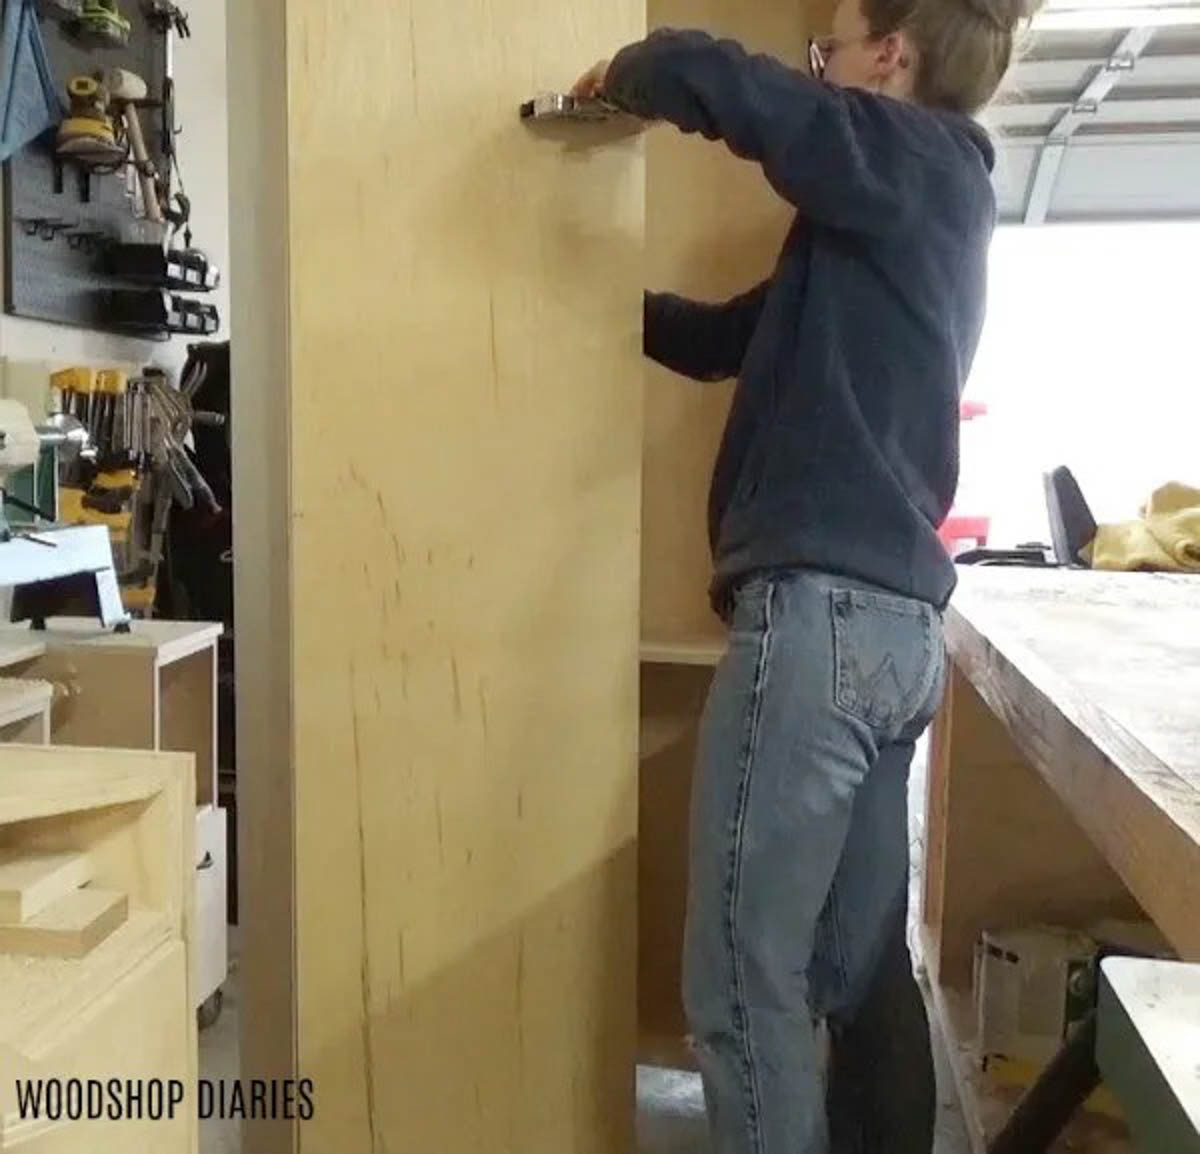
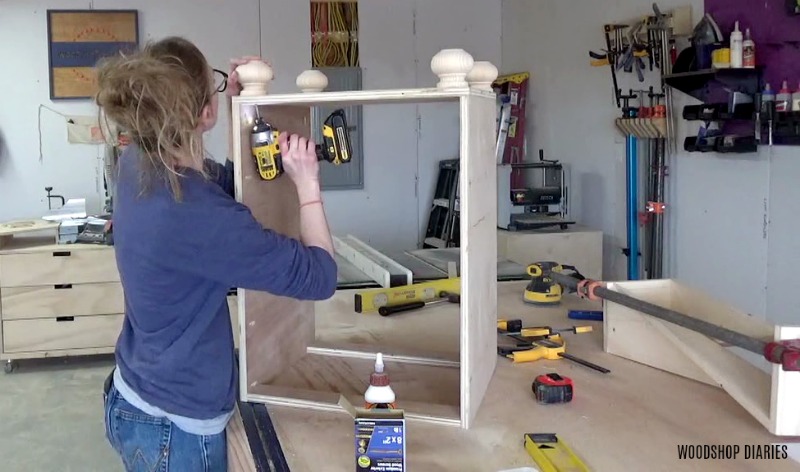
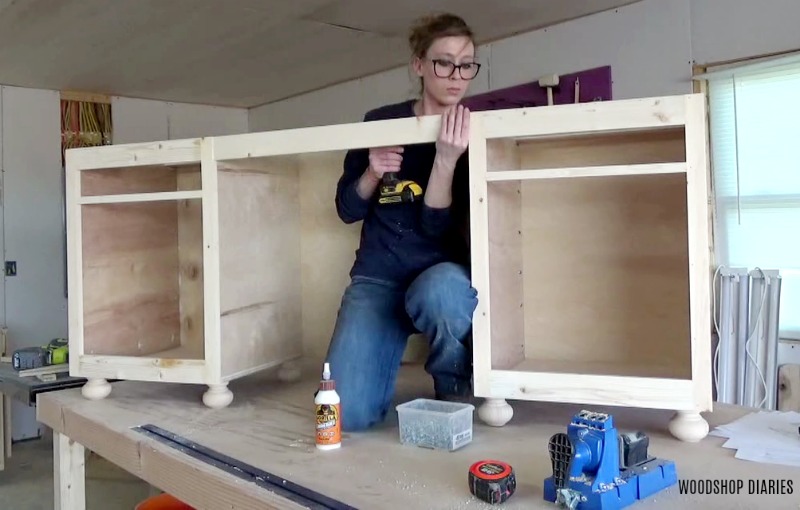
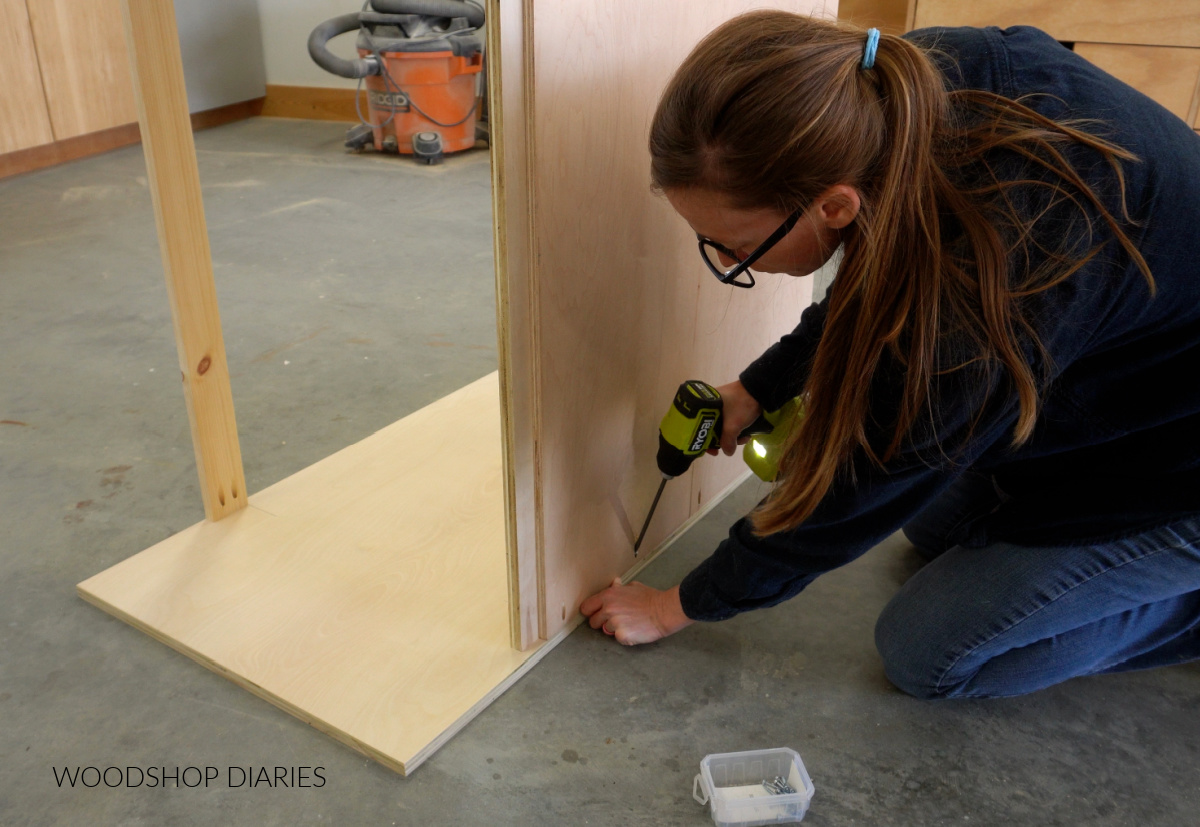
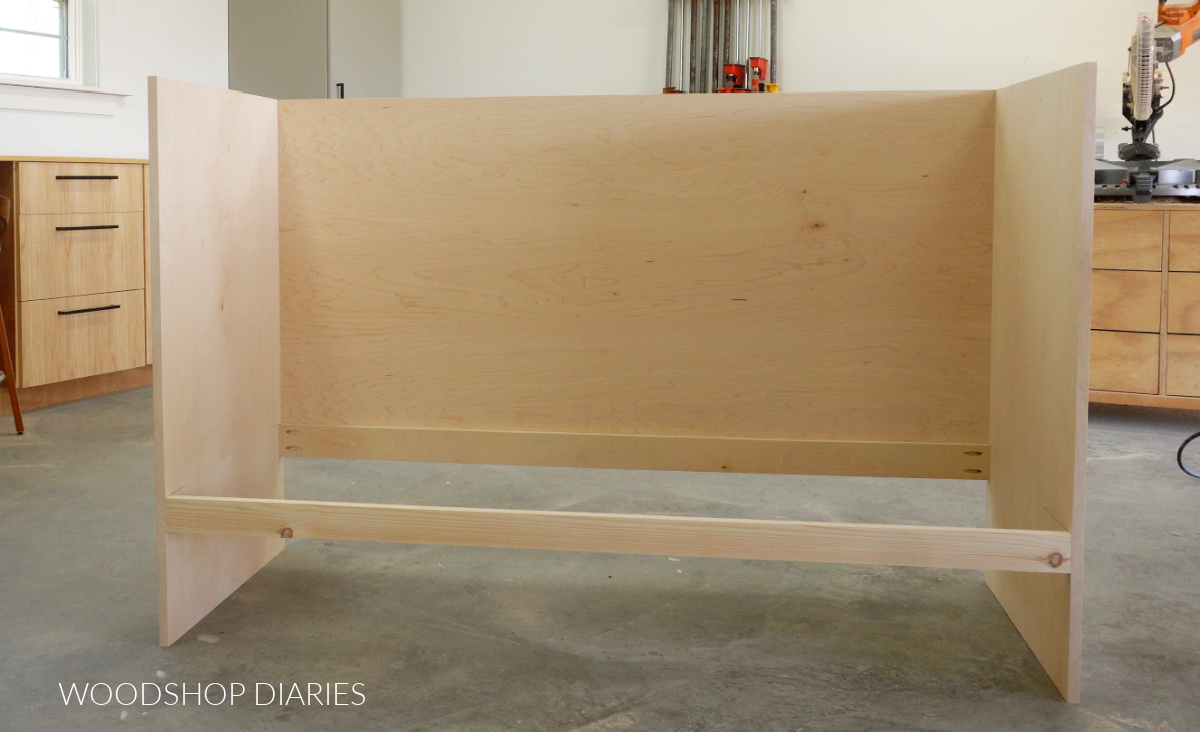
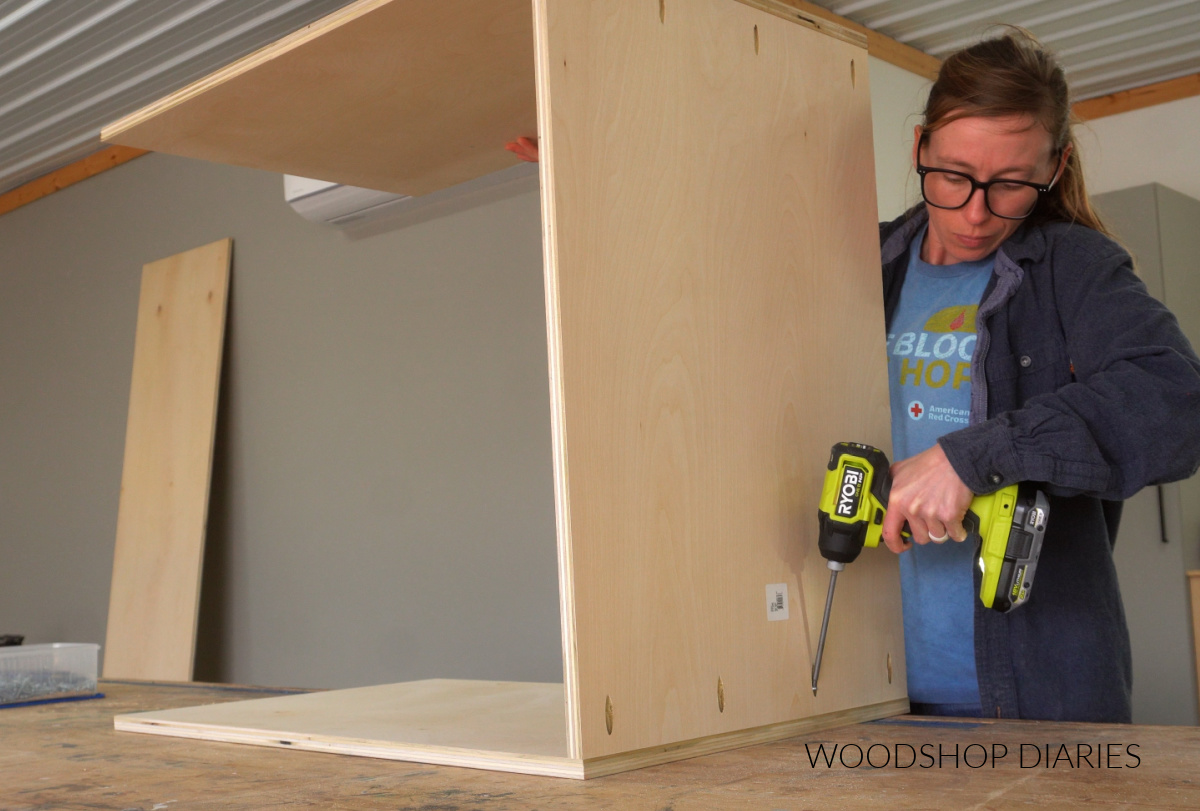
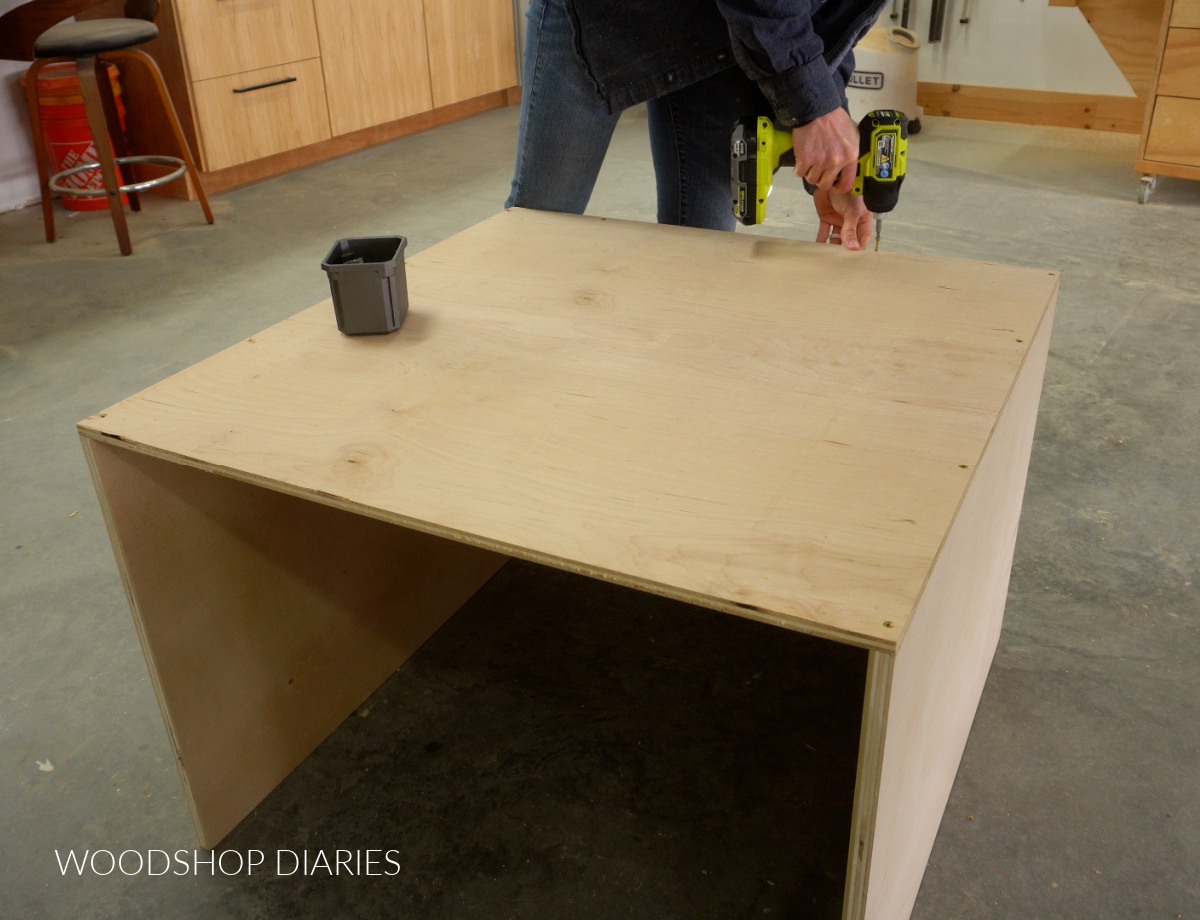
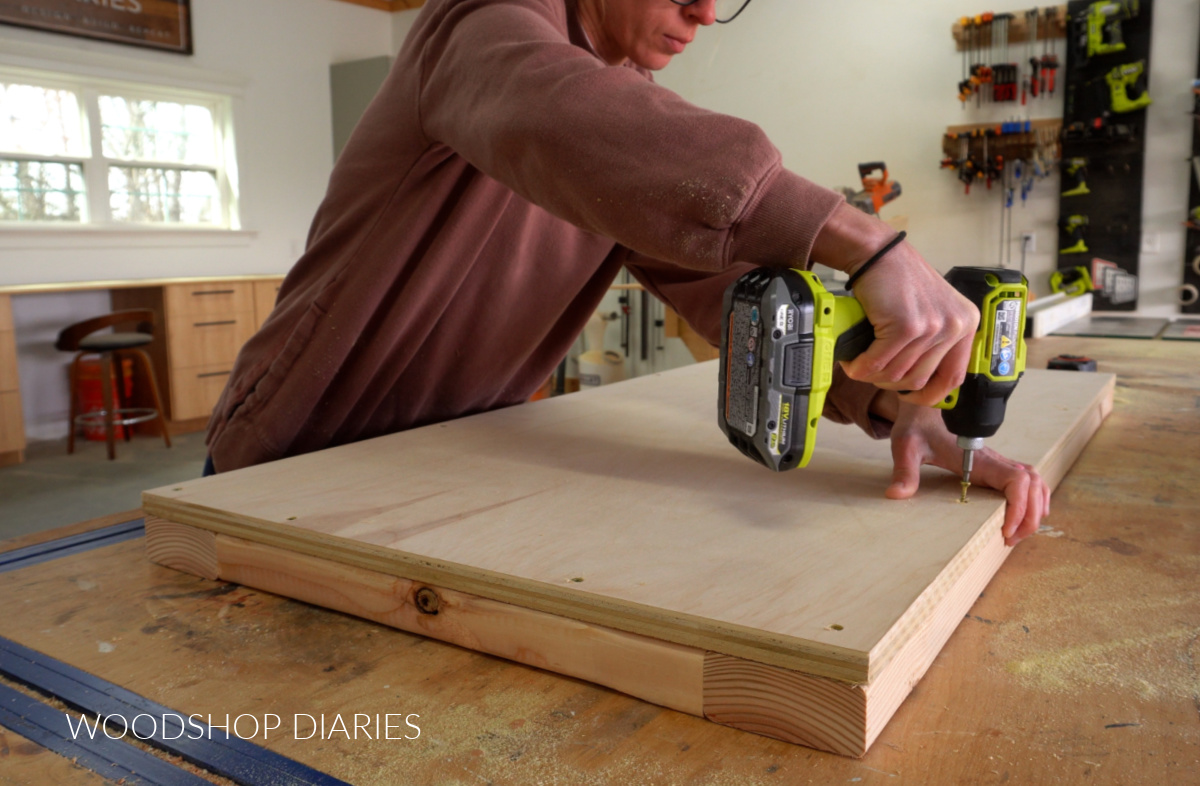
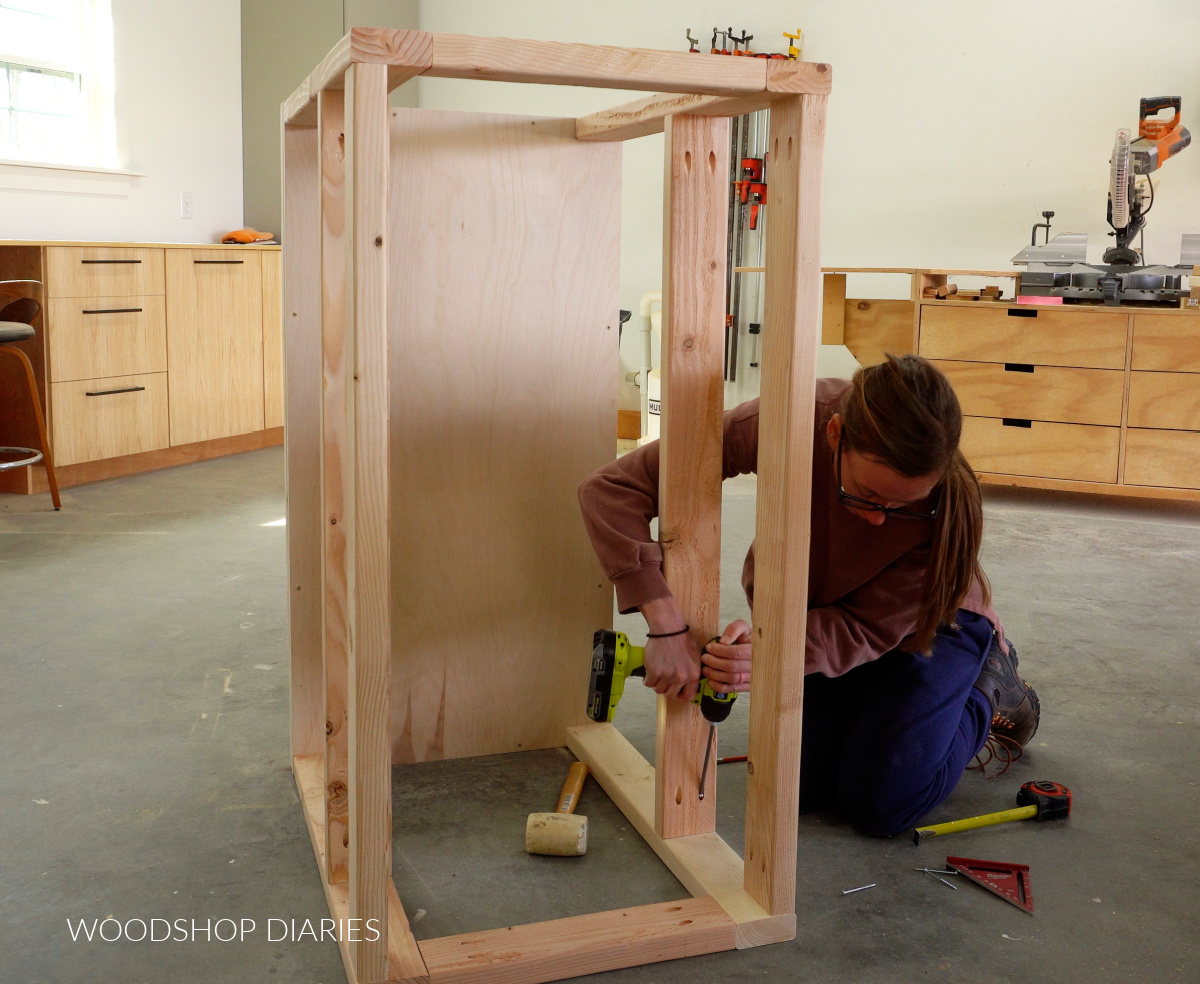
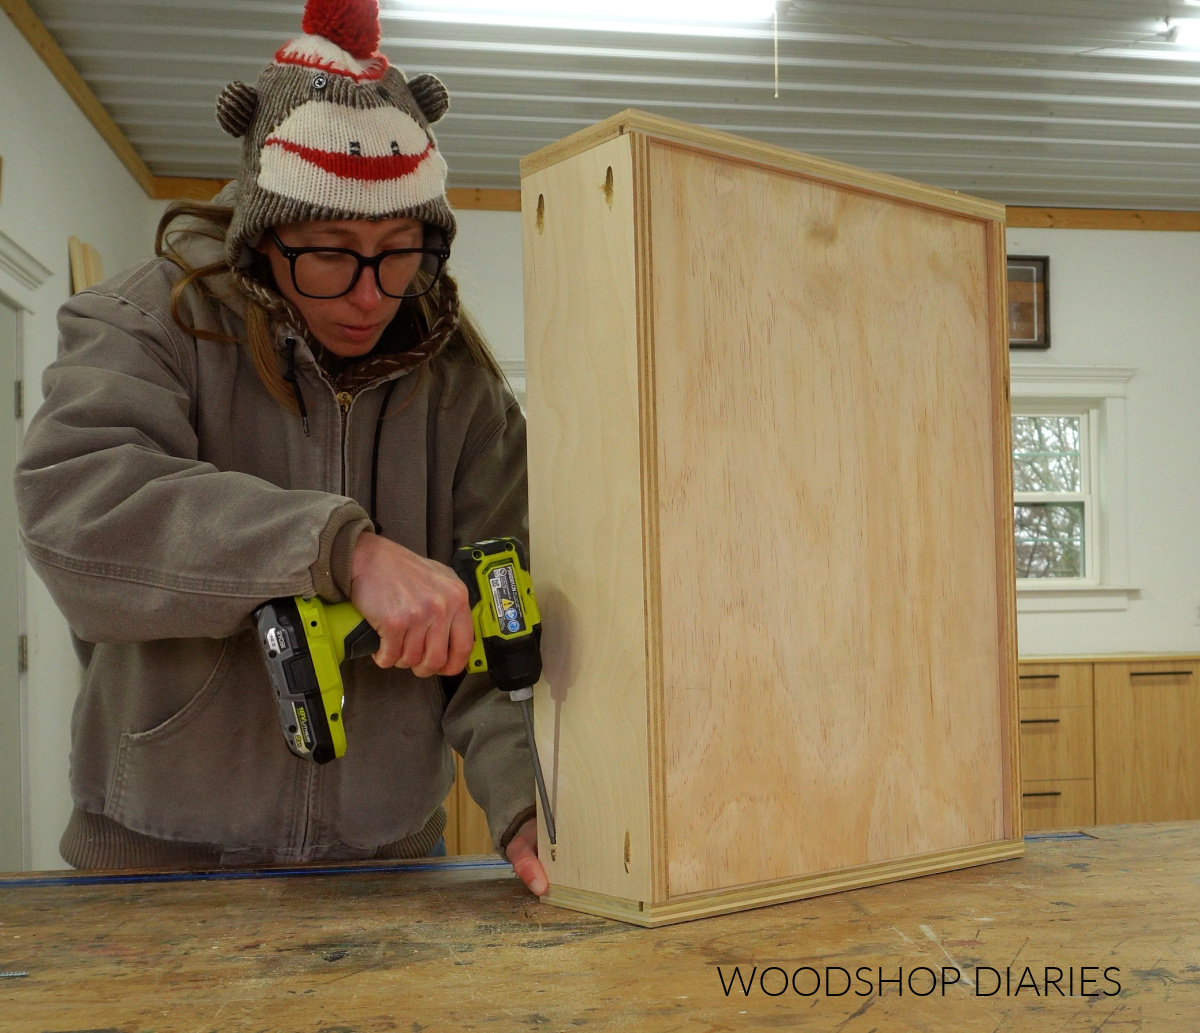
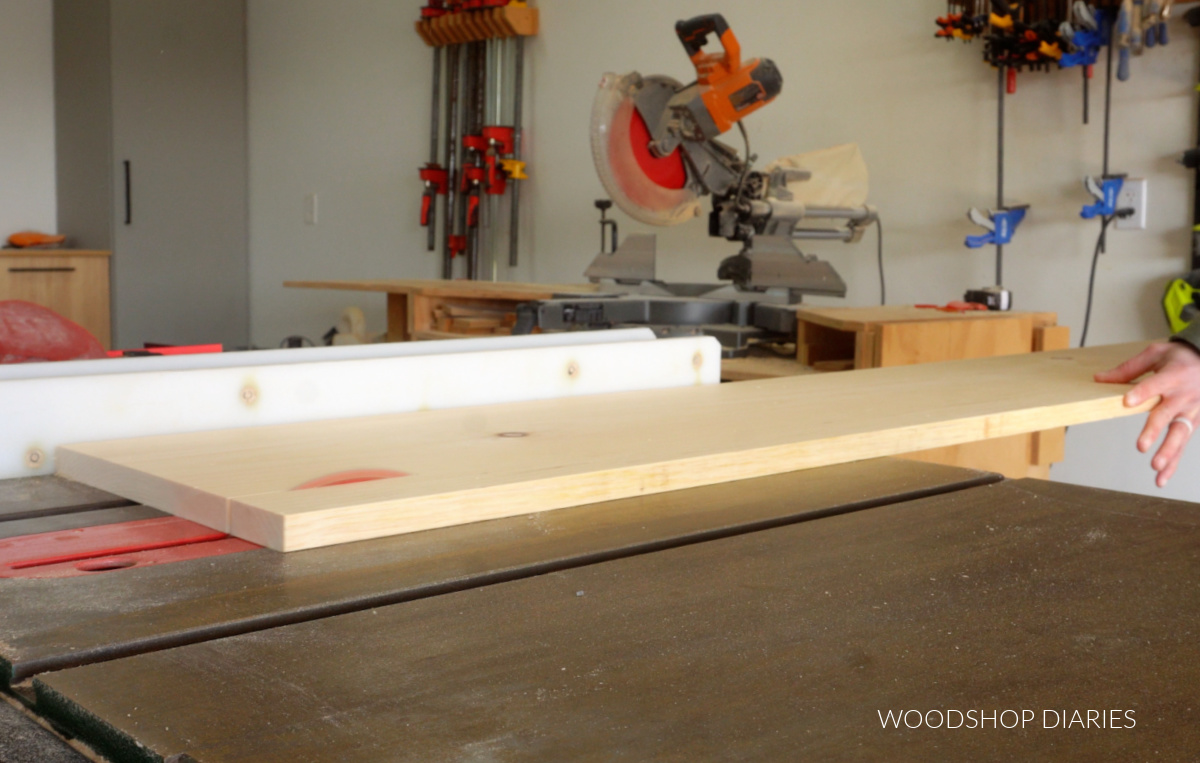
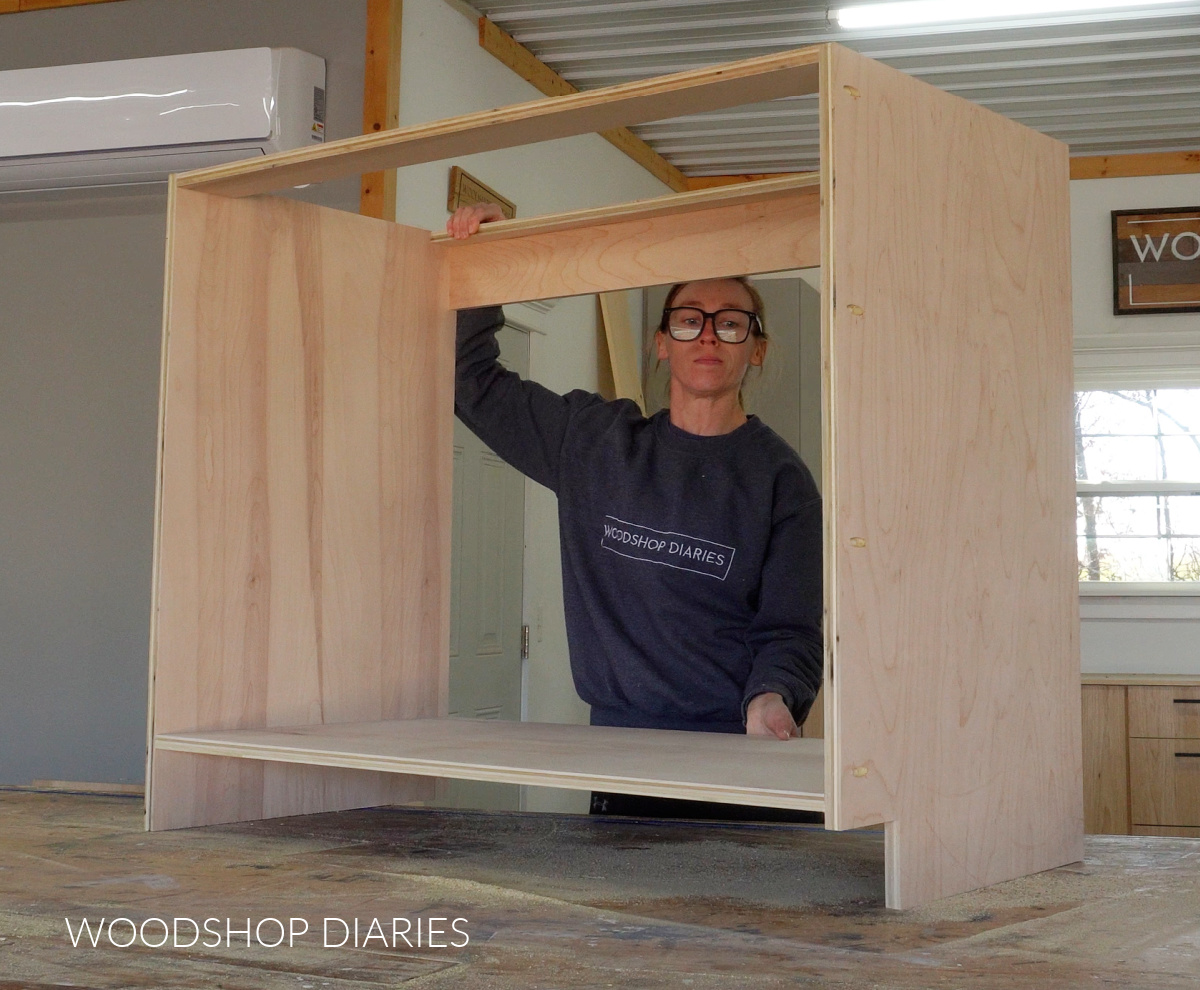
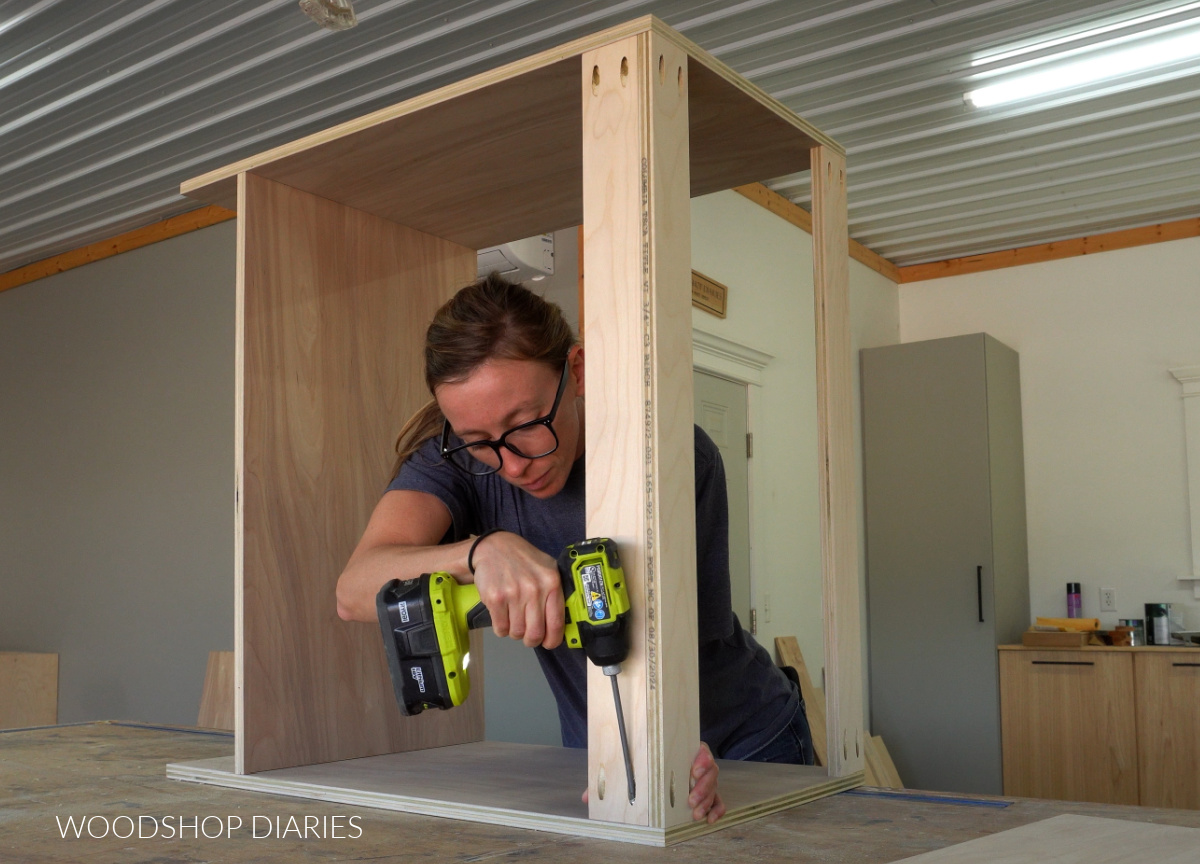
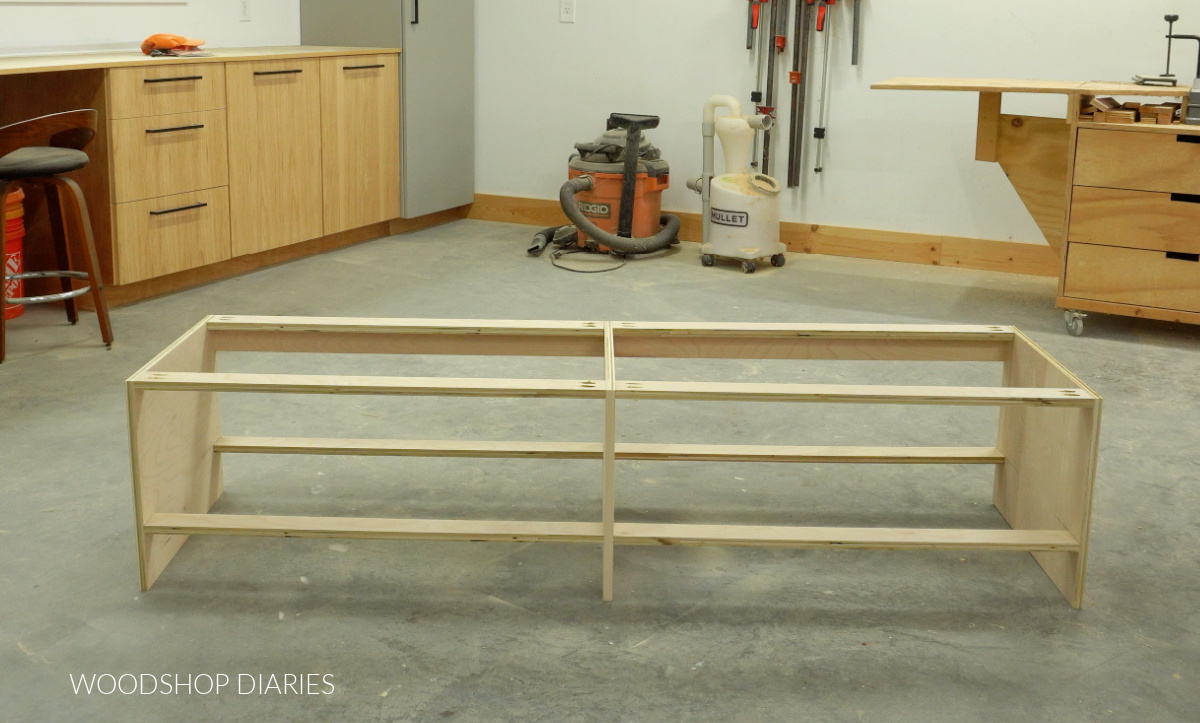
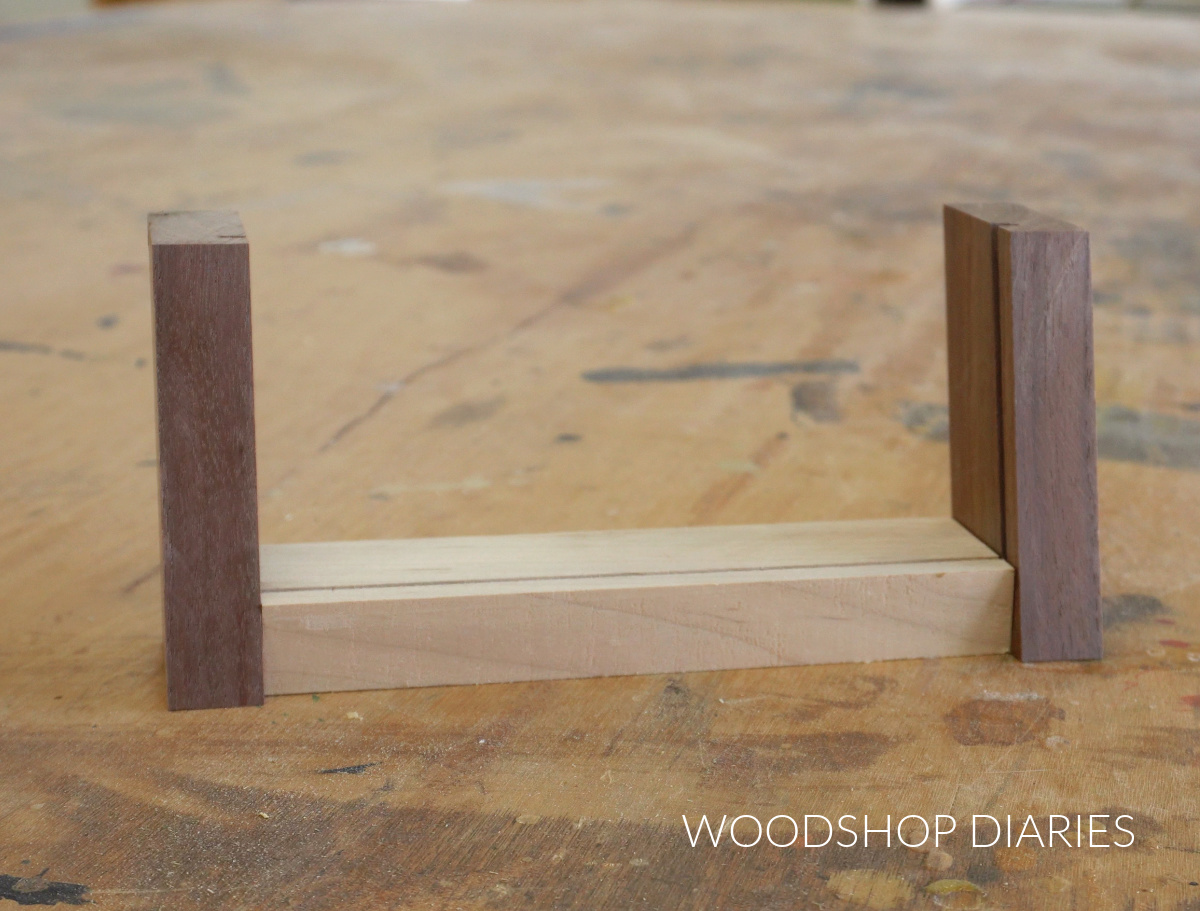
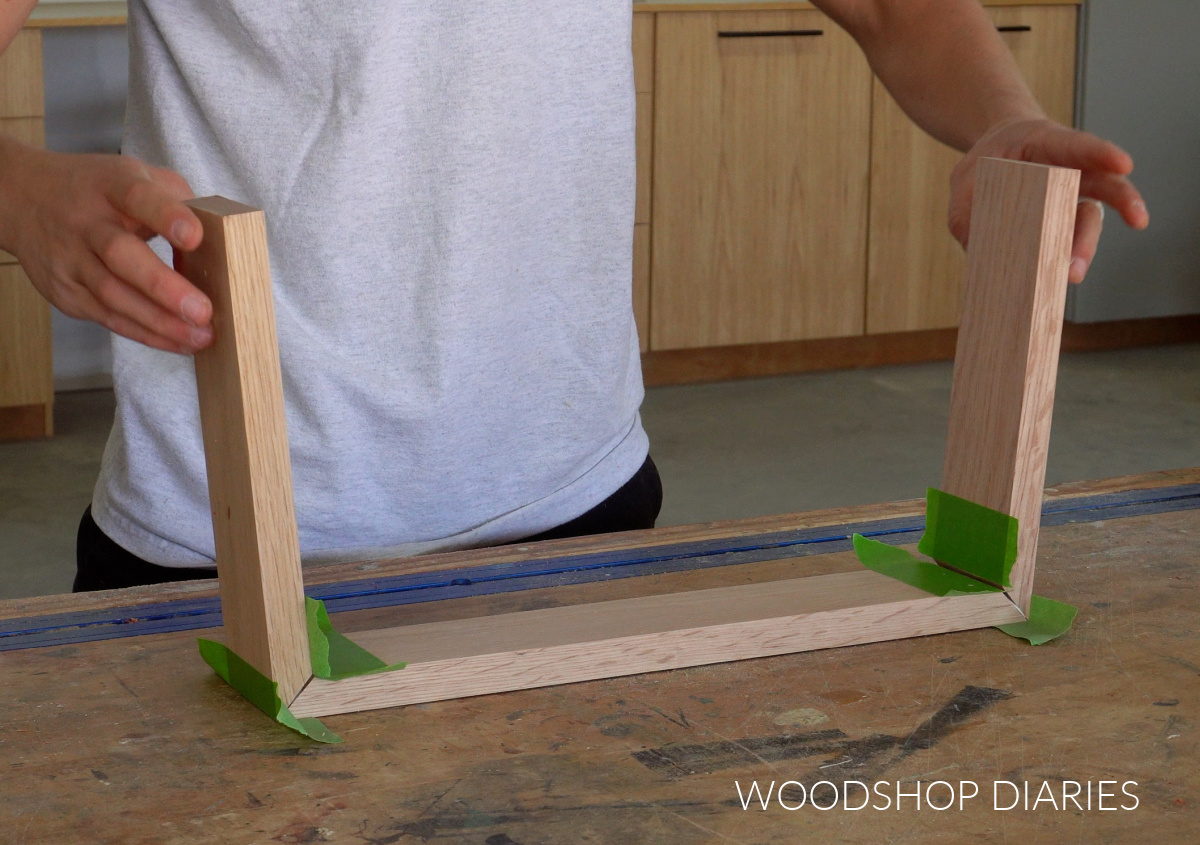
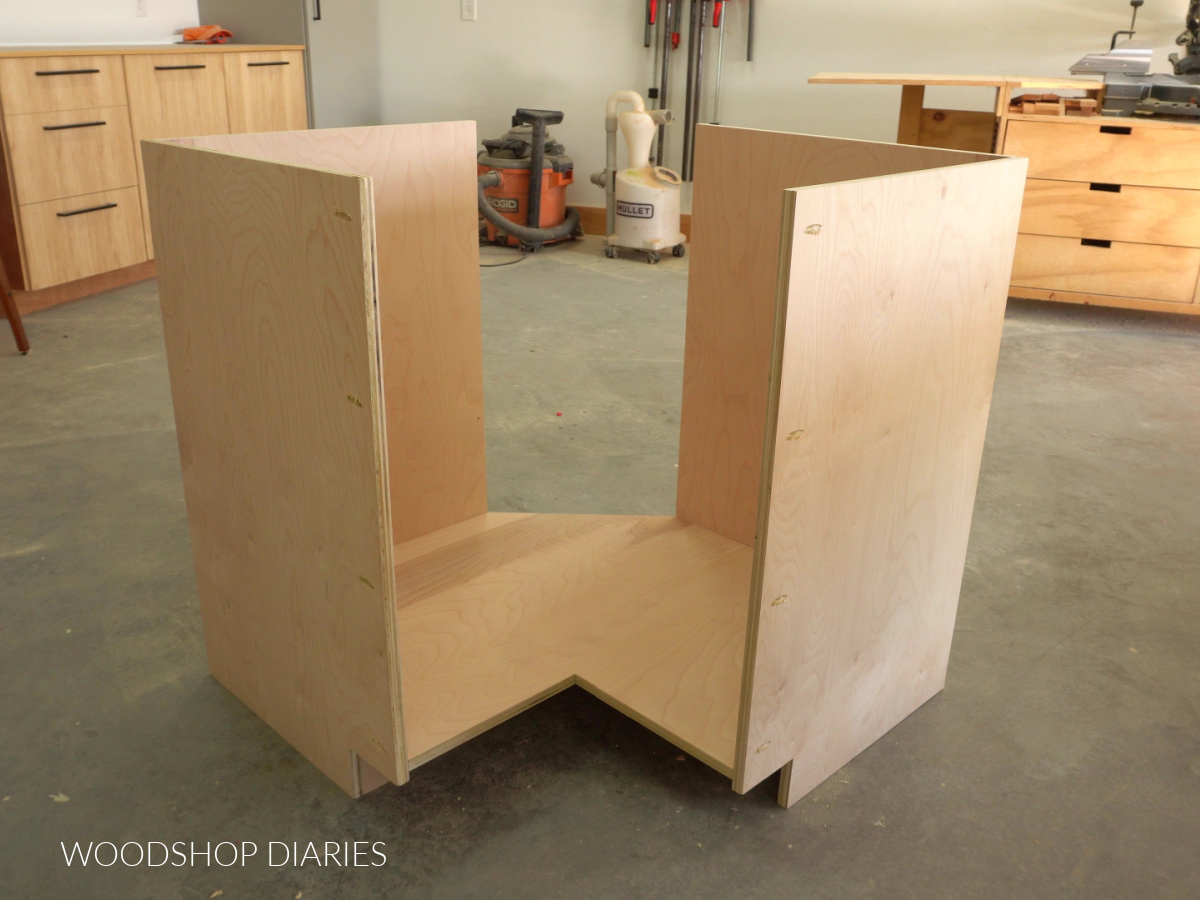
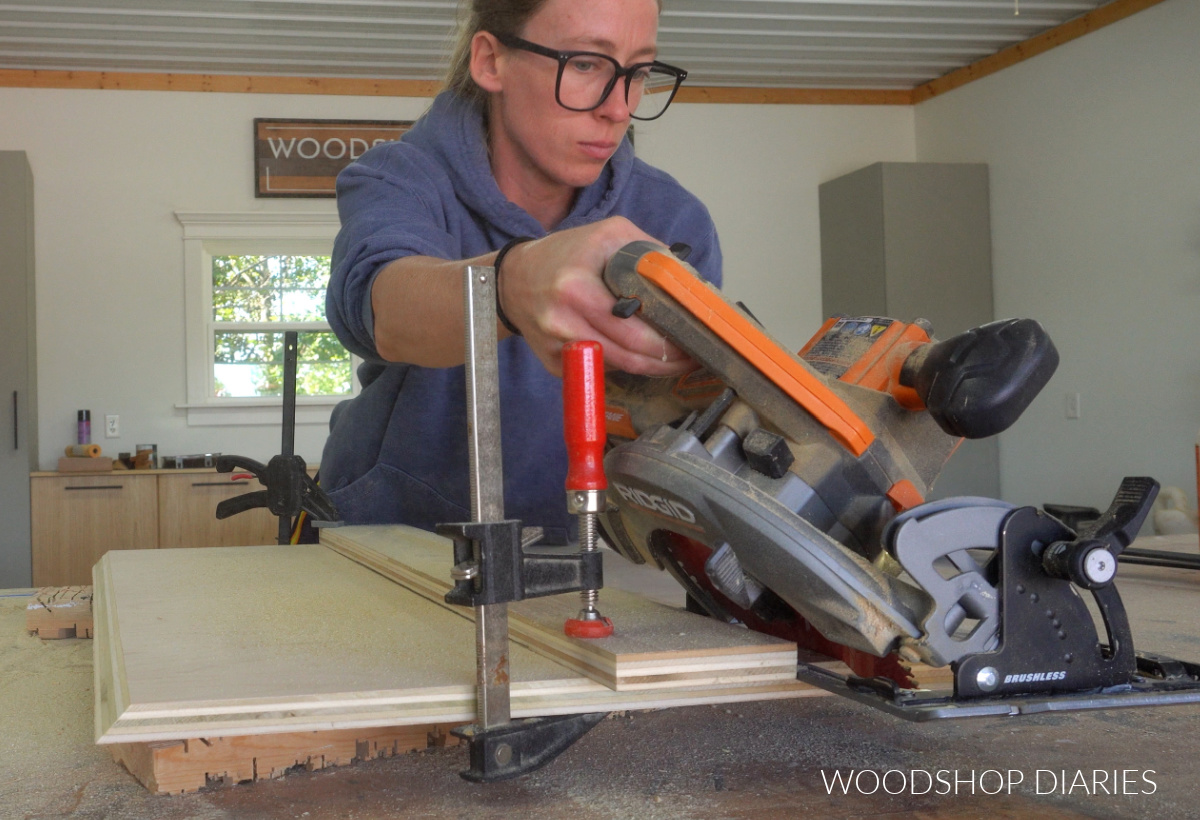
Step 1: Assemble Sides and Top
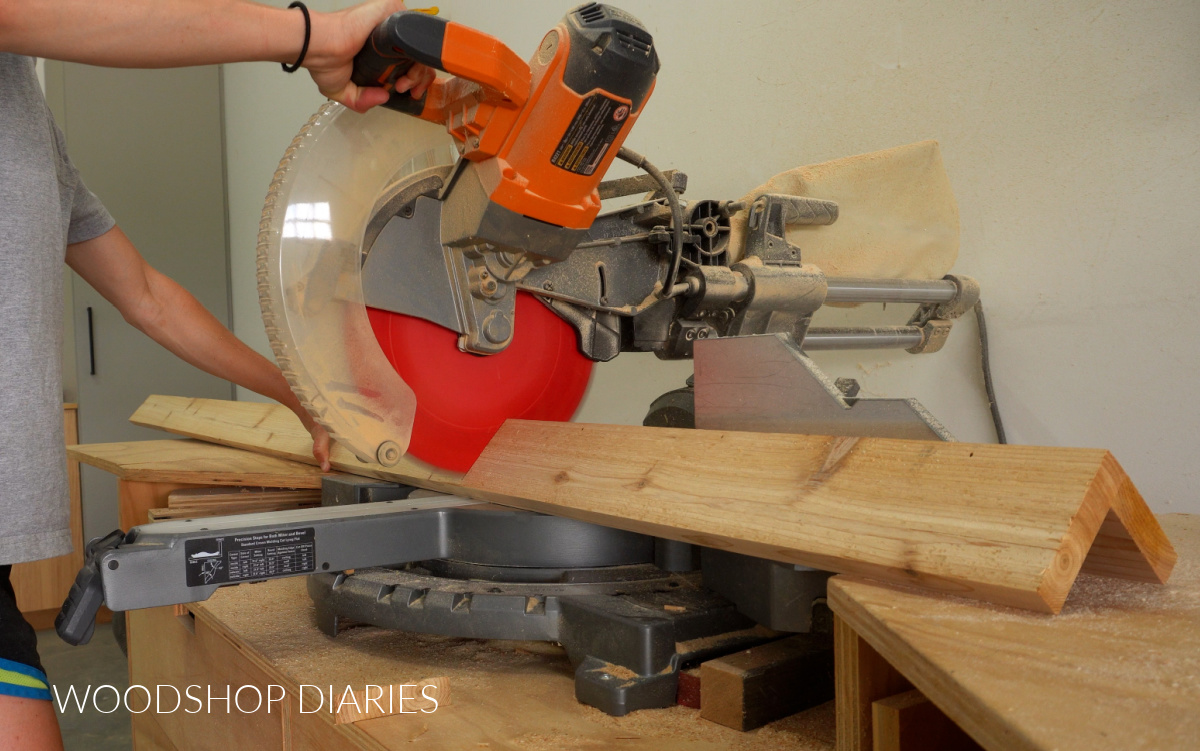
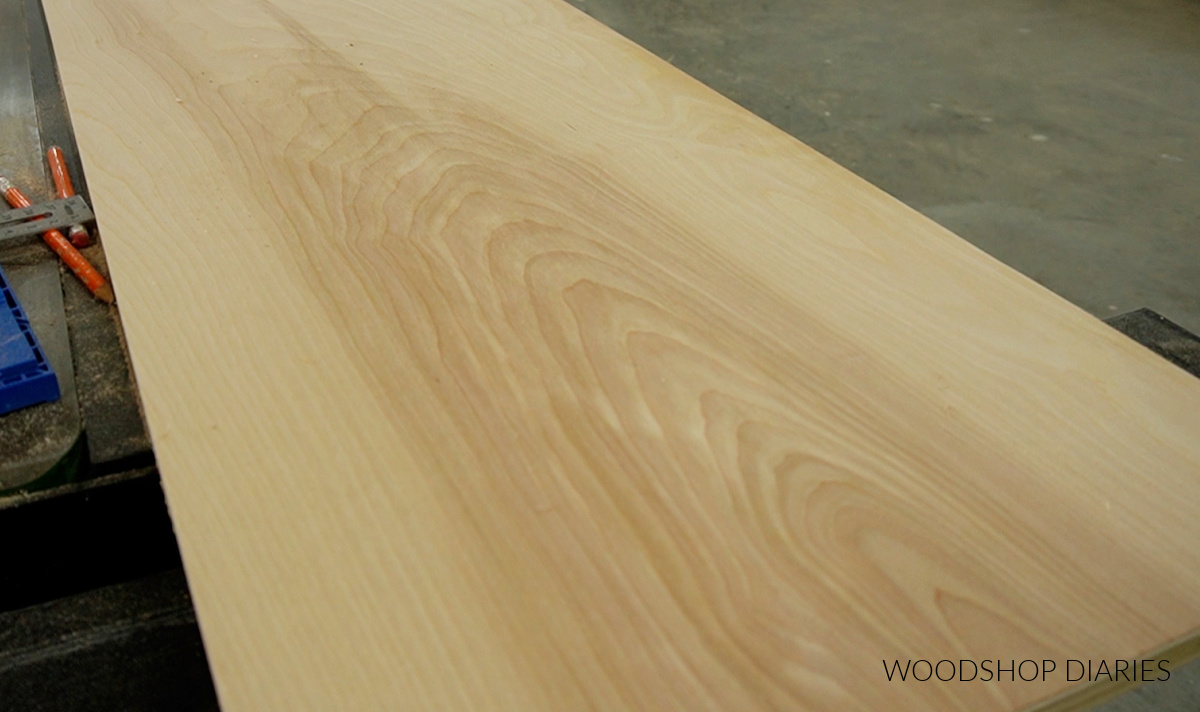
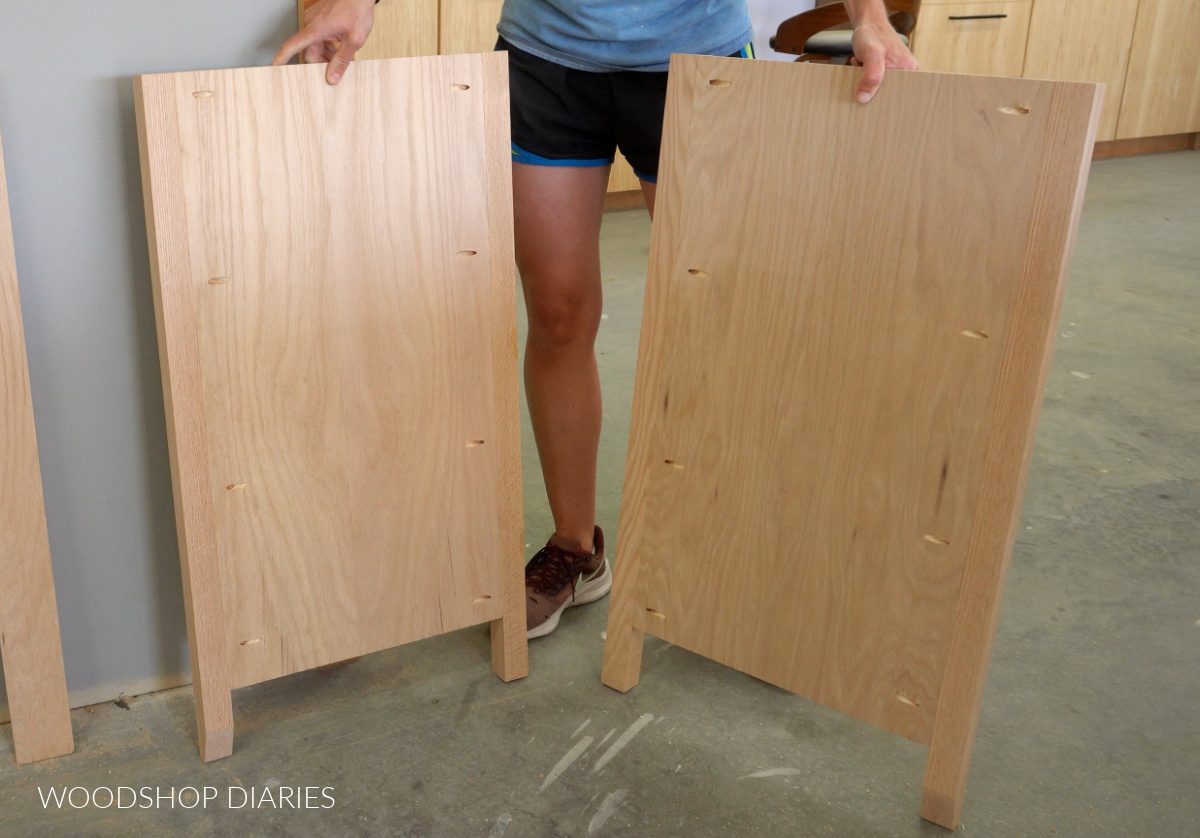
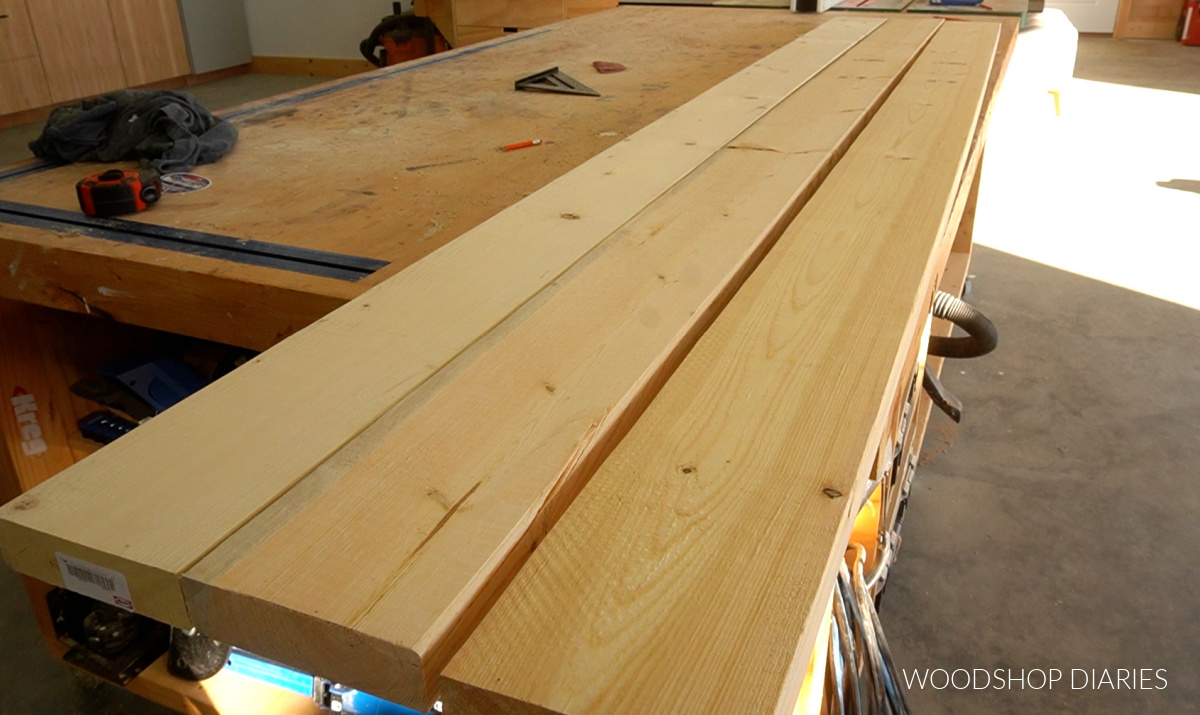
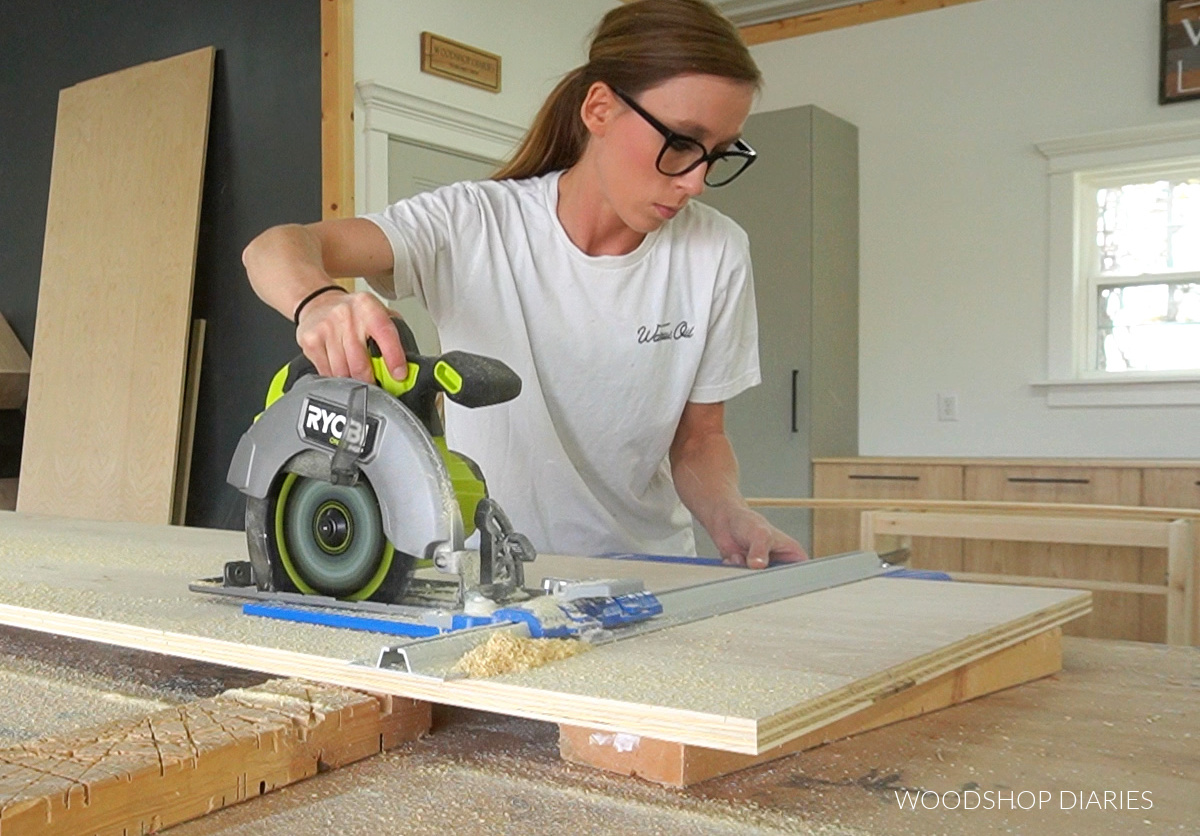
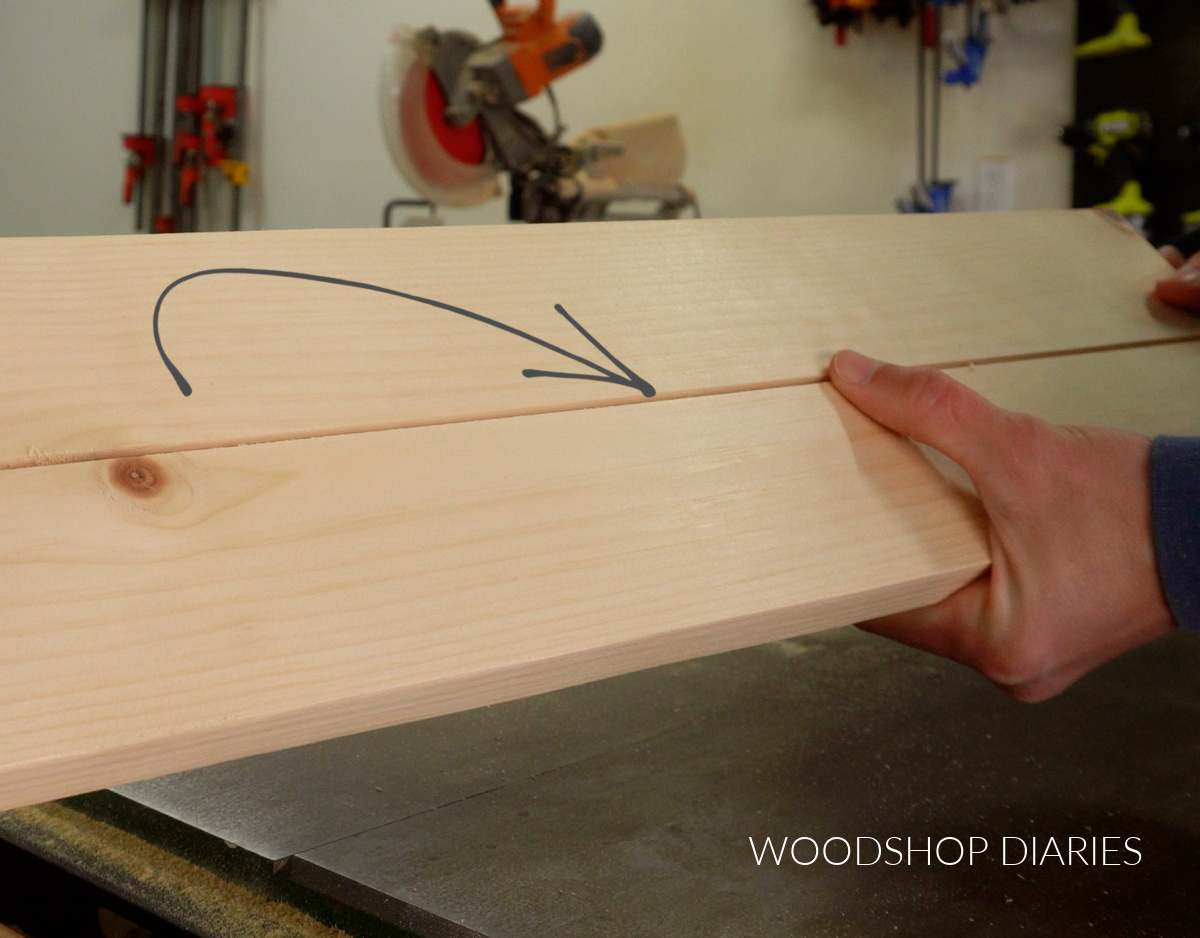
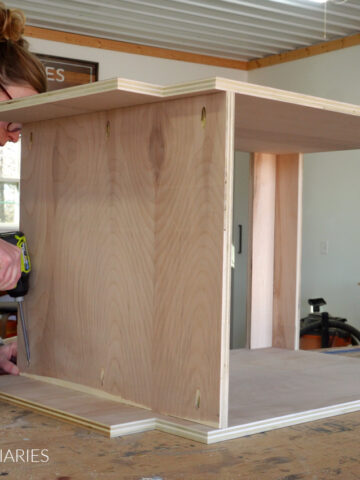
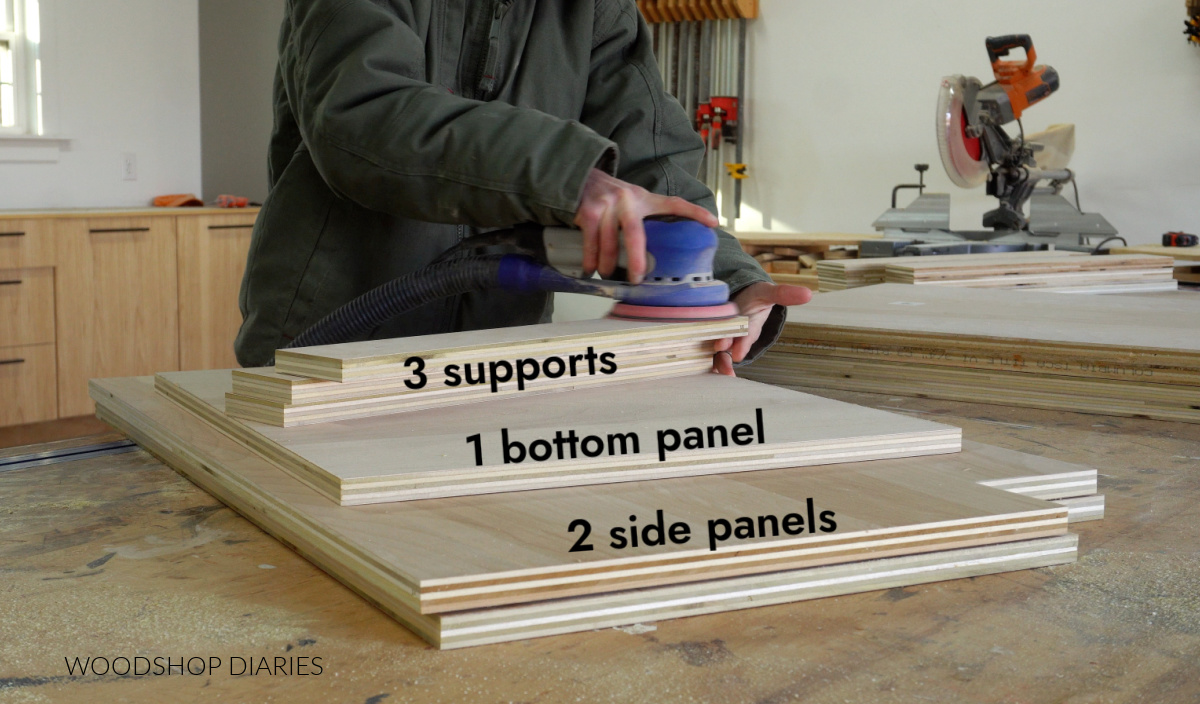
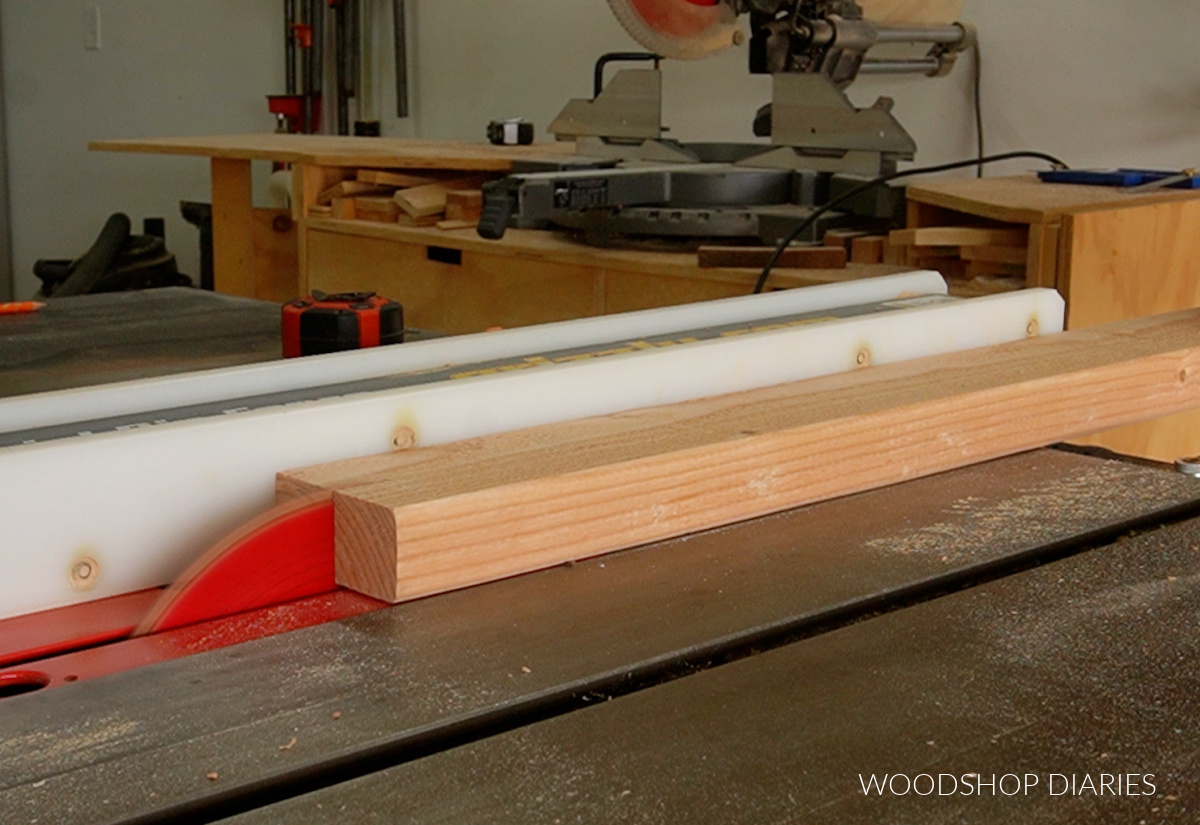
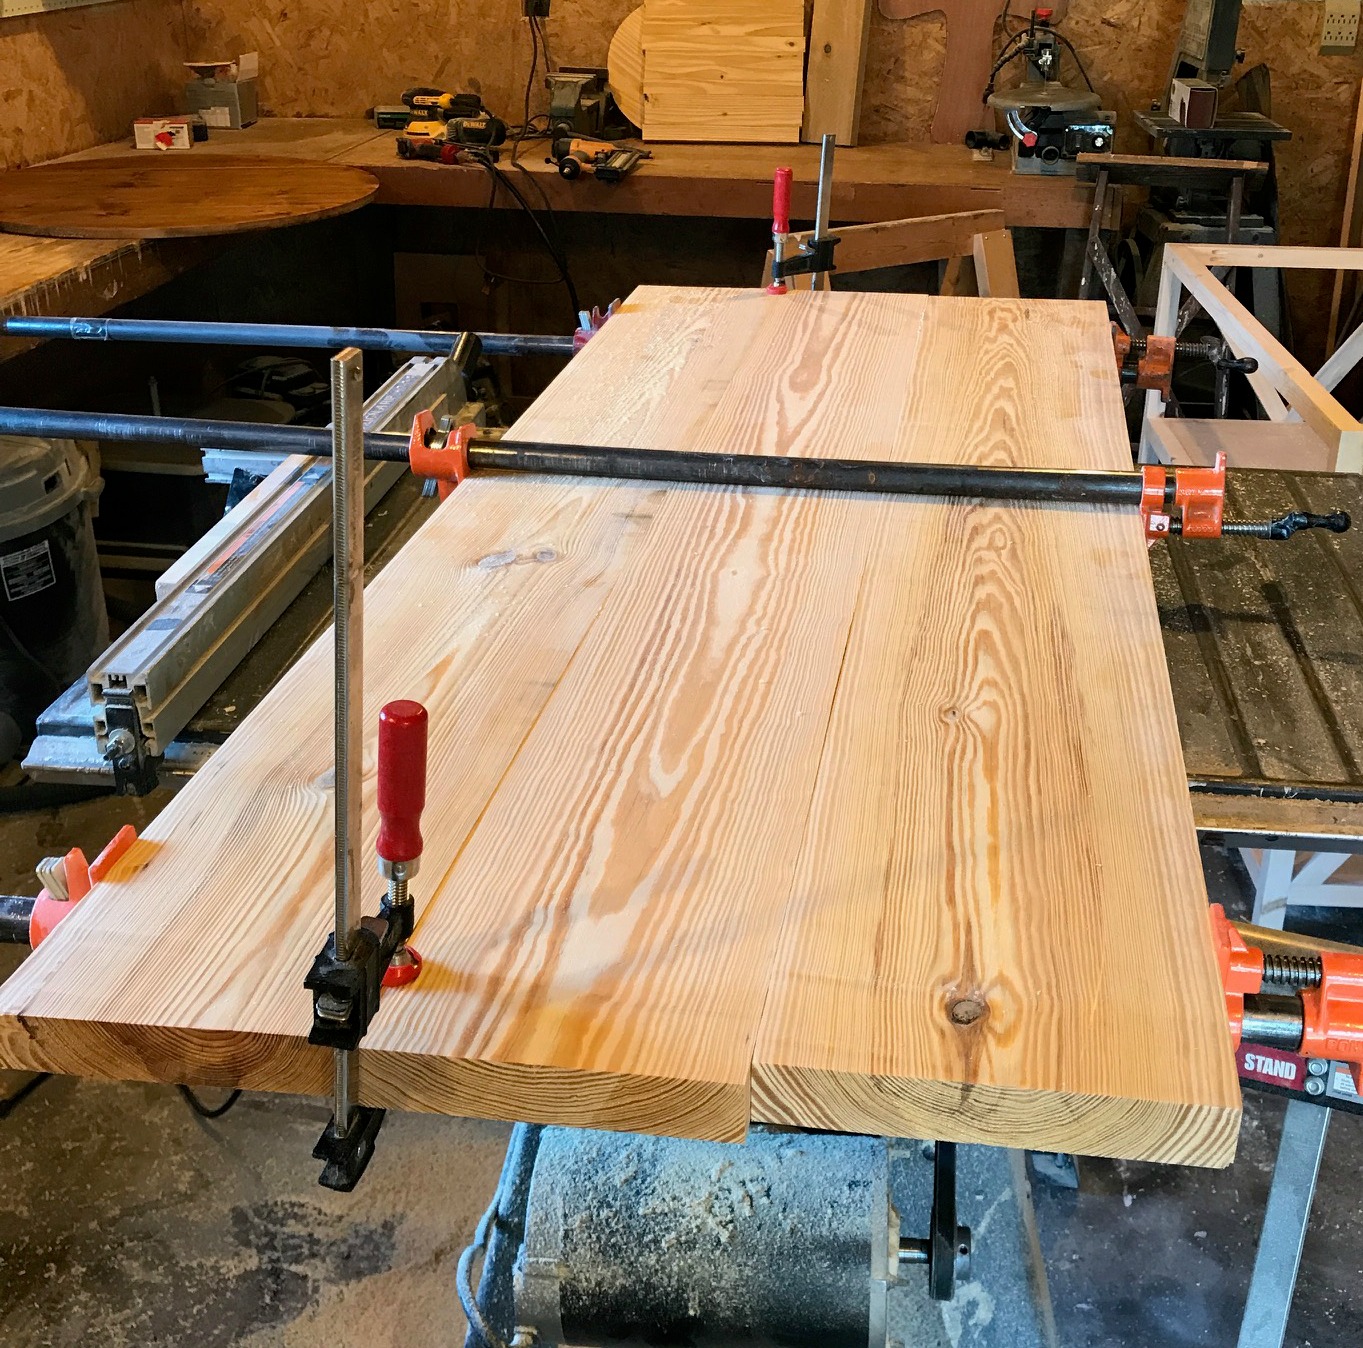
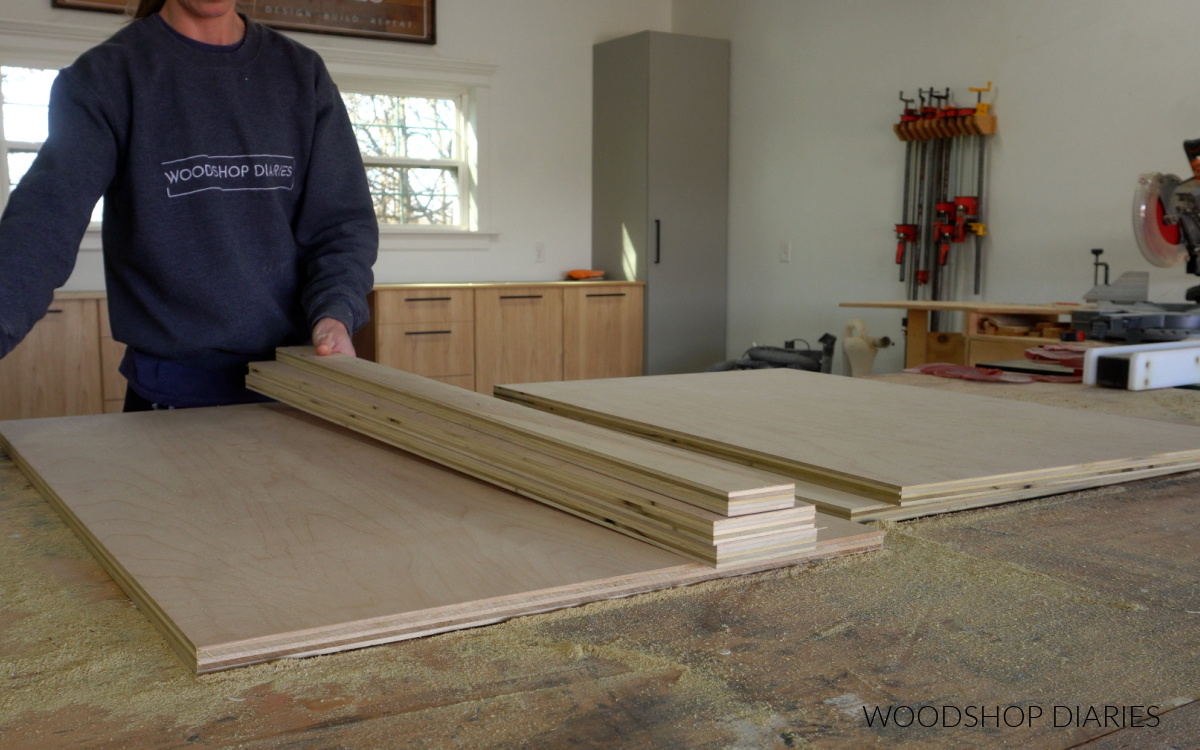
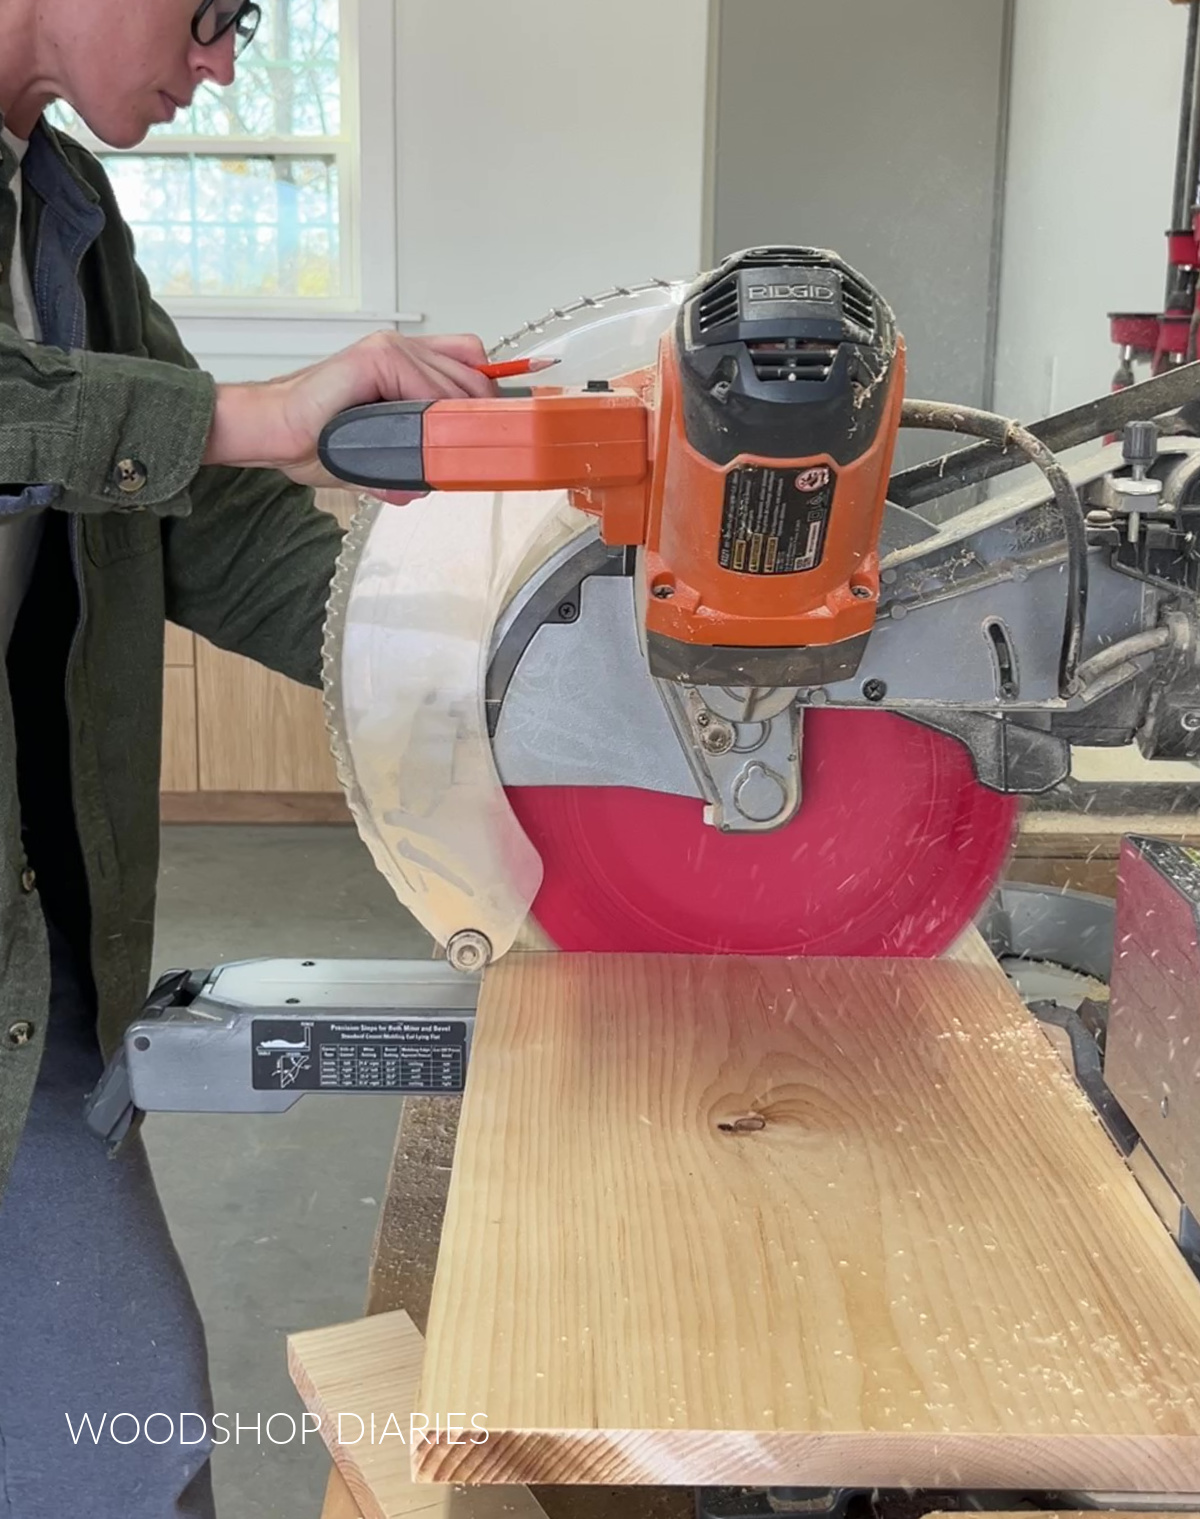
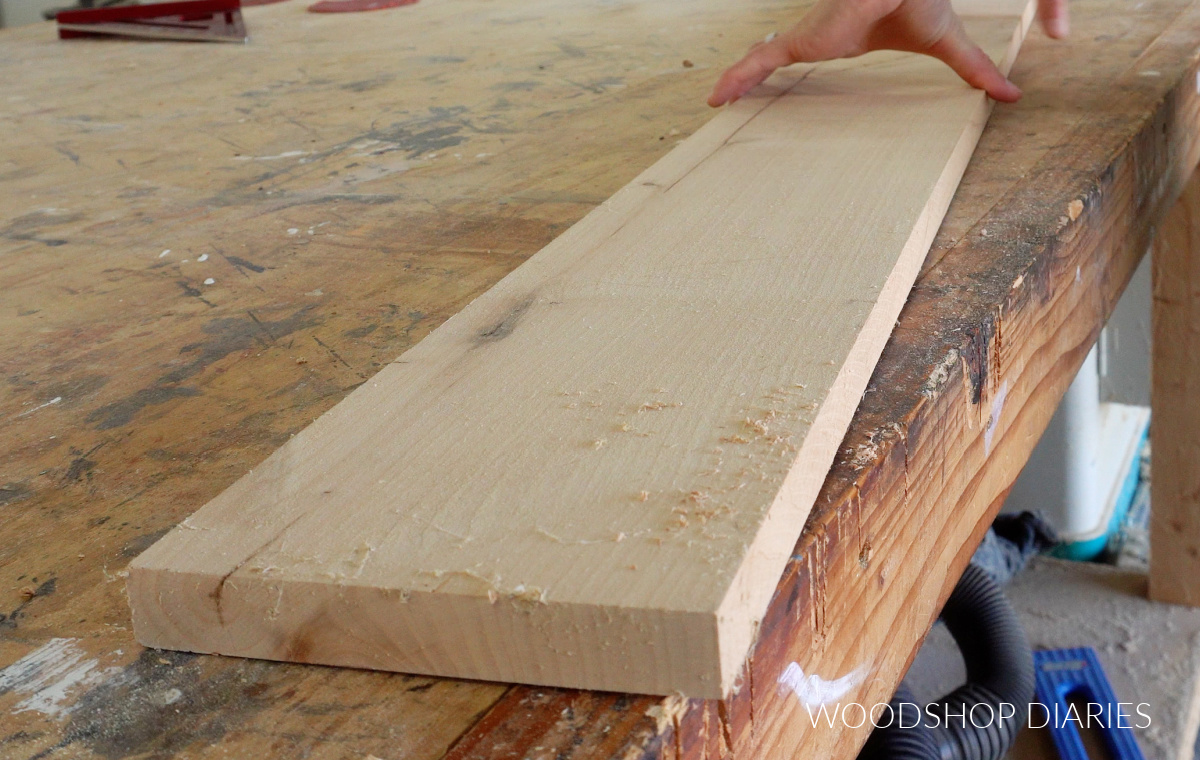
I assembled the main body of this hutch using 1×12 boards, so I started by cutting down three pieces–two sides and a long top.
All the dimensions and full cut list can be found in the printable plans.

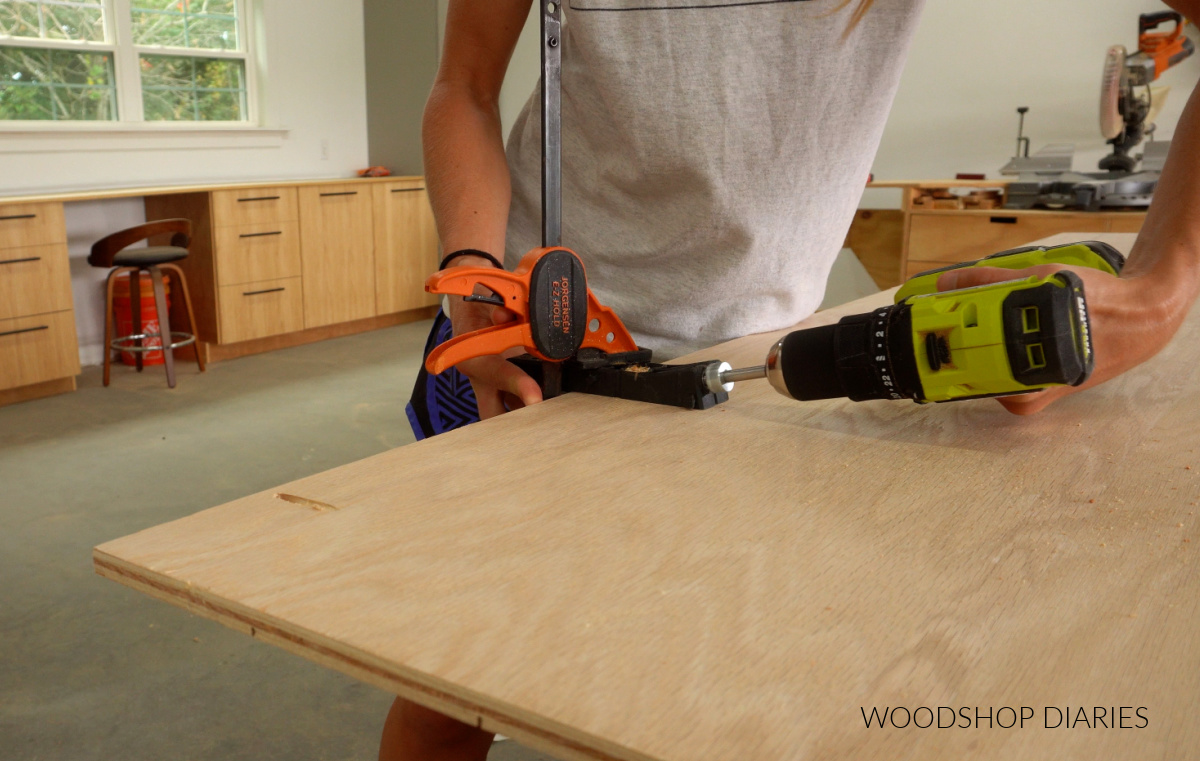
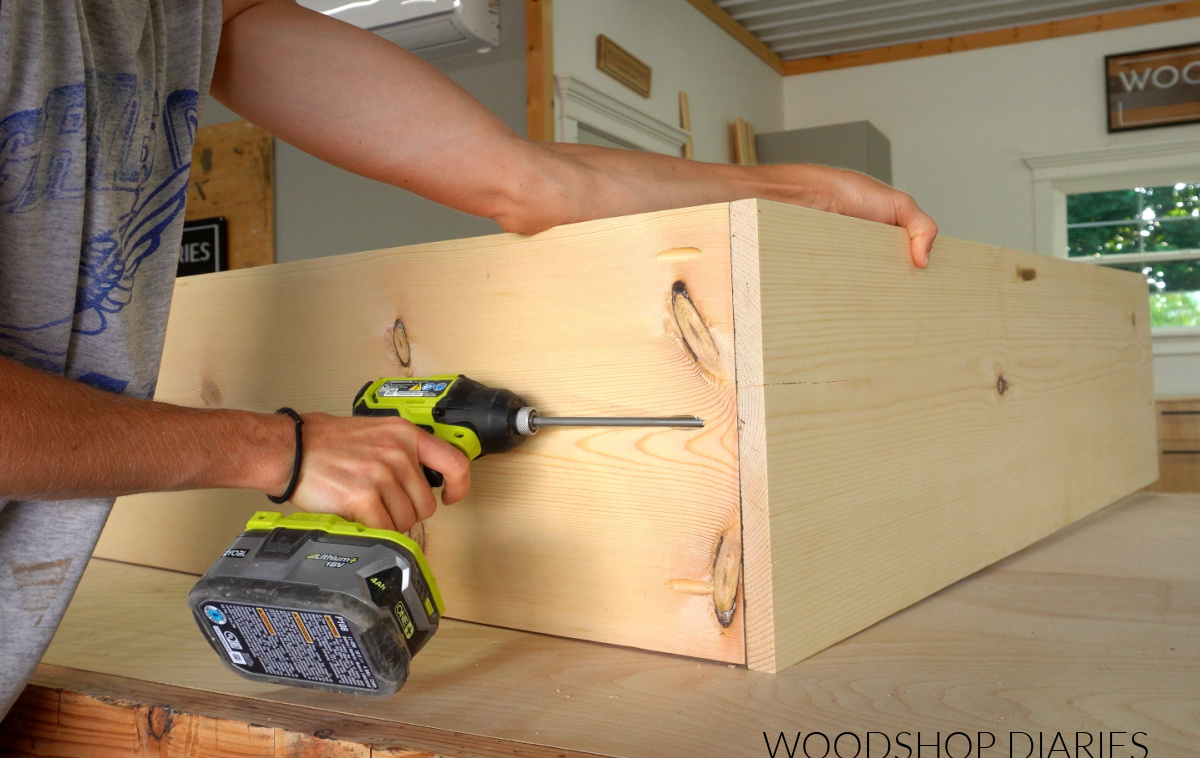
I mentioned earlier that I sanded and stained these pieces before assembling. Notice that I only stained the insides of these pieces (you don’t see stain on the outside in the image below), because the outside wouldn’t see seen once completed.
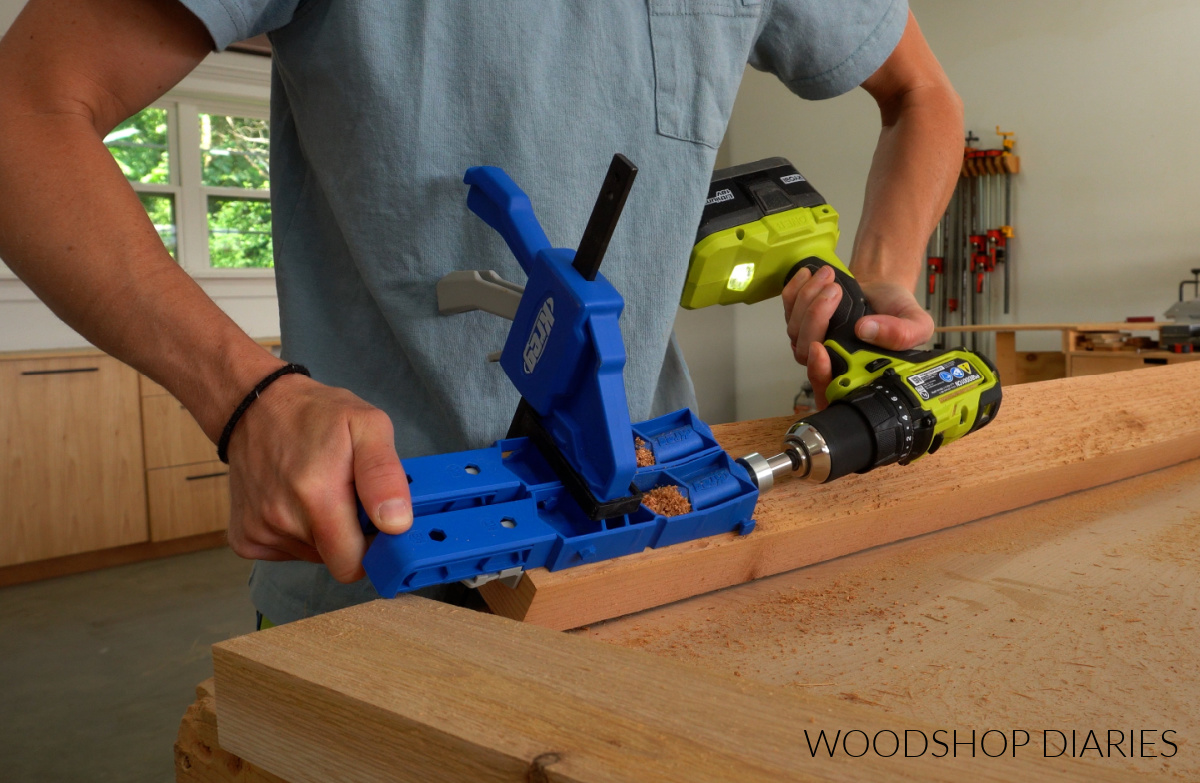
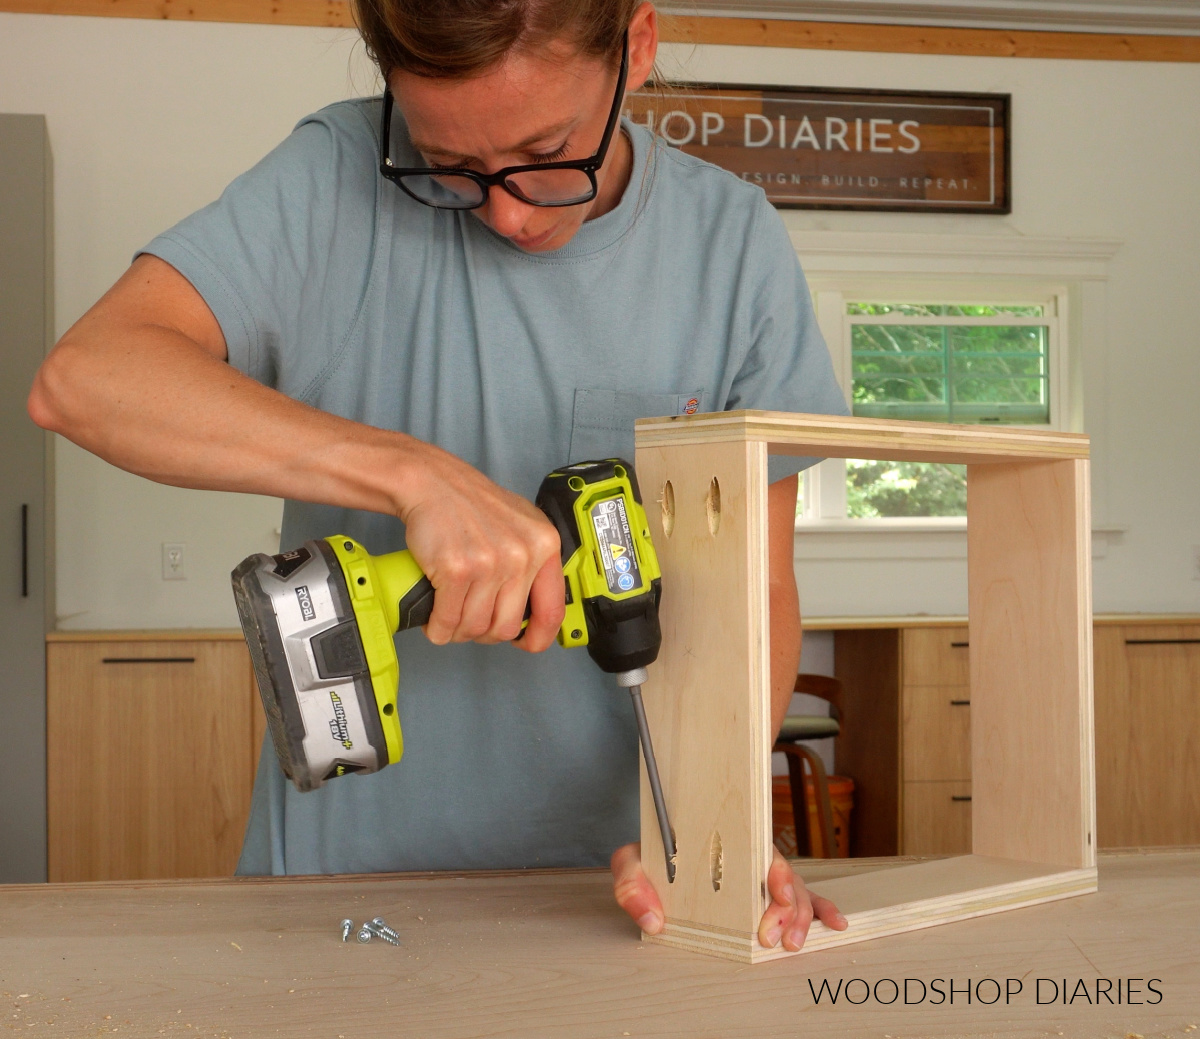
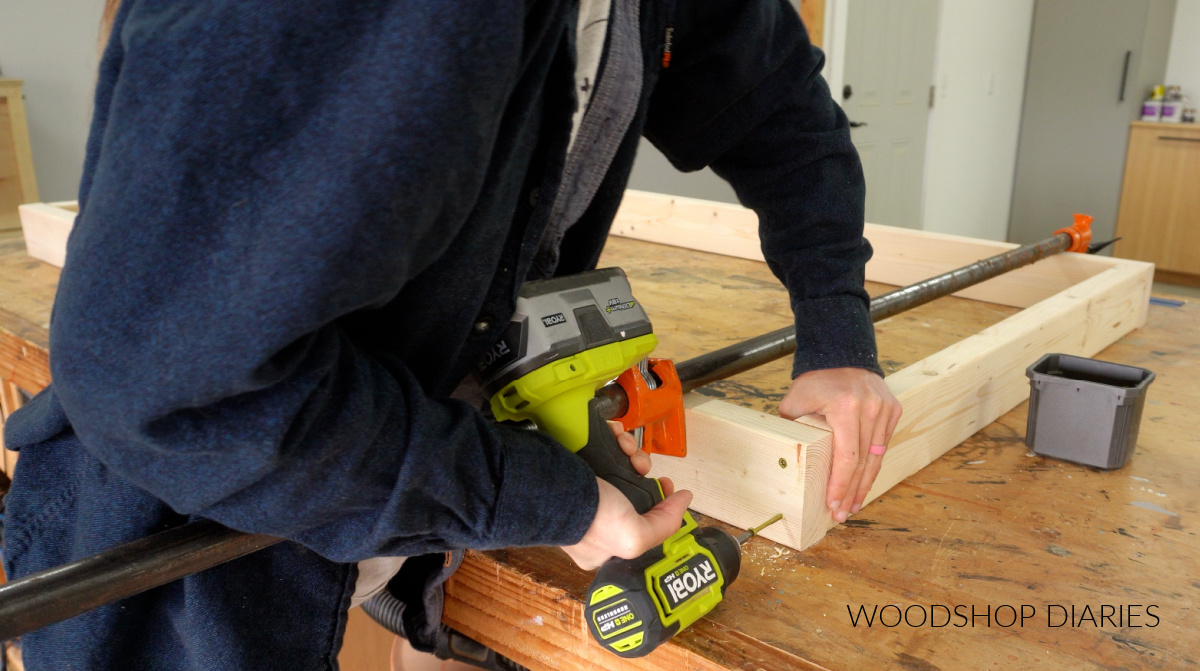
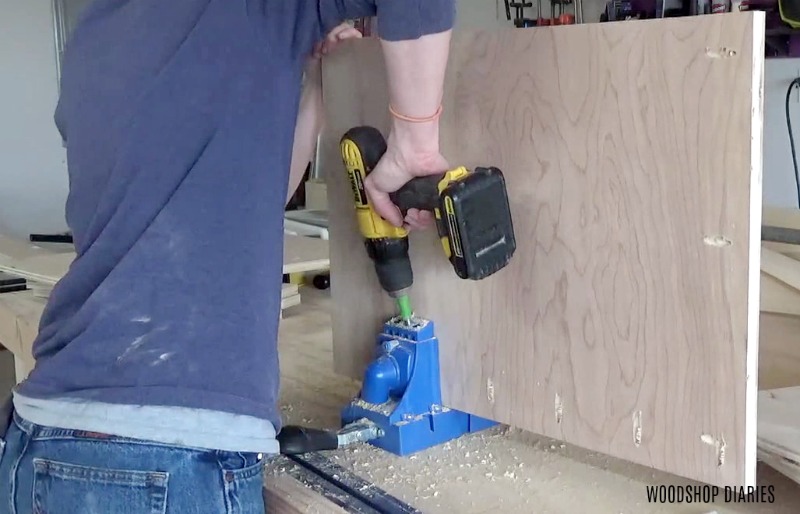
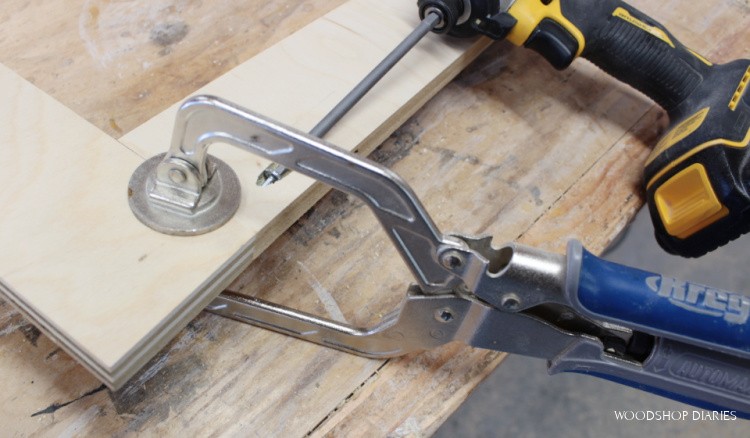
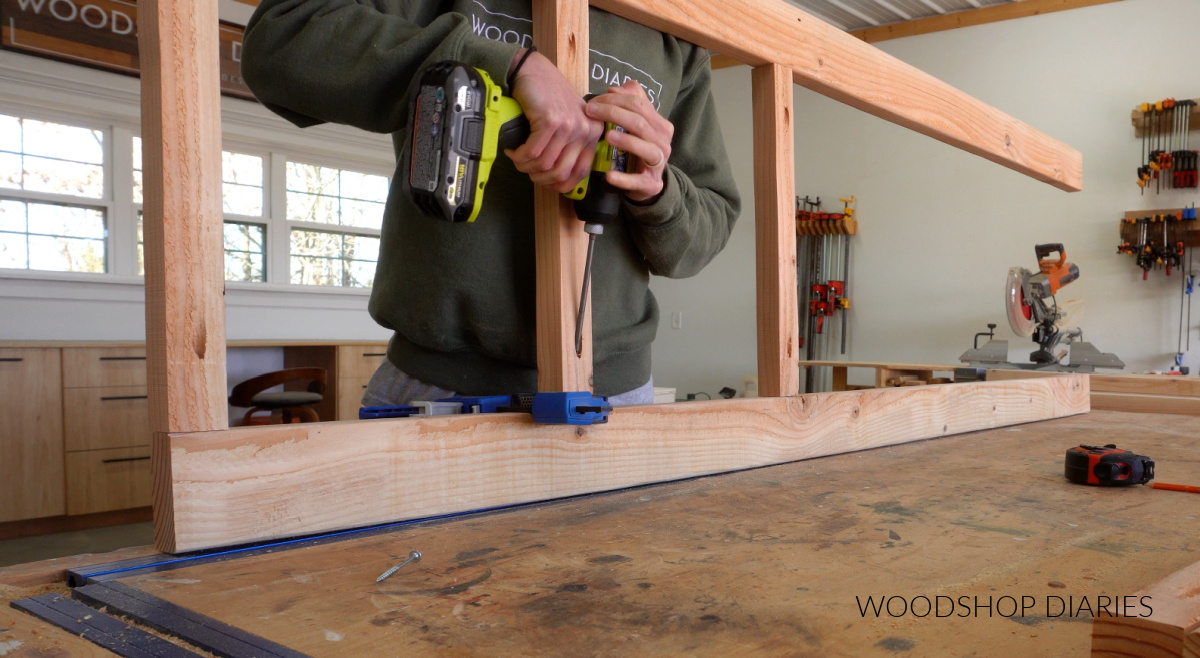
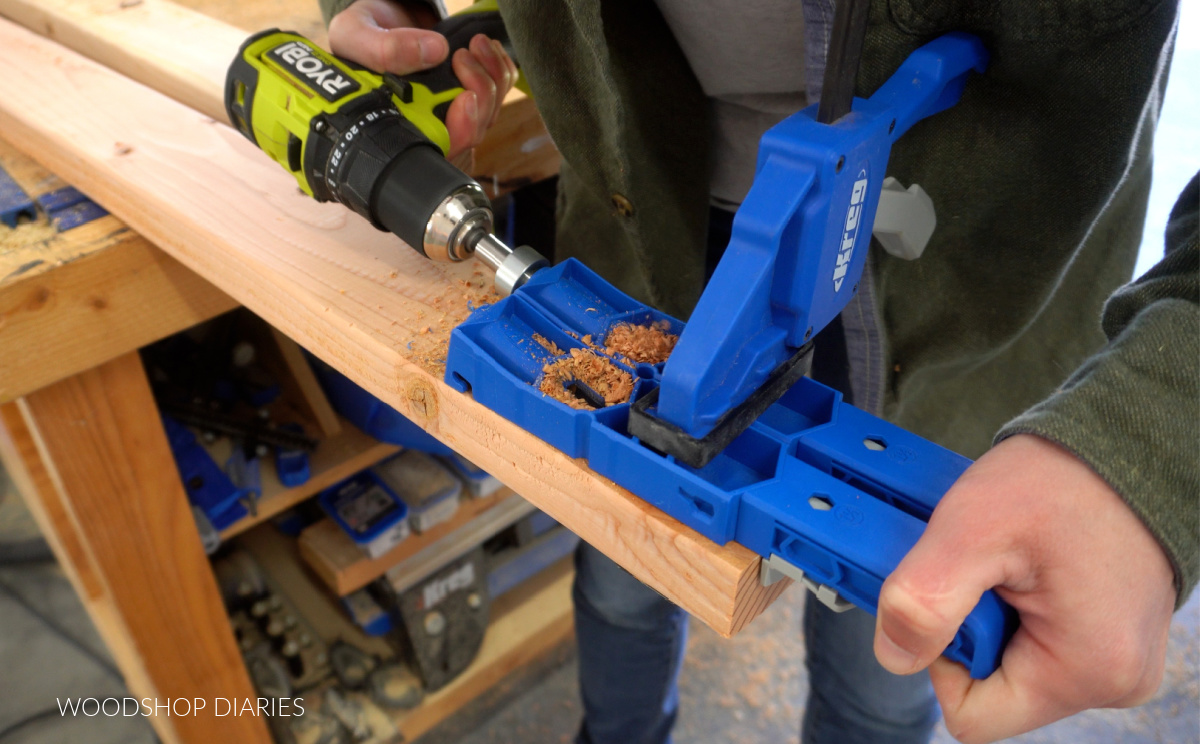
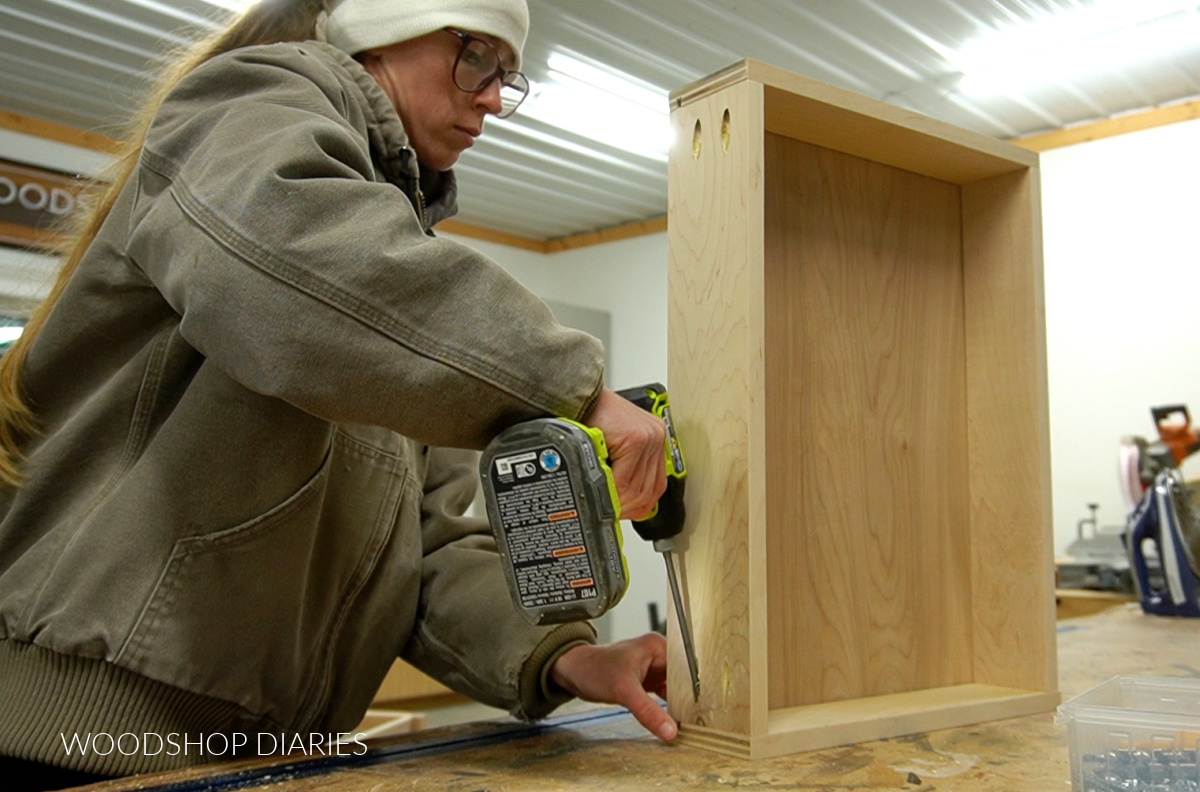
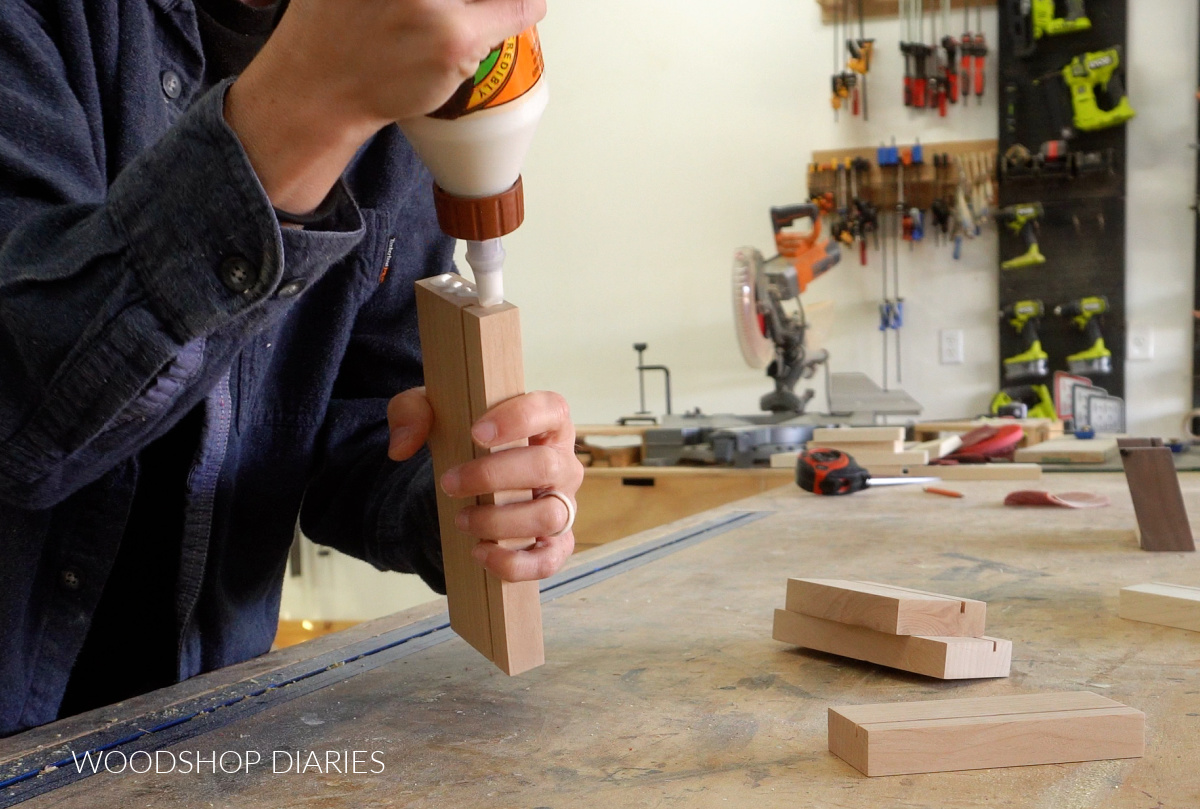
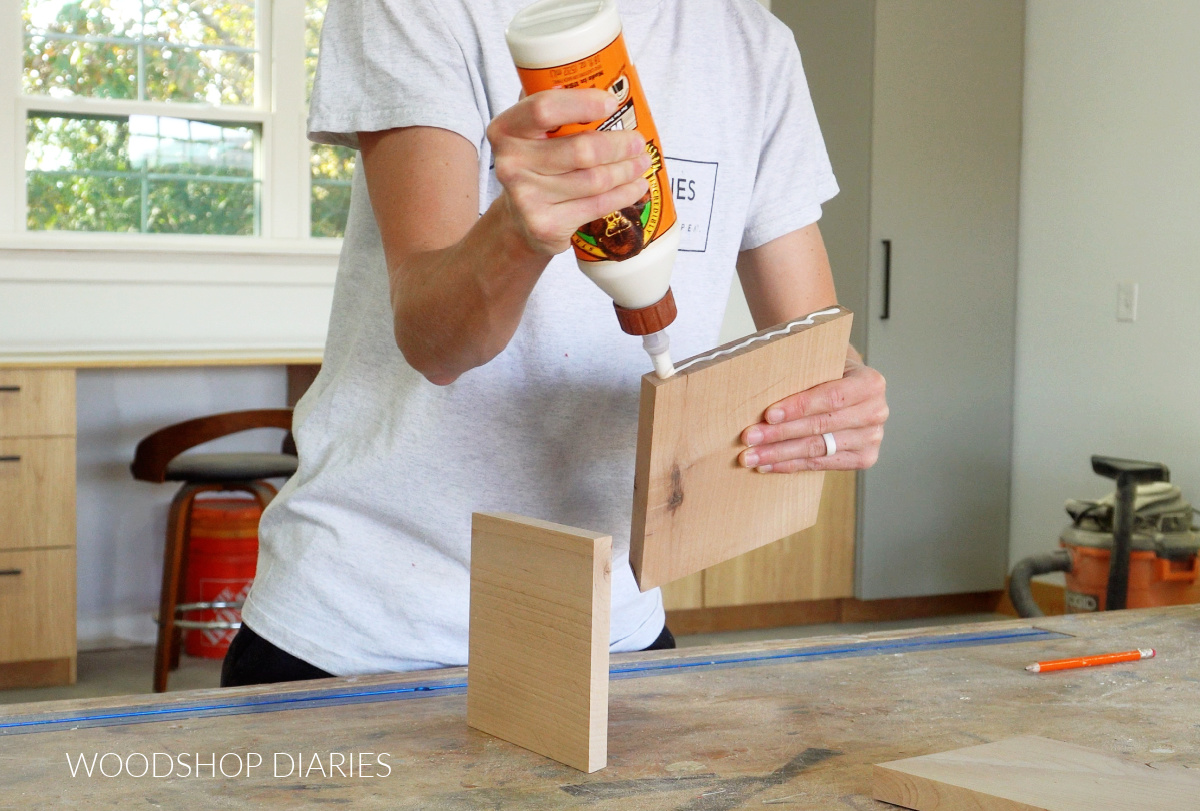
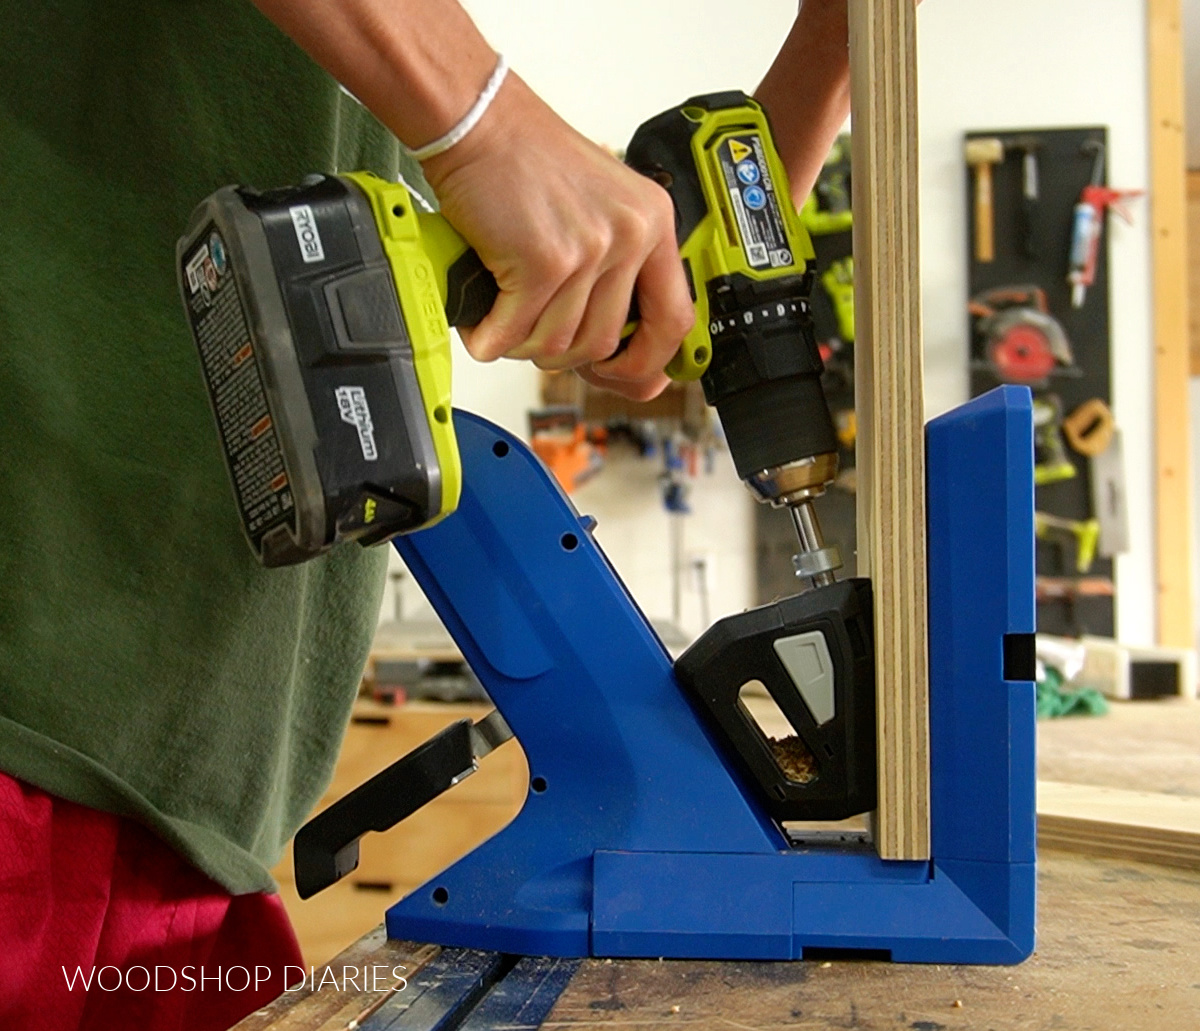
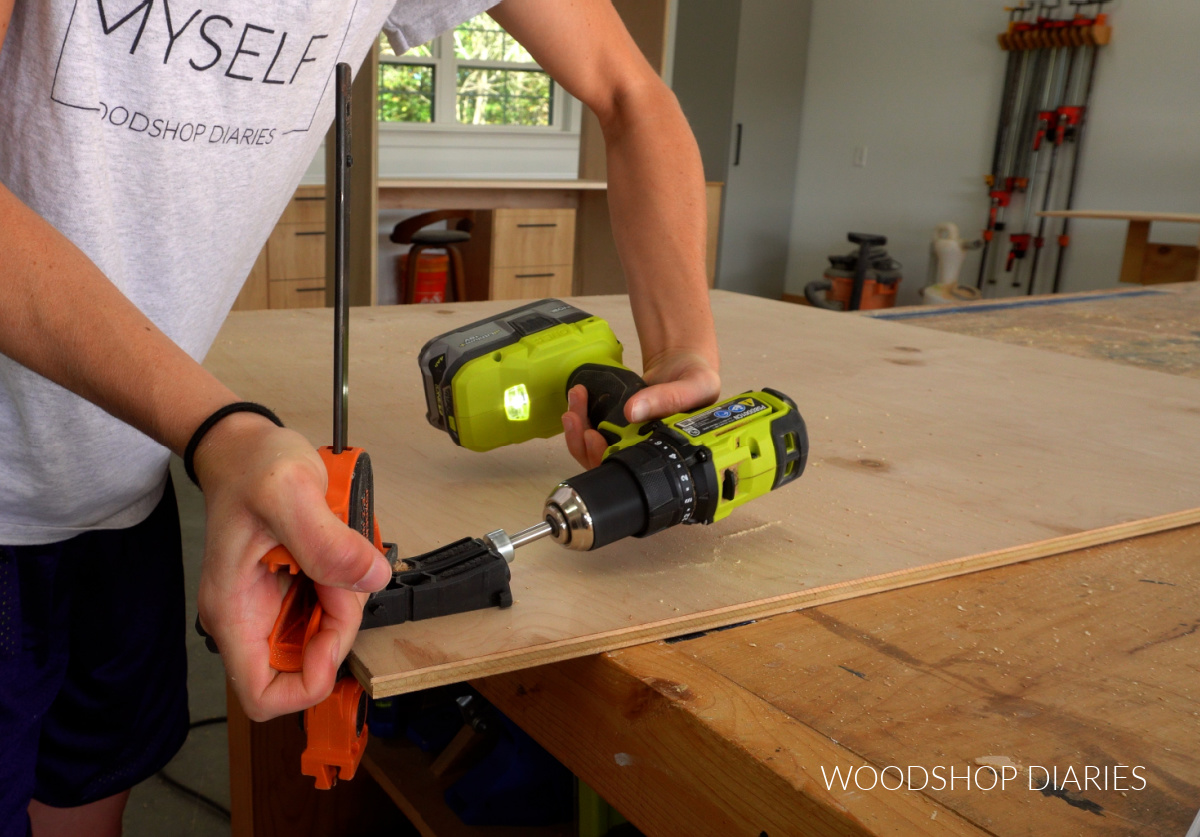
After staining, I drilled pocket holes into the ends of the top piece to connect them between the sides with pocket hole screws.
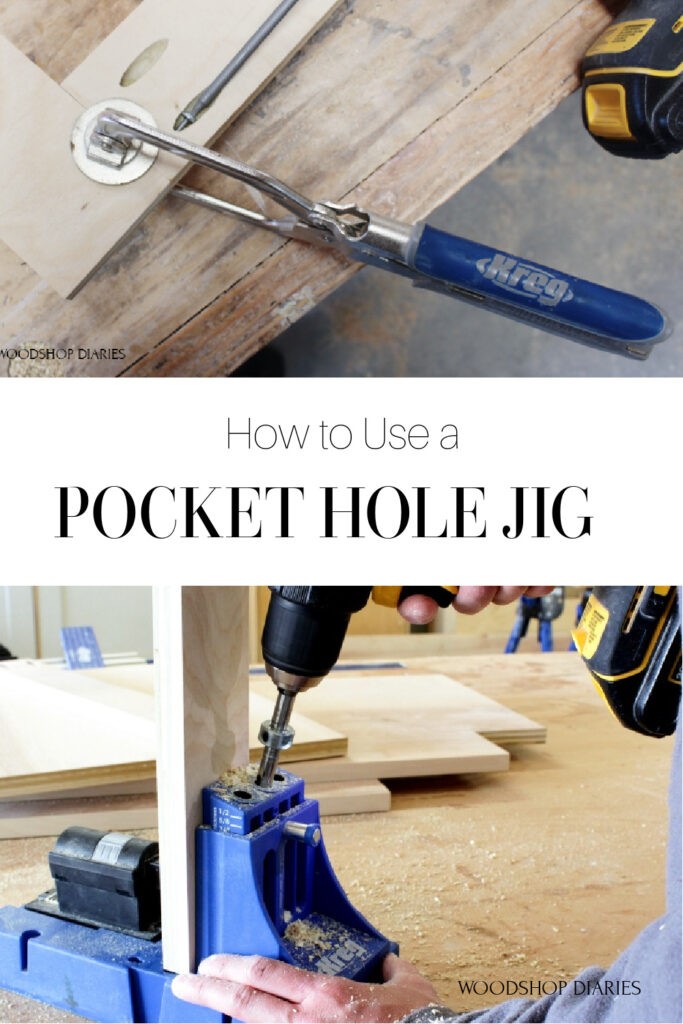
RELATED: How to use pocket holes in DIY furniture
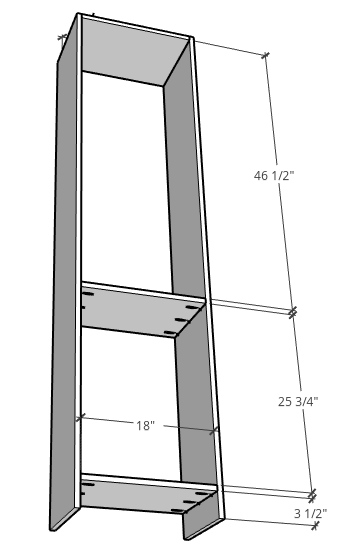
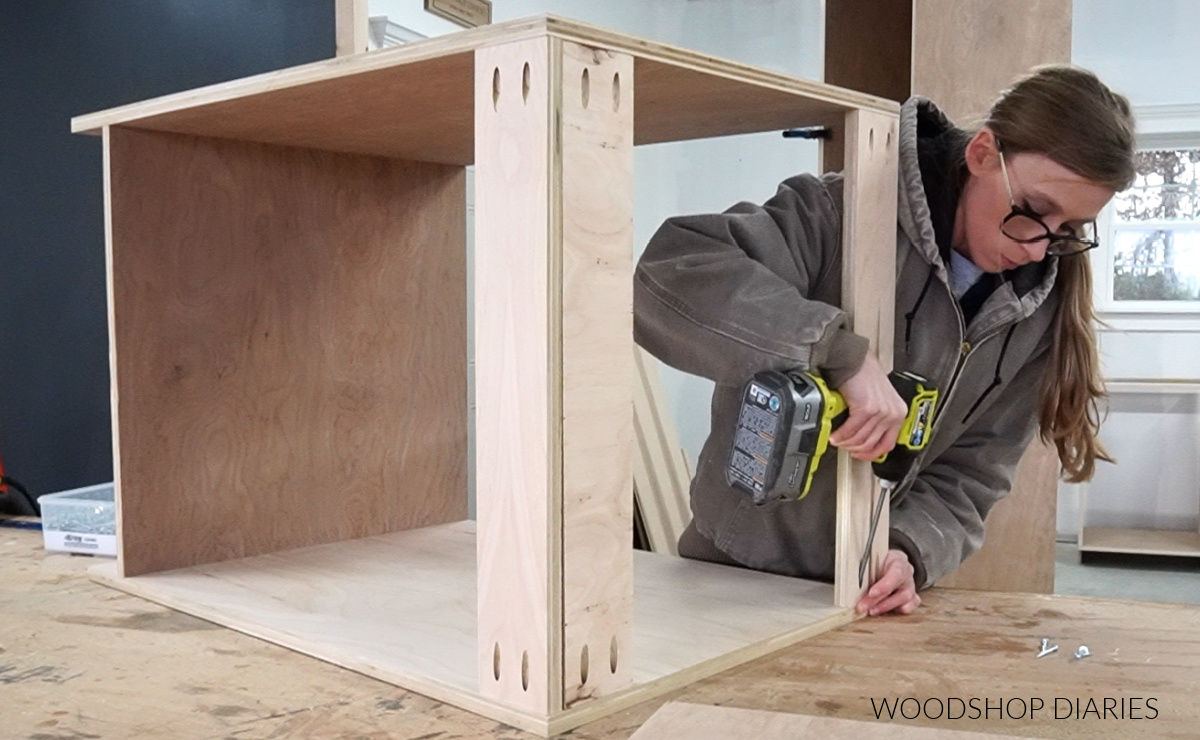
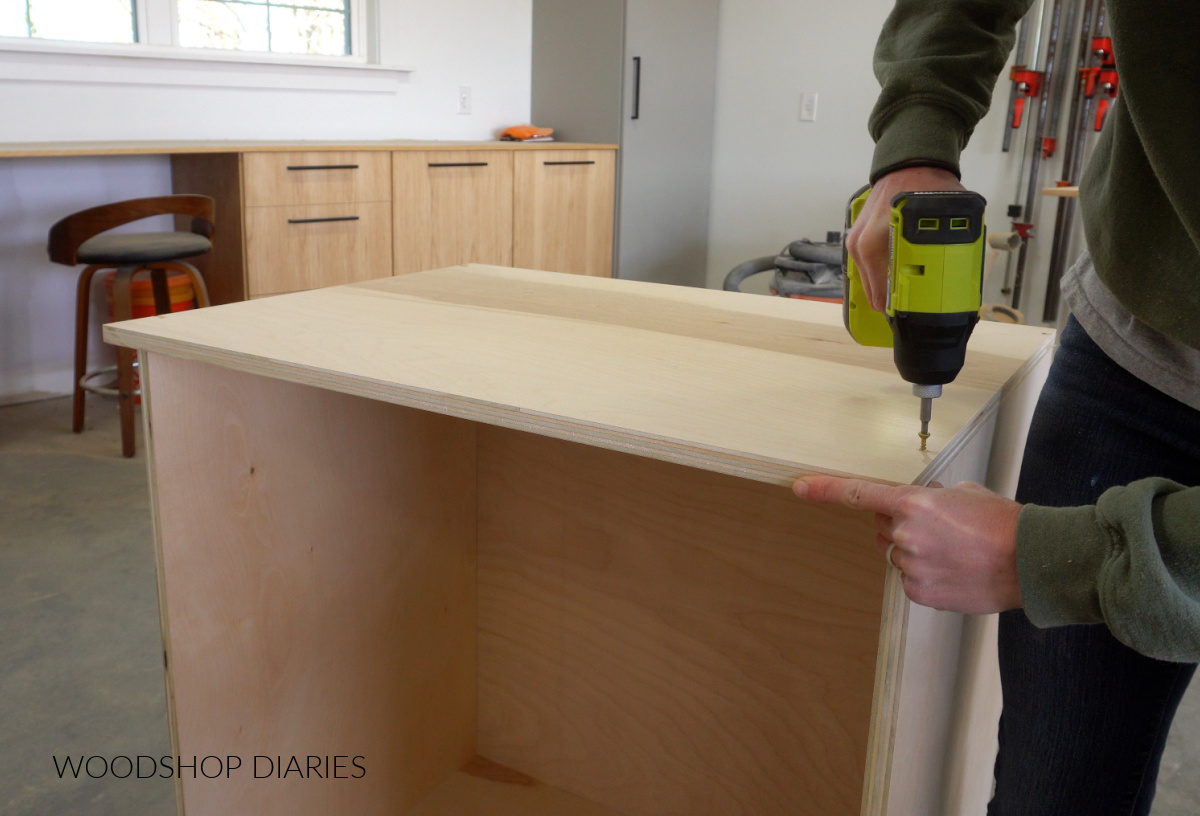
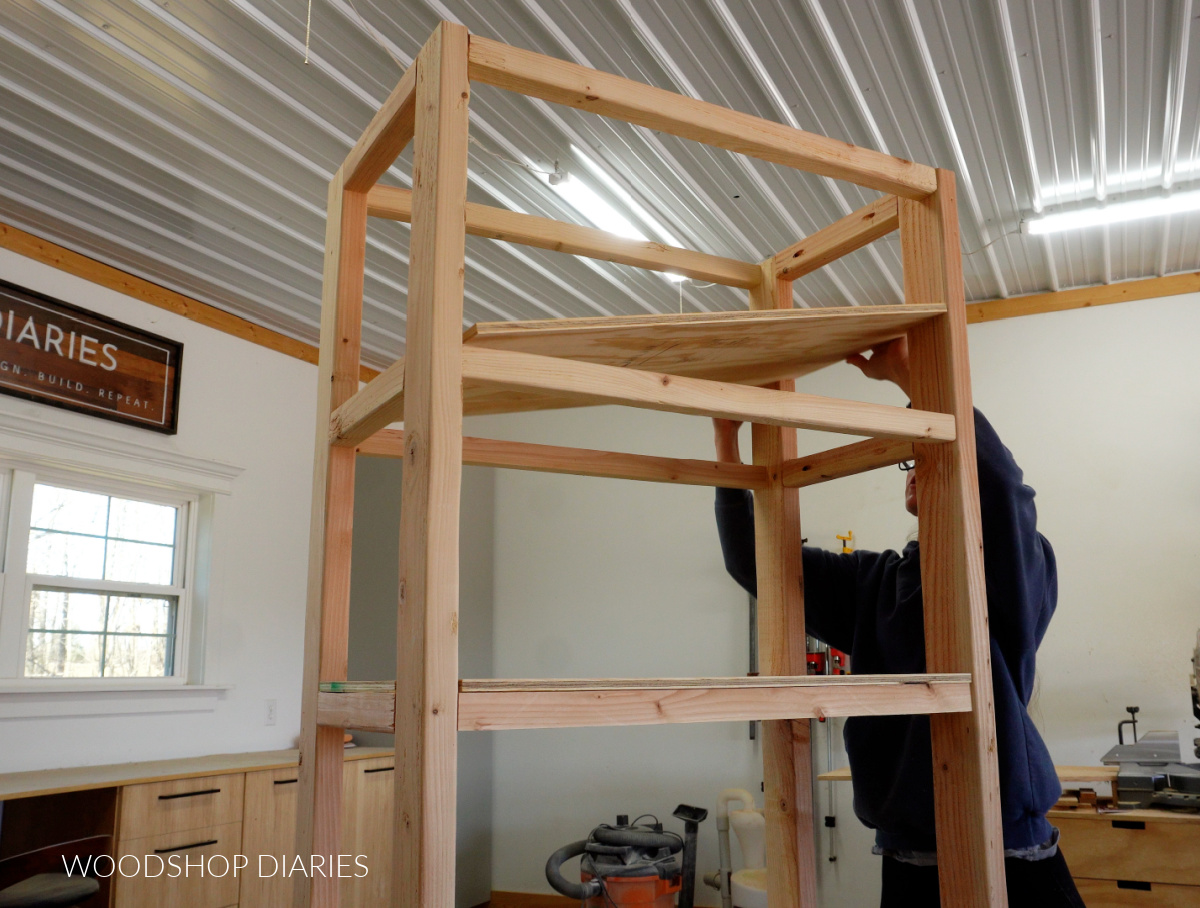
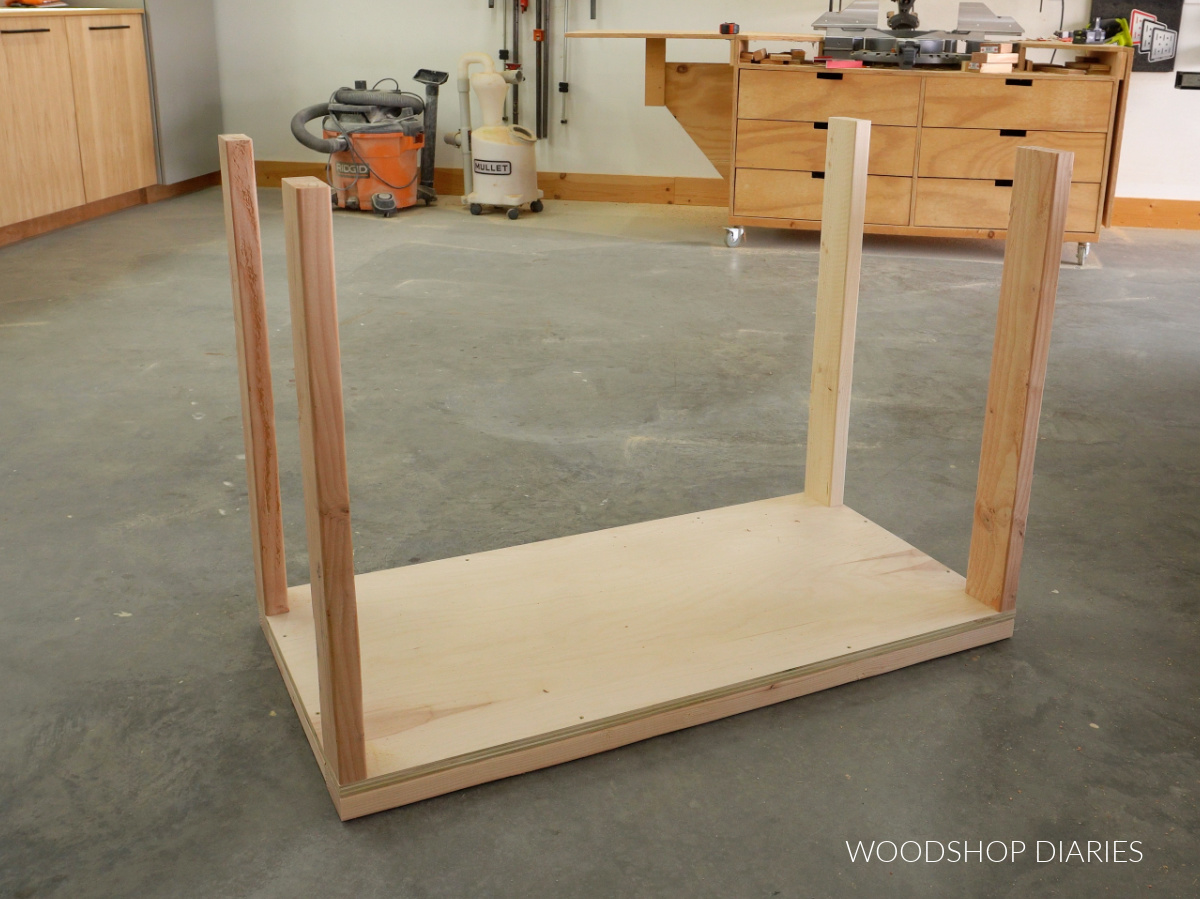
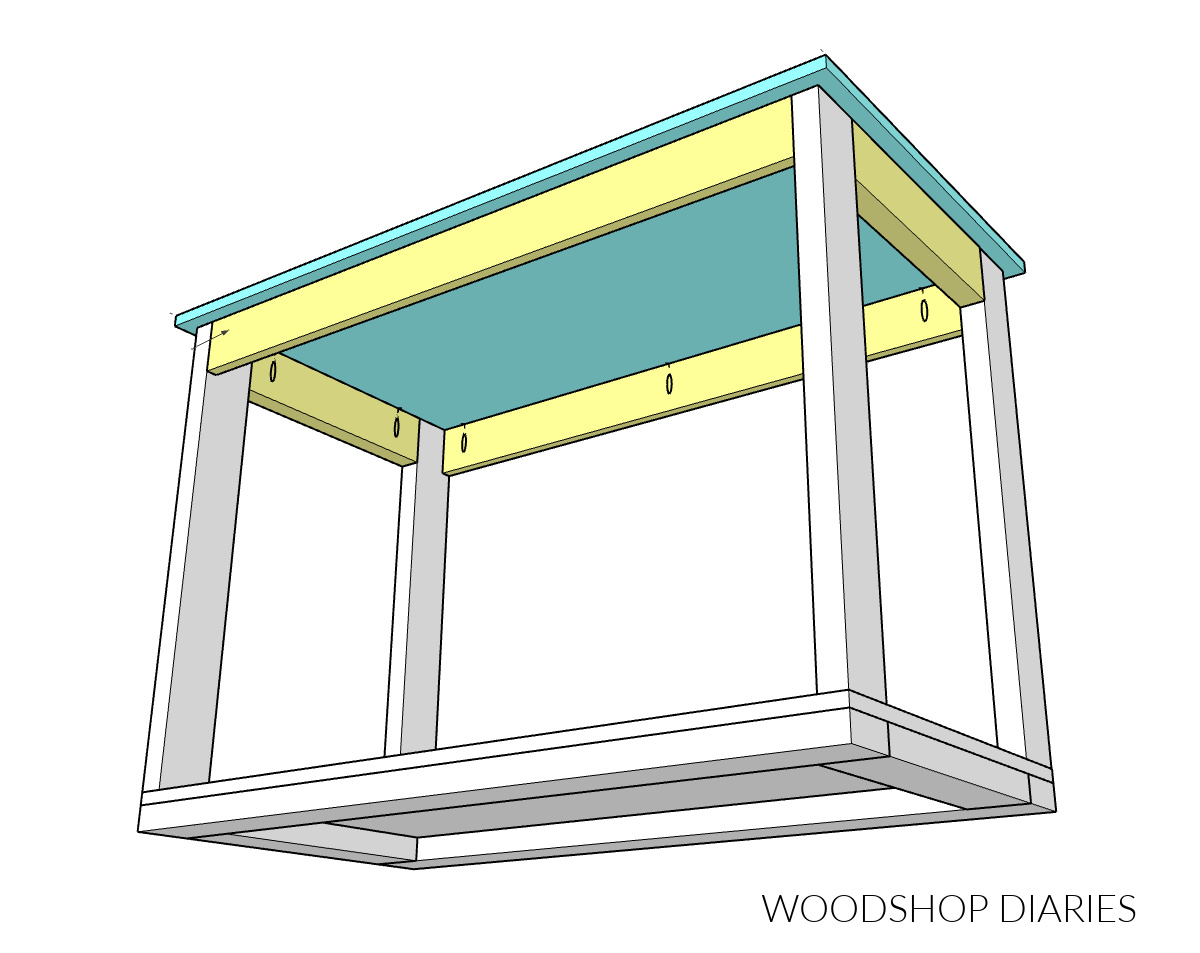
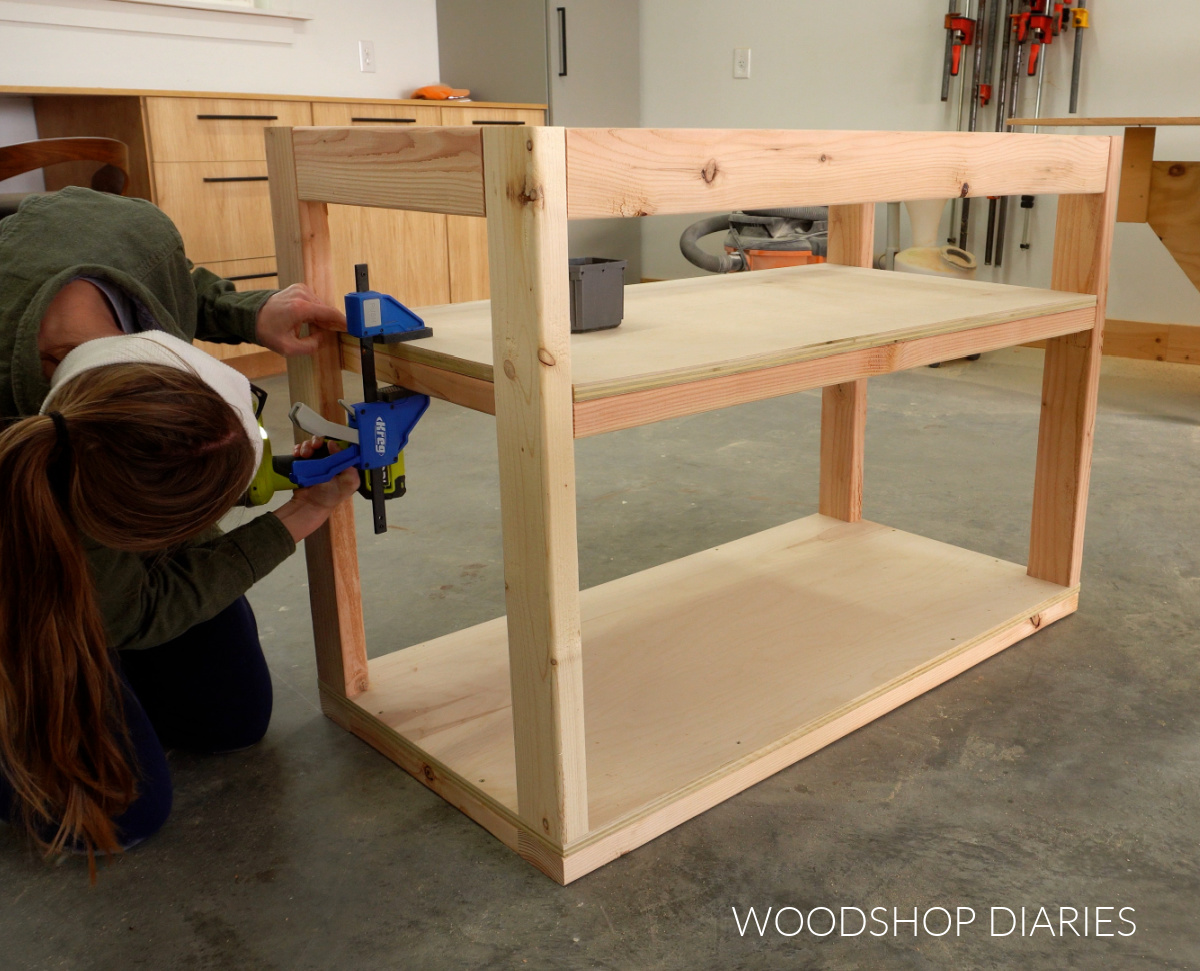
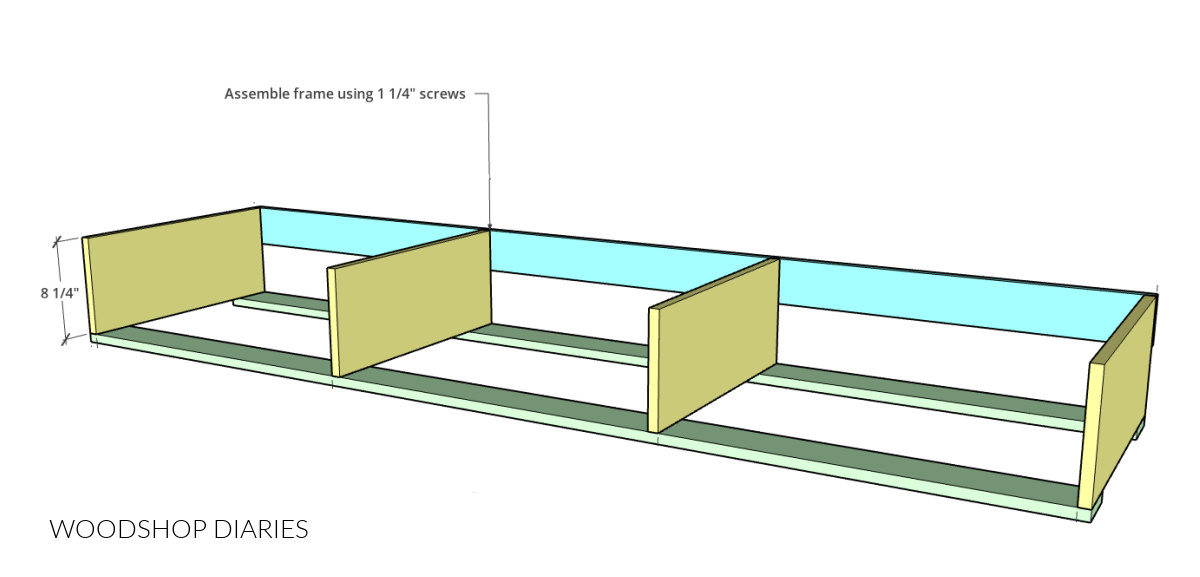
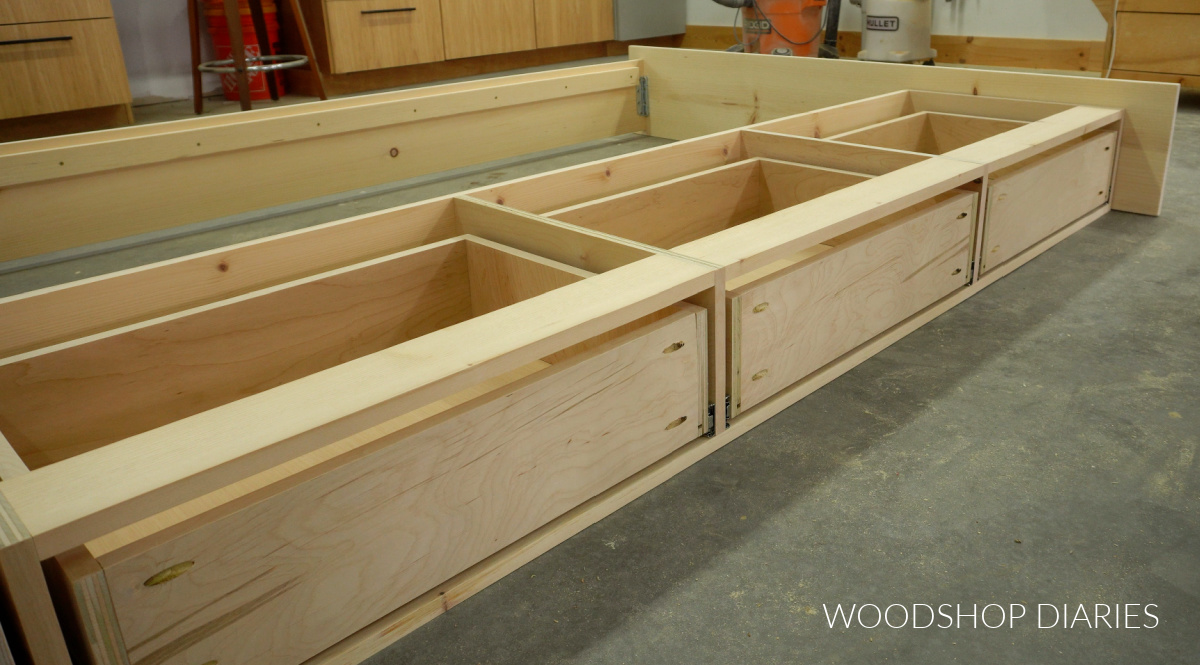
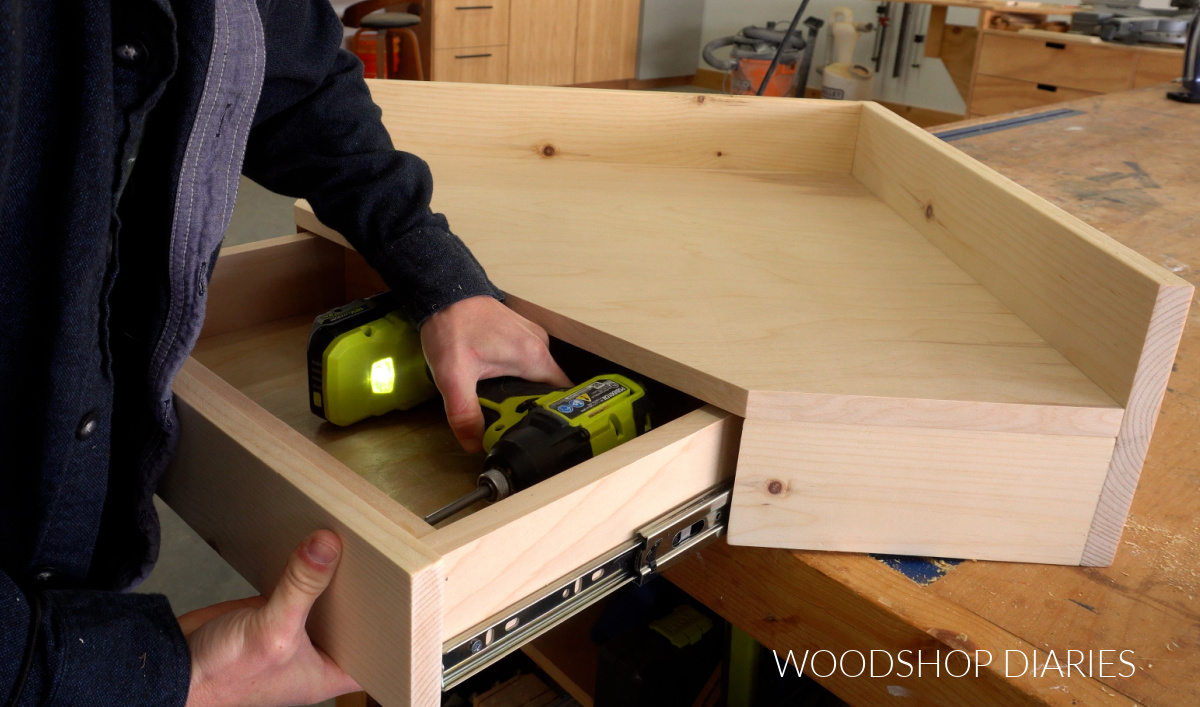
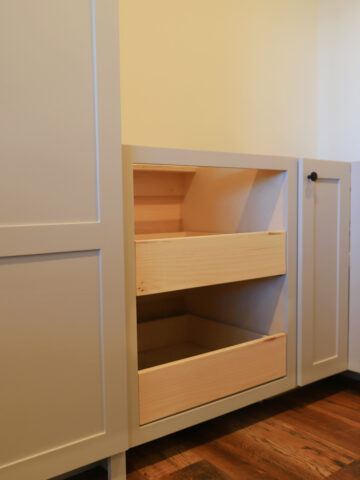
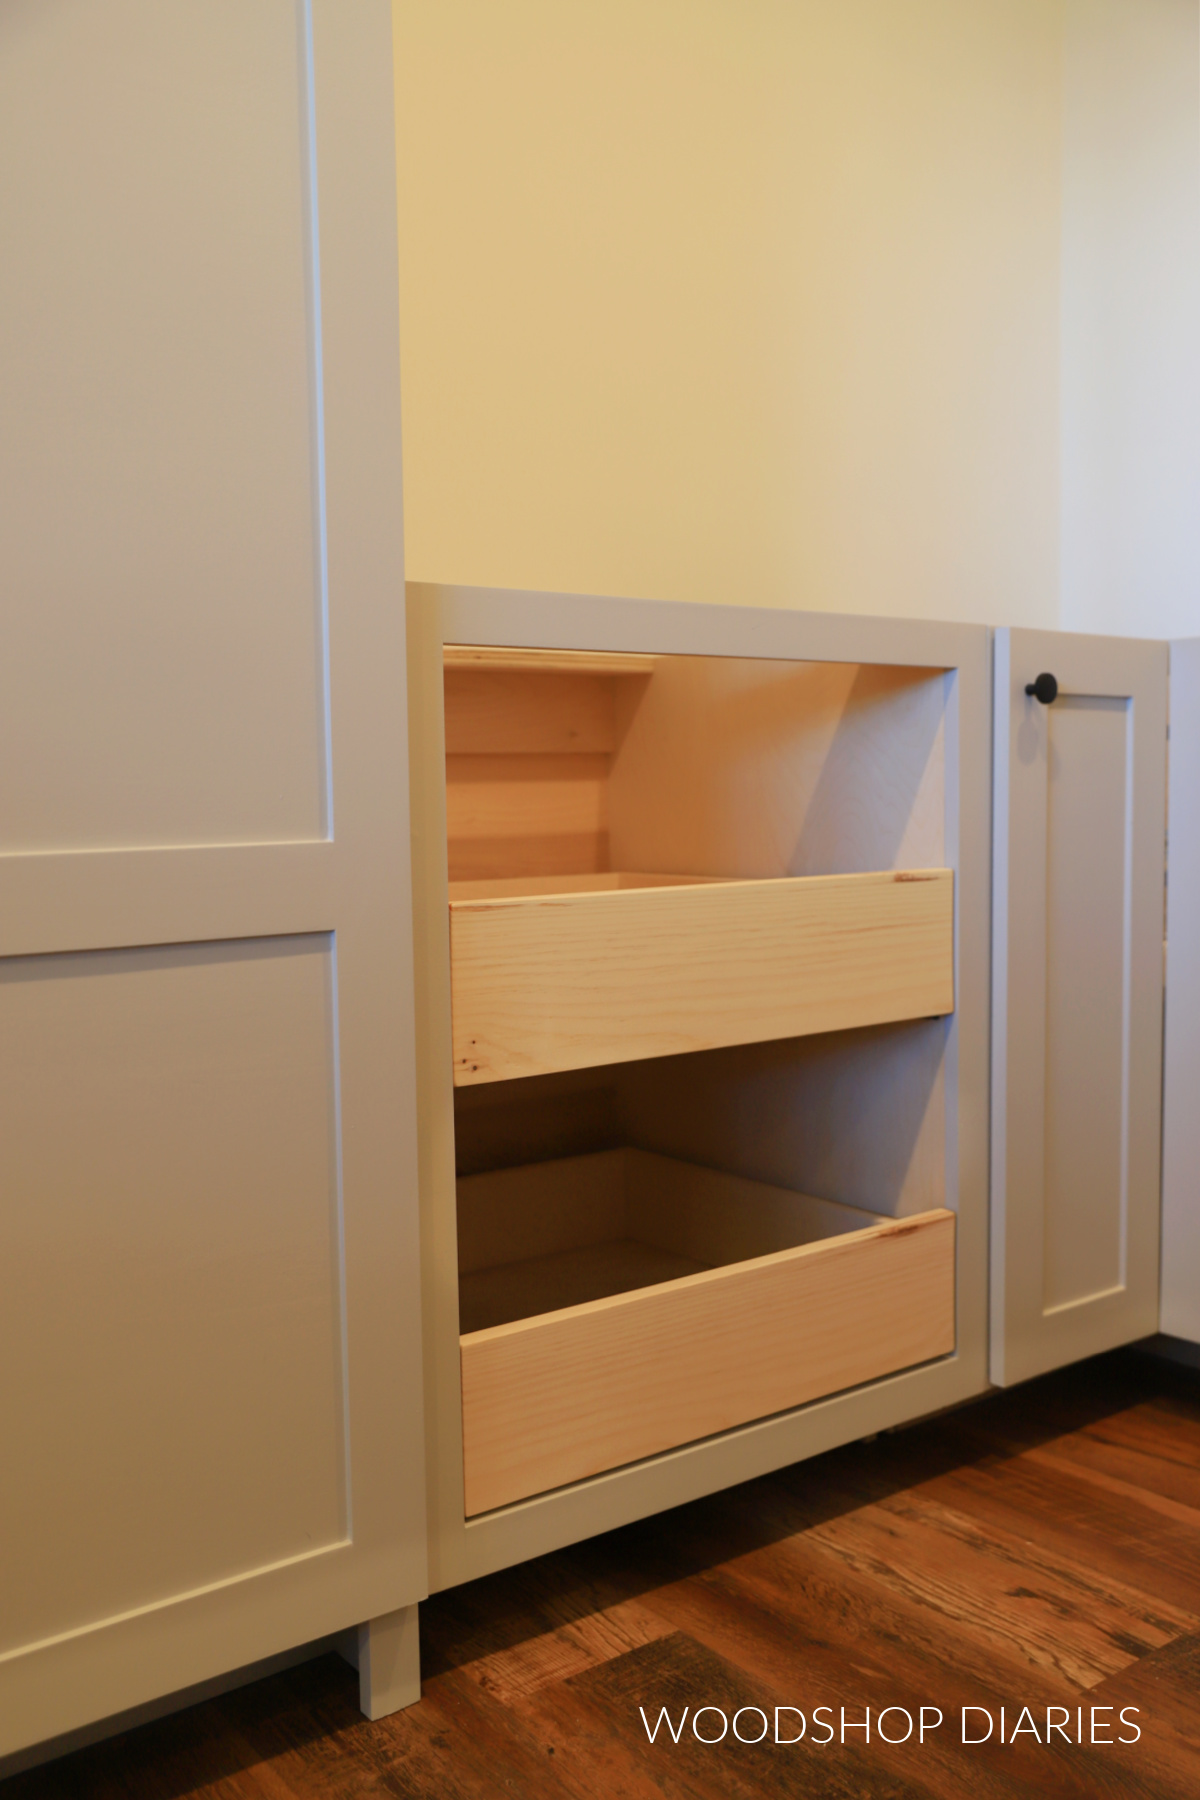
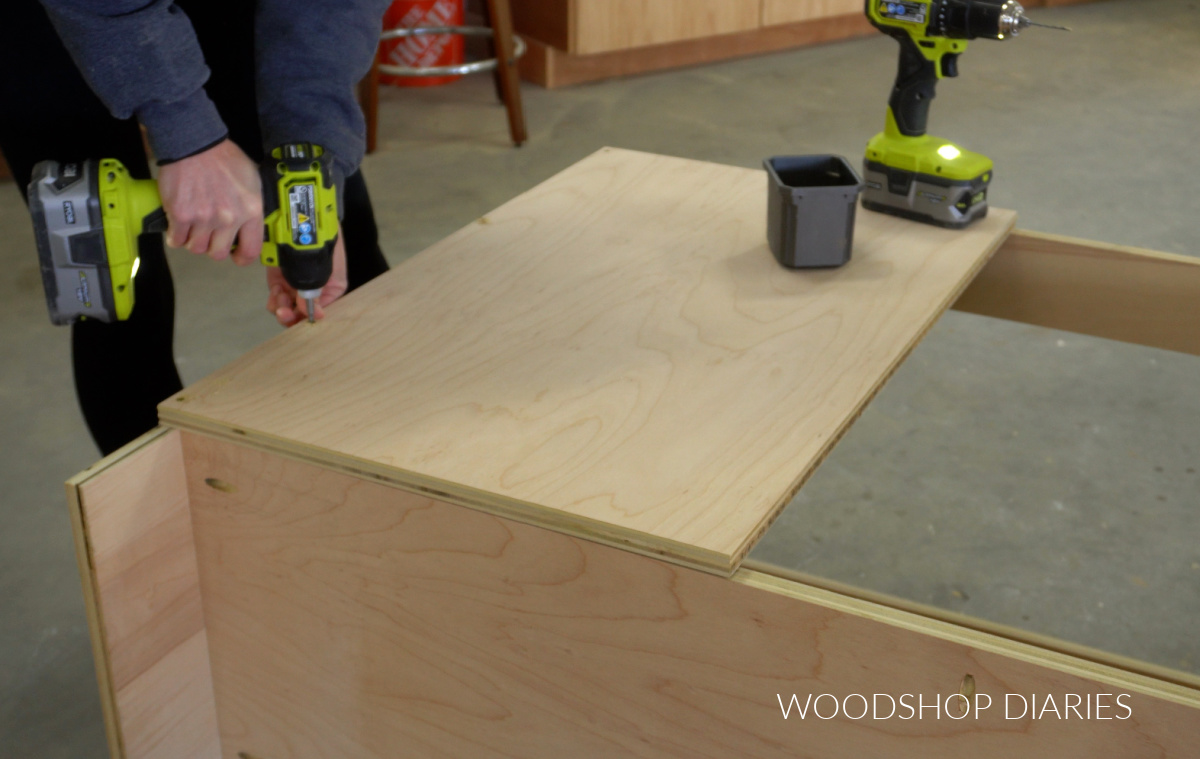
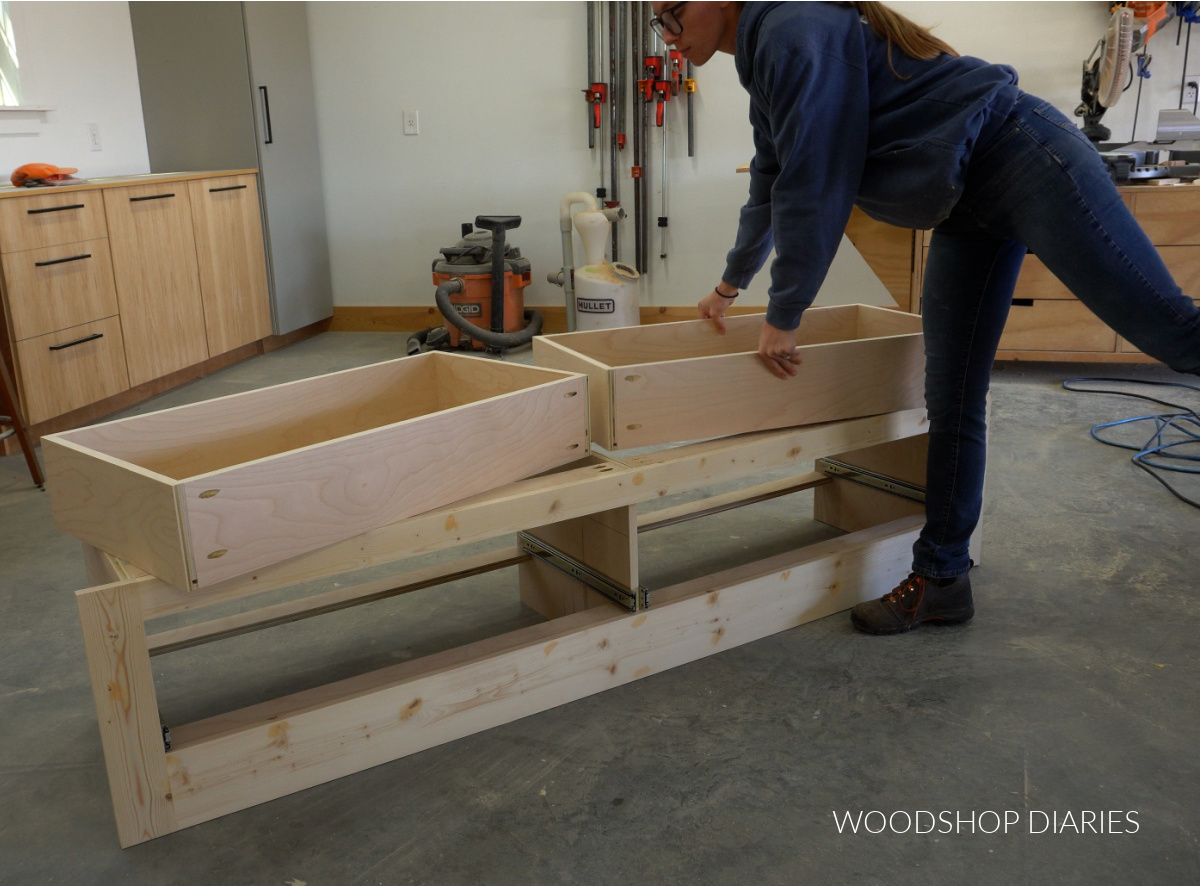
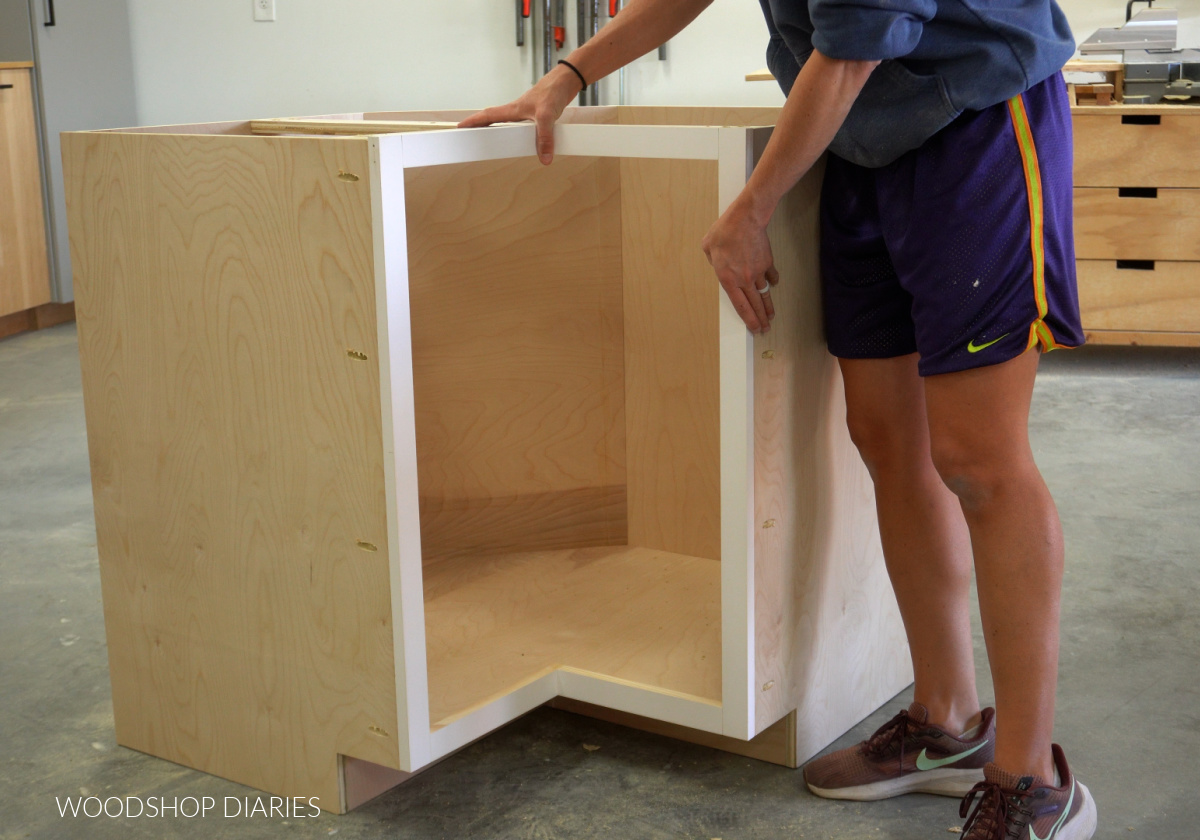
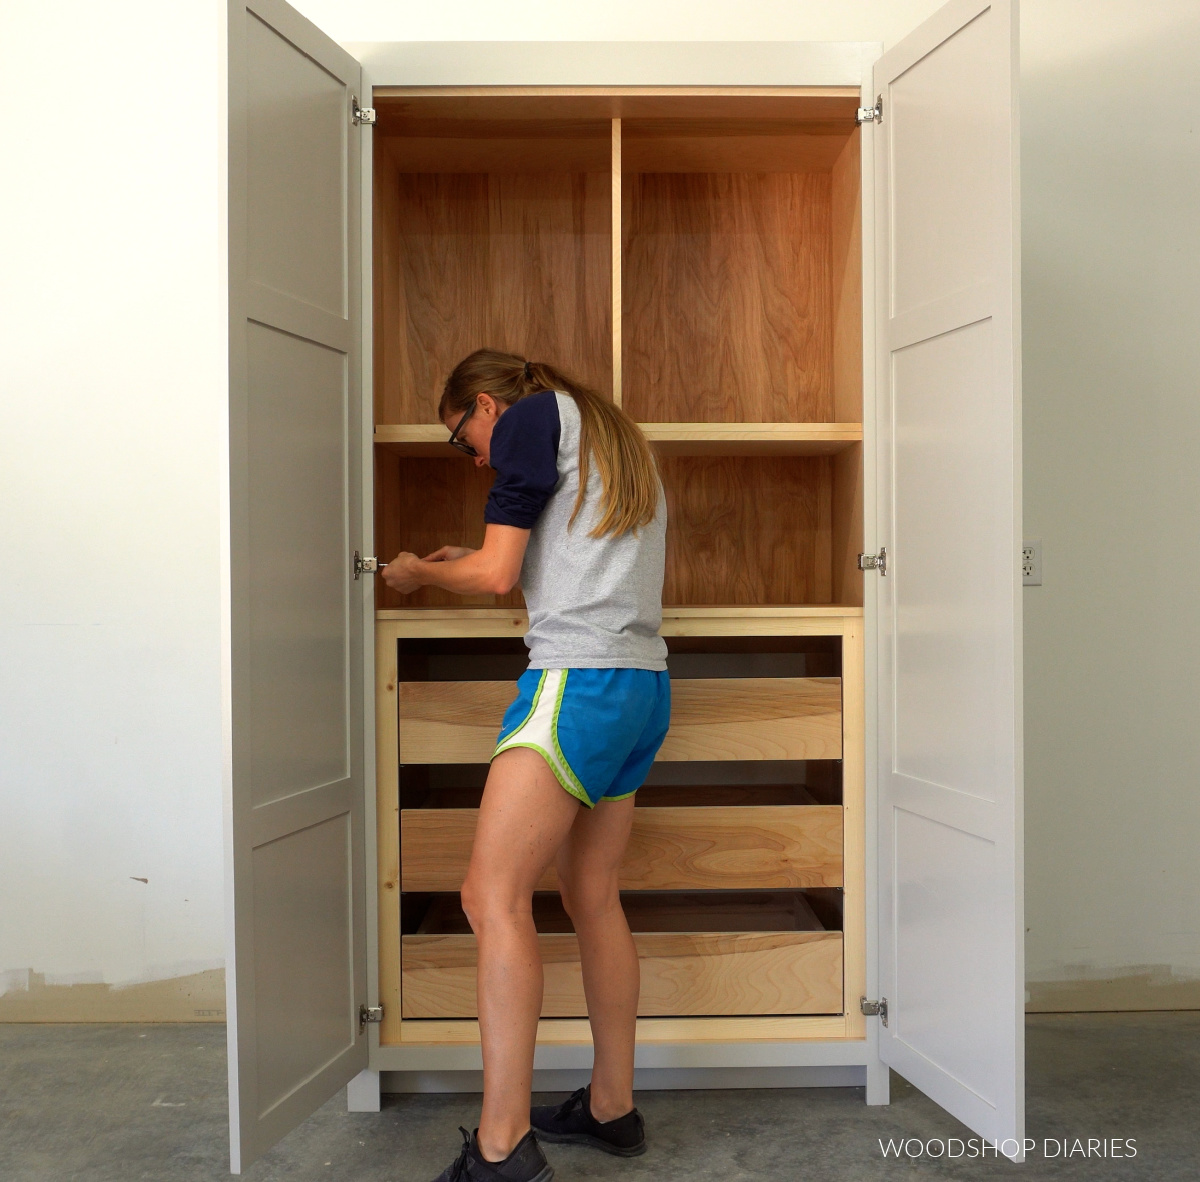
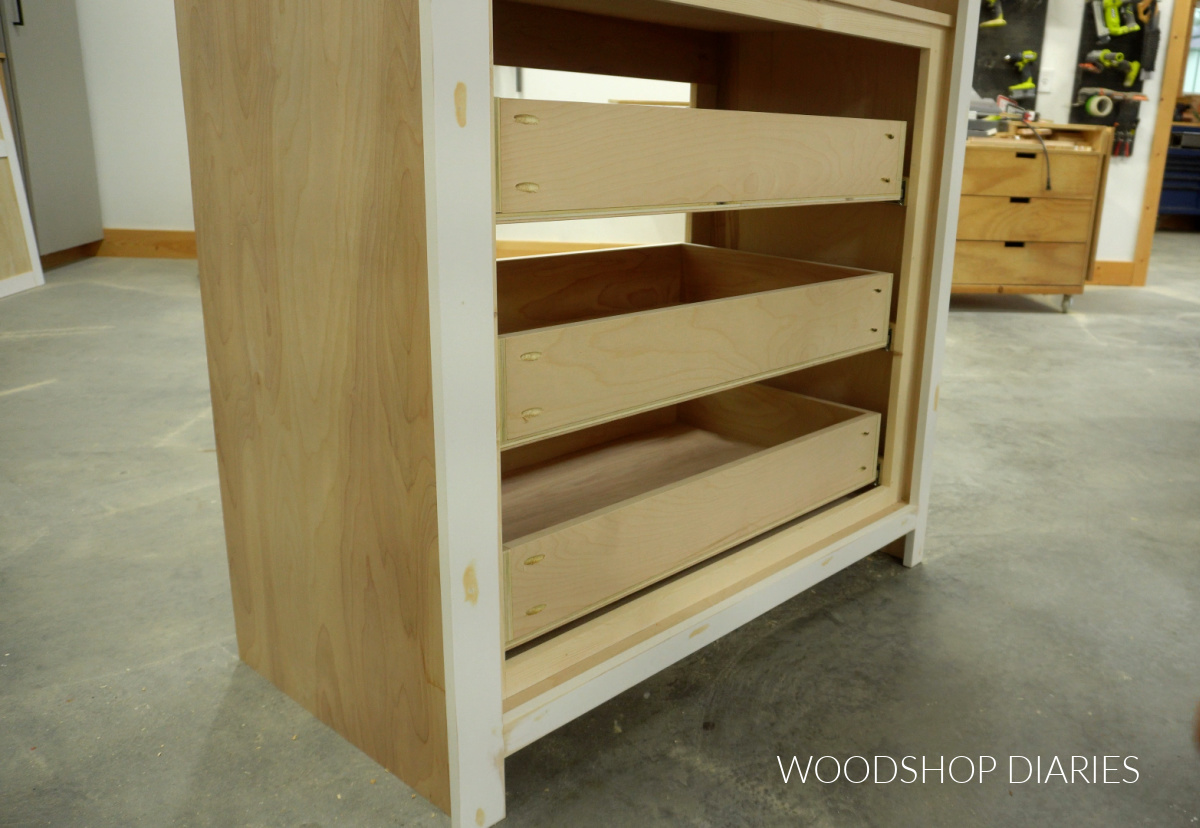
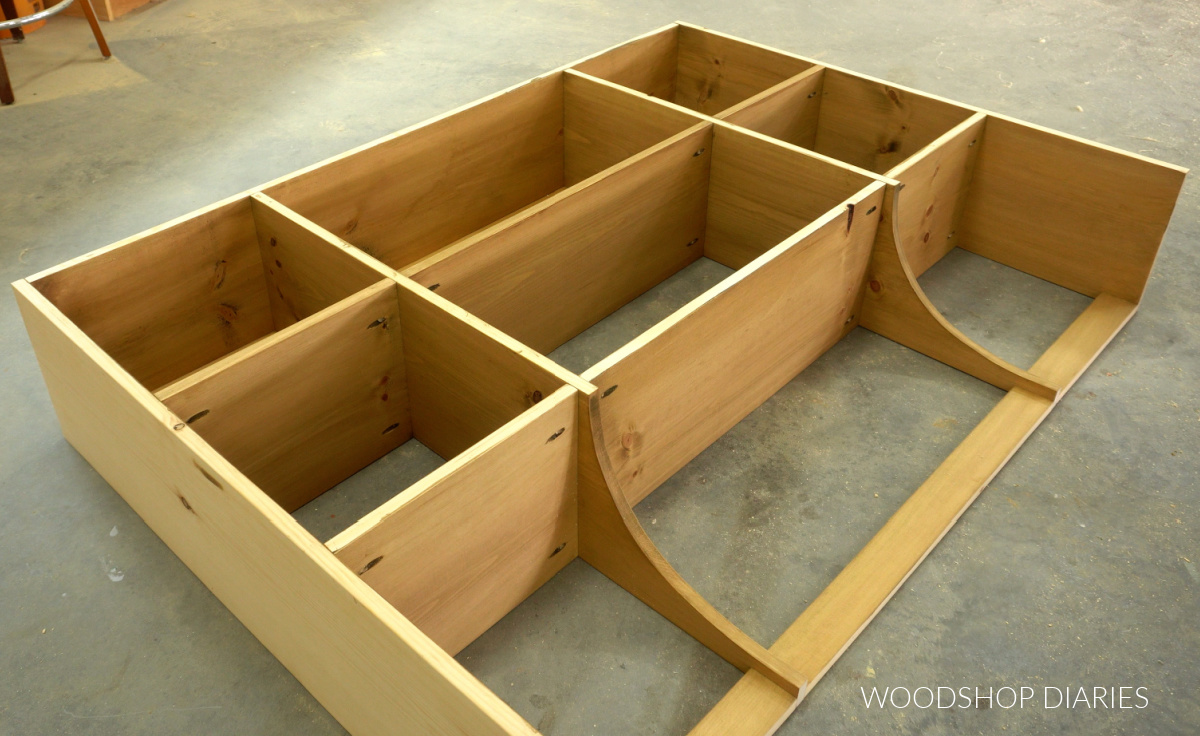
Step 2: Install Hutch Shelves
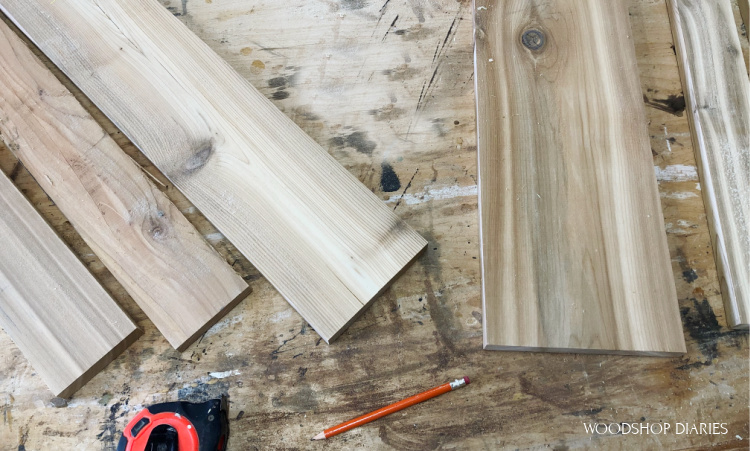
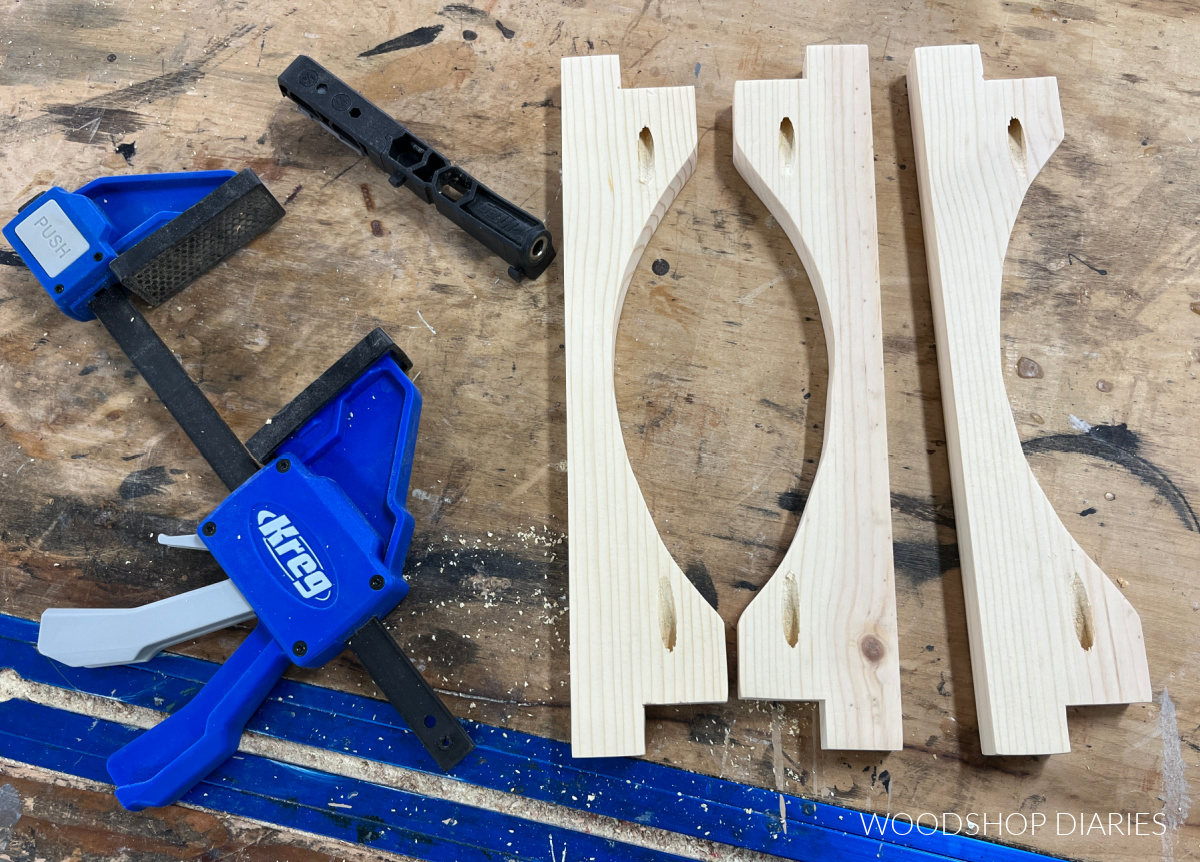
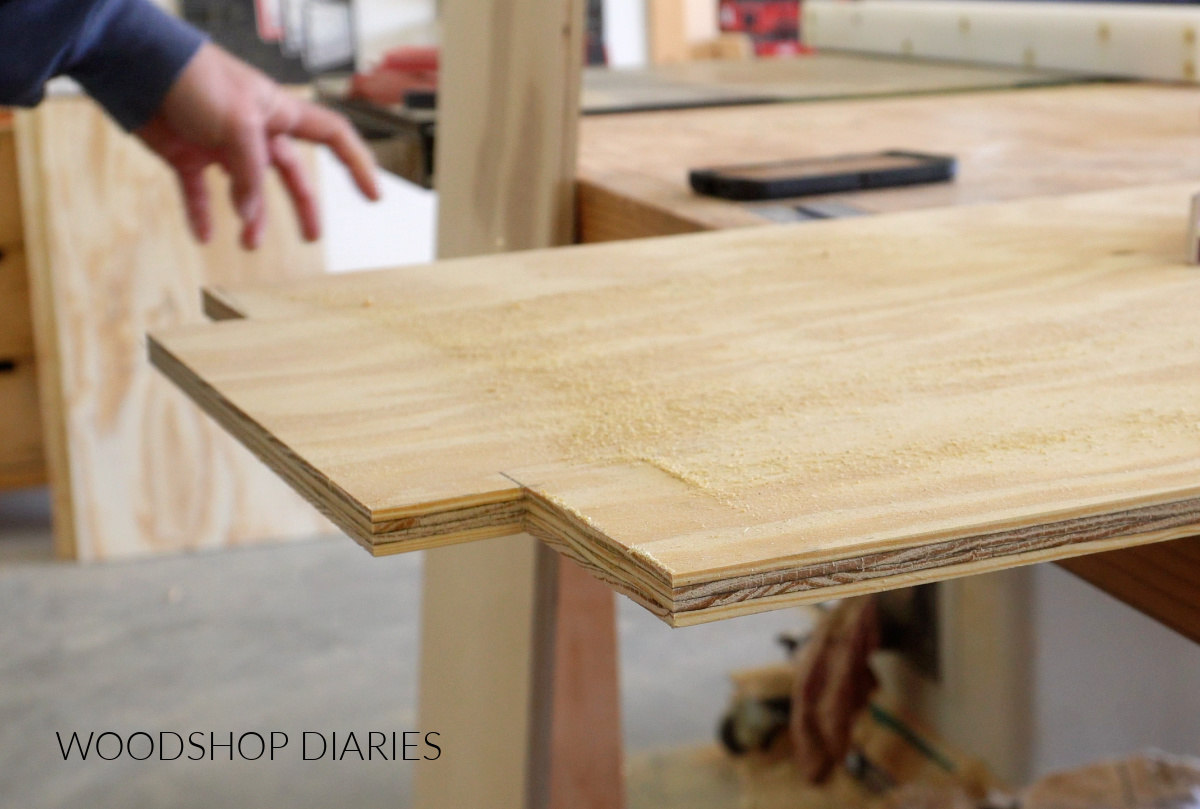
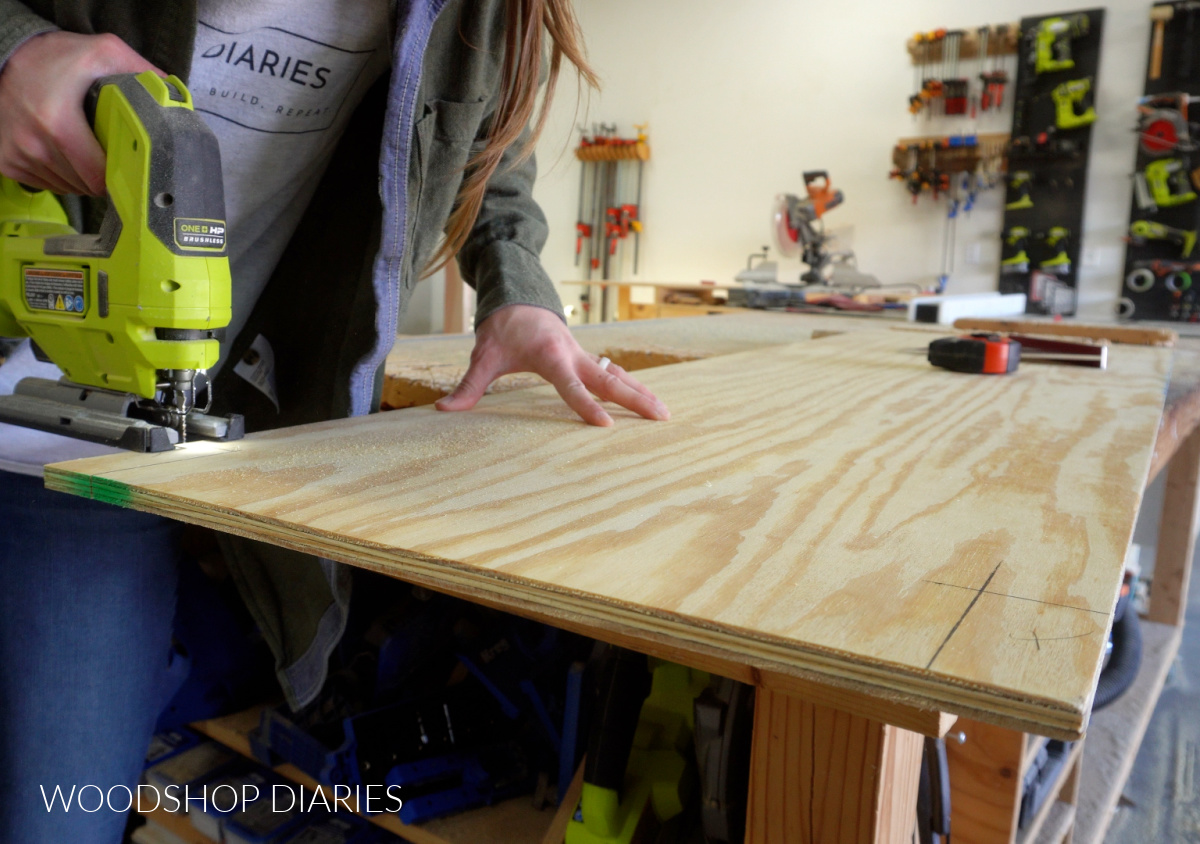
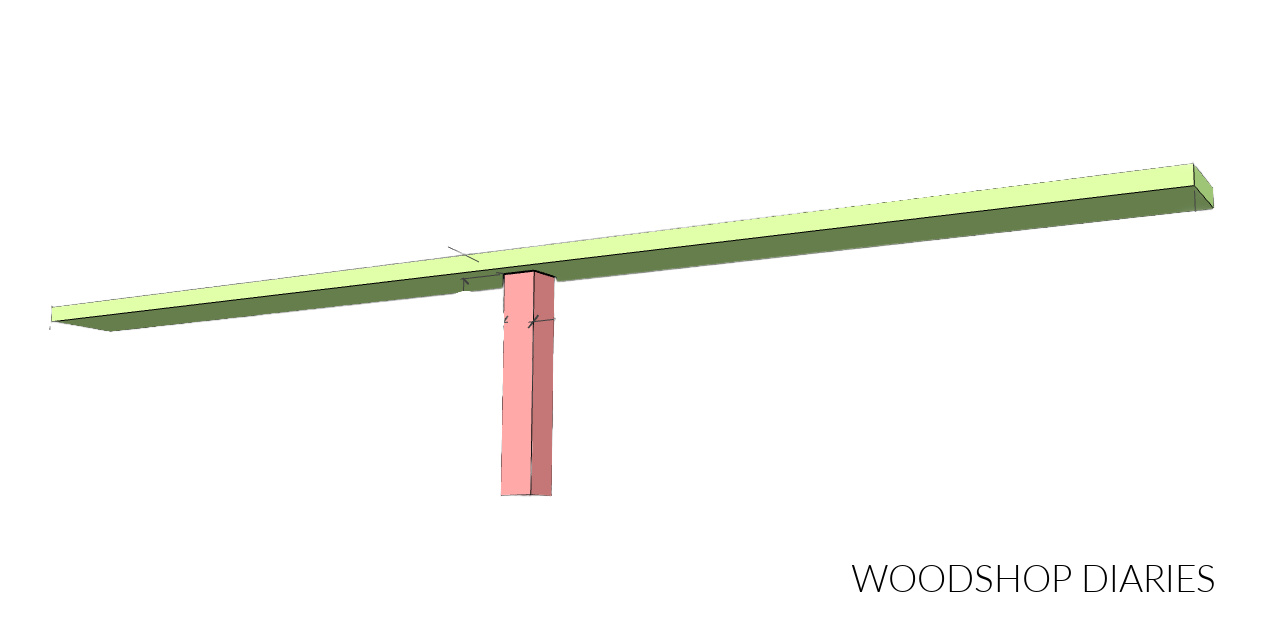
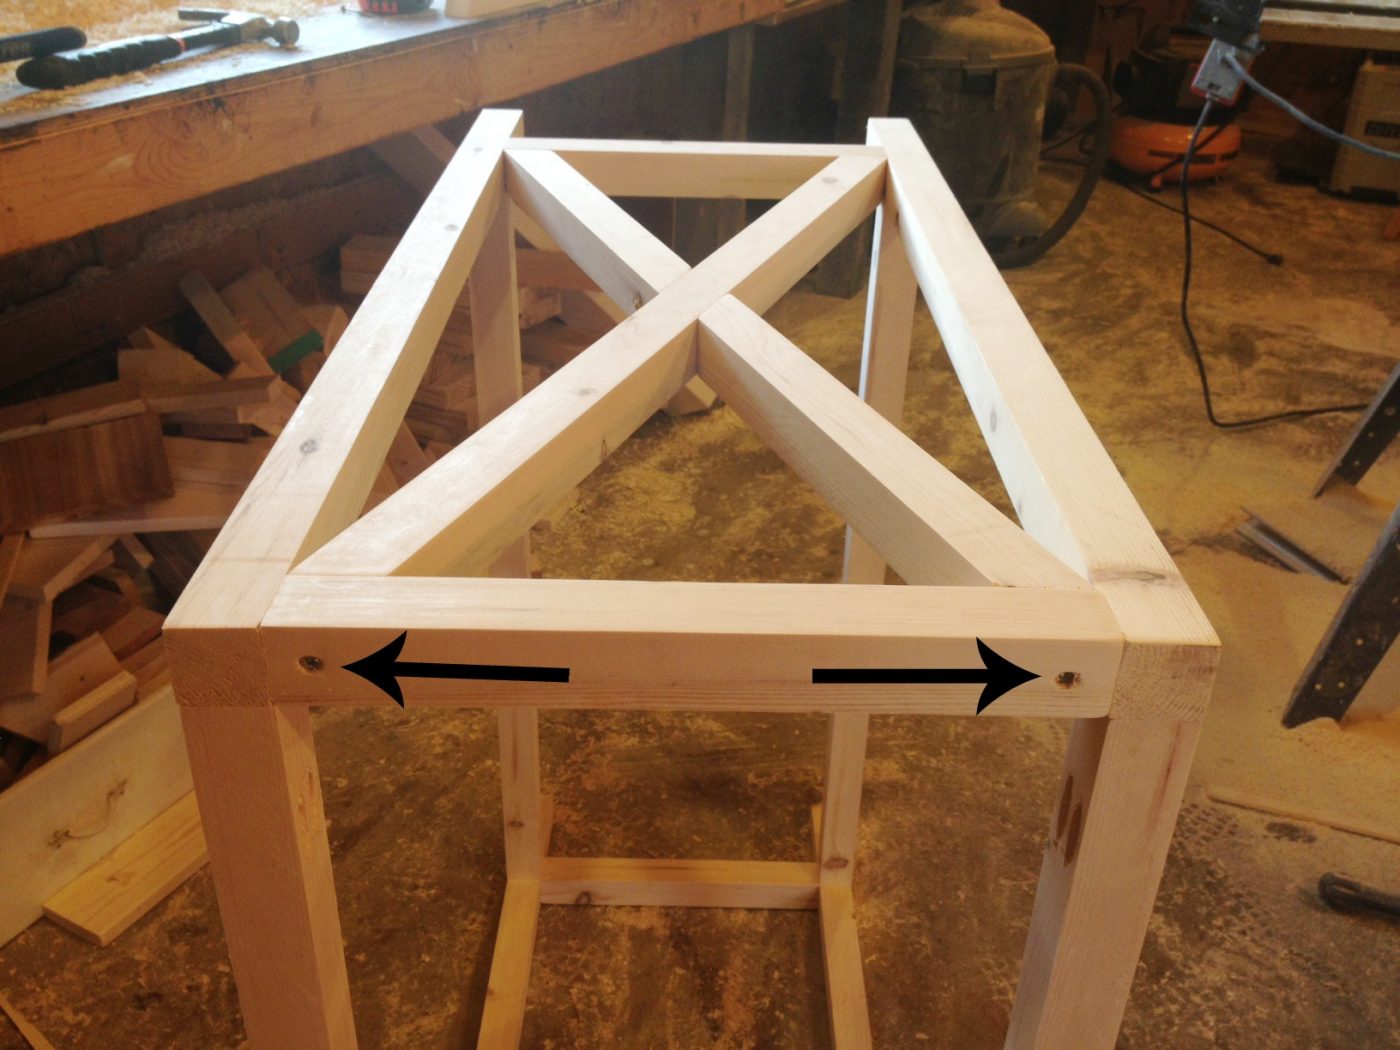
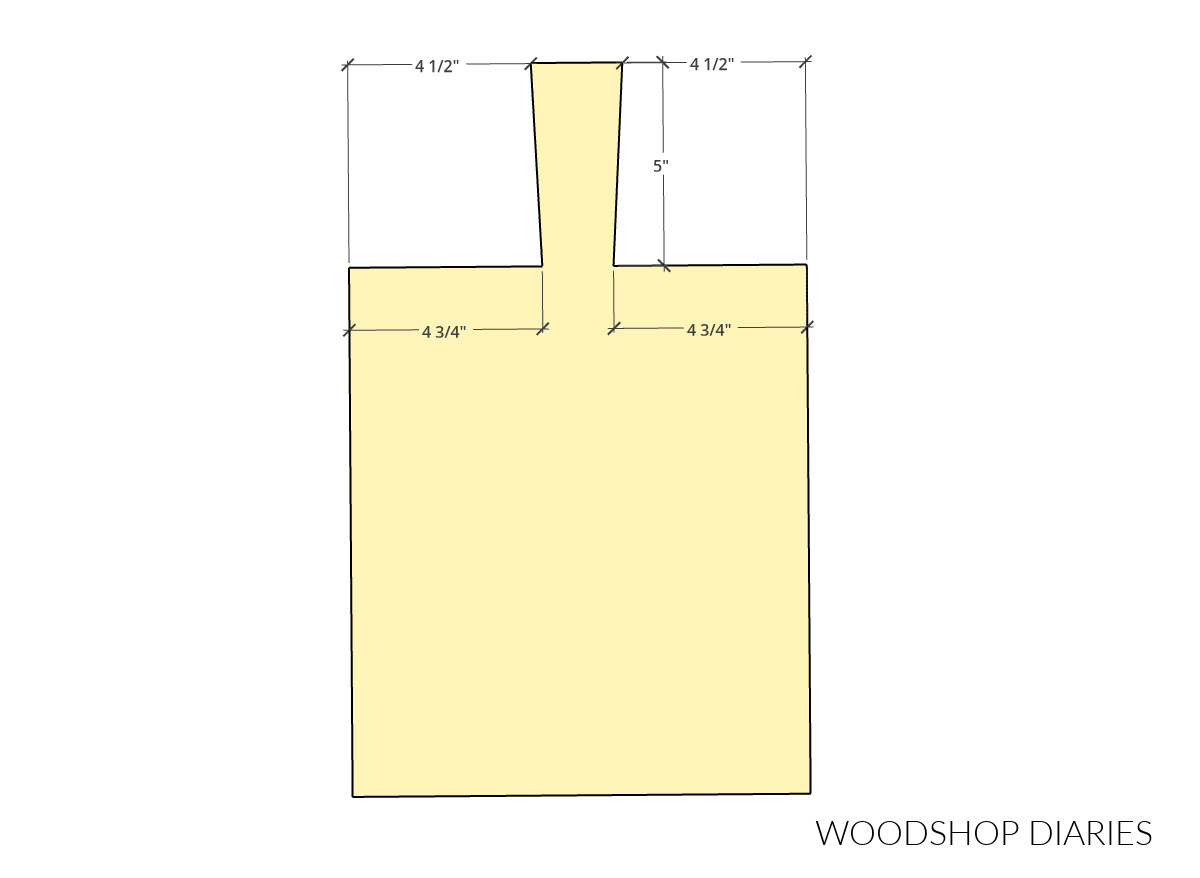
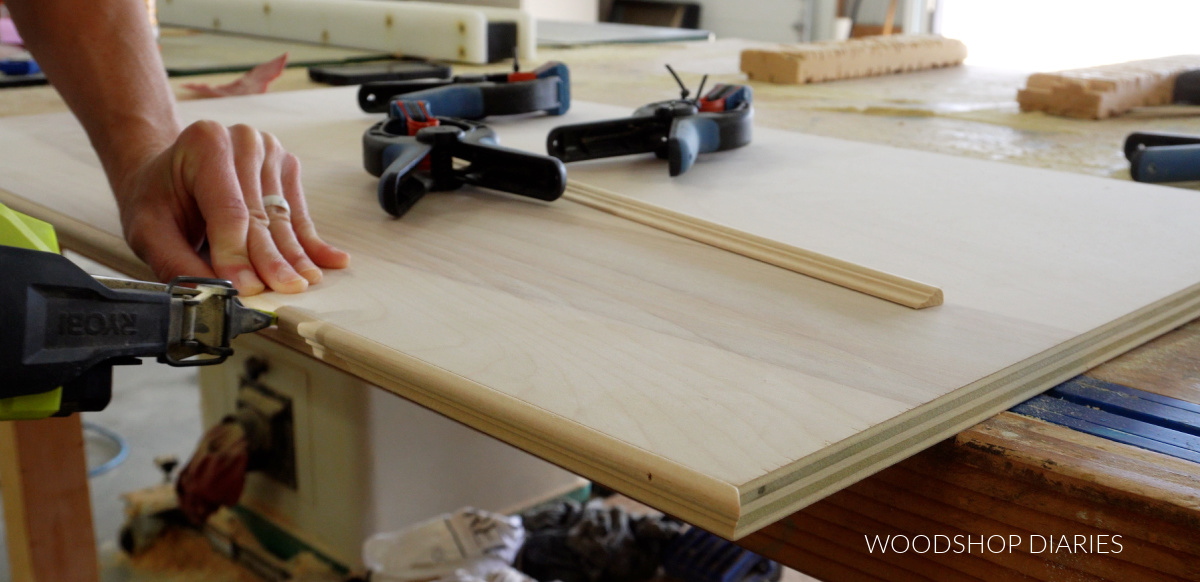
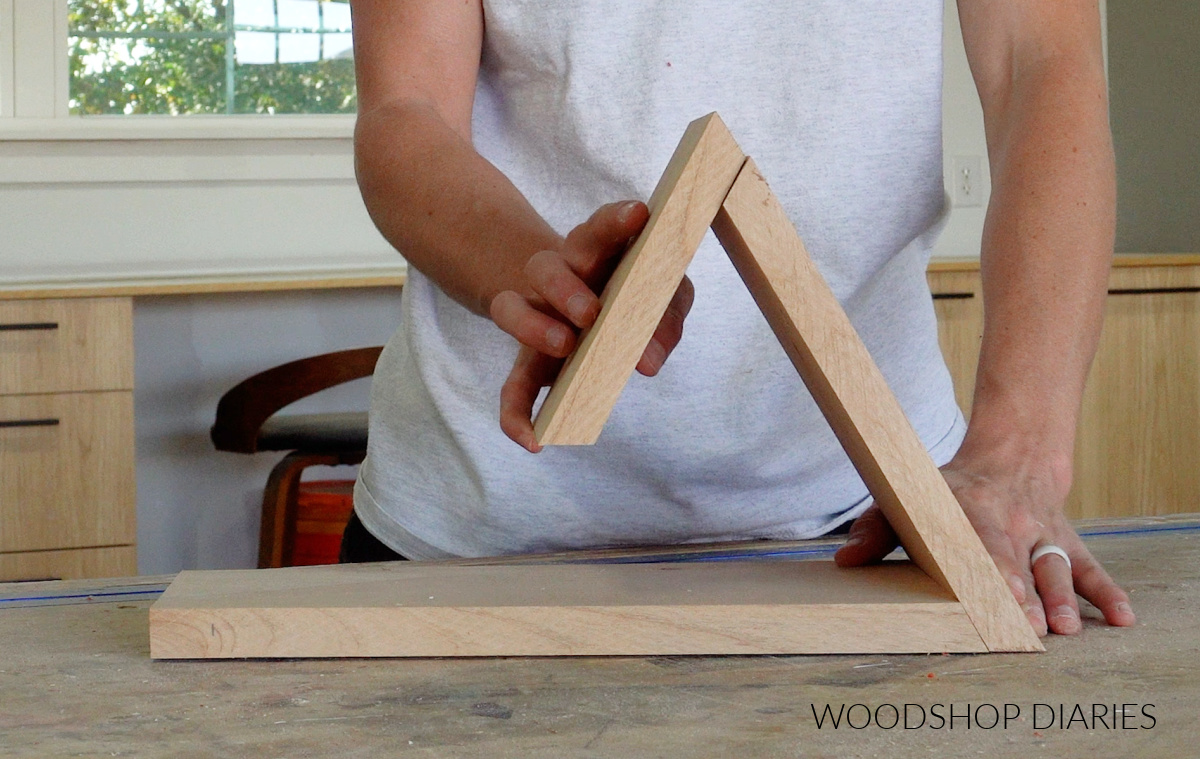
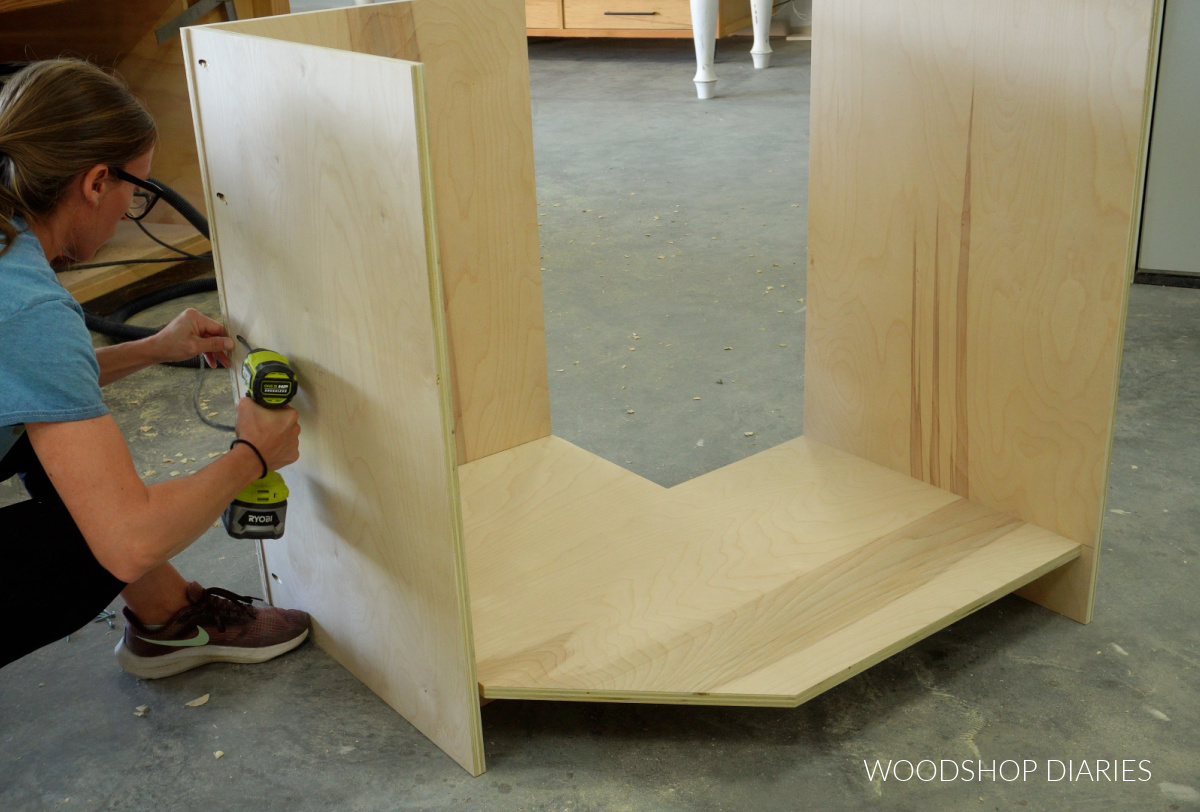
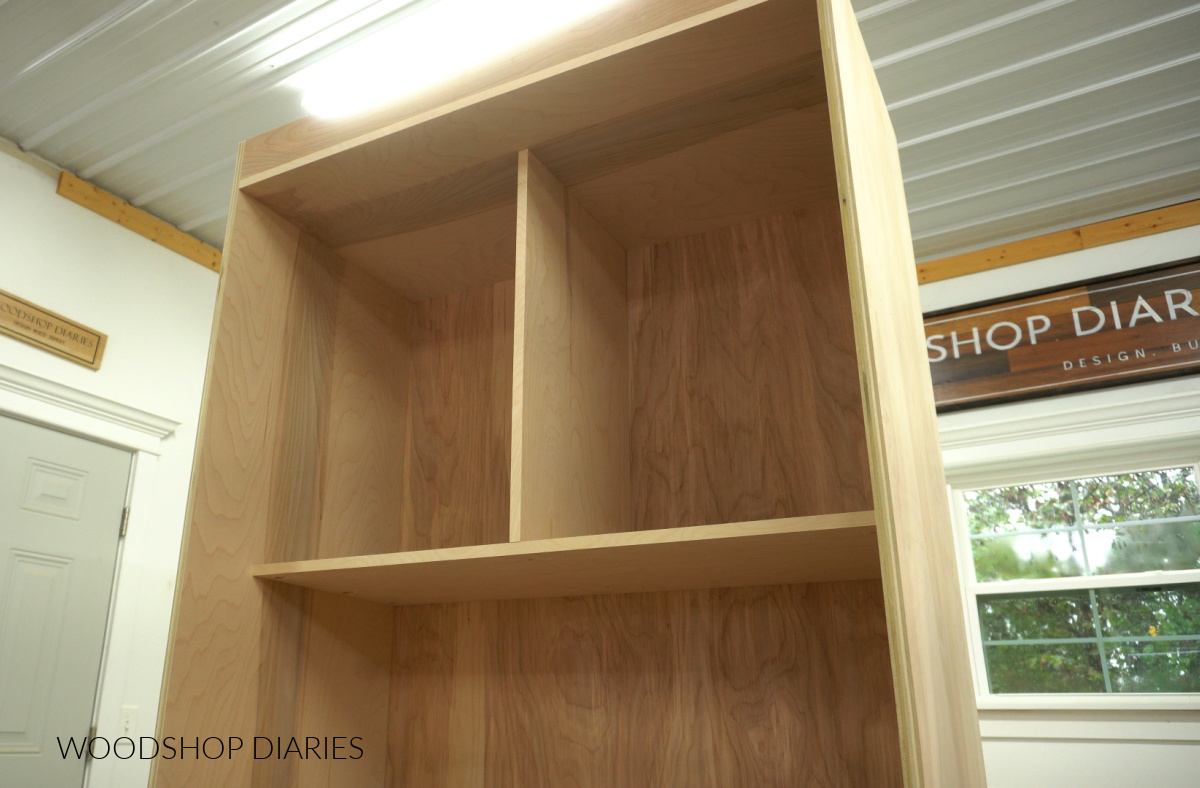
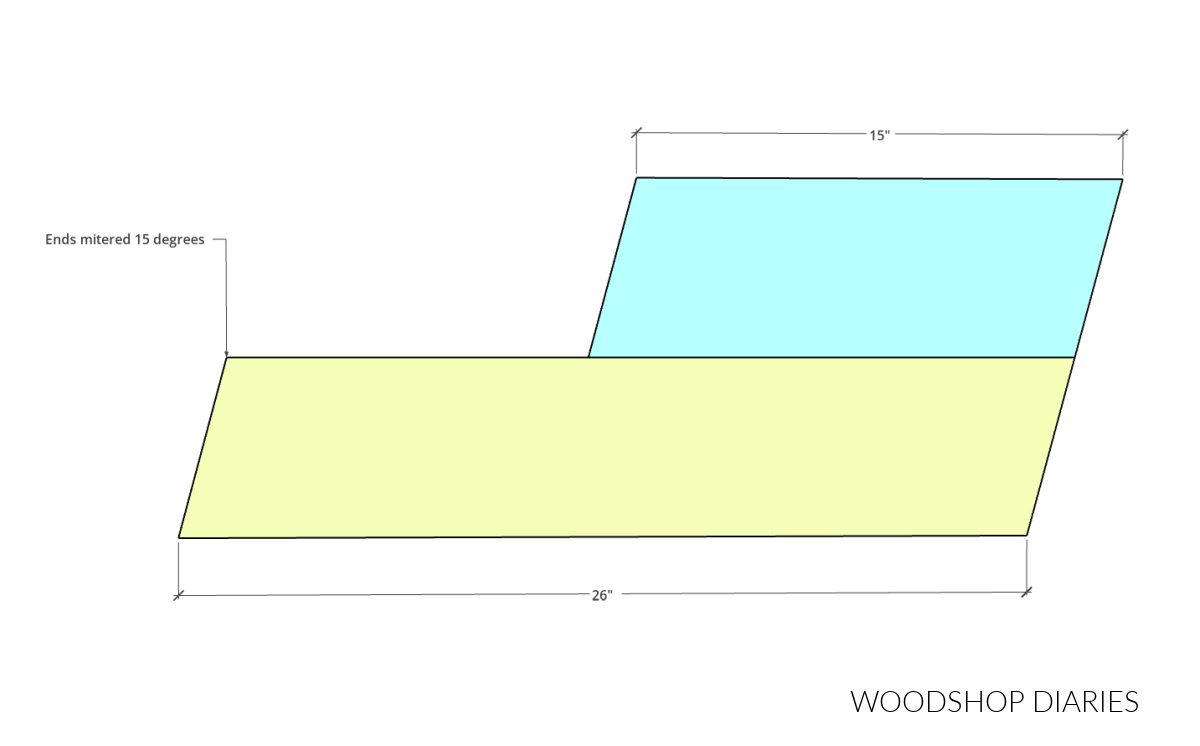
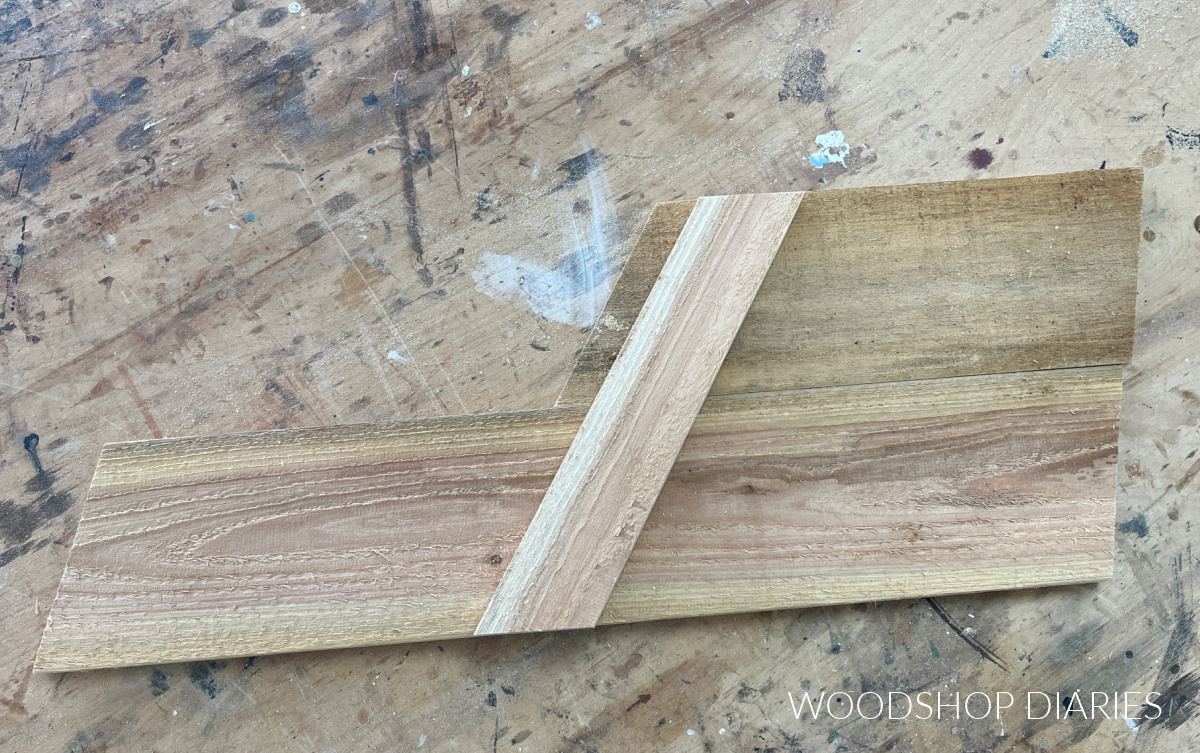
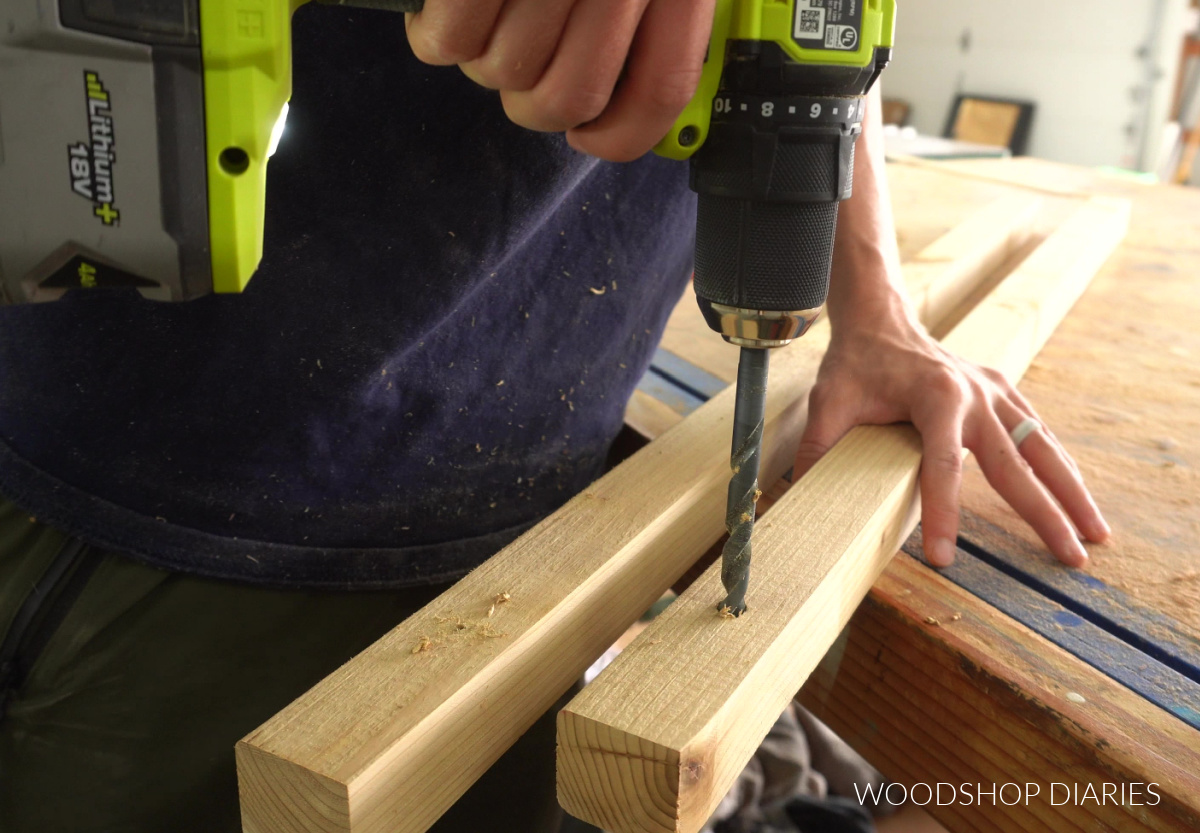
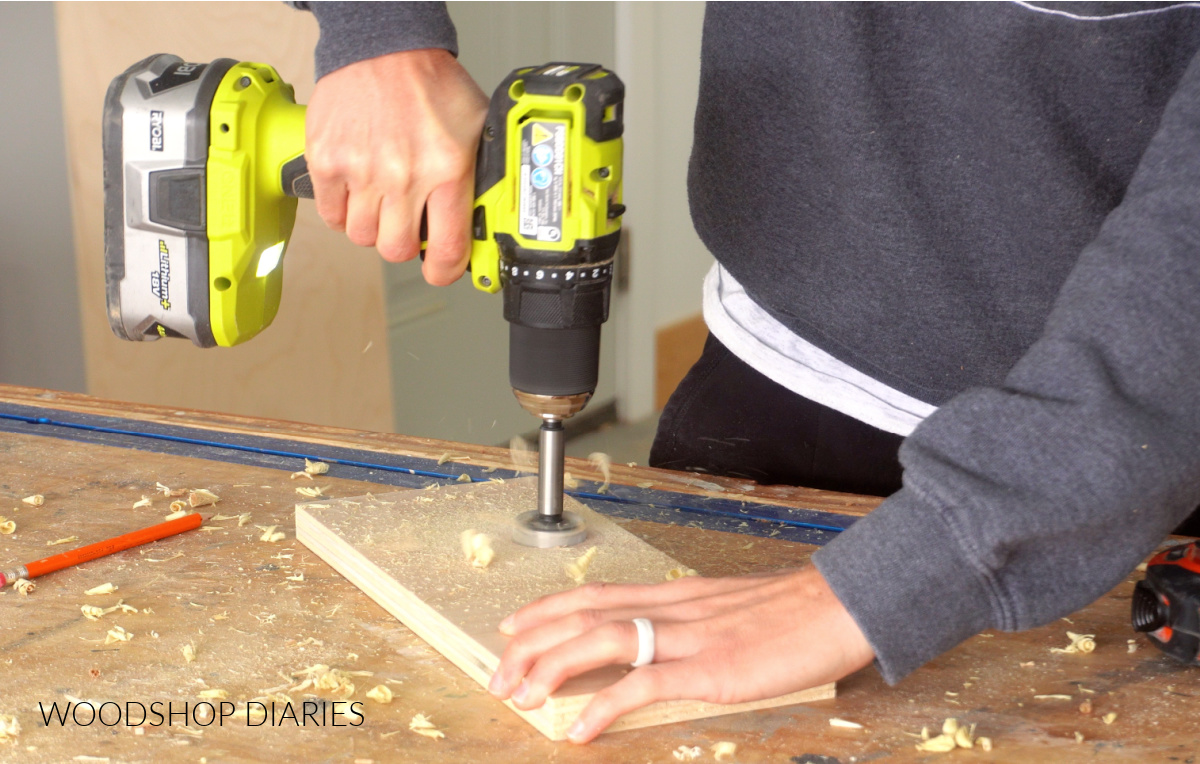
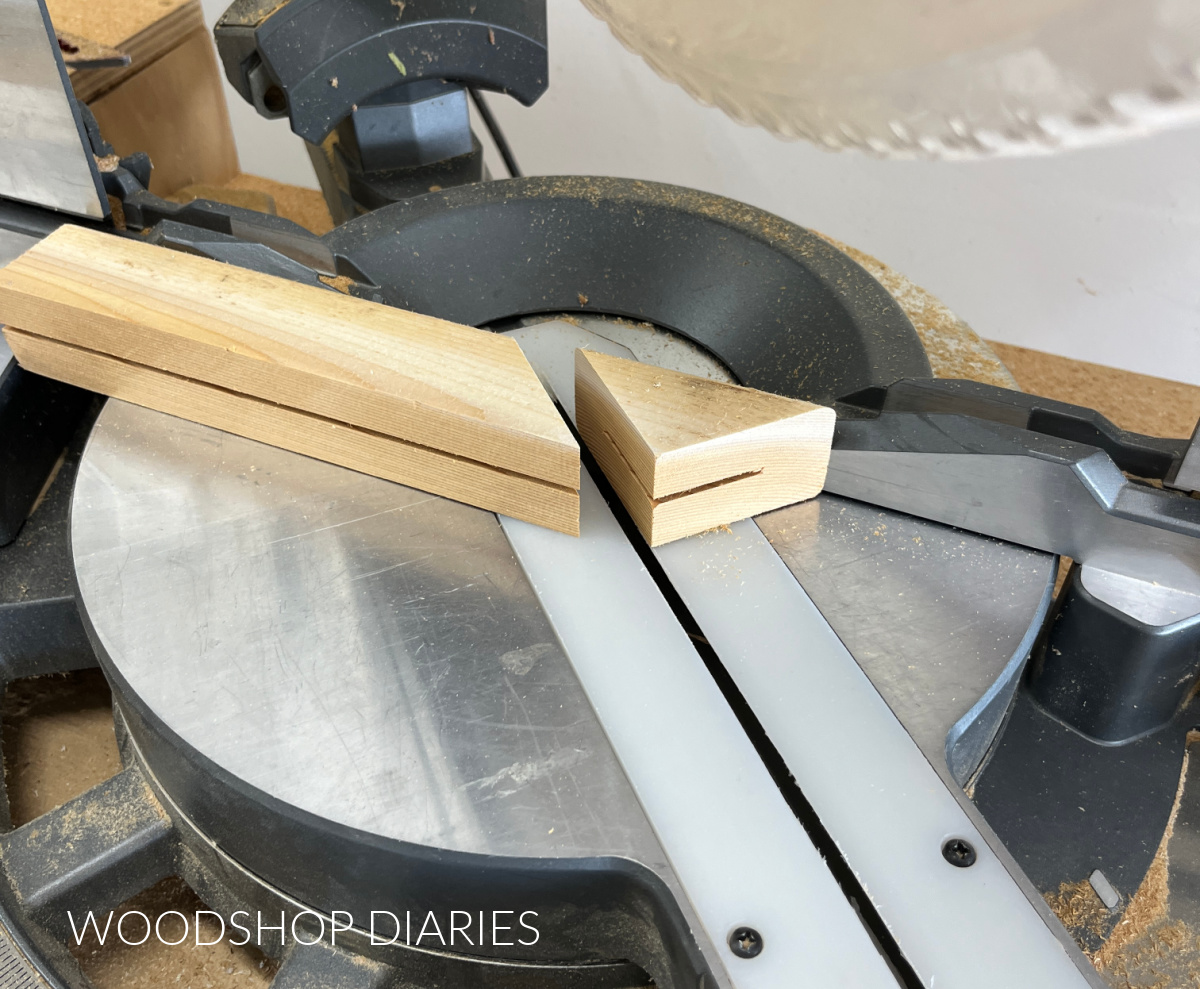
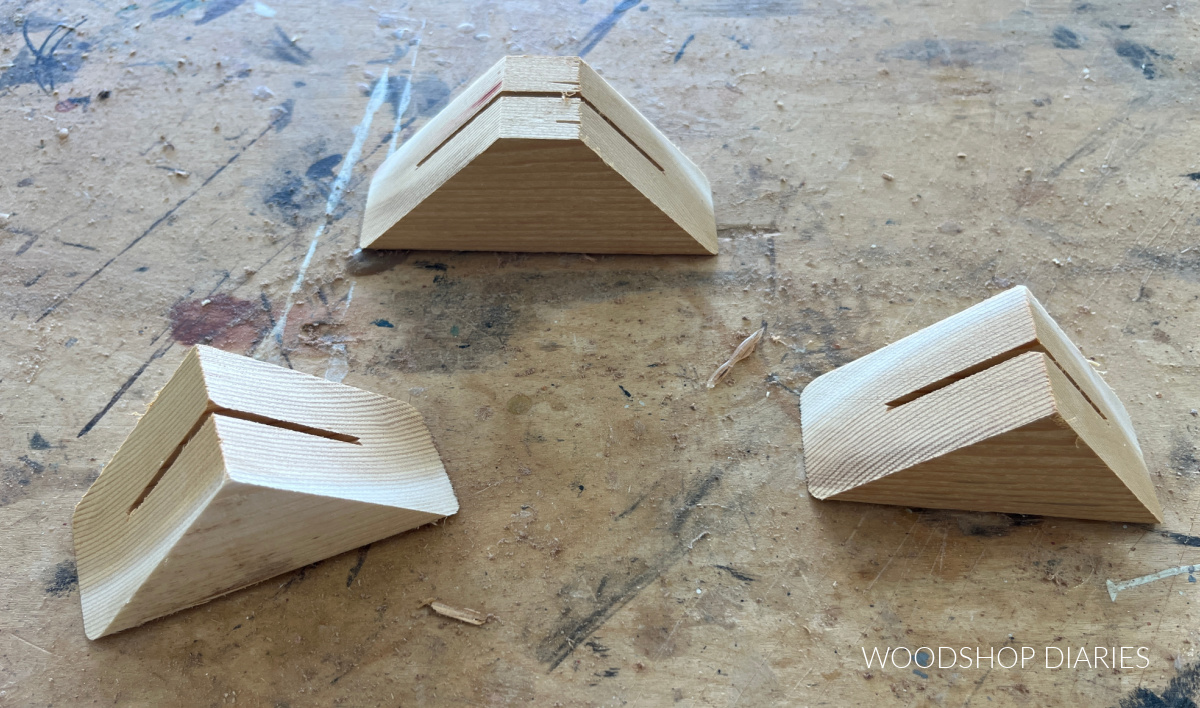
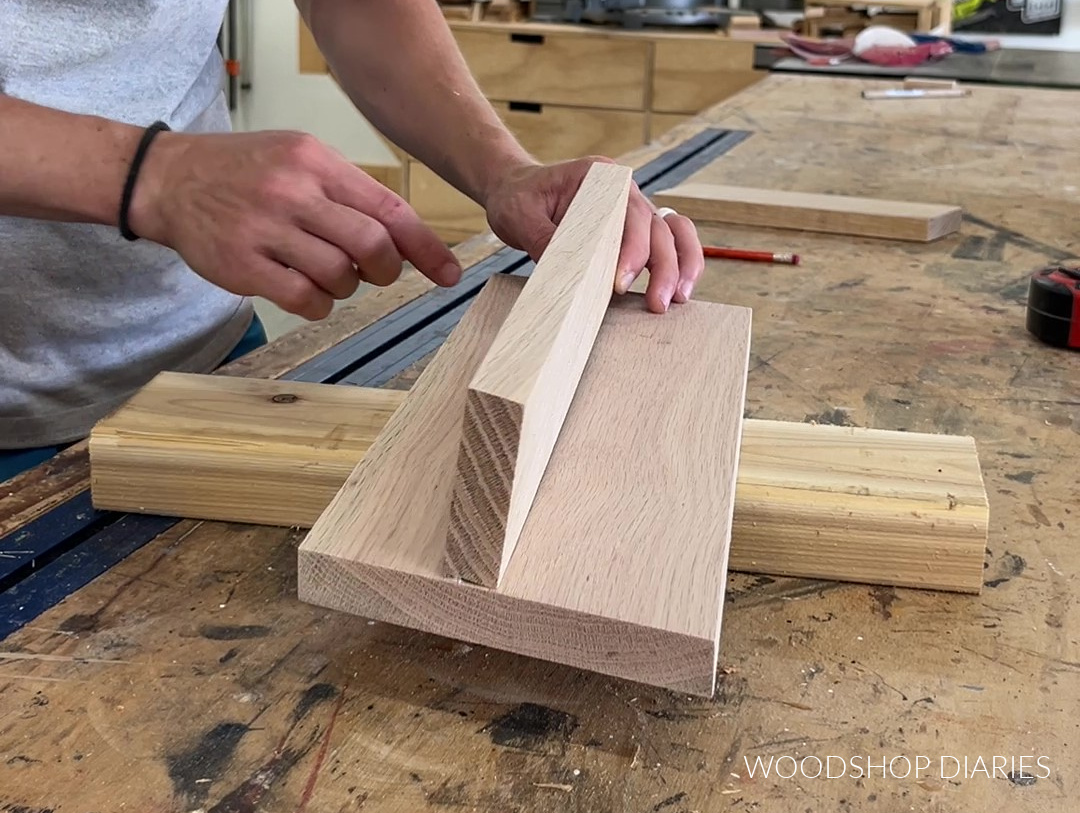
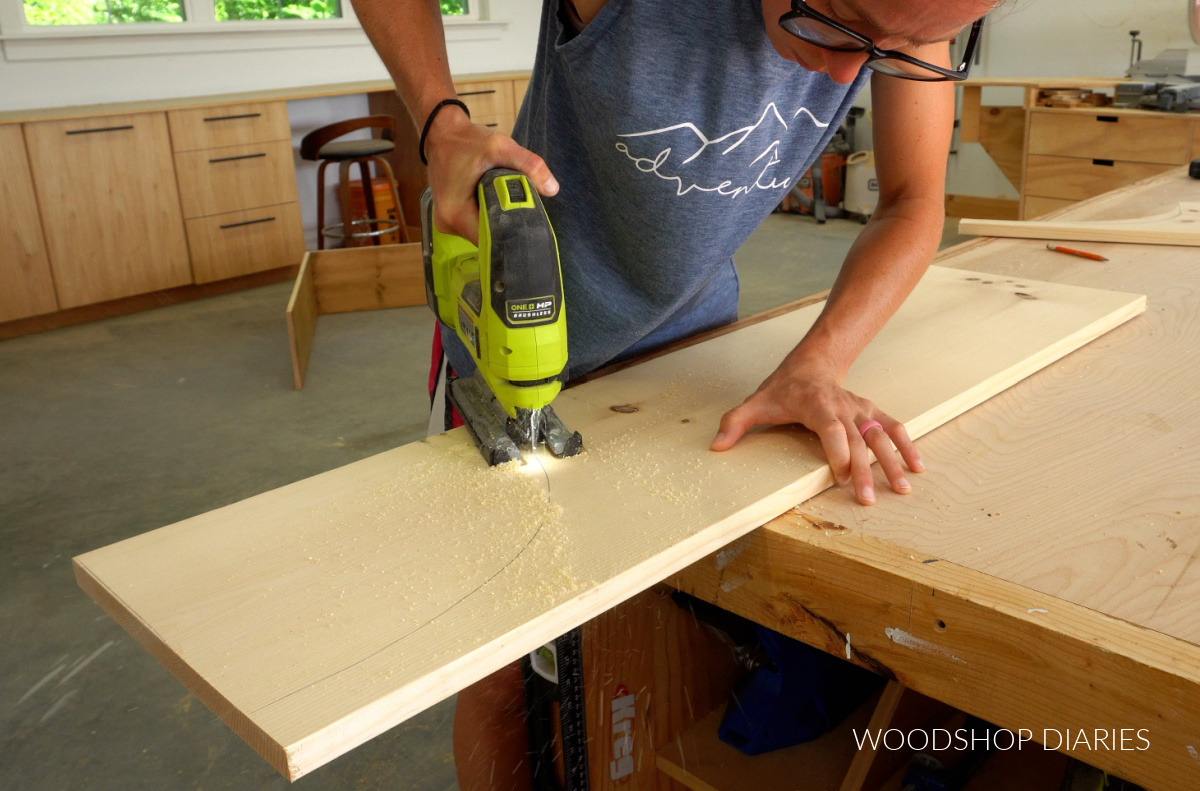
Once the sides and top were together, I needed to cut two vertical dividers. I cut these from 1x12s, as well, but I wanted the bottom of the dividers to have like a curved cut out.
This was almost like a built in corbel, but super simple. So I traced a curve along the front bottom corner of these dividers and cut it with a jig saw.
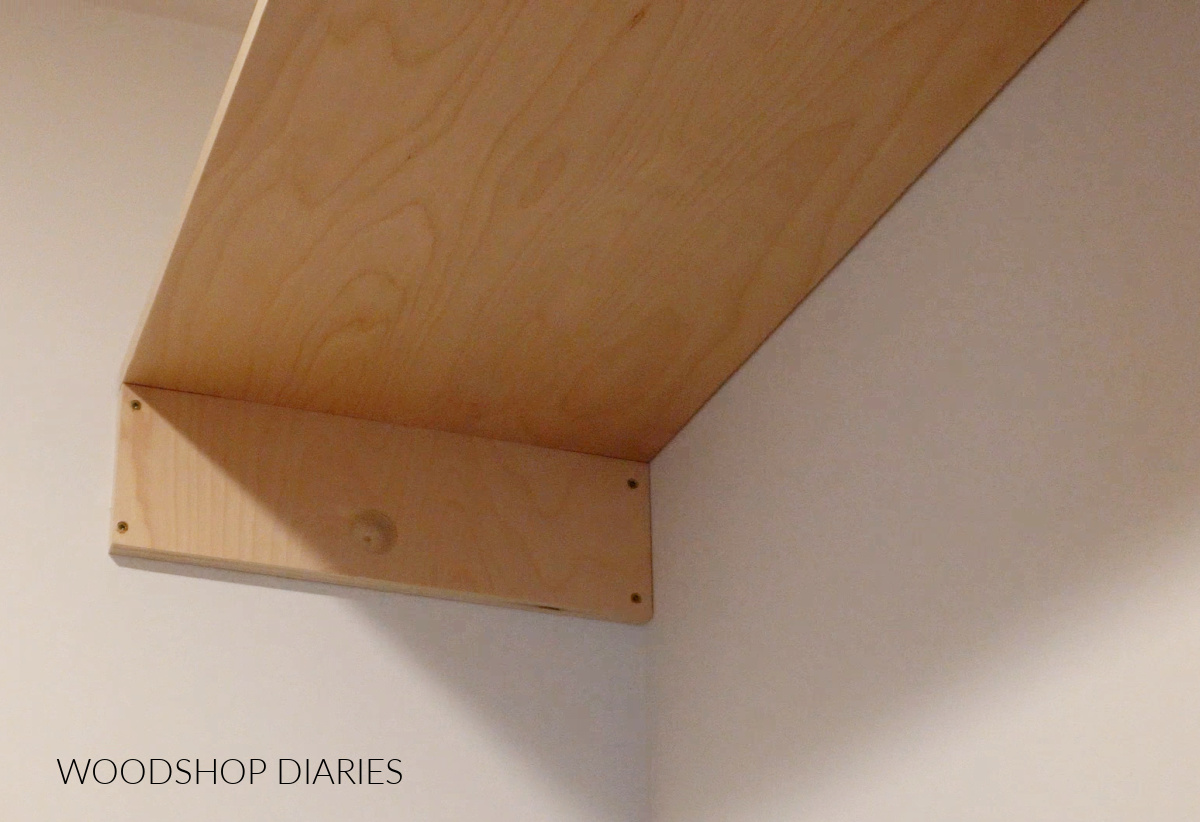
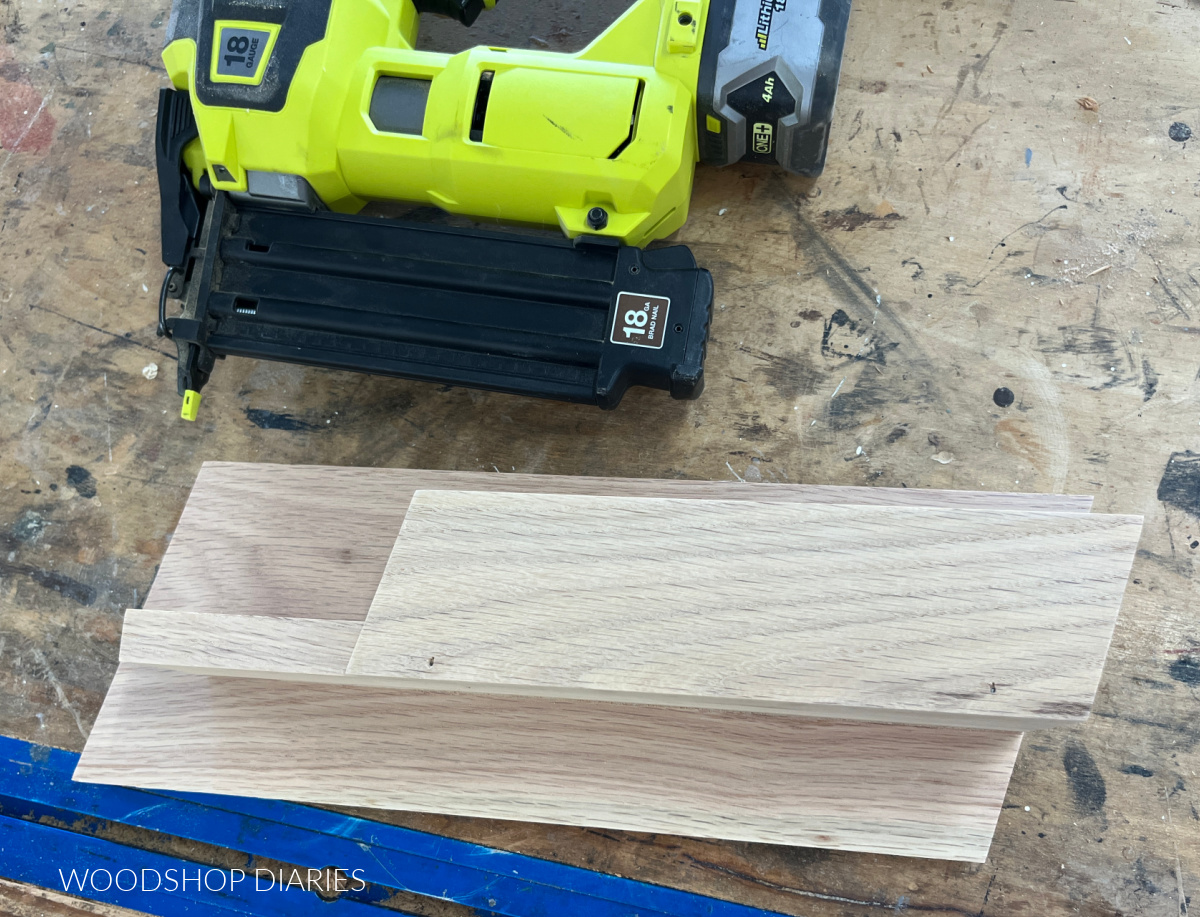
Then, I cut four 1×12 pieces for the shelves on the left and right side of the hutch and four pieces of 1×3 to run along the top and bottom as supports.
These 1x3s will be used to secure the hutch to the wall once completed.
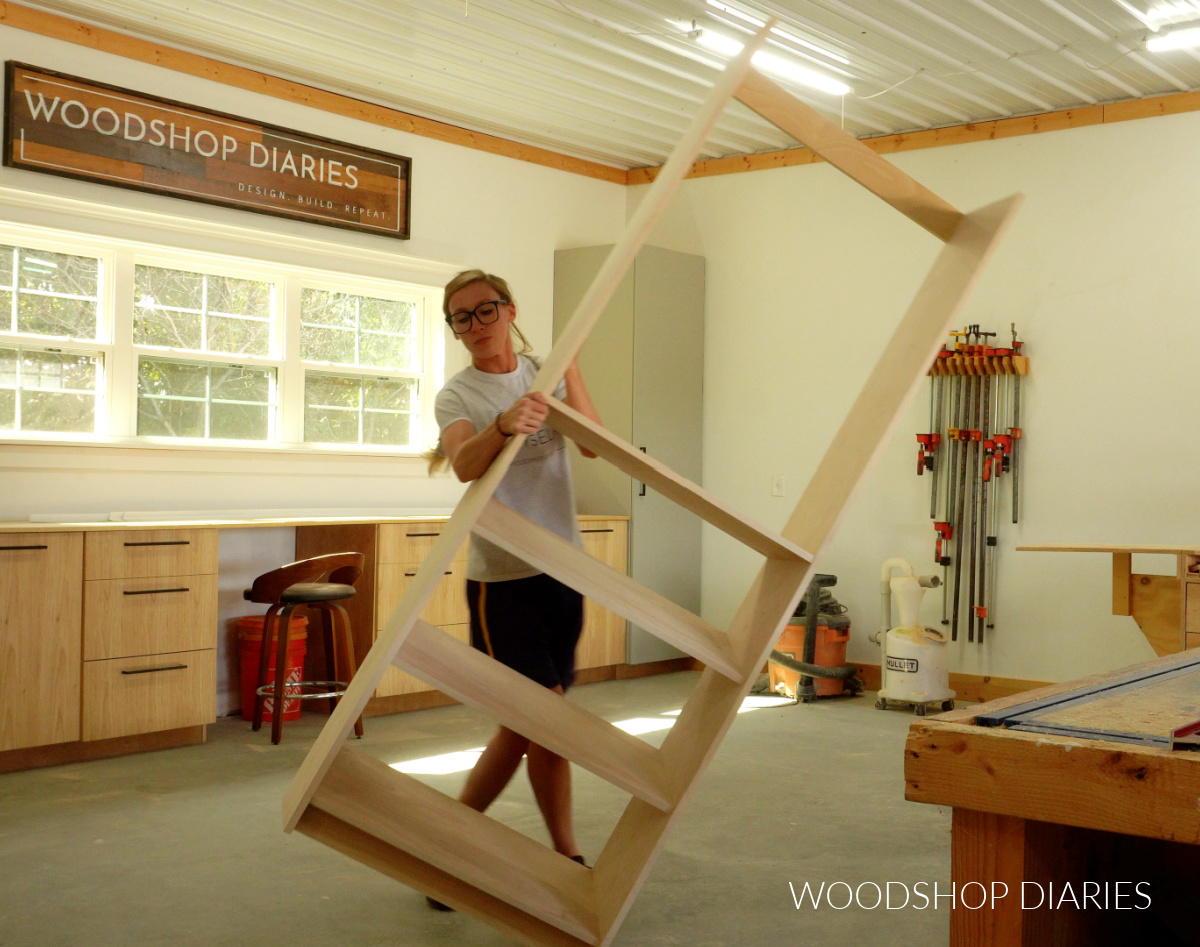
I test fit all these pieces together to make sure they worked before sanding and staining them.
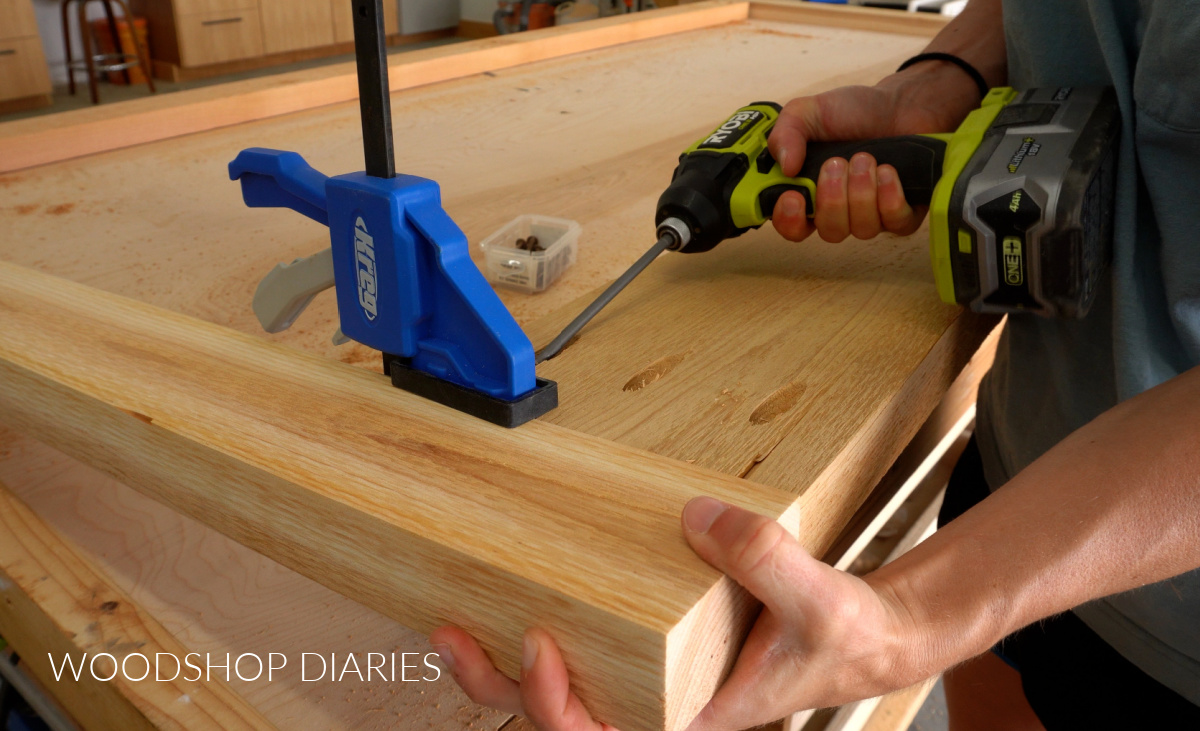
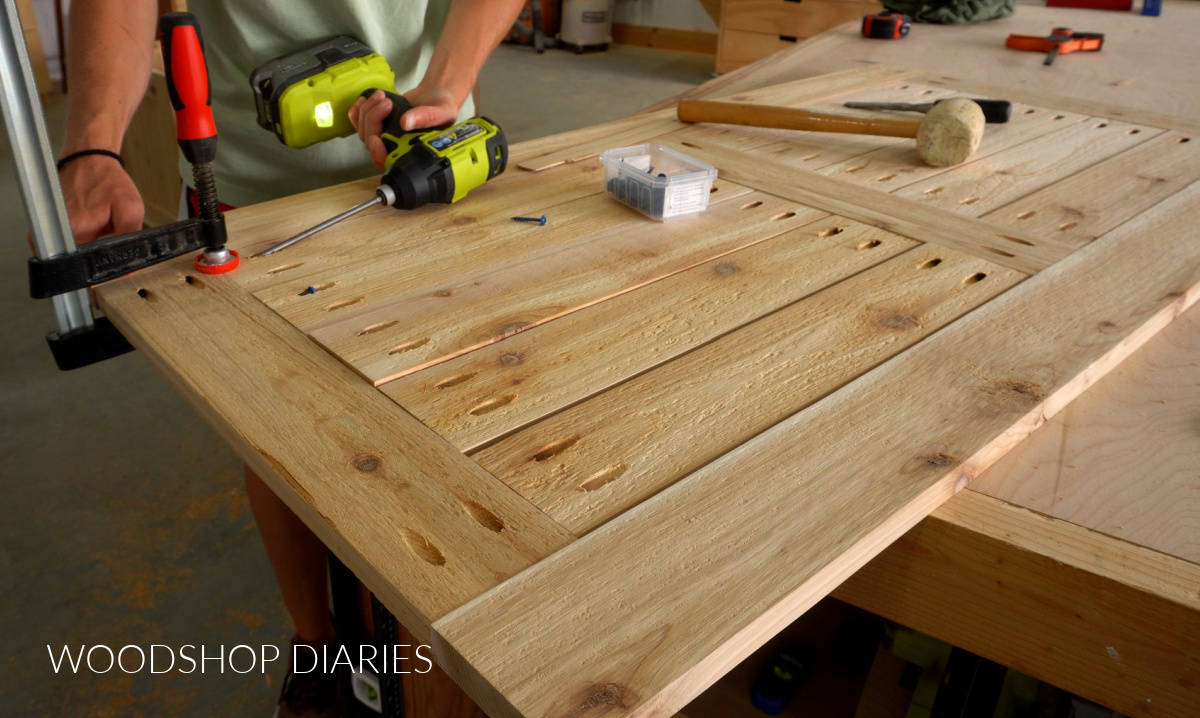
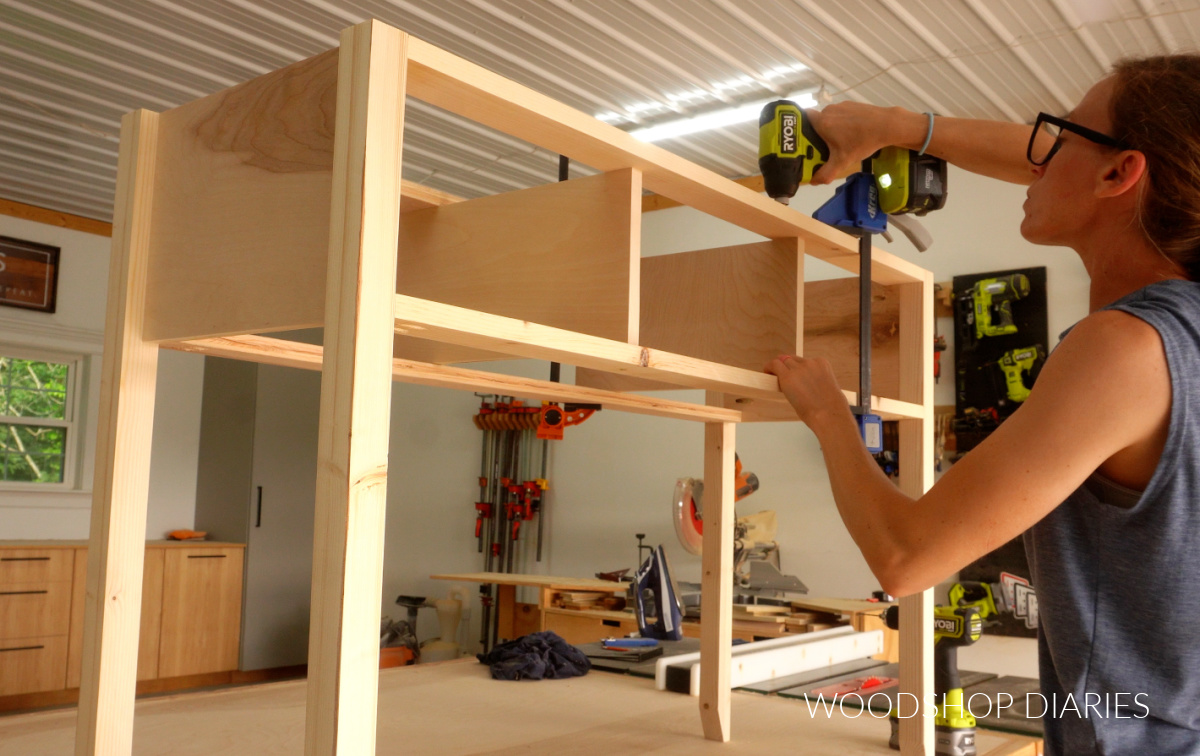
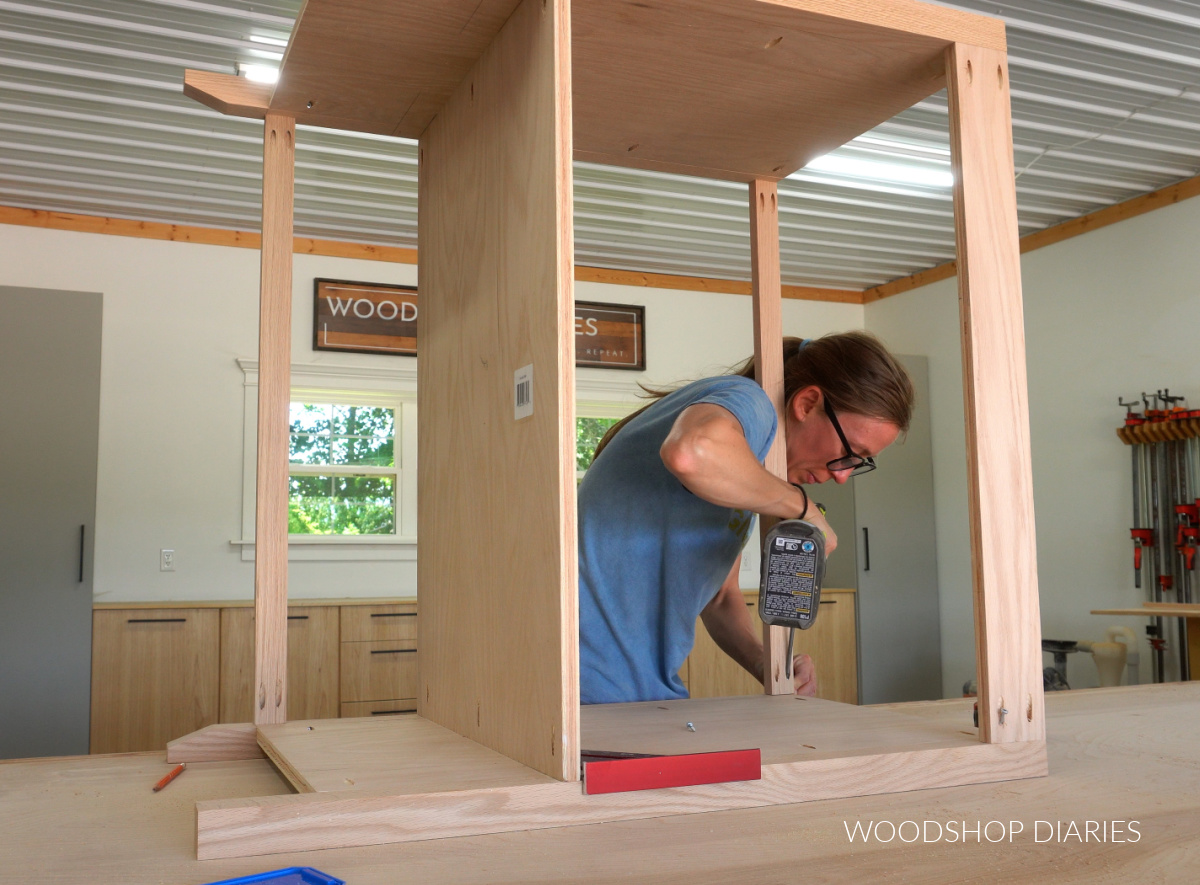
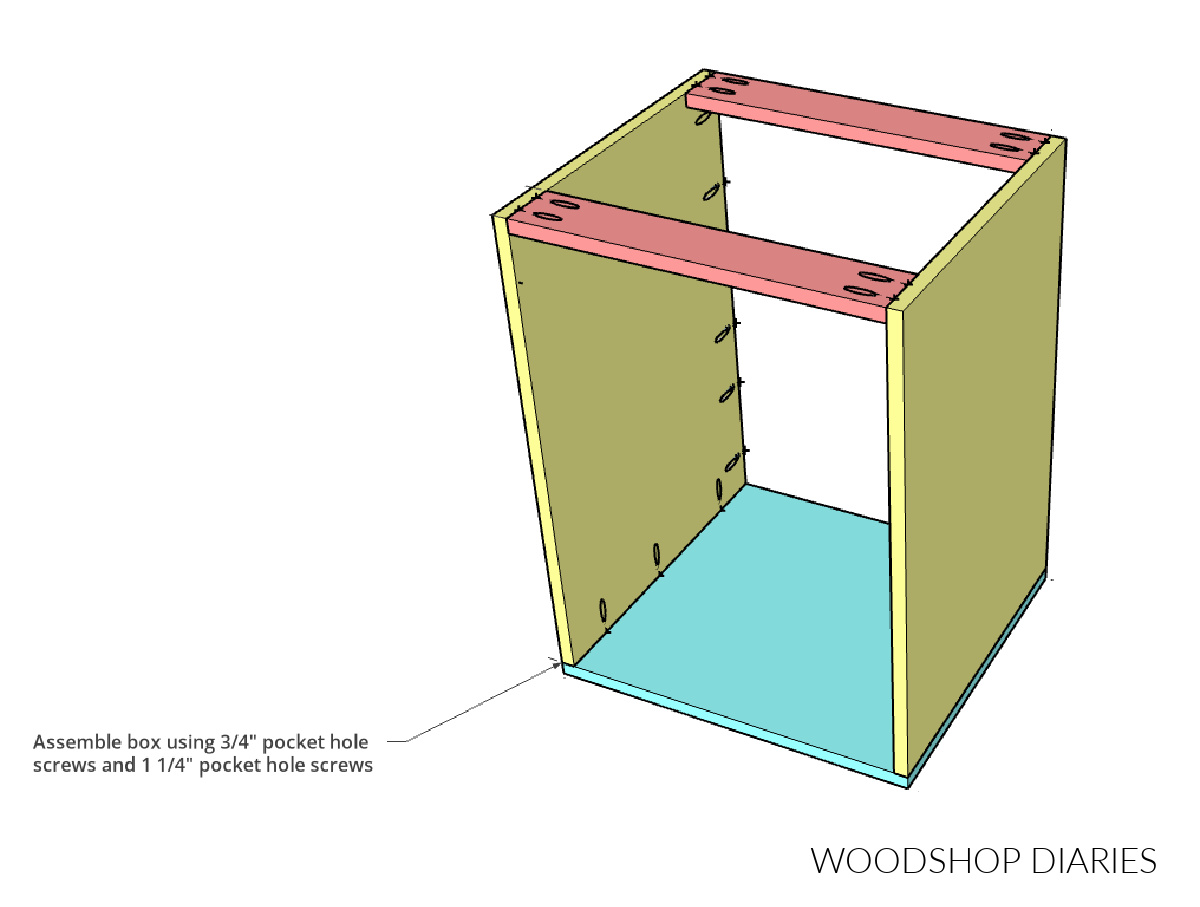
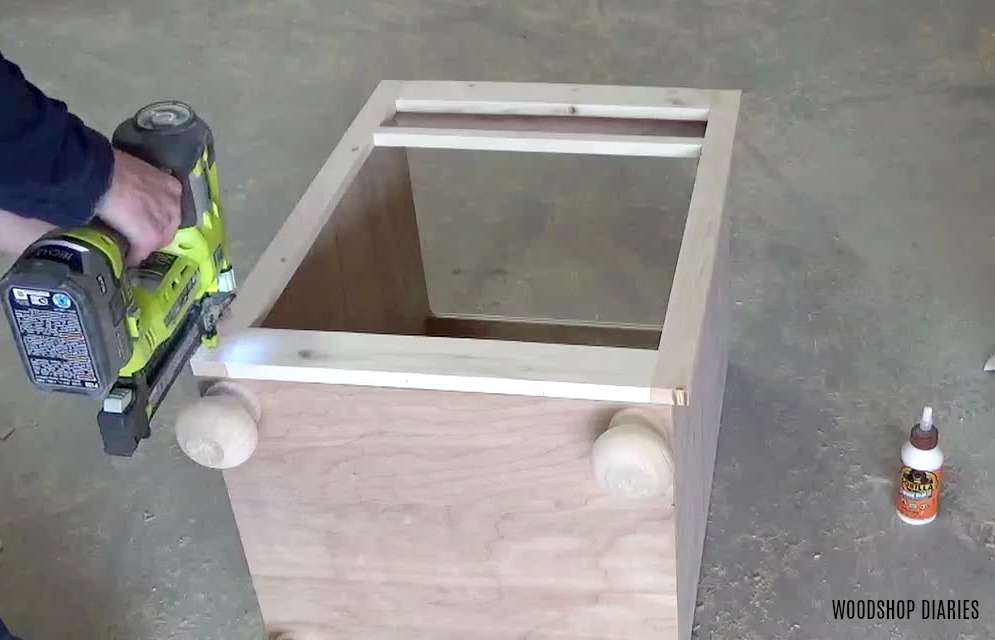
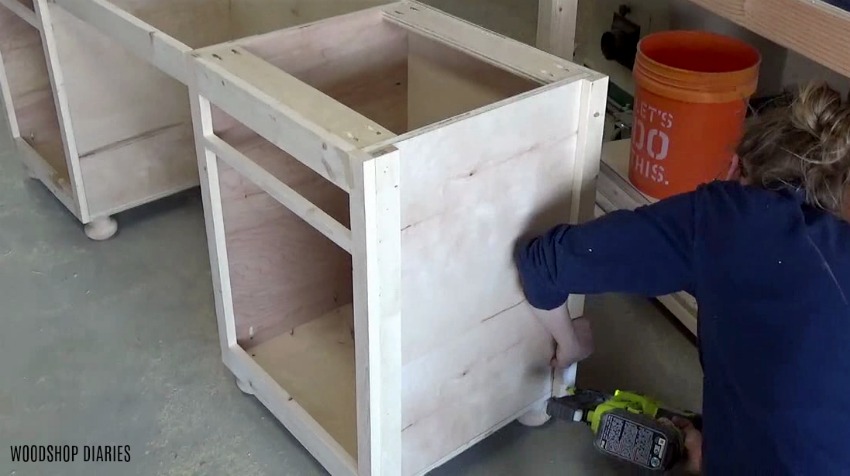
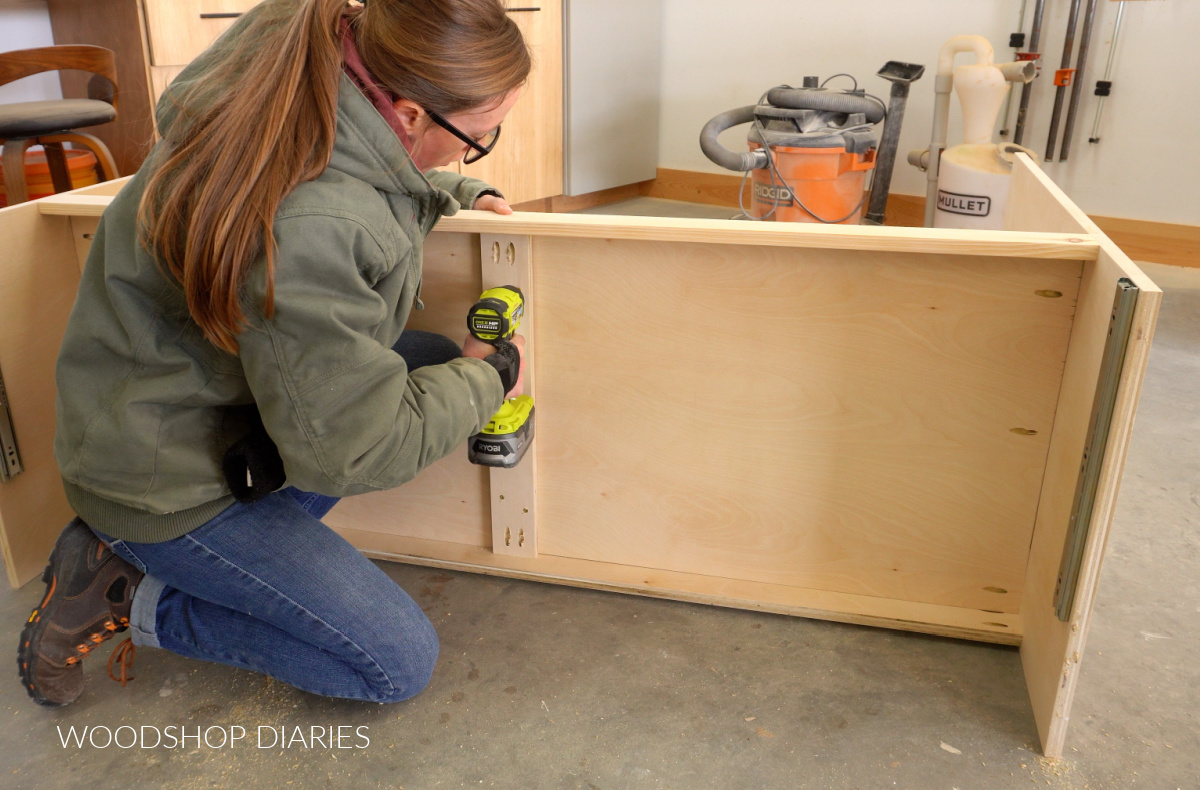
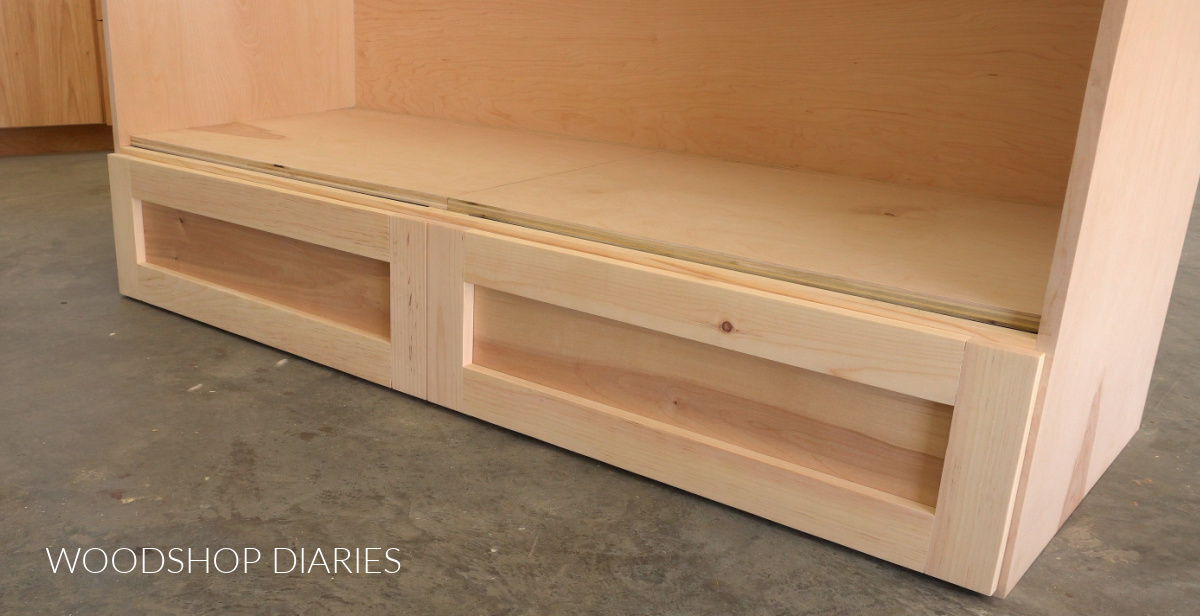
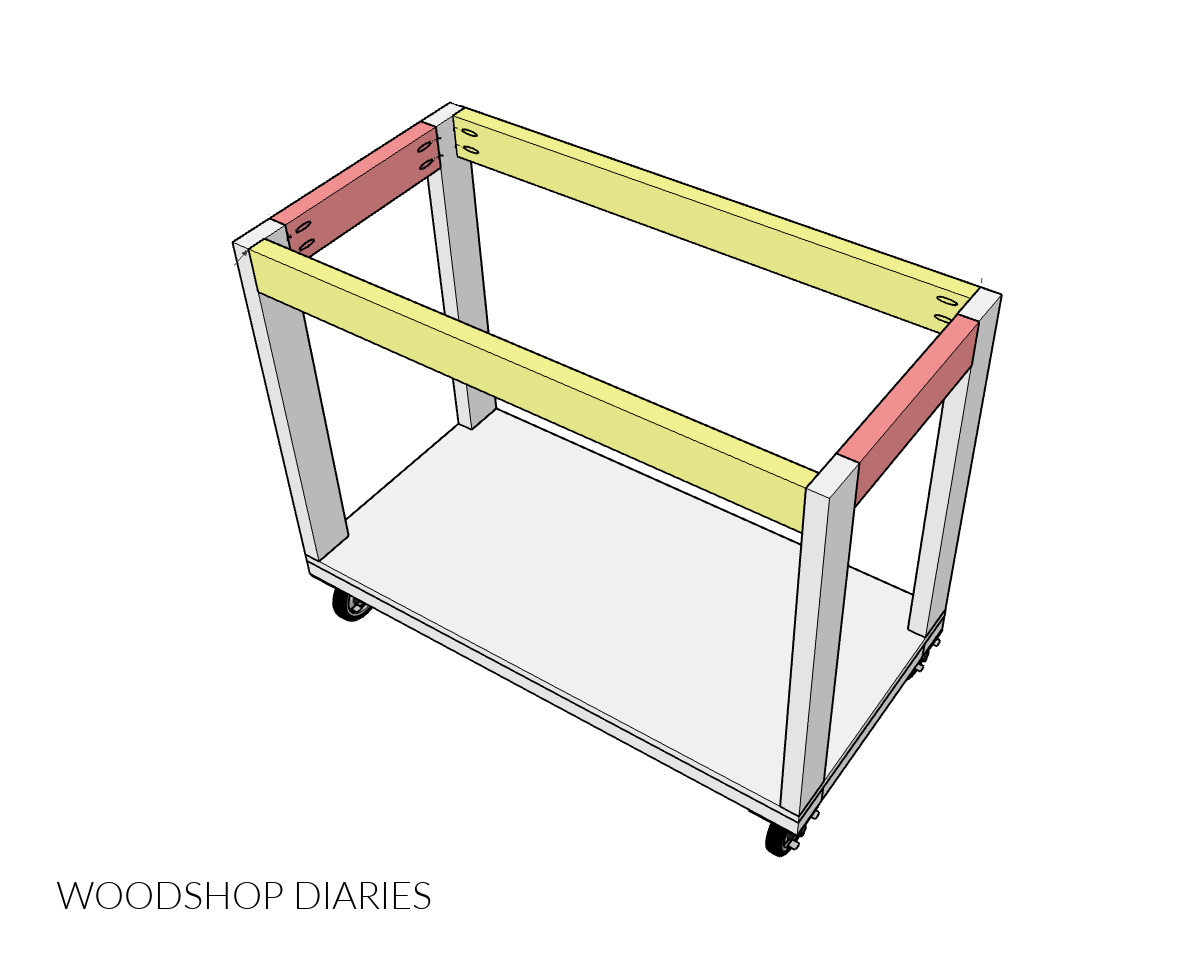
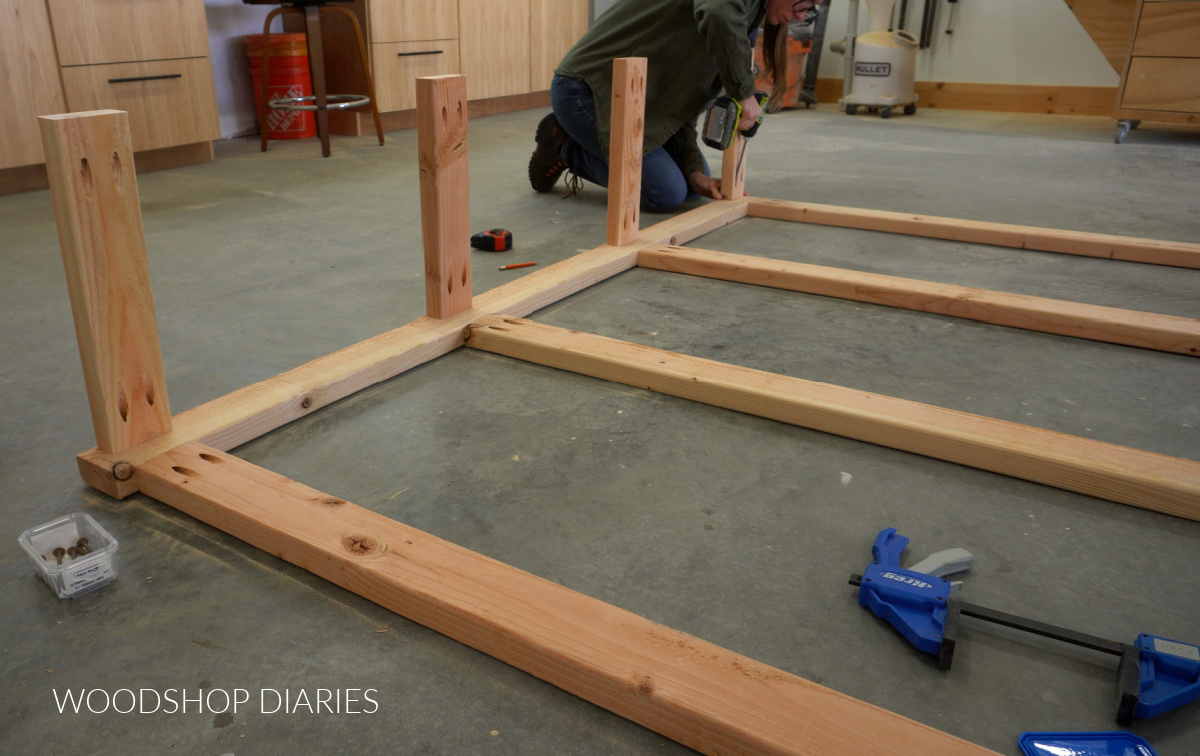
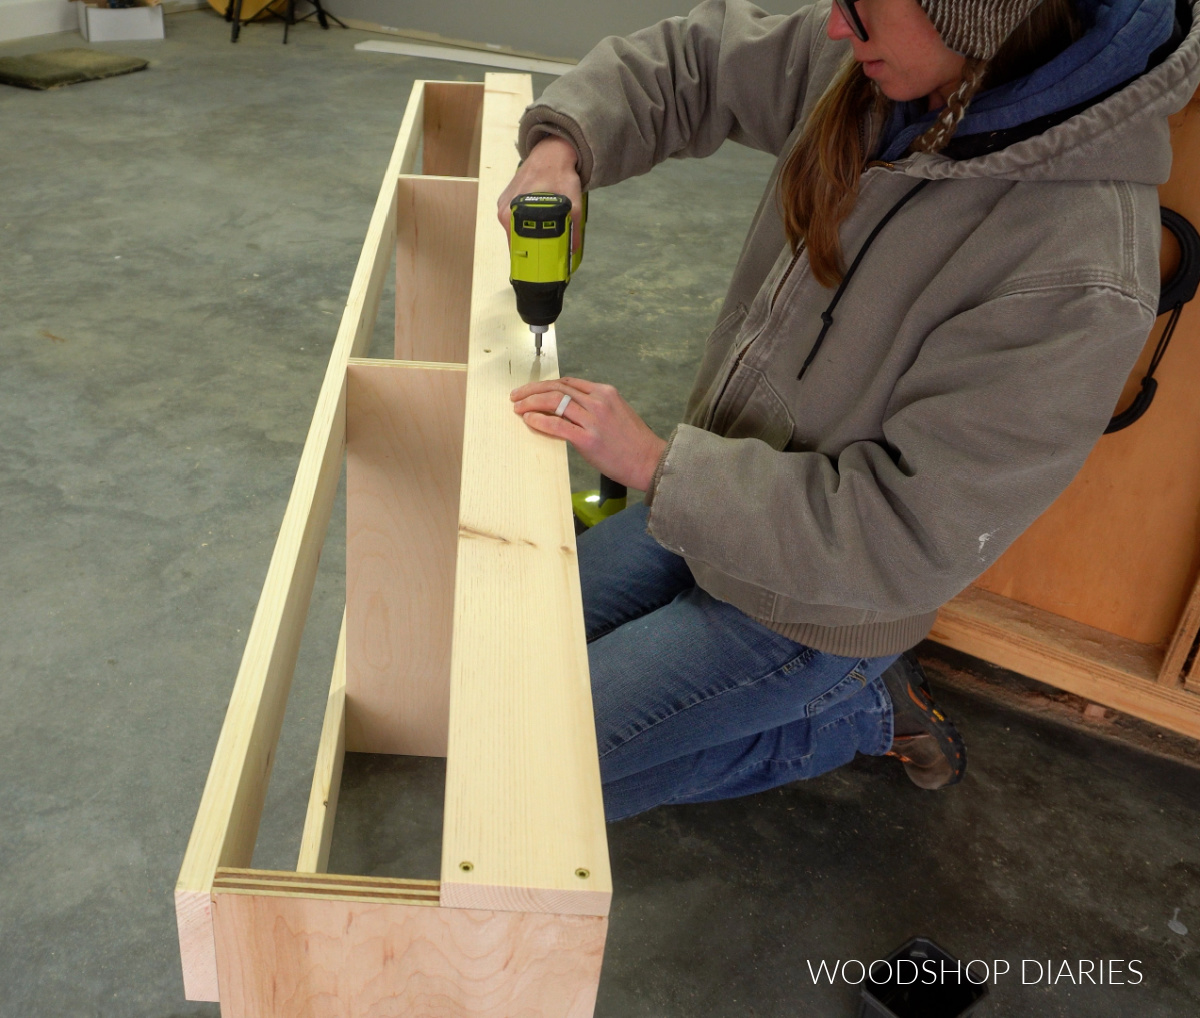
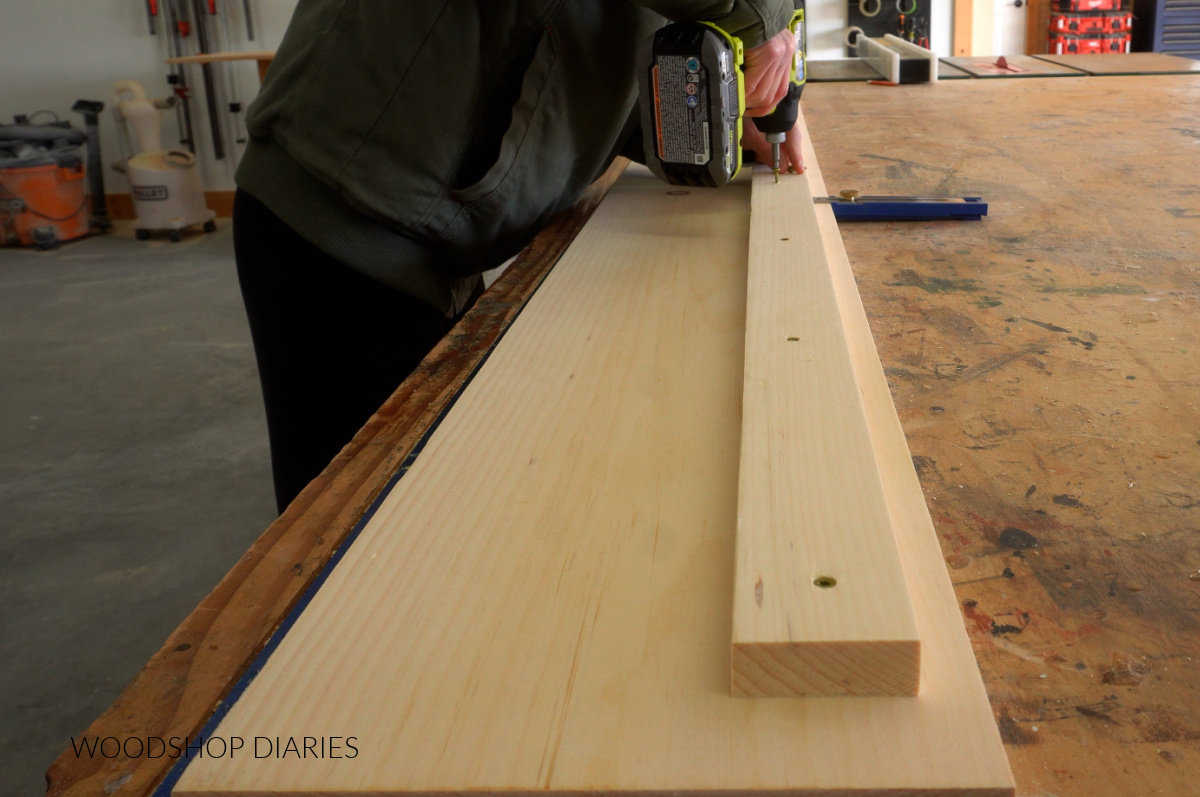
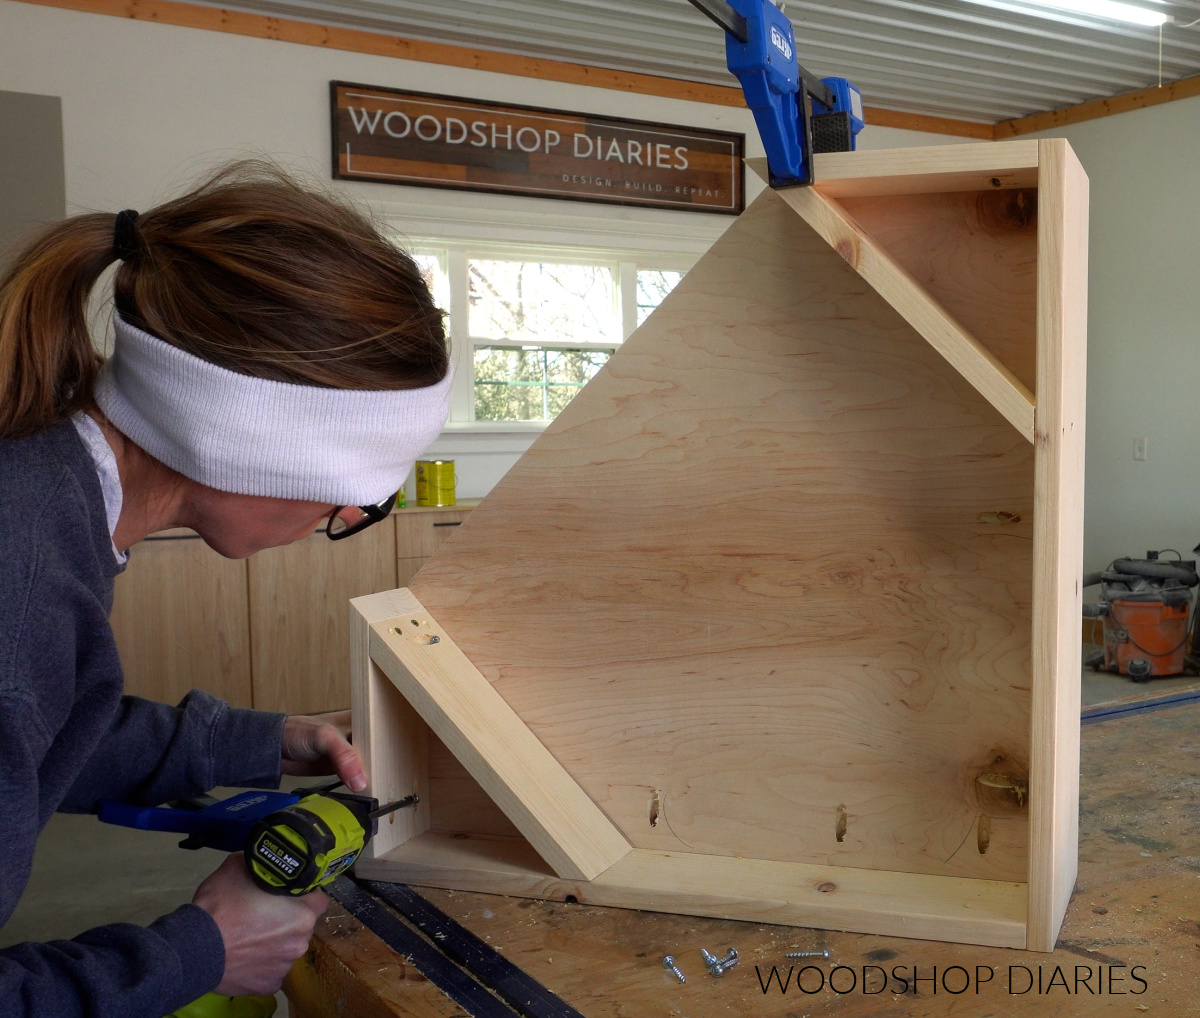
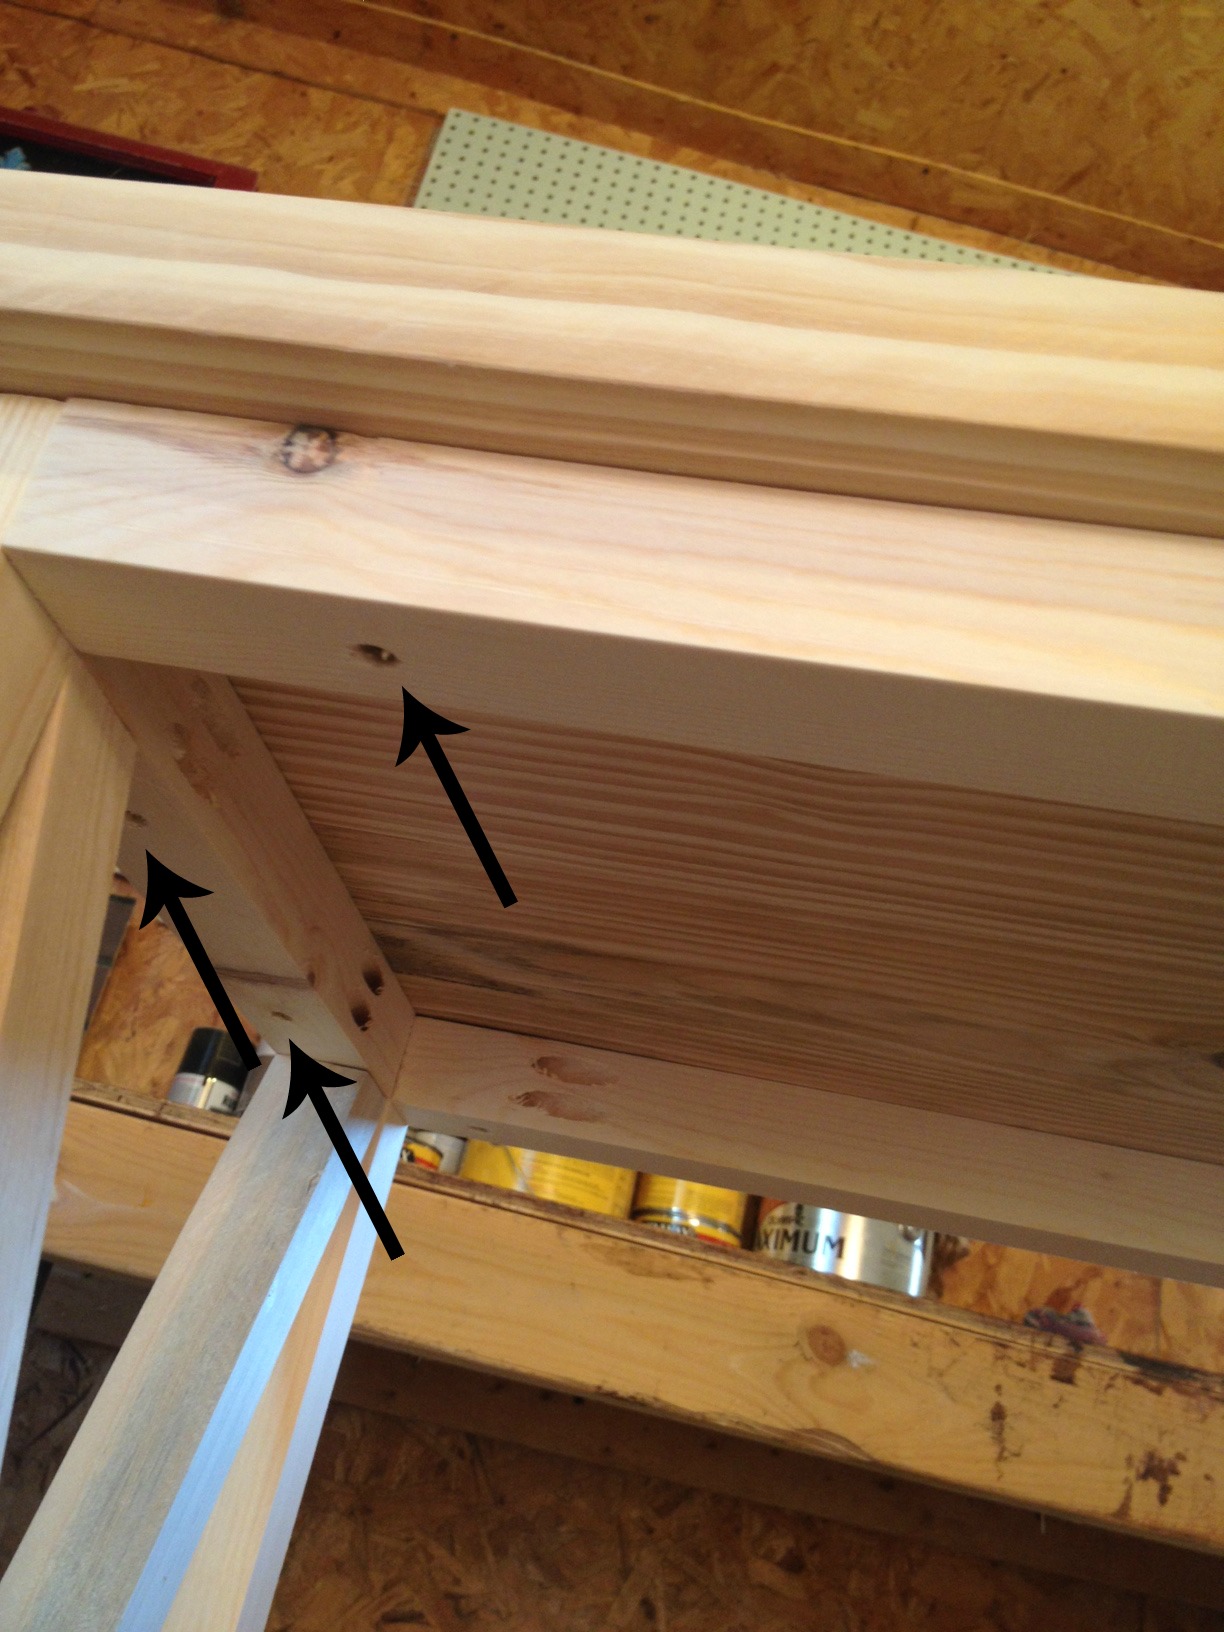
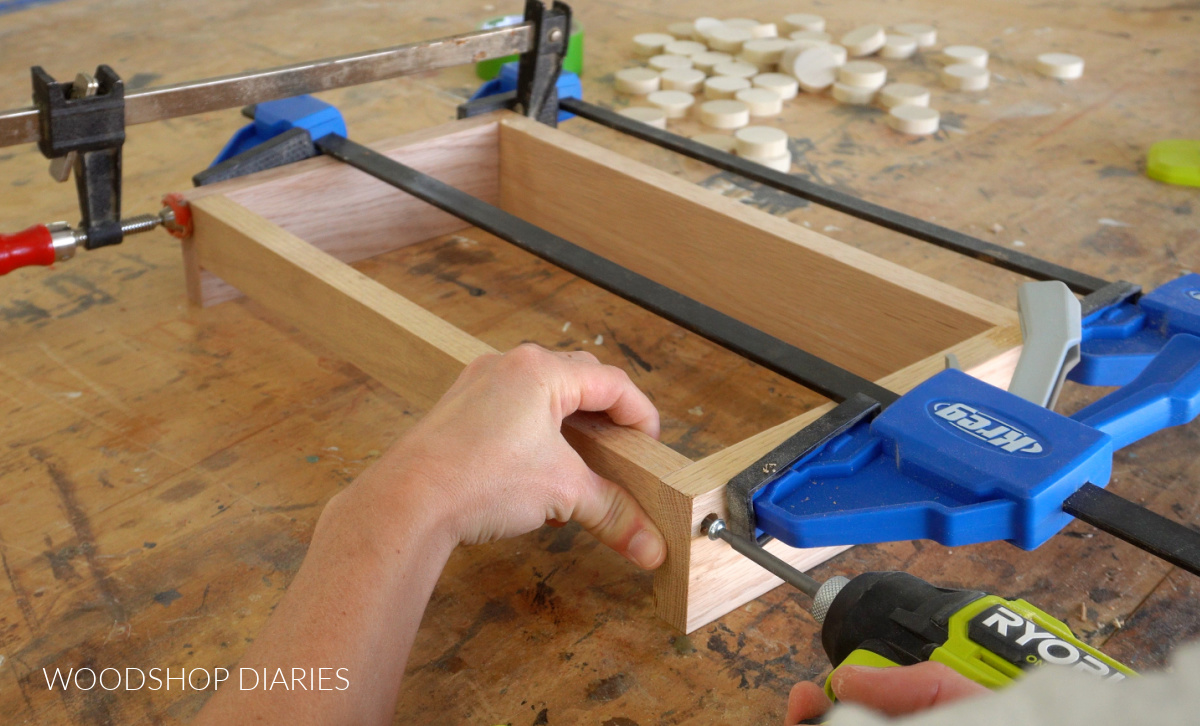
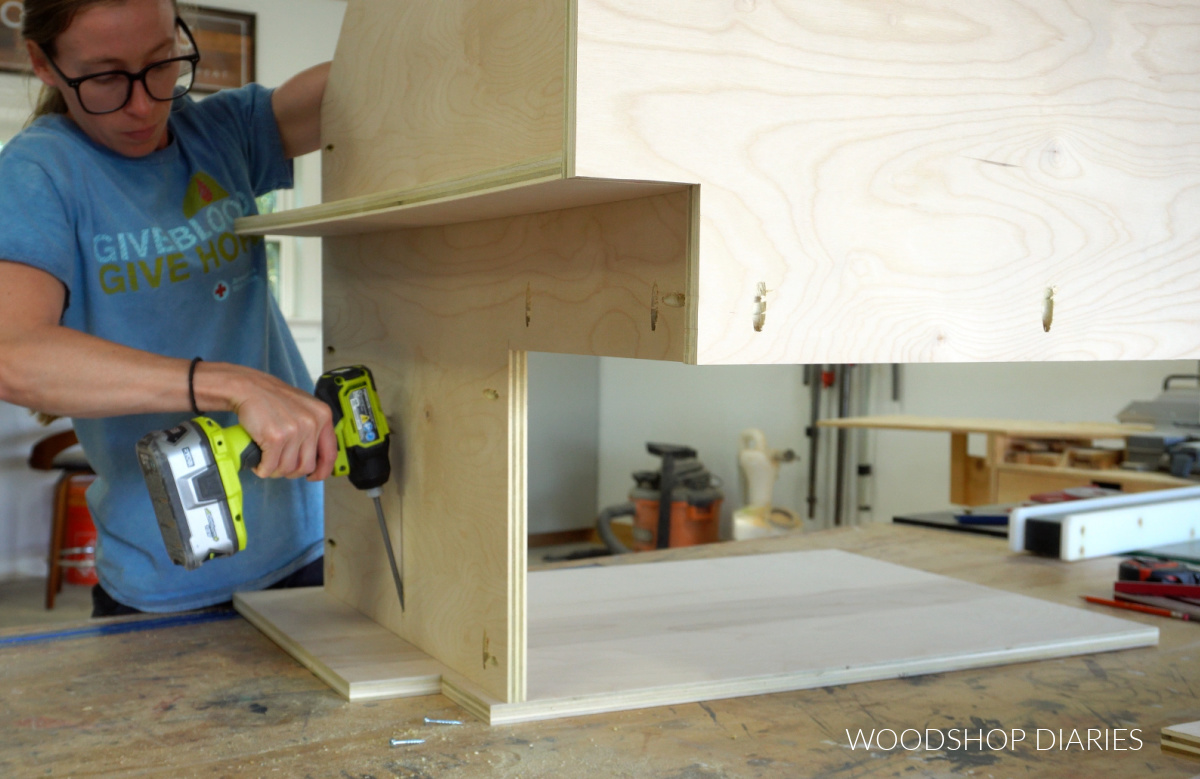
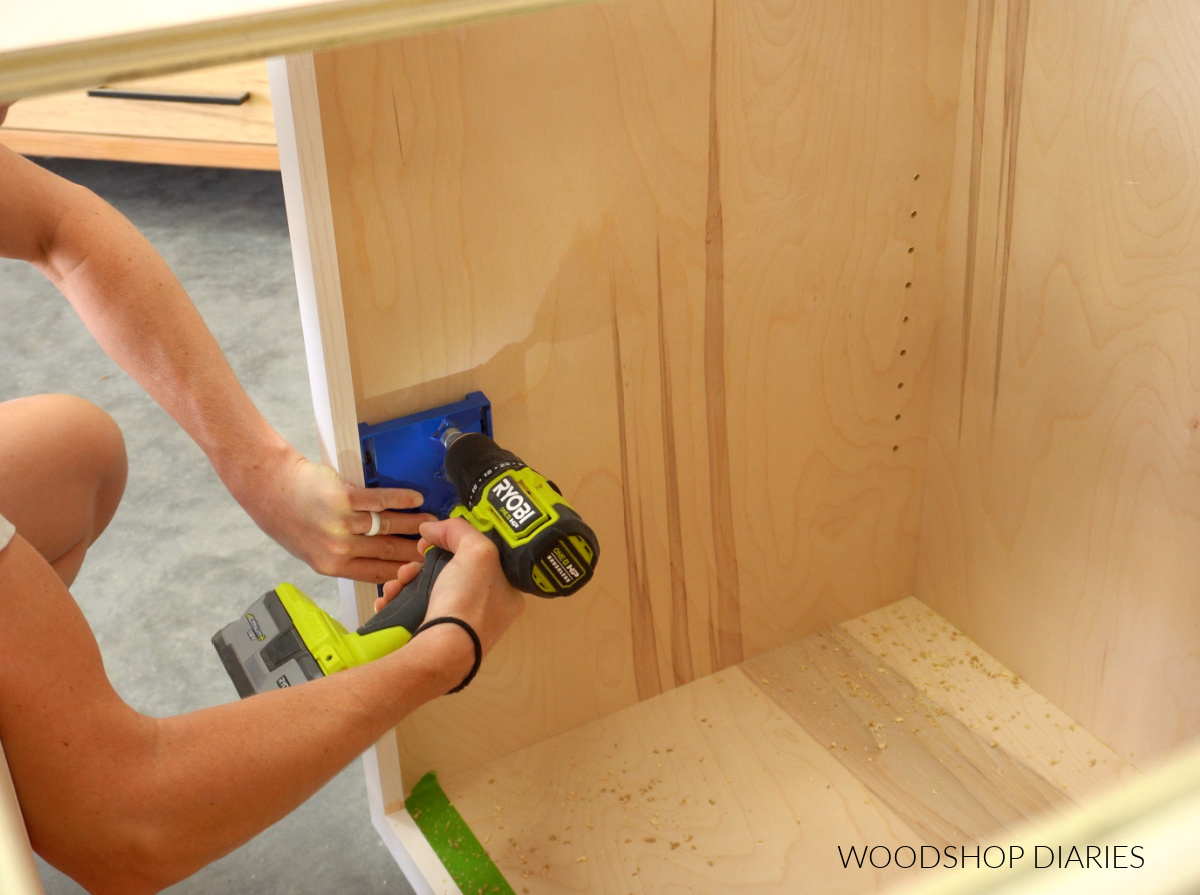
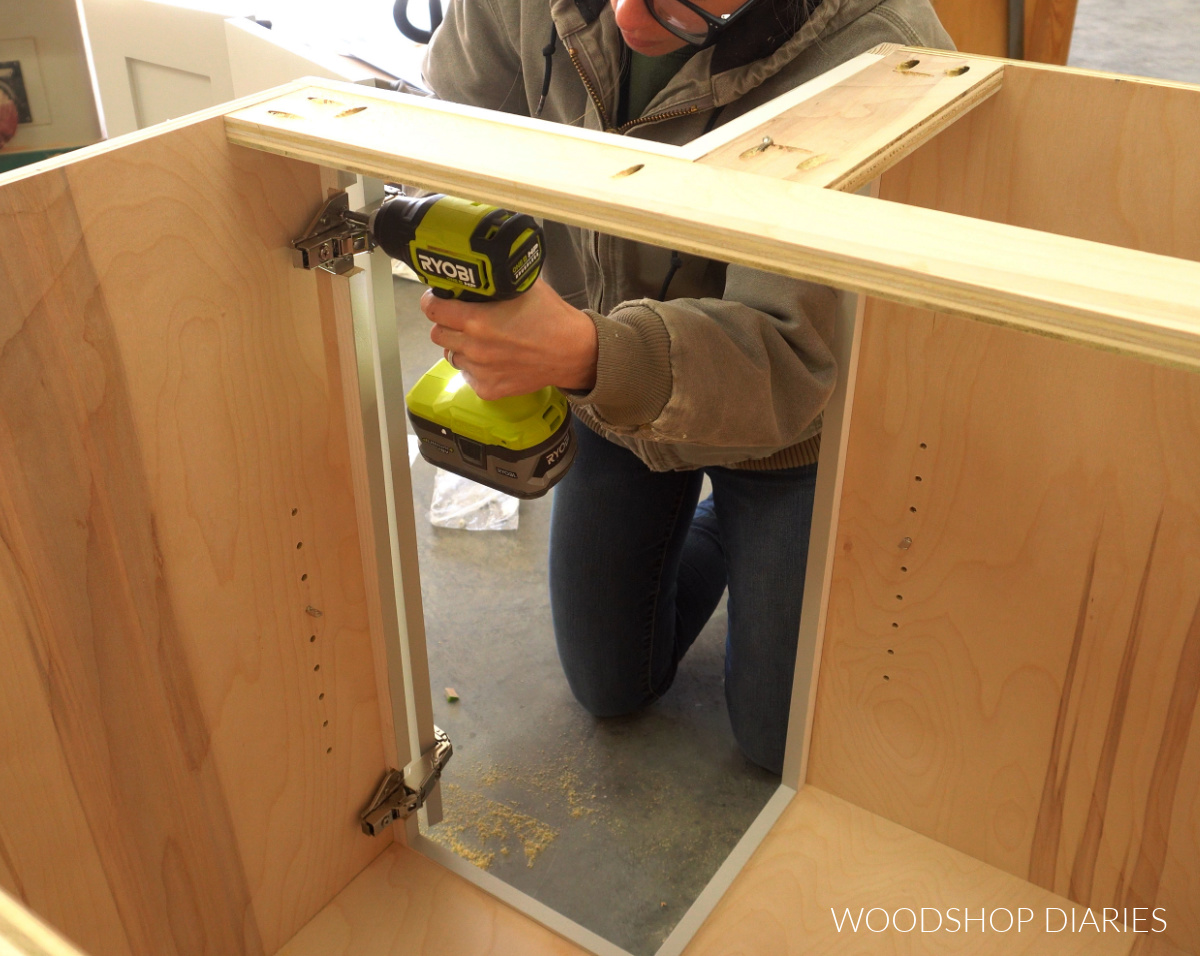
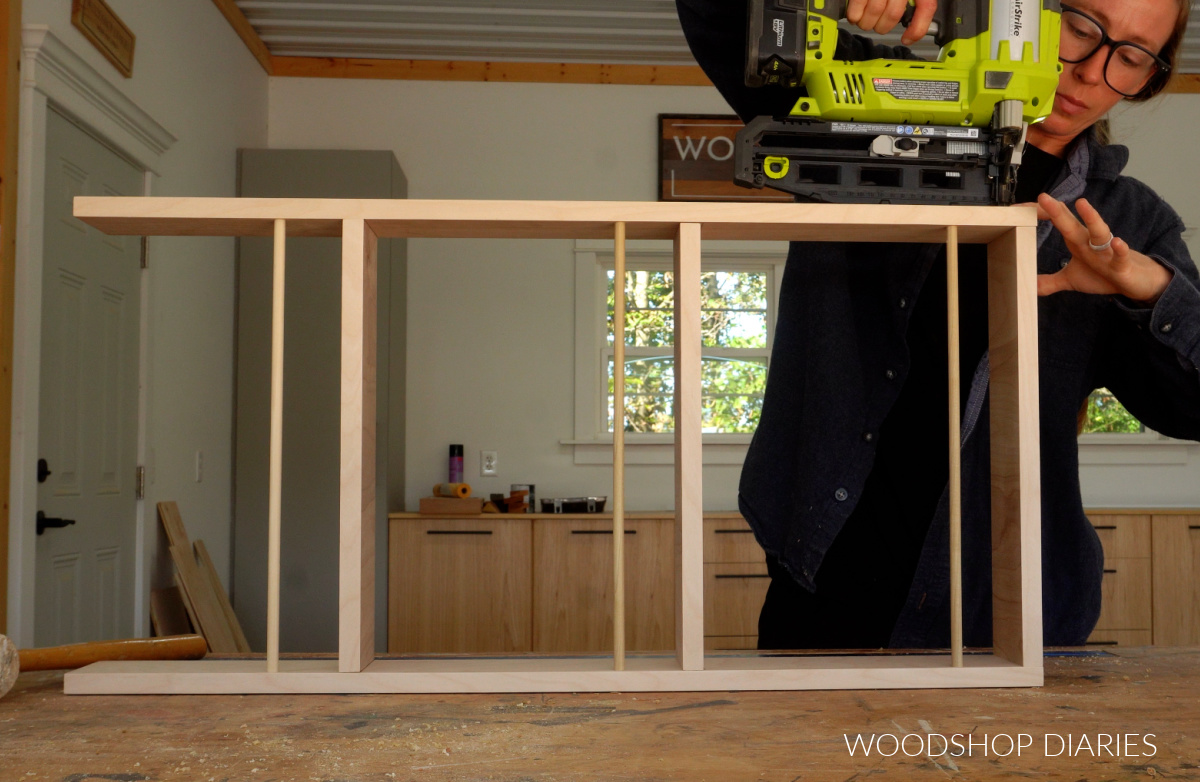
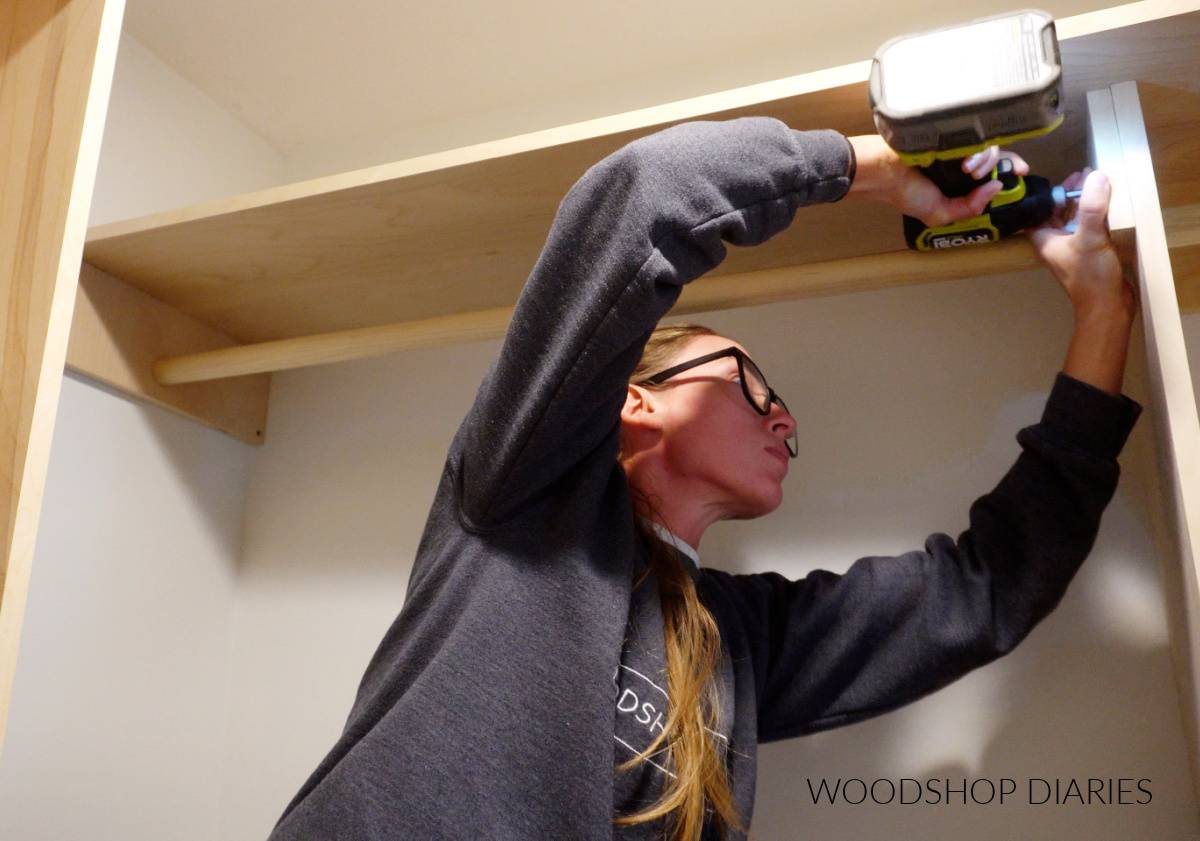
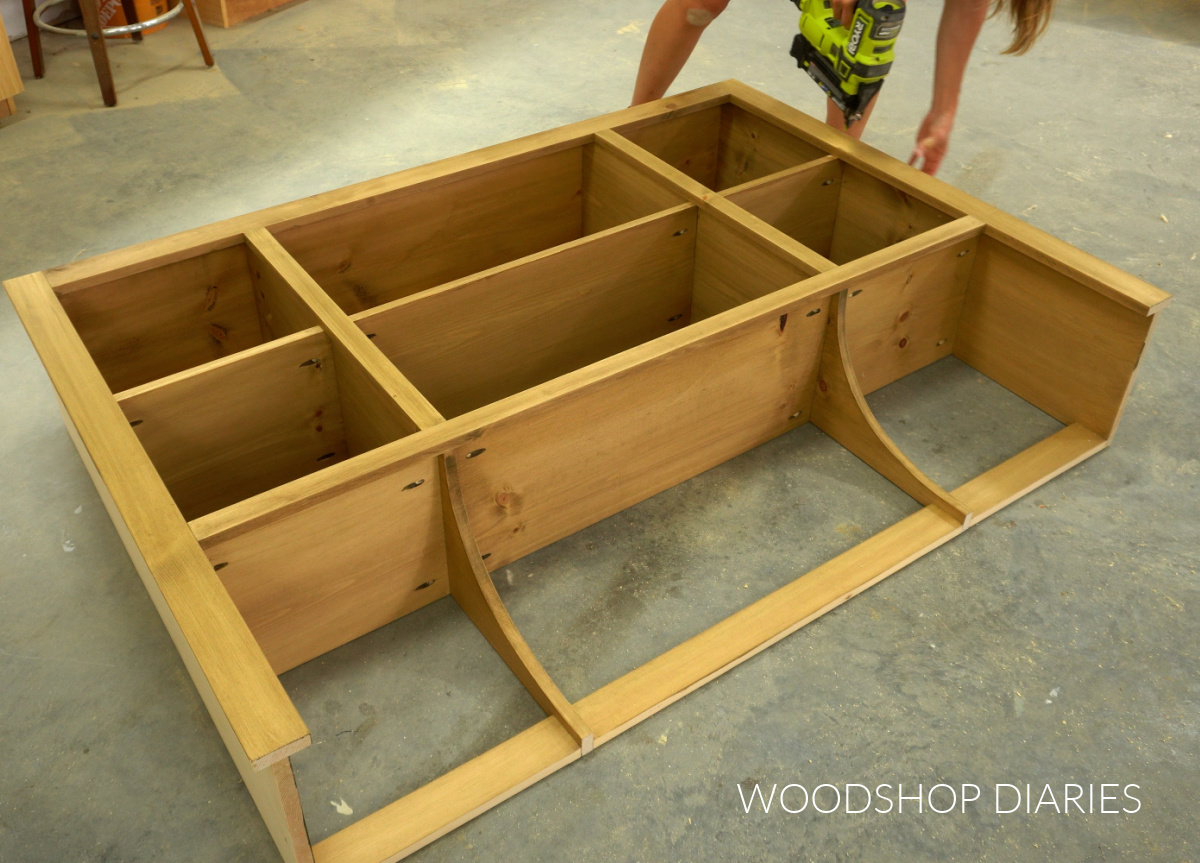
After staining the shelves, dividers, and back supports, I drilled pocket holes into the ends of all four shelves and 1×3 supports.
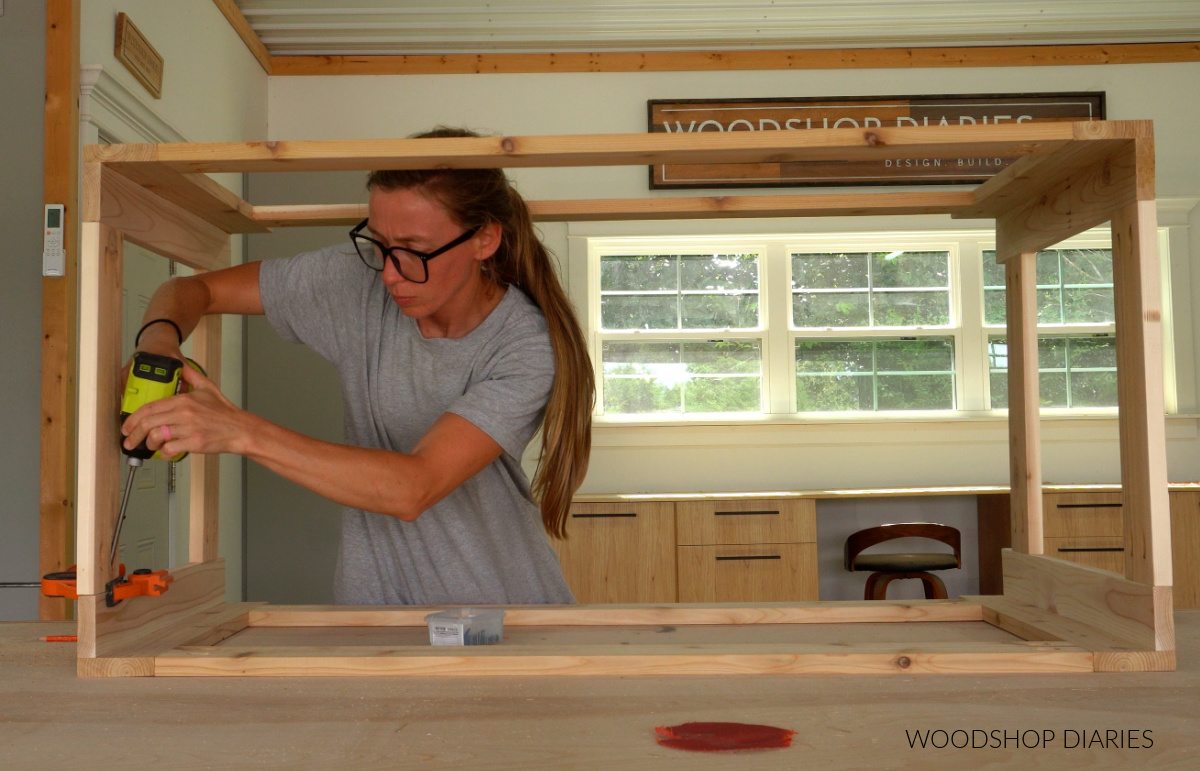
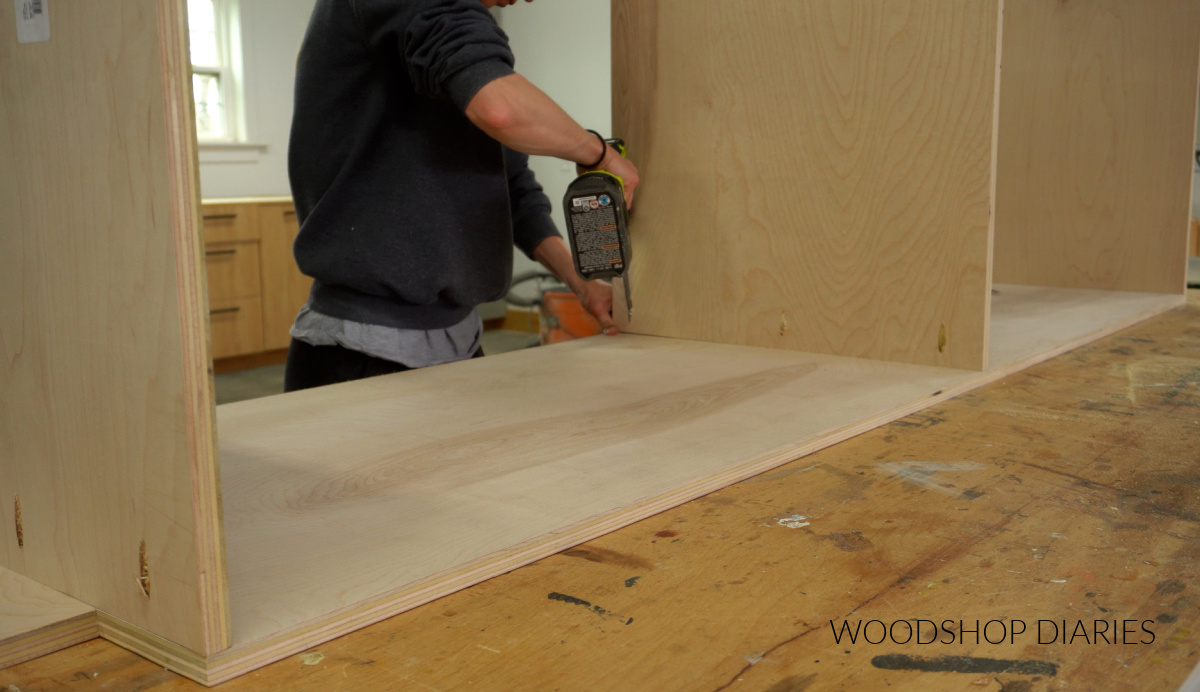
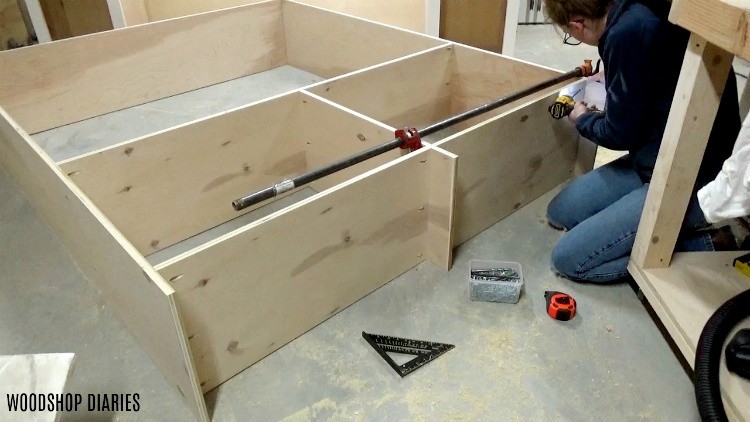
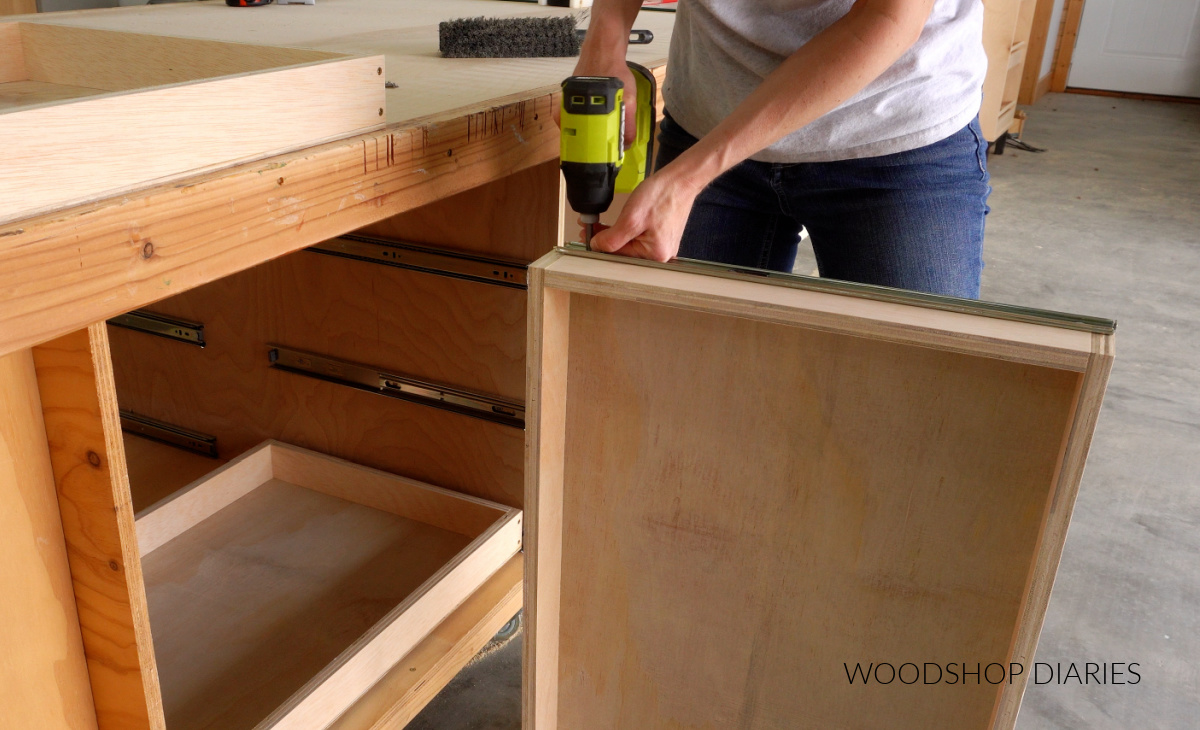
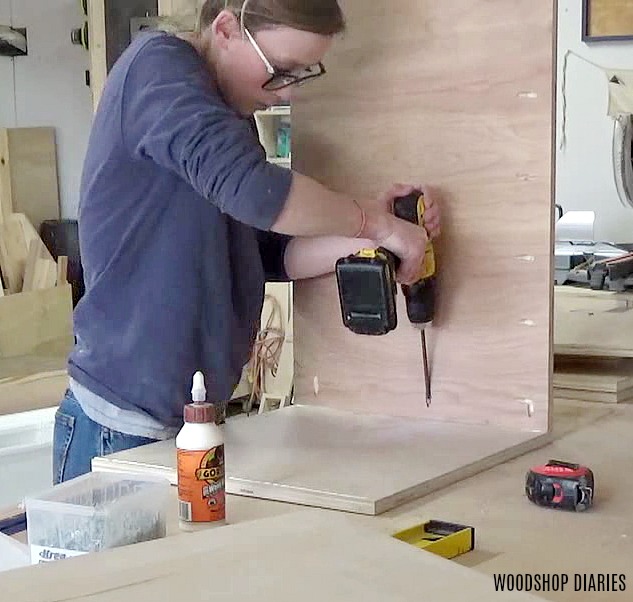
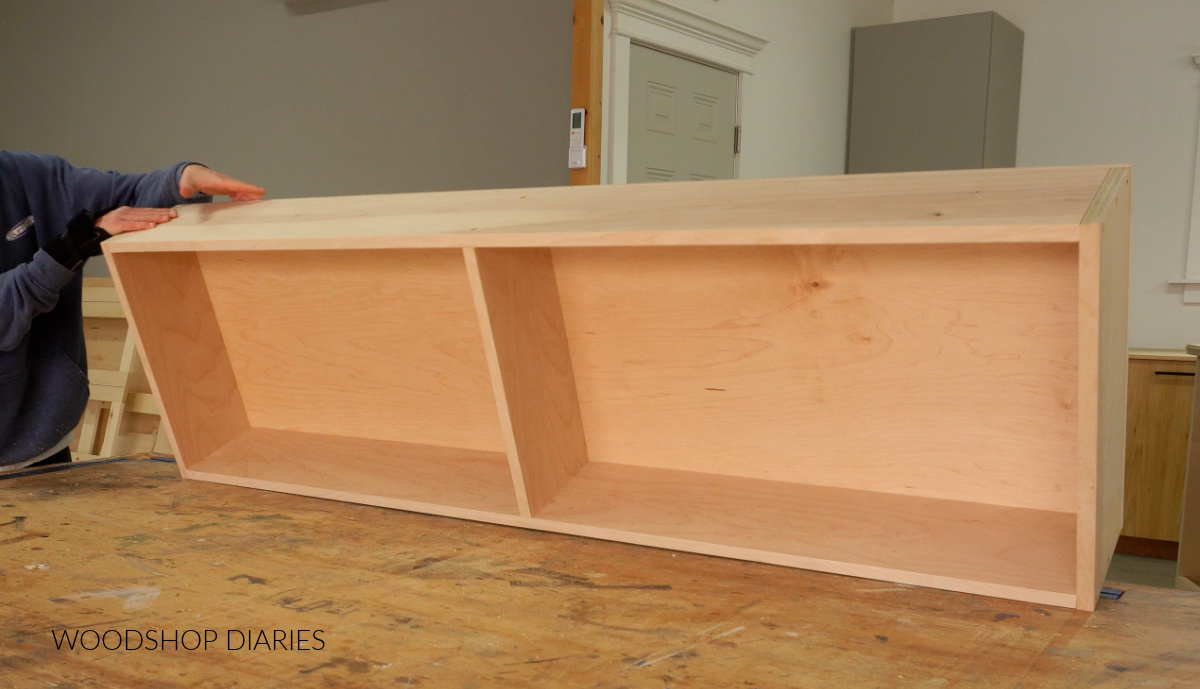
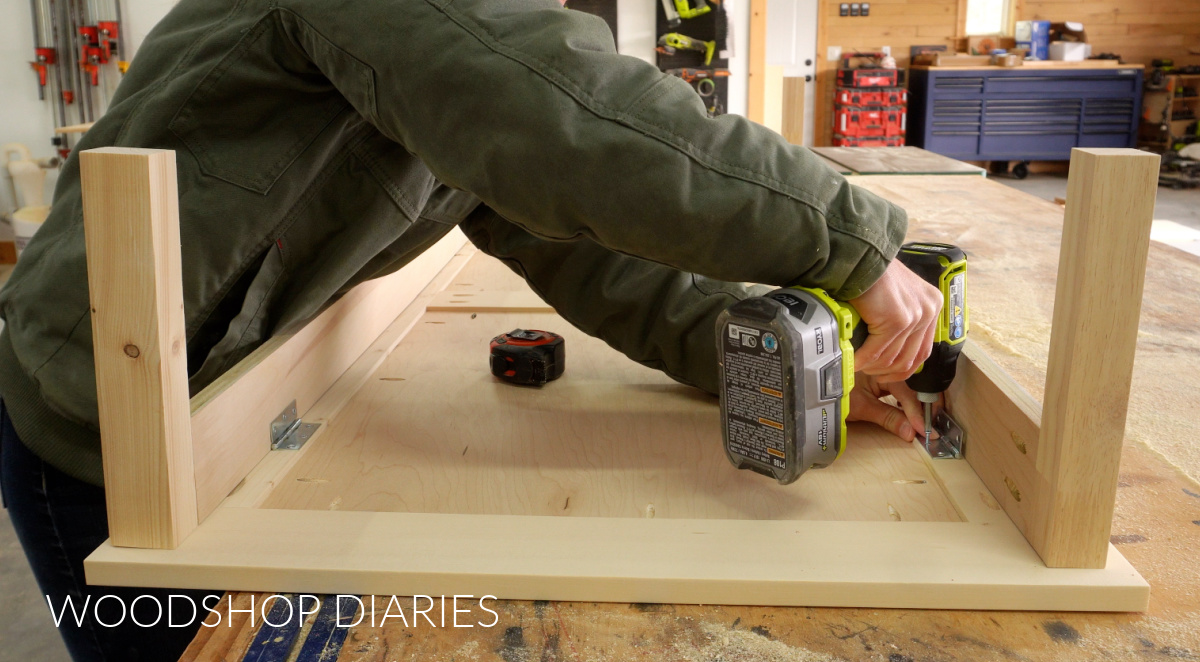
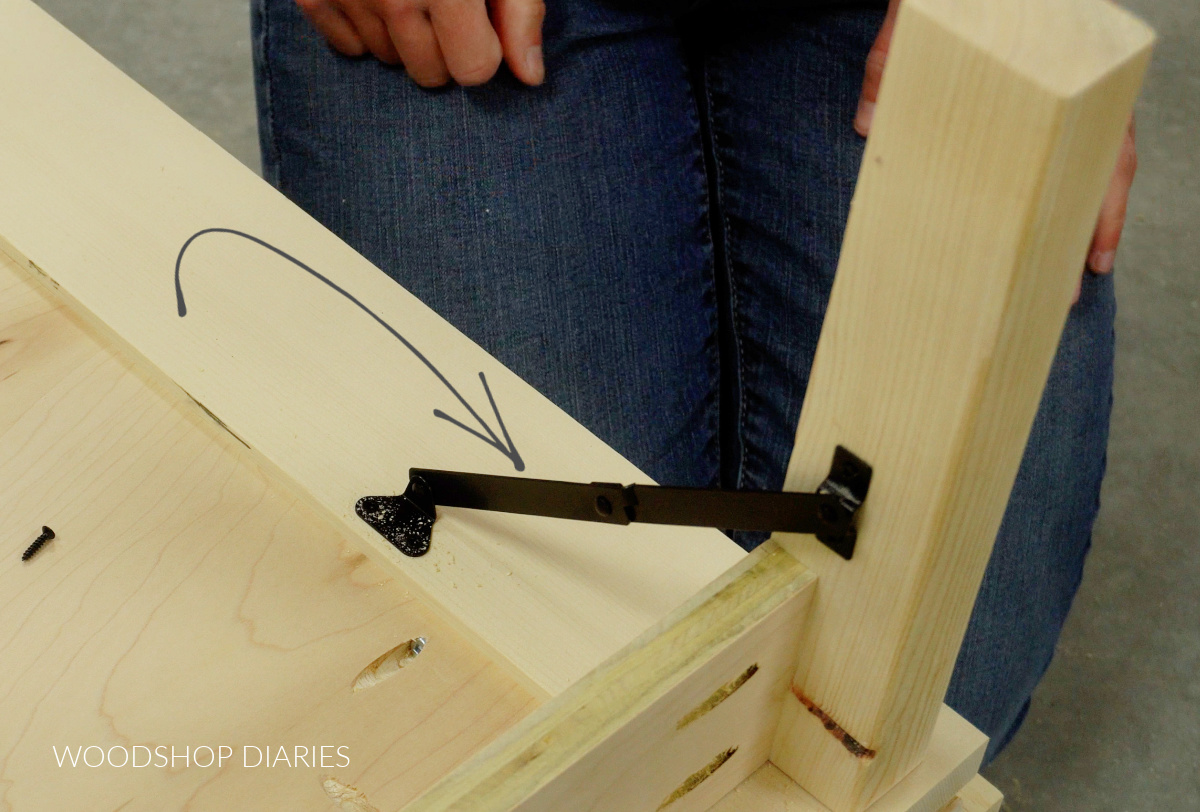
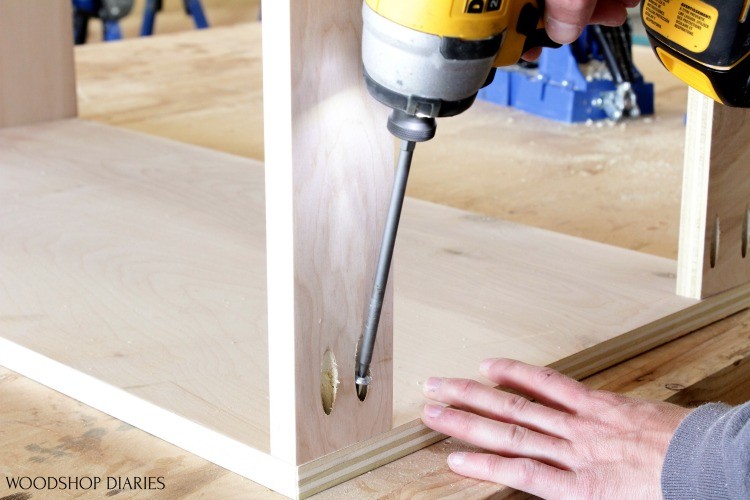
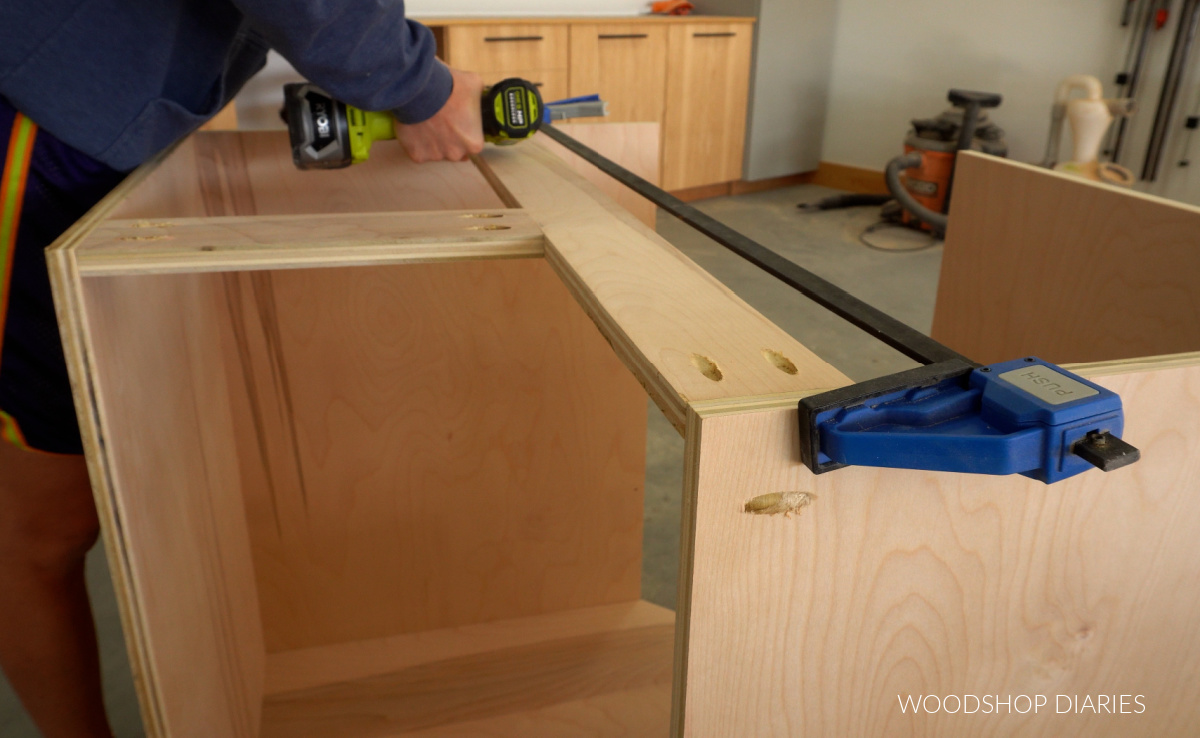
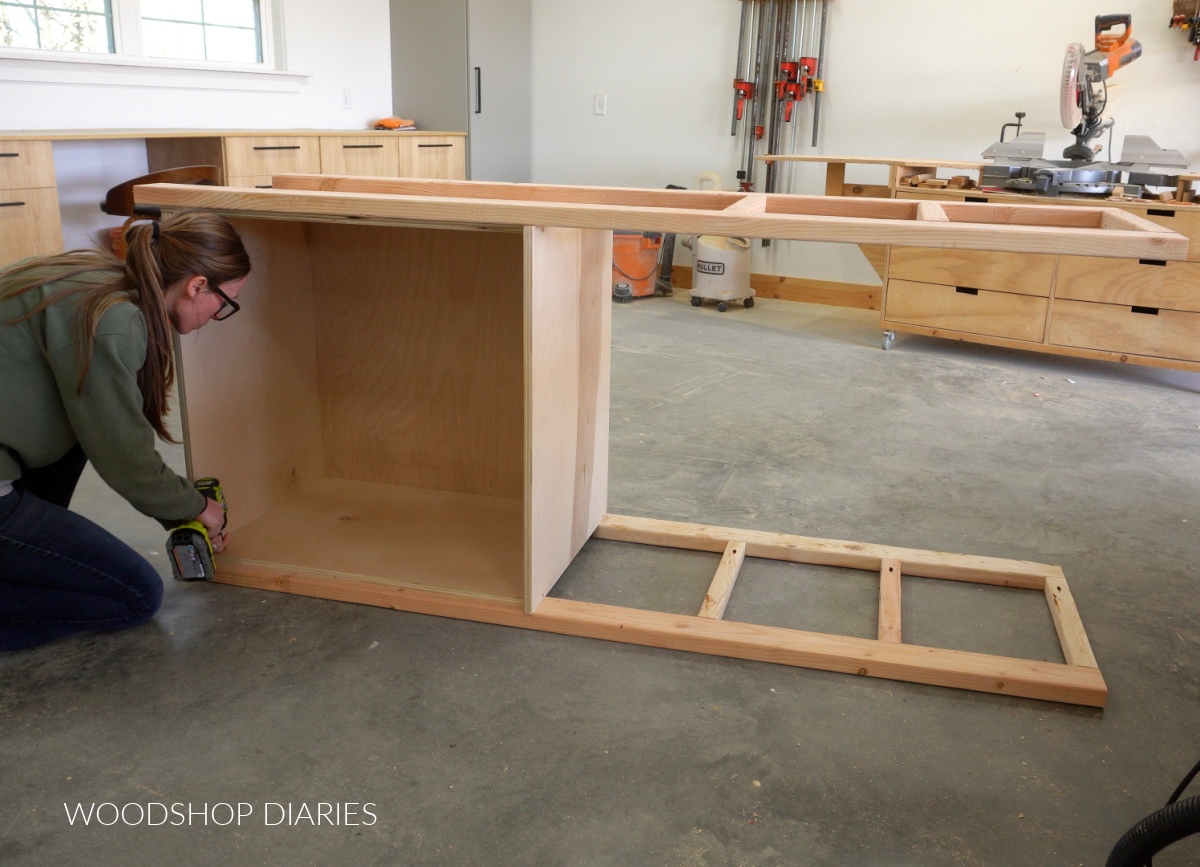
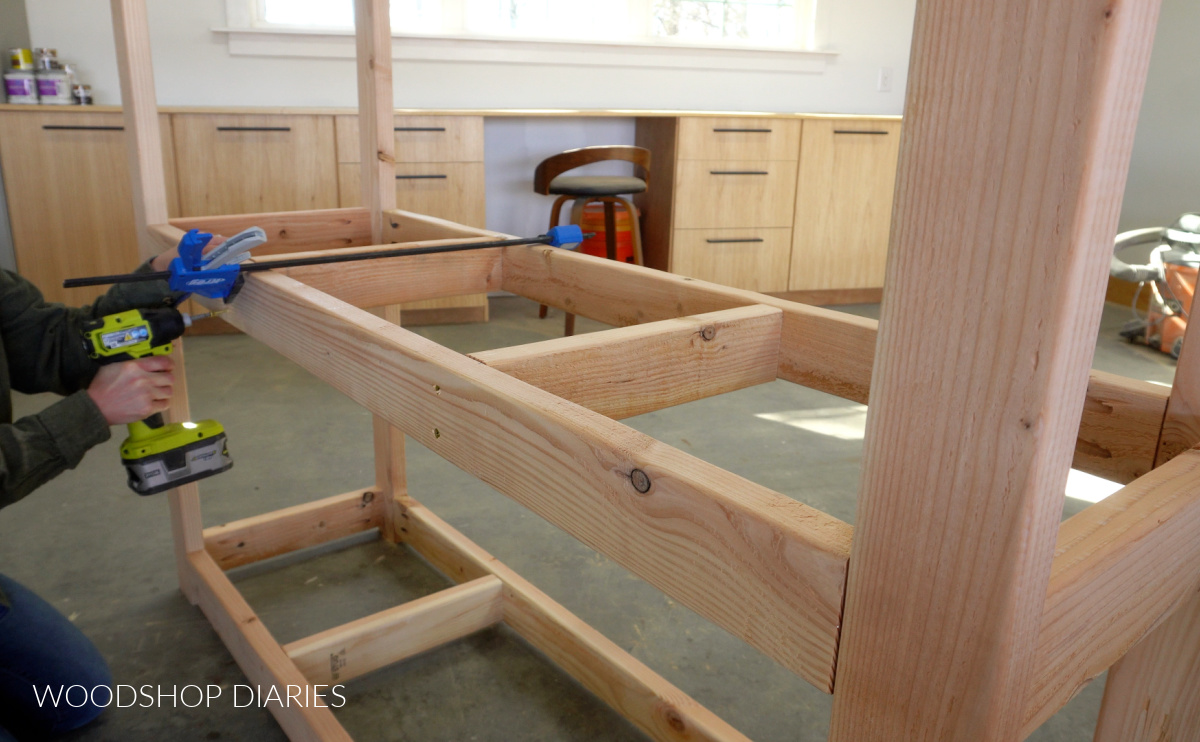
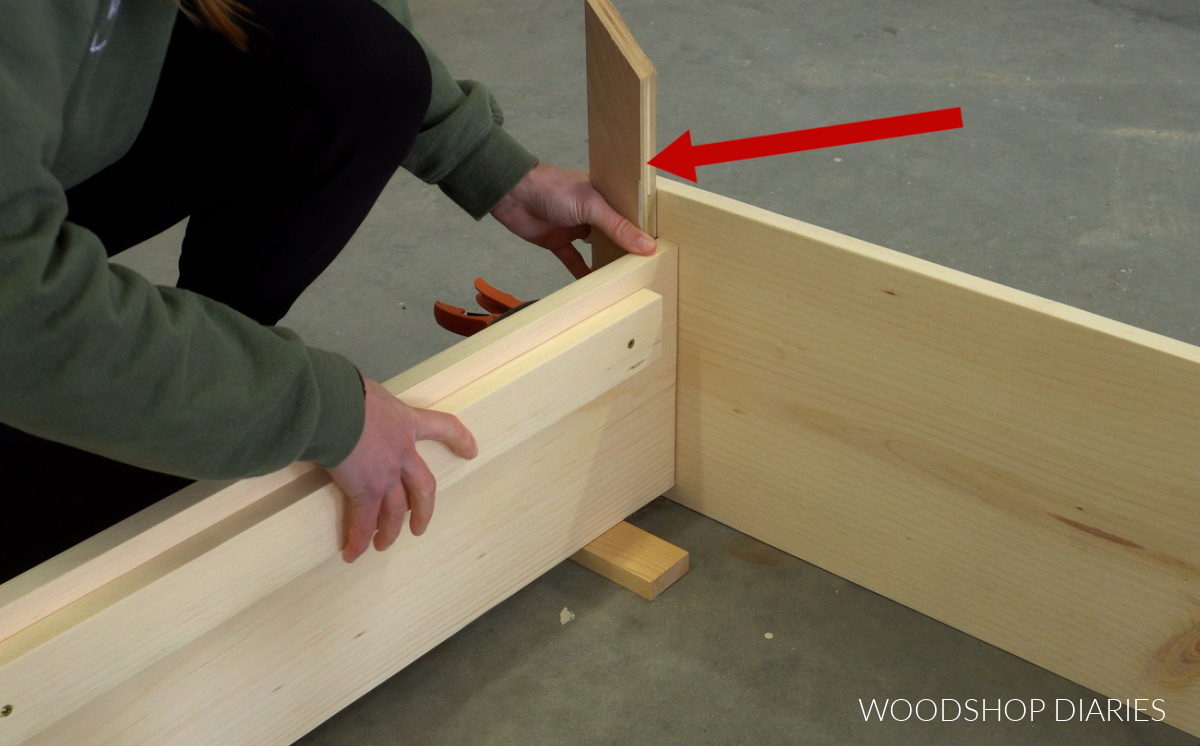
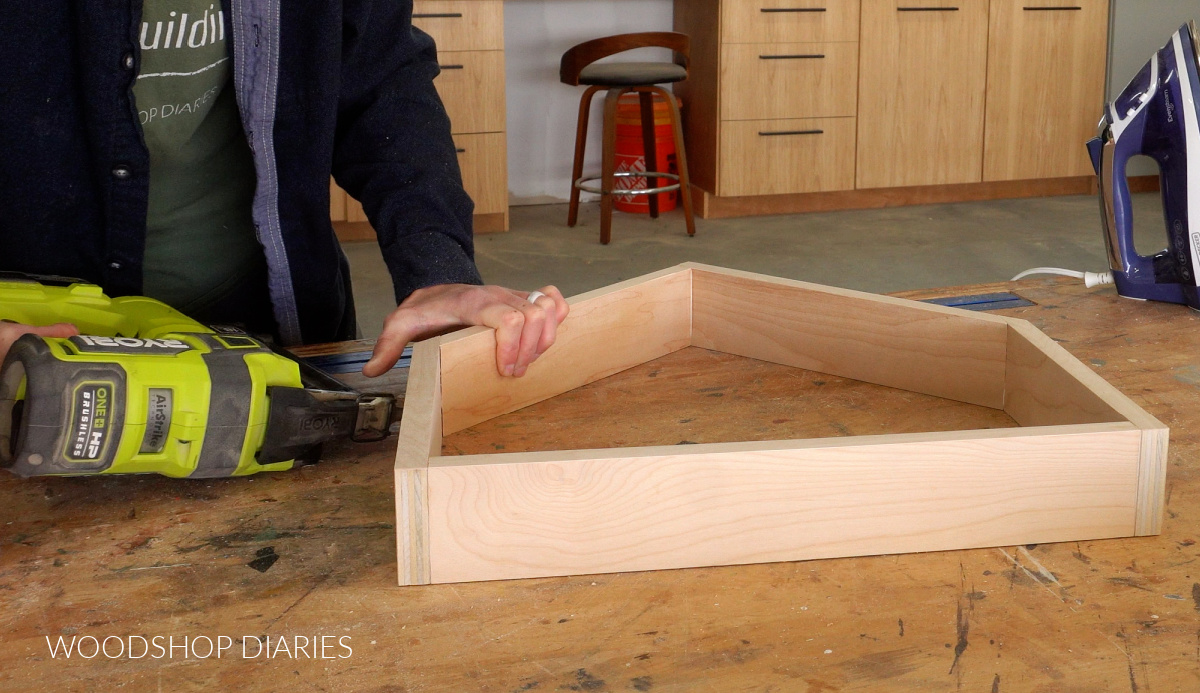
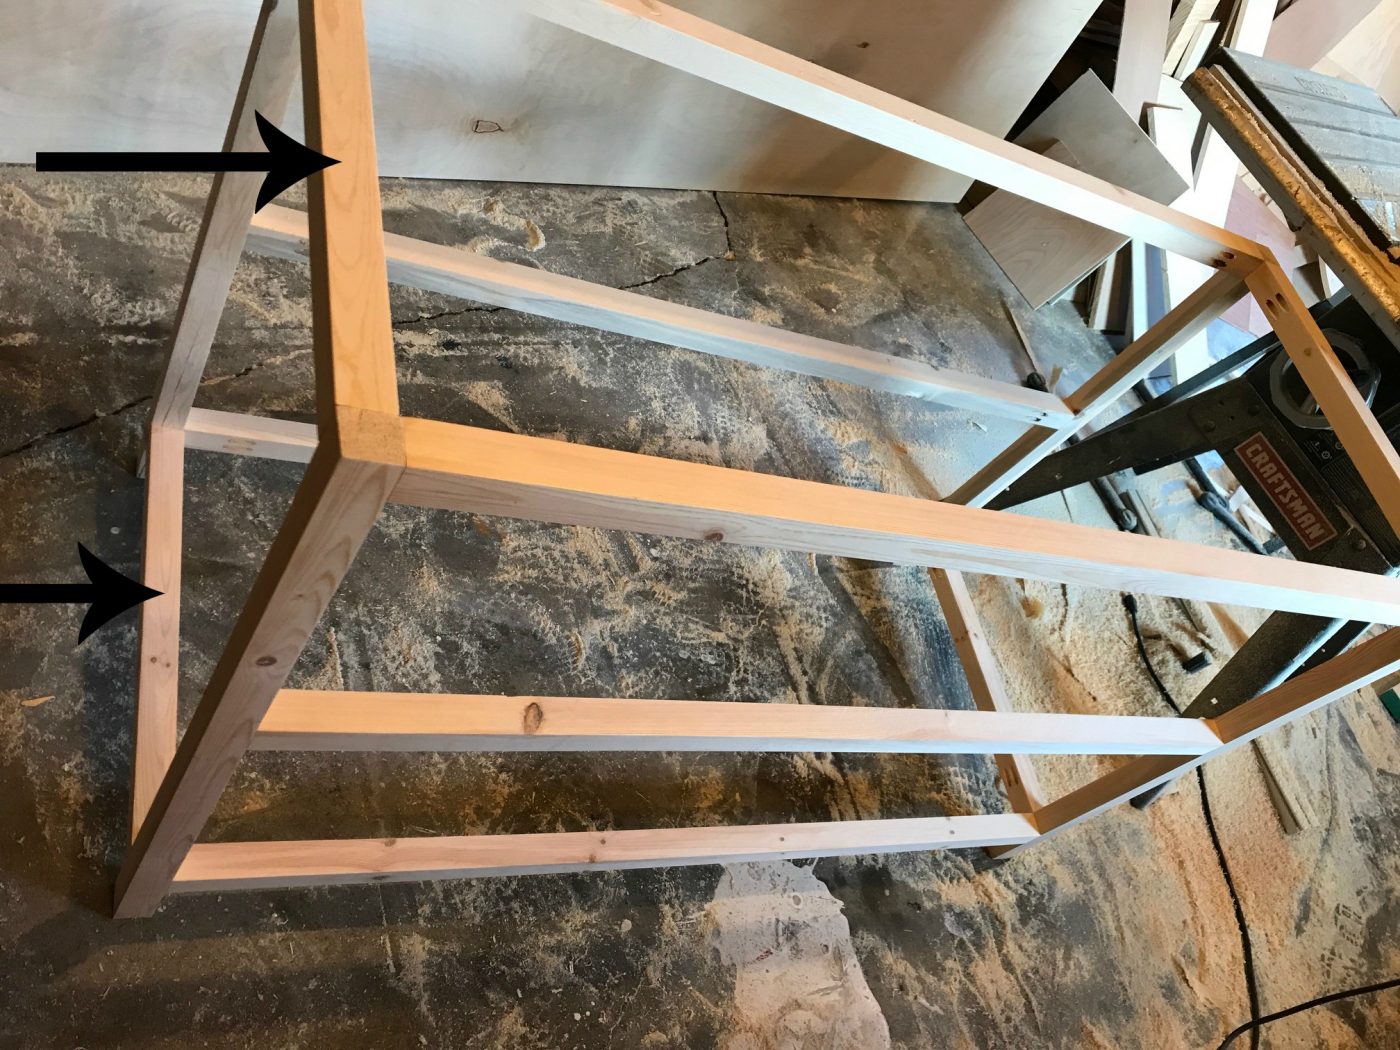
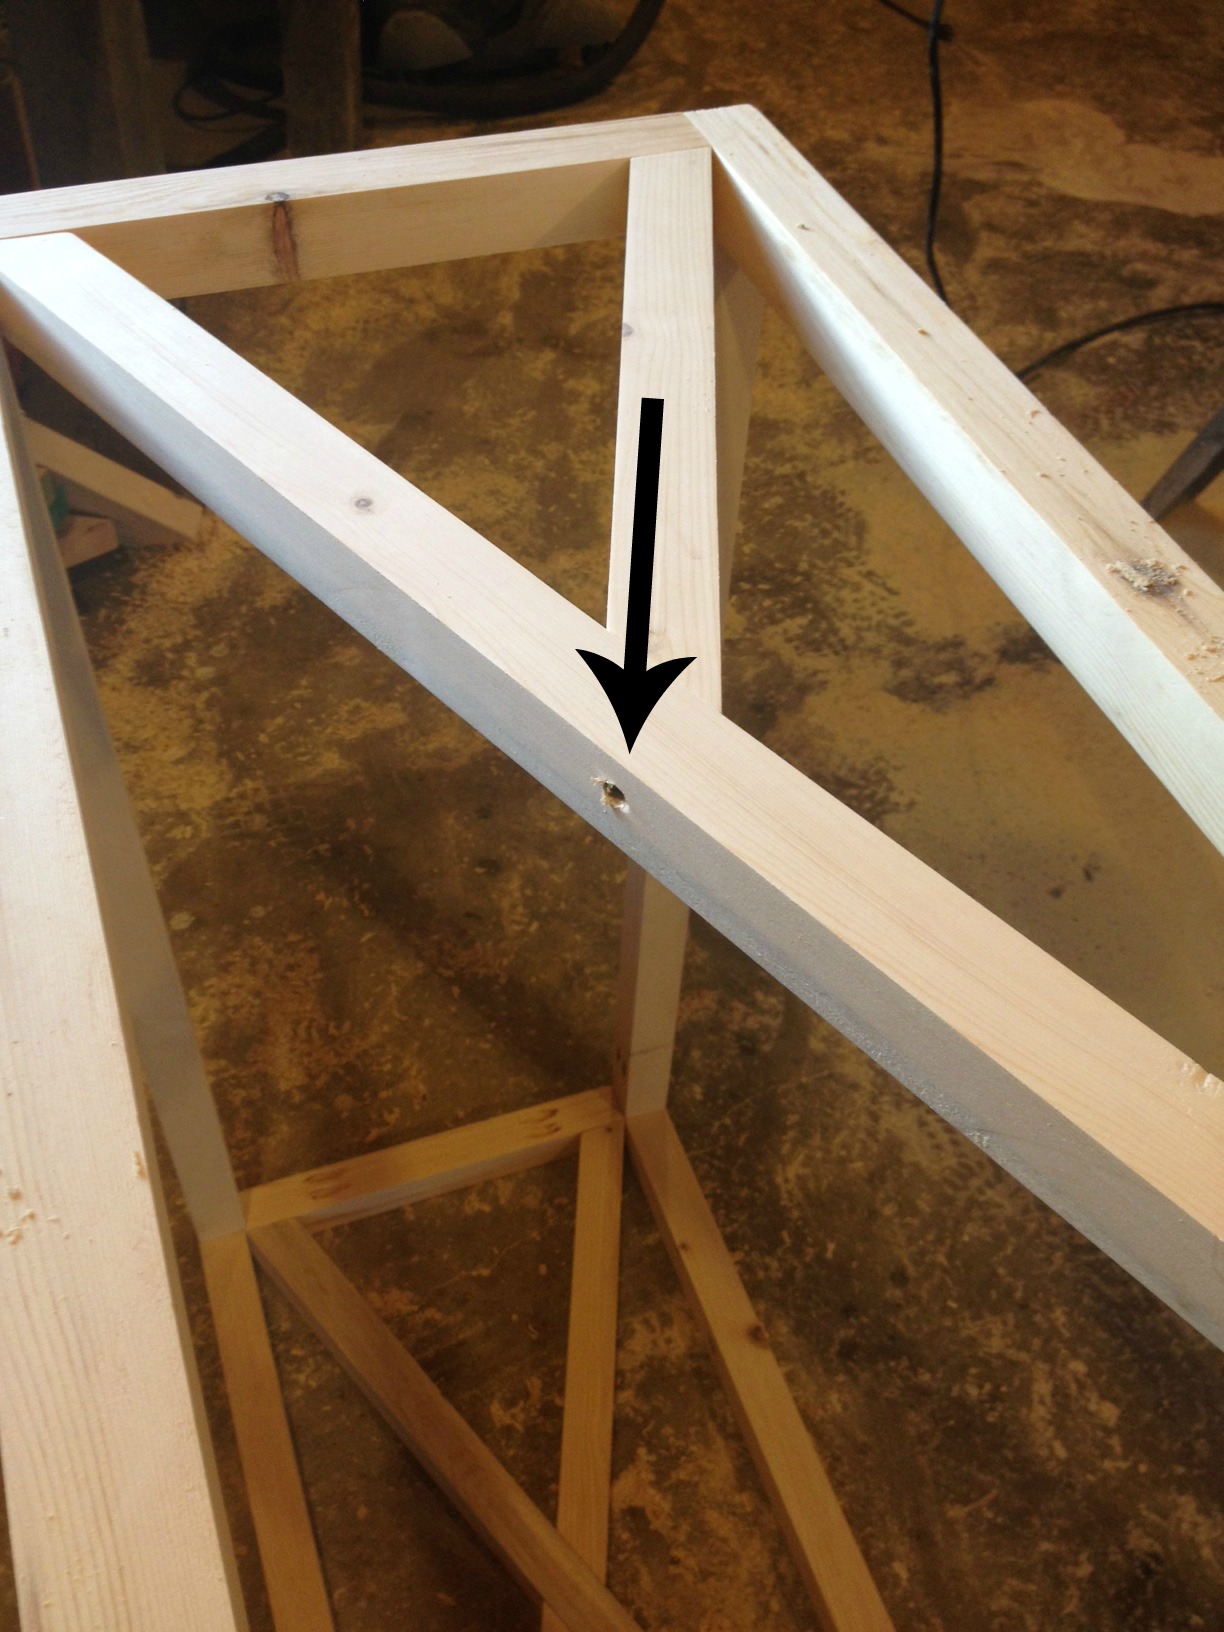
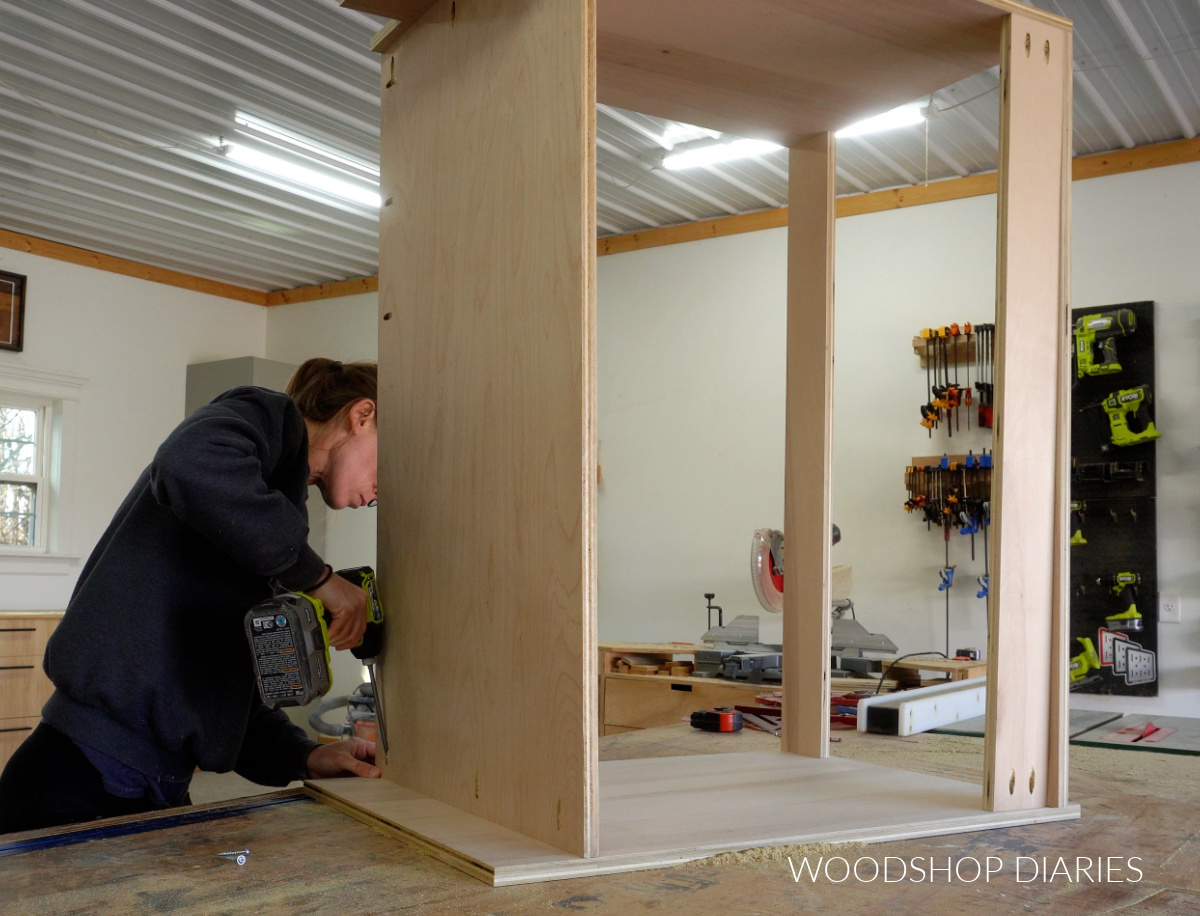
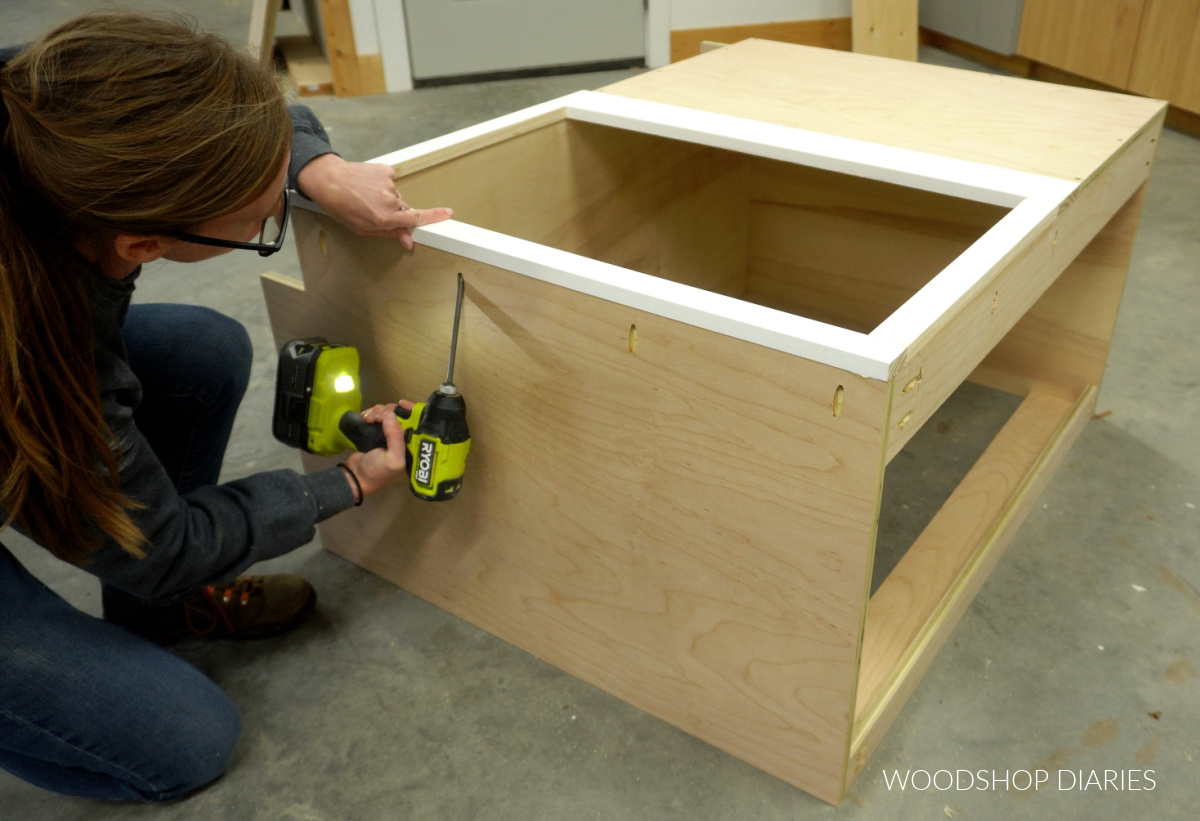
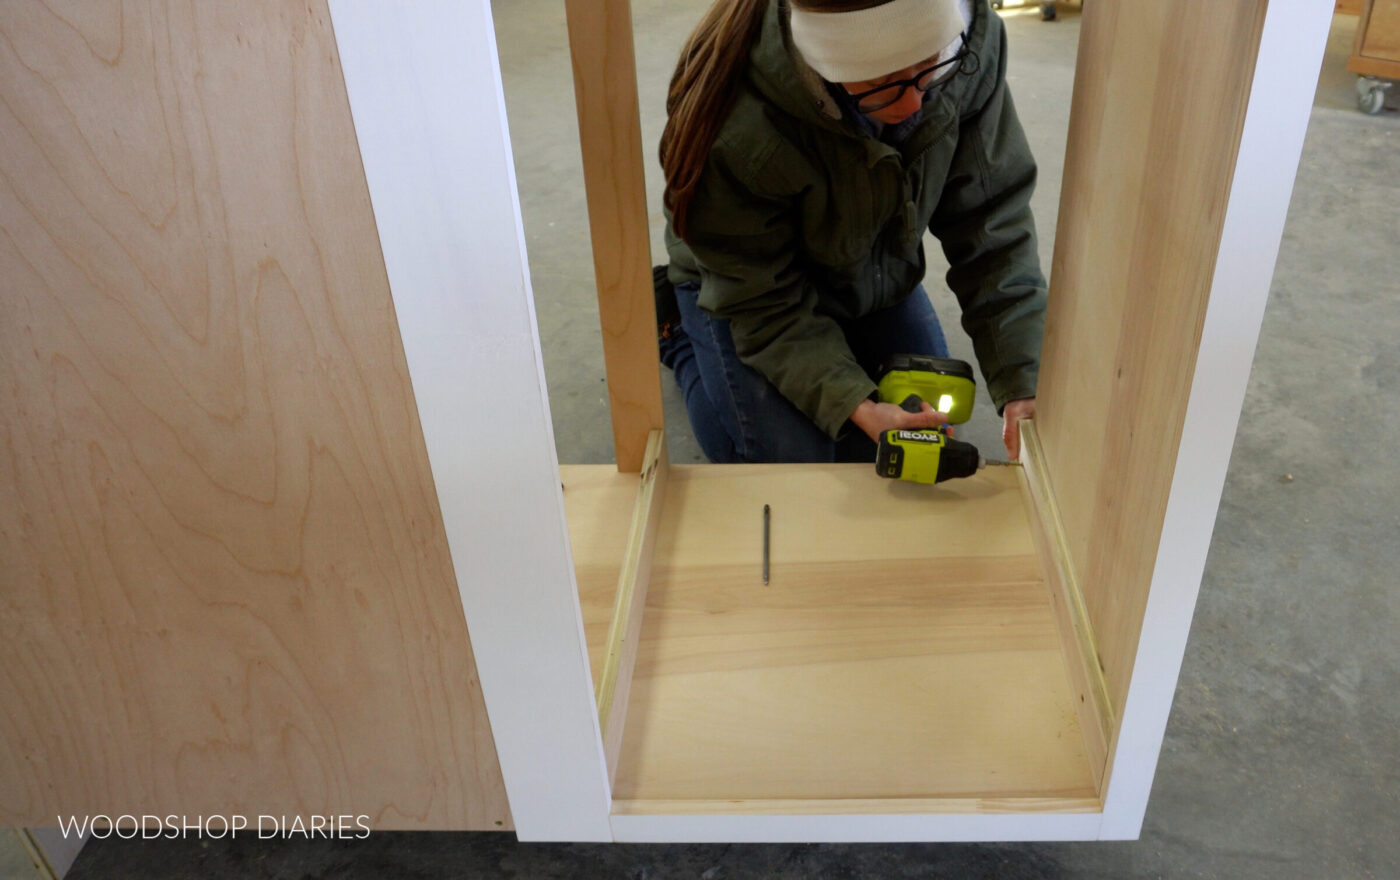
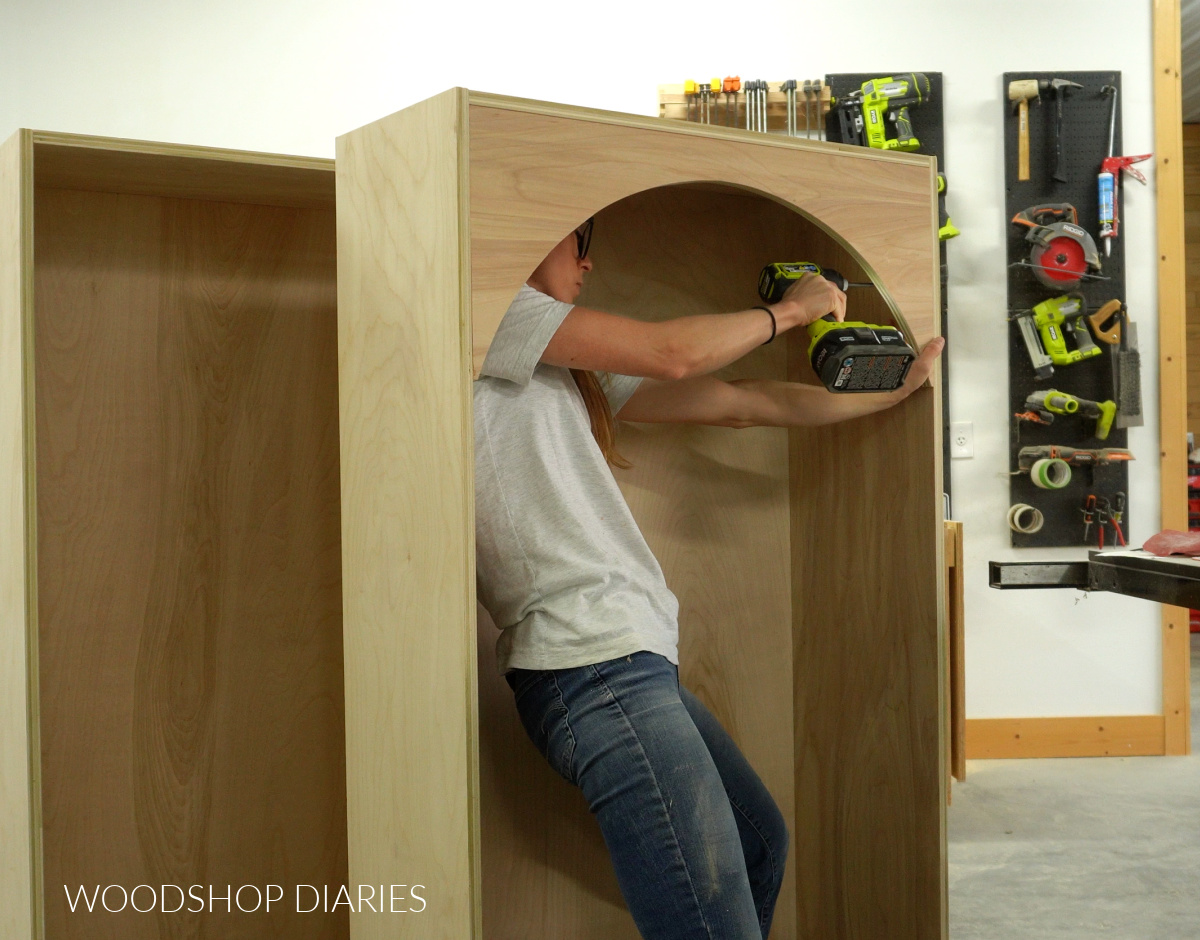
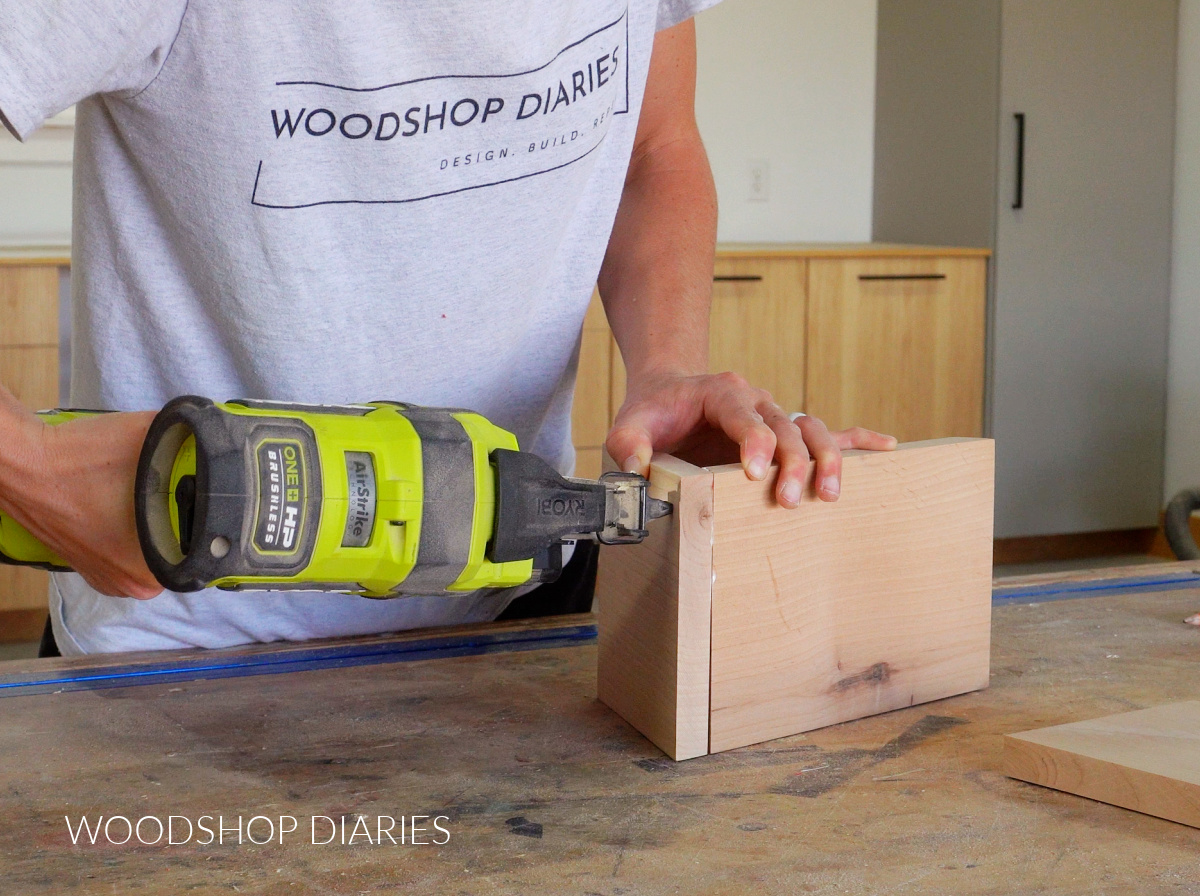
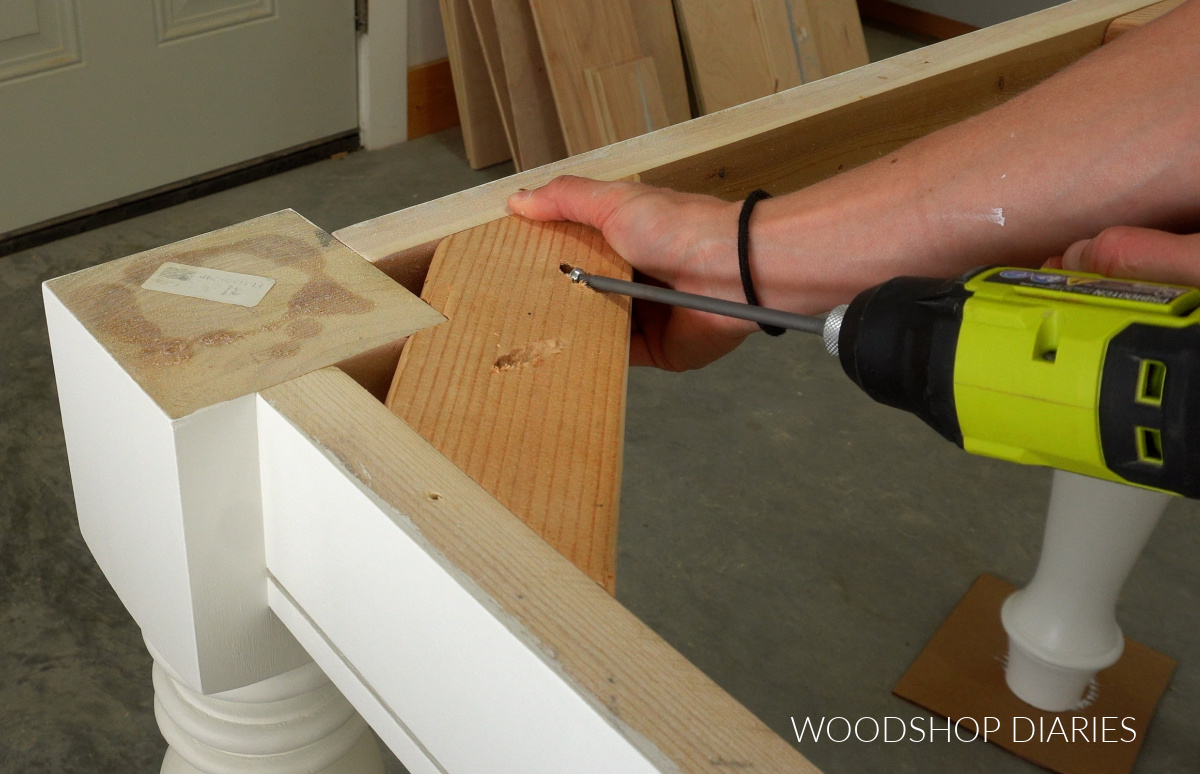
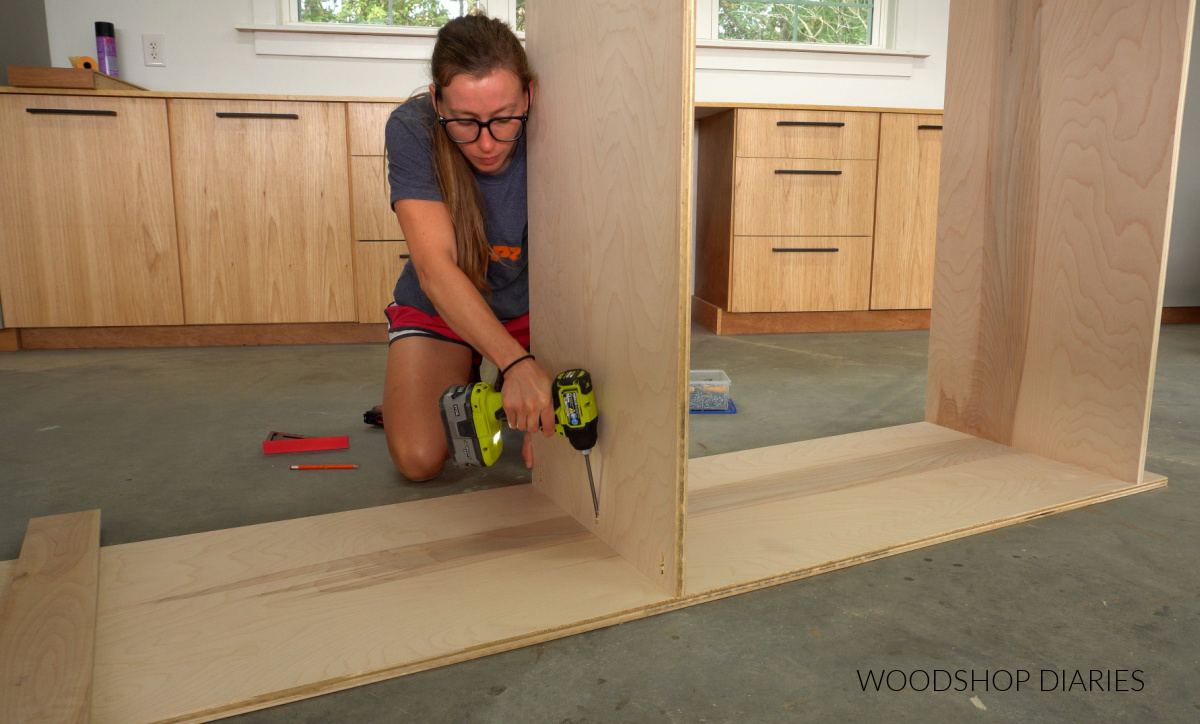
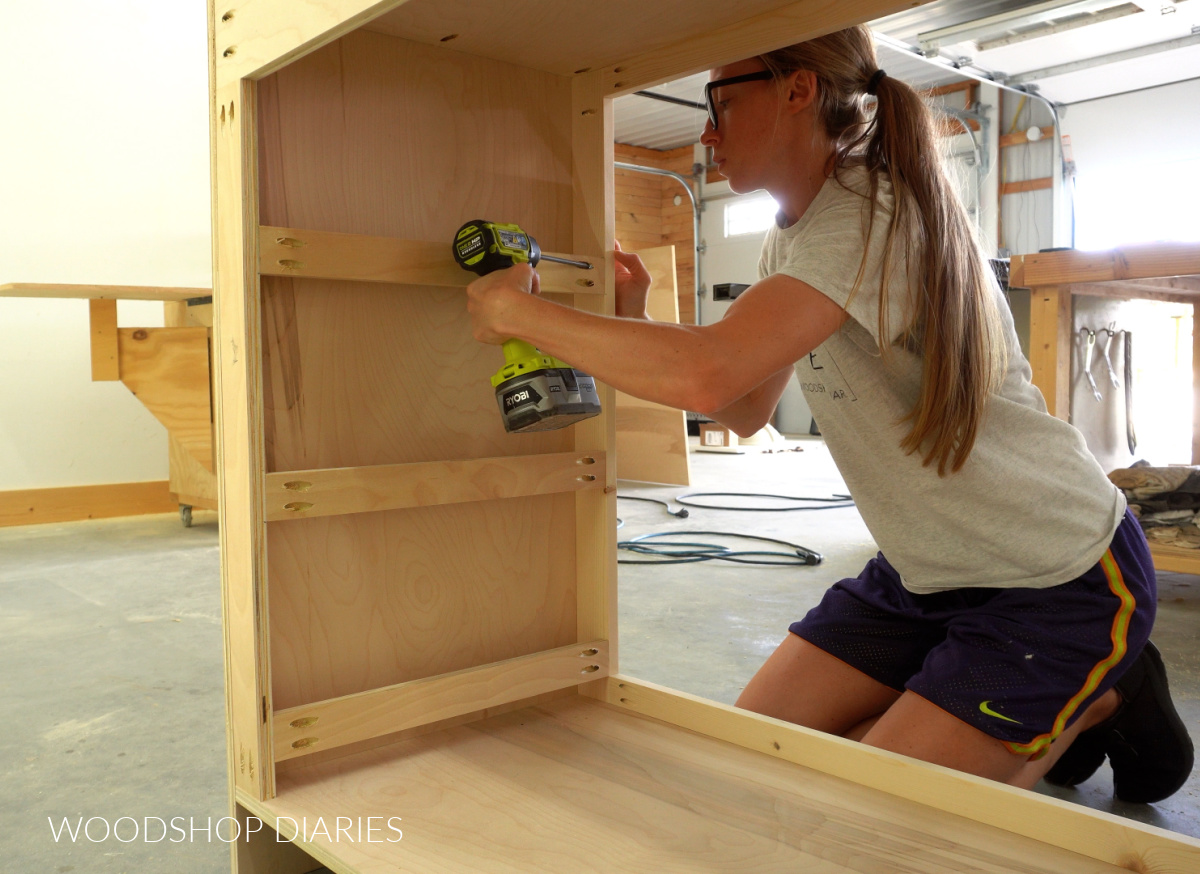
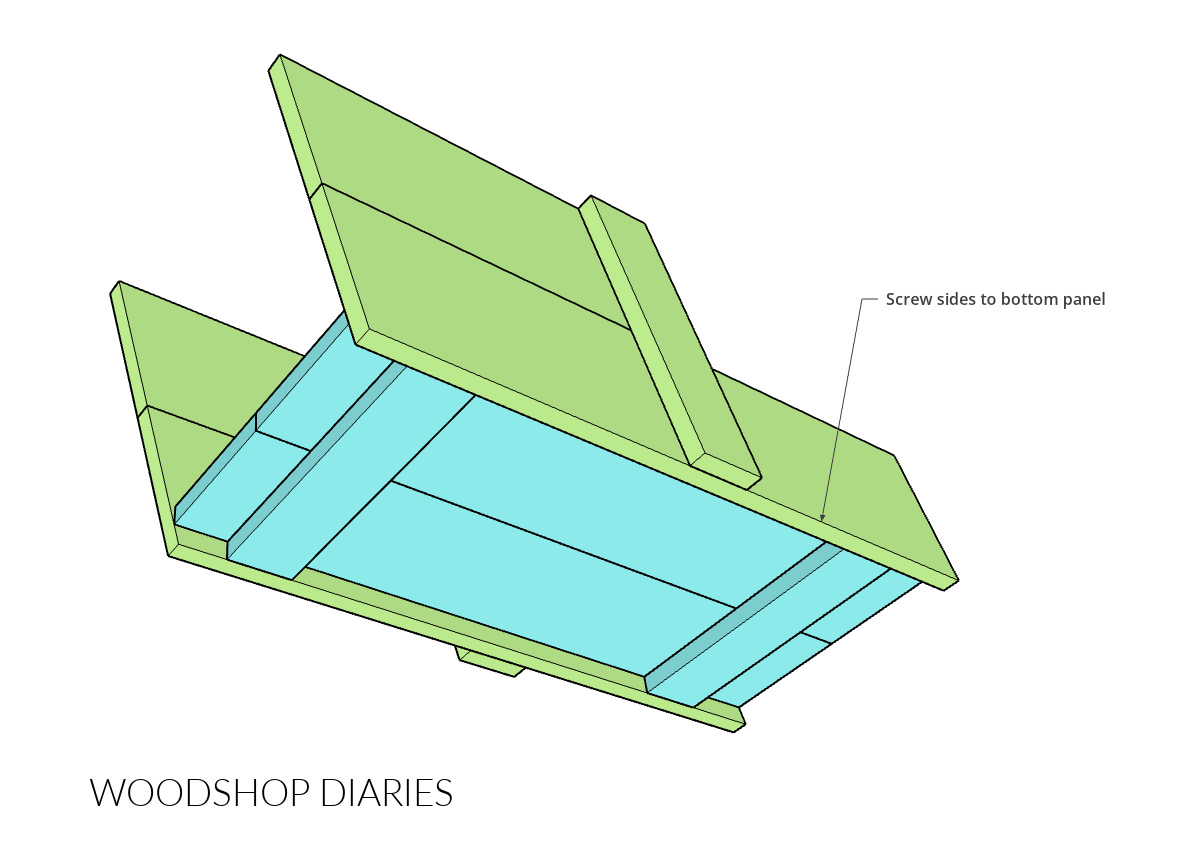
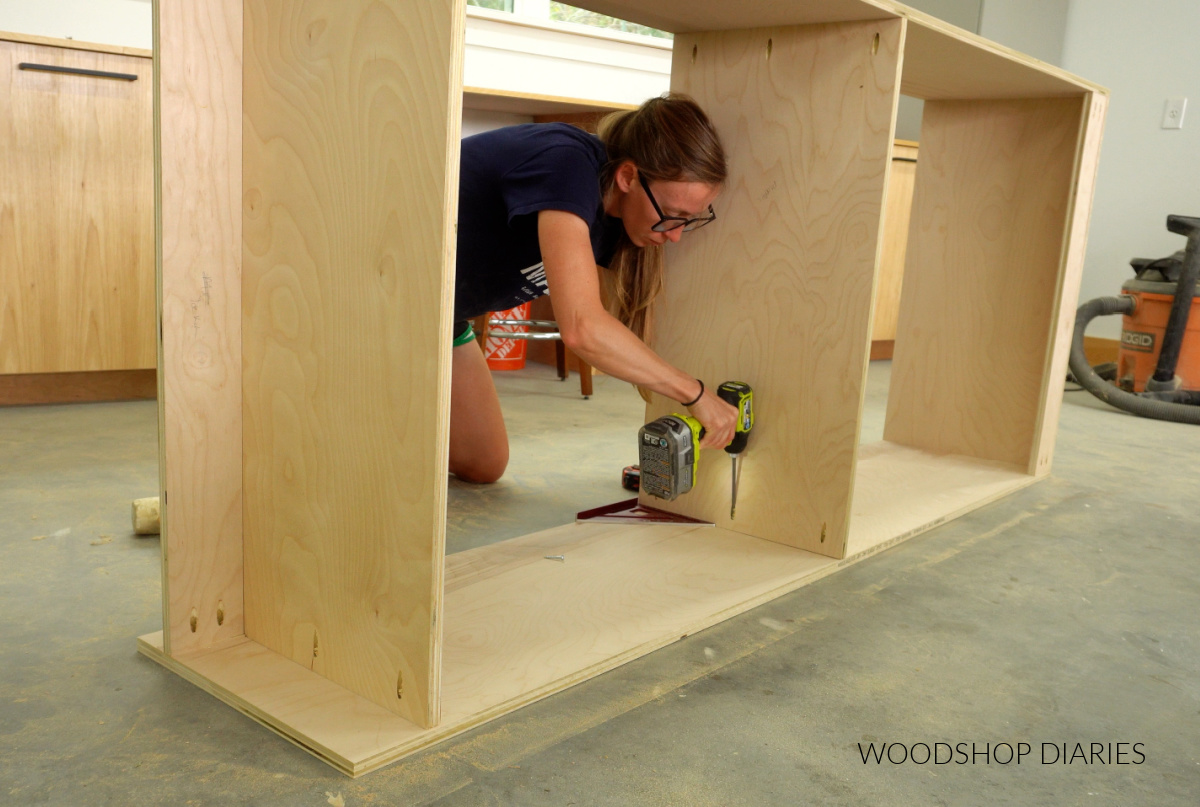
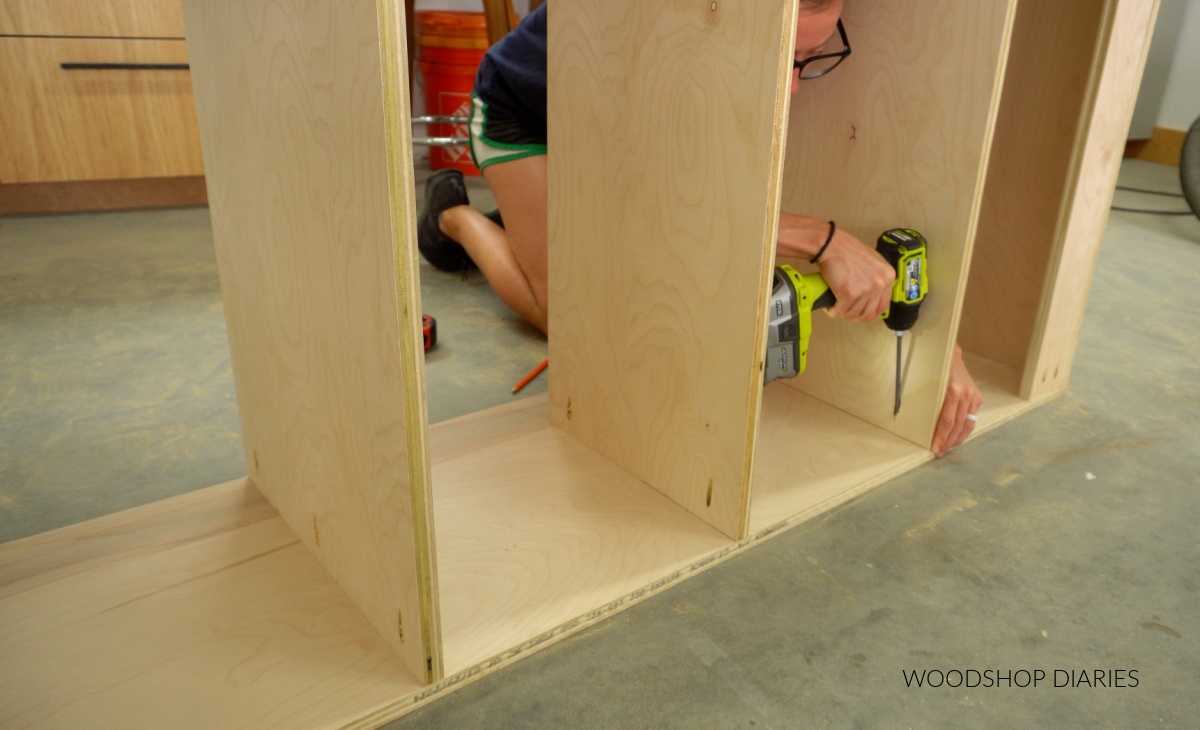
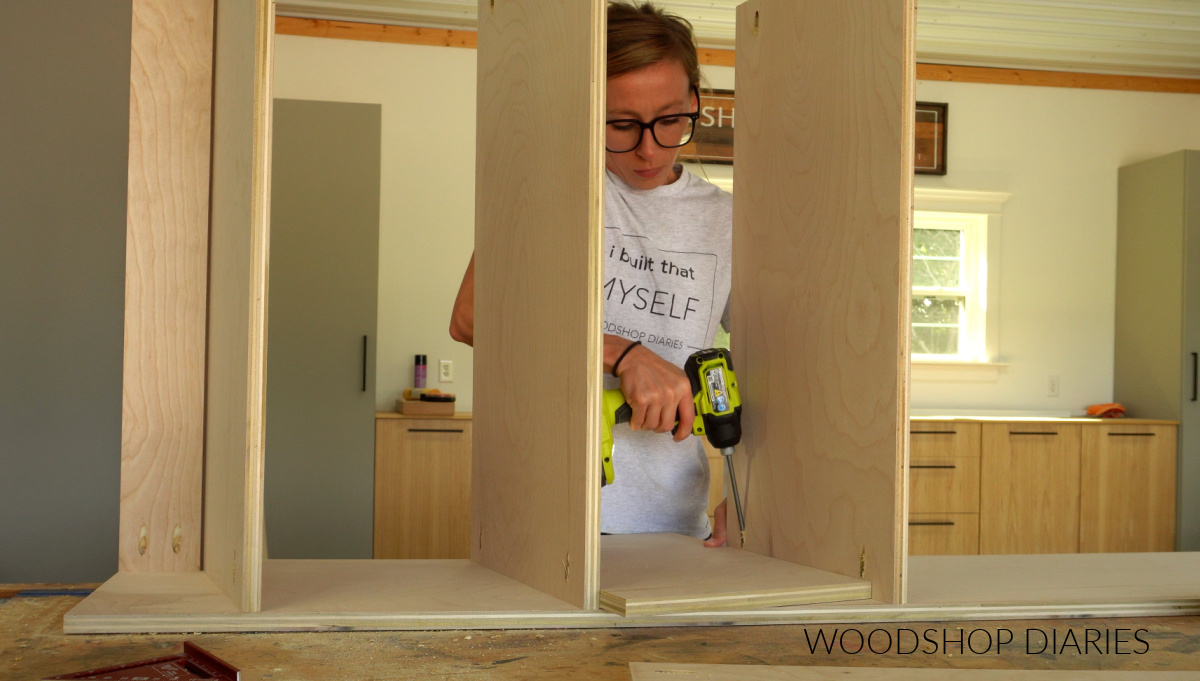
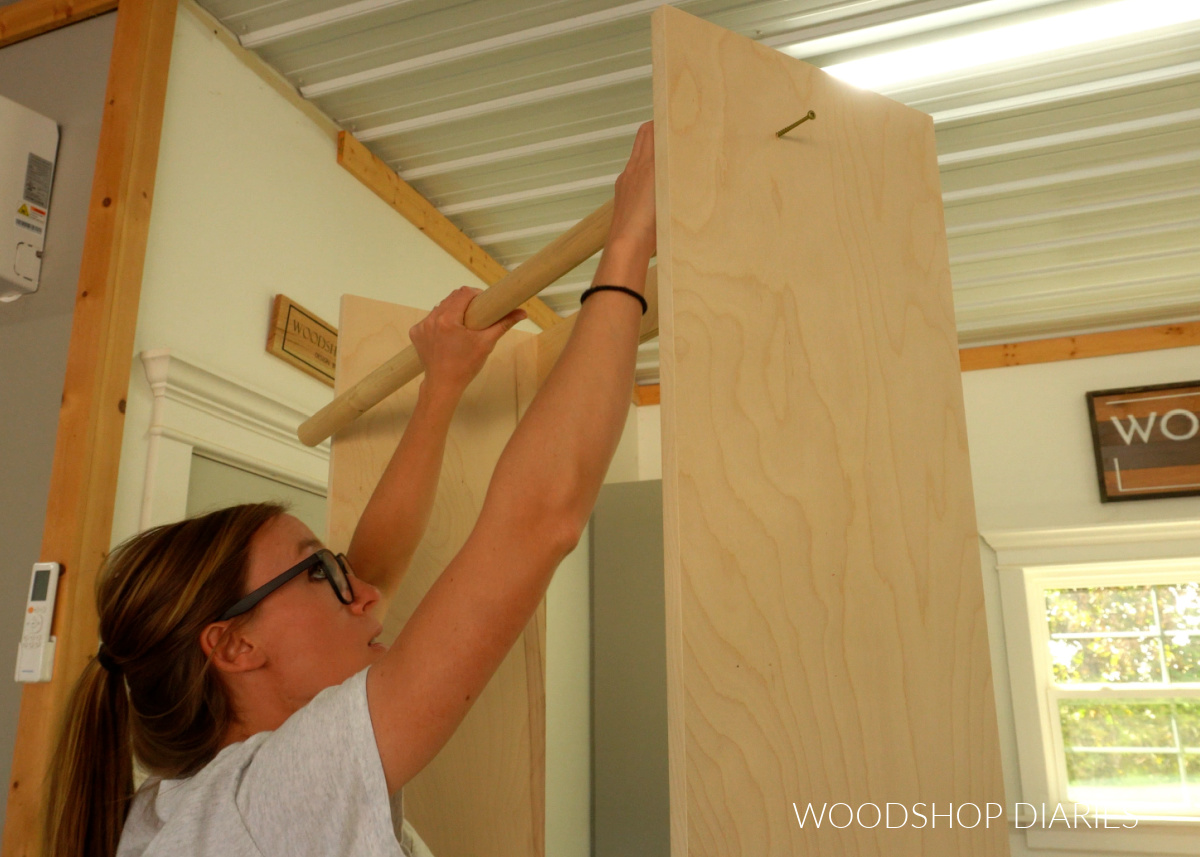
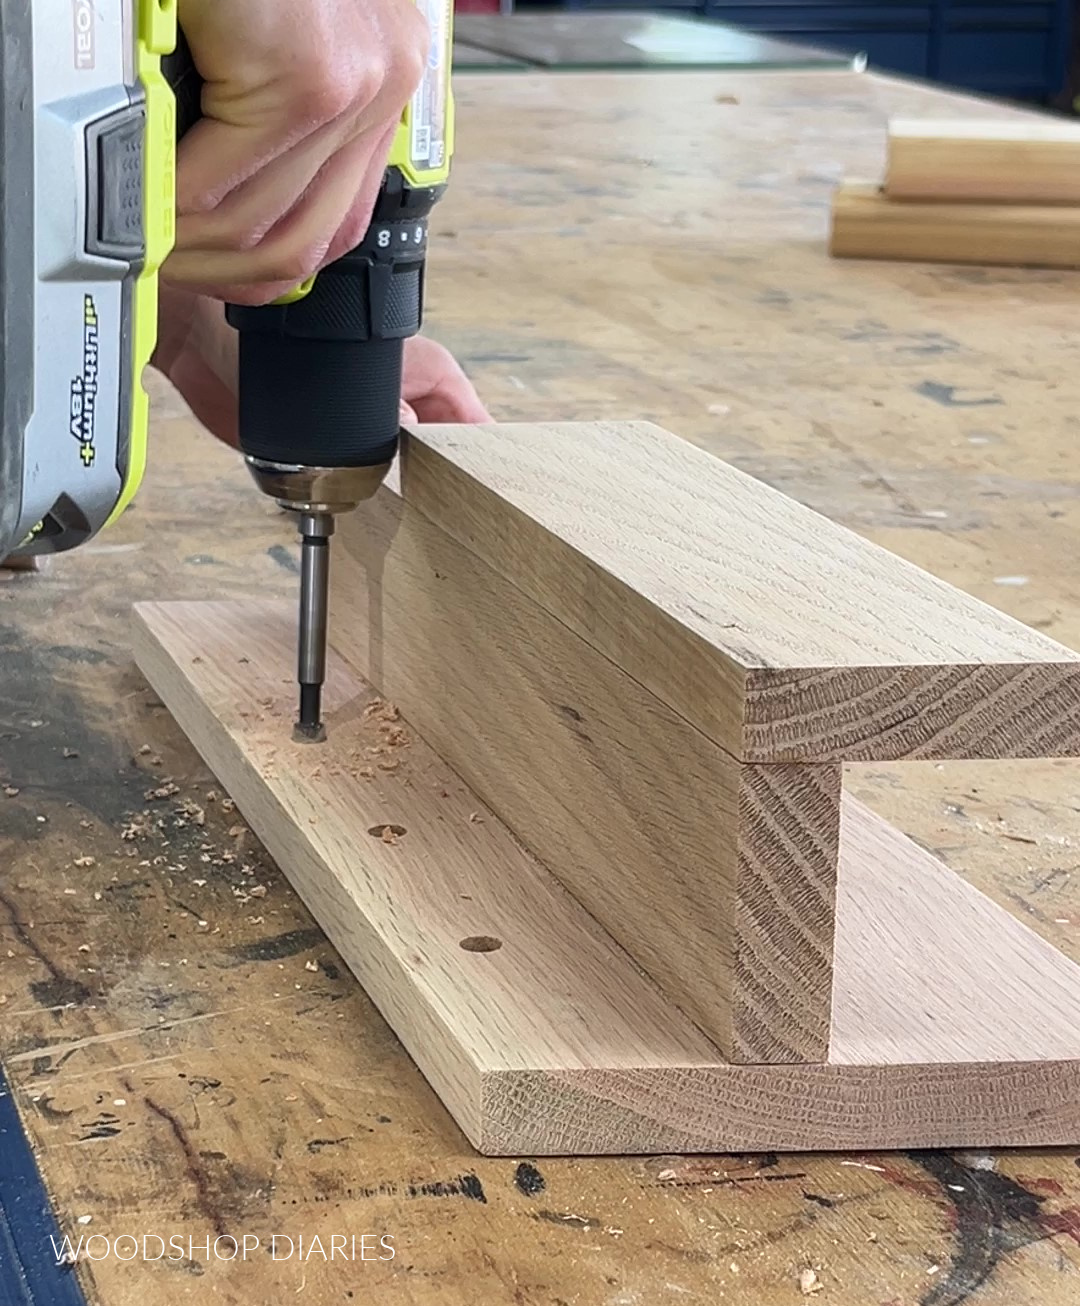
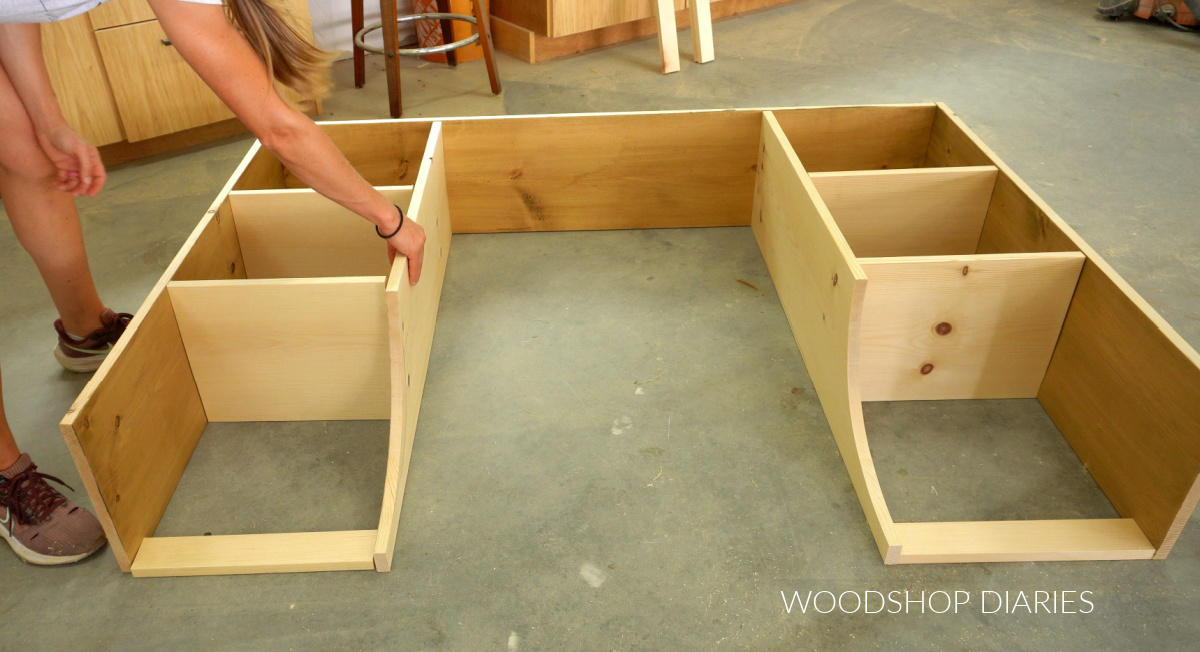
I attached the 1x3s between the sides and dividers flush to the back with pocket hole screws first like you see below.
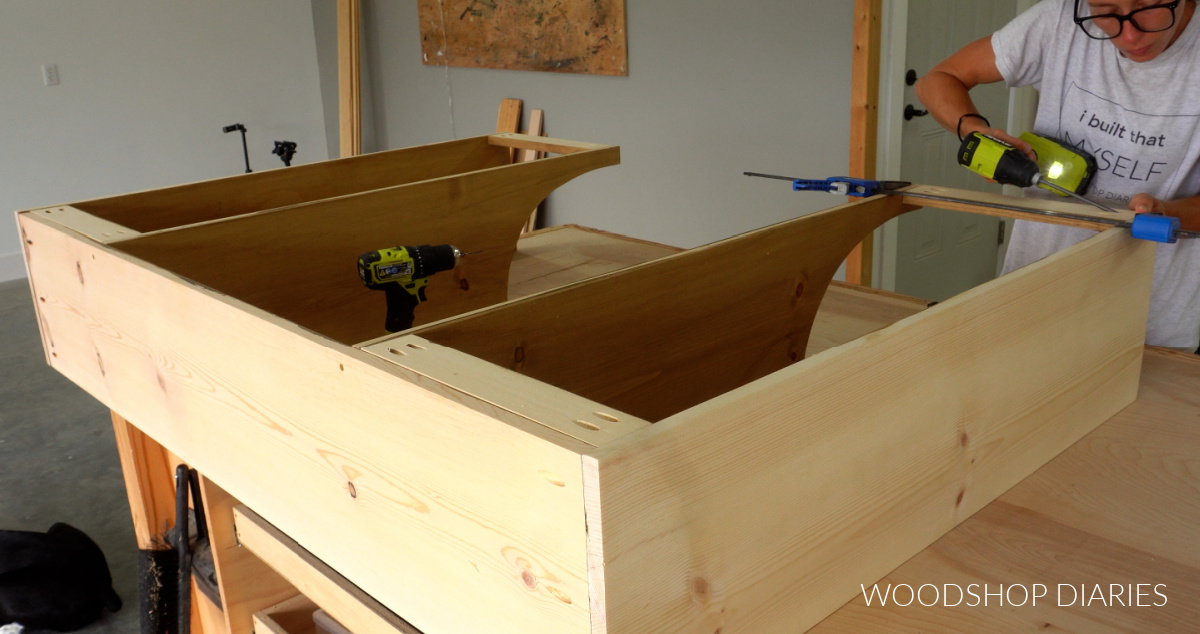
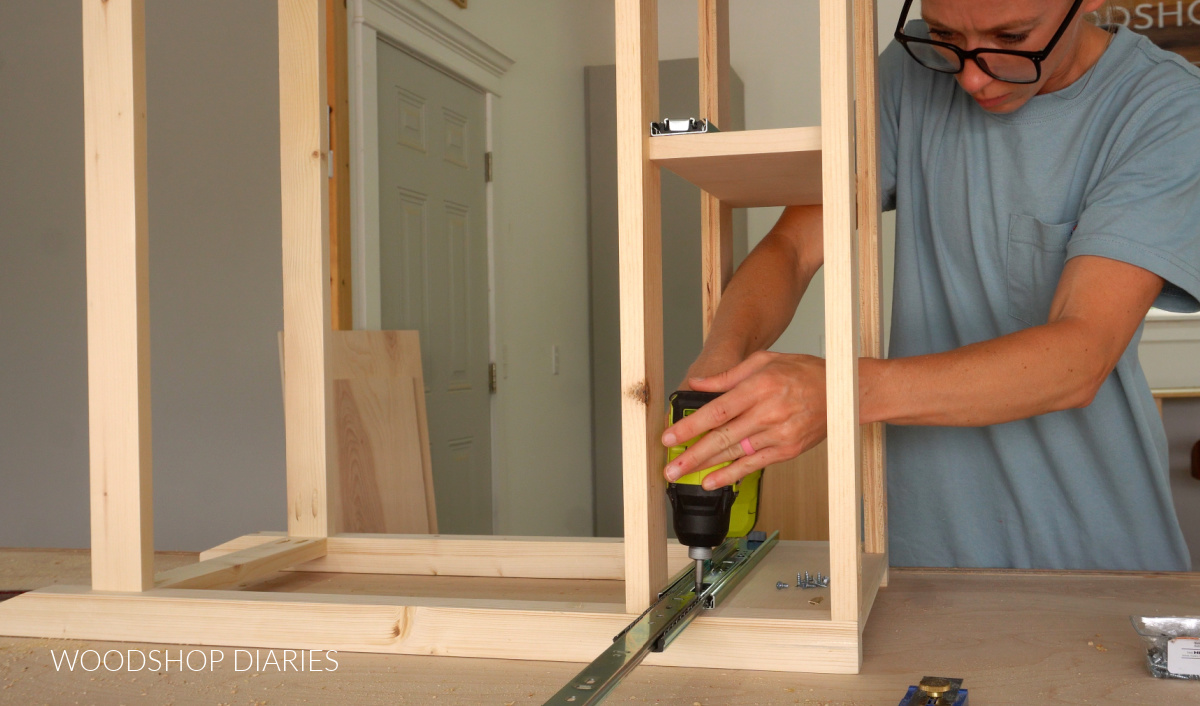
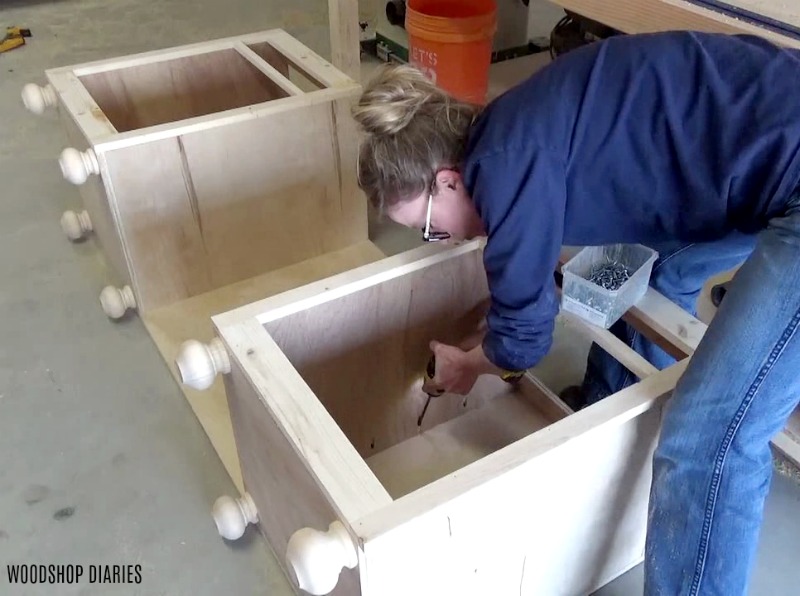
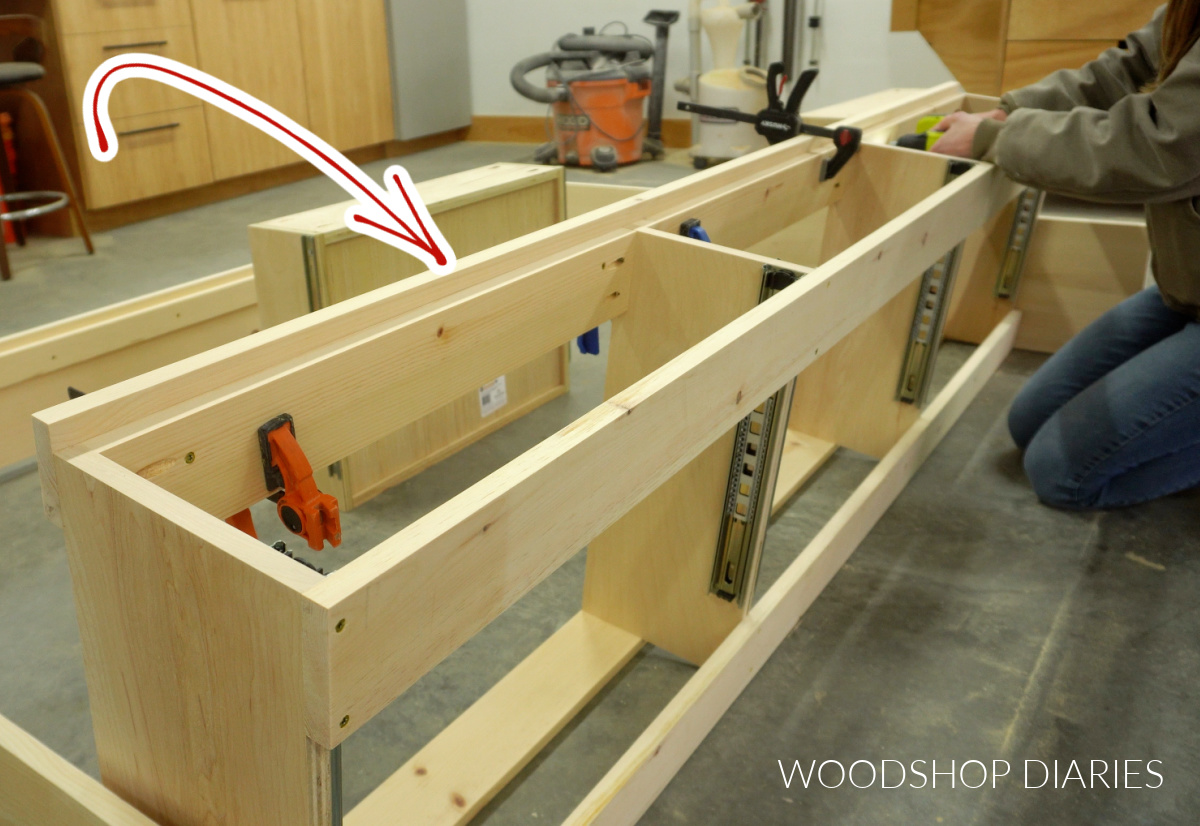
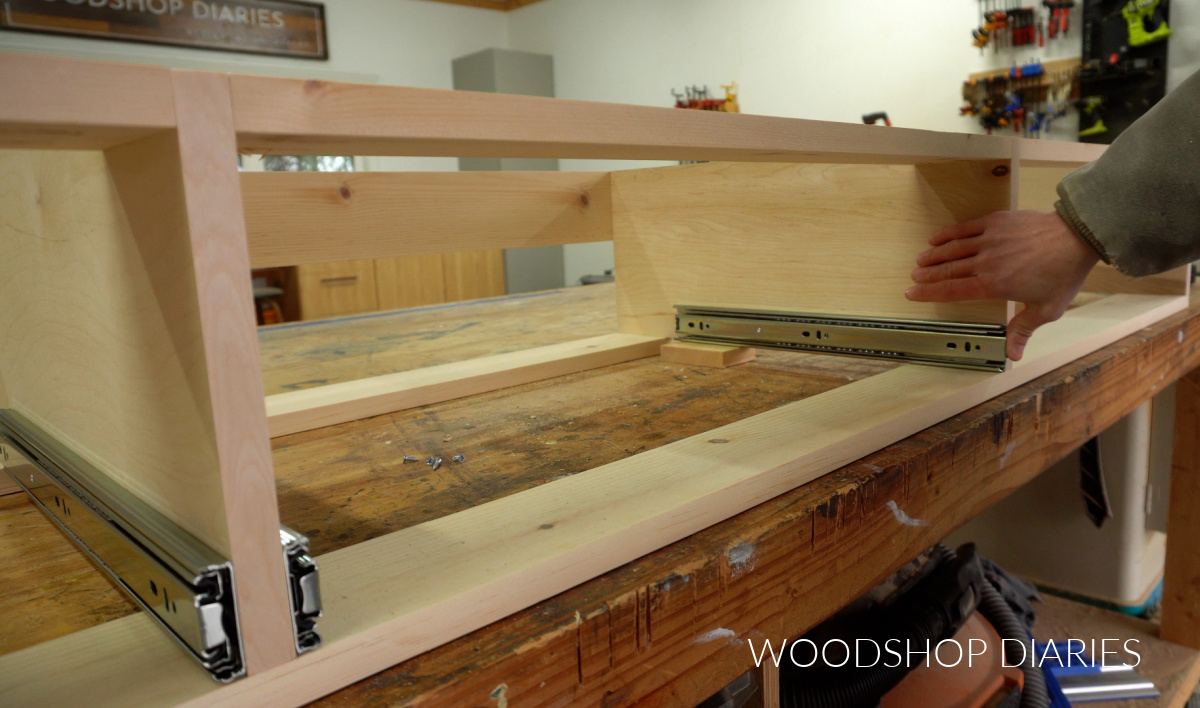
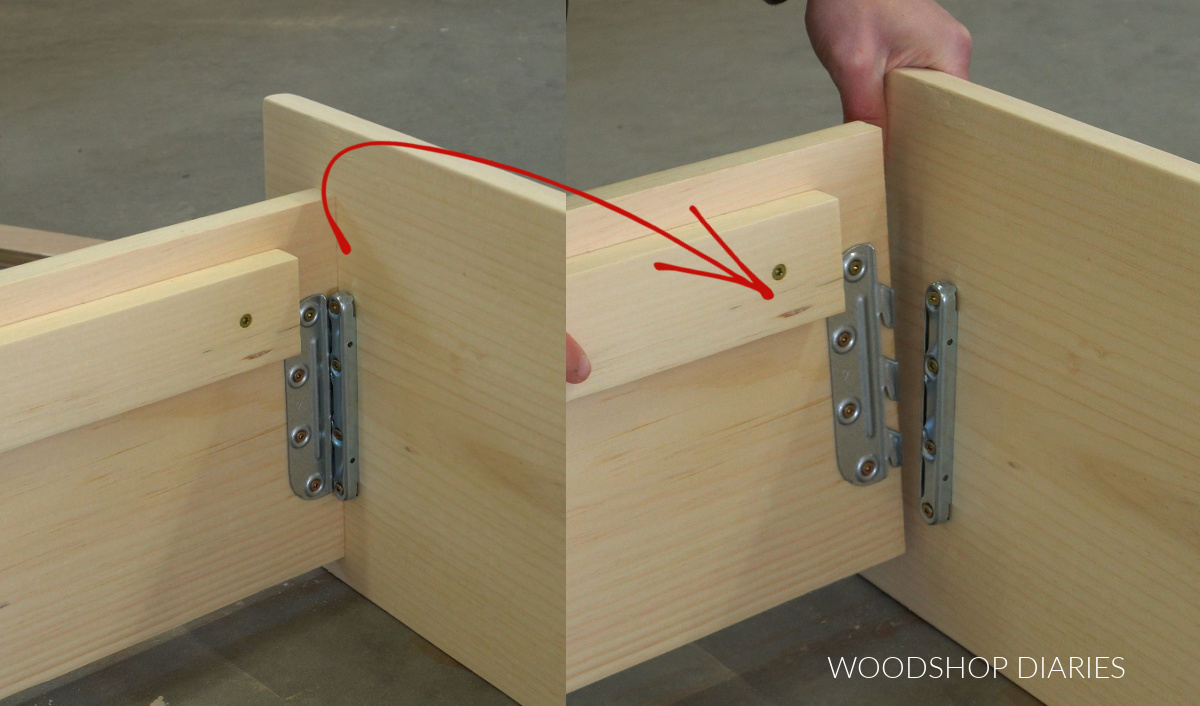
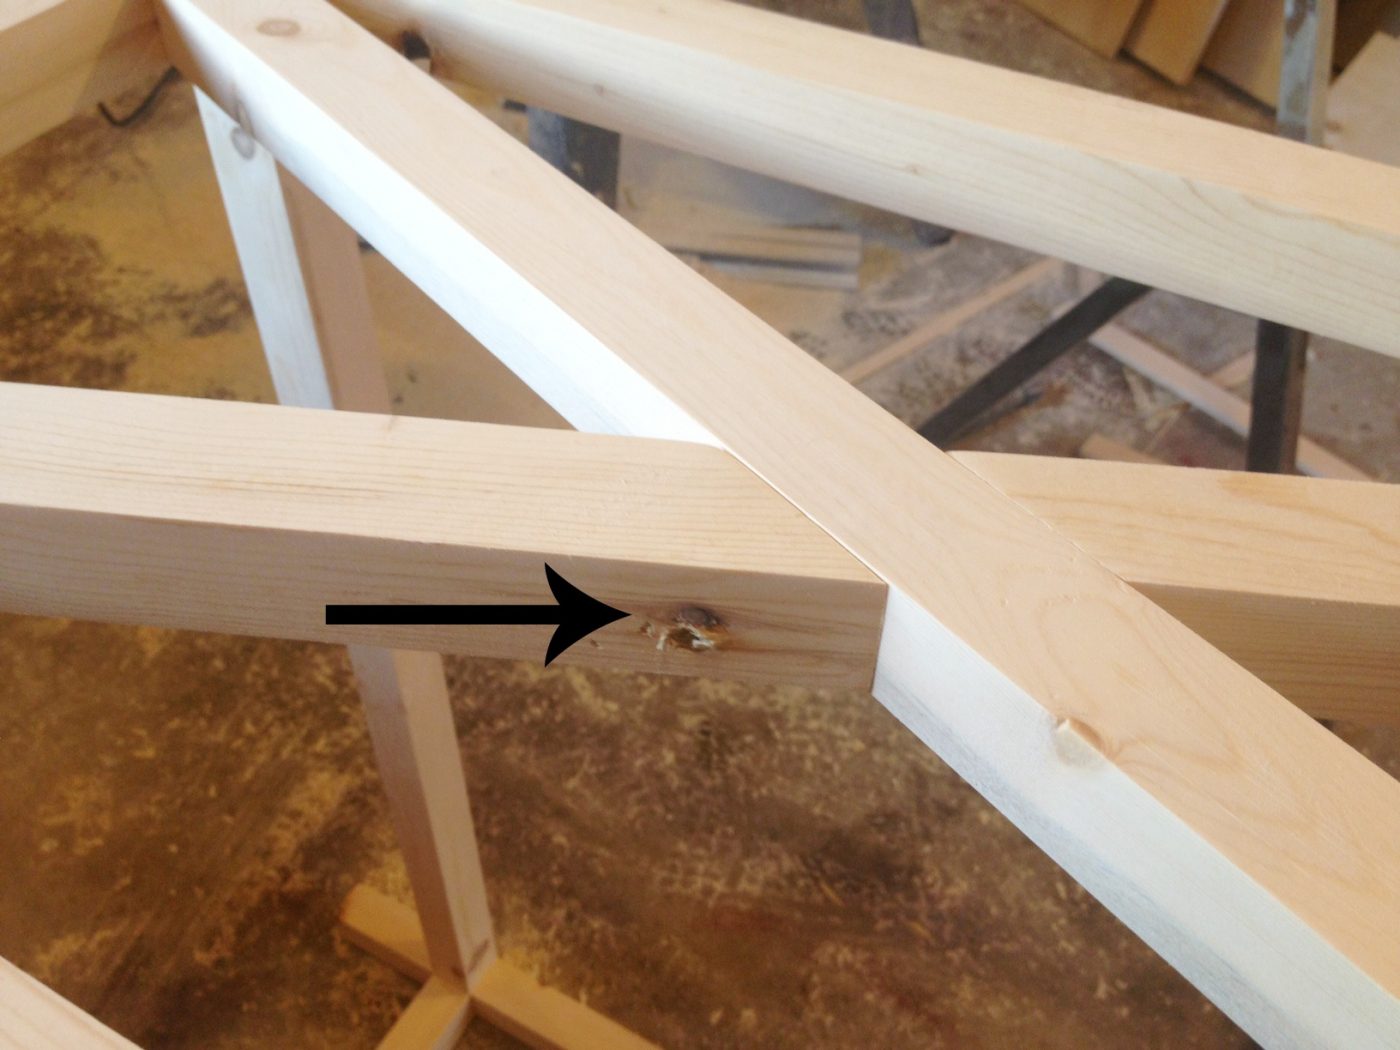
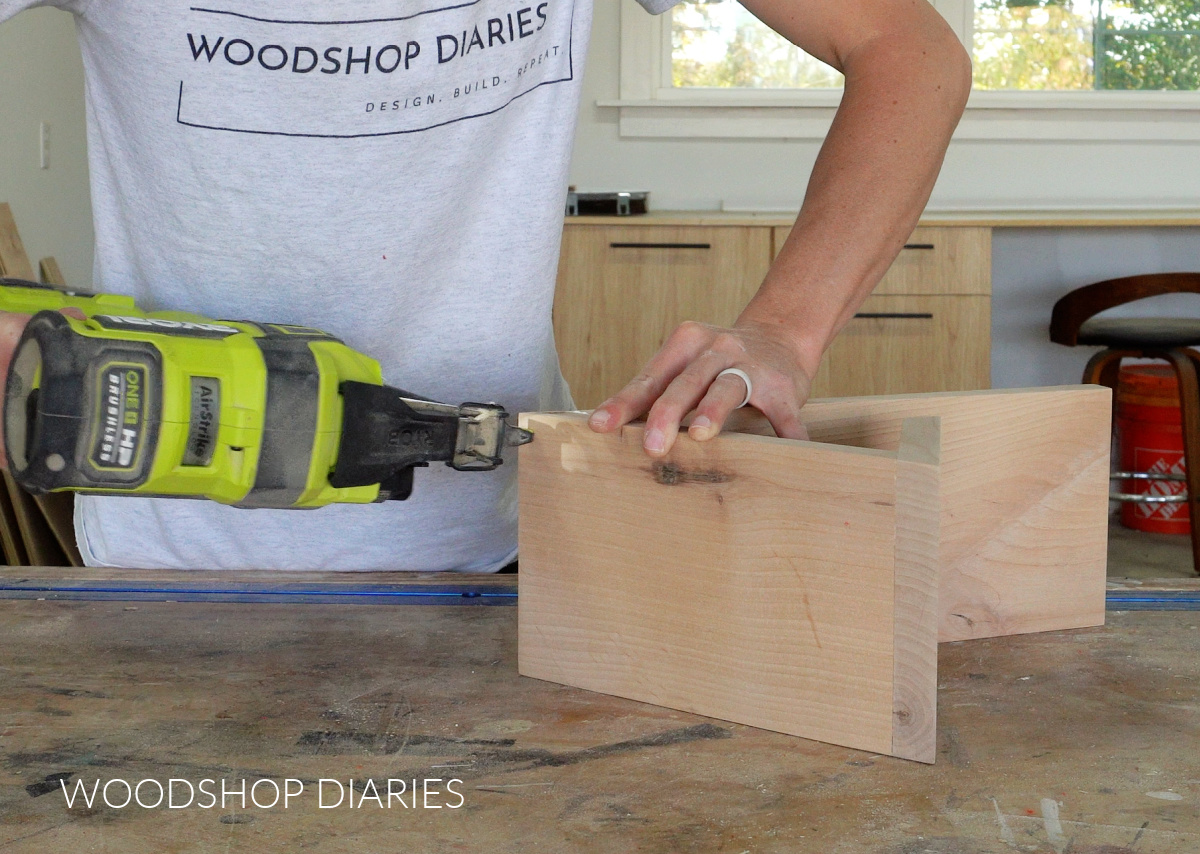
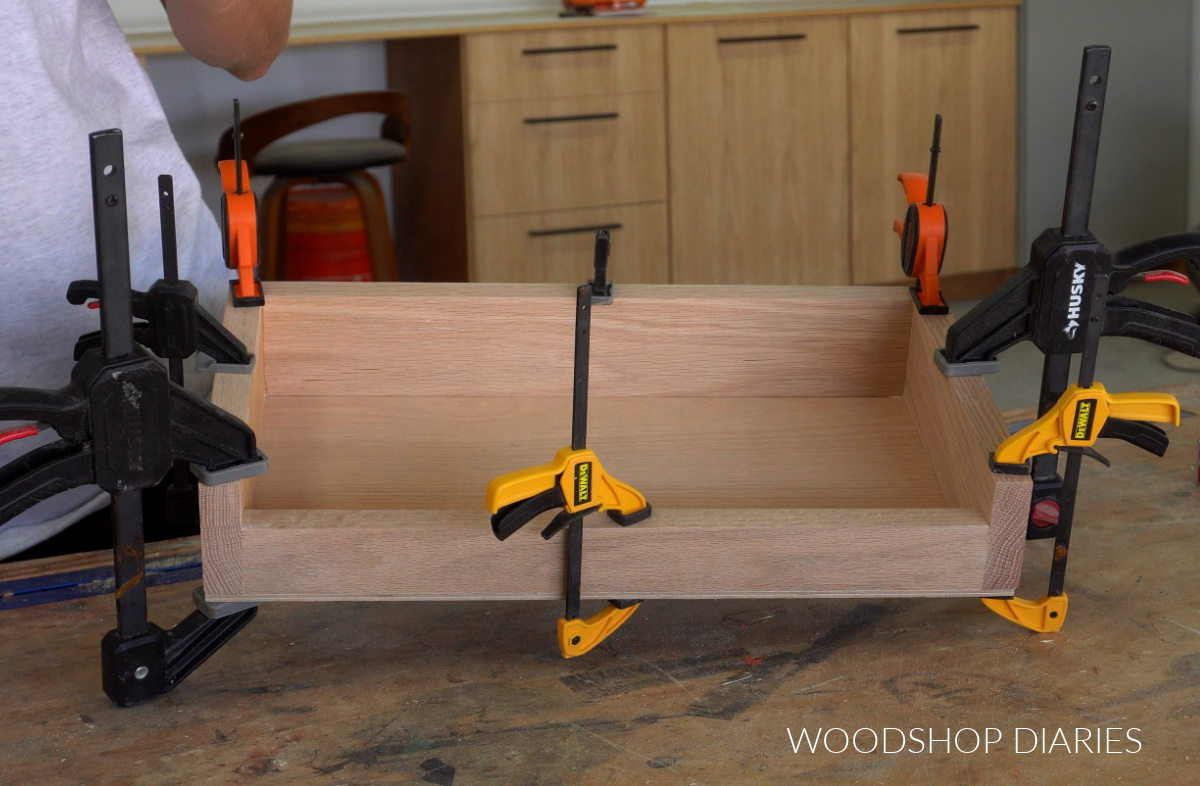
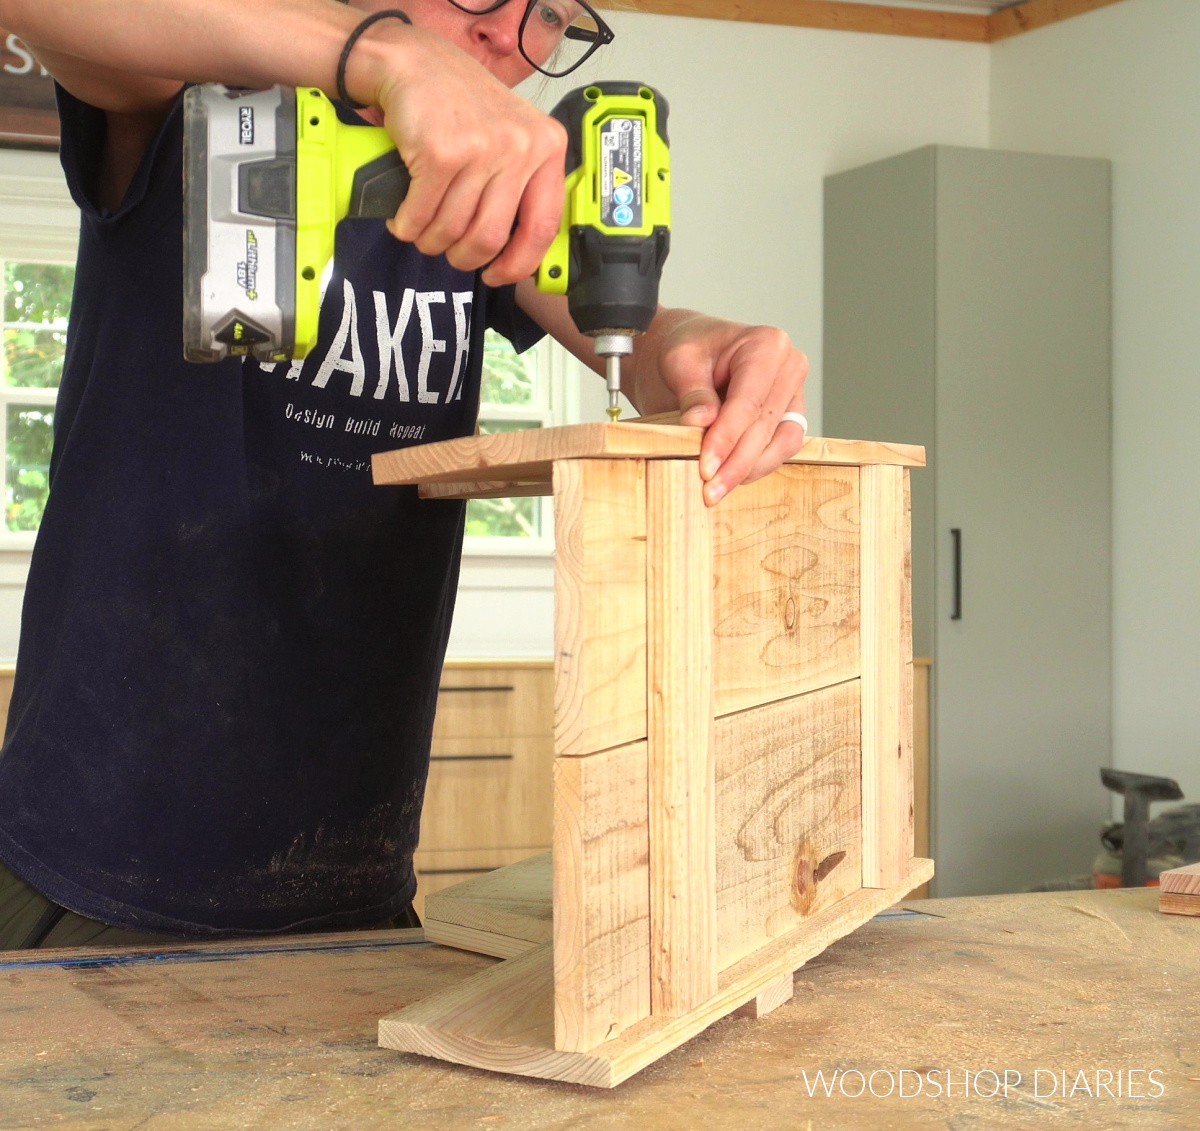
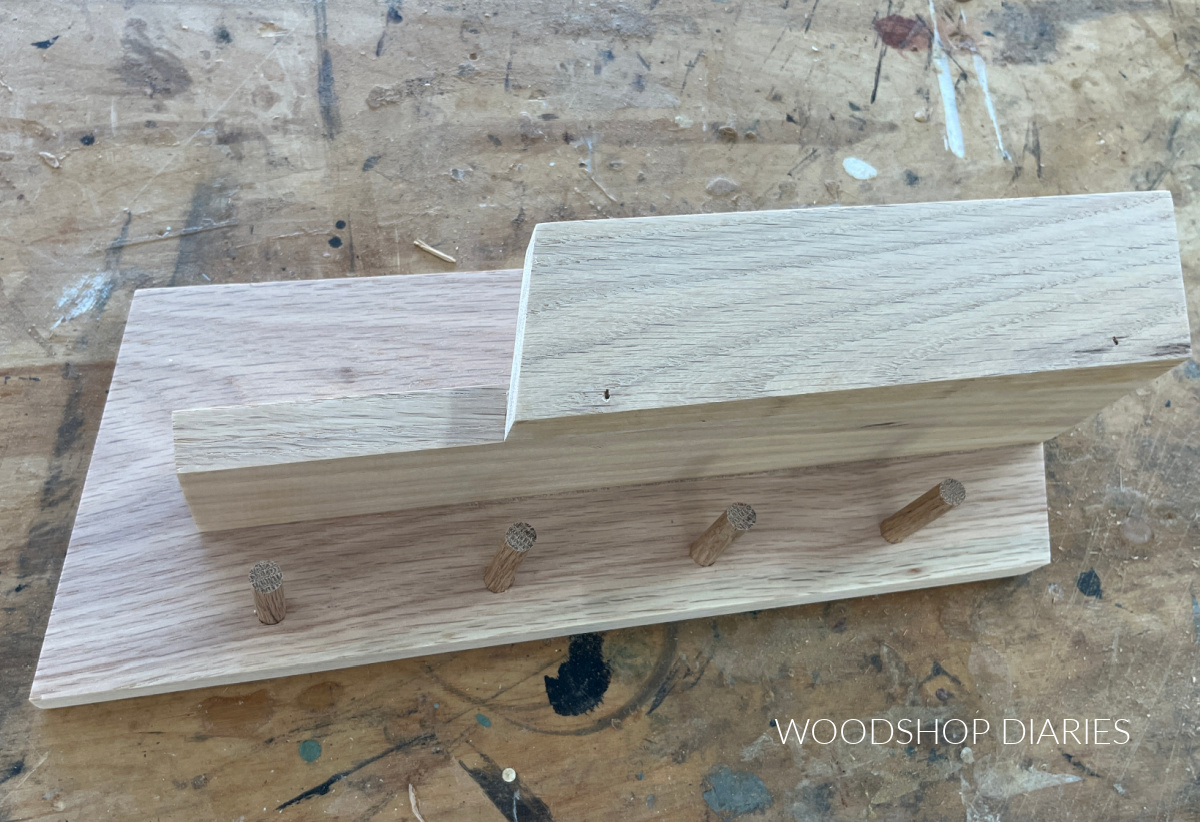
Then, I secured the dividers to the top panel with wood screws. At that point, I installed the left and right shelves with pocket hole screws.
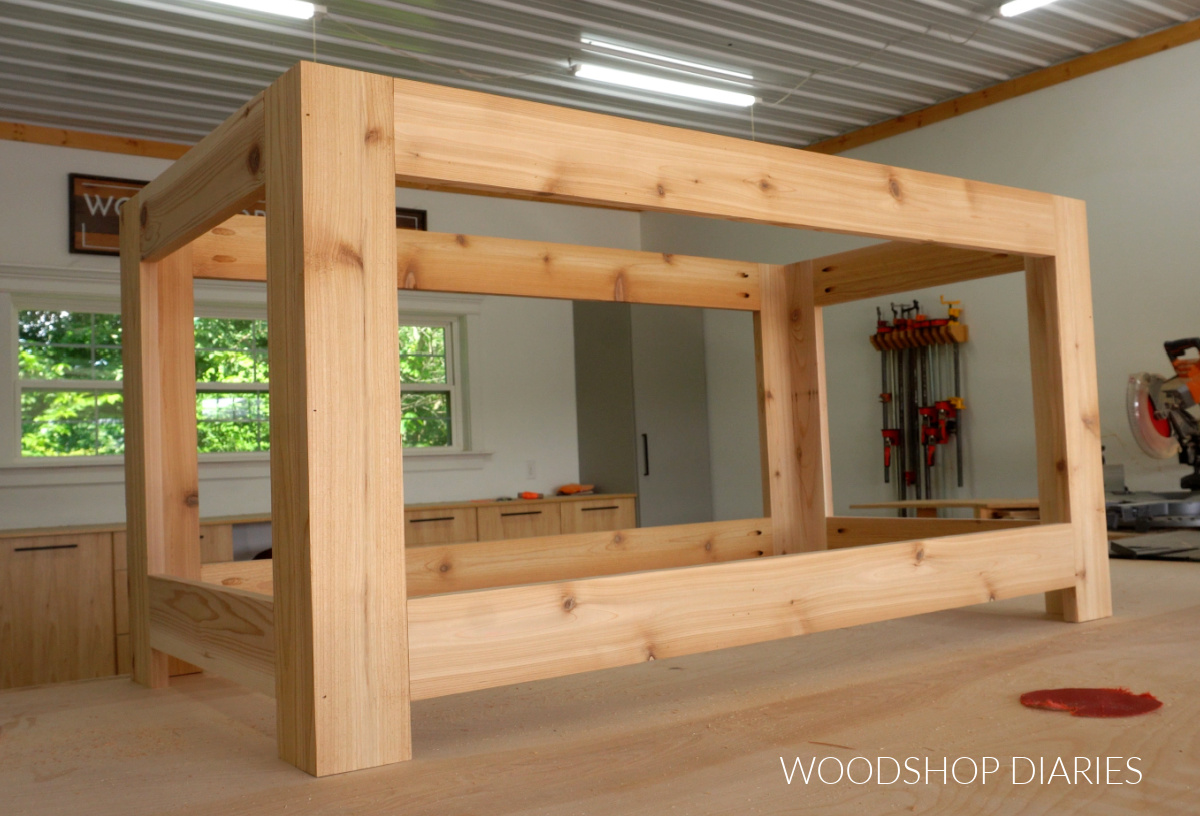
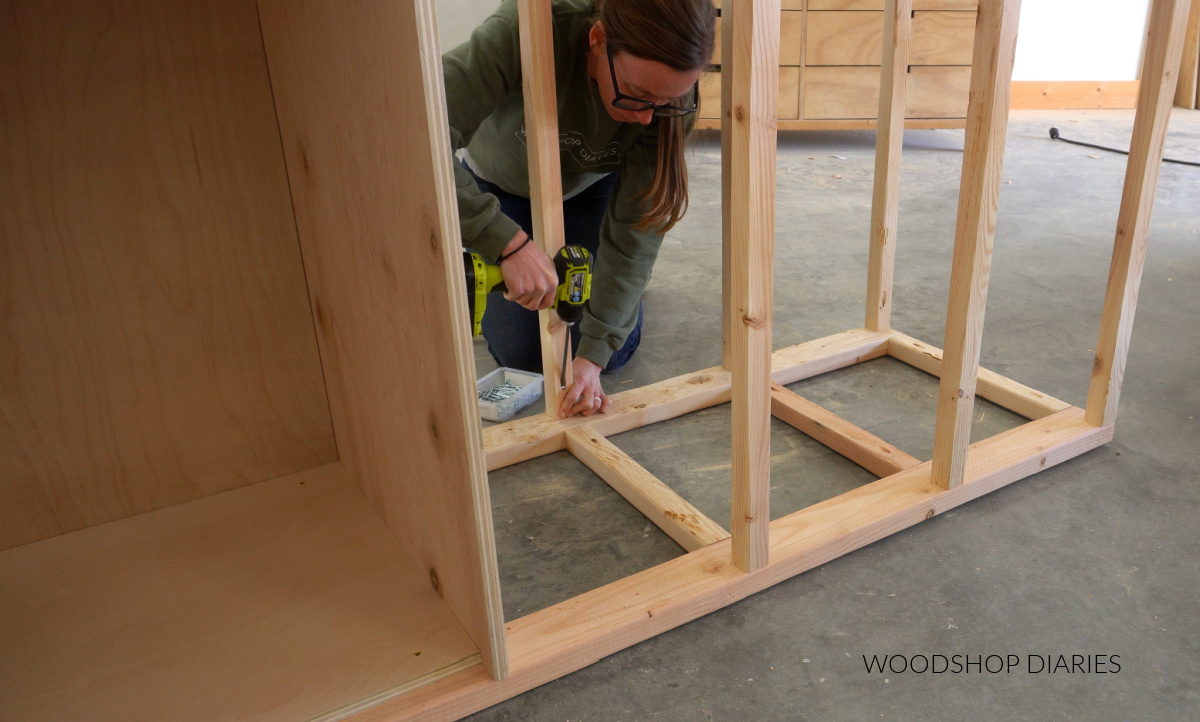
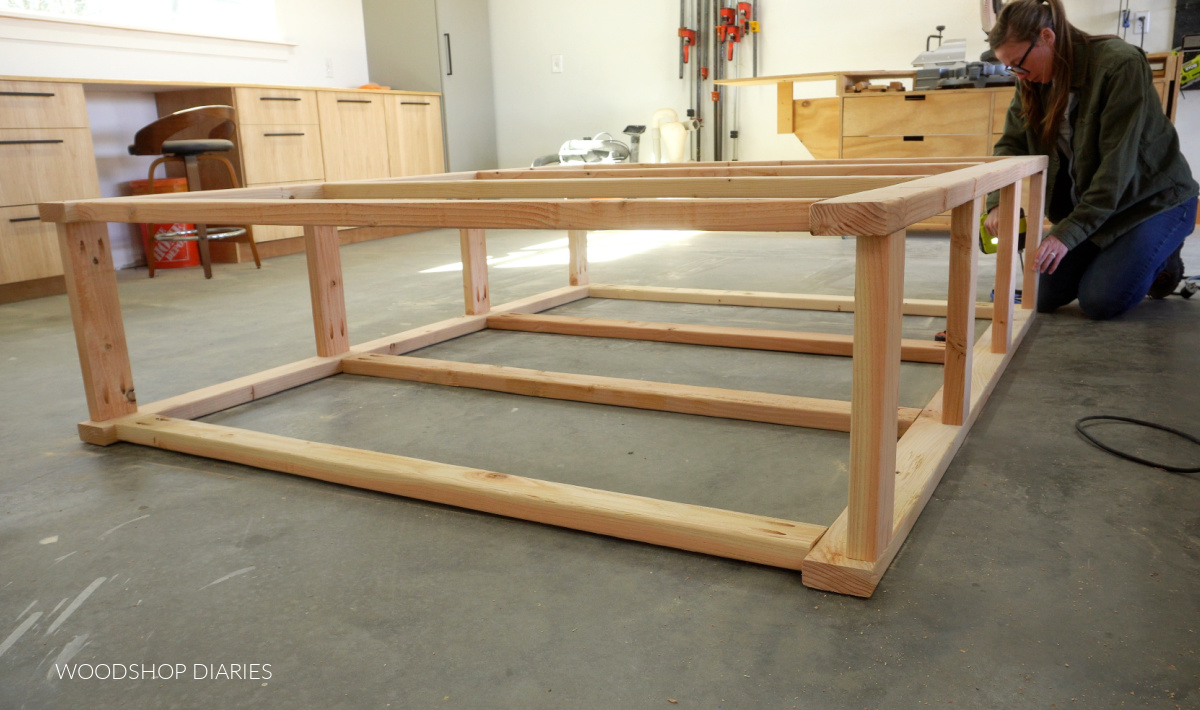
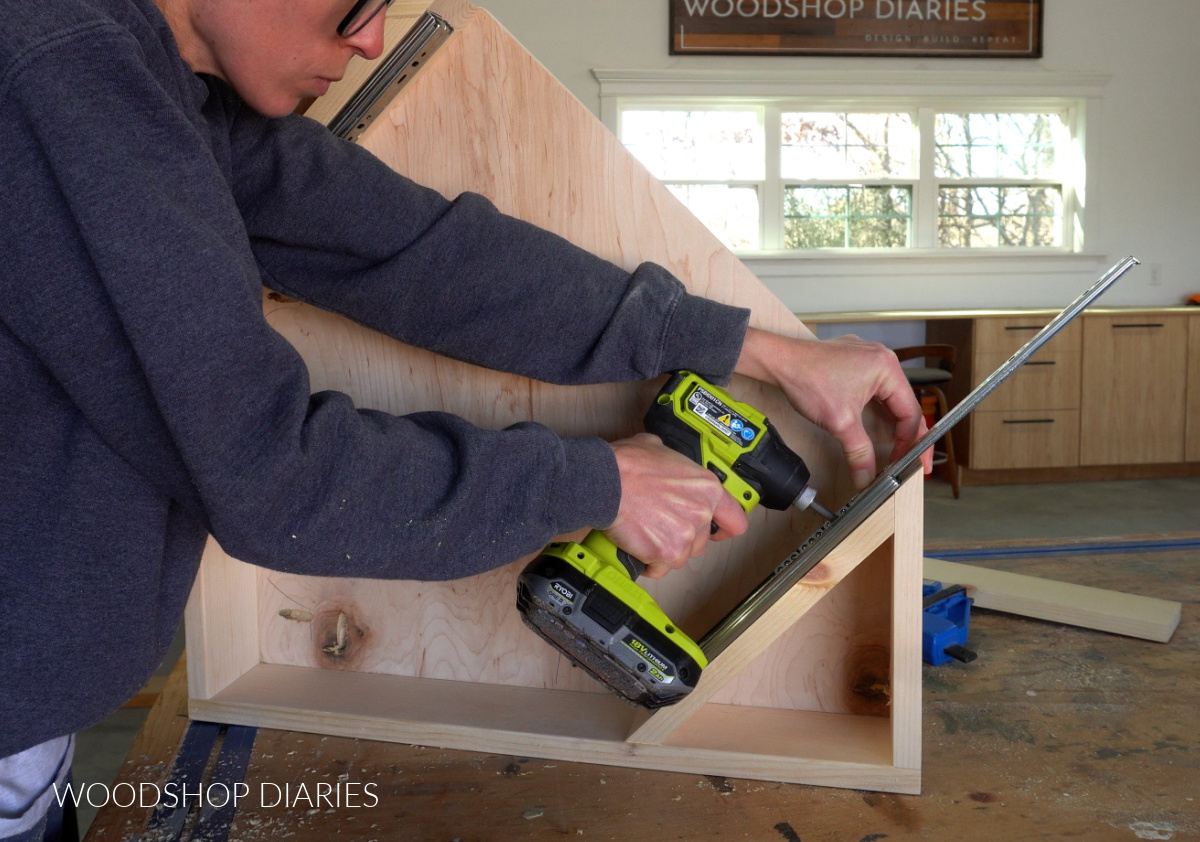
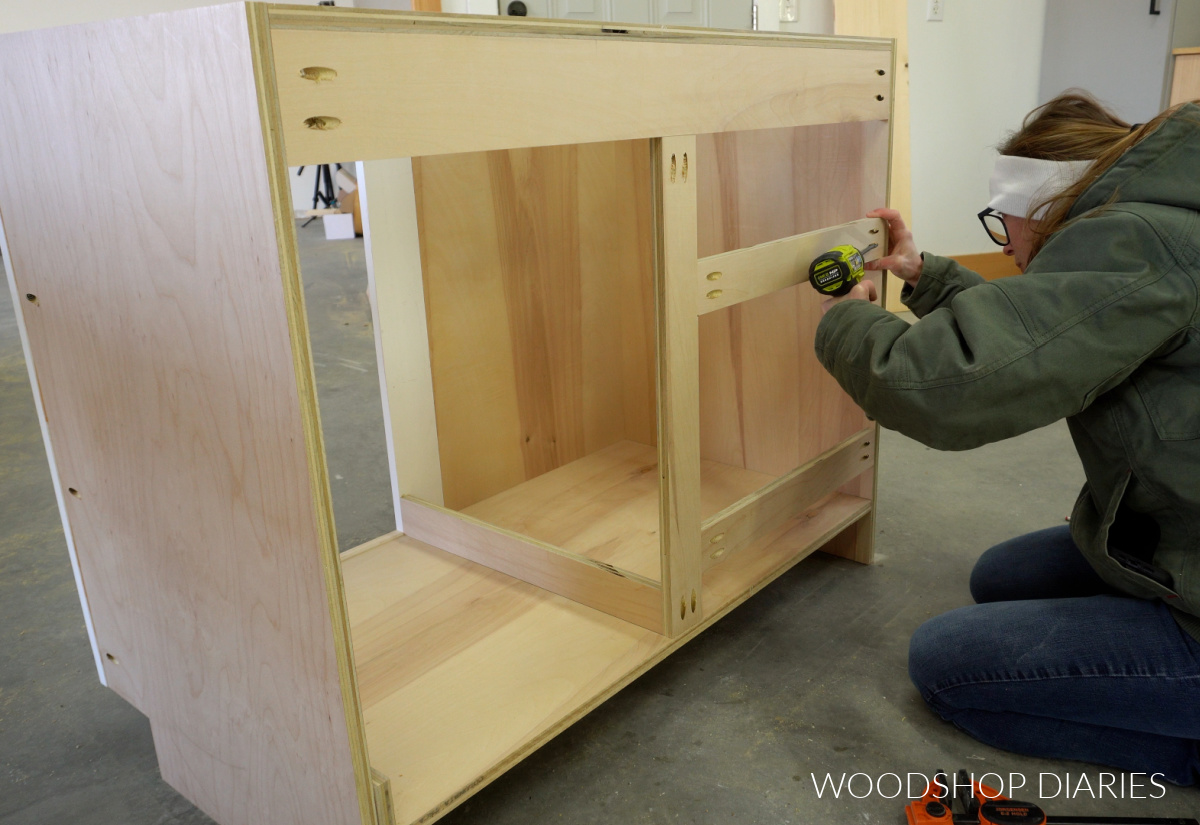
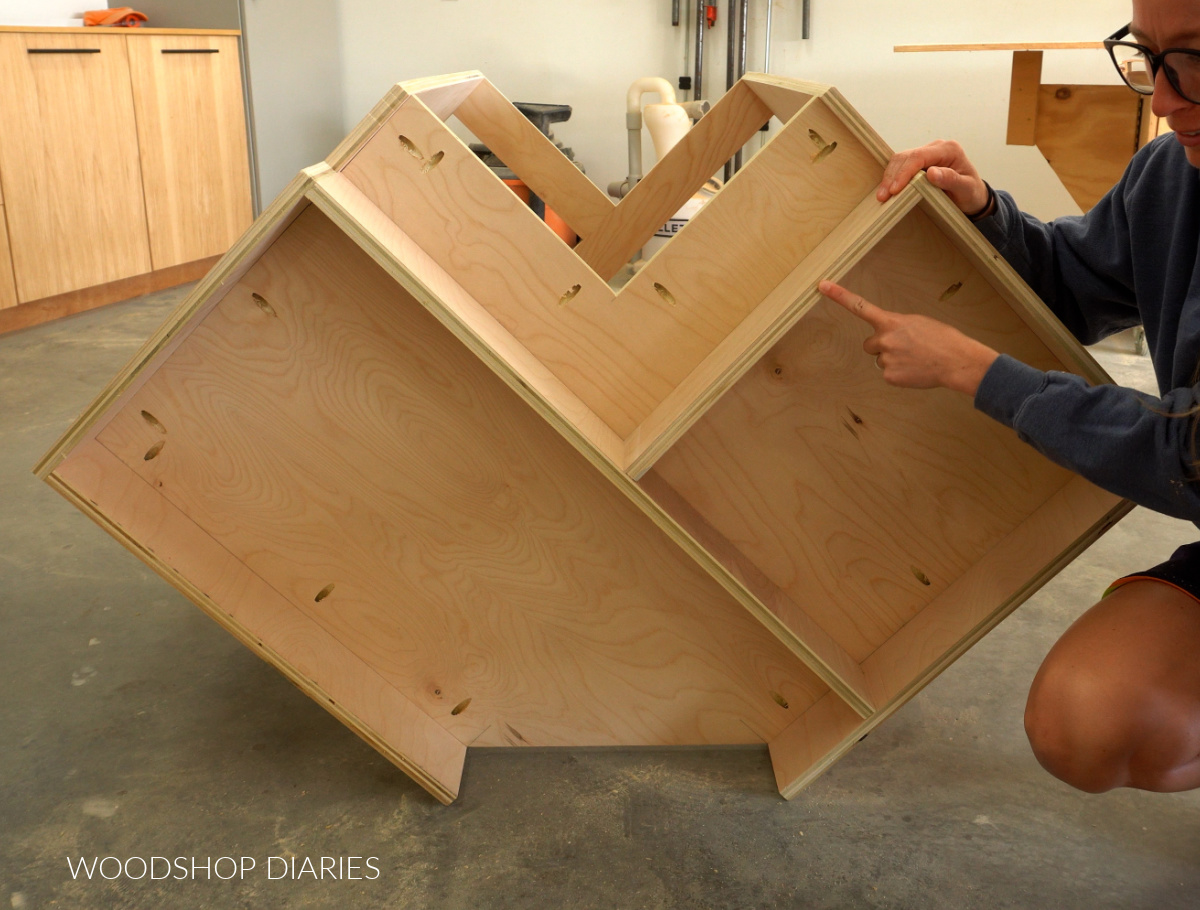
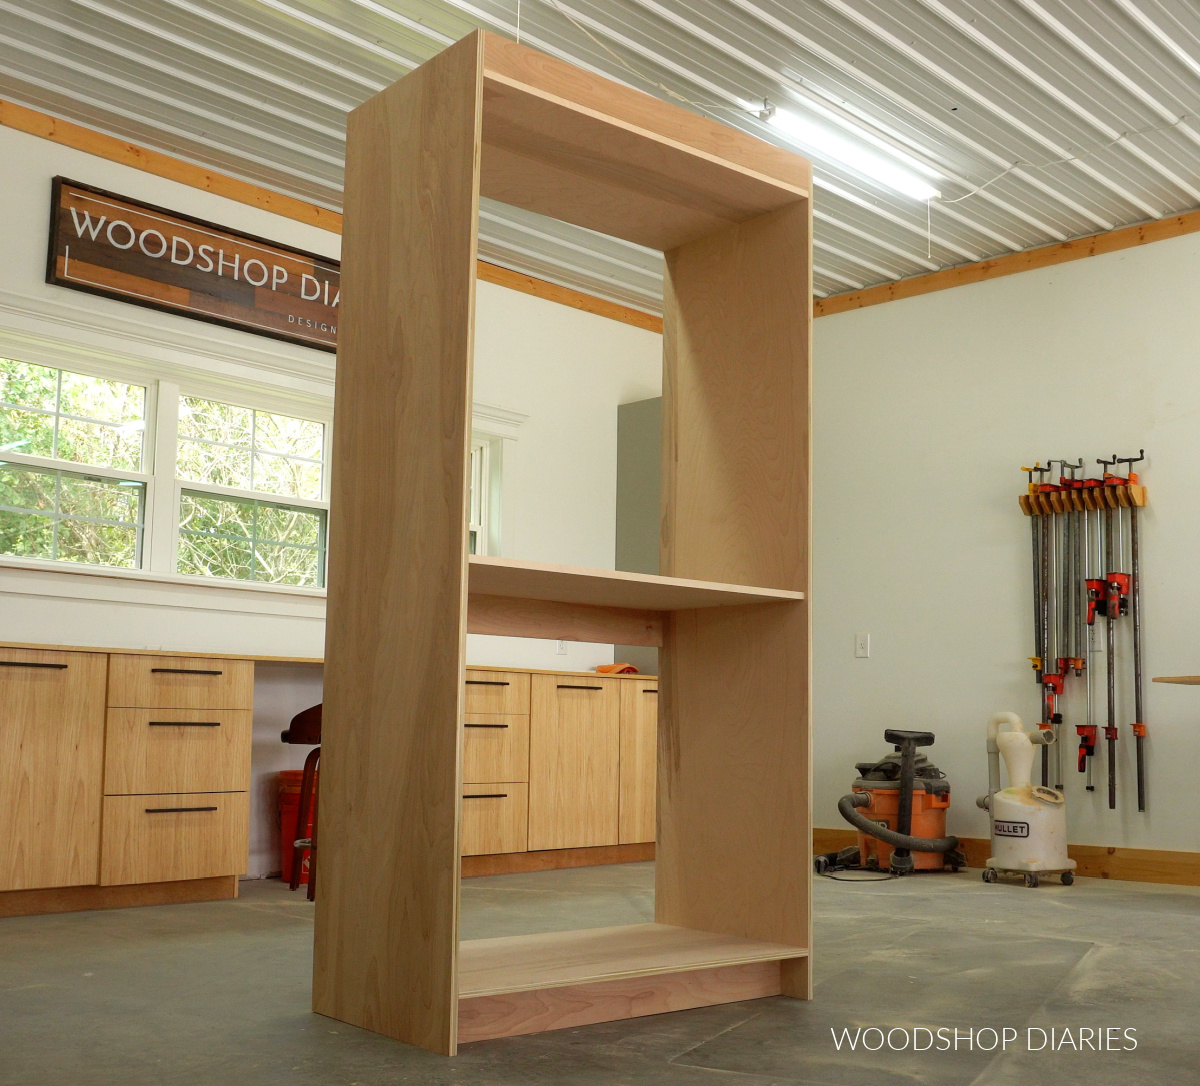
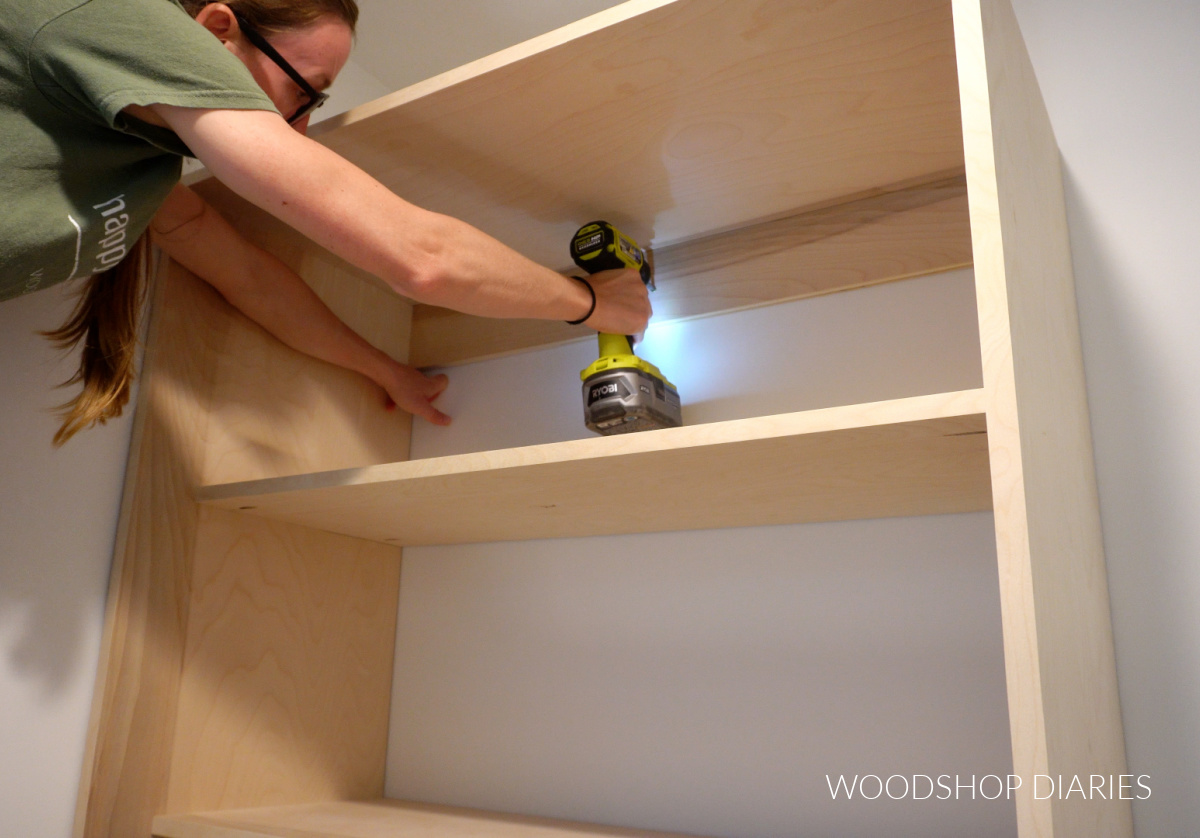
After the left and right shelves were in, I carefully measured between the dividers in the middle section and cut two more 1x3s and two more shelves to fit.
I installed these middle section pieces with pocket hole screws as well. So each section of the hutch should have two 1×12 shelves and two 1×3 back supports.
Prefer to print? Grab the printable building plans for this countertop hutch project here.
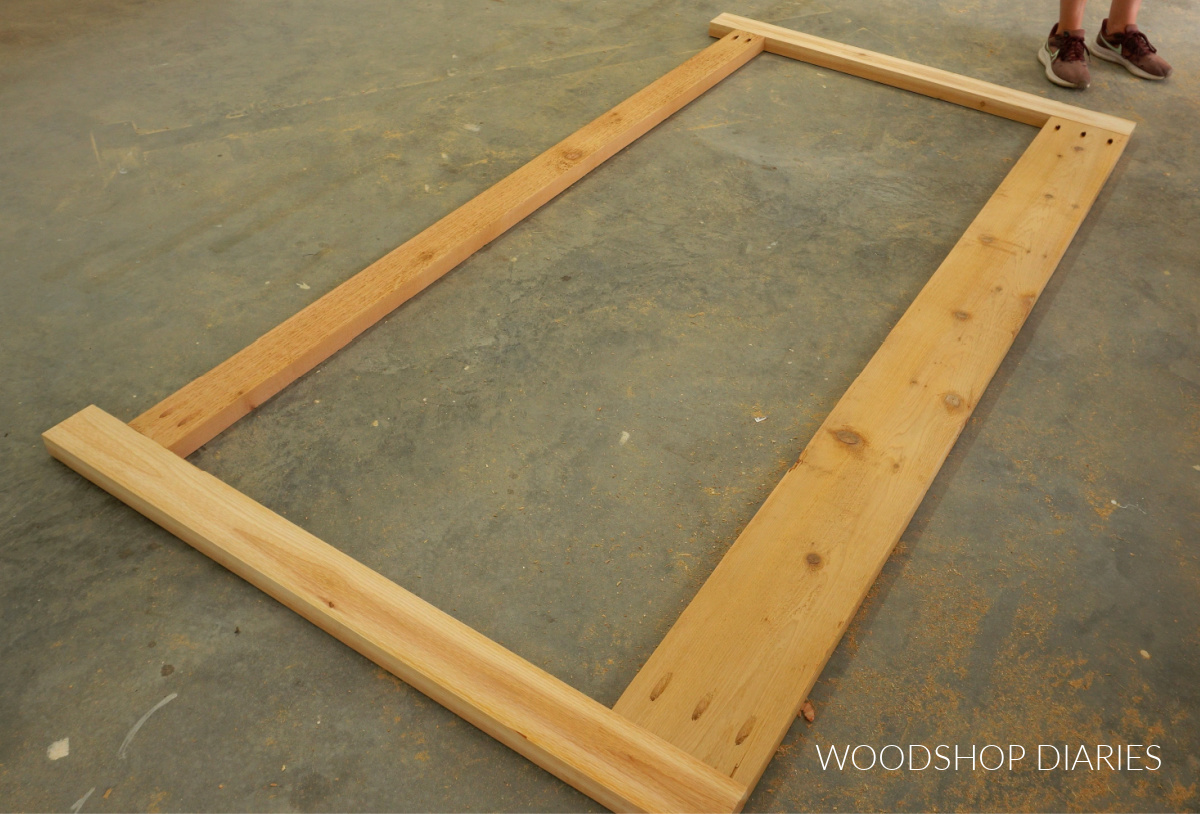
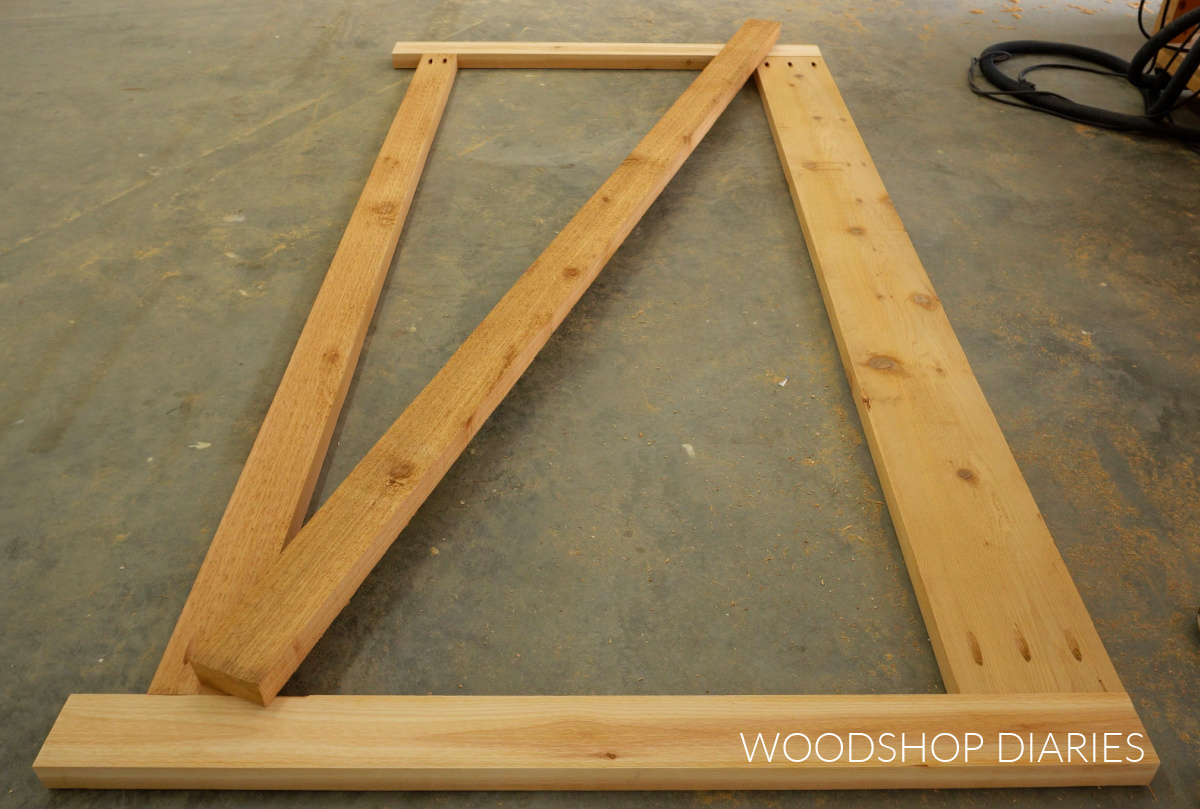
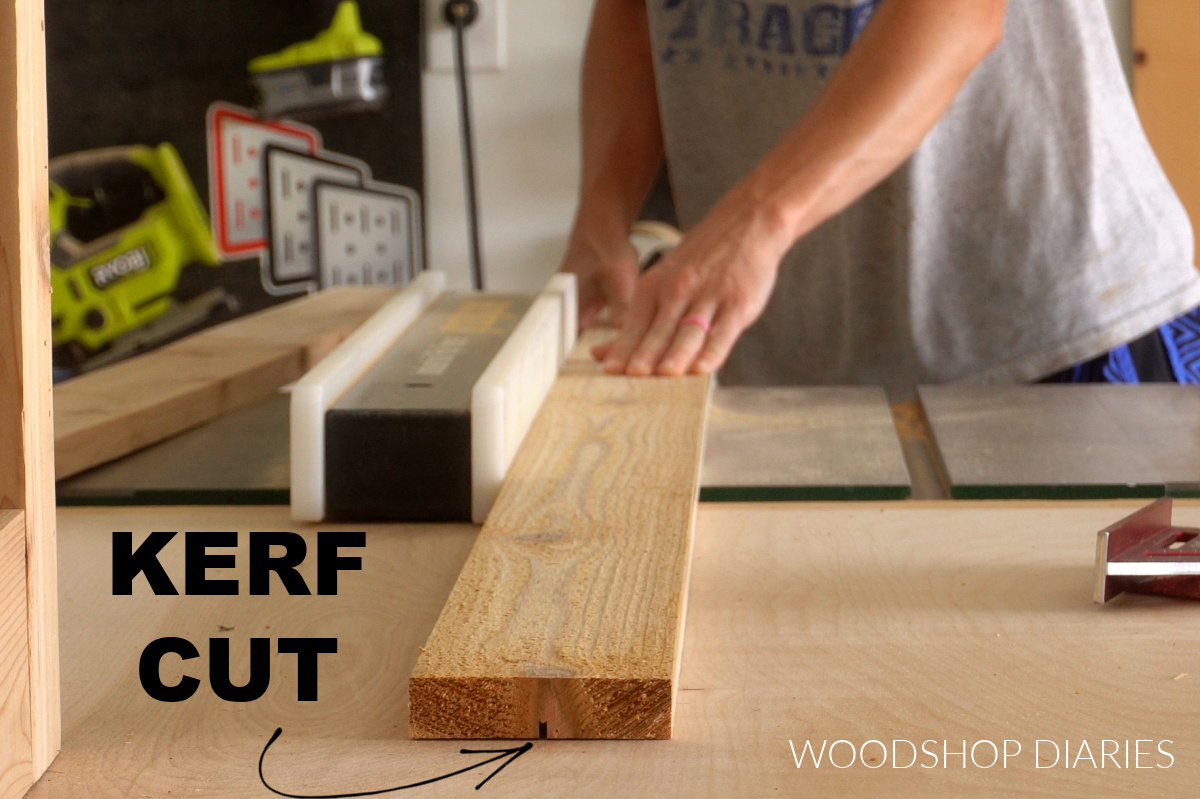
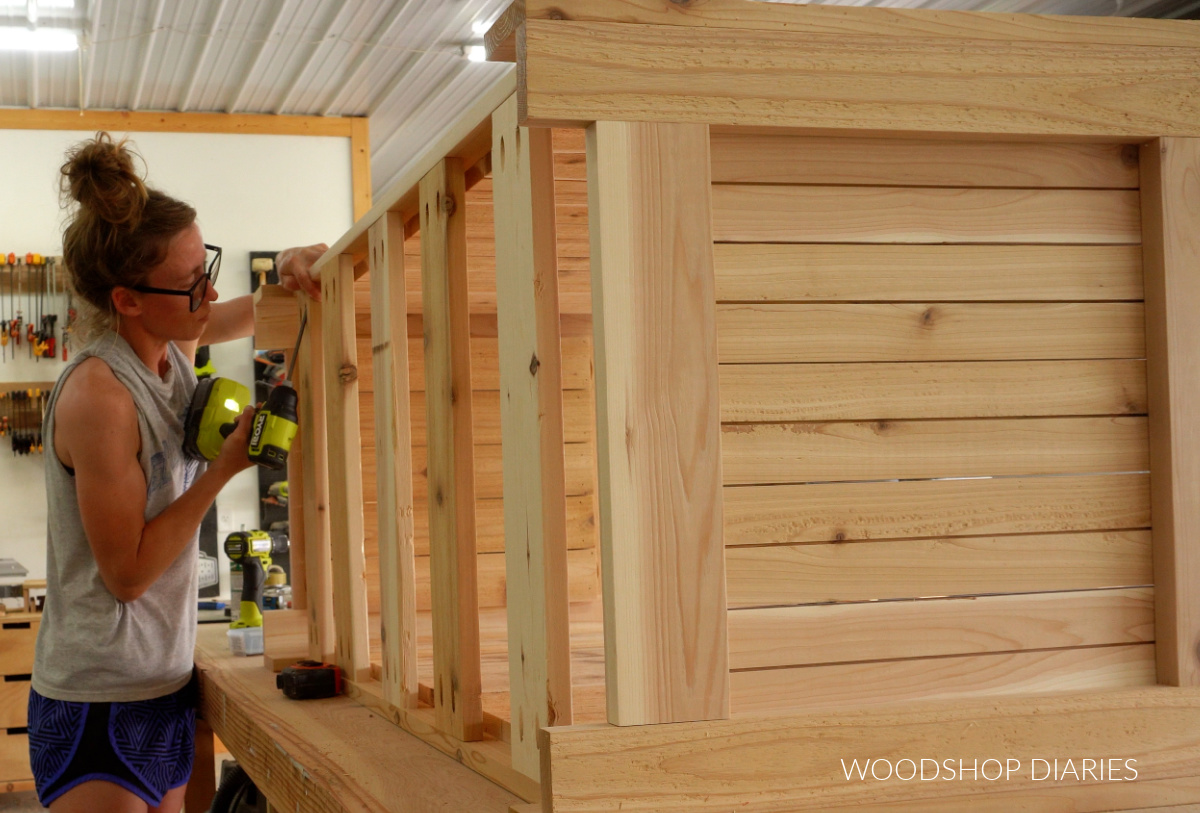
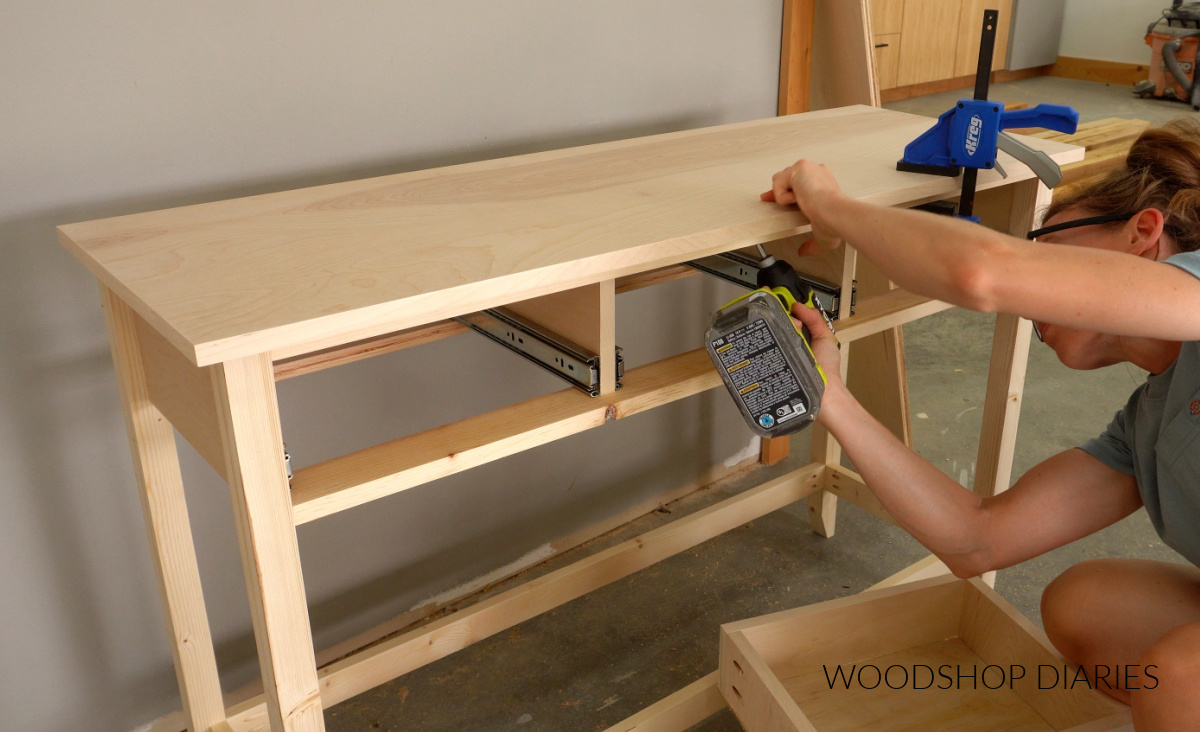
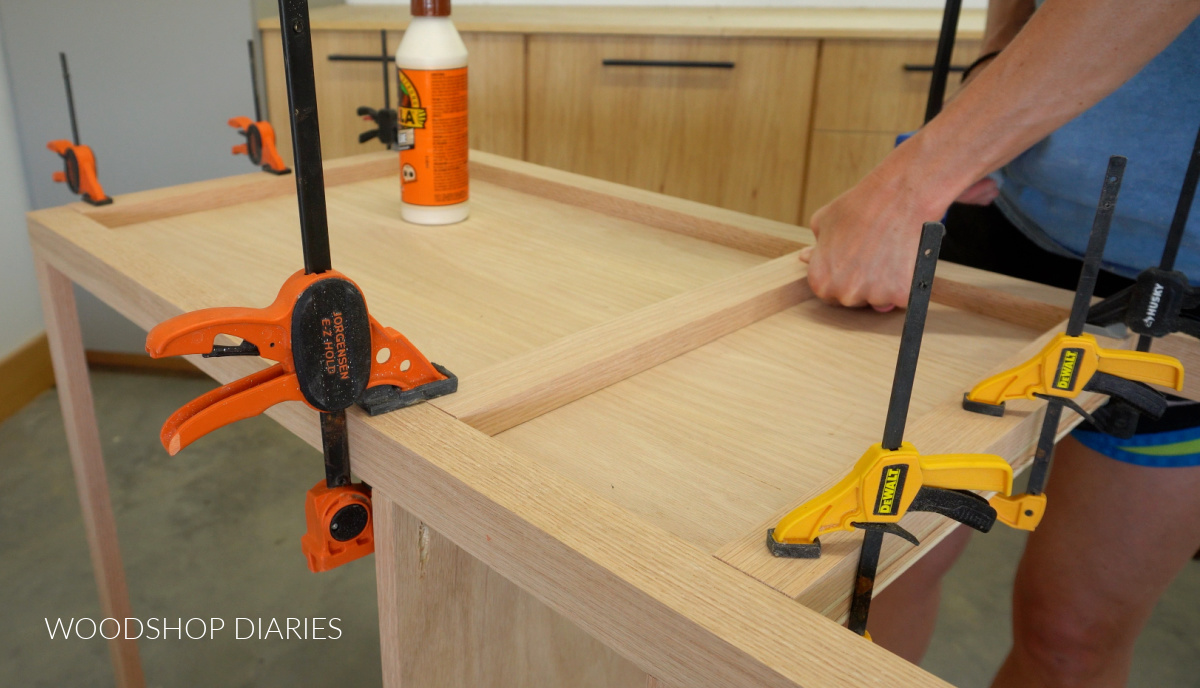
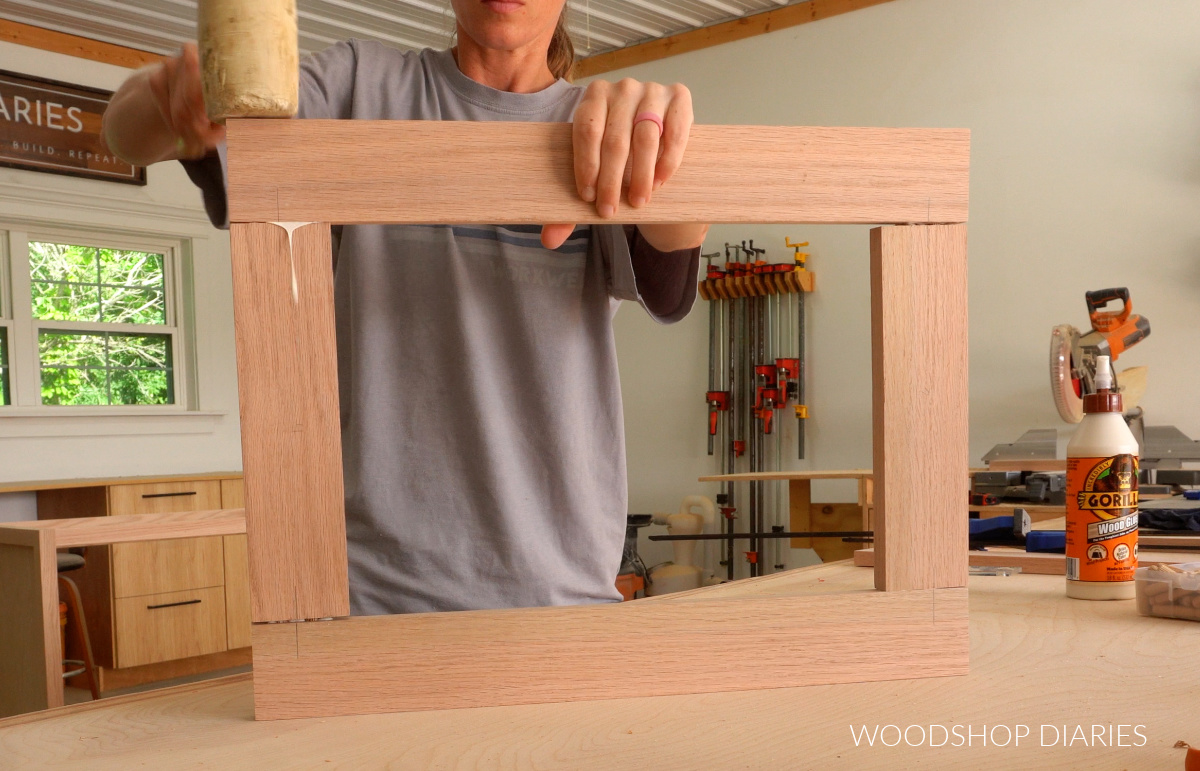
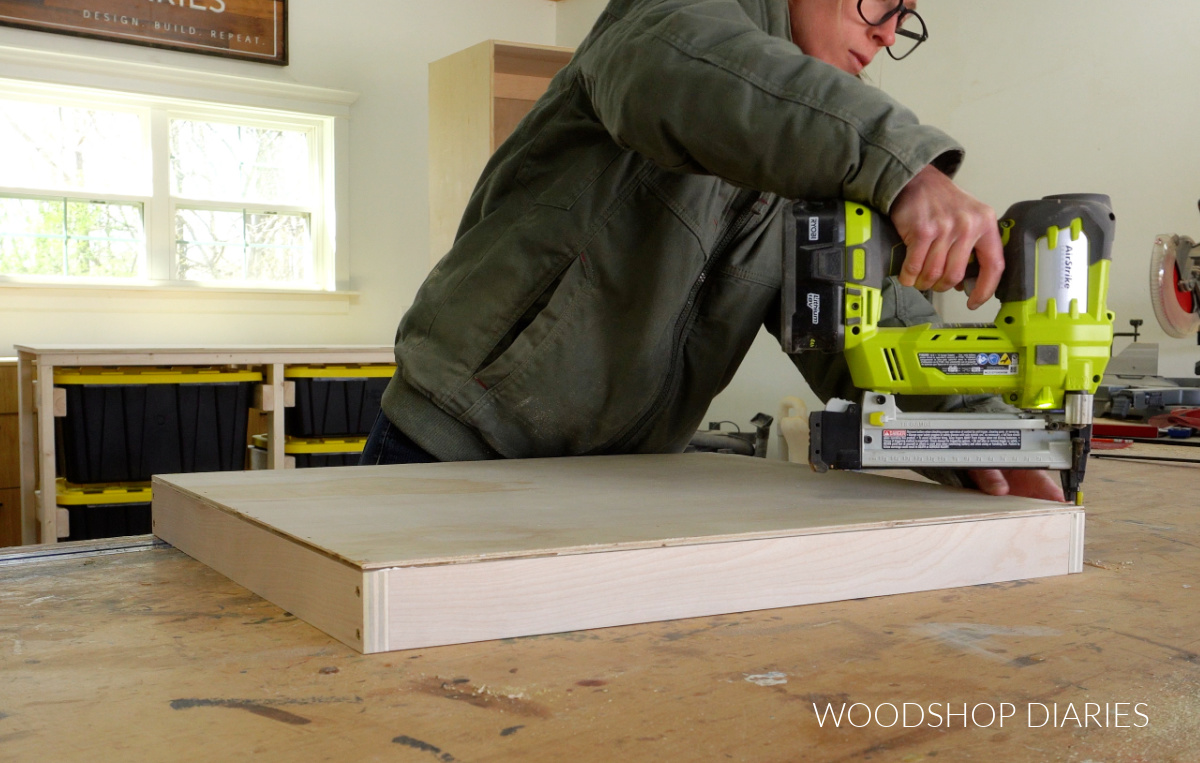
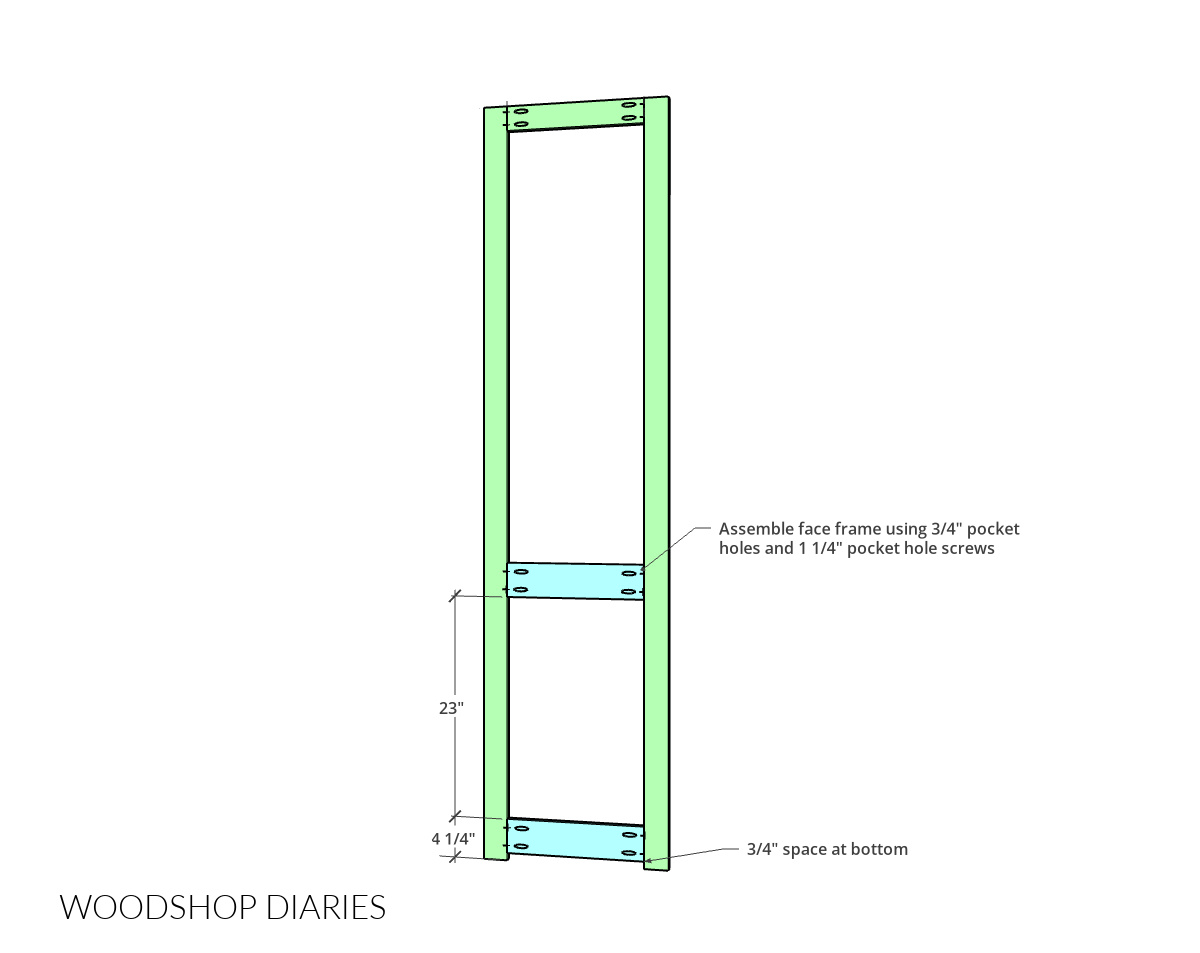
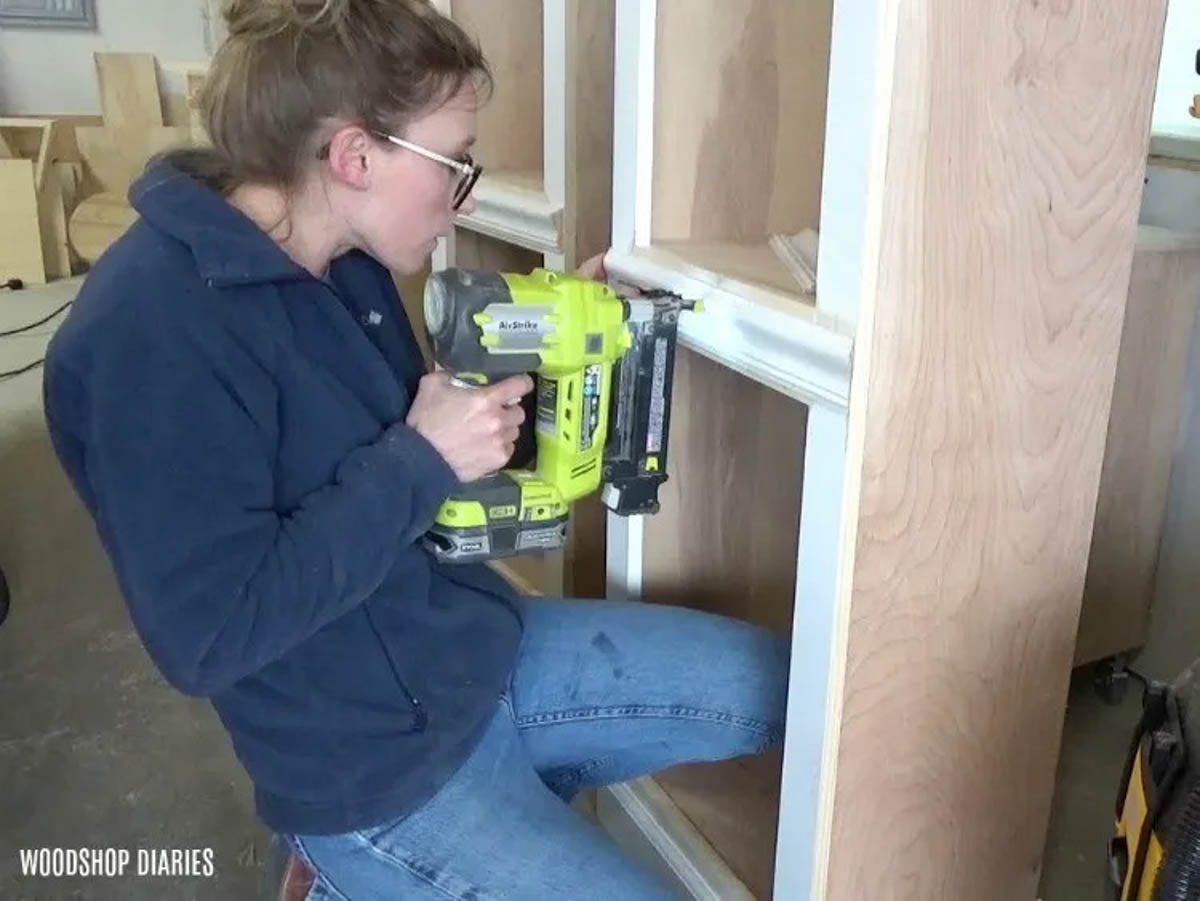
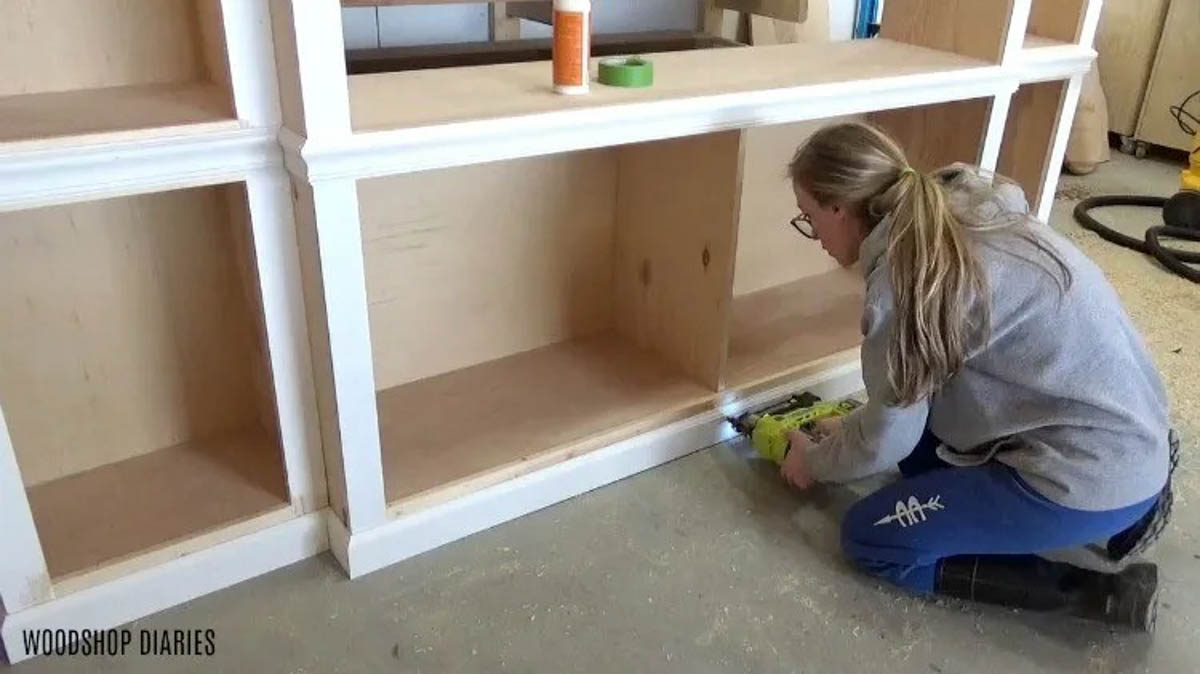
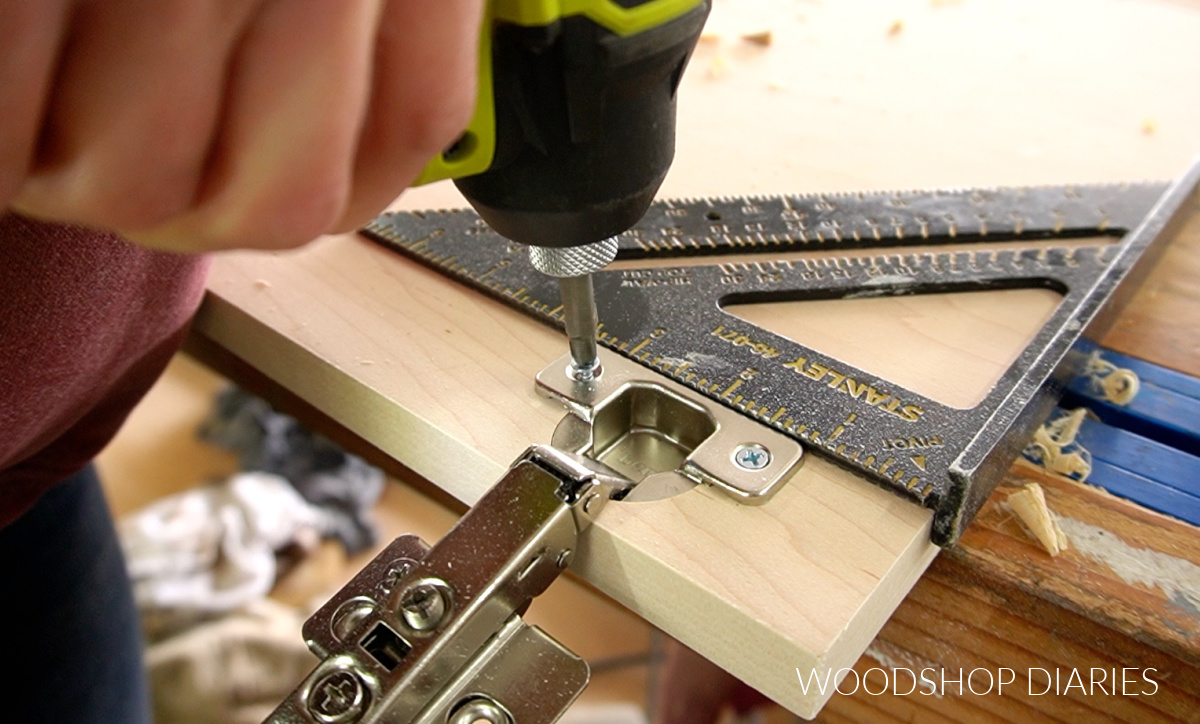
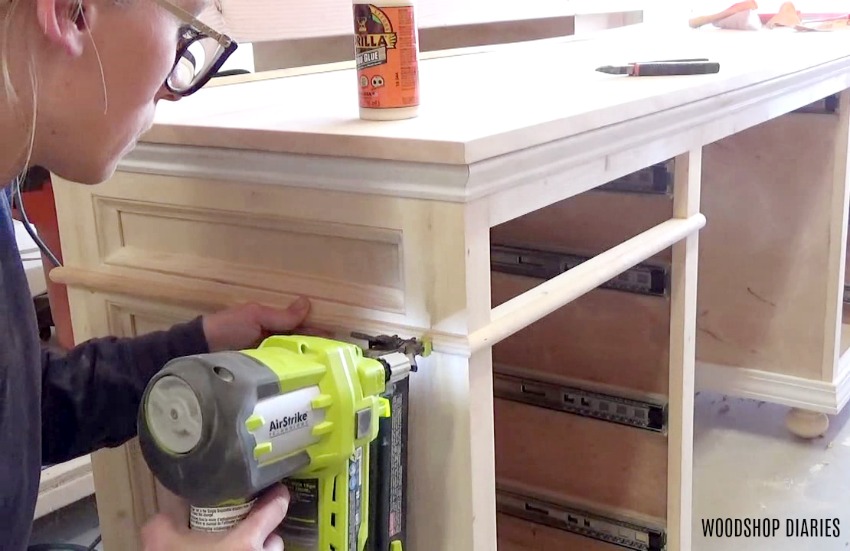
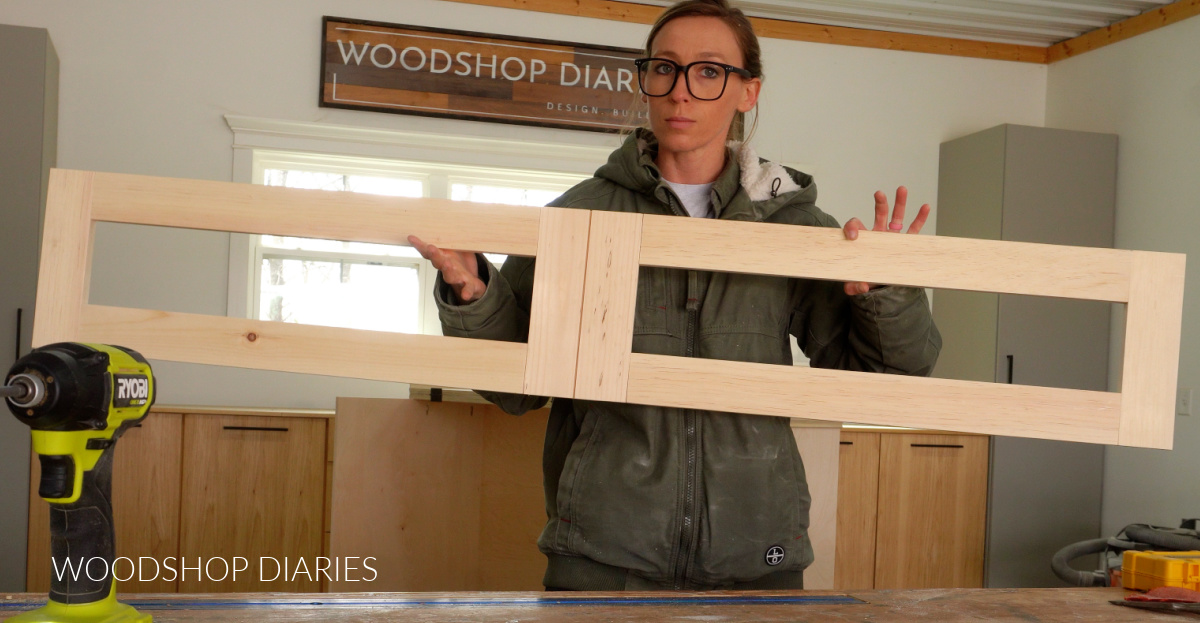
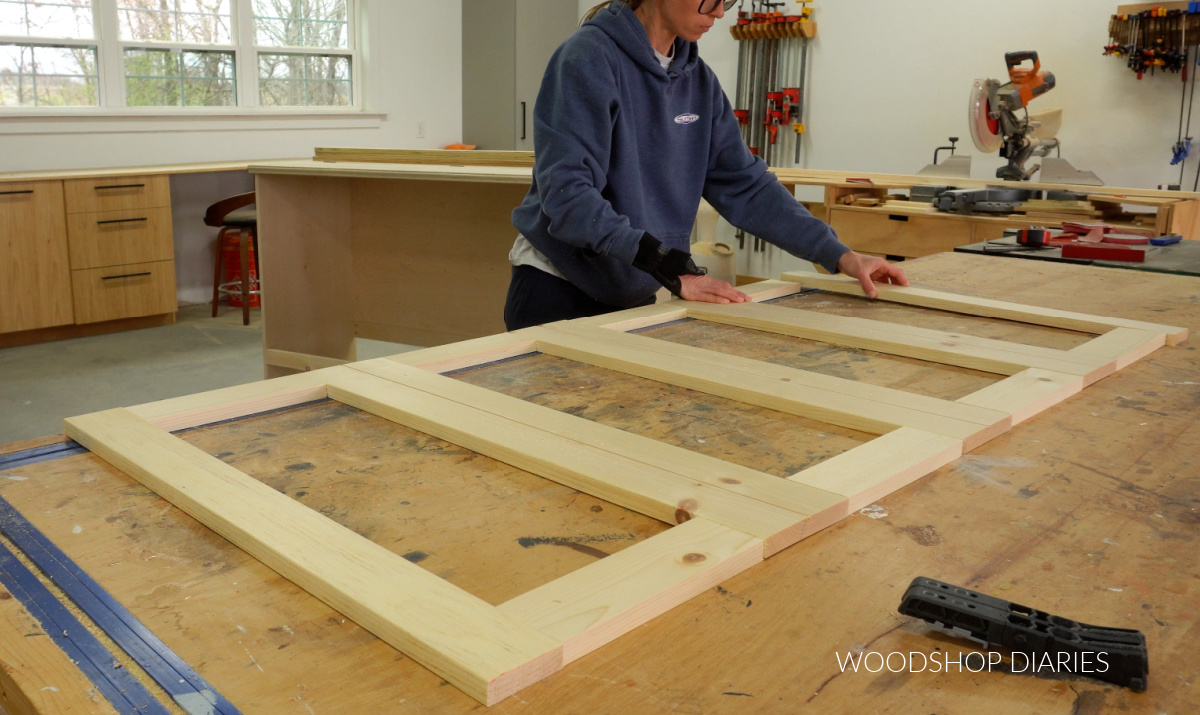
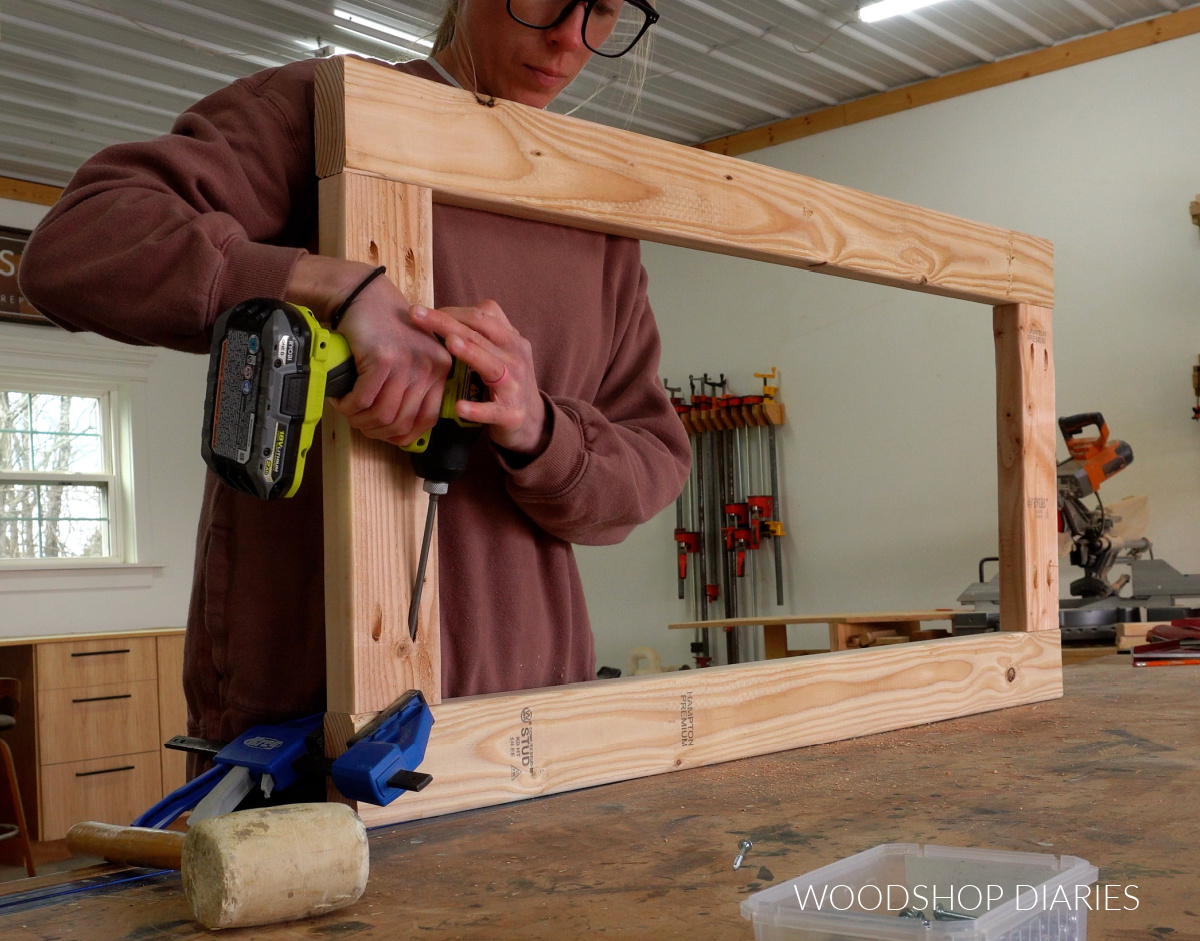
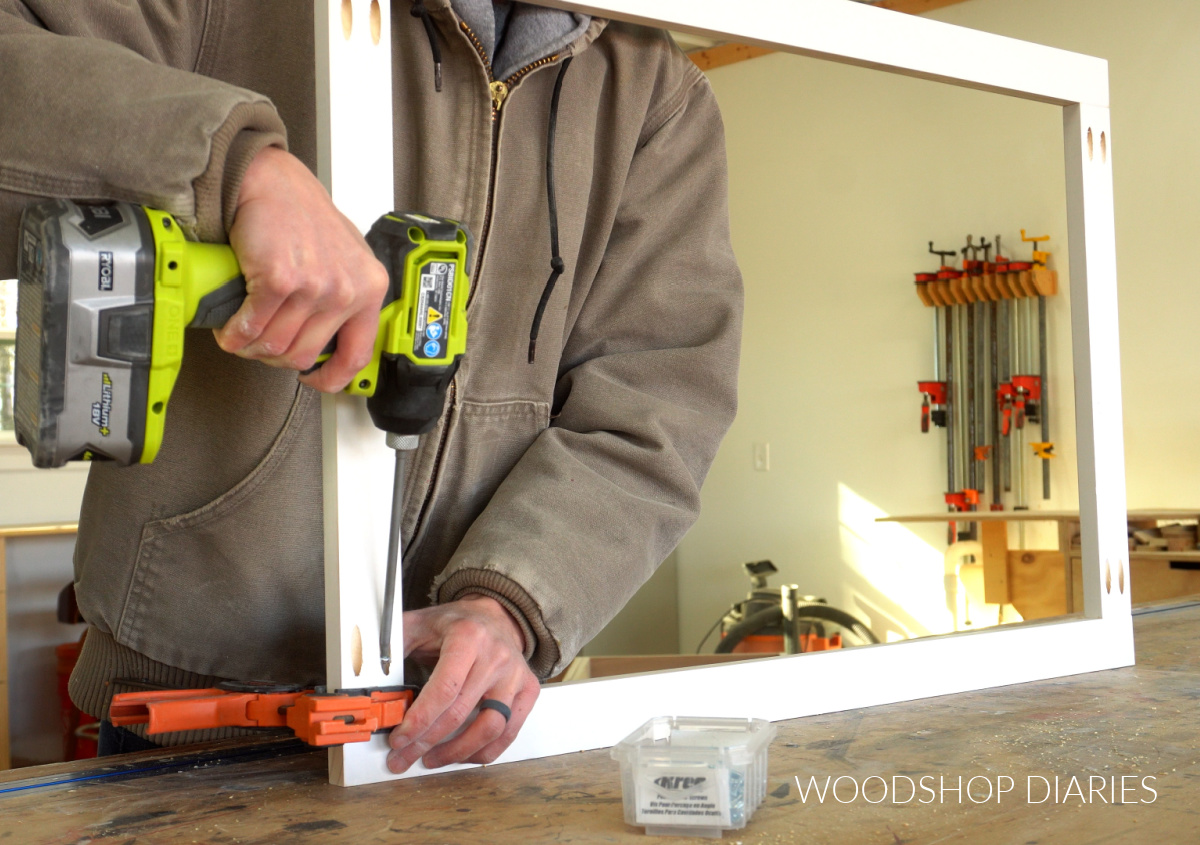
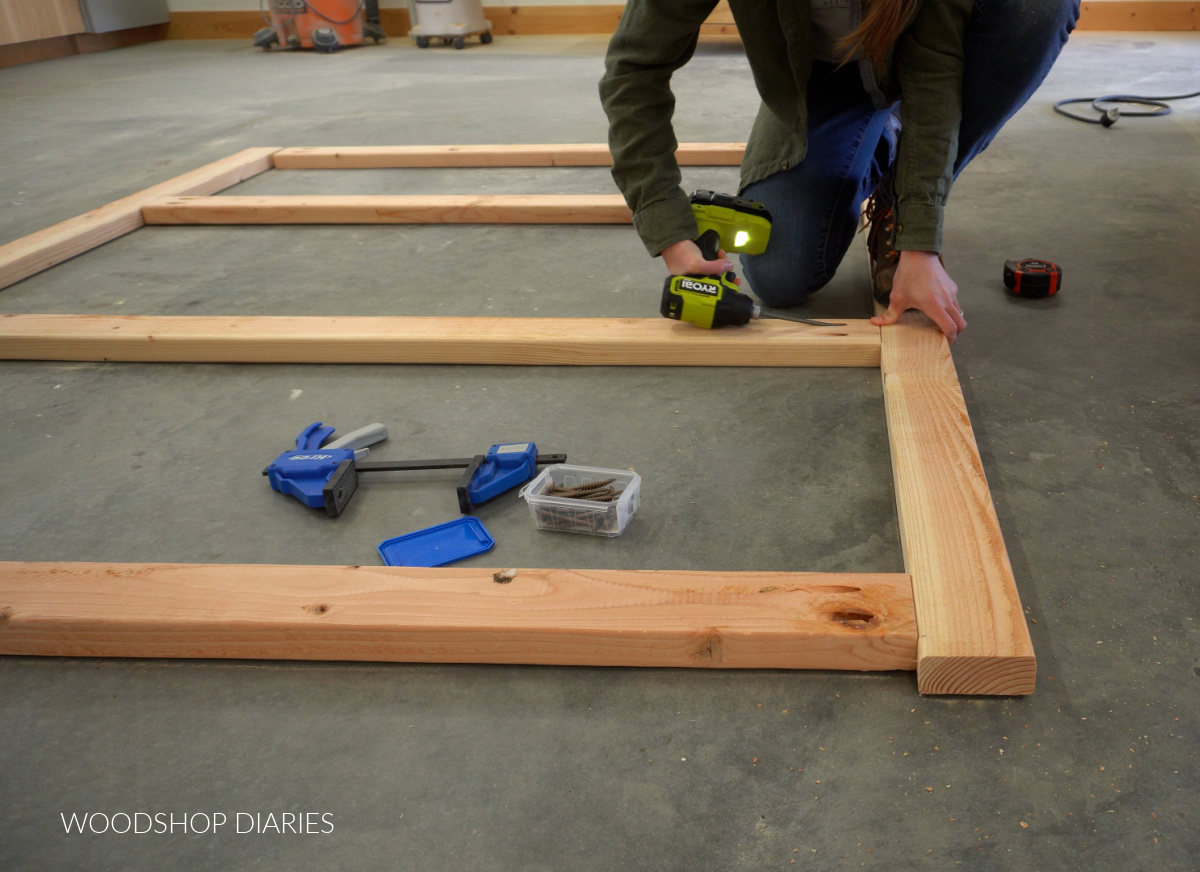
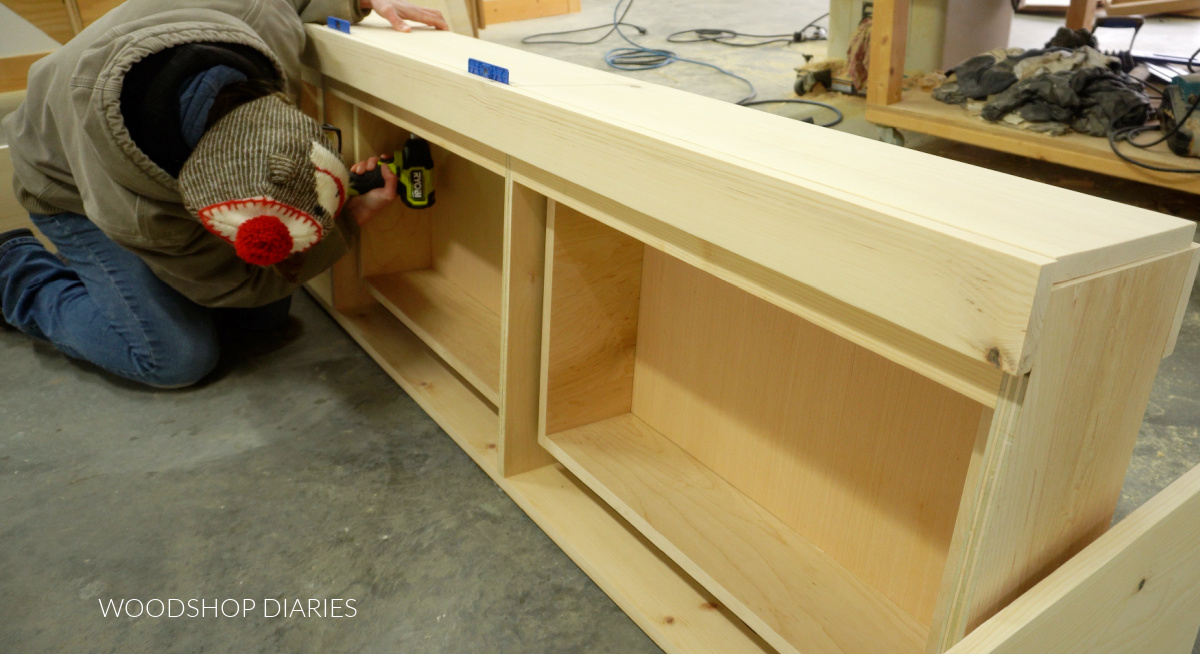
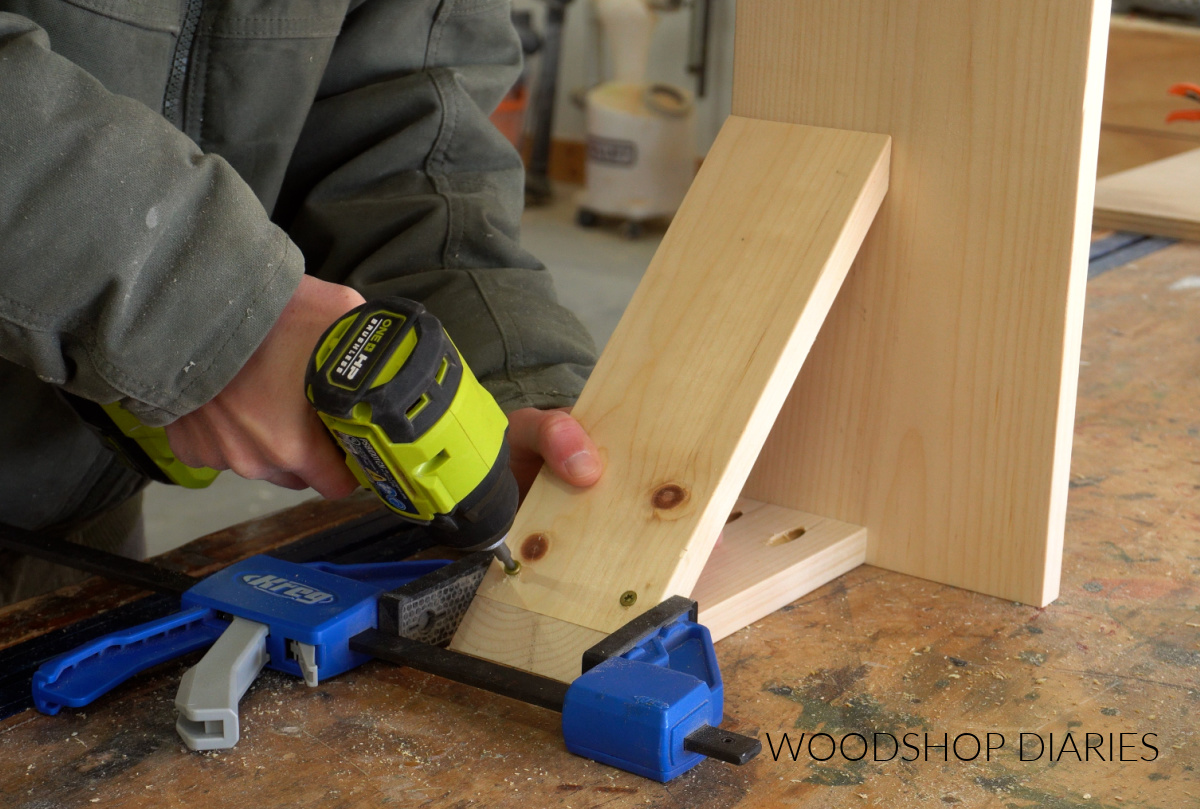
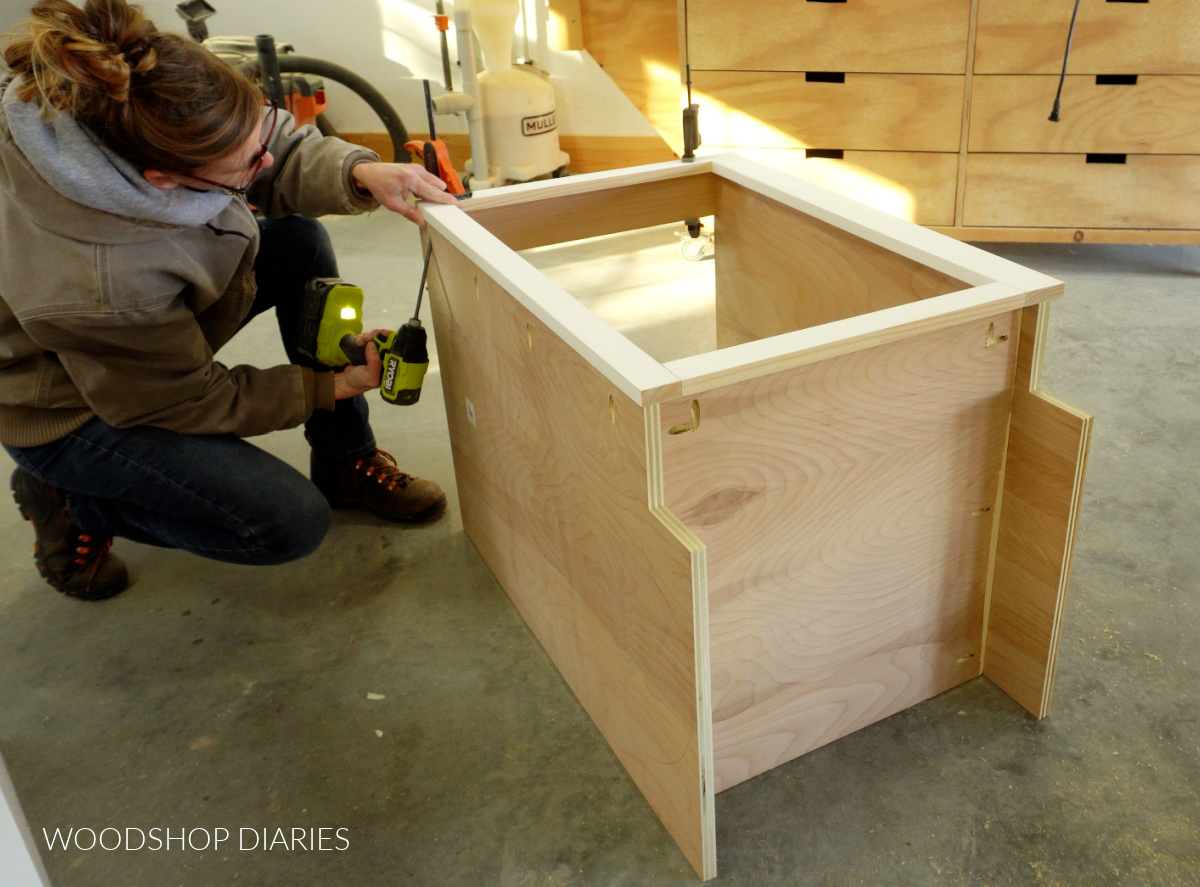
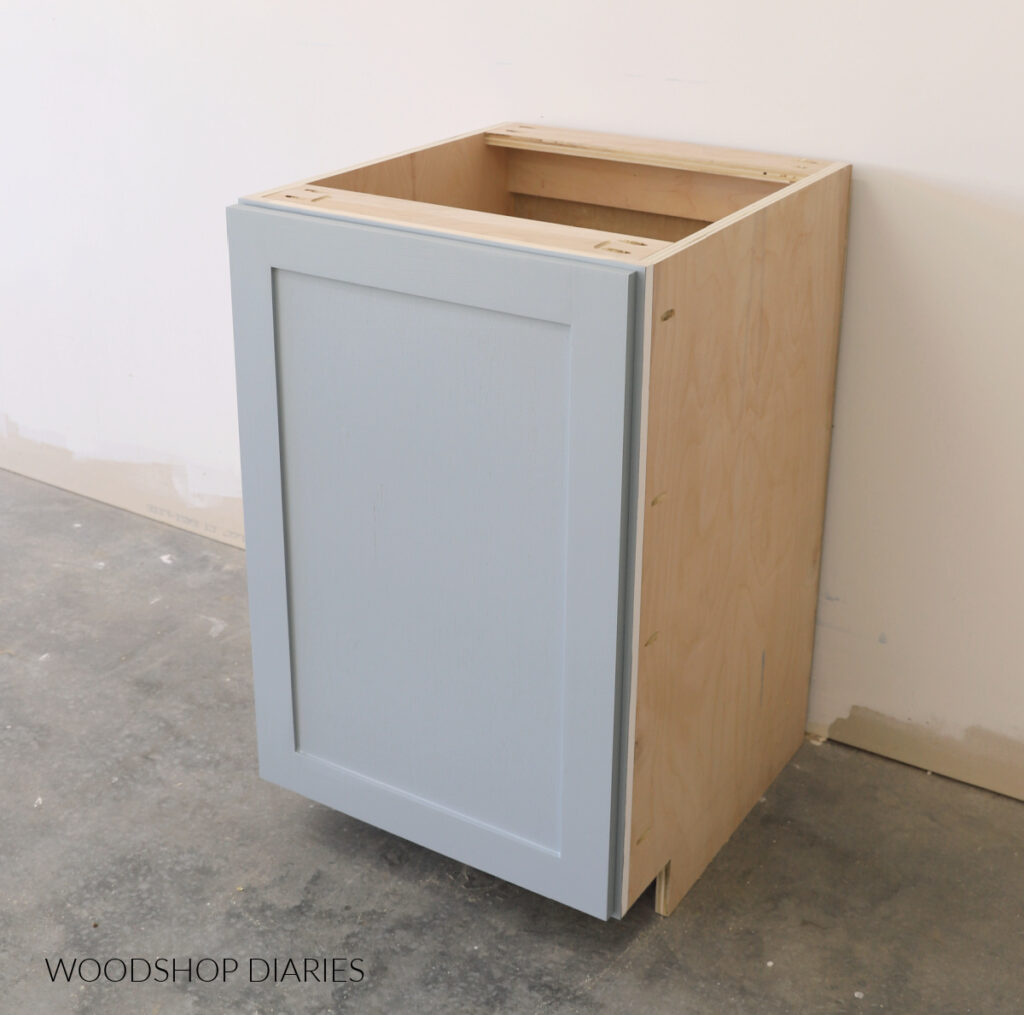
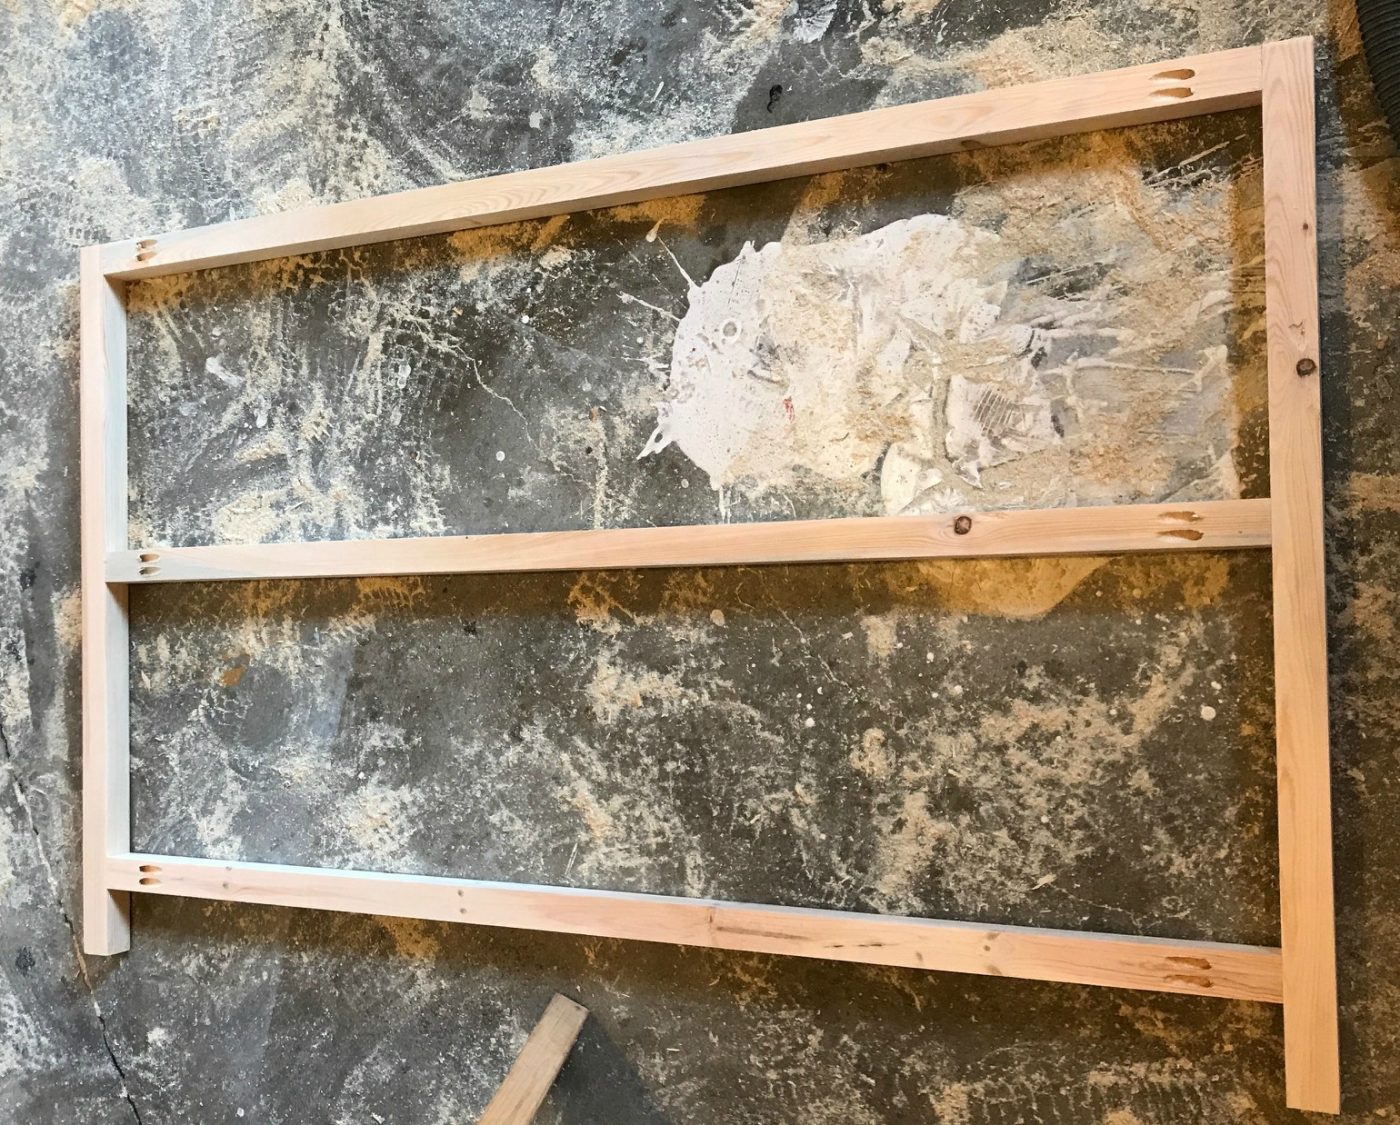
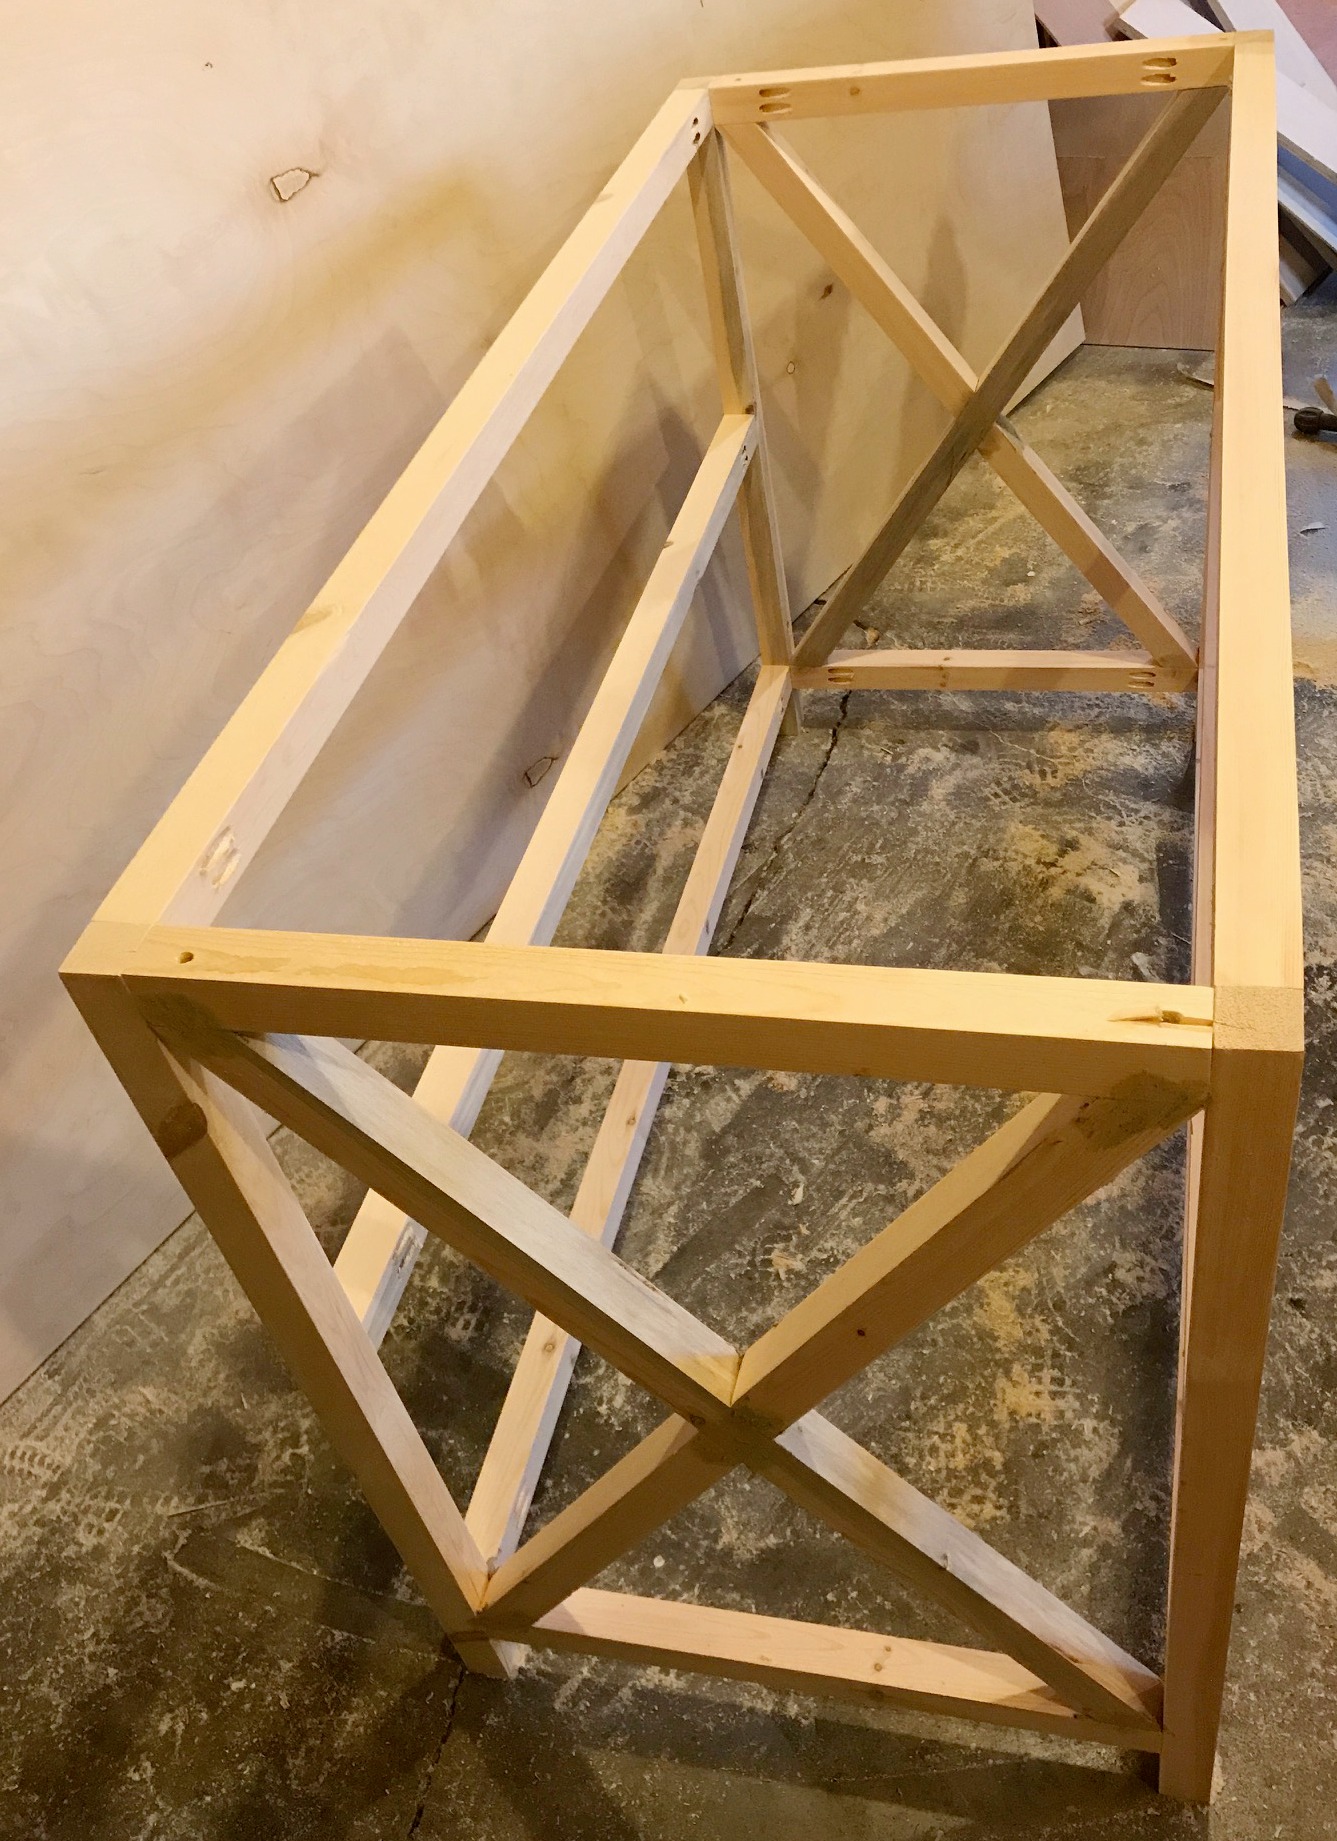
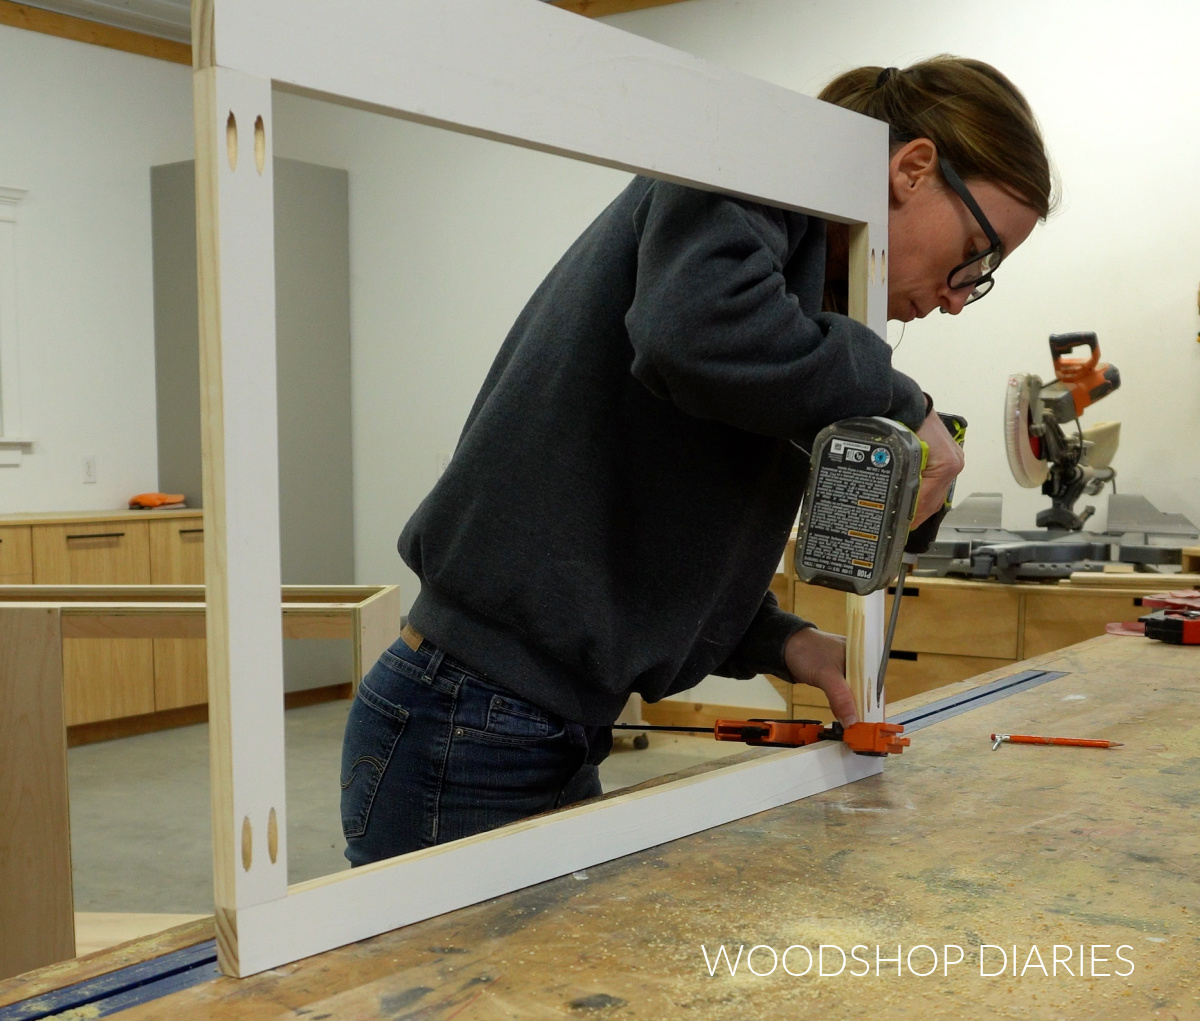
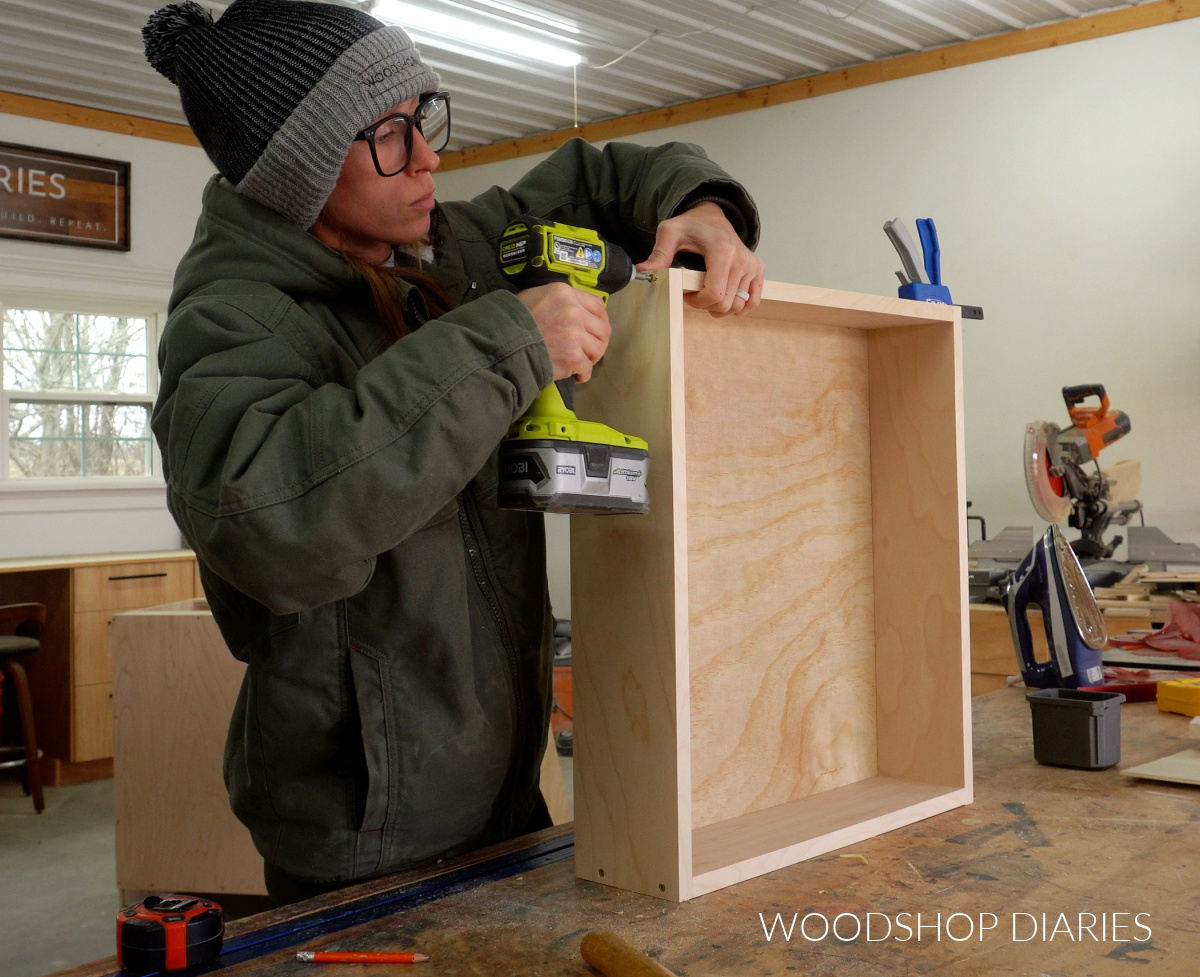
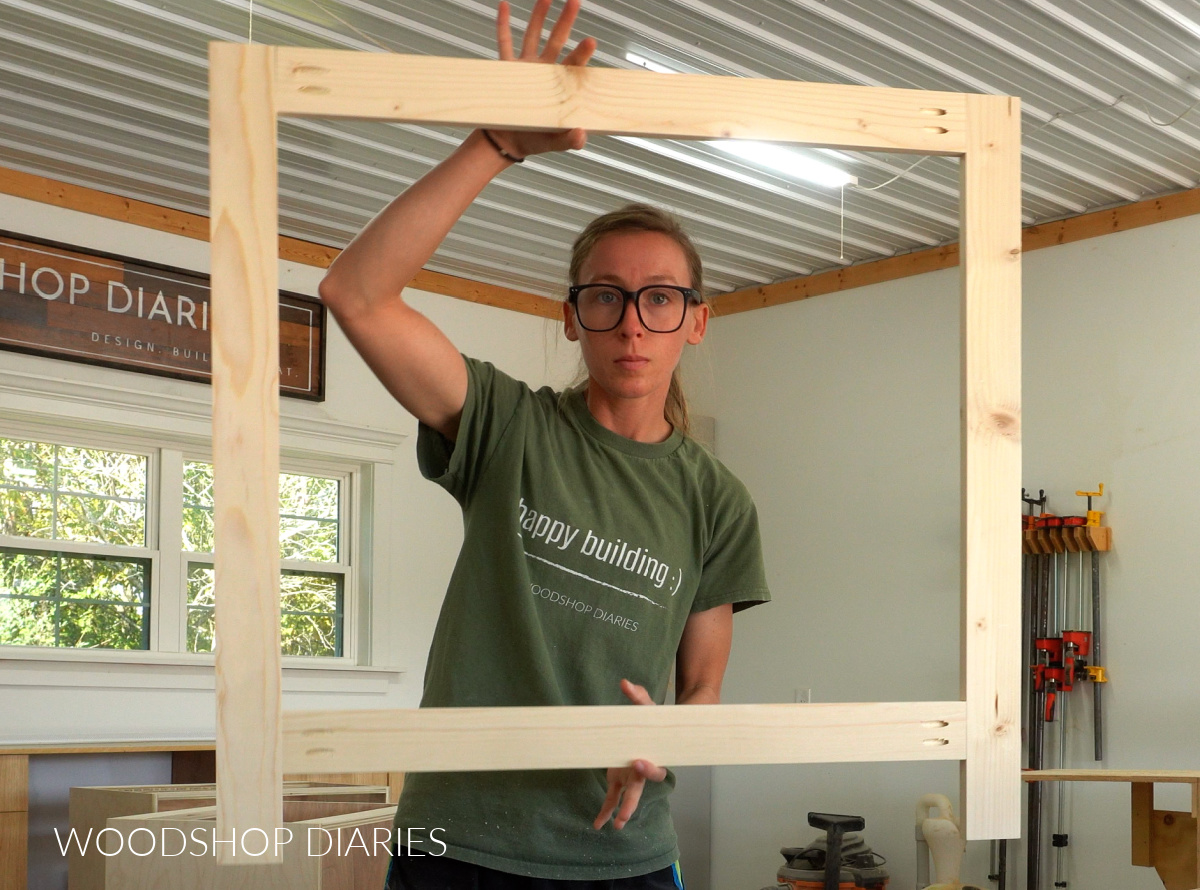
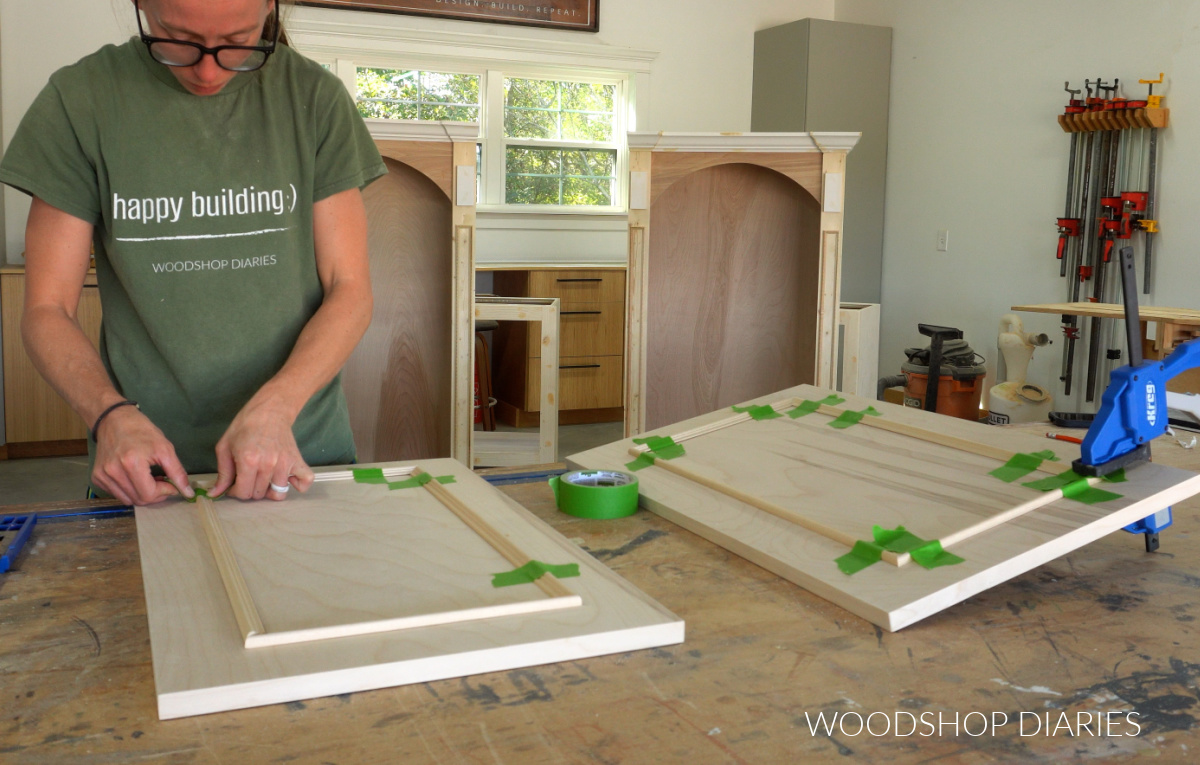
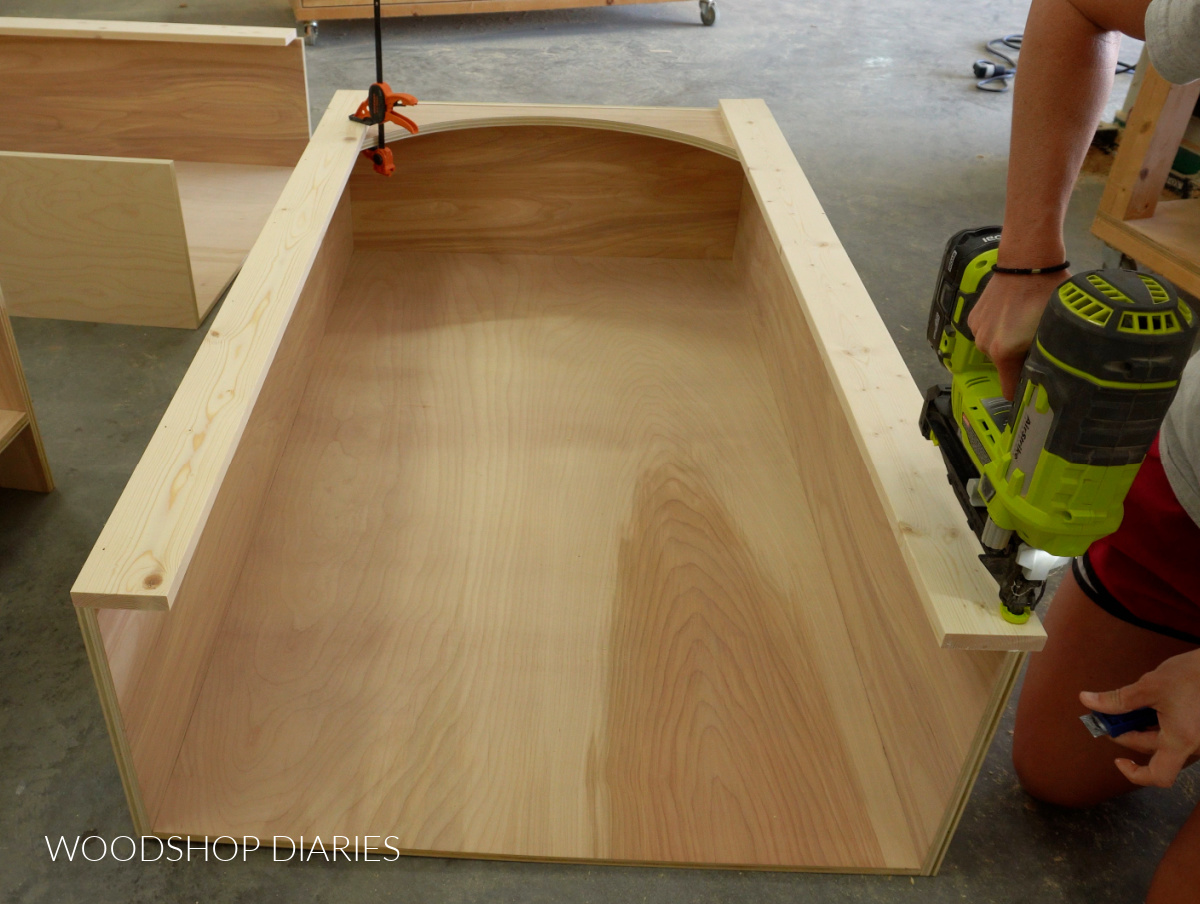
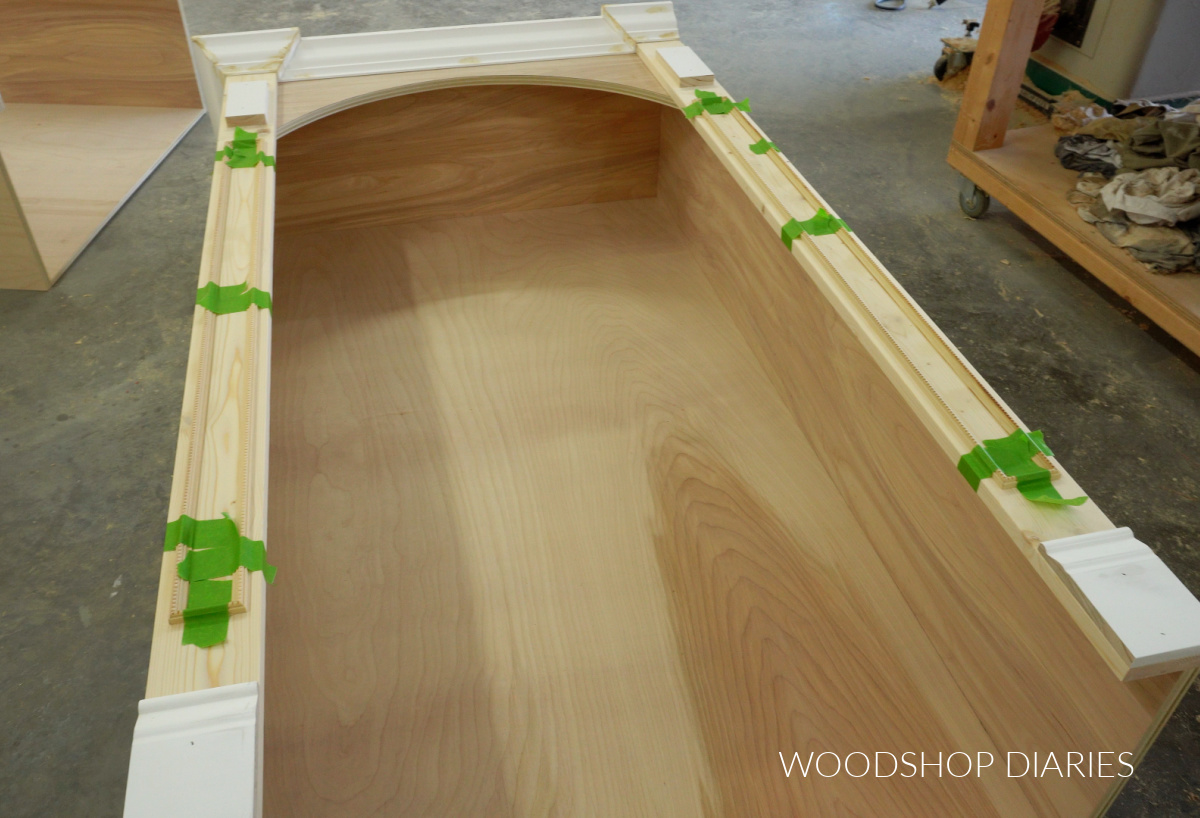
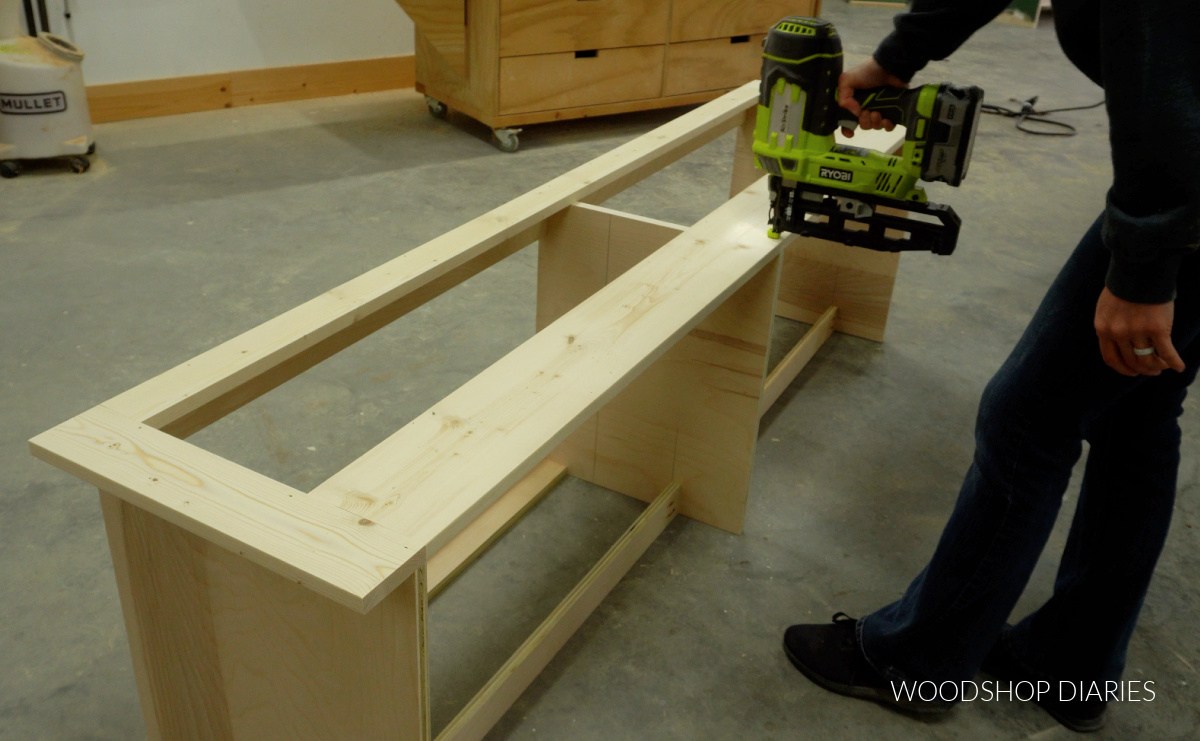
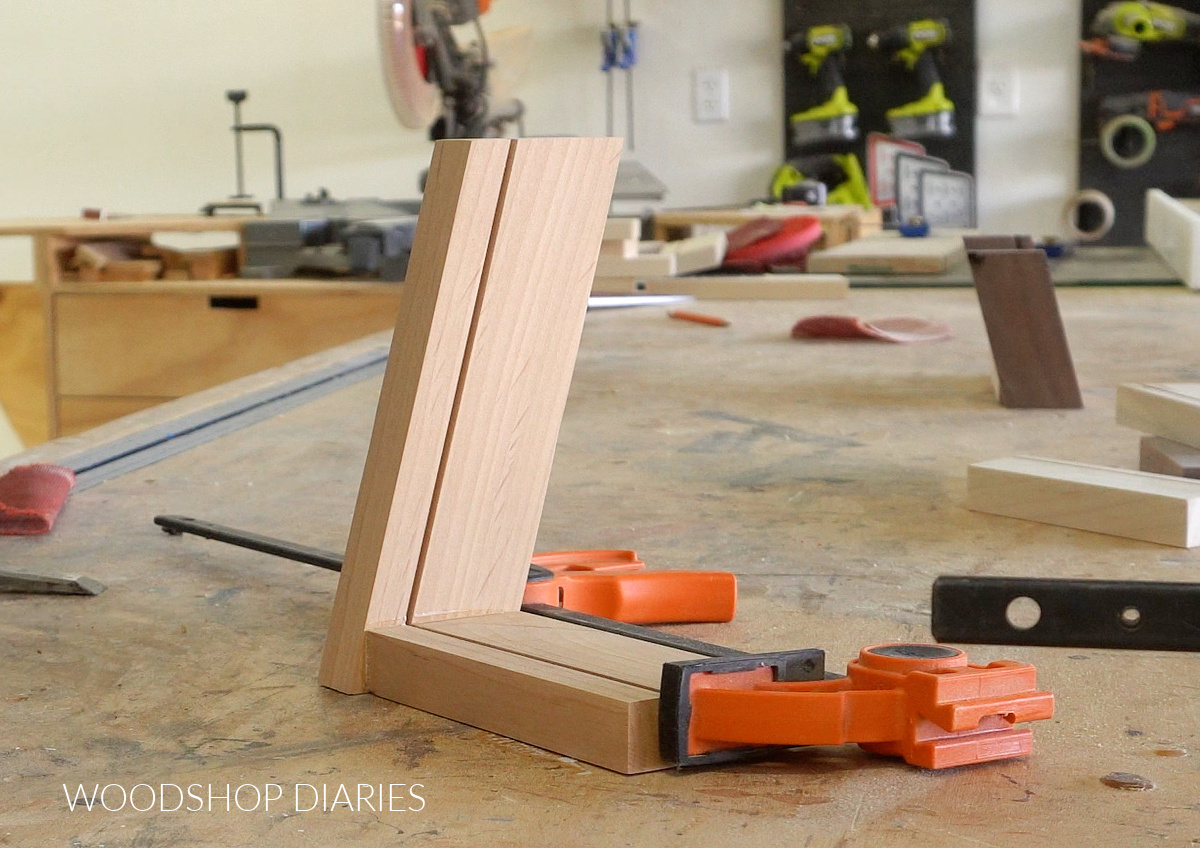
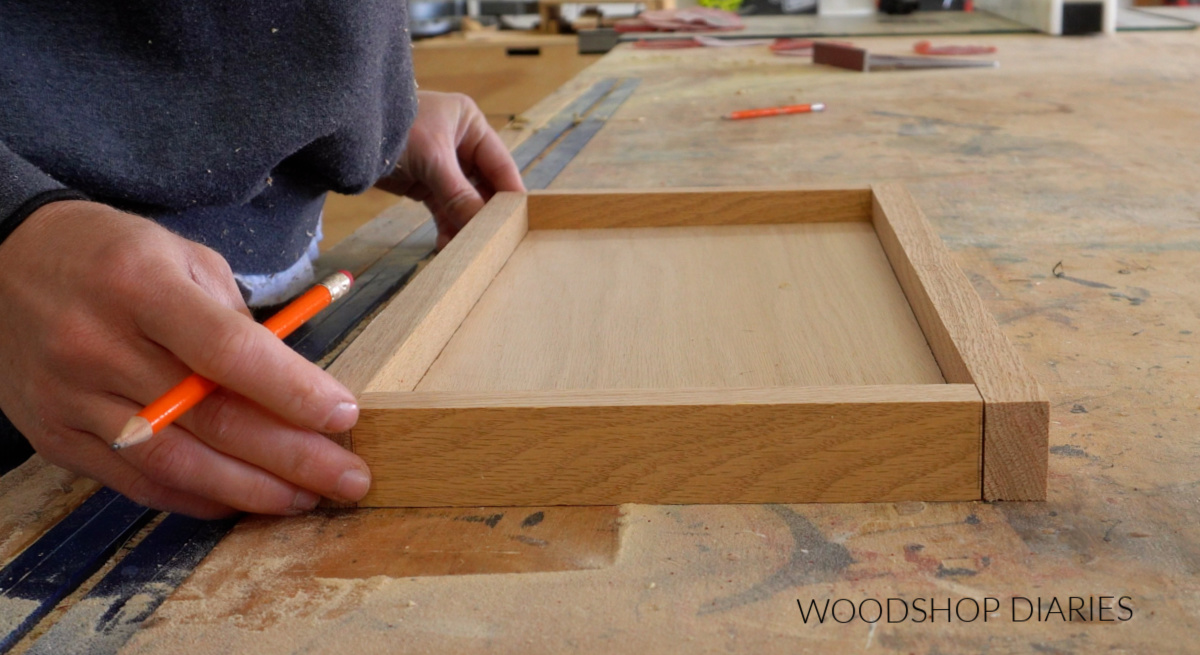
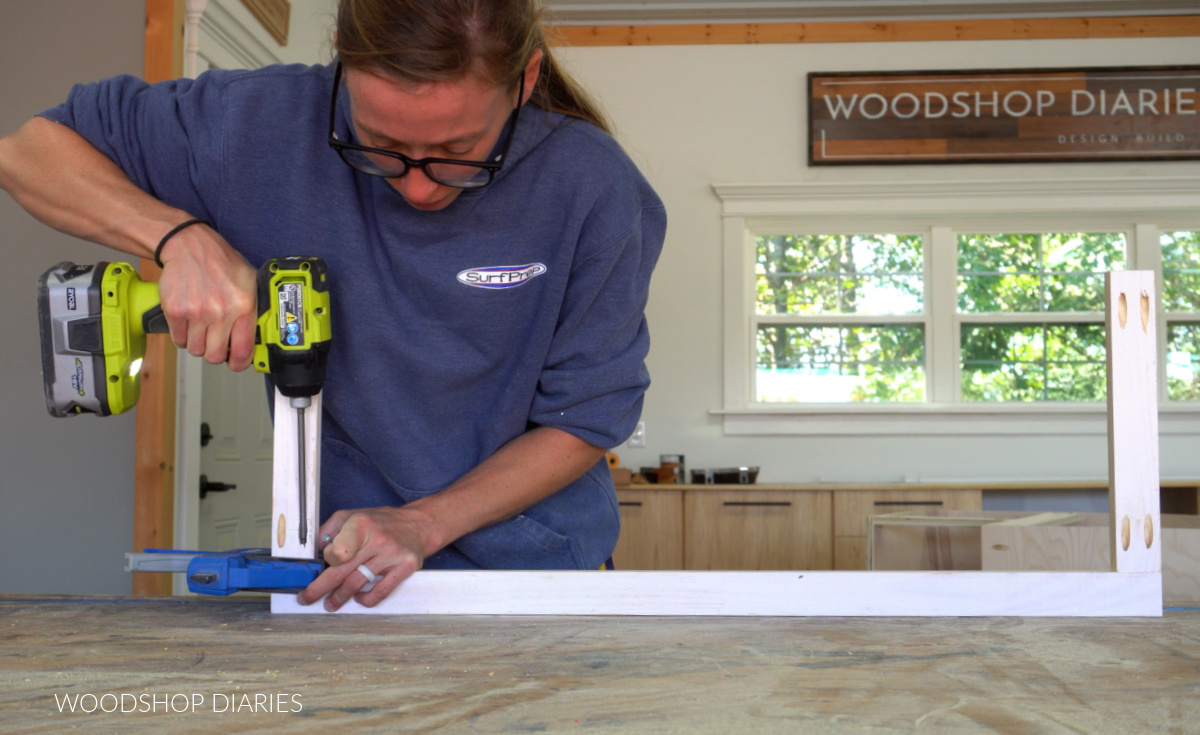
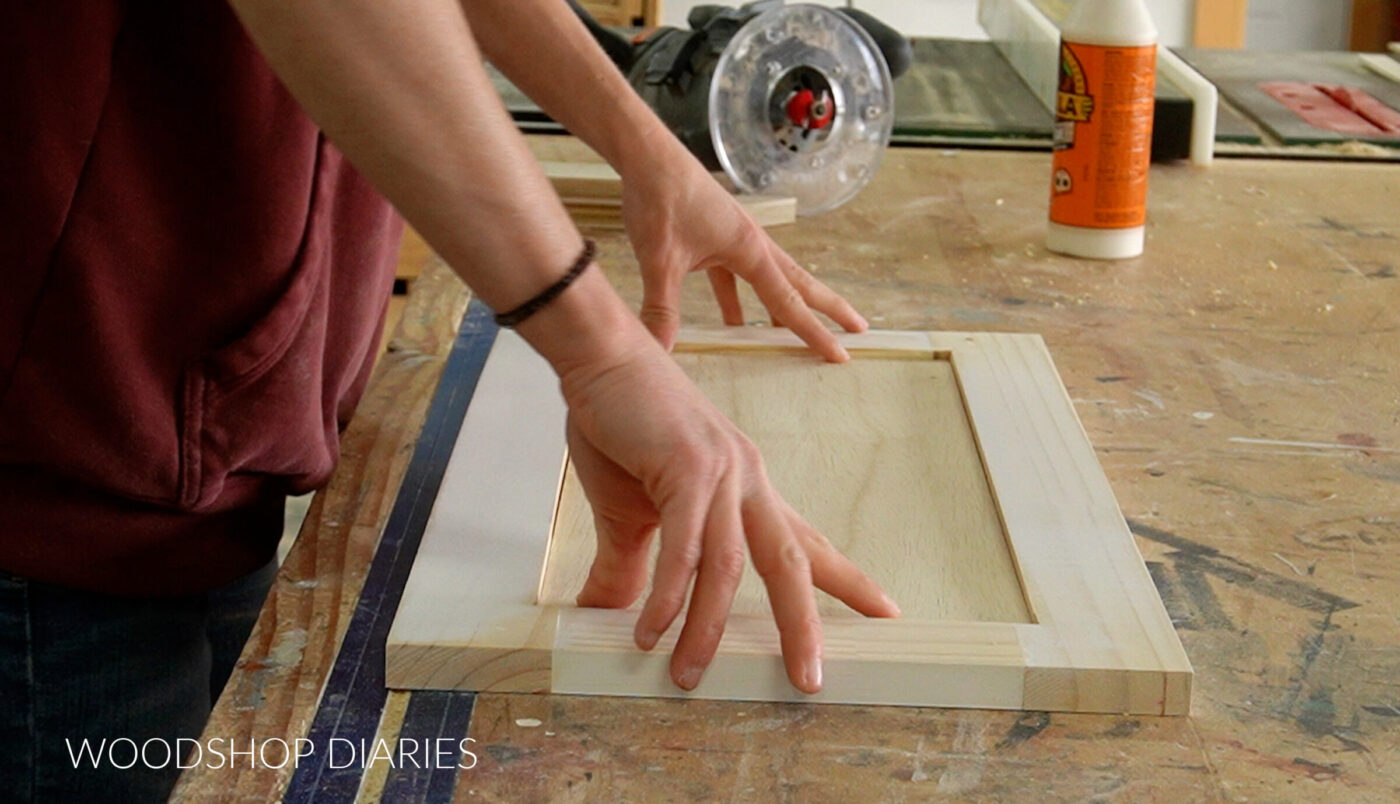
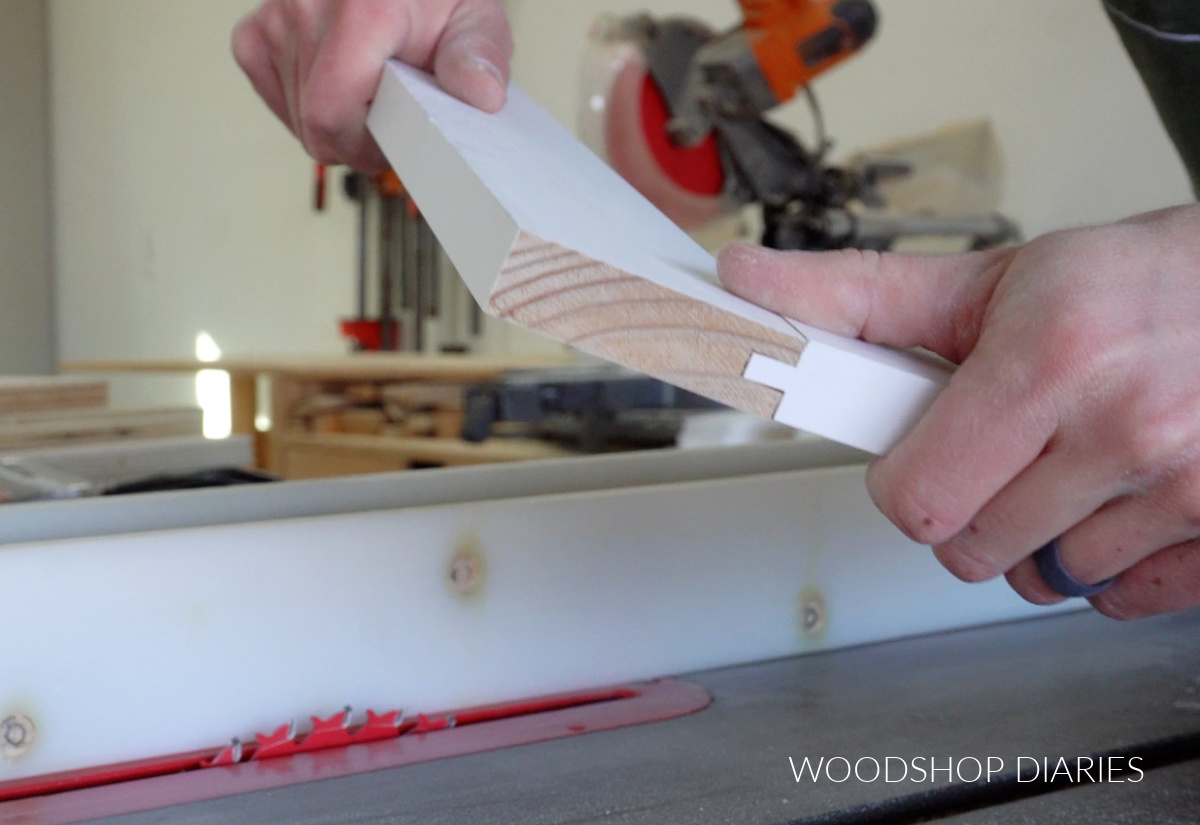
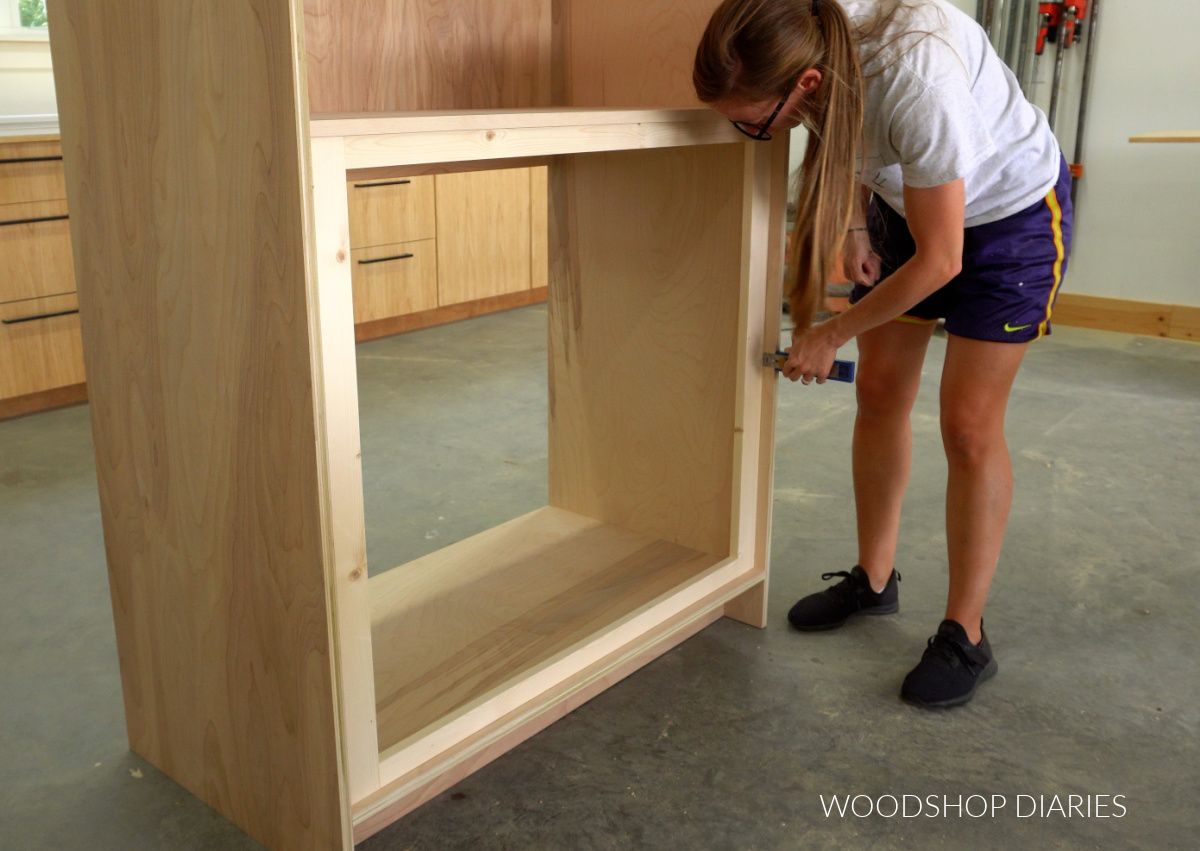
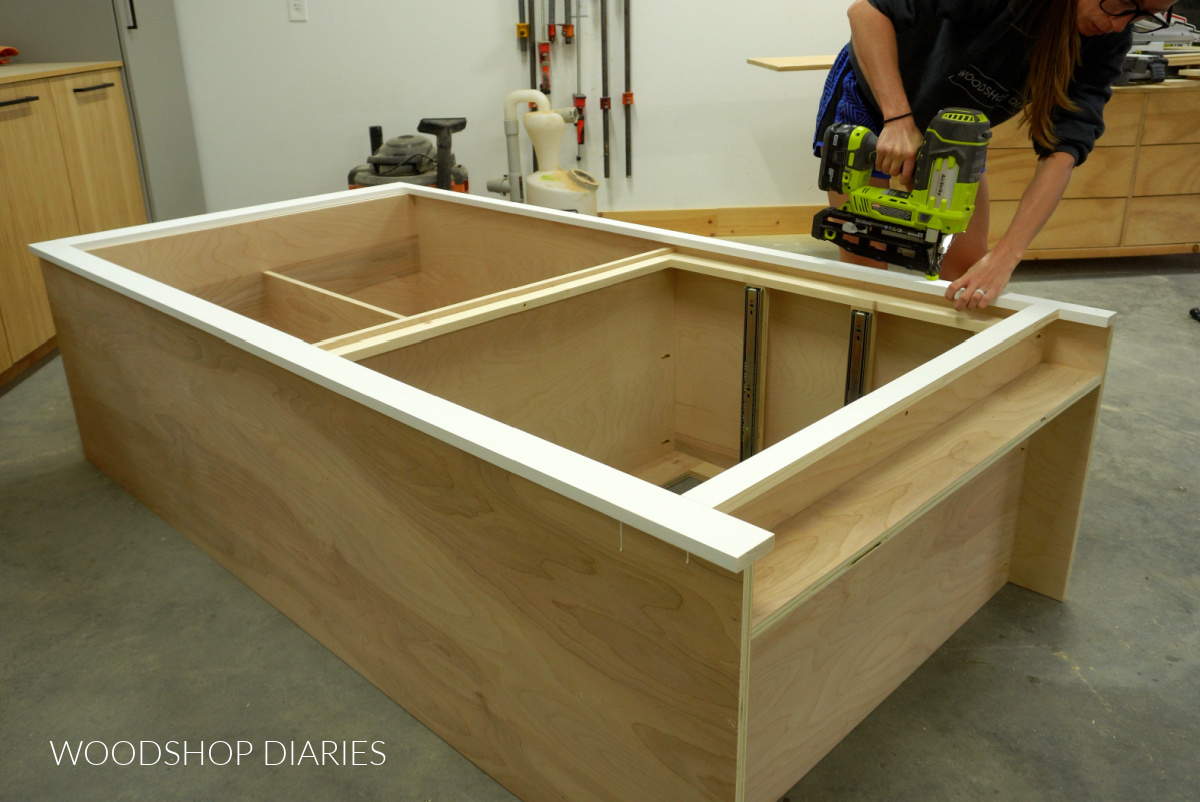
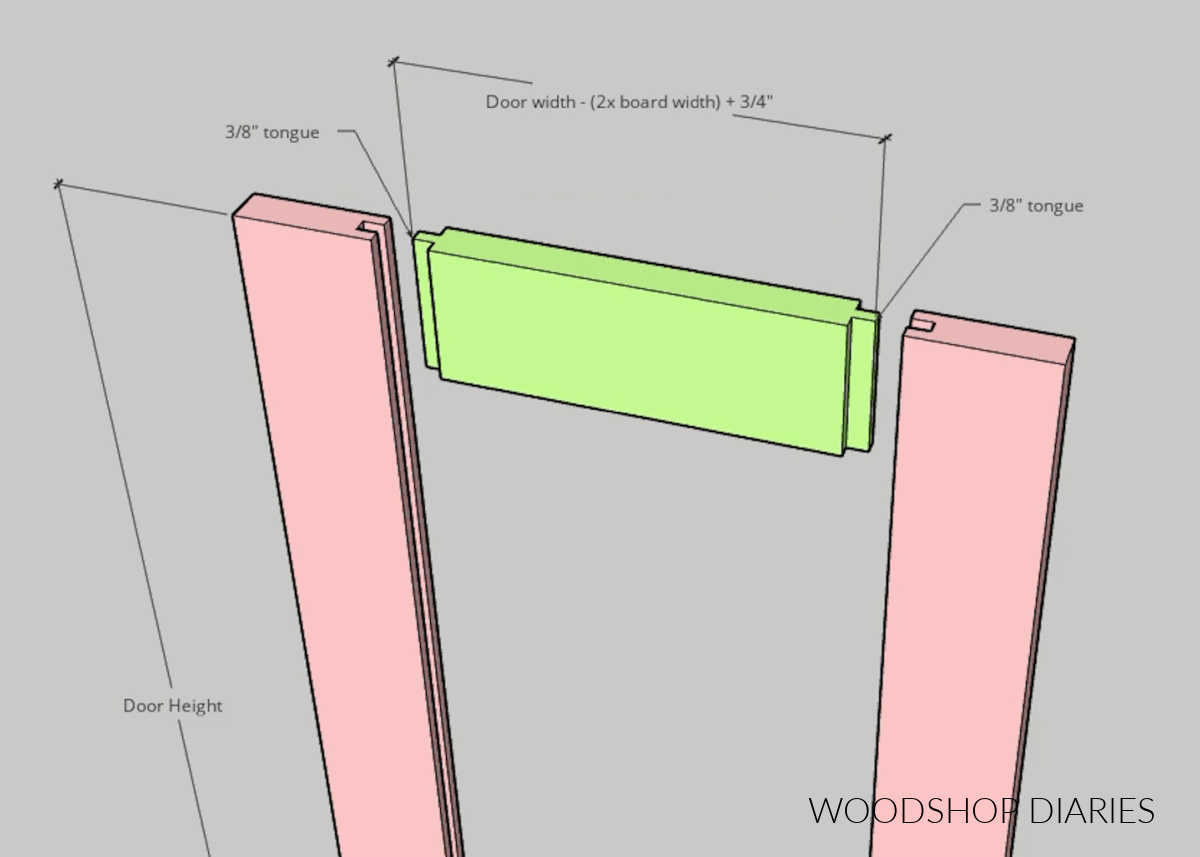
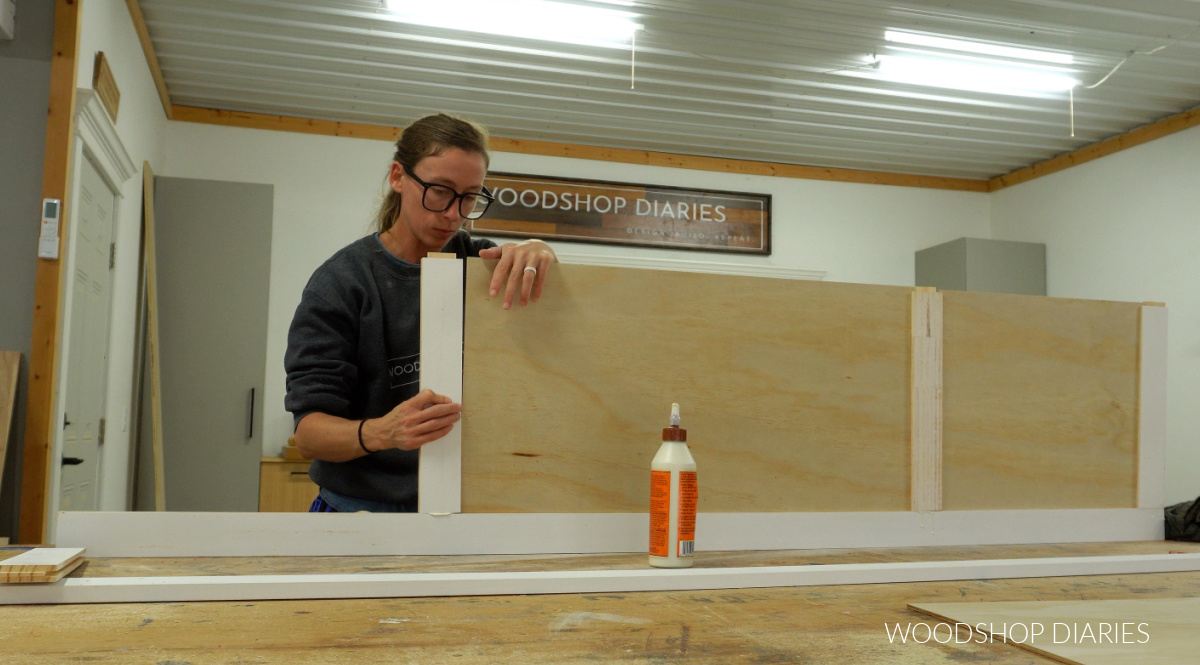
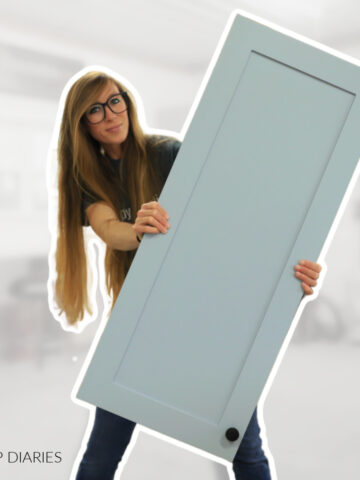
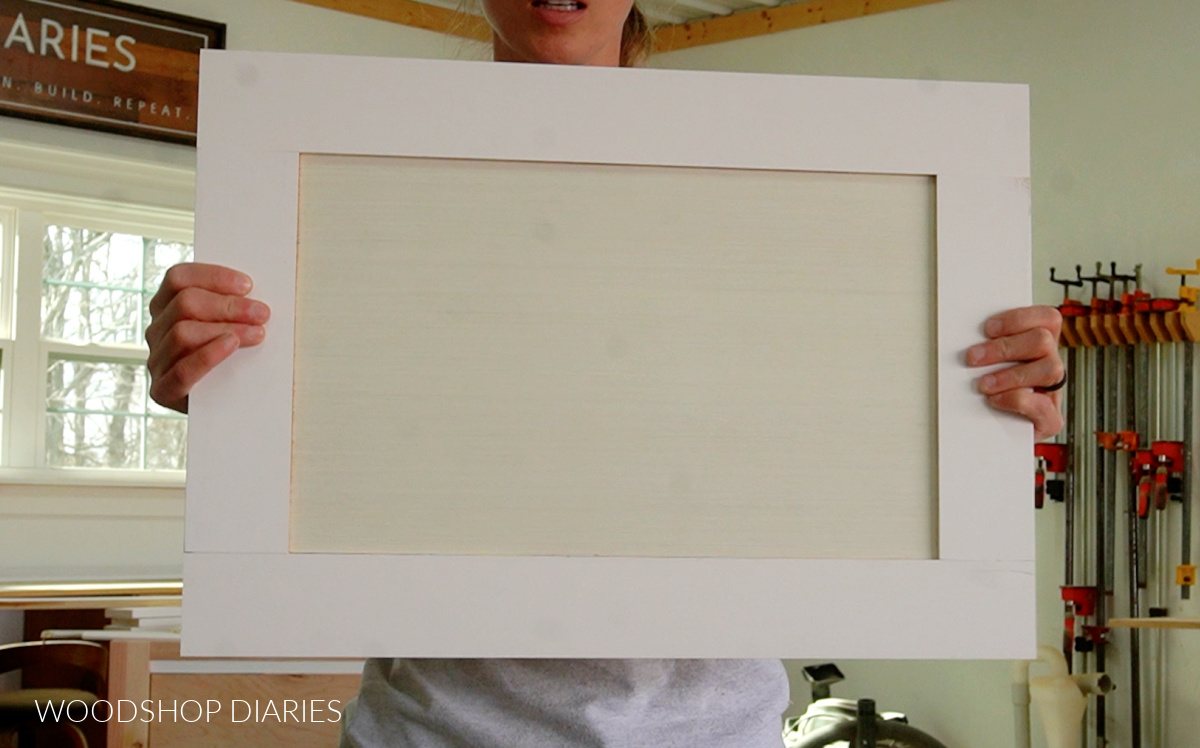
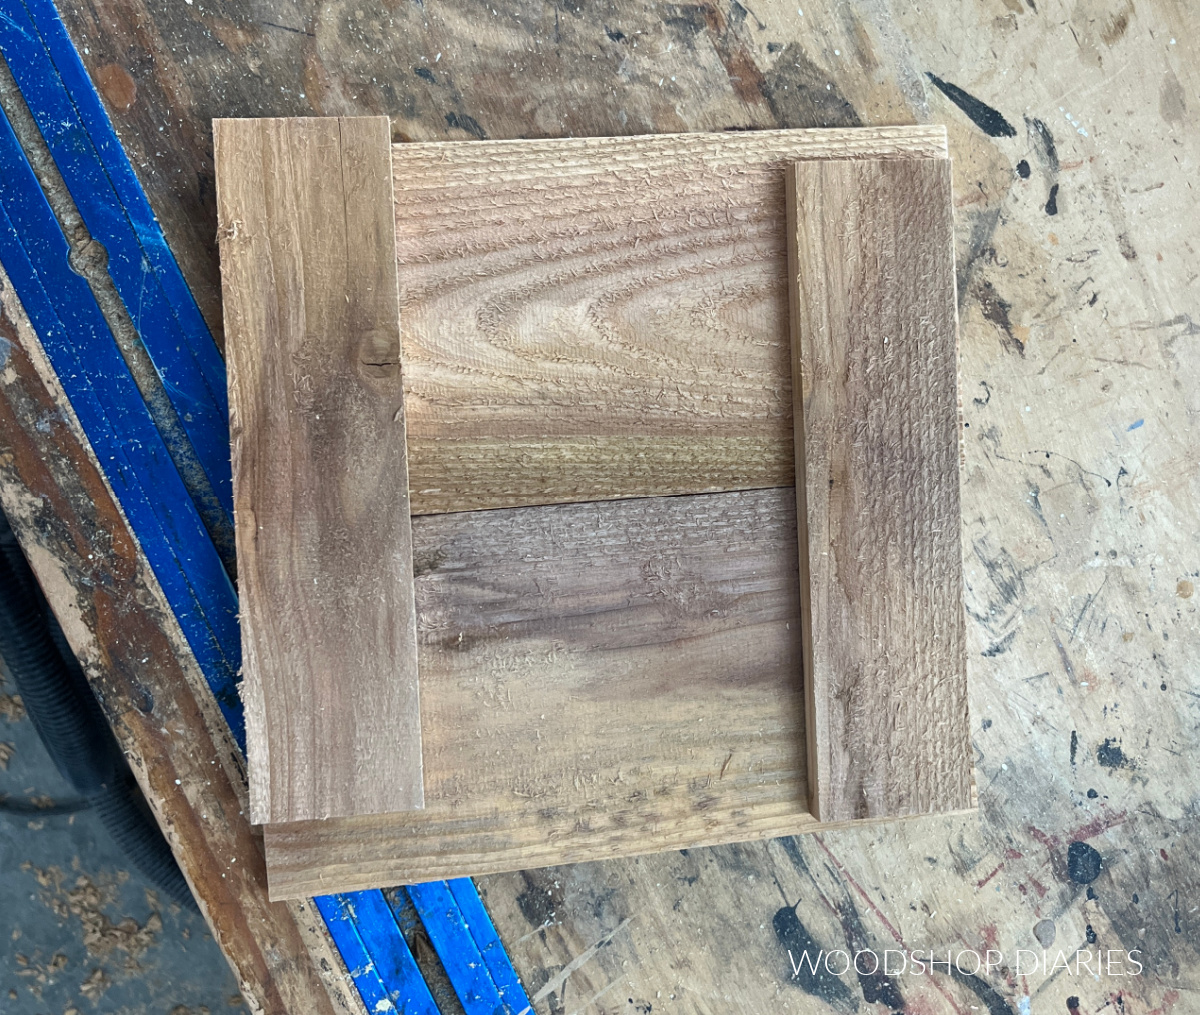
Step 3: Build and Install Face Frame
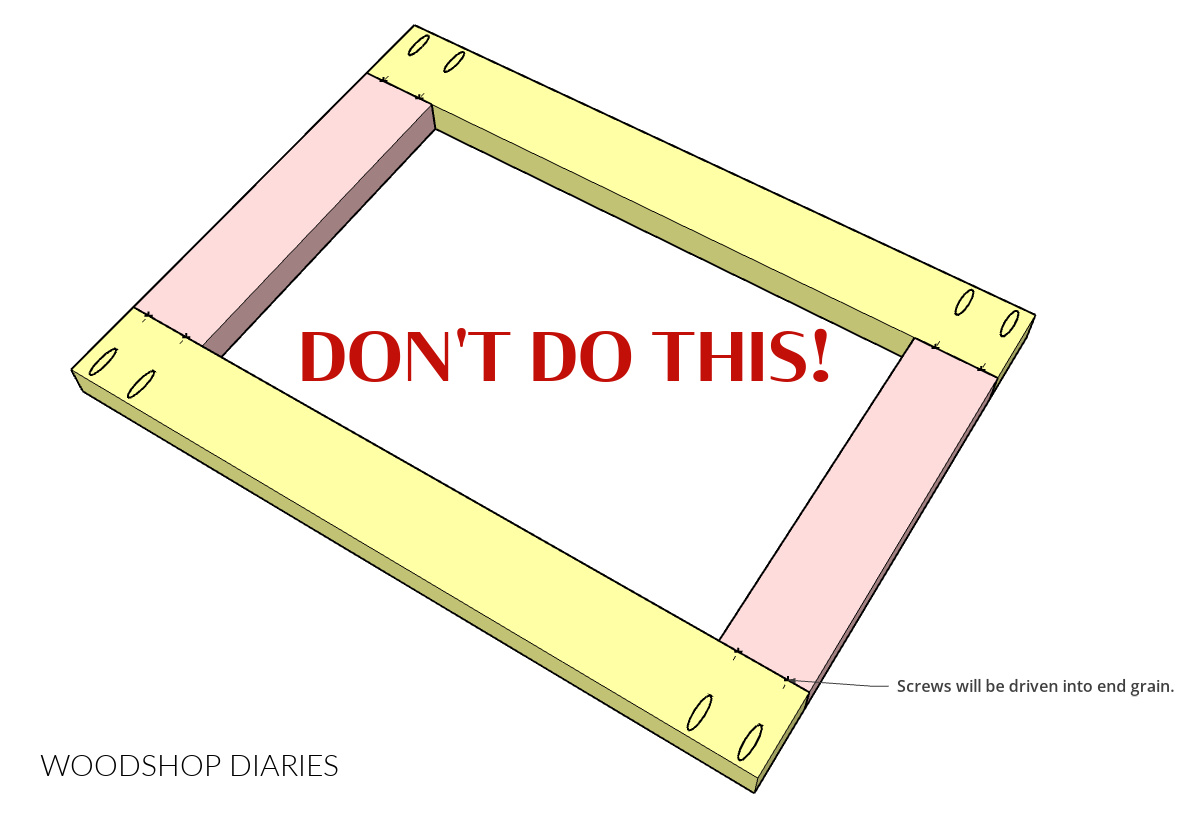
Once the hutch was together, I needed to add a face frame onto the front. For this, I used 1x3s for the sides and top and 1x2s for the bottom and the two dividers.
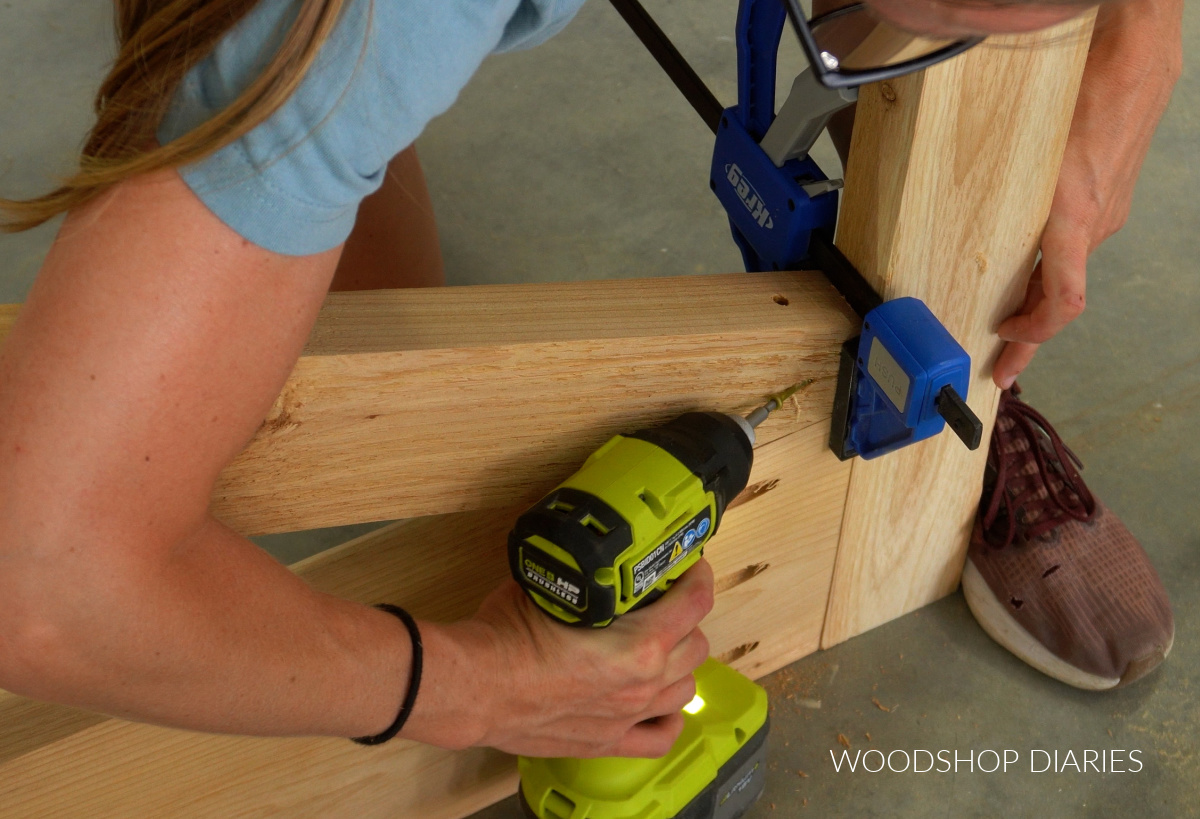
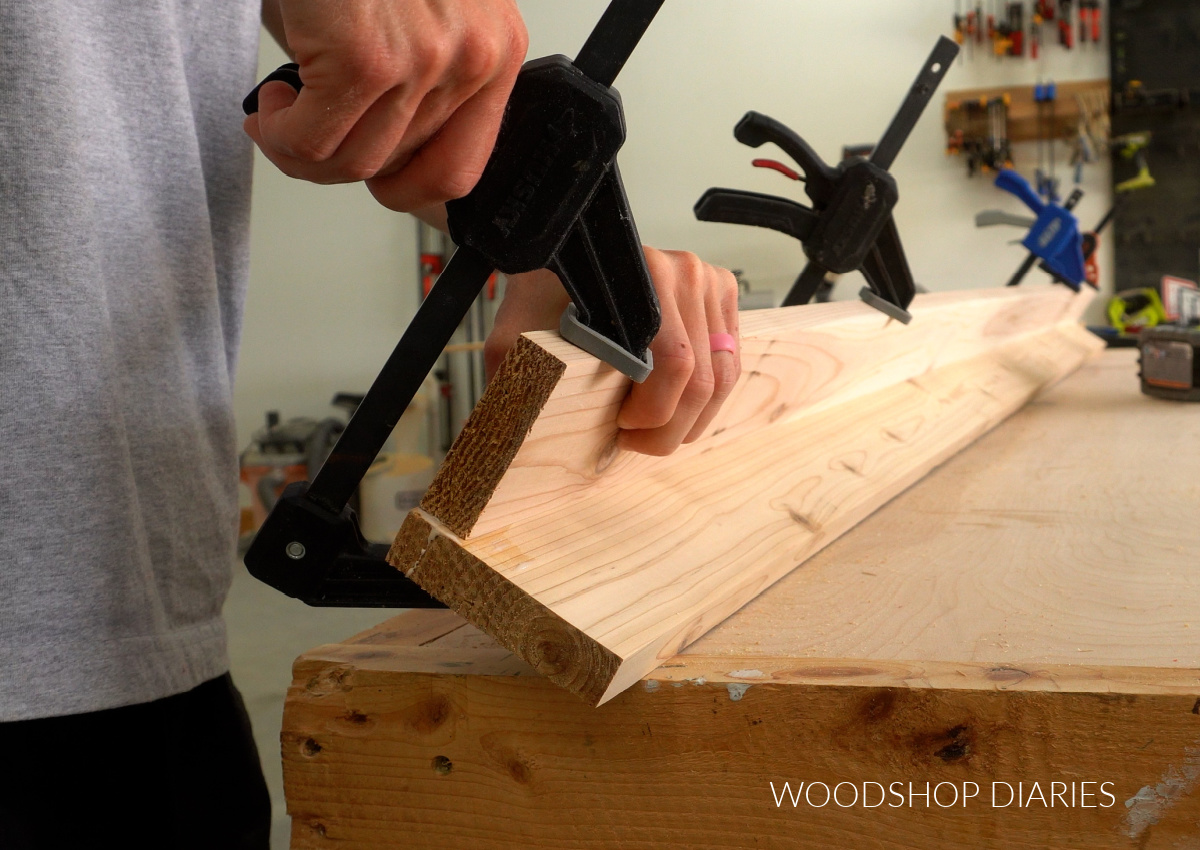
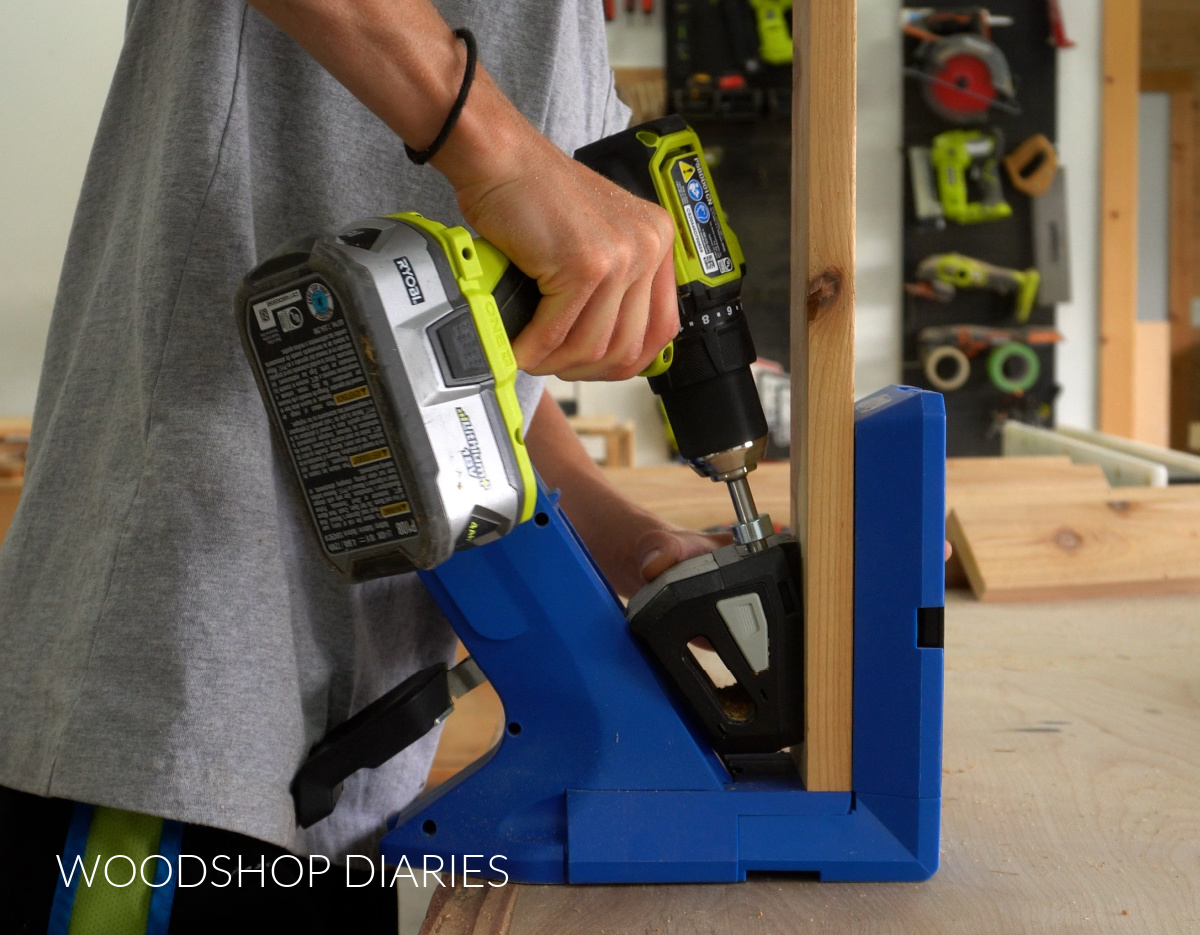
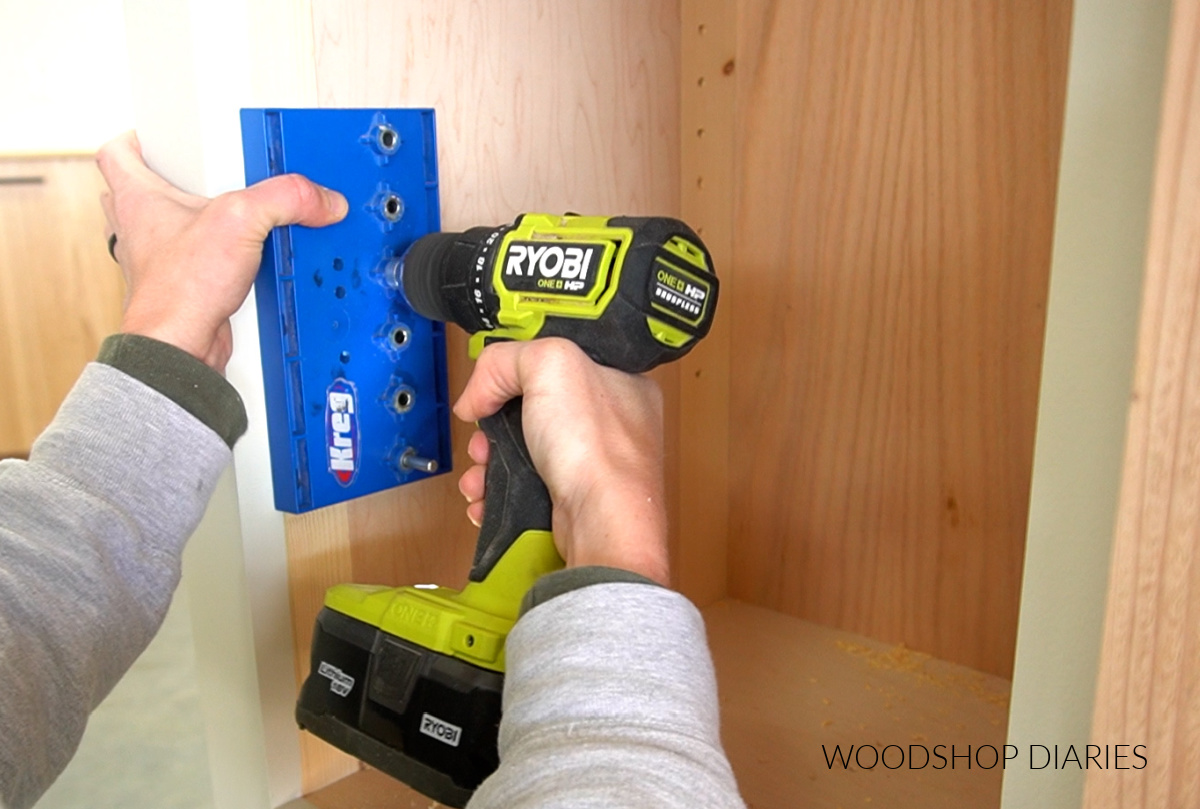
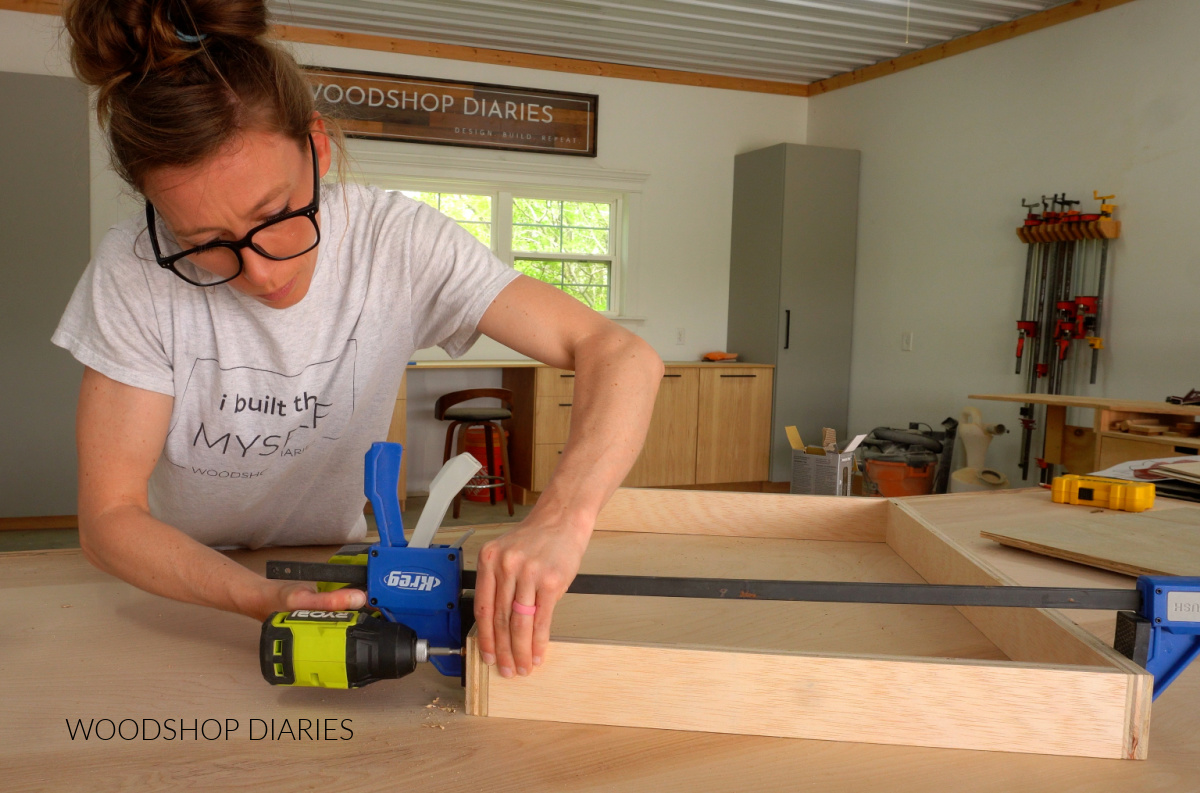
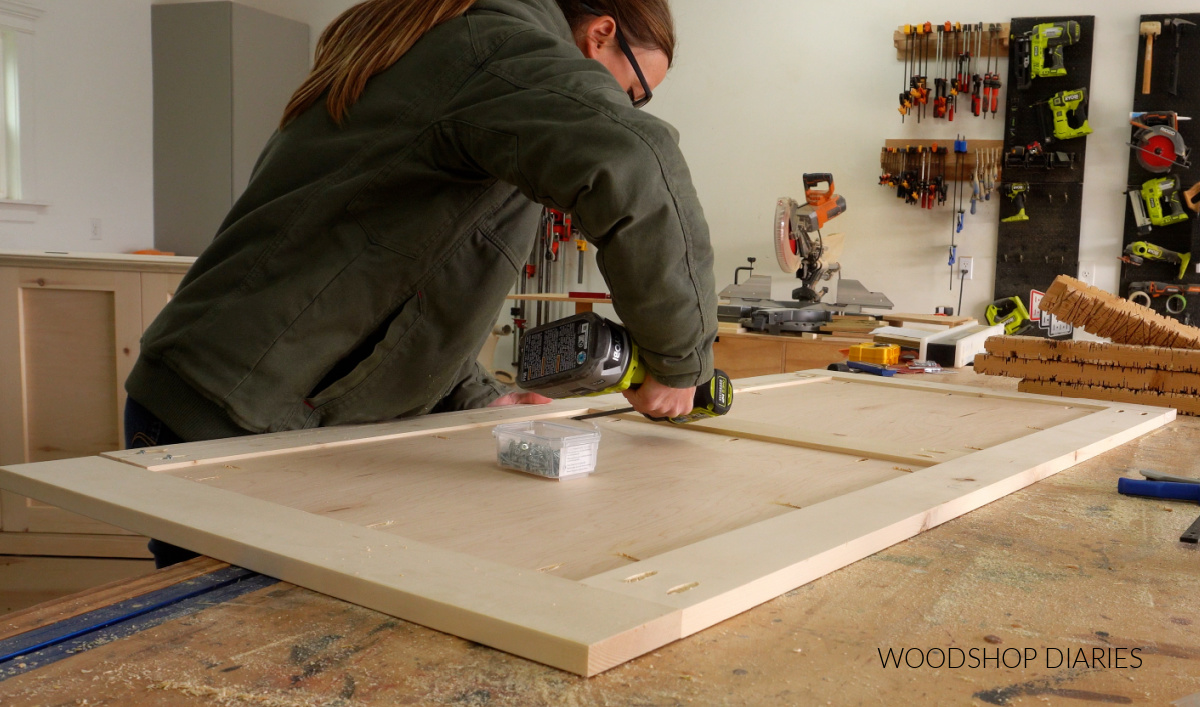
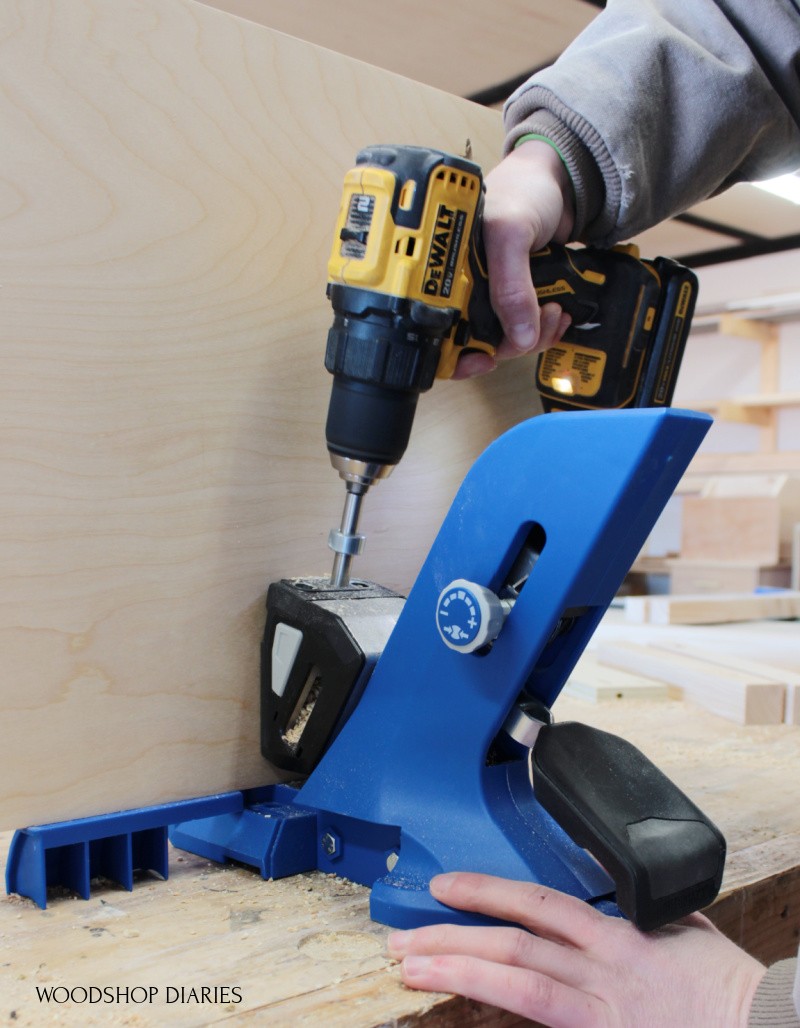
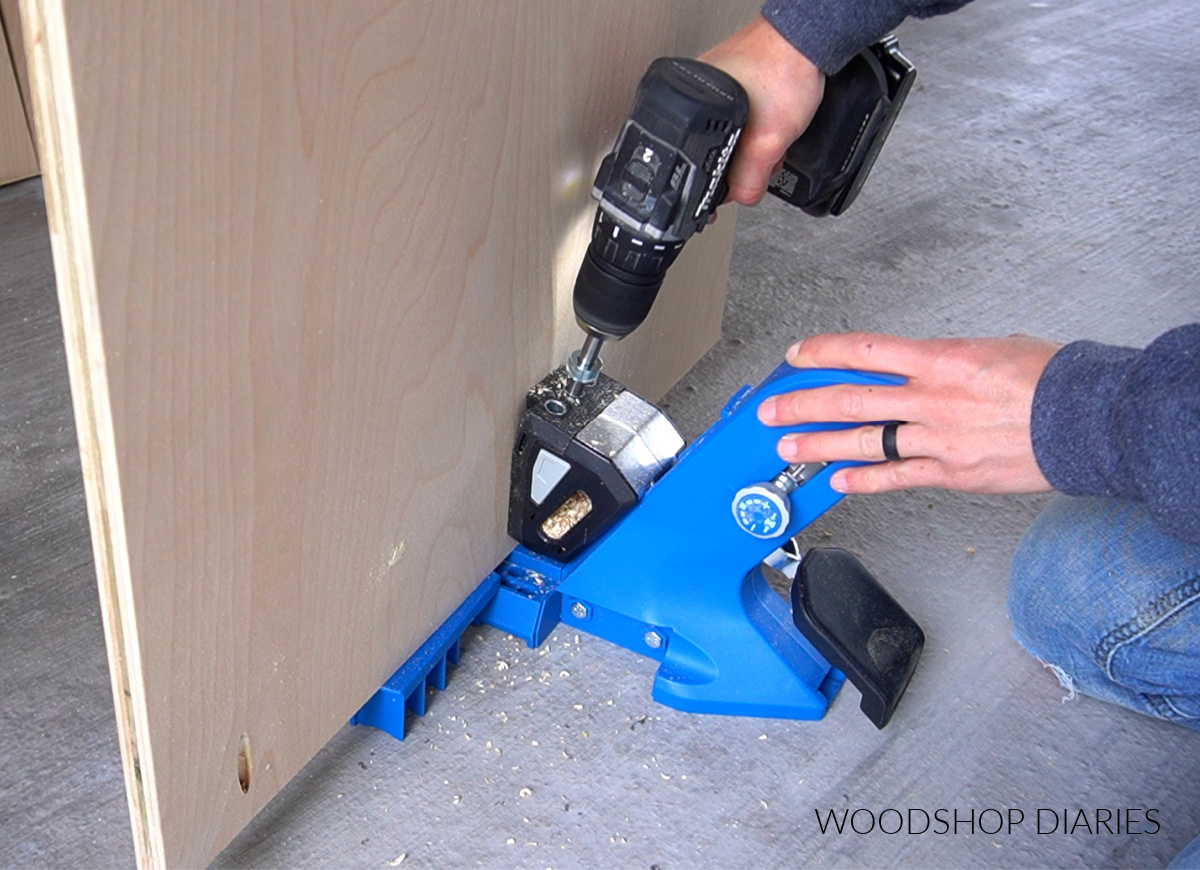
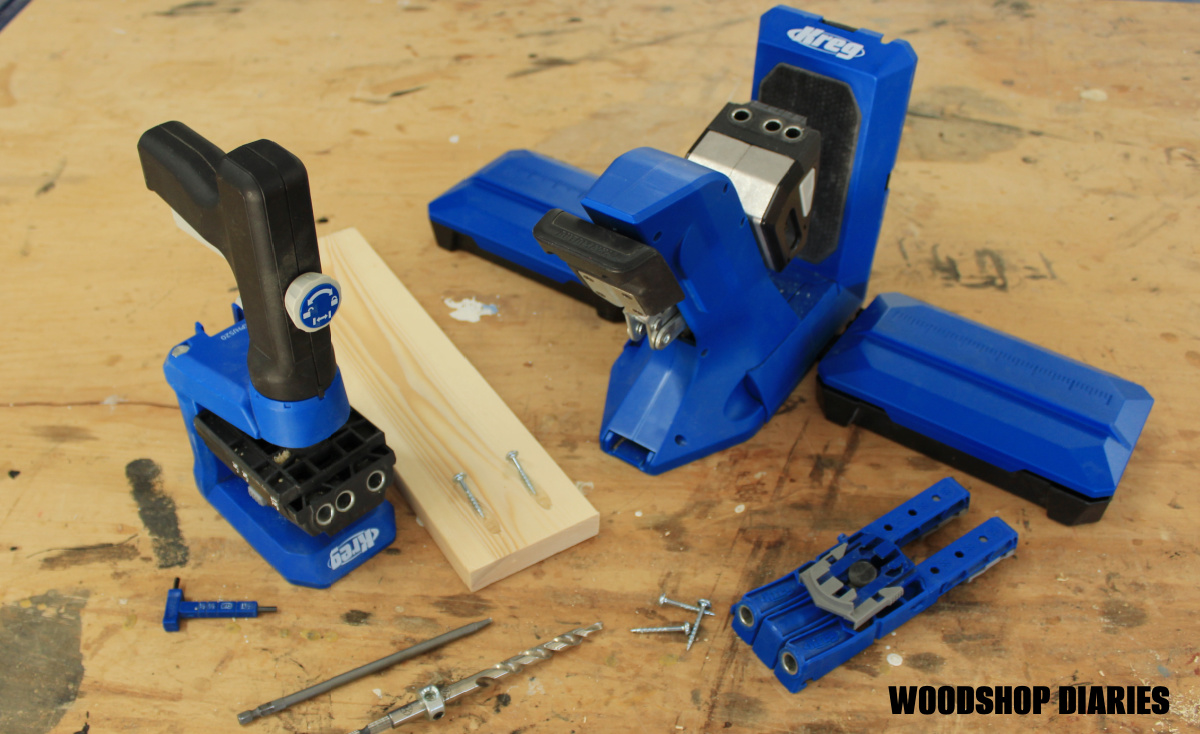
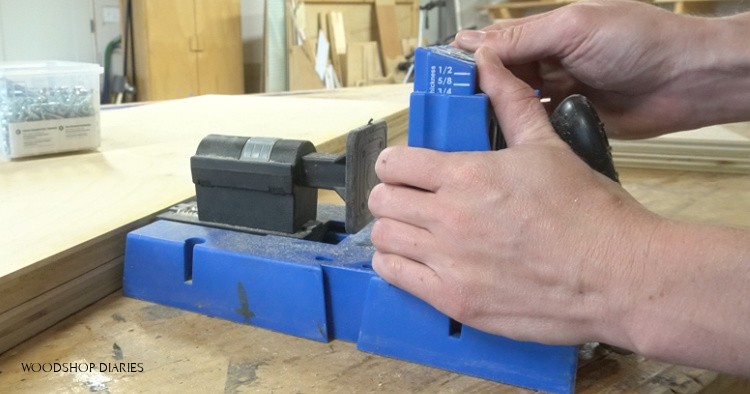
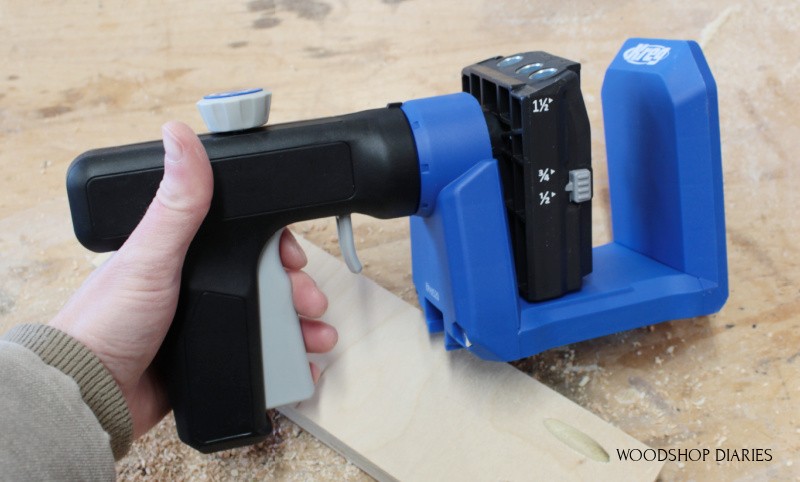
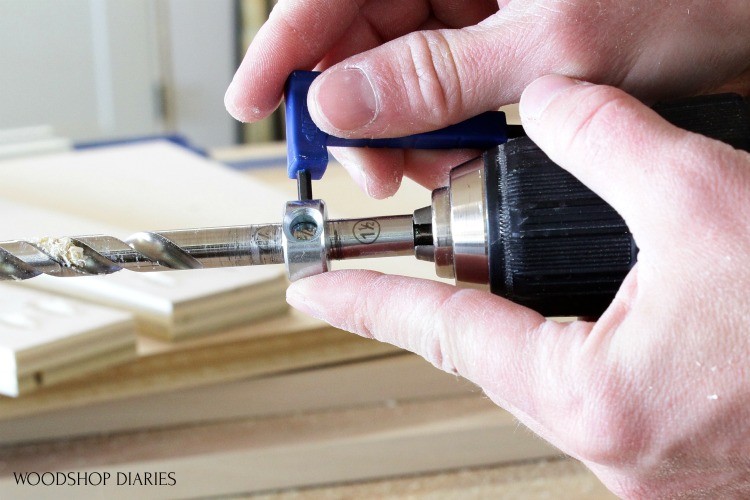
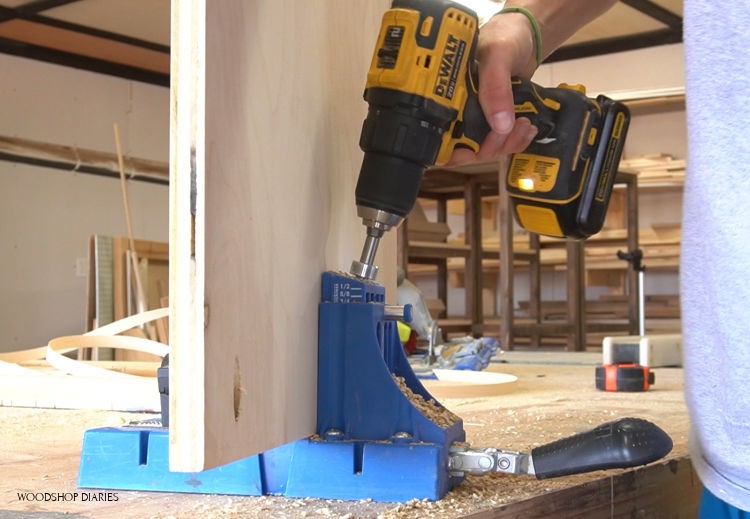
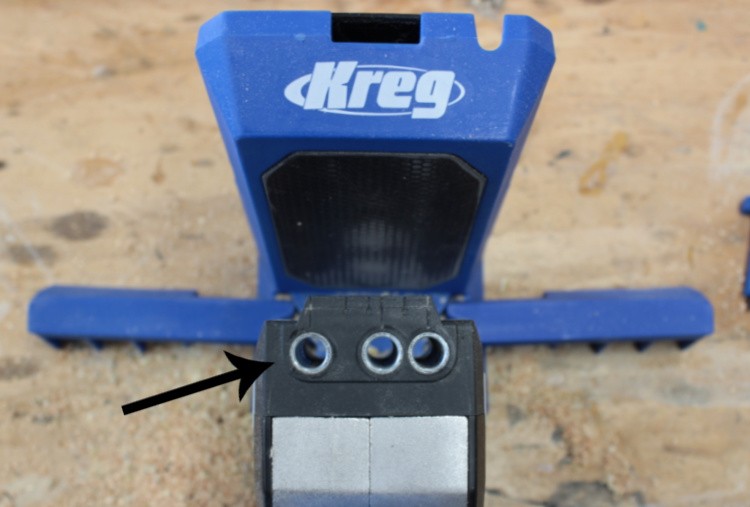
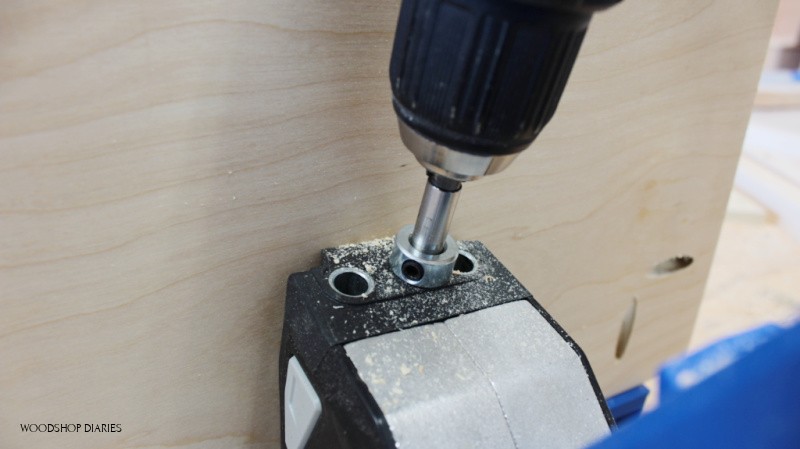
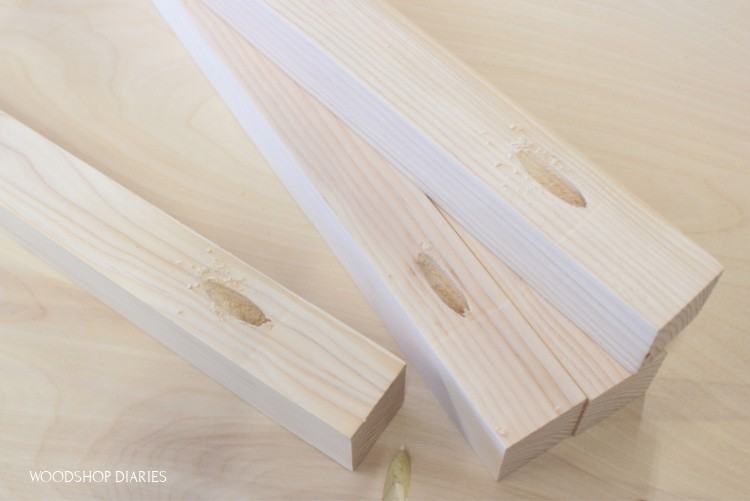
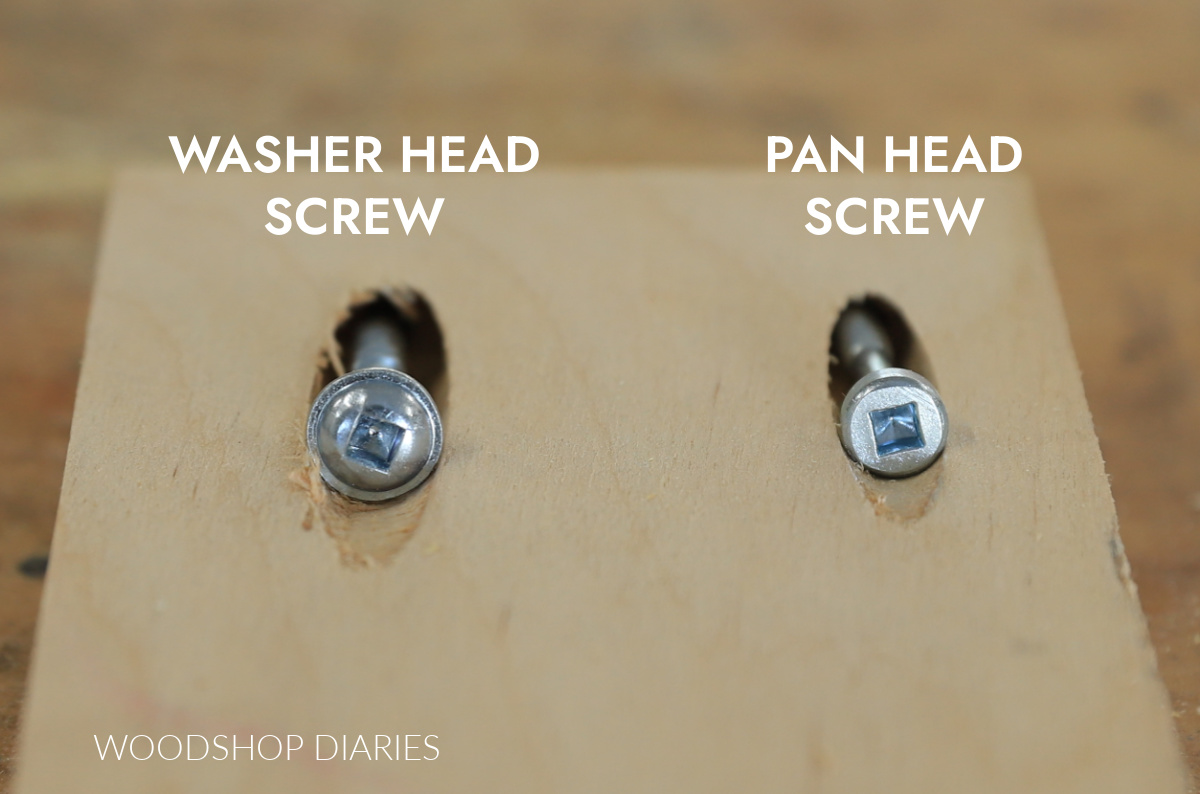
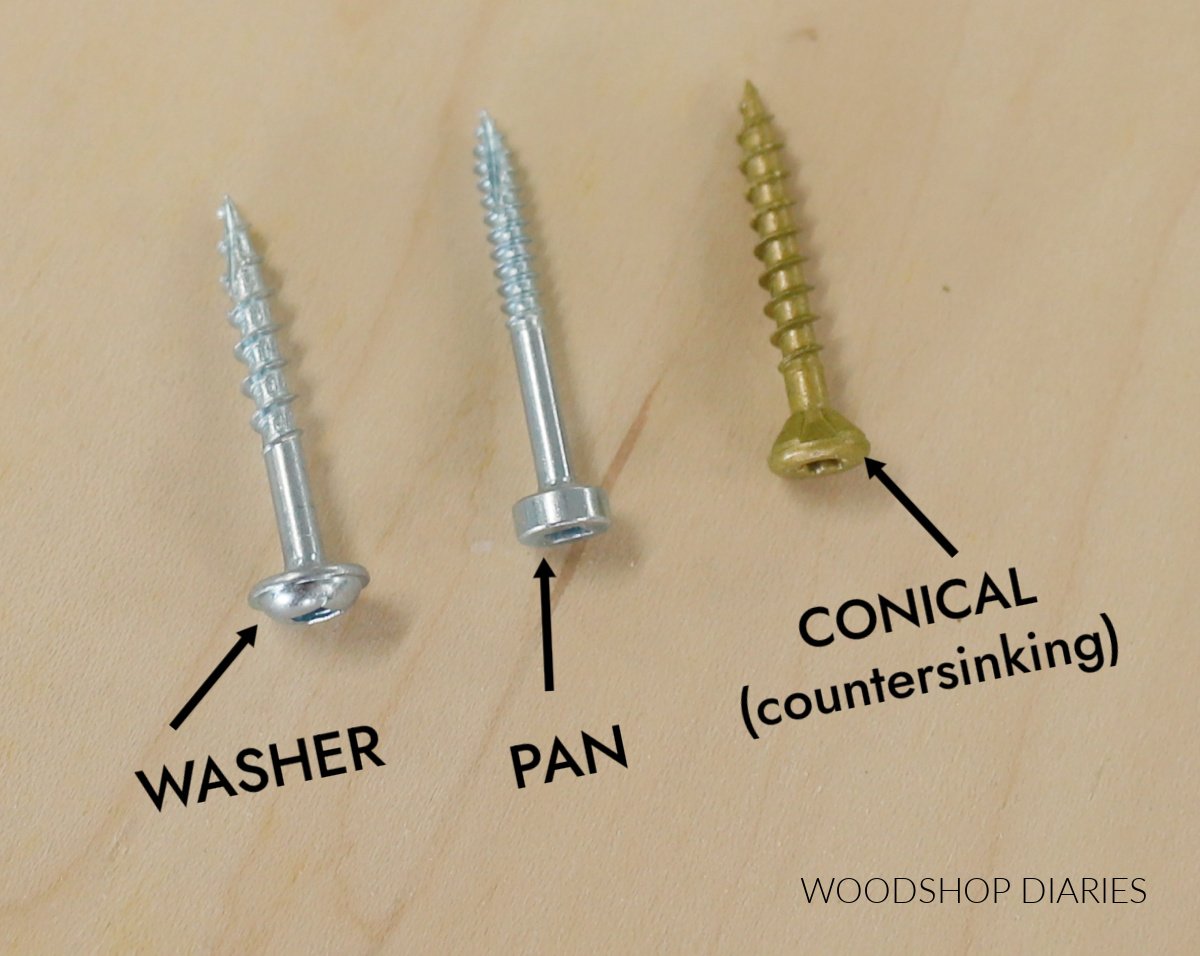
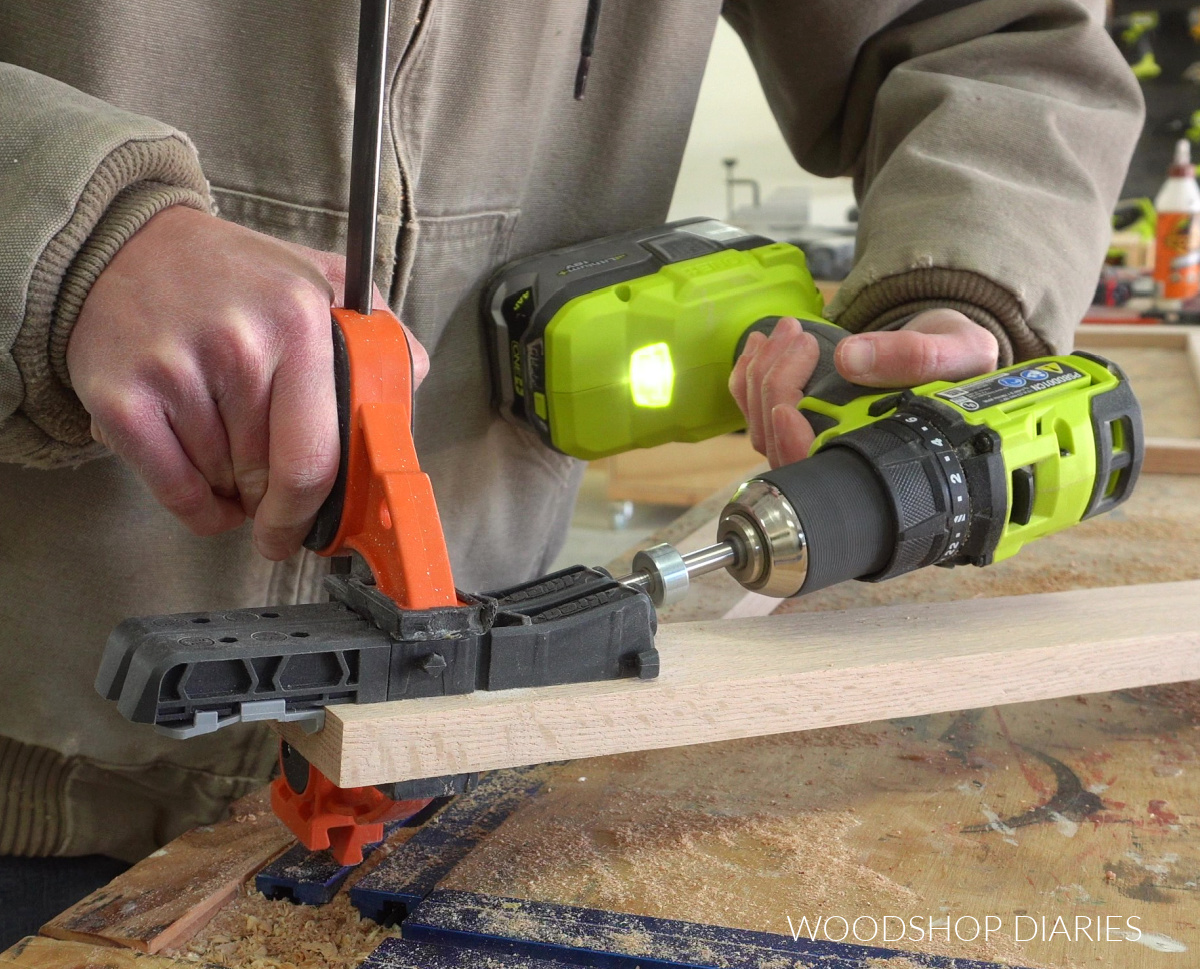
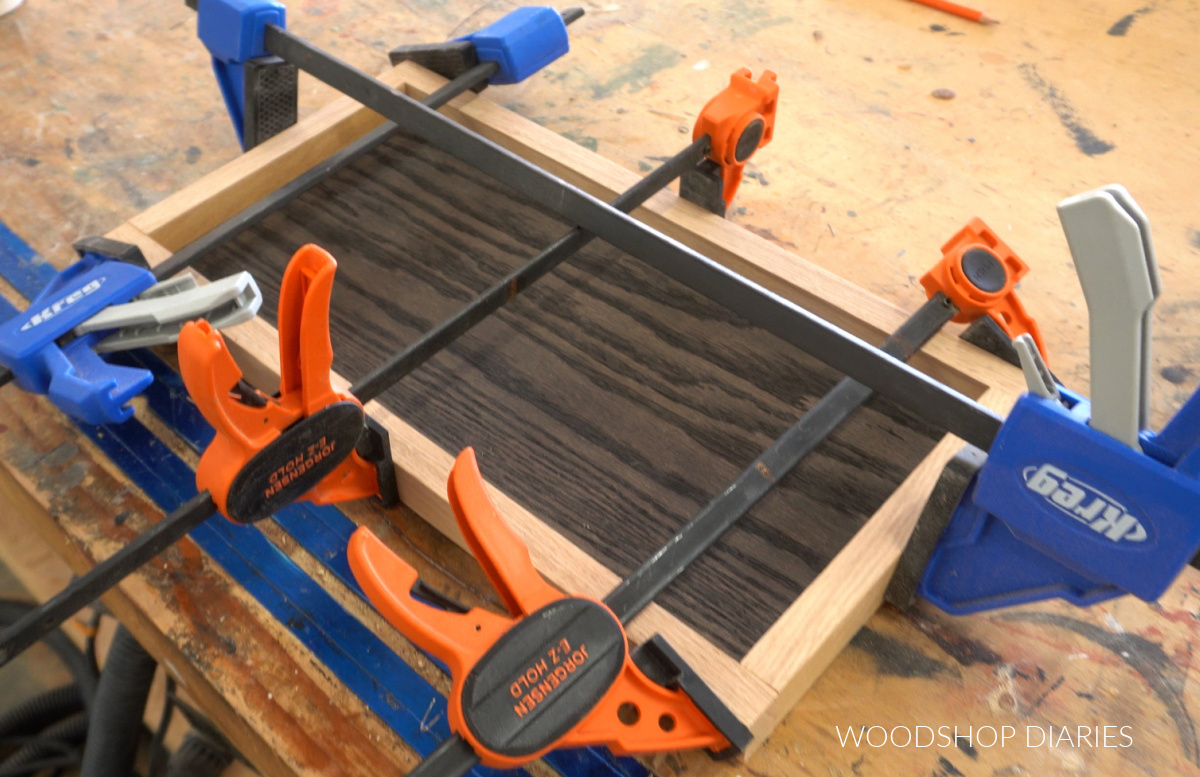
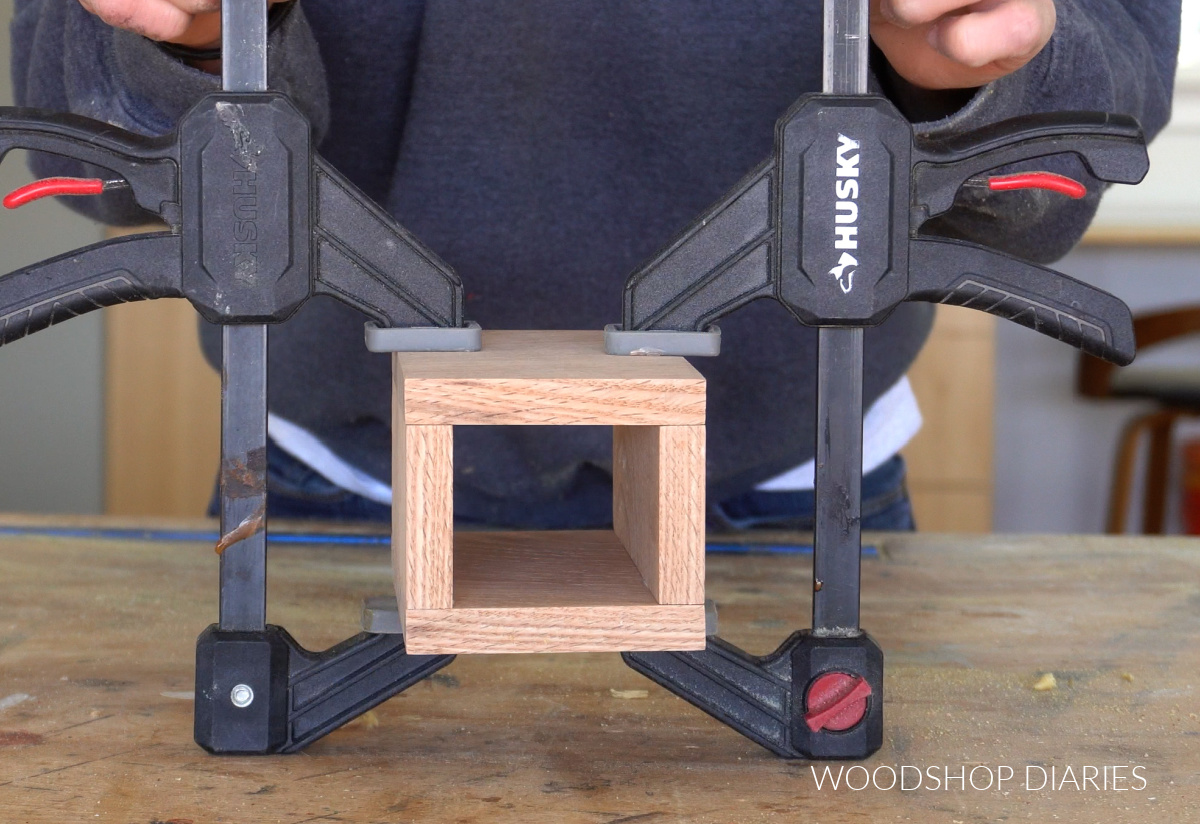
I drilled pocket holes to assemble the face frame.
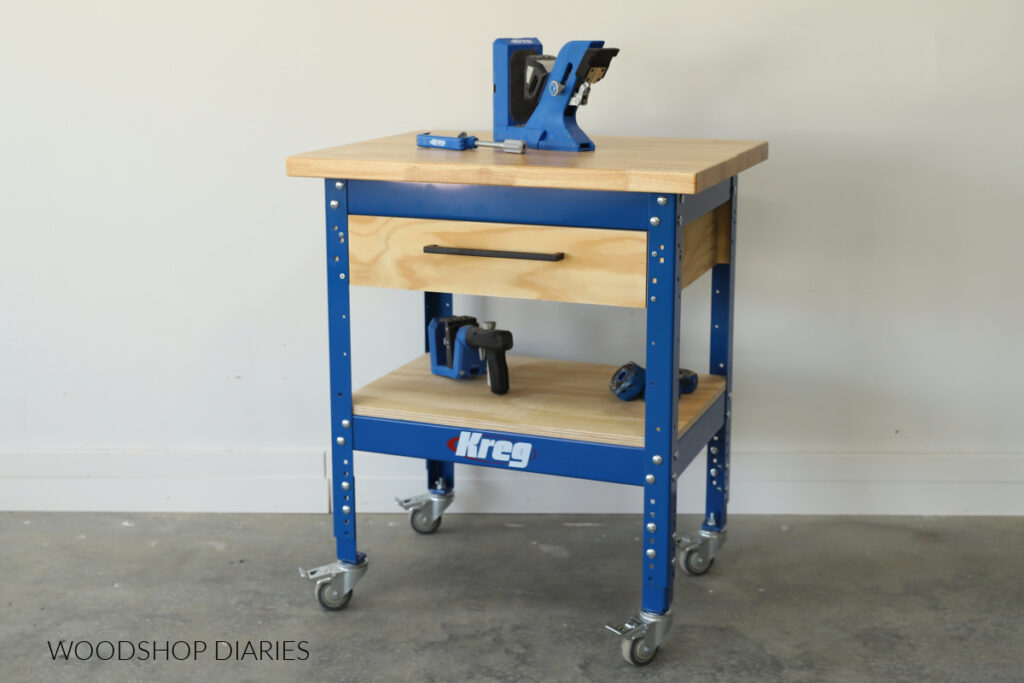
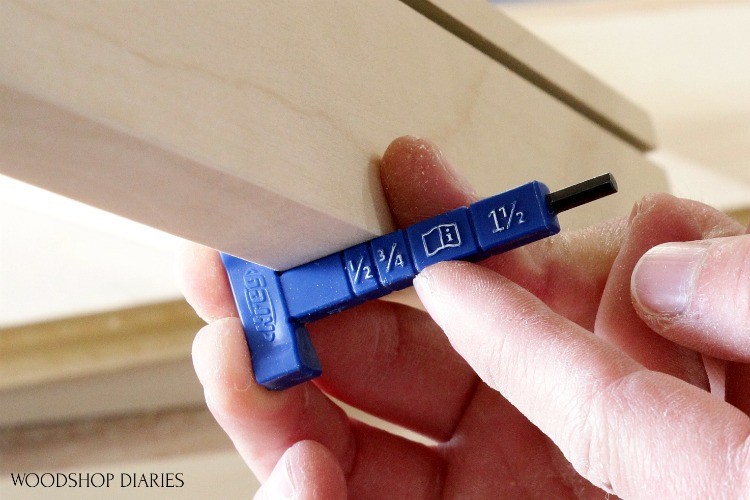
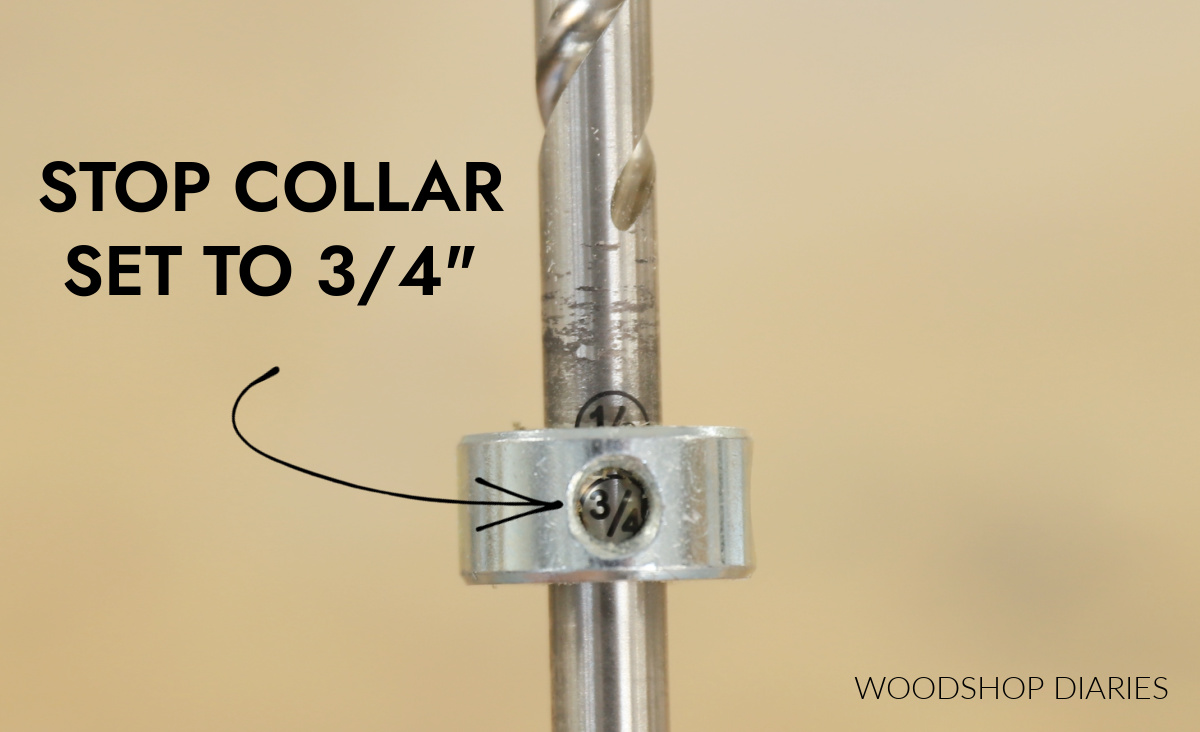
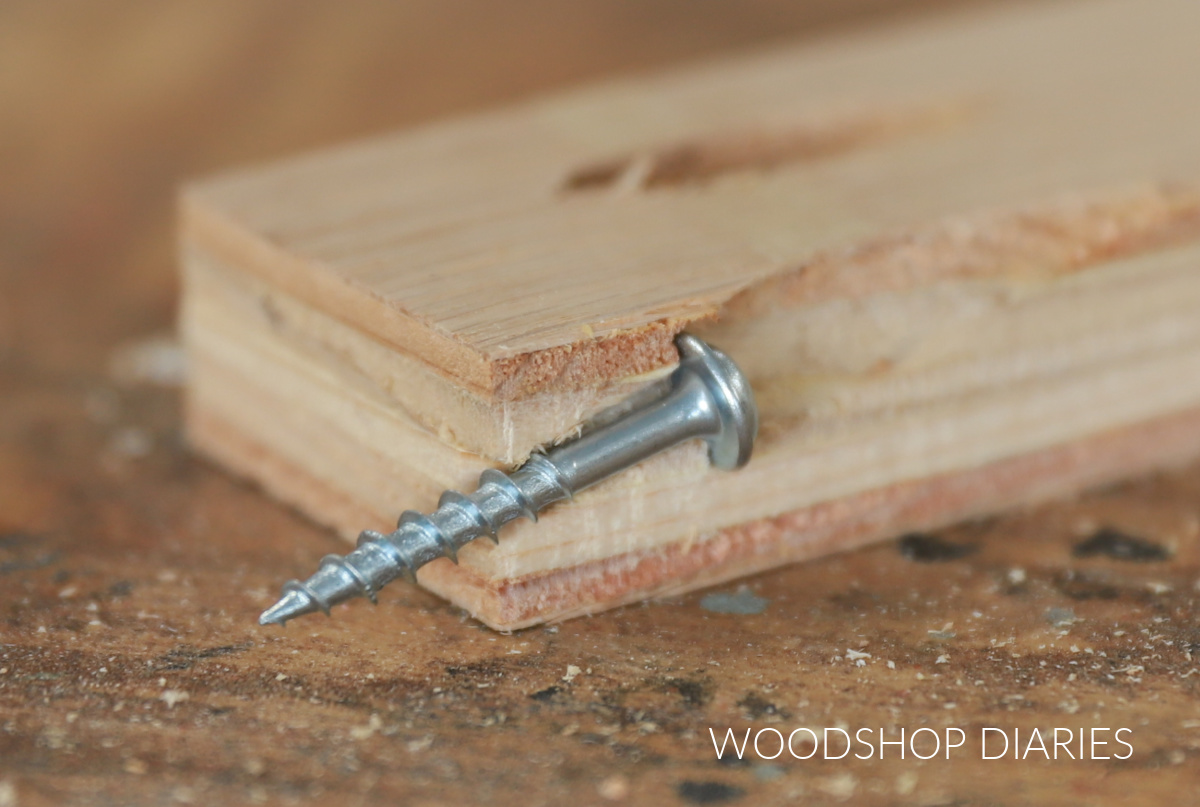
A standard size pocket hole jig can work fine, BUT, when building face frames, I recommend using a Kreg Micro Jig with pan head pocket hole screws. The smaller holes and screws are less likely to cause splits.
Learn more about how, when, and why to use the Kreg Micro Jig here.
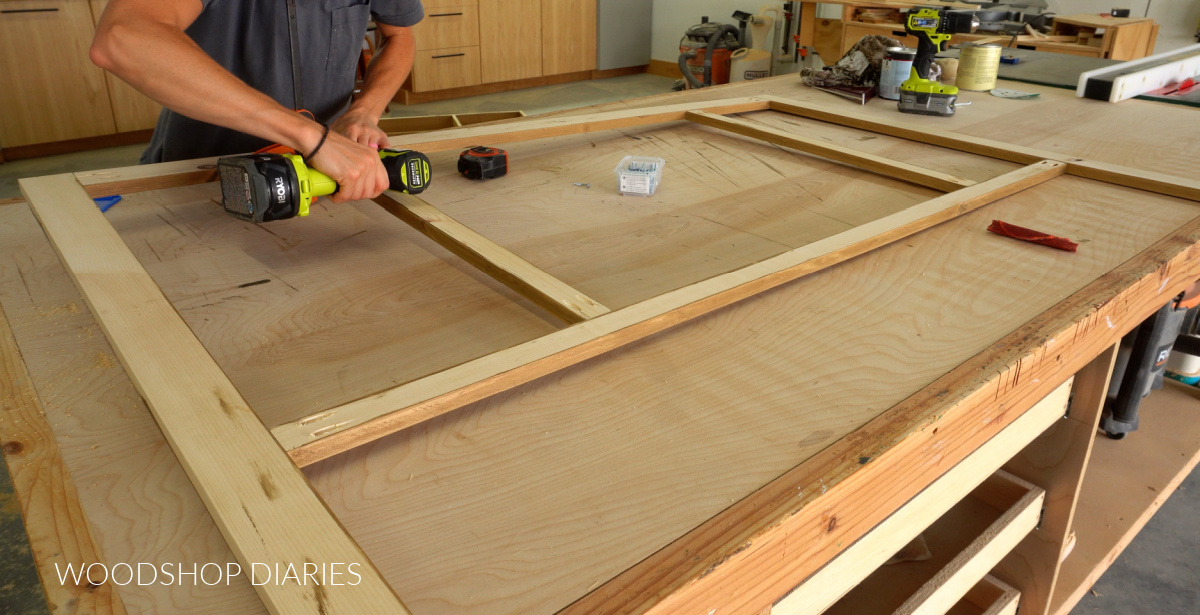
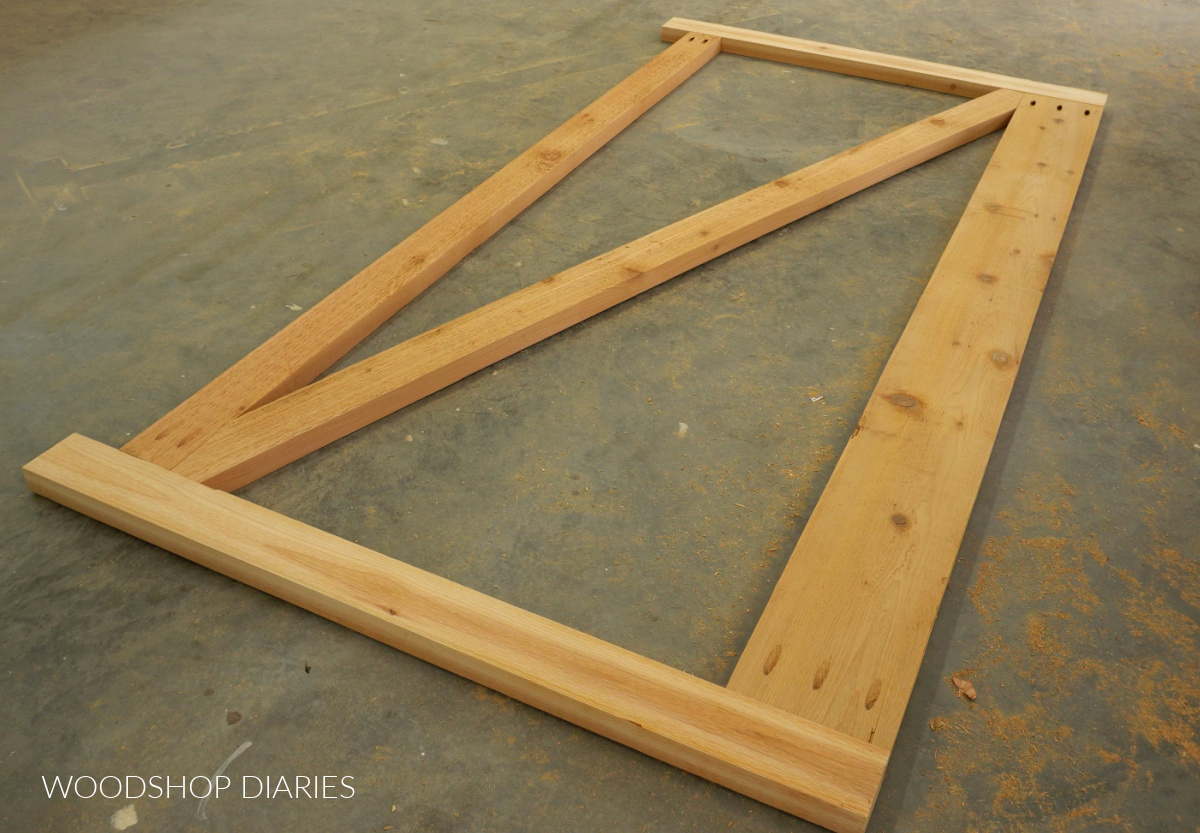
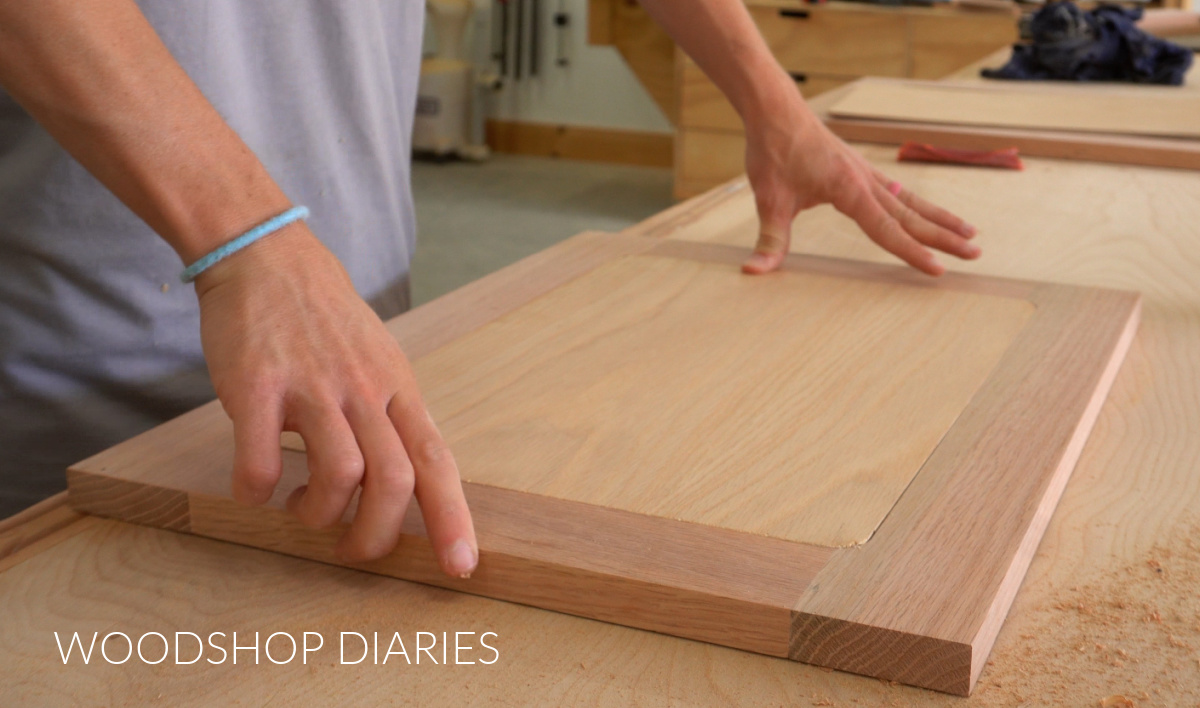
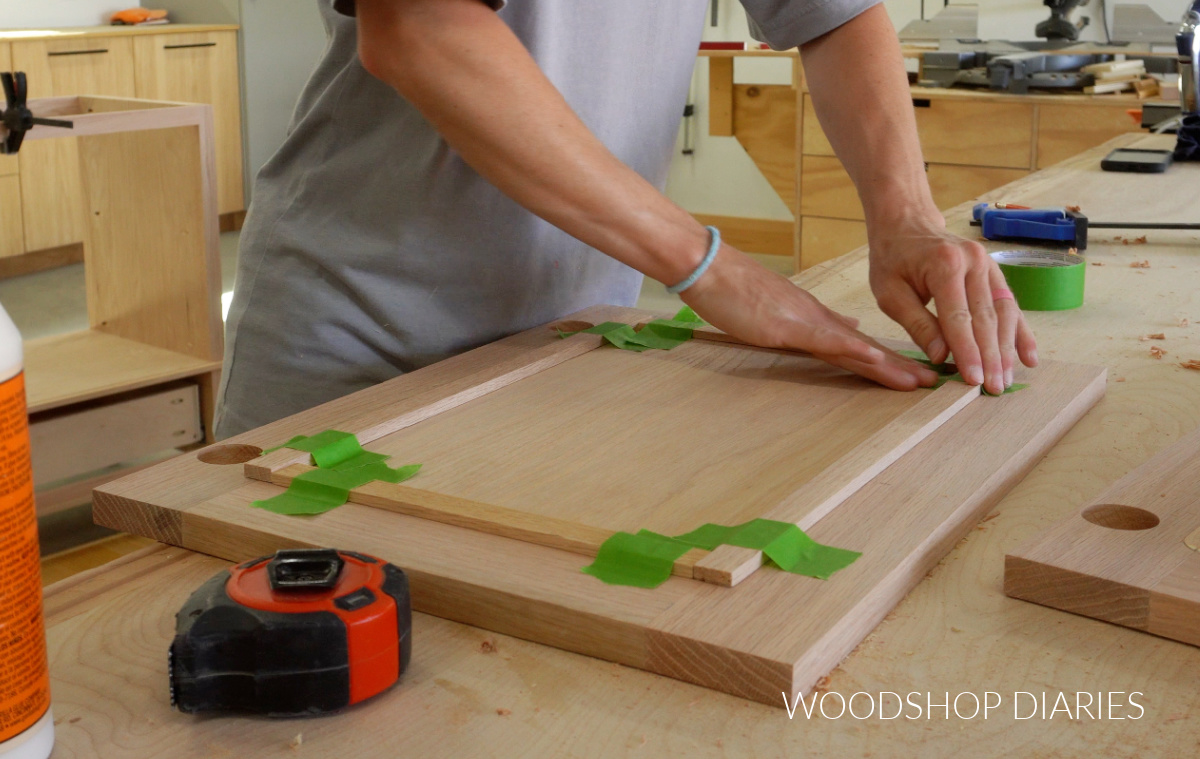
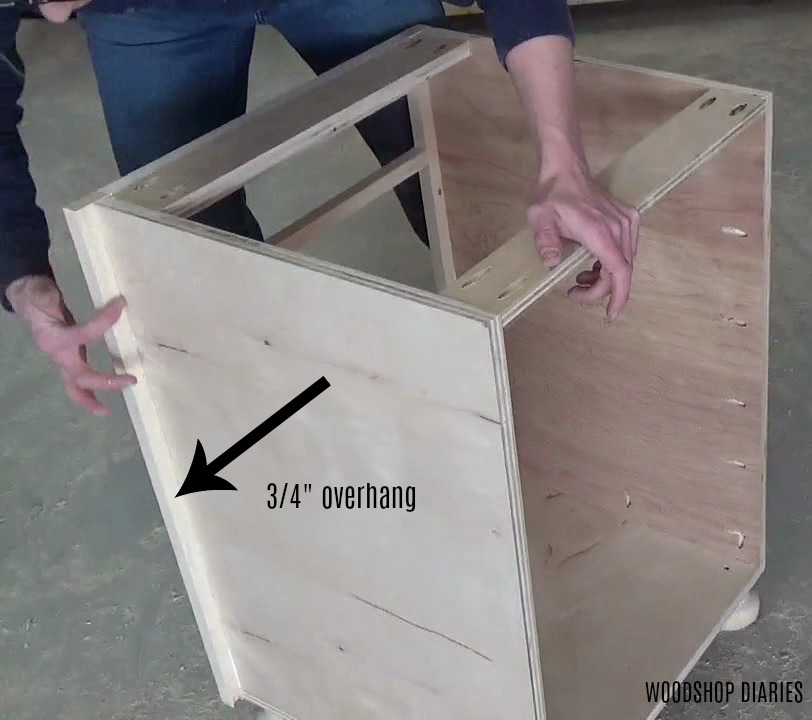
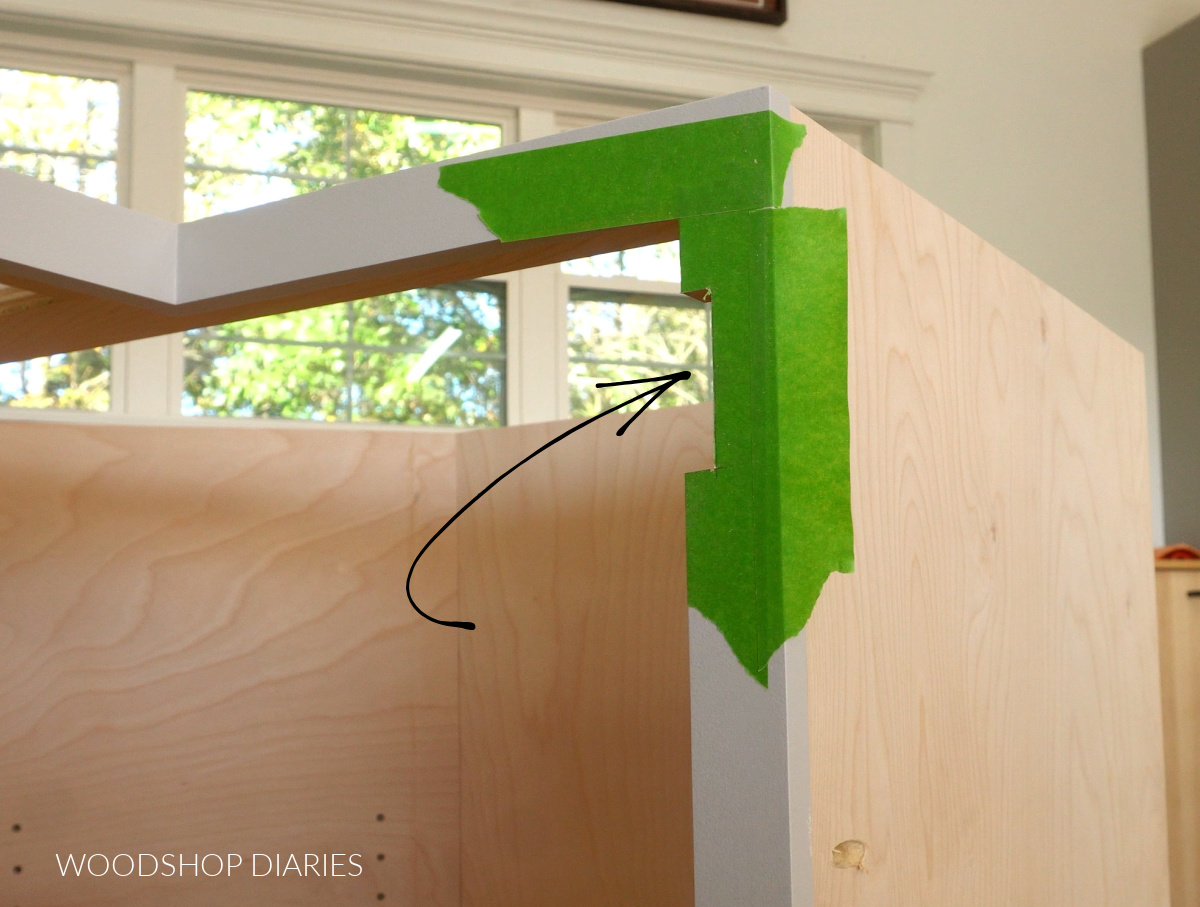
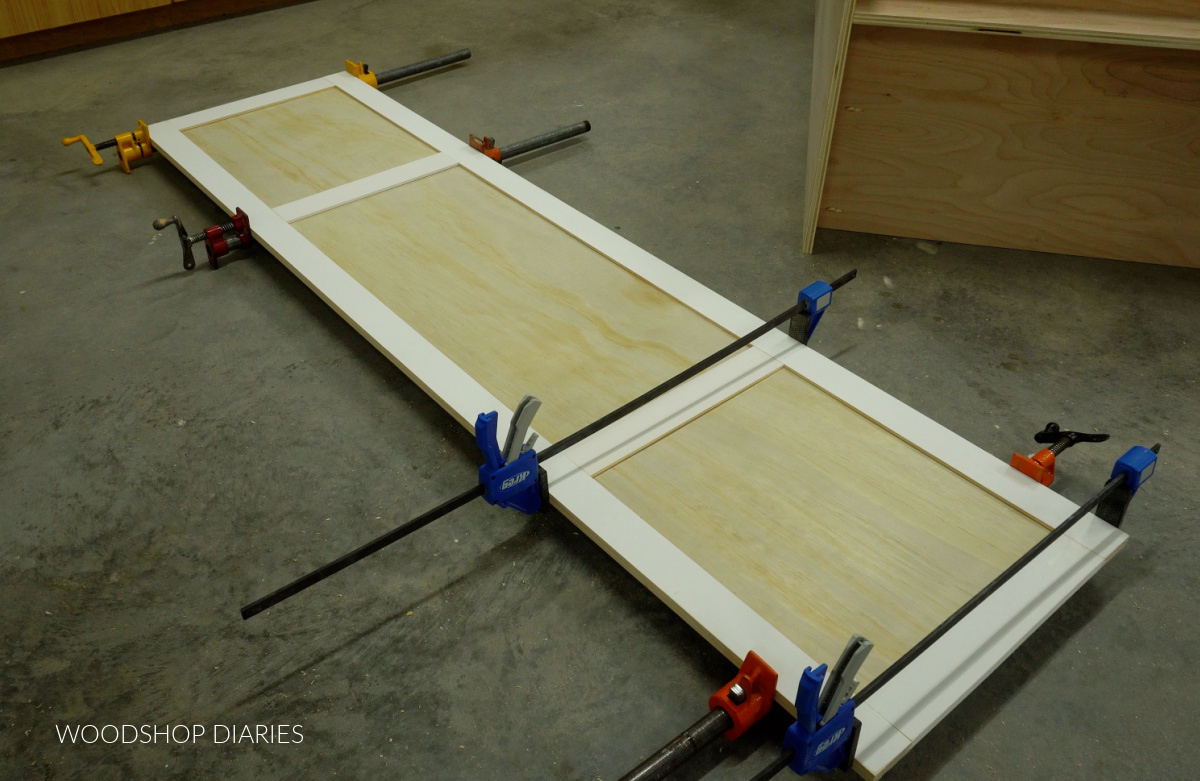
Because I was building this hutch to fit into a nook, I built my hutch body about 1 ½″ smaller than my nook opening. Then, I built my face frame exactly the same width as my nook opening.
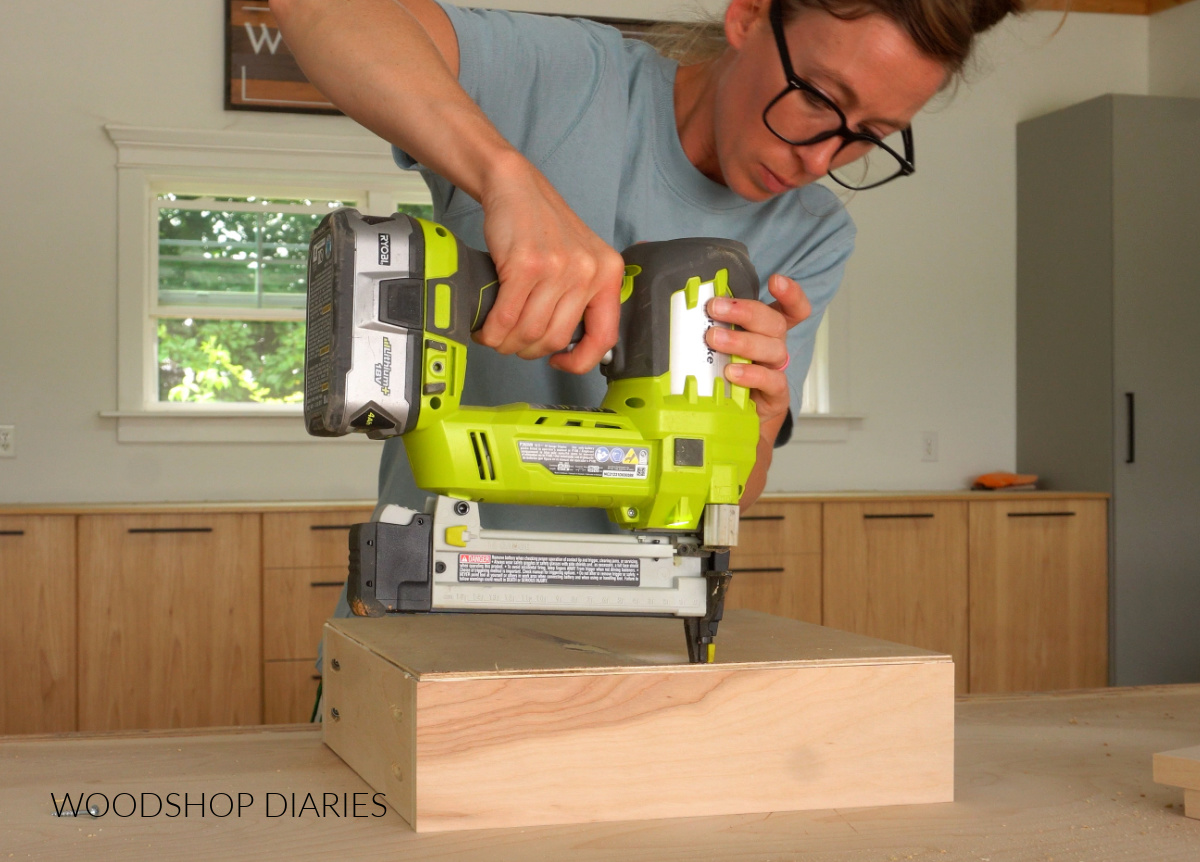
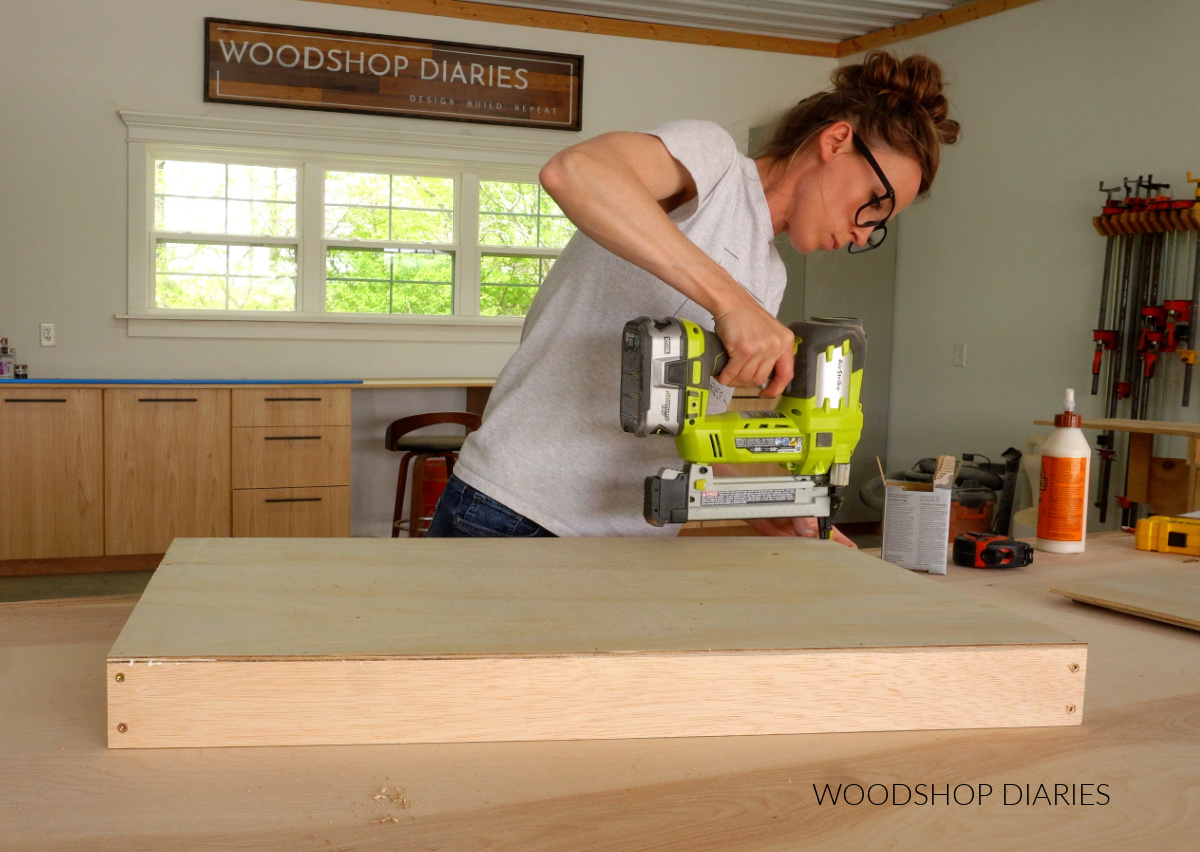
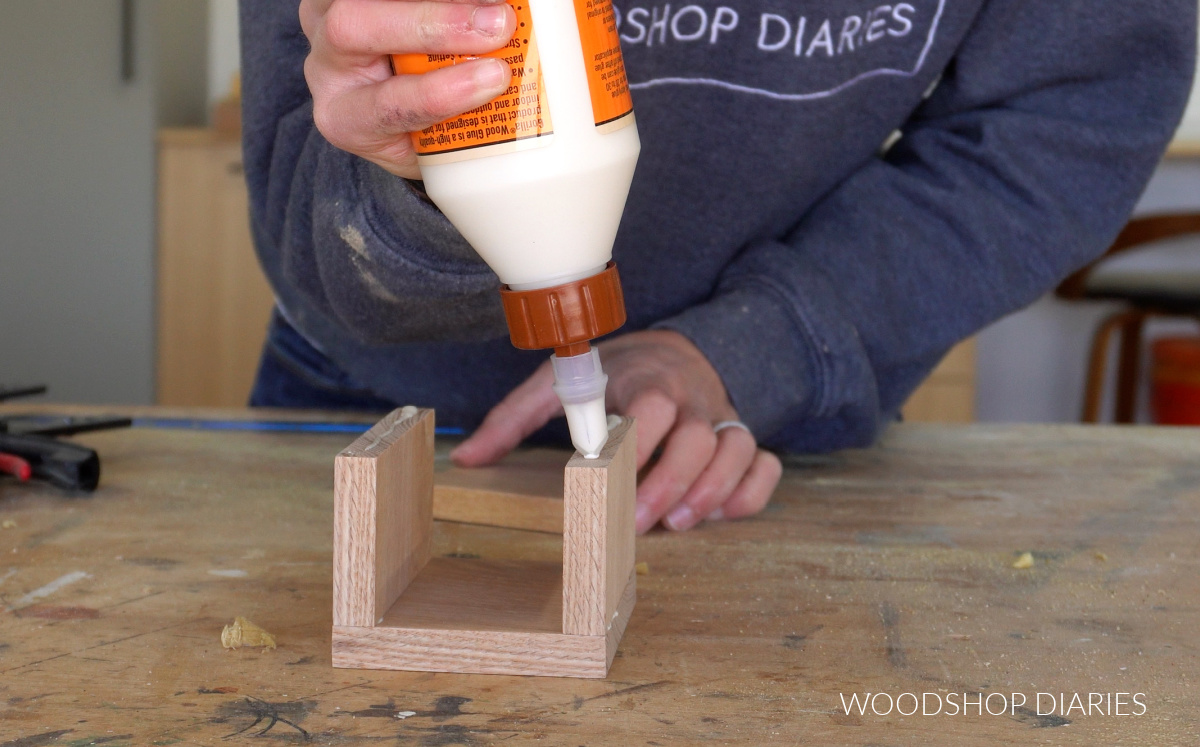
So when I glued and brad nailed it onto the front, it will overhang each side about ¾″.
NOTE: The reason for this is that if it’s a tight fit and the hutch needs to be trimmed a bit to fit snugly into the nook, it’s a lot easier to sand or shave a little off the overhanging face frame edge than to have to resize the entire cabinet.
However, if your sides will be open, it’s best to build your face frame the same width as you cabinet so the edges are flush along the sides (no overhang).
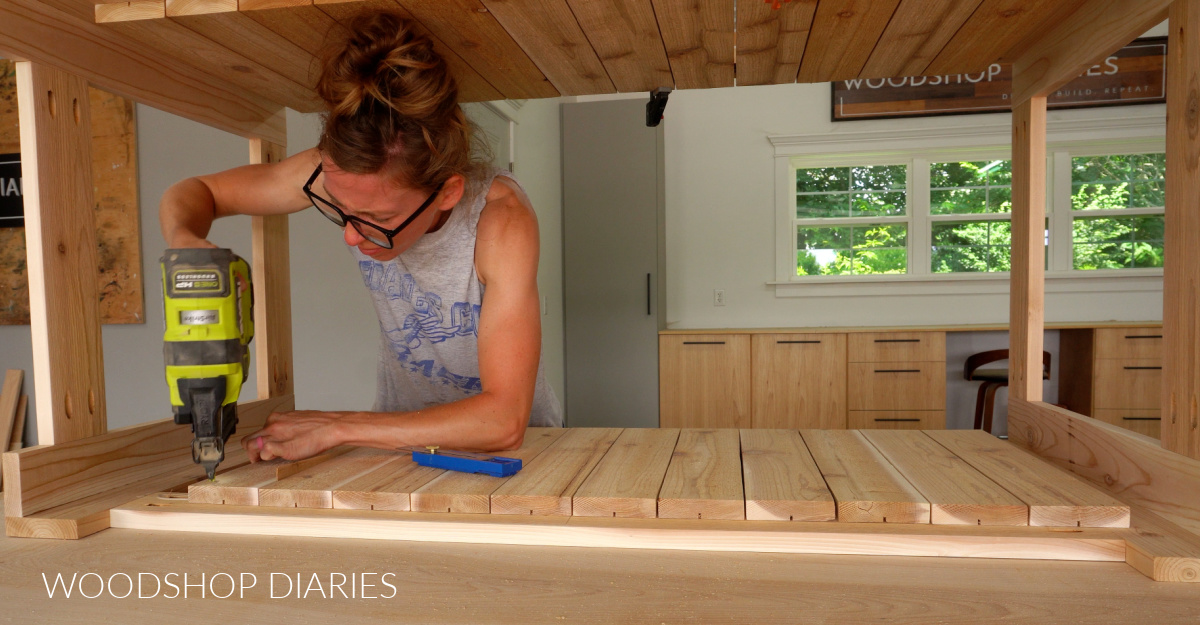
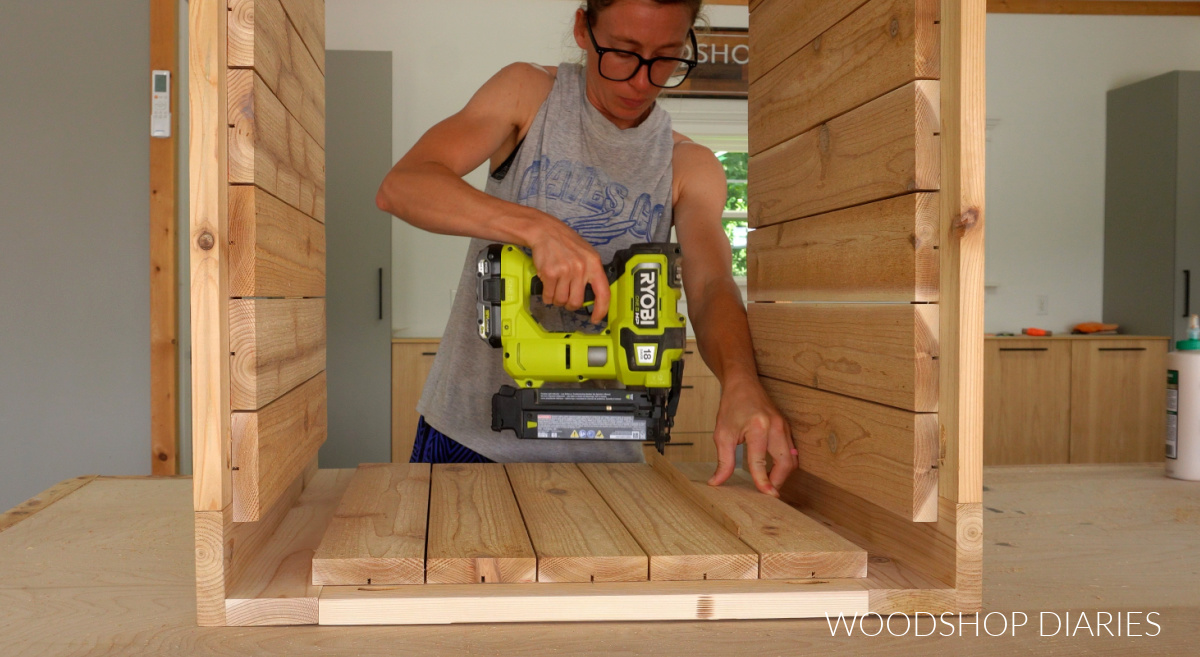
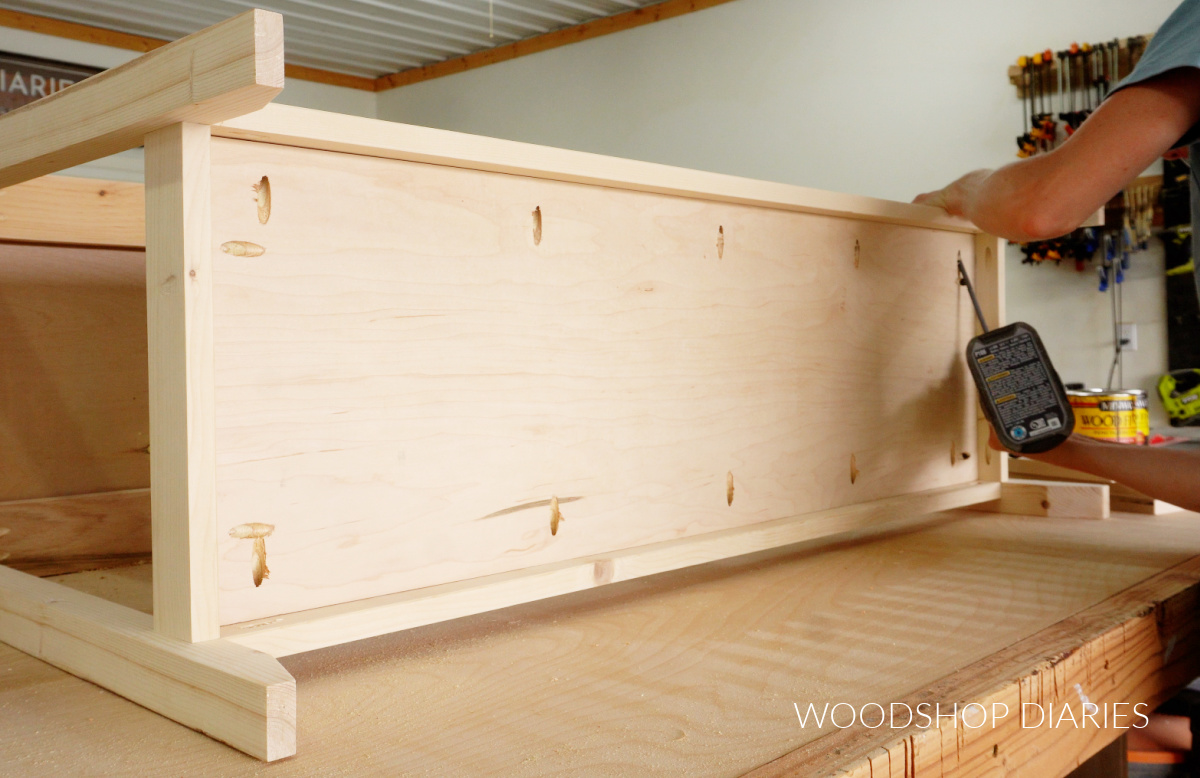
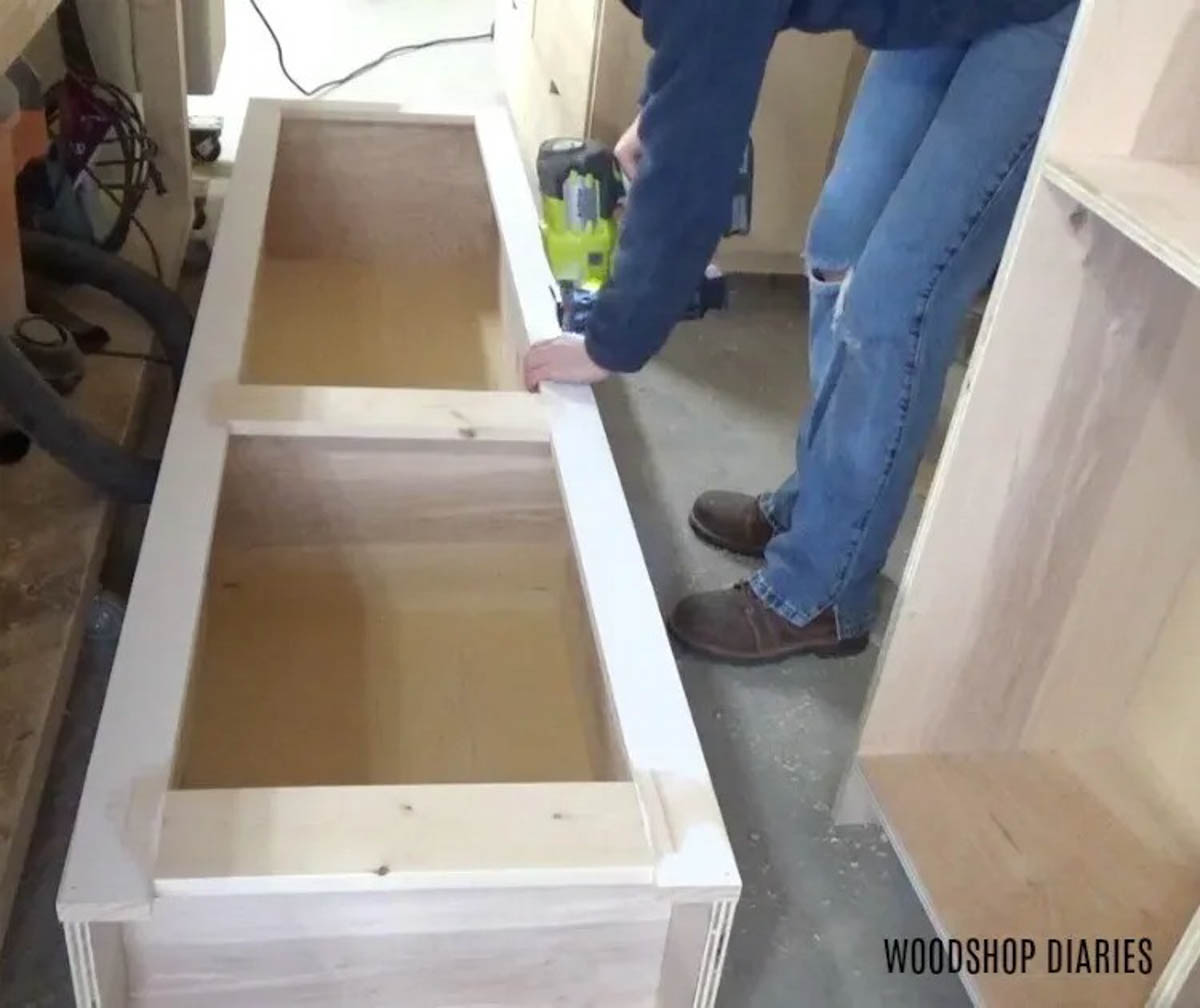
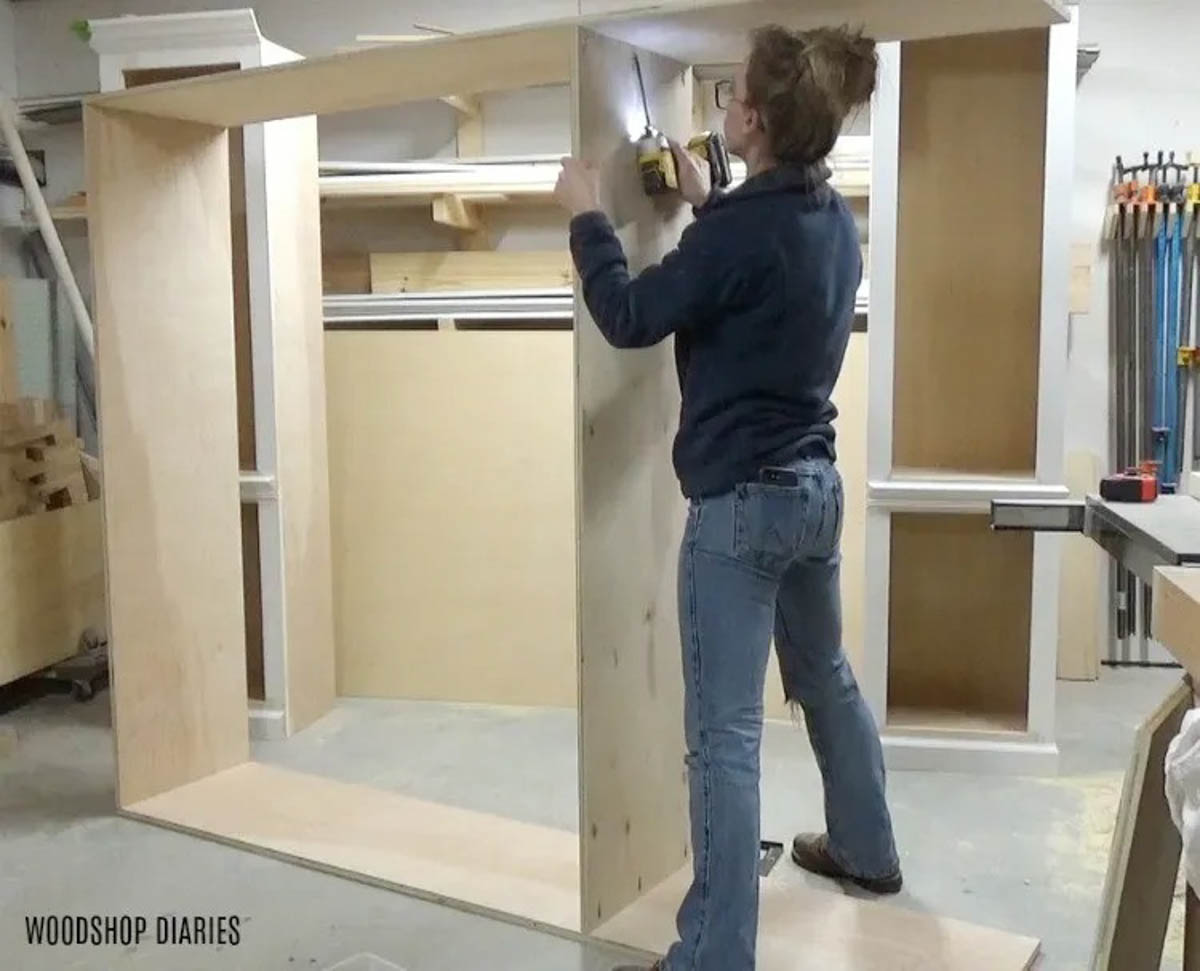
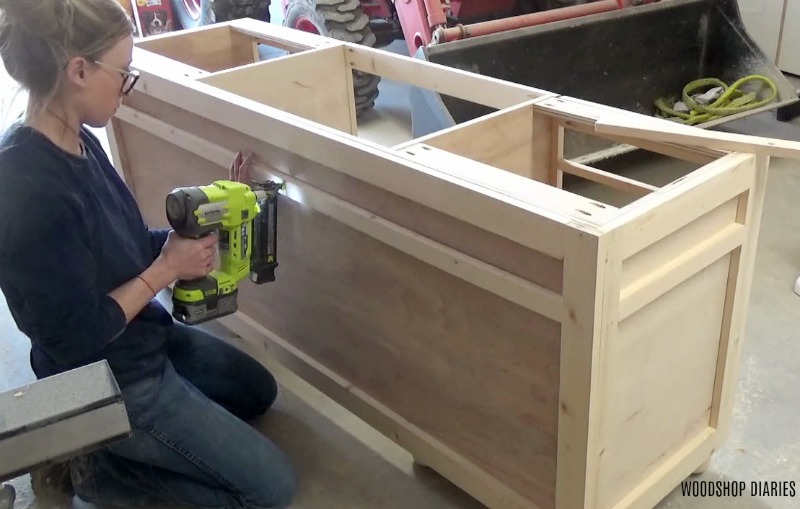
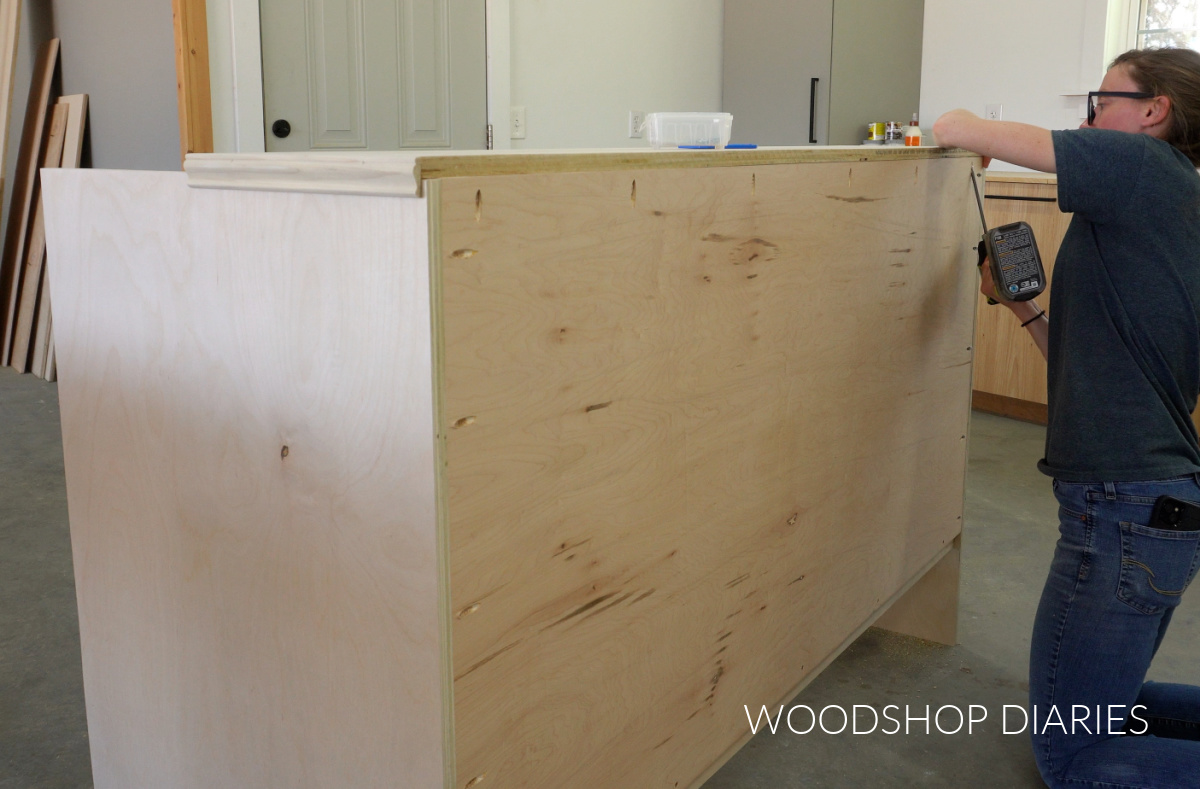
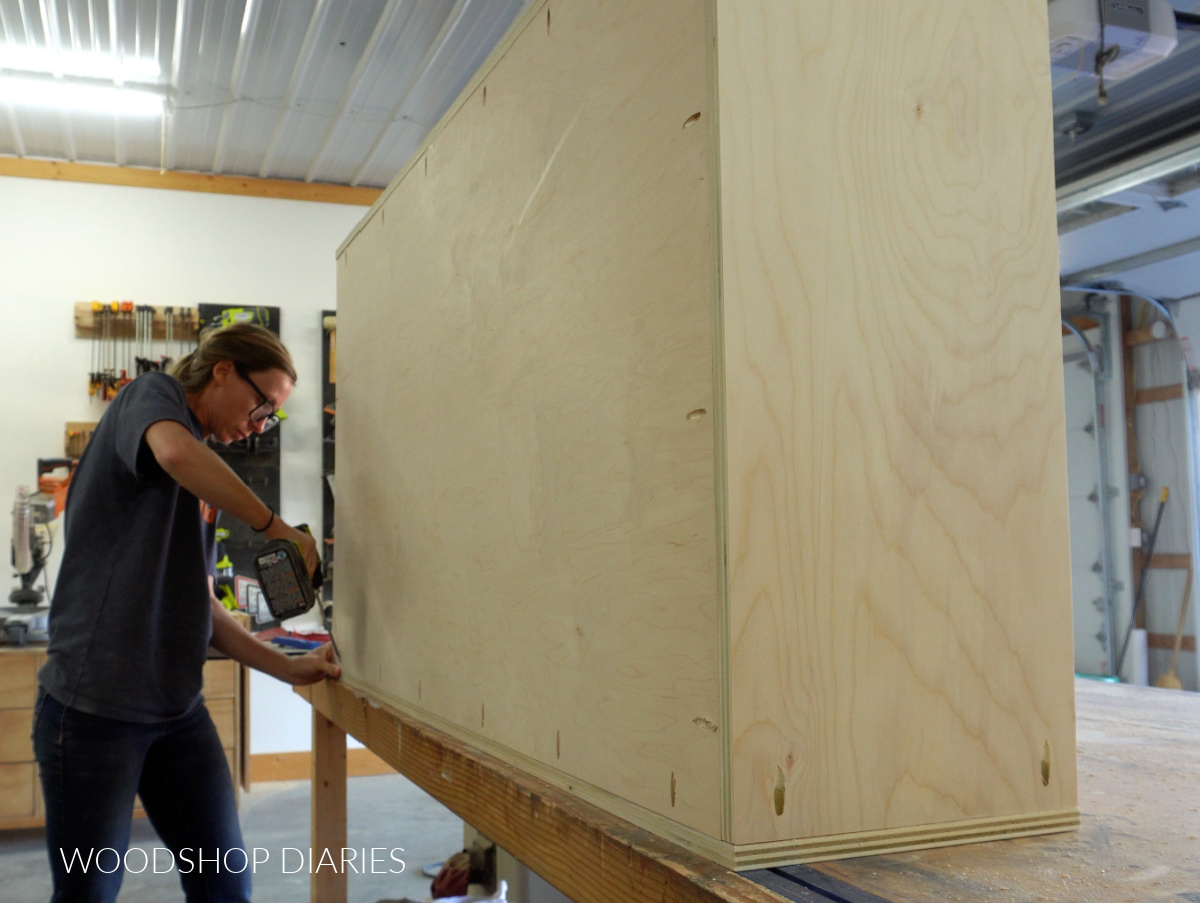
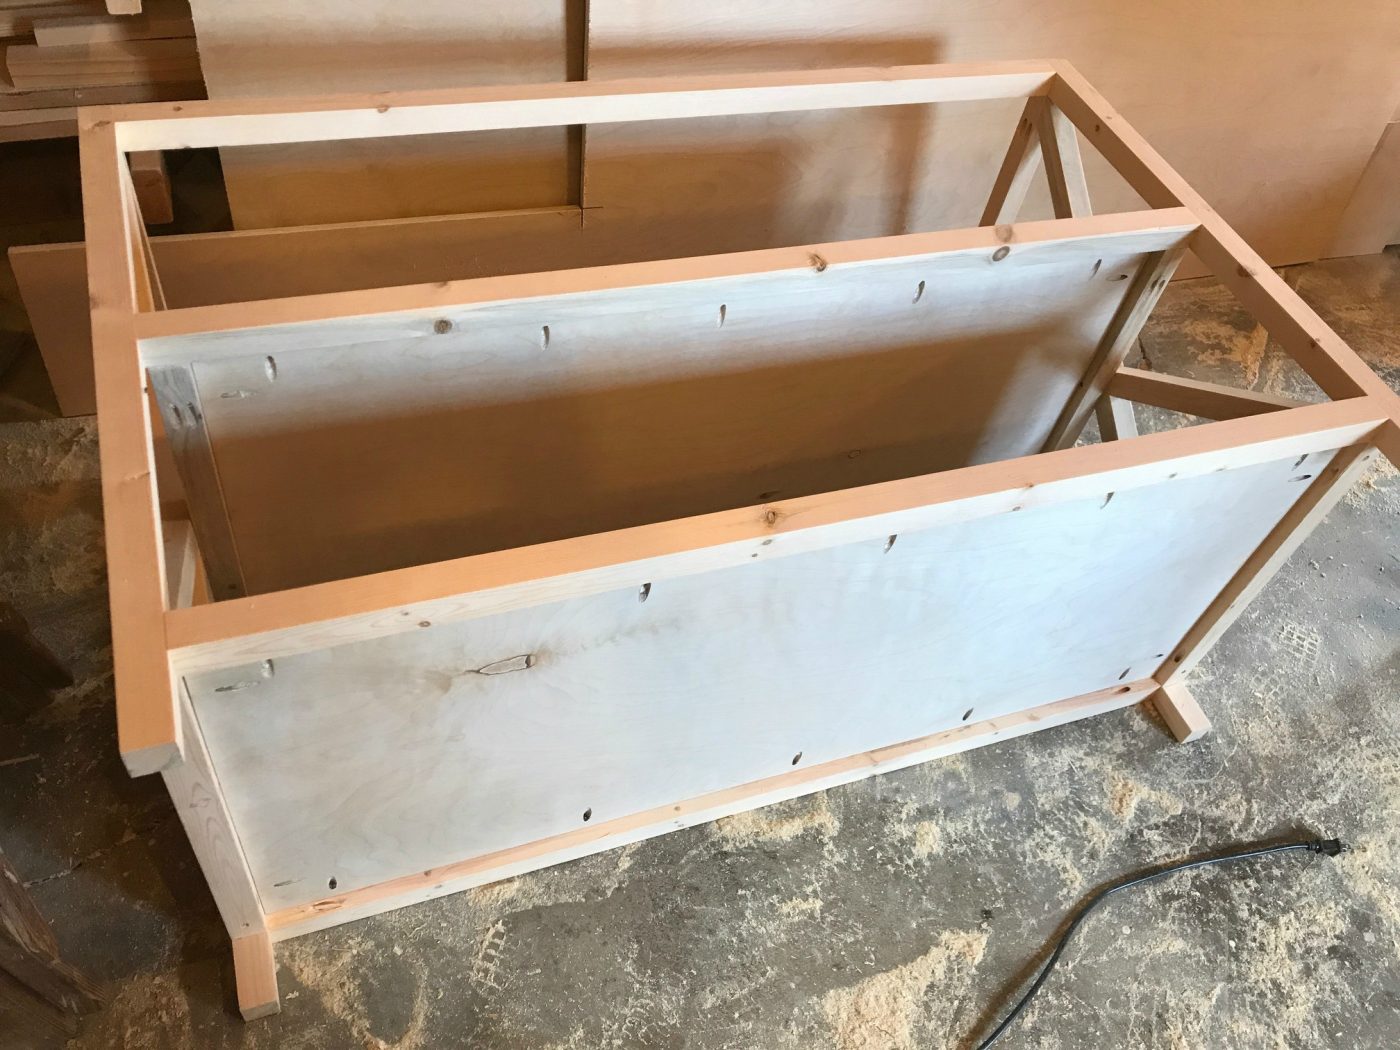
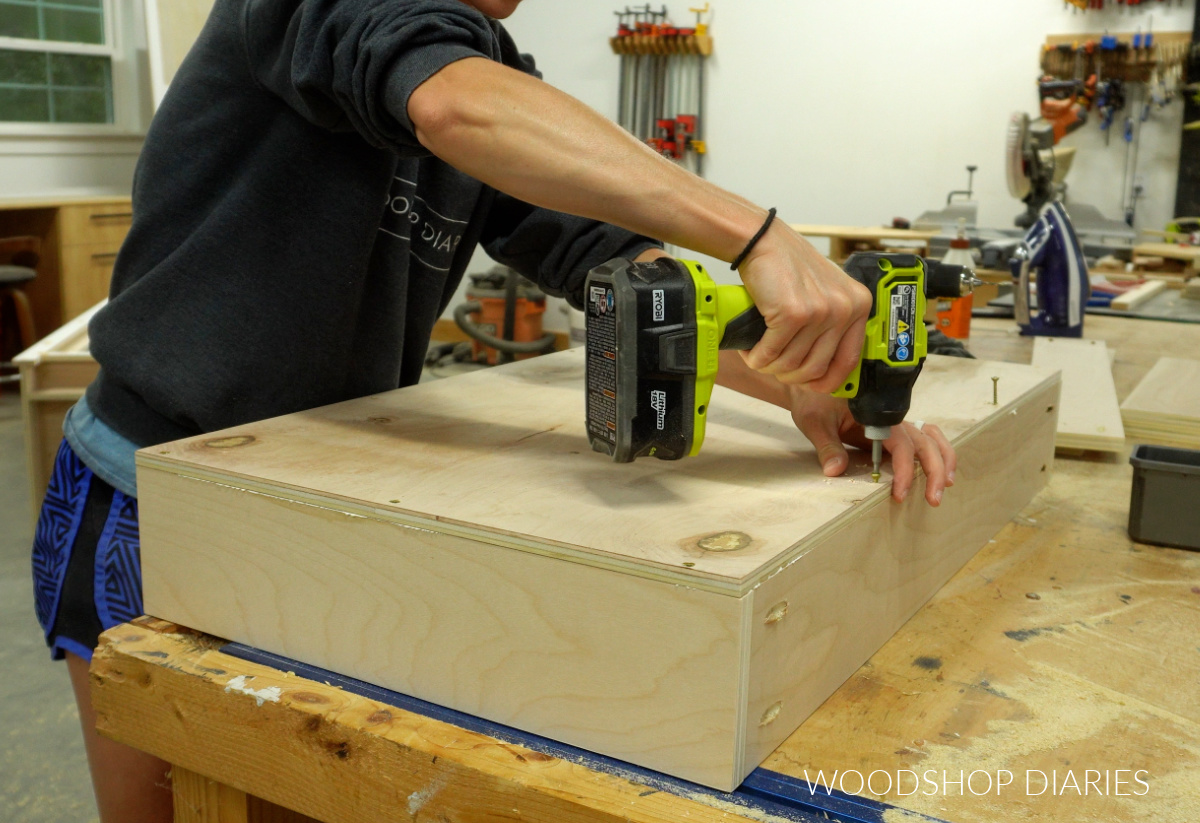
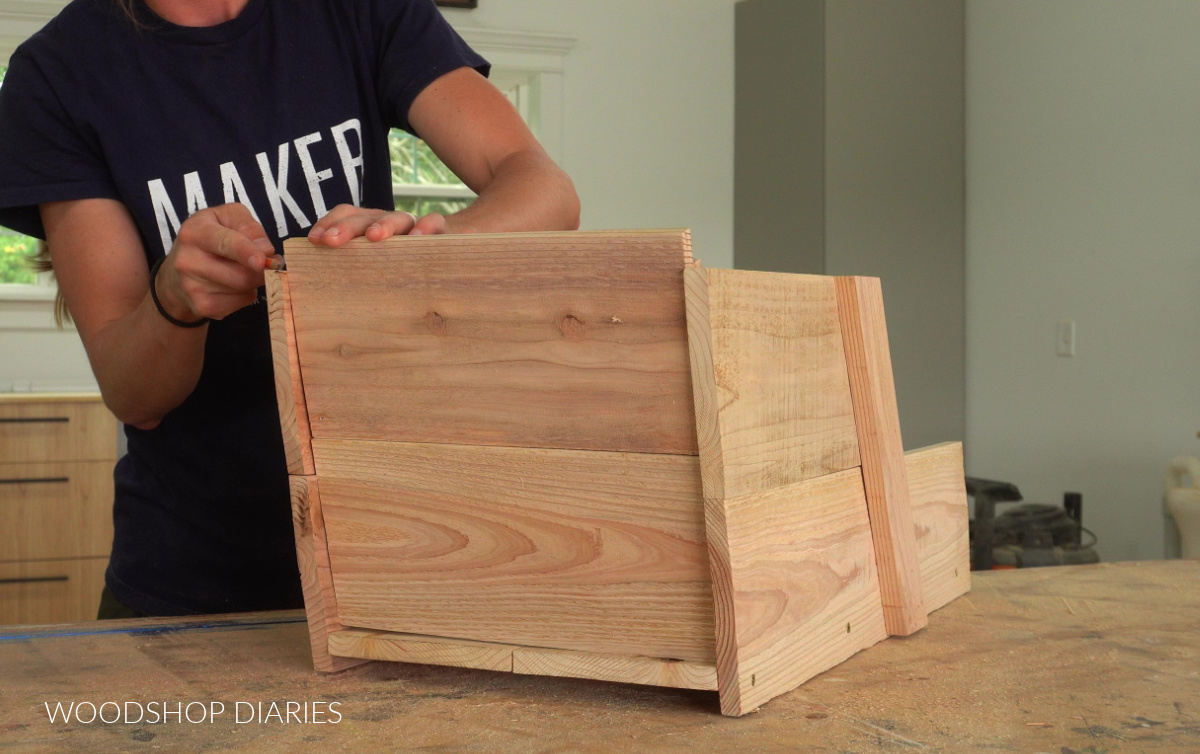
Step 4: Add Shiplap Back
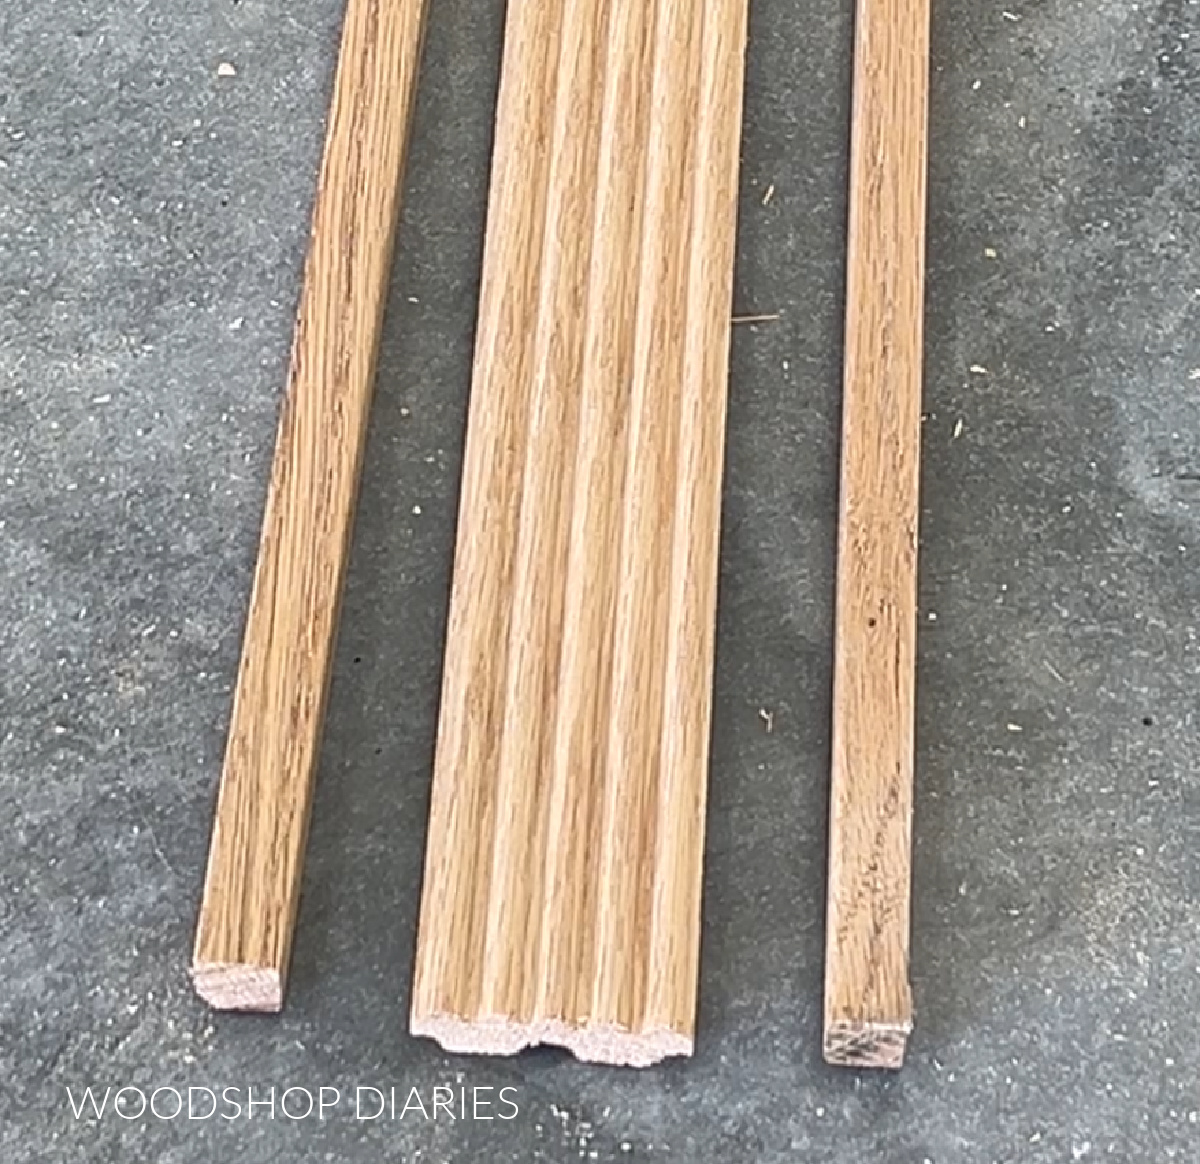
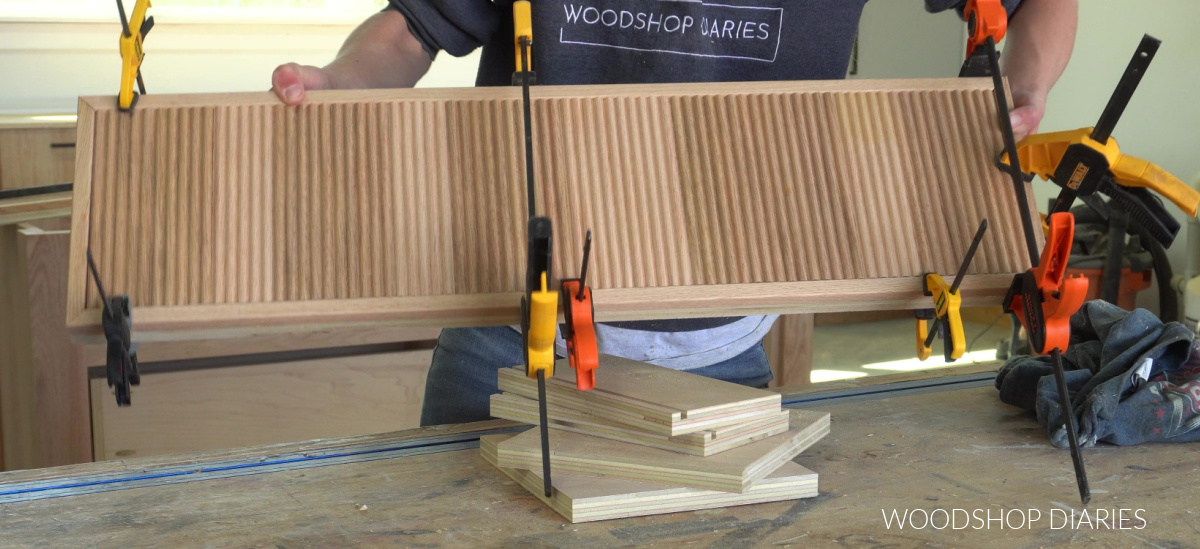
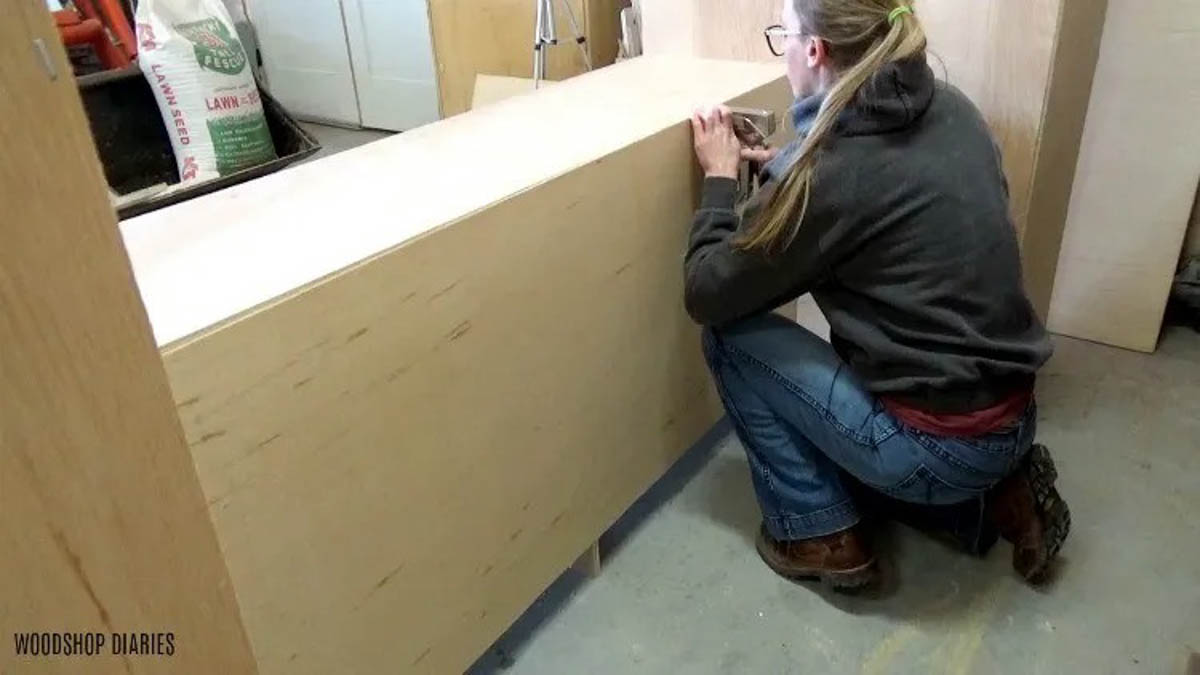
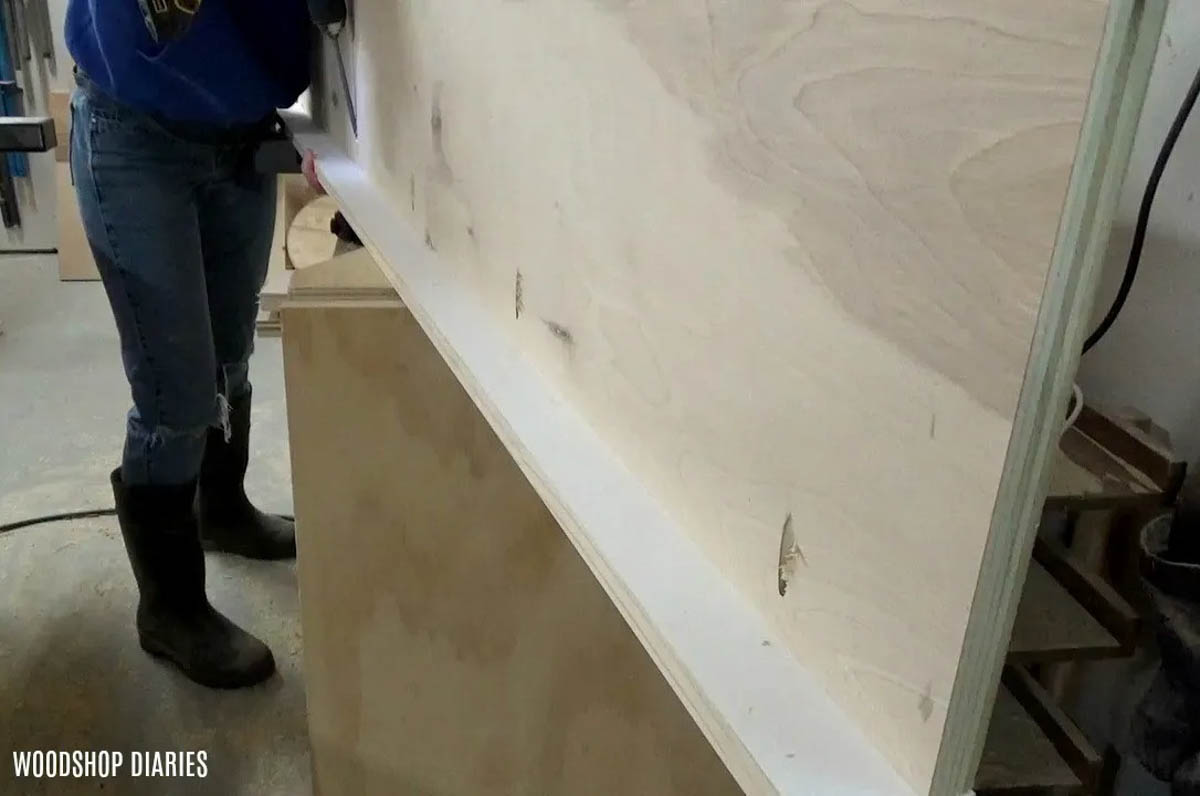
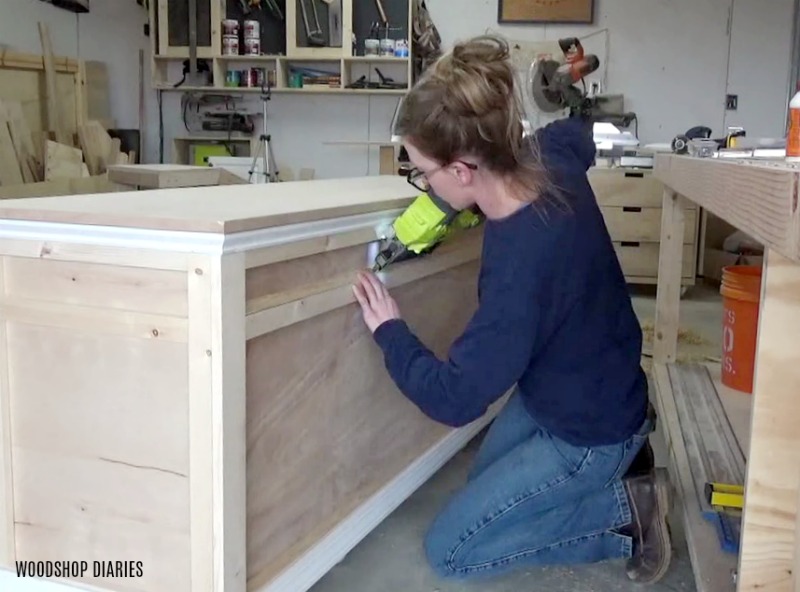
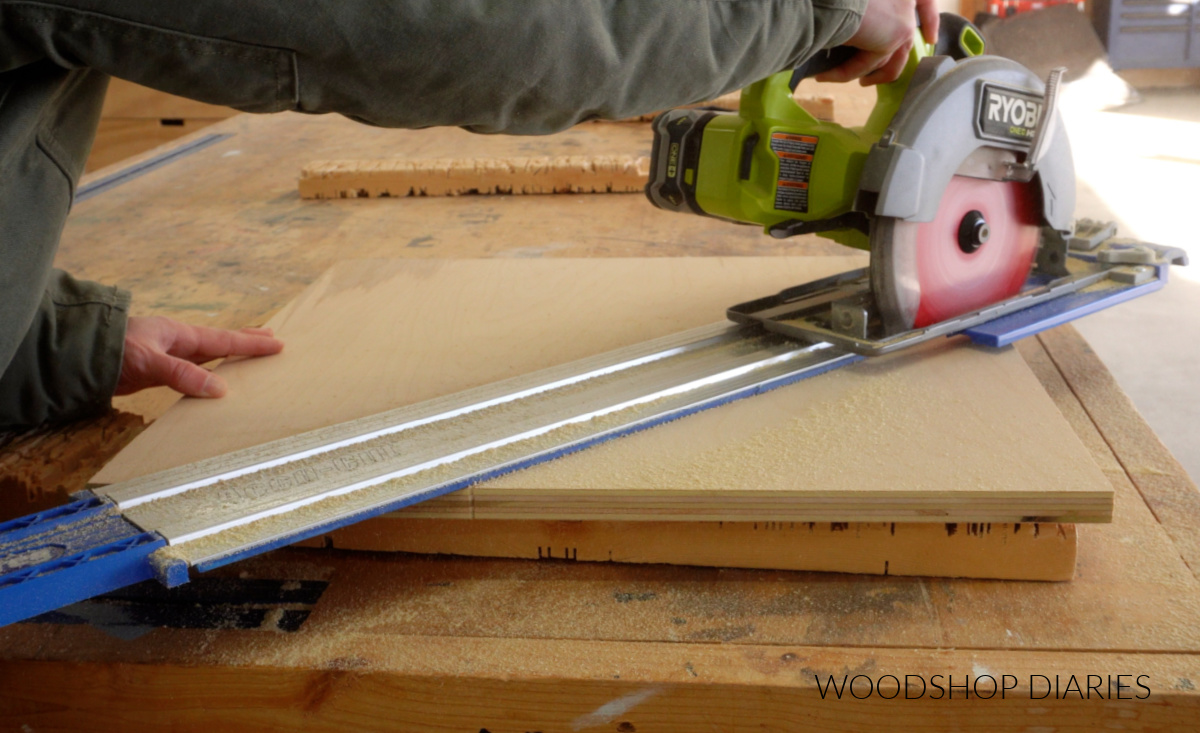
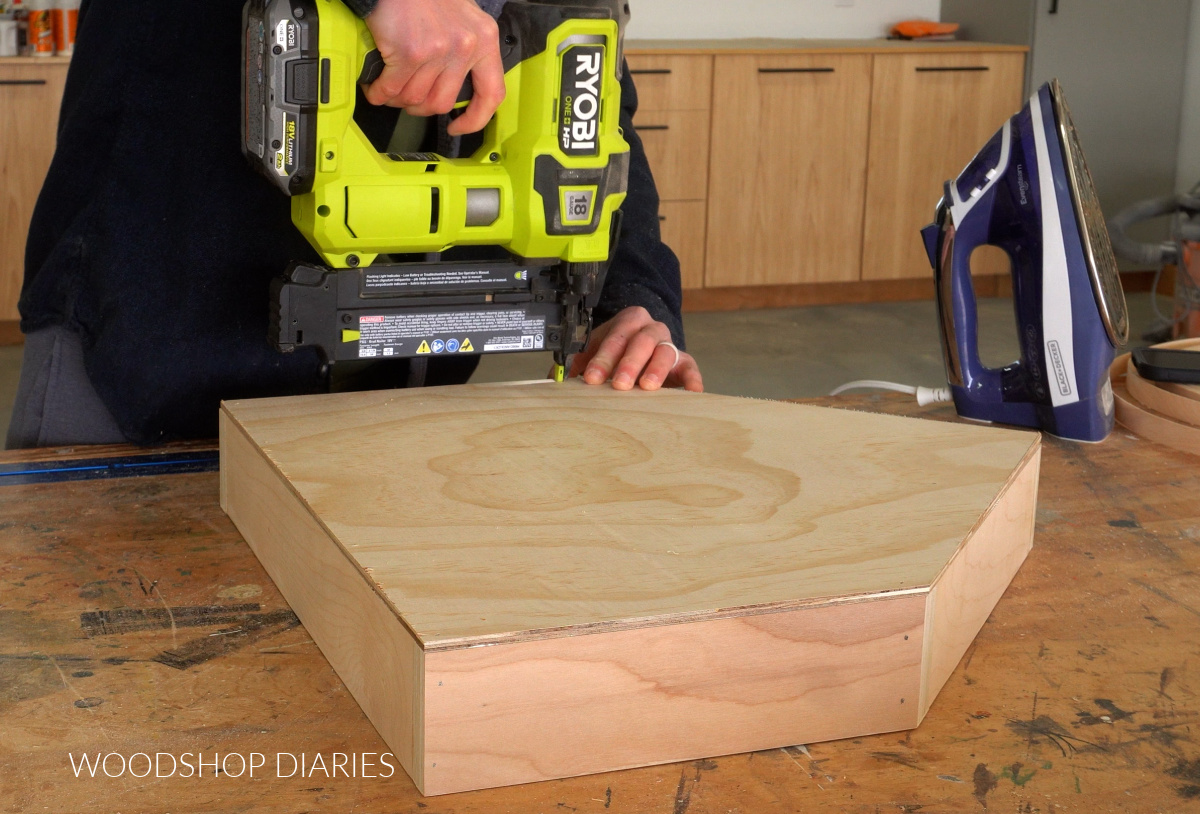
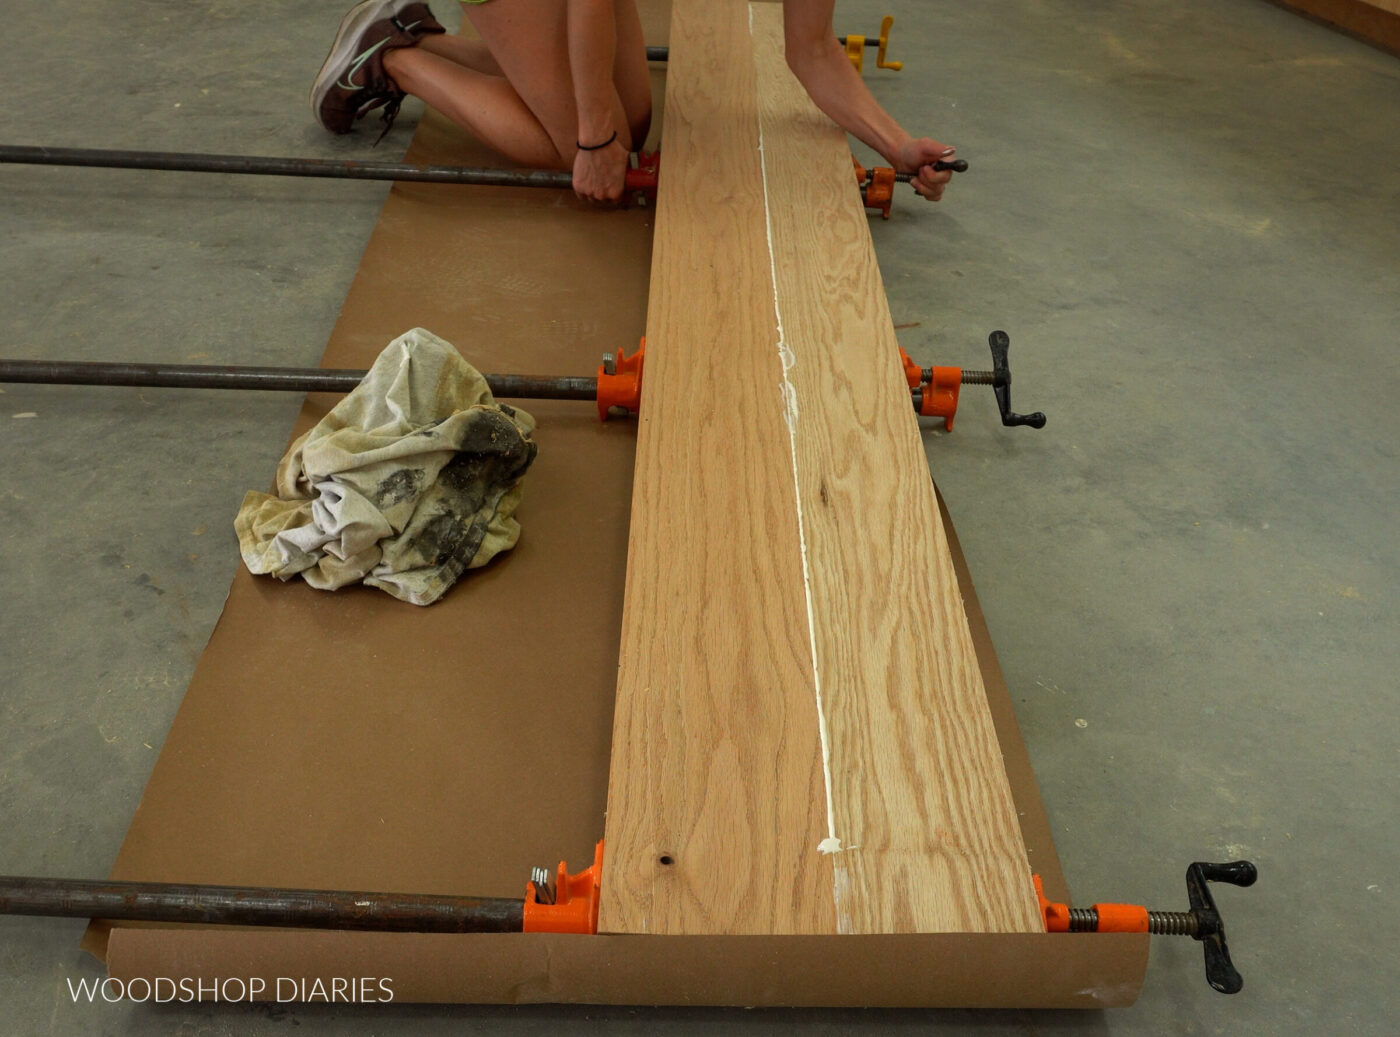
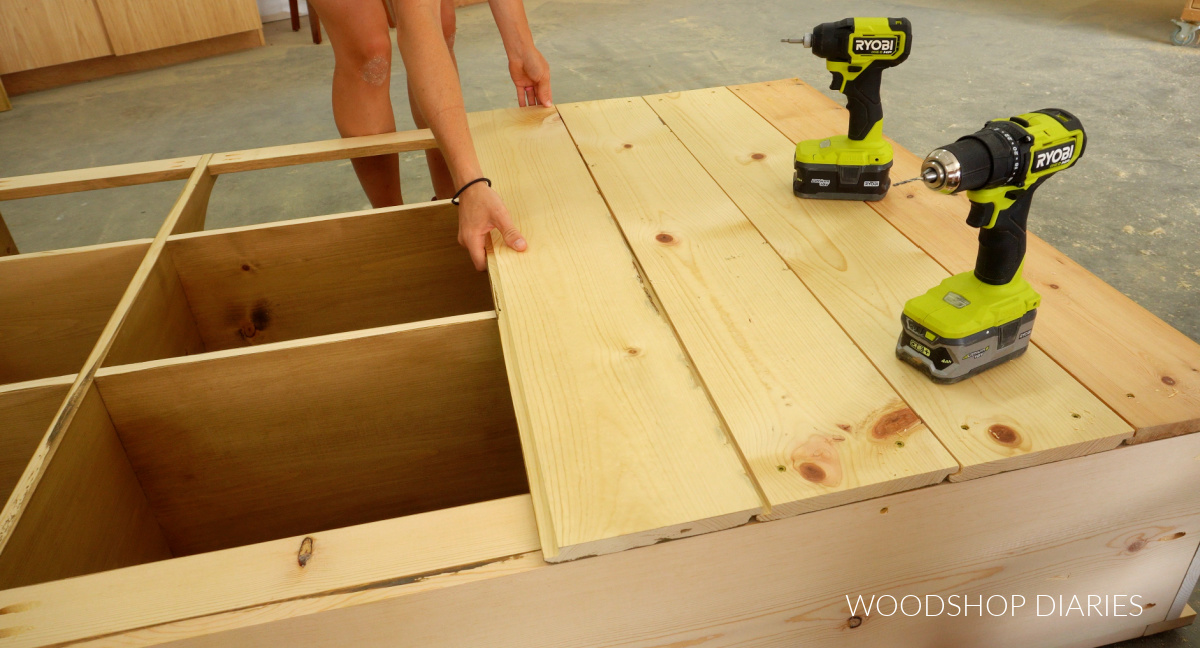
For the back, I wanted to stick with the “rustic” vibe, so I thought shiplap would be a fun choice. Shiplap comes in various widths, but I used 1×8 pine/spruce shiplap boards.
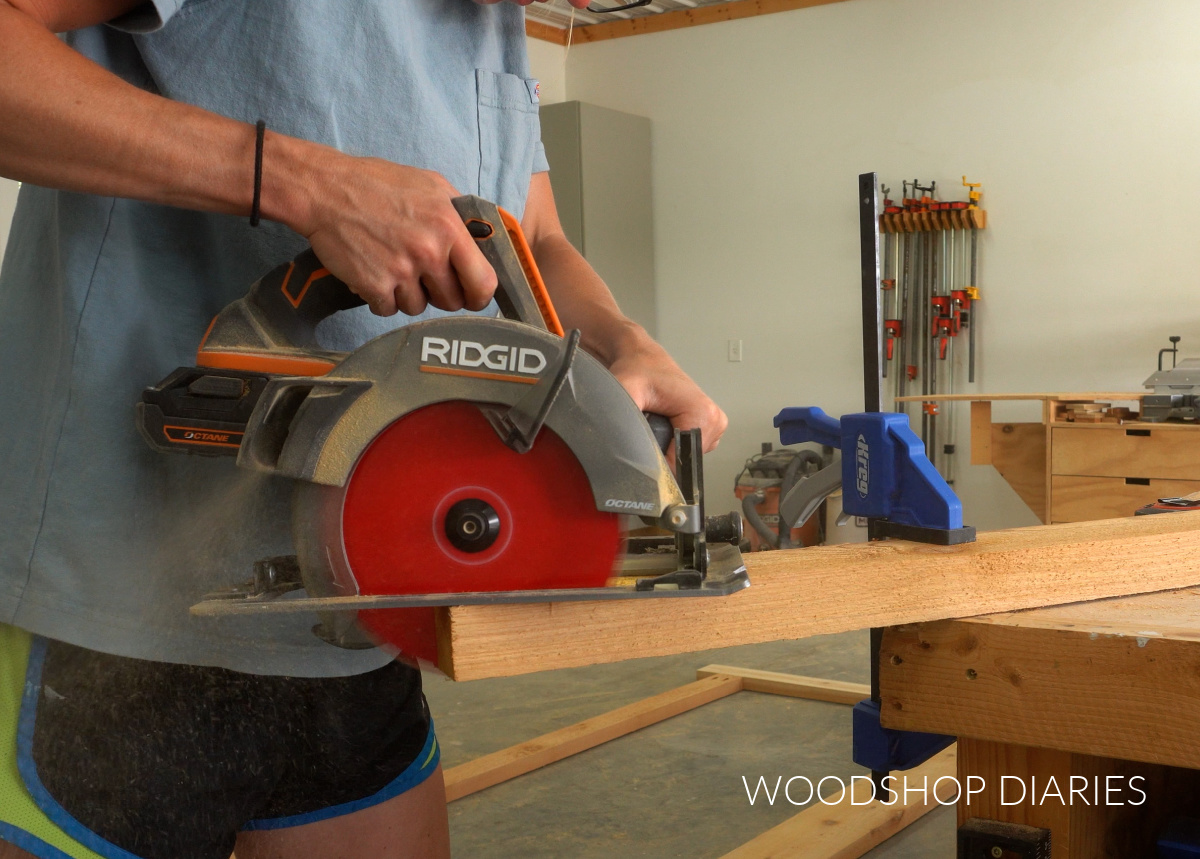
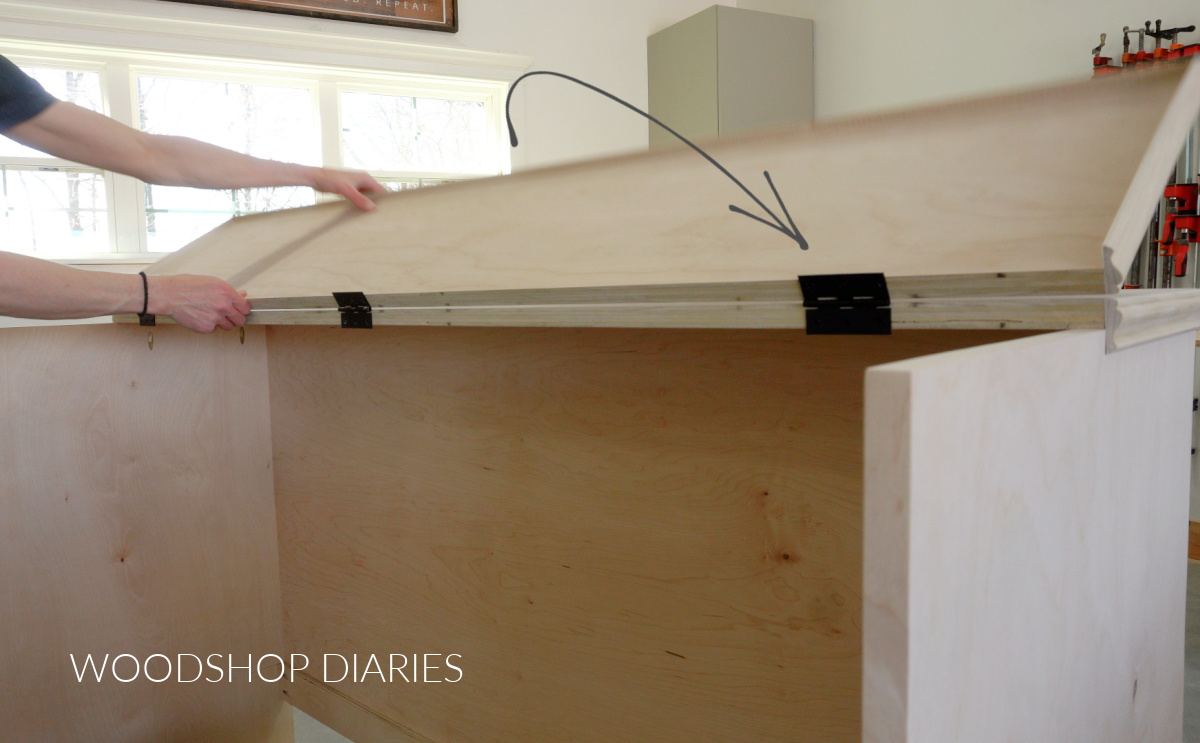
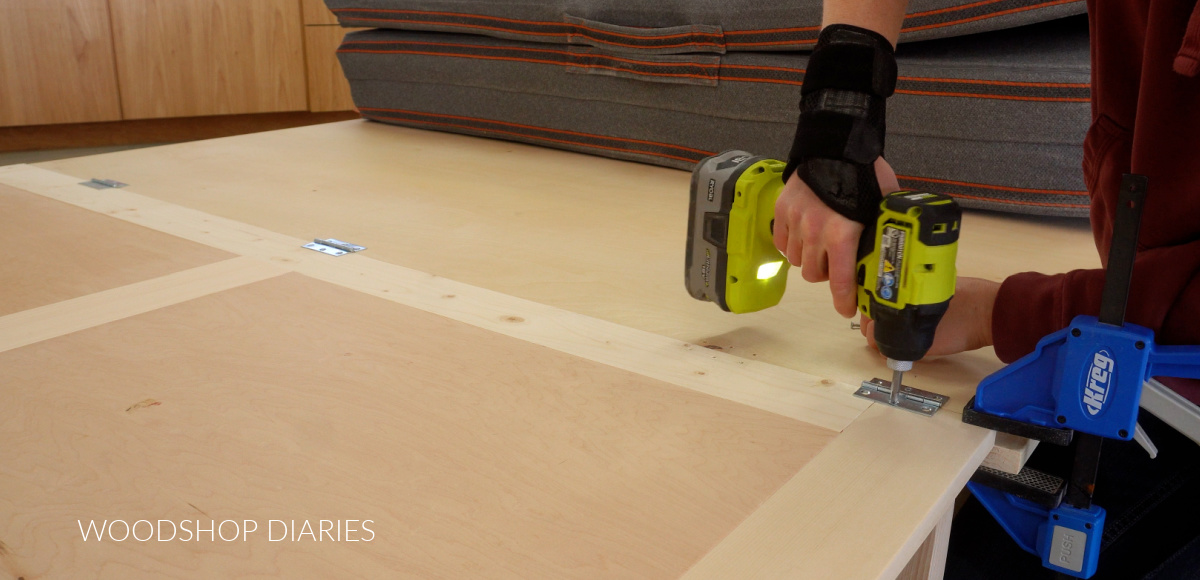
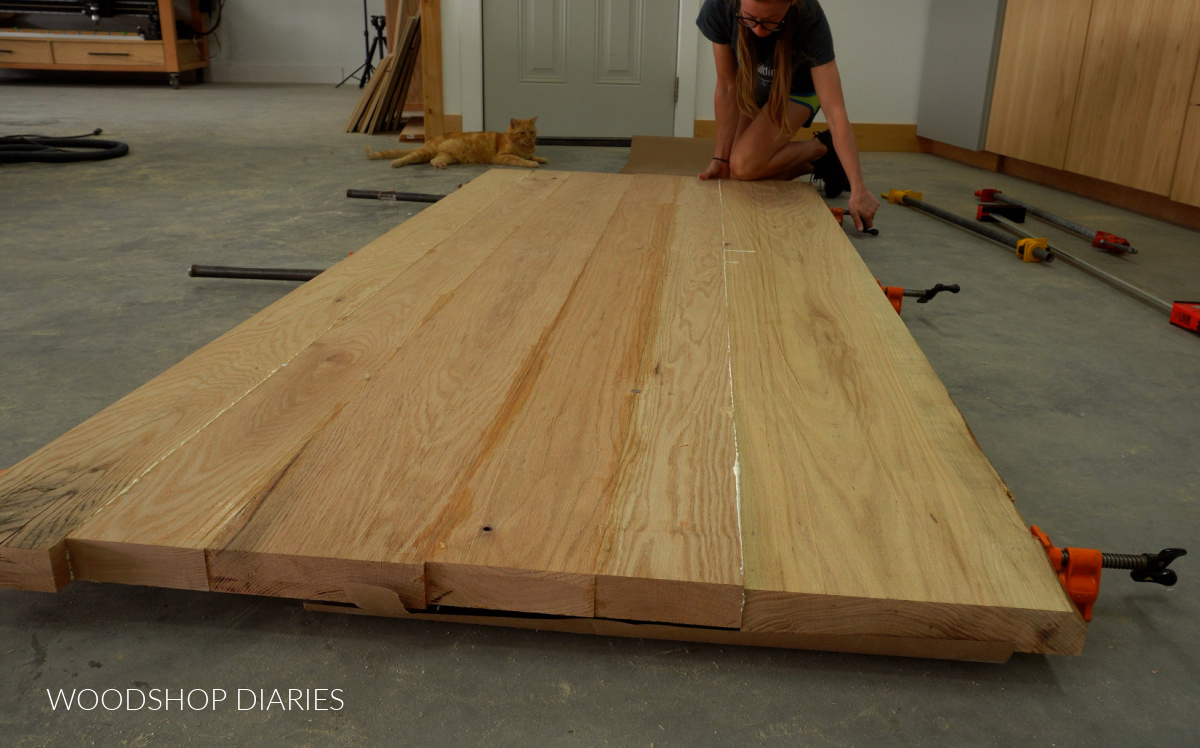
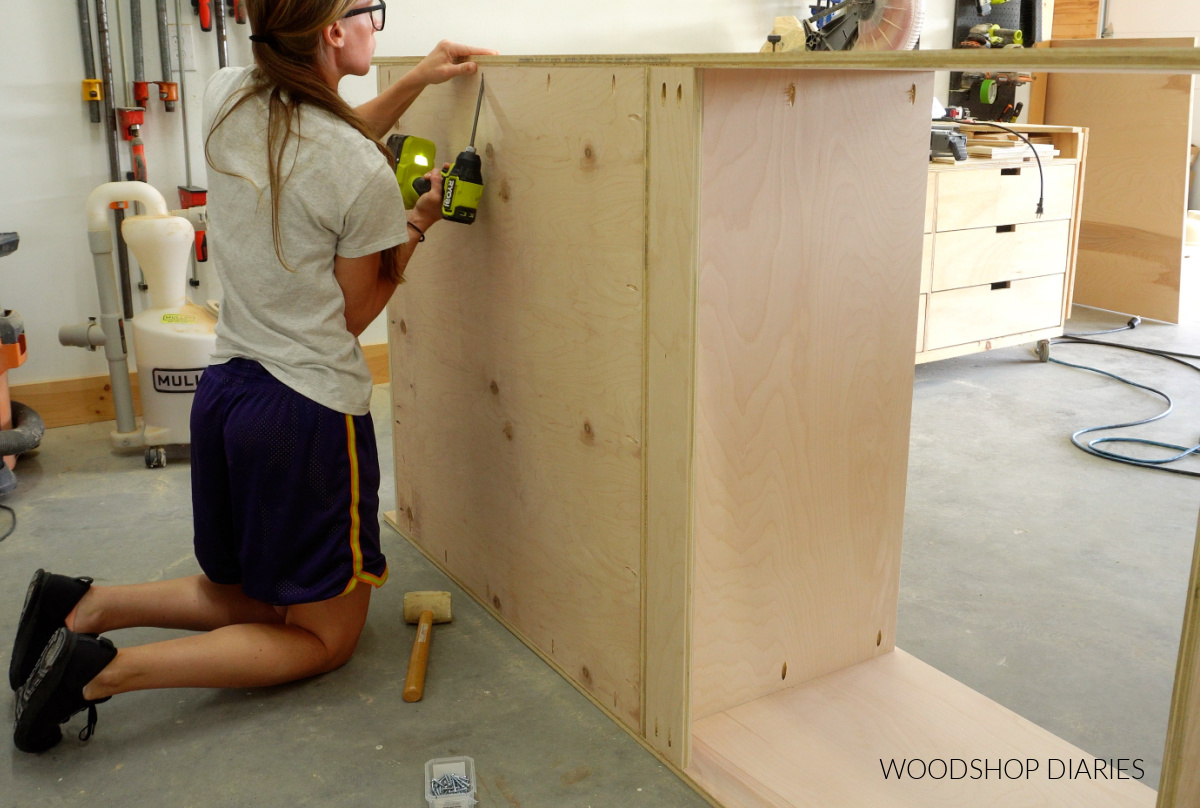
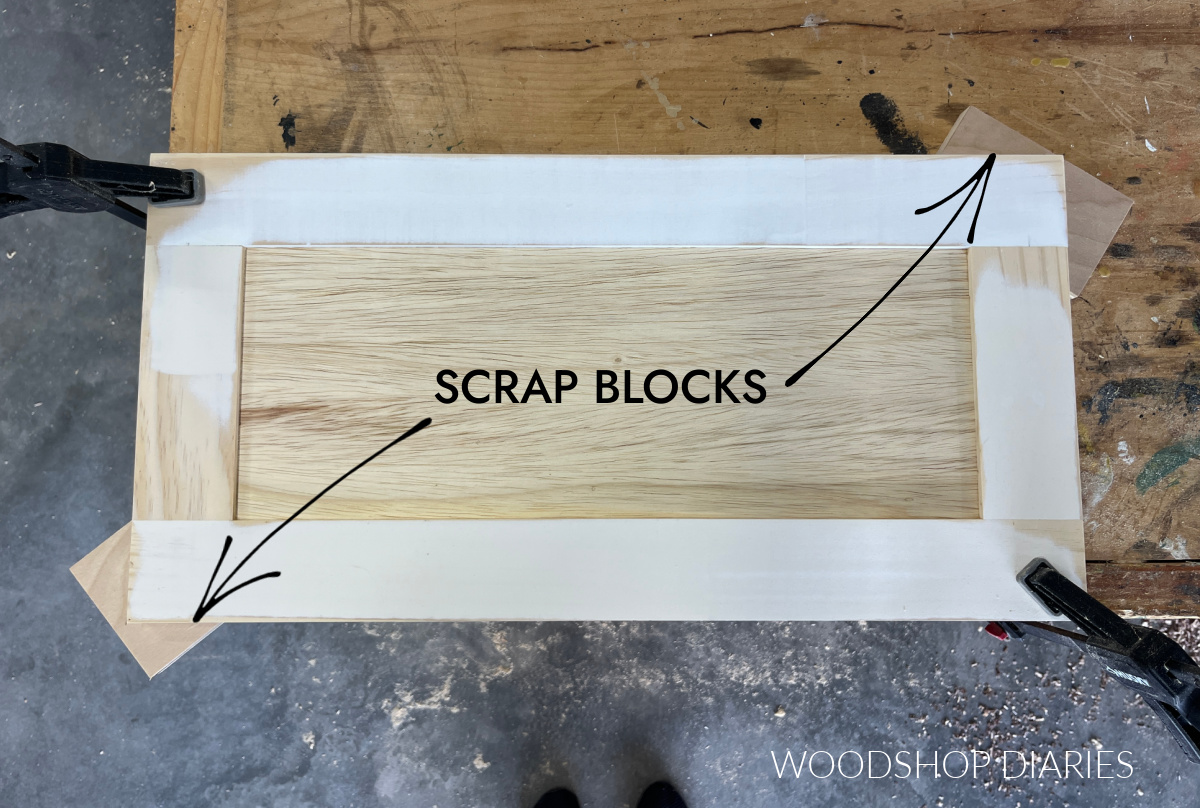
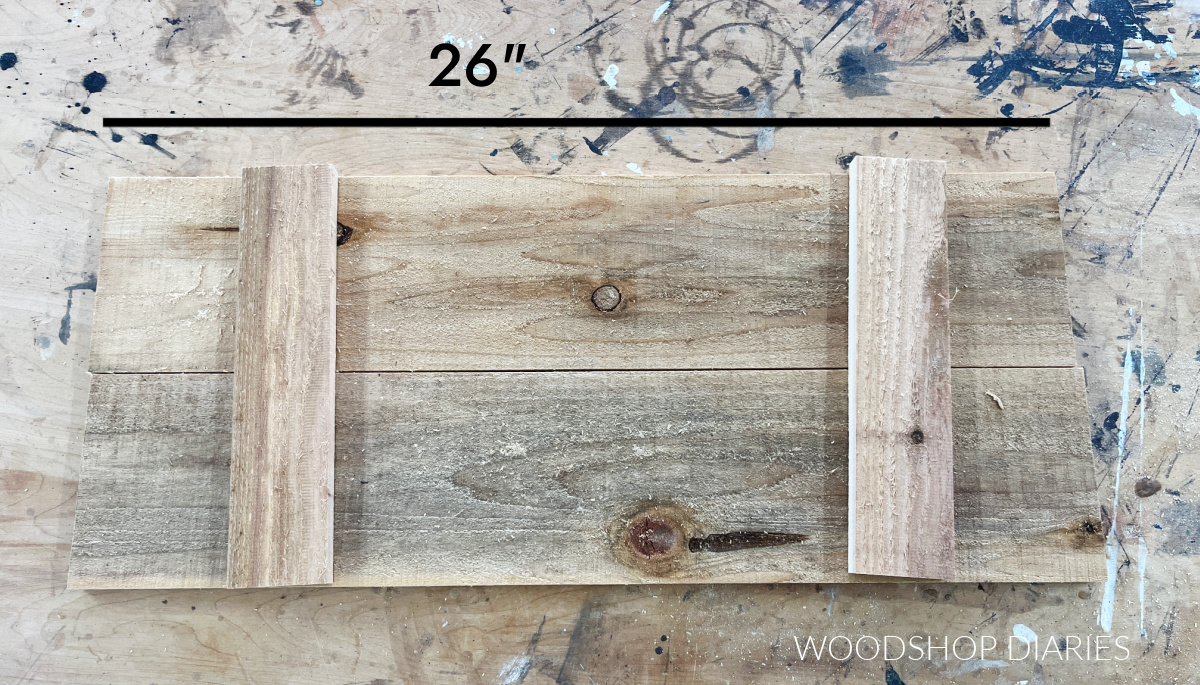
I cut enough boards to cover the entire back of the cabinet (in my case, that was 9 pieces). I fit these pieces together on the shop floor and laid the hutch on it’s back on top of them.
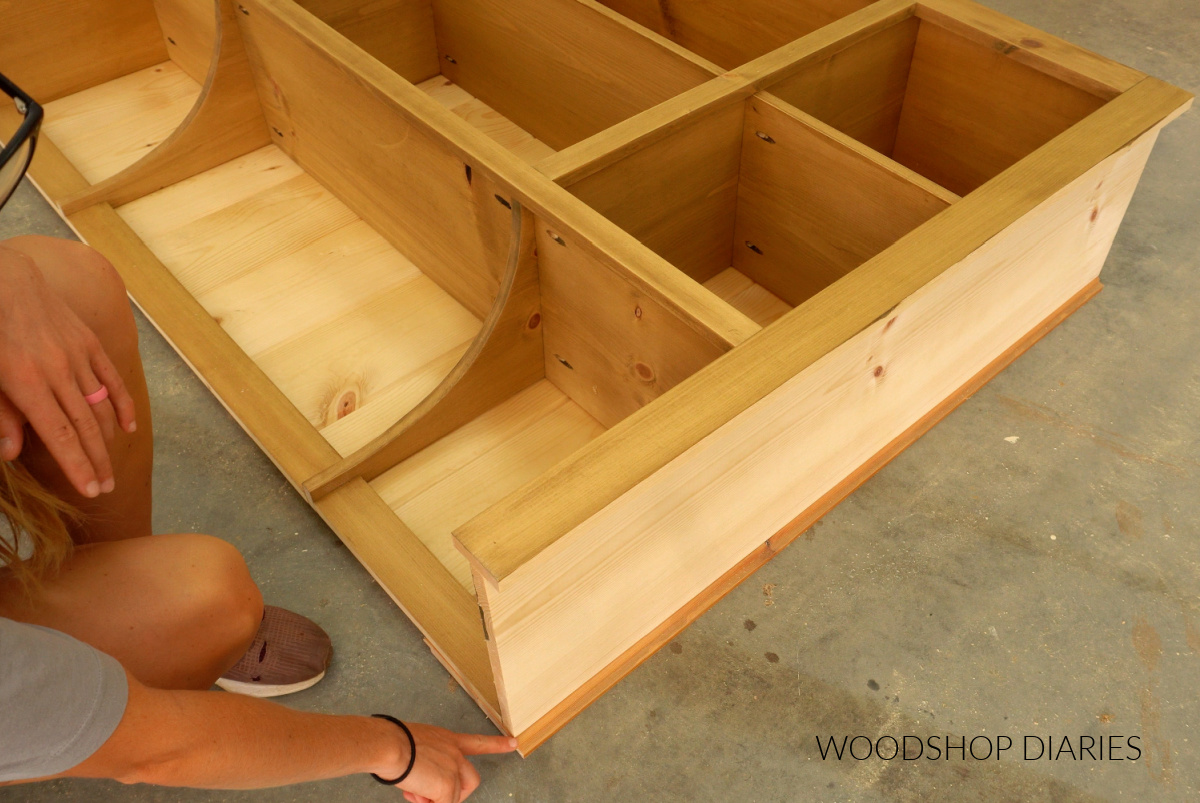
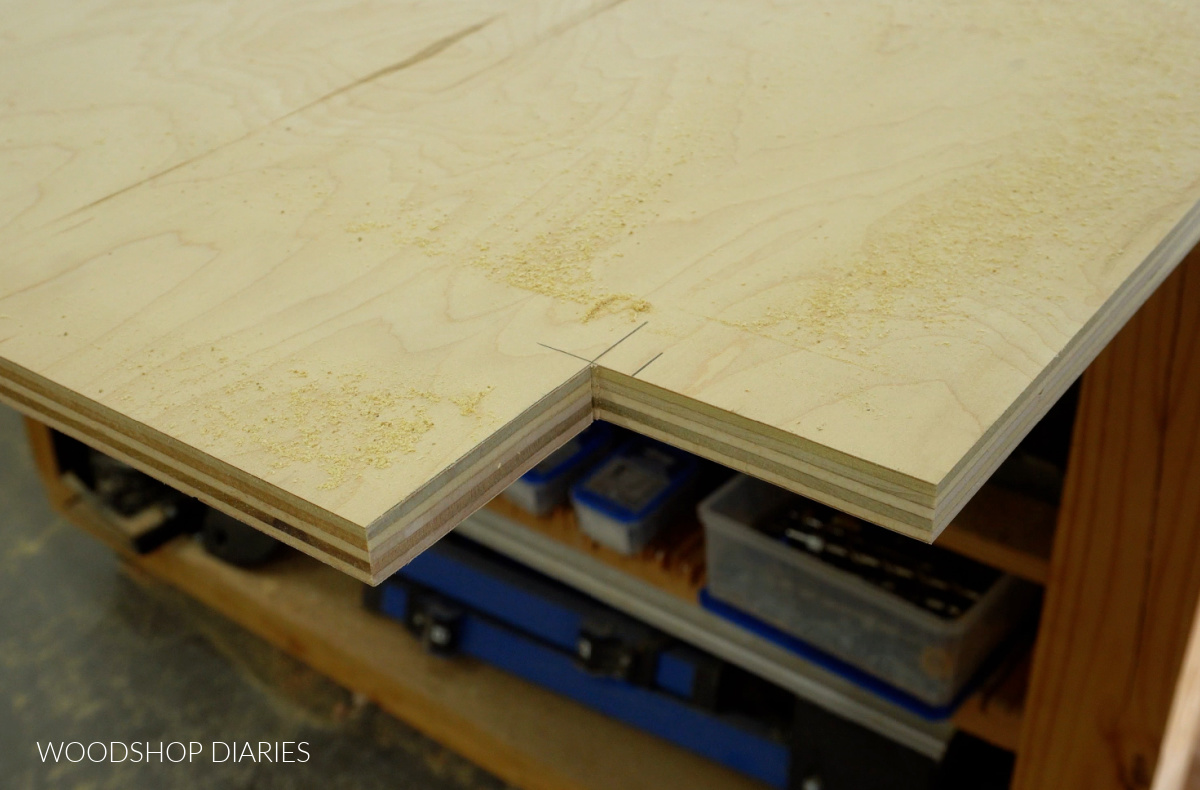
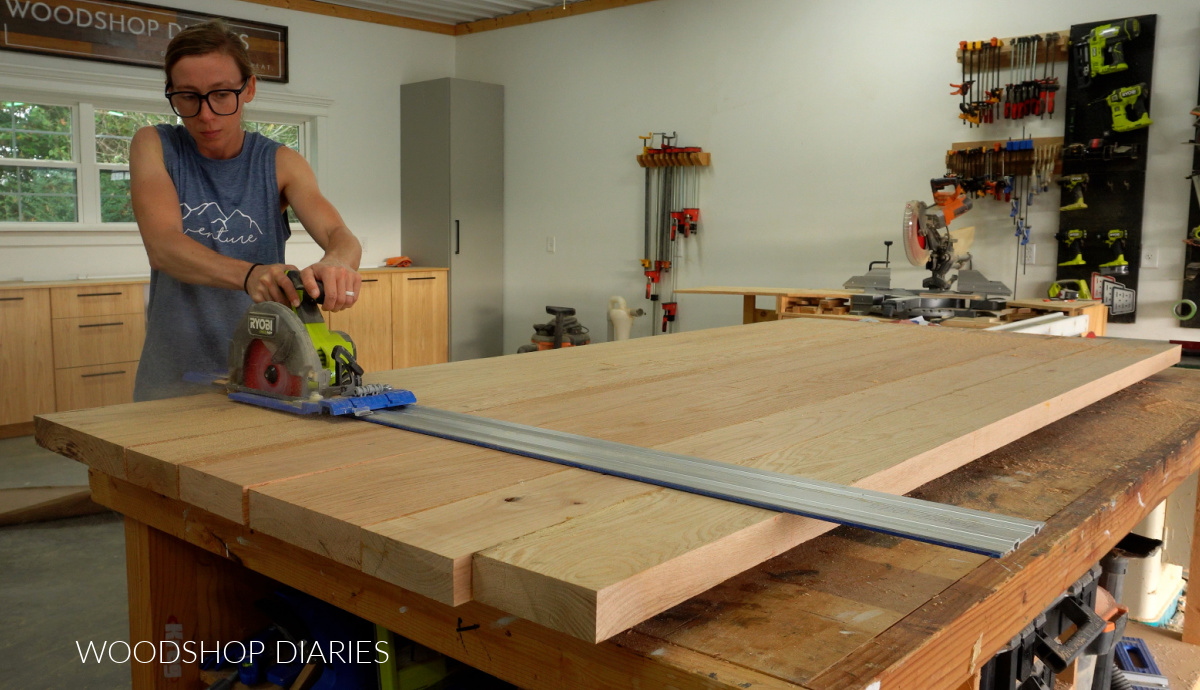
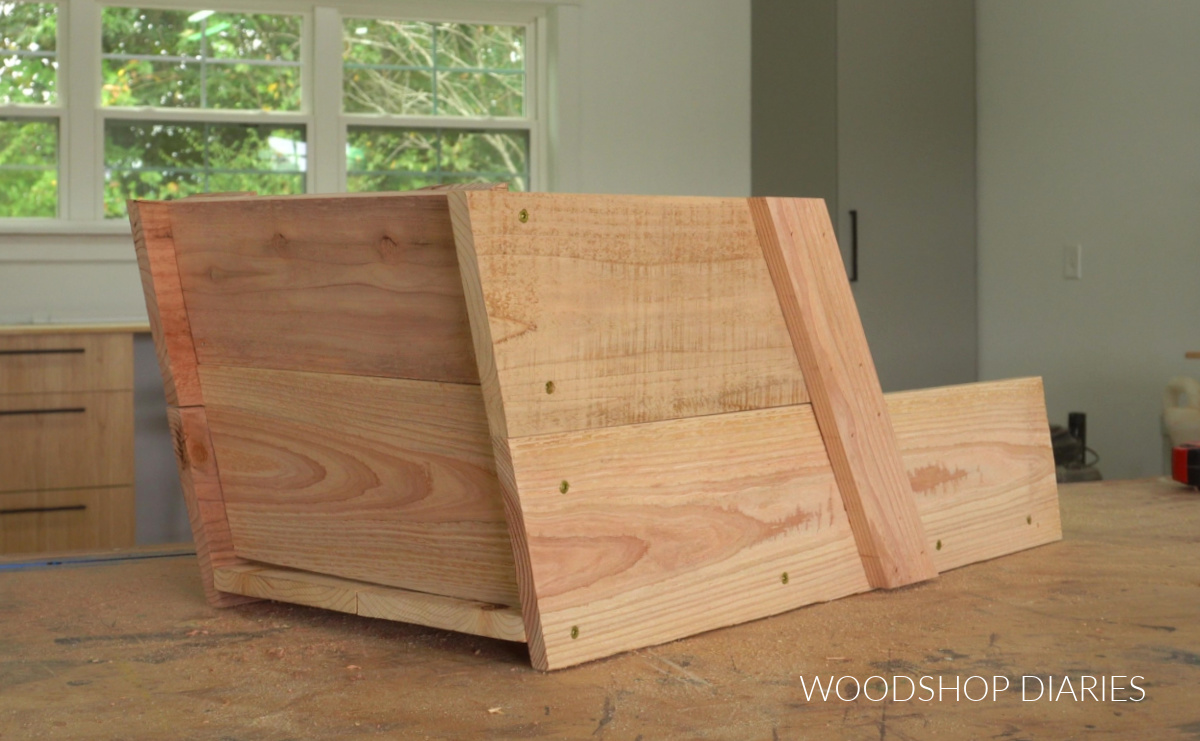
They stuck out the sides of the hutch a little on both sides, so I centered it, marked the overhang, and trimmed the left and right shiplap boards so they’d be flush to the sides.
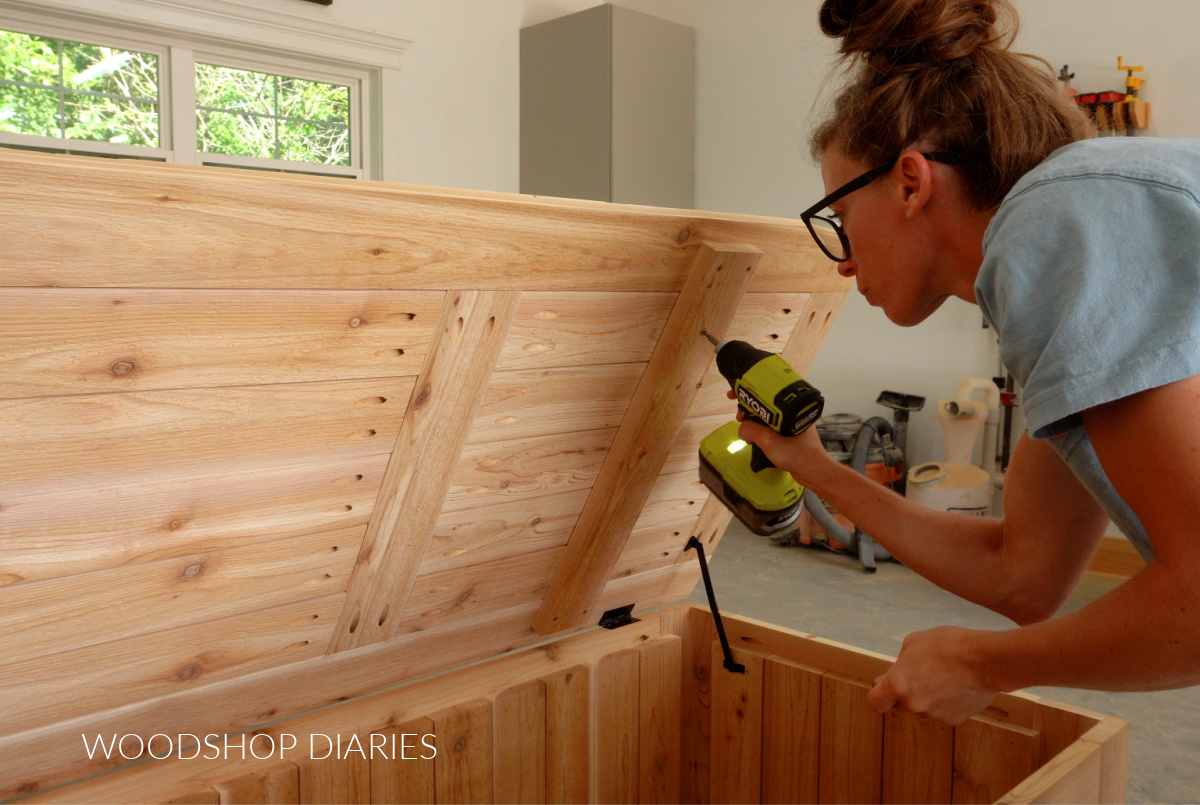
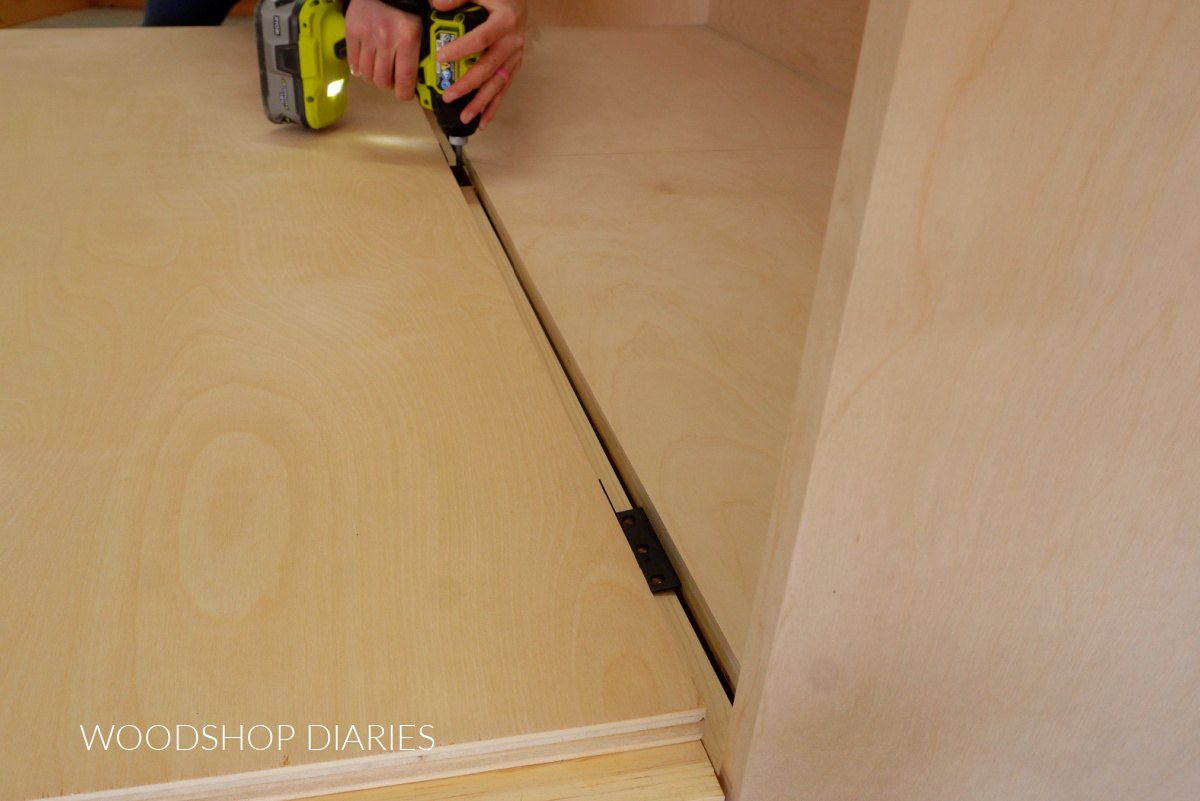
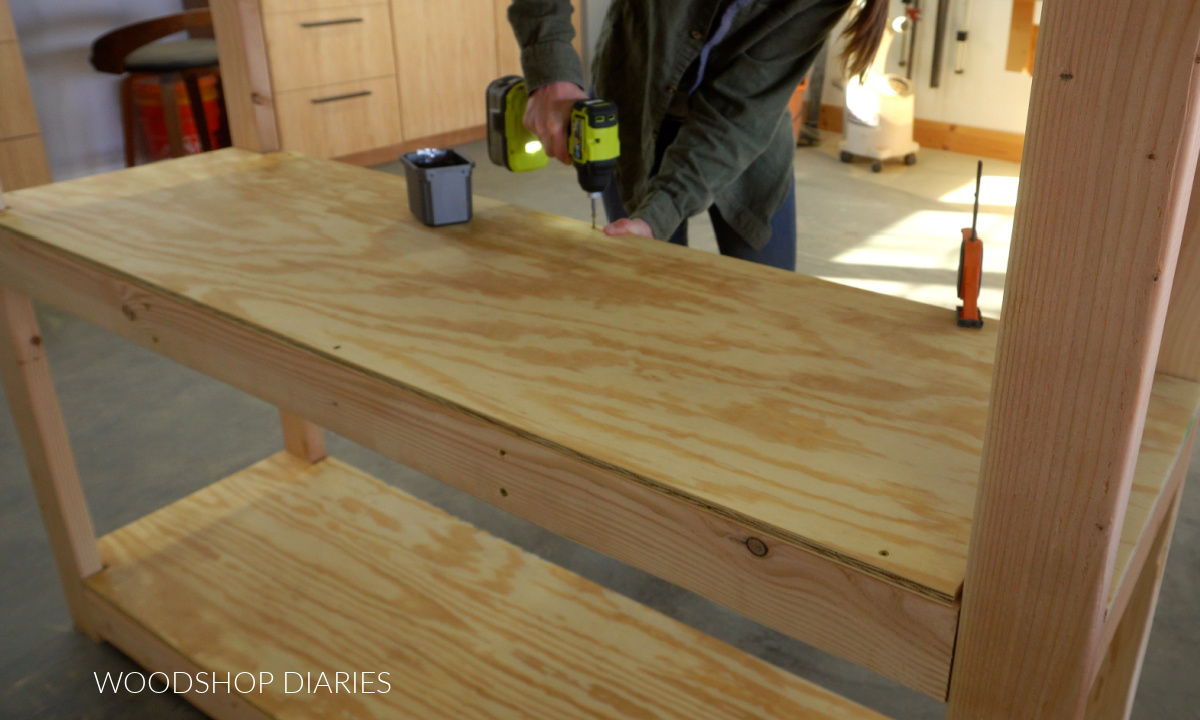
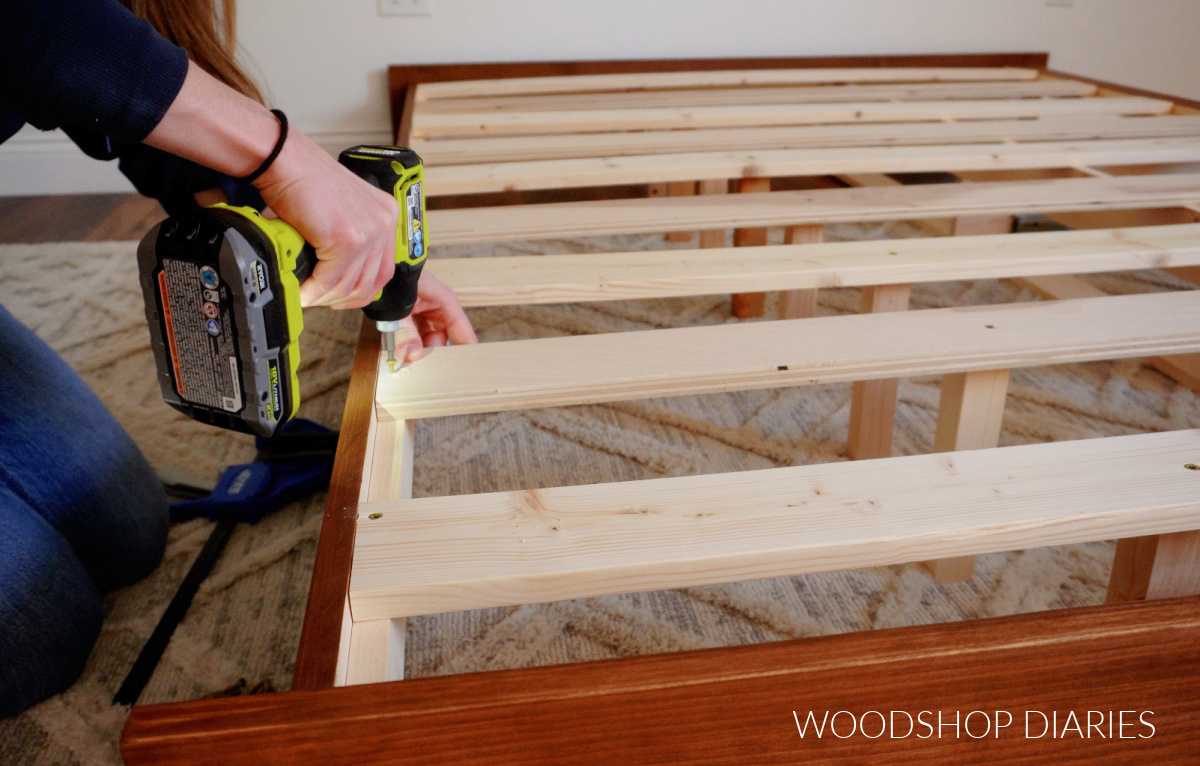
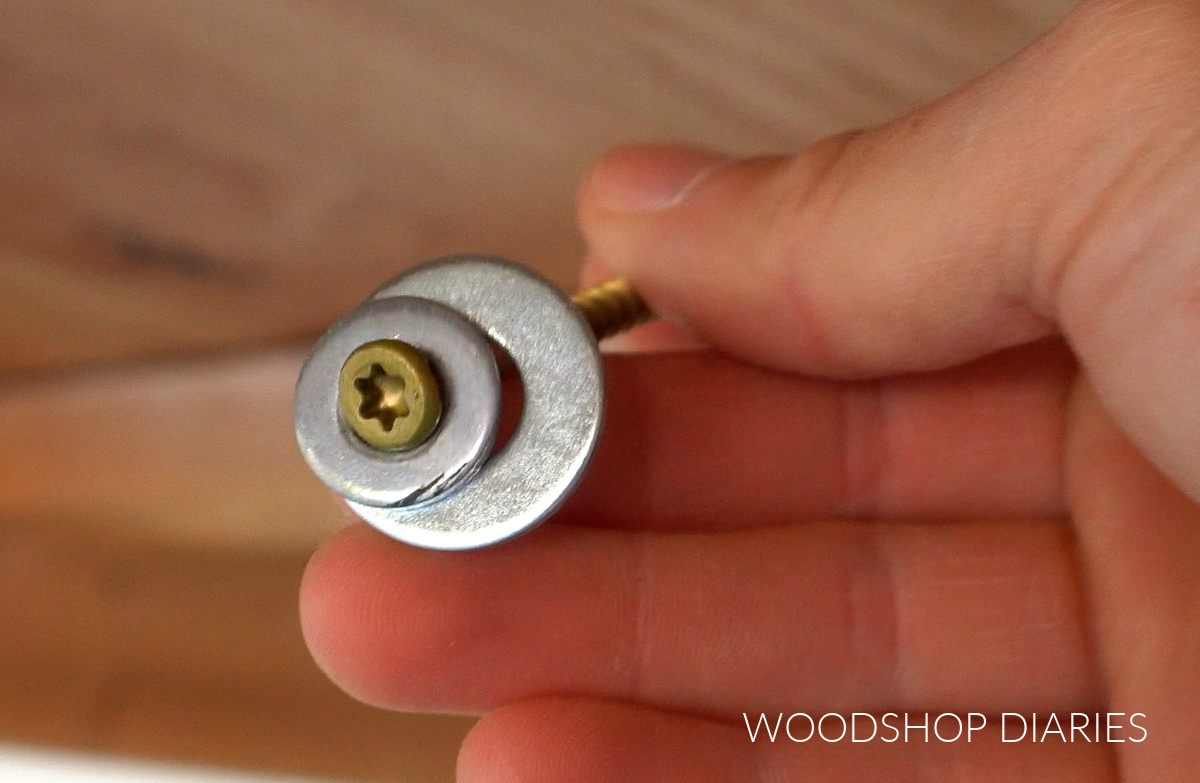
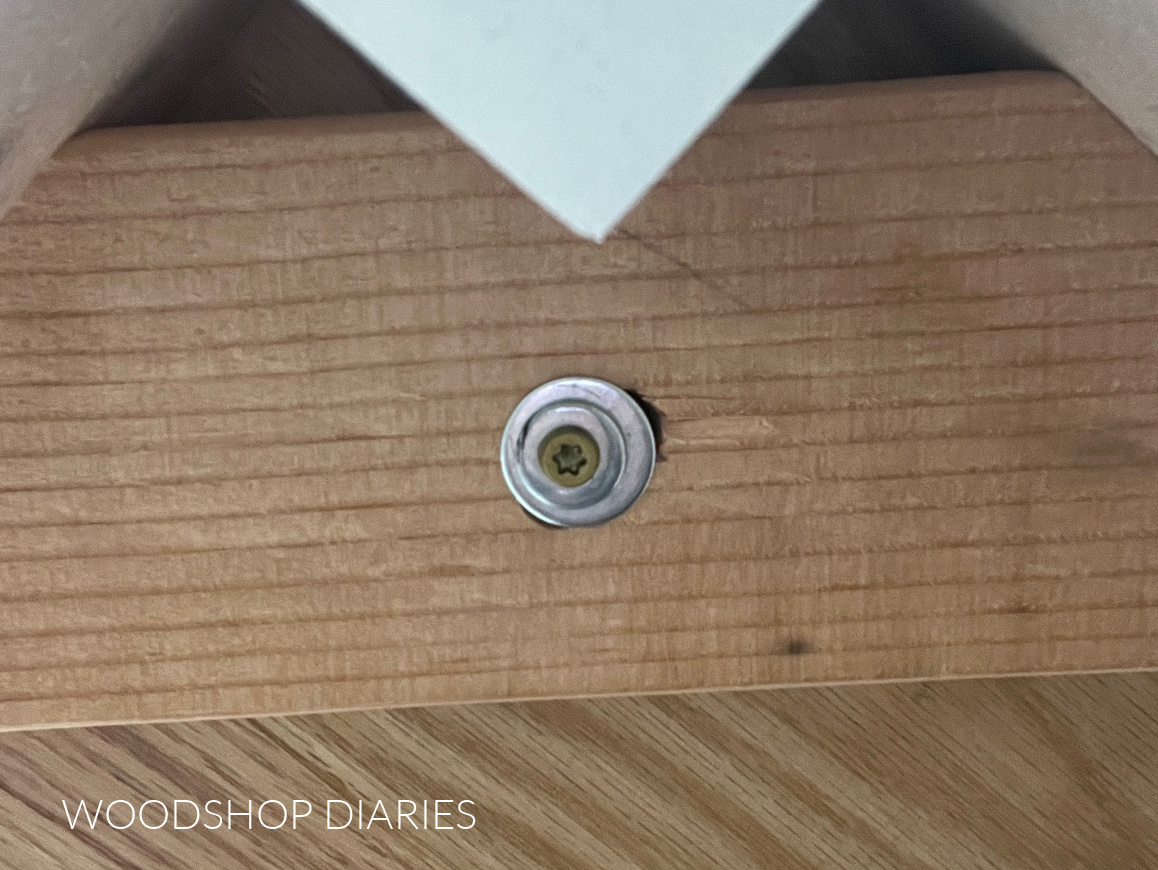
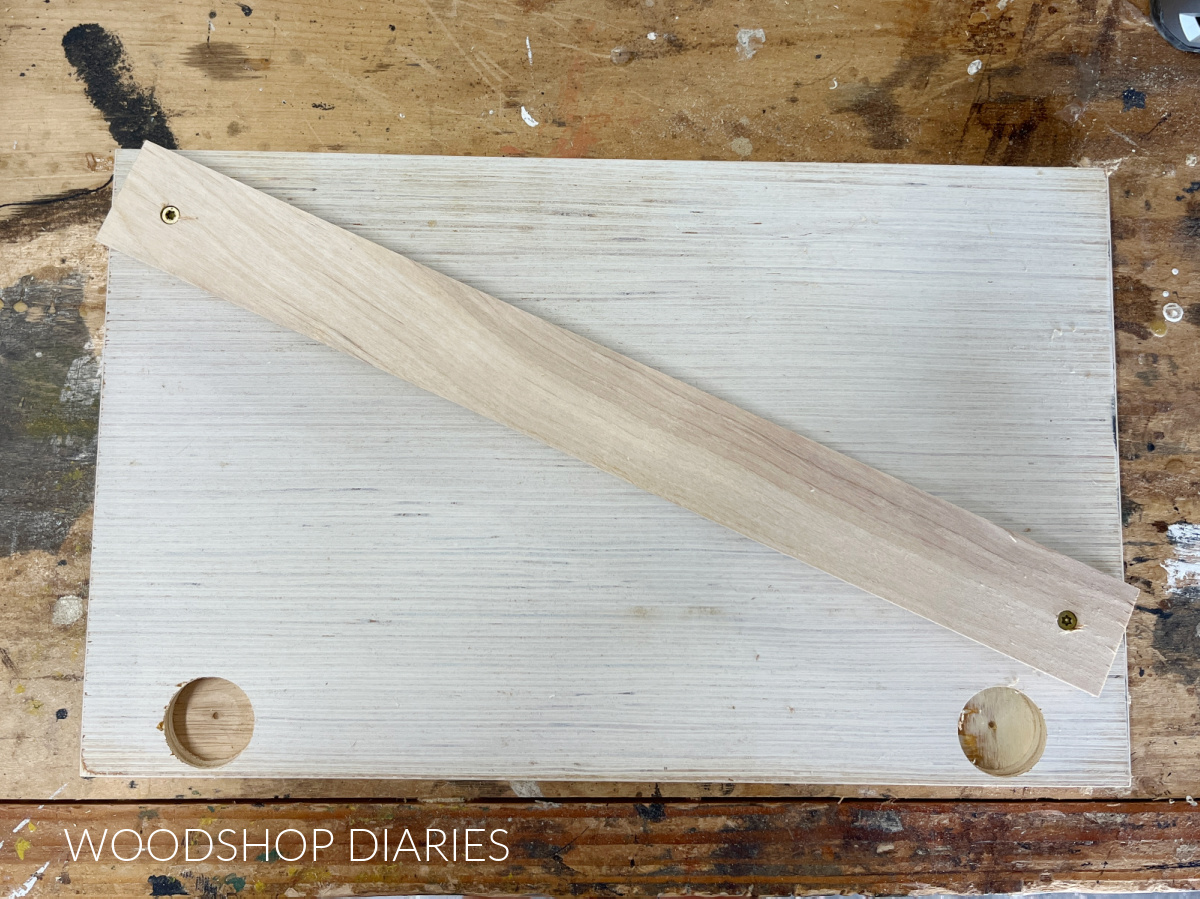
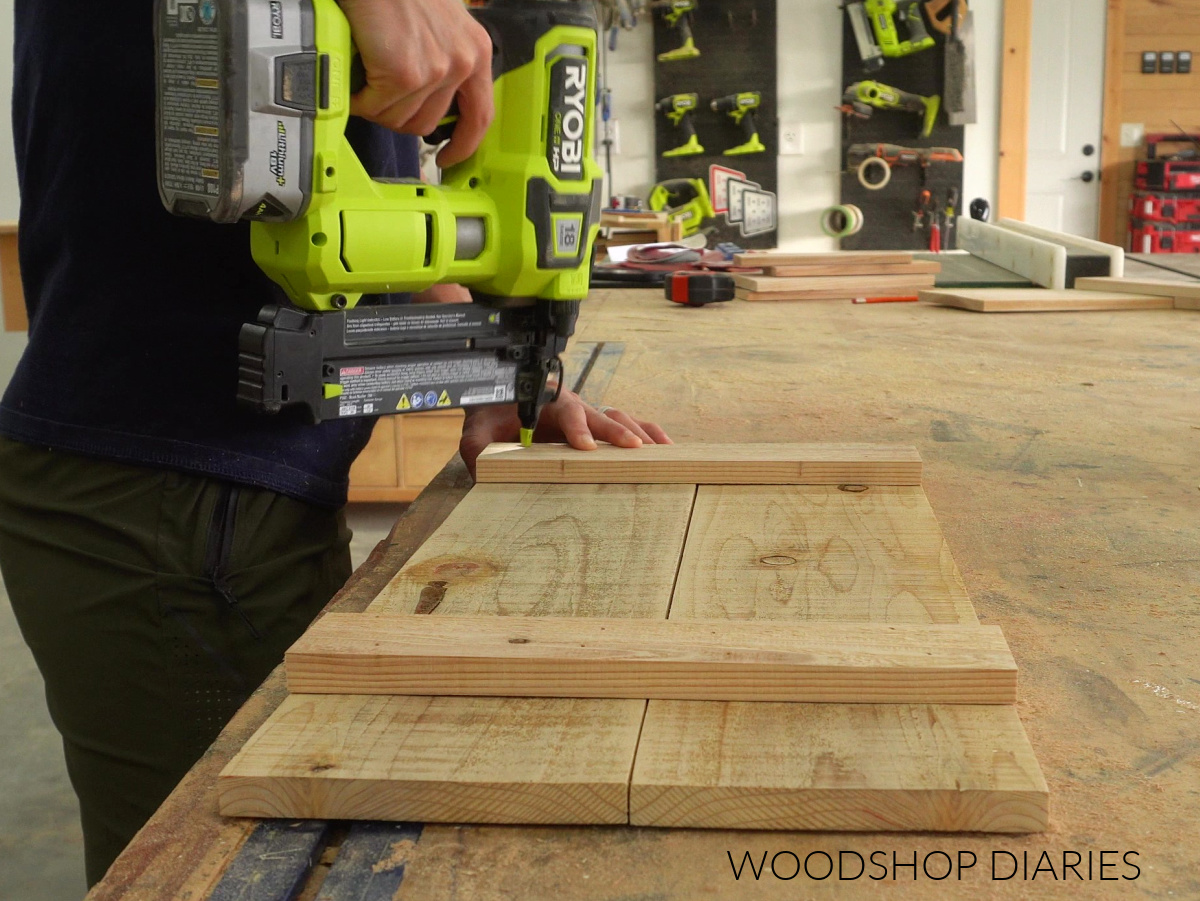
Then, I secured these boards along the back with 1 ¼″ wood screws at the top and bottom.
Ready to build your own? Grab the printable countertop hutch building plans here.
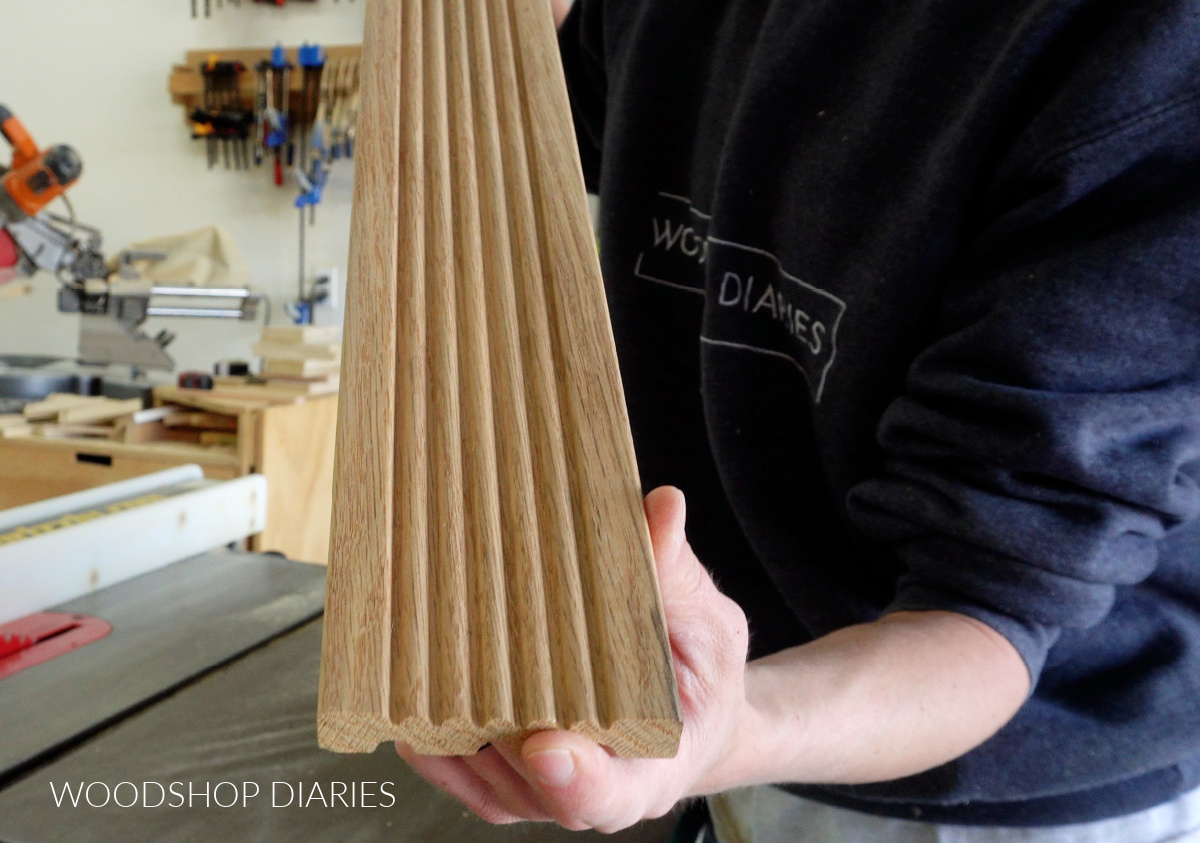
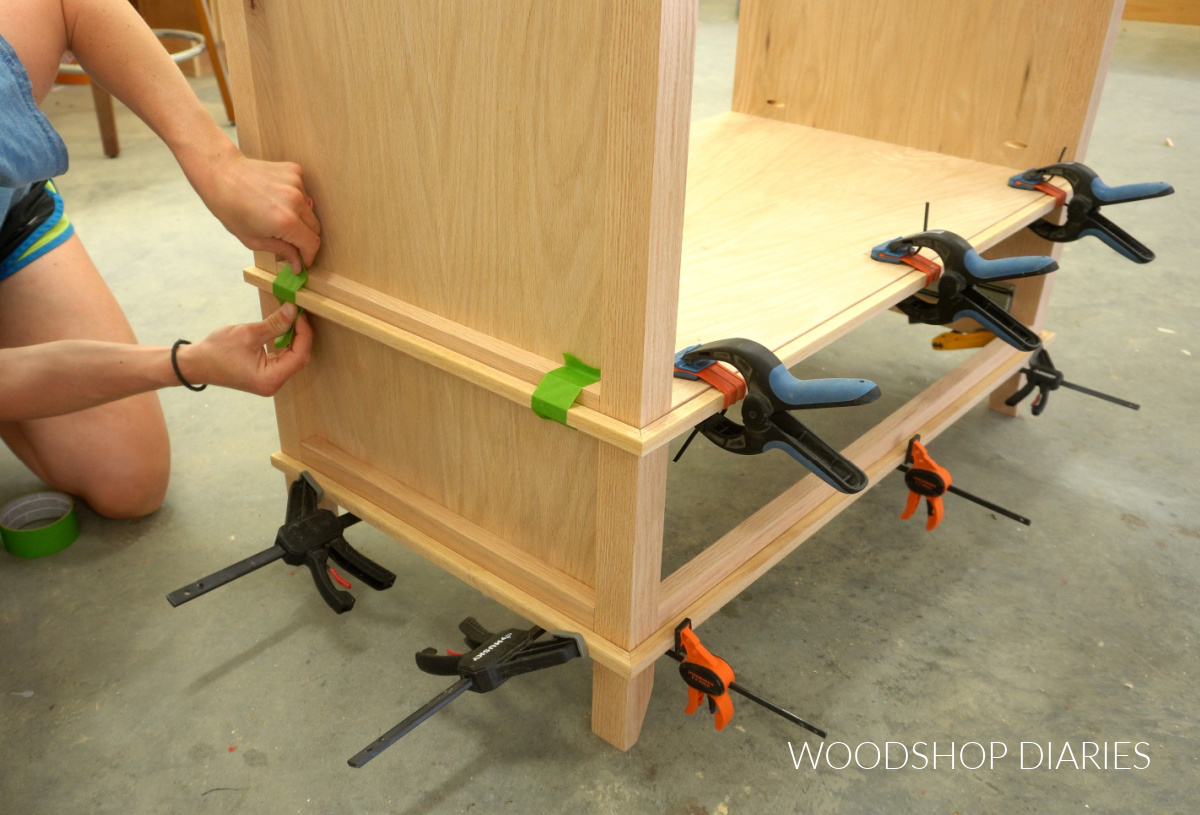
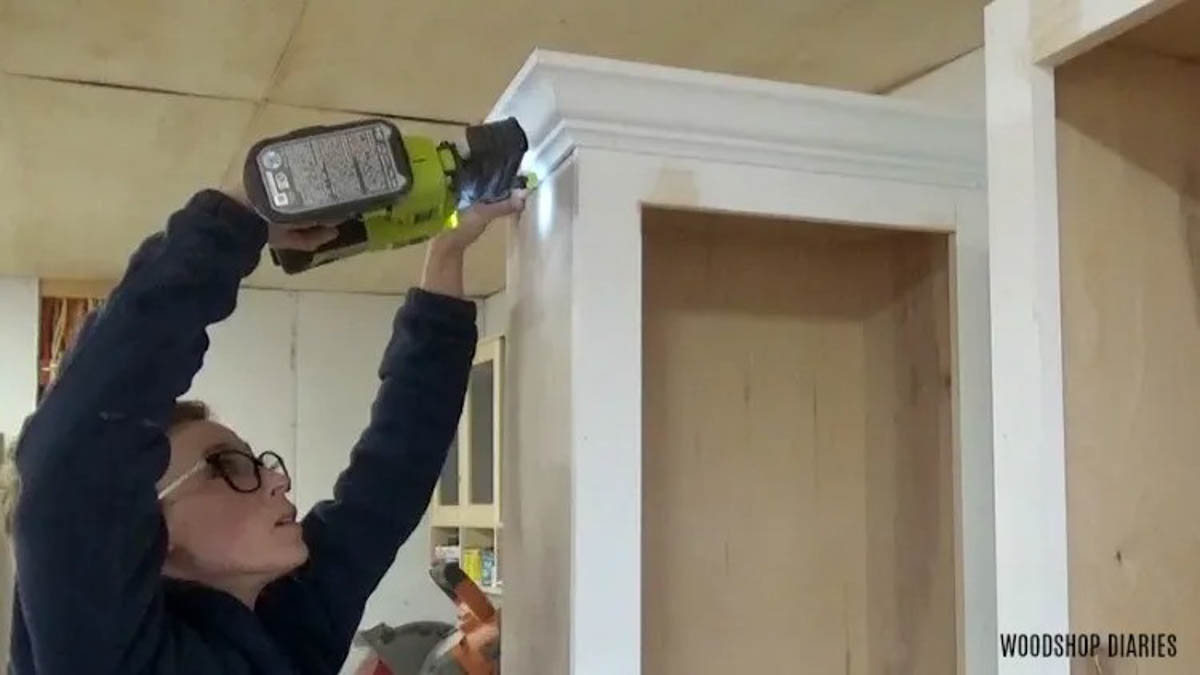
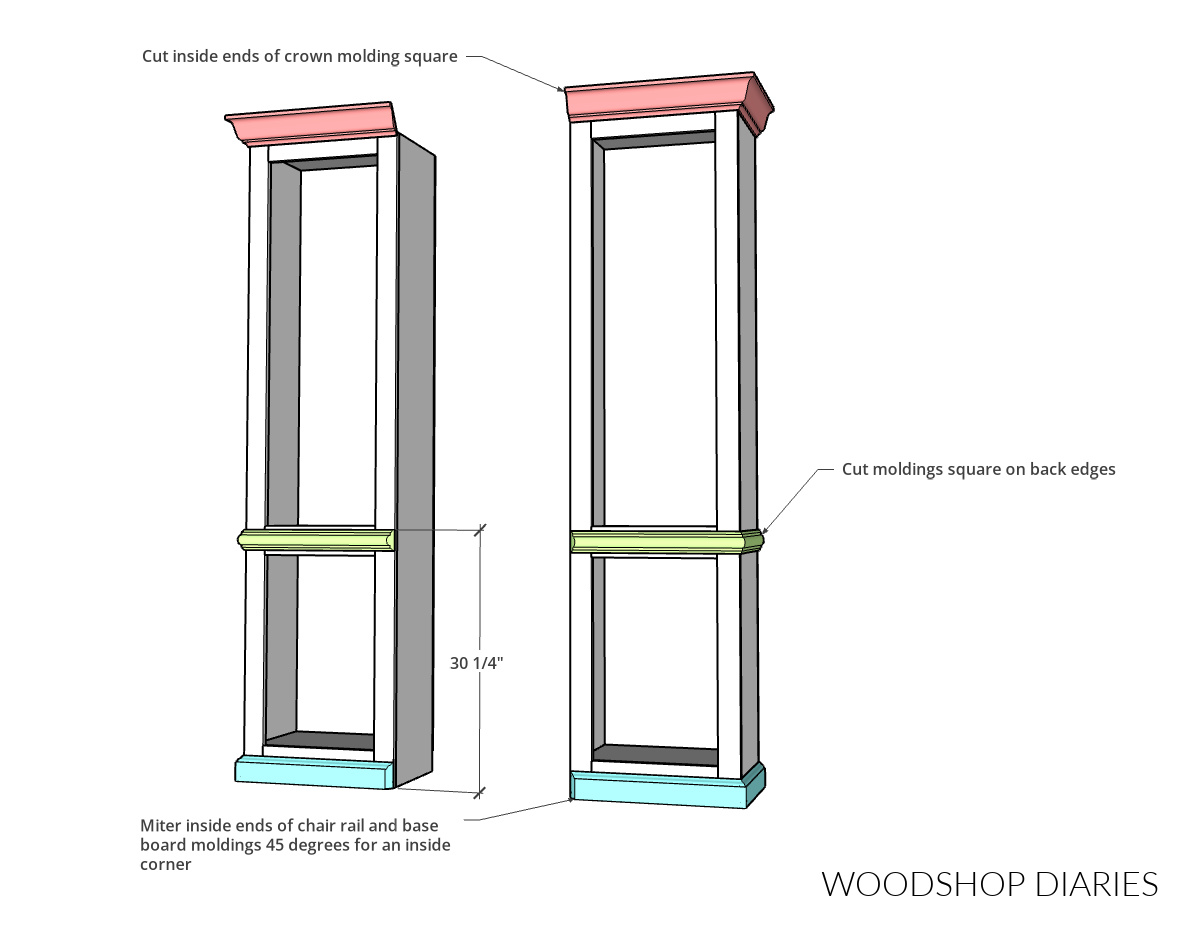
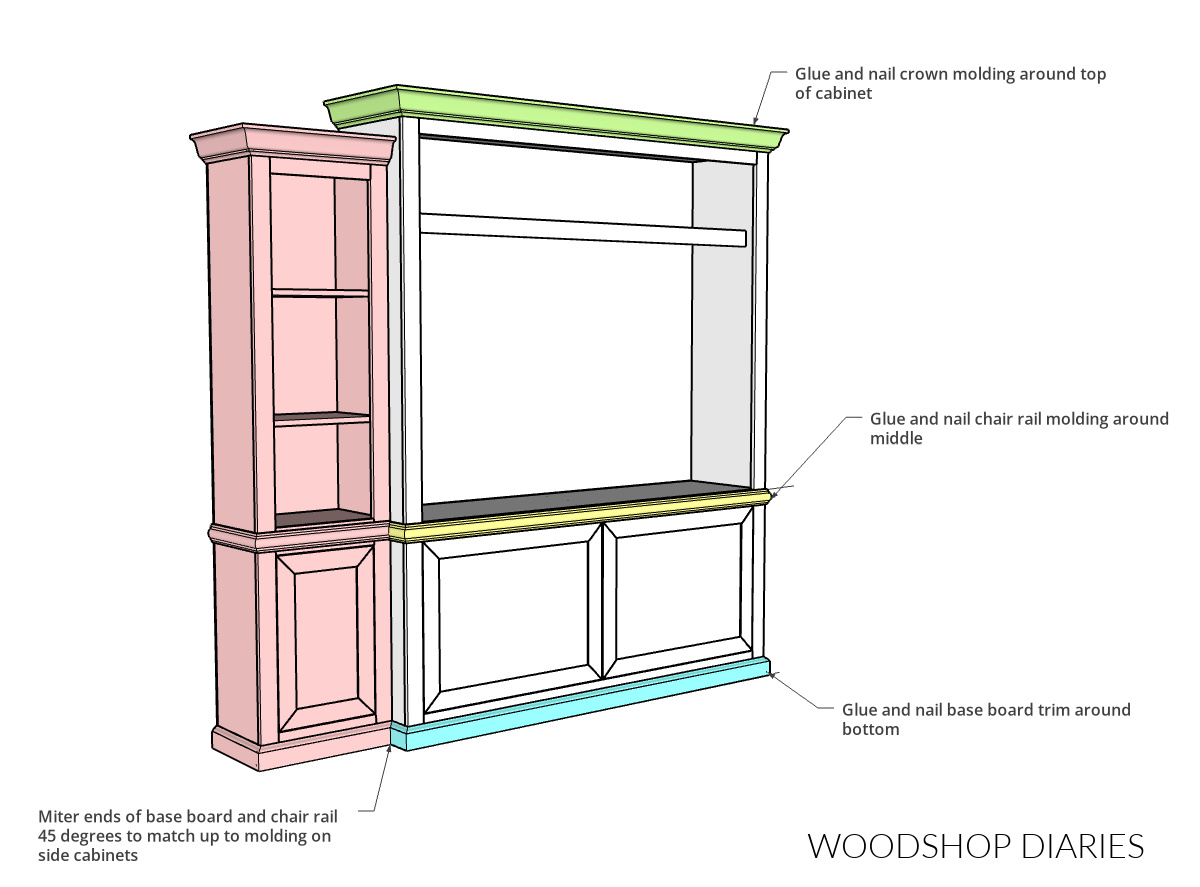
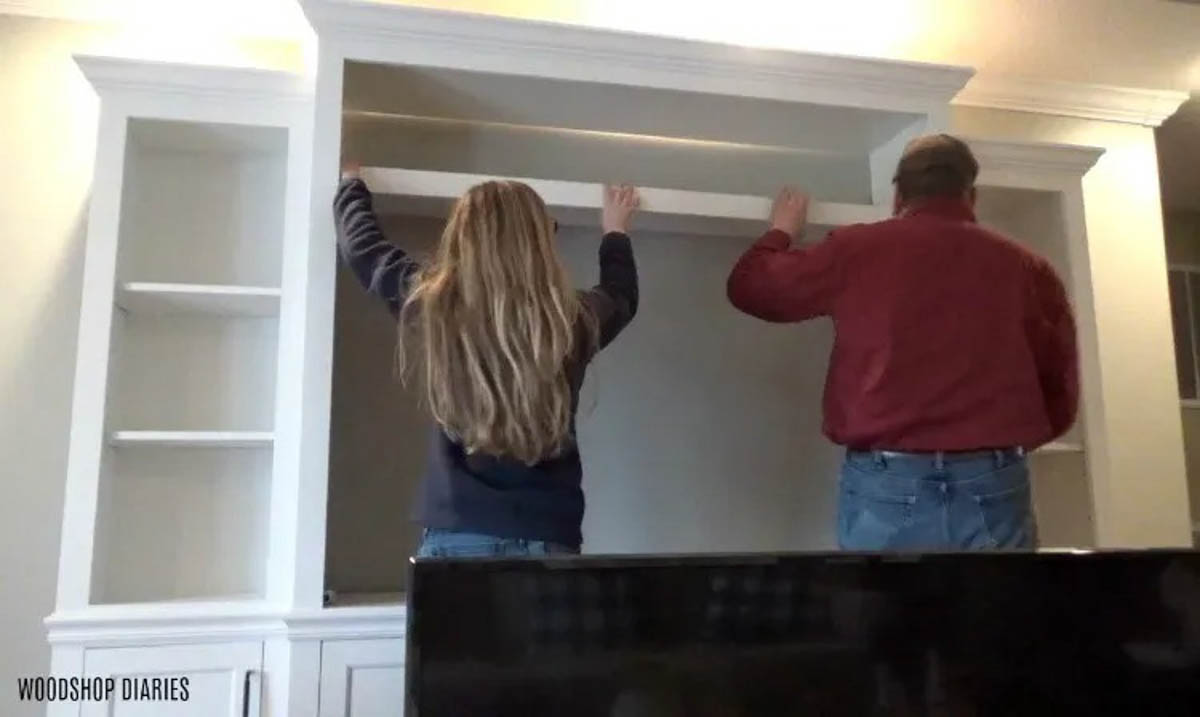
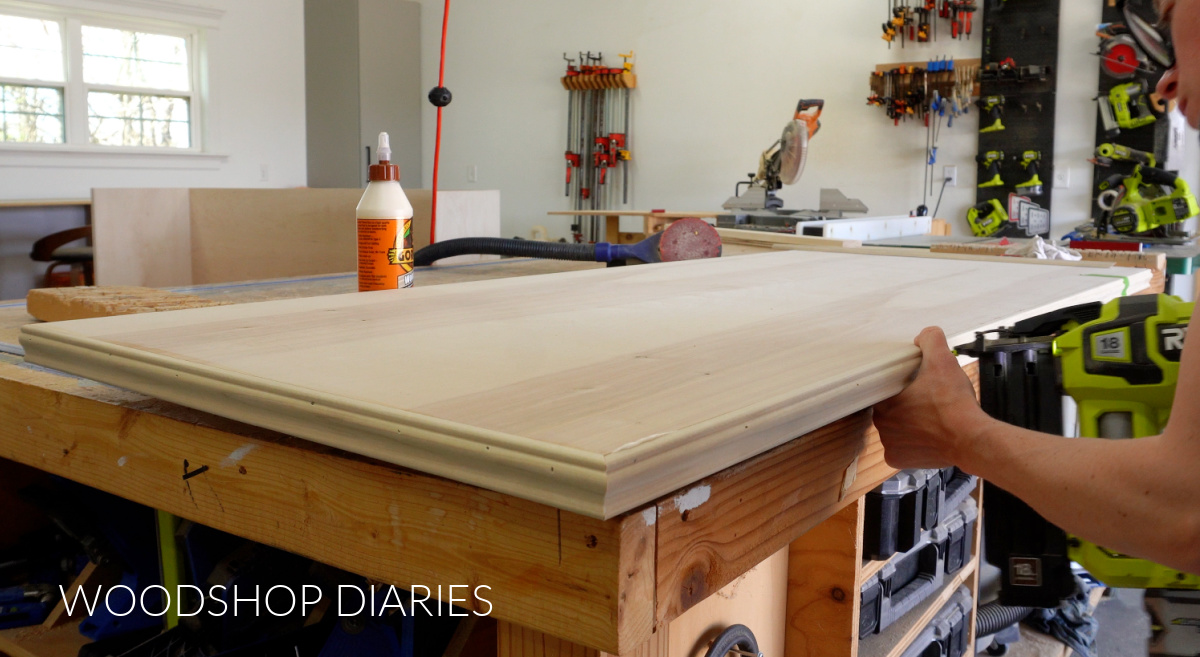
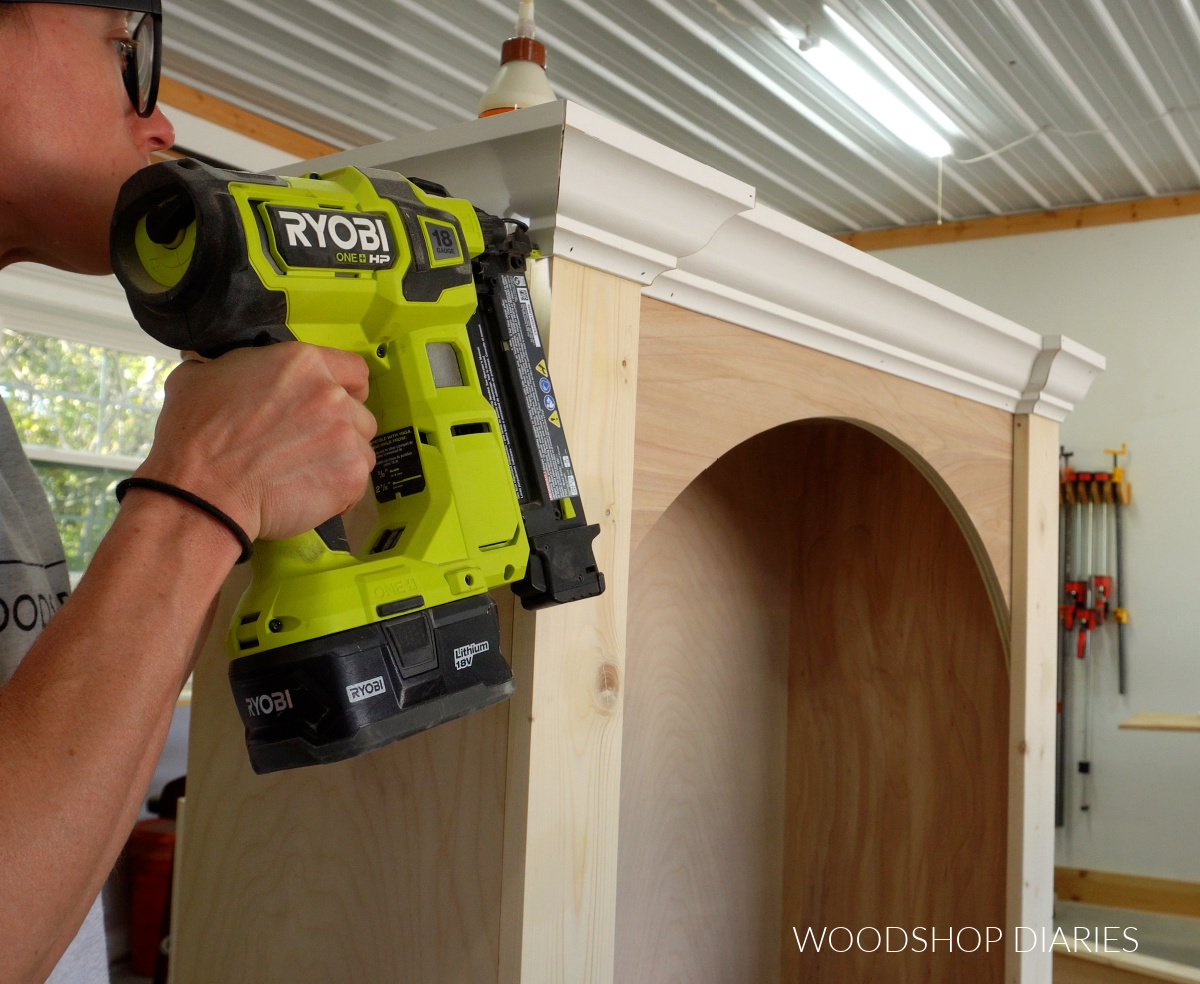
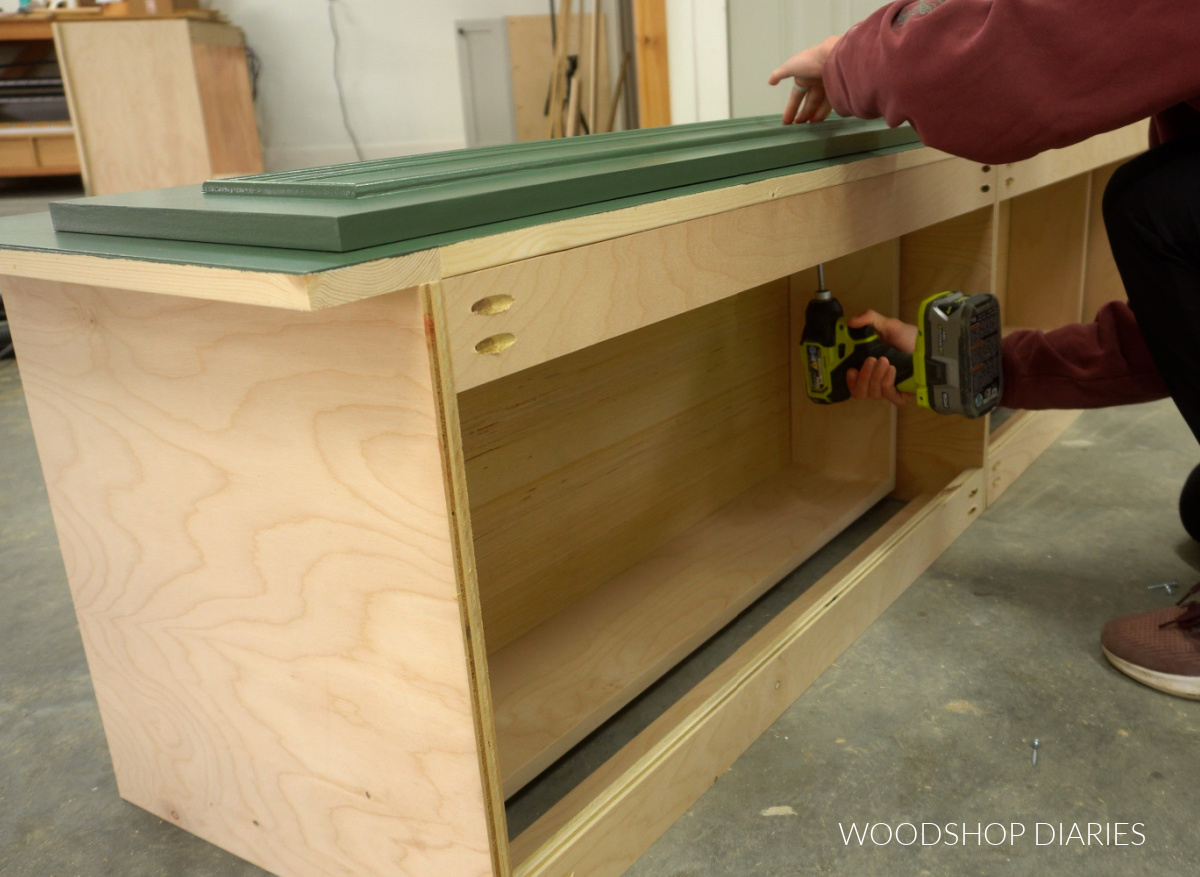
Step 5: Install Crown Molding
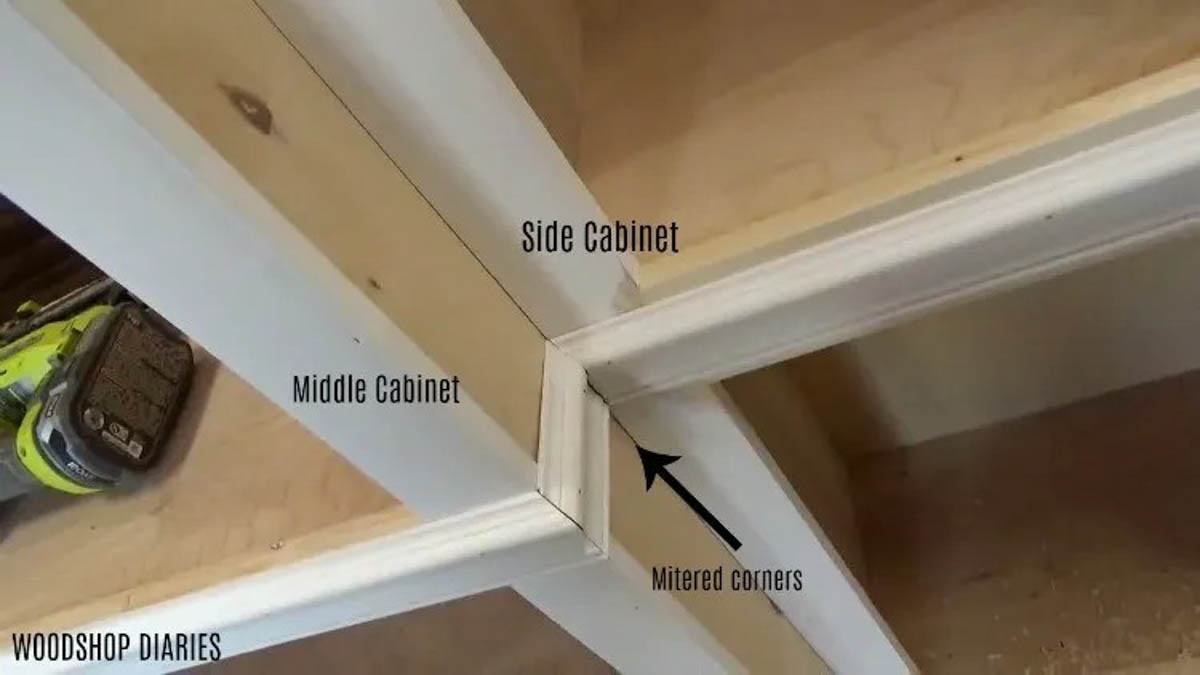
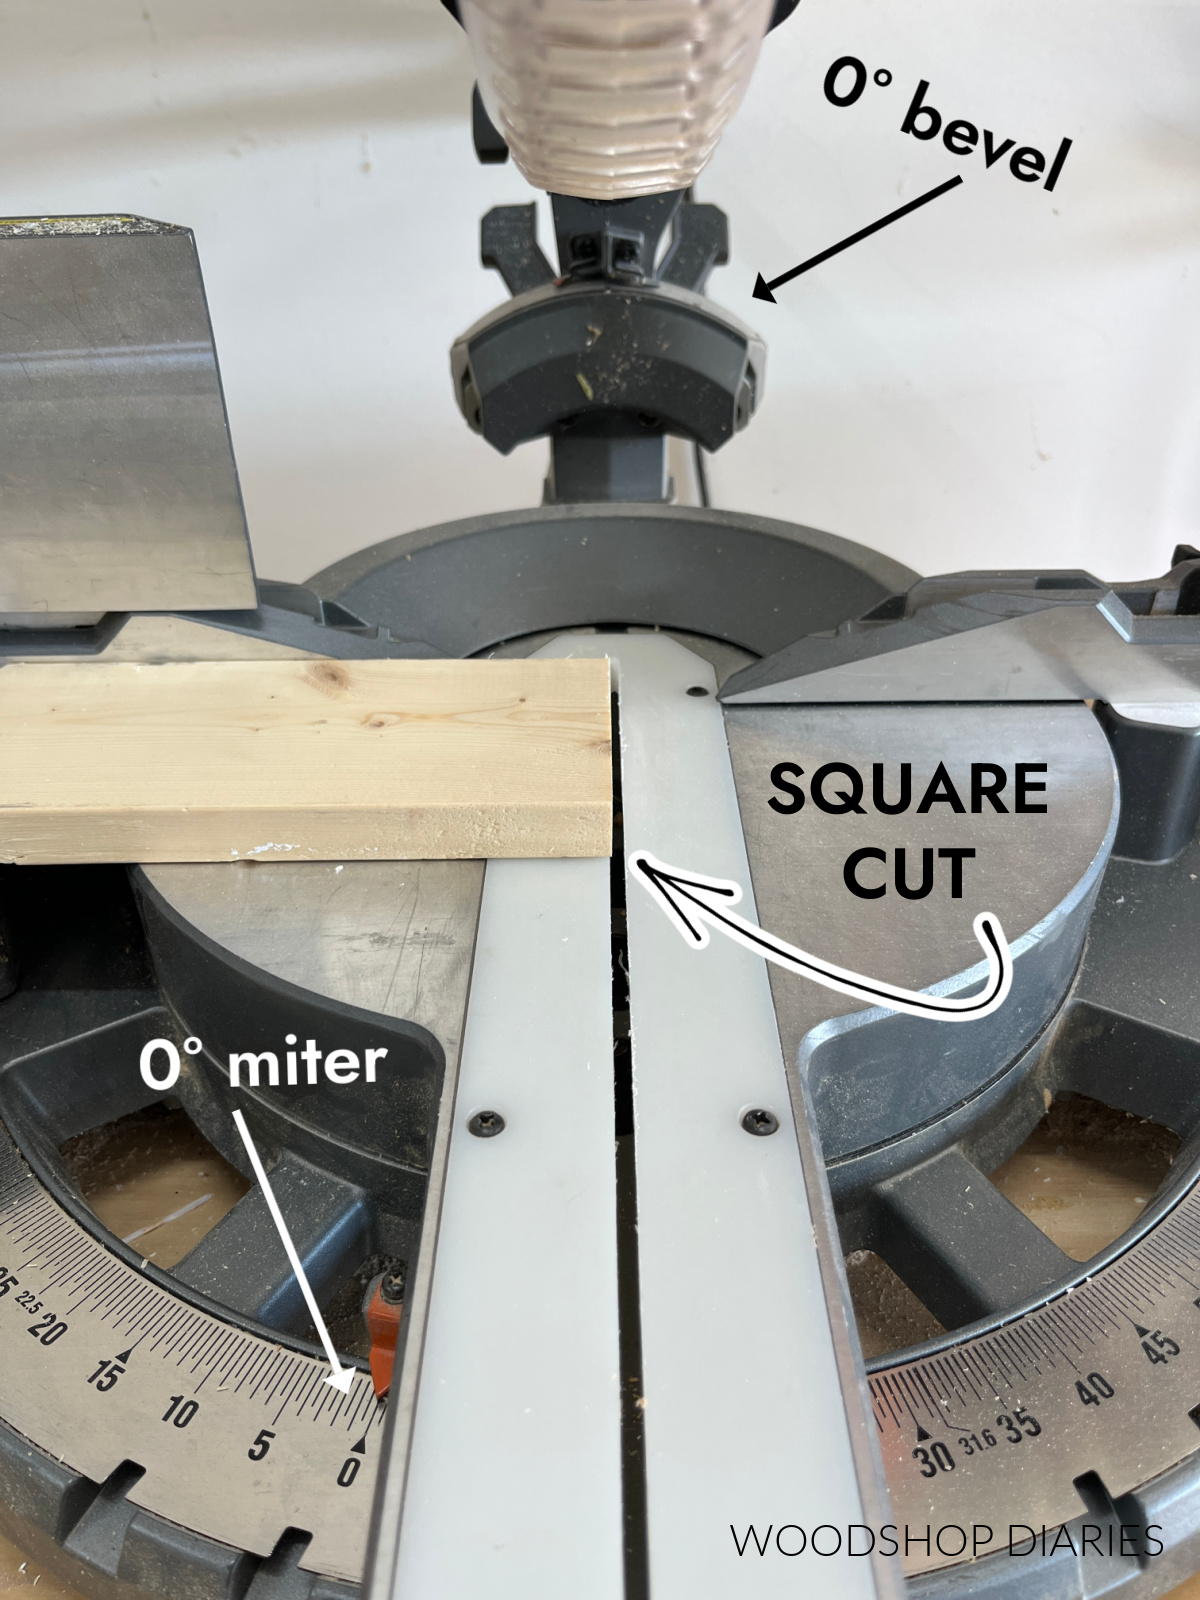
The last piece was adding the crown molding around the top. Now, again, since this was going into a nook, I cut my crown molding square on both ends and only nailed it onto the front.
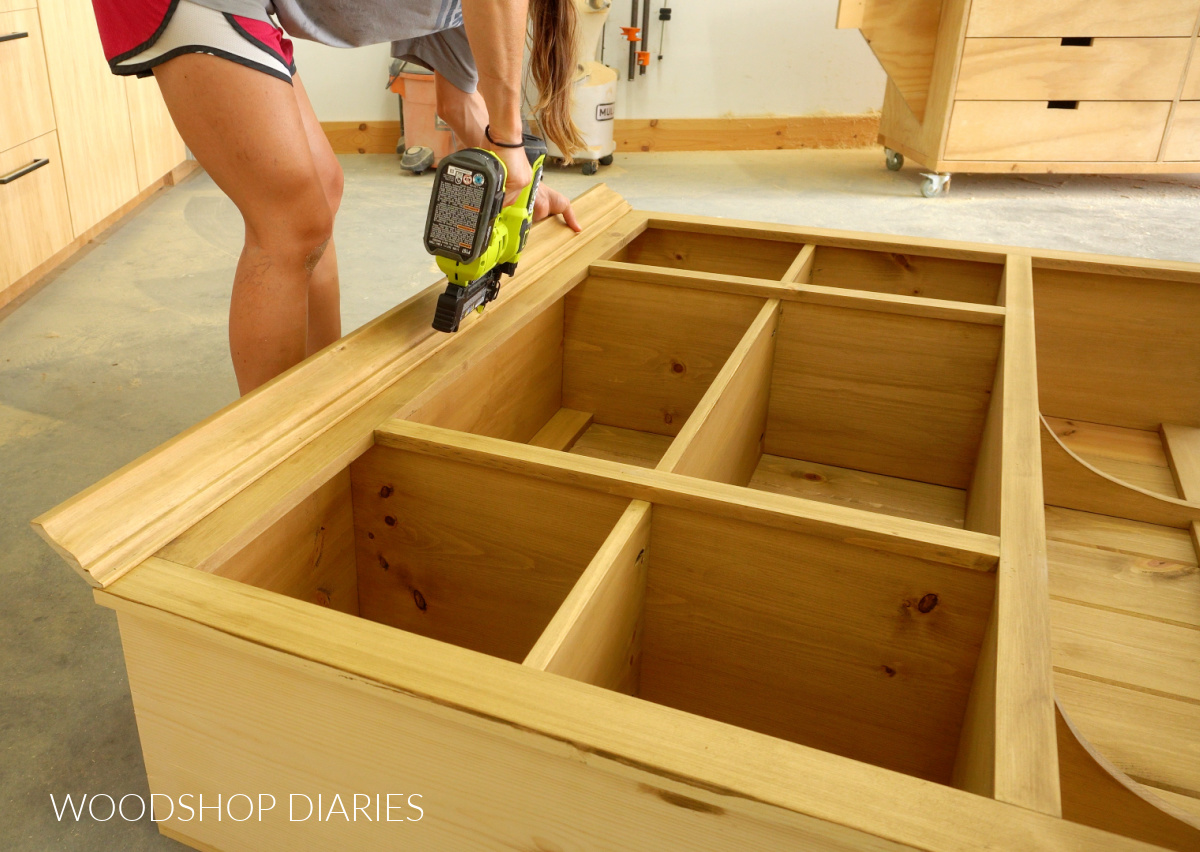
If your hutch is open on the sides, you’d want to wrap the crown molding around the sides as well. Learn how to cut crown molding here.
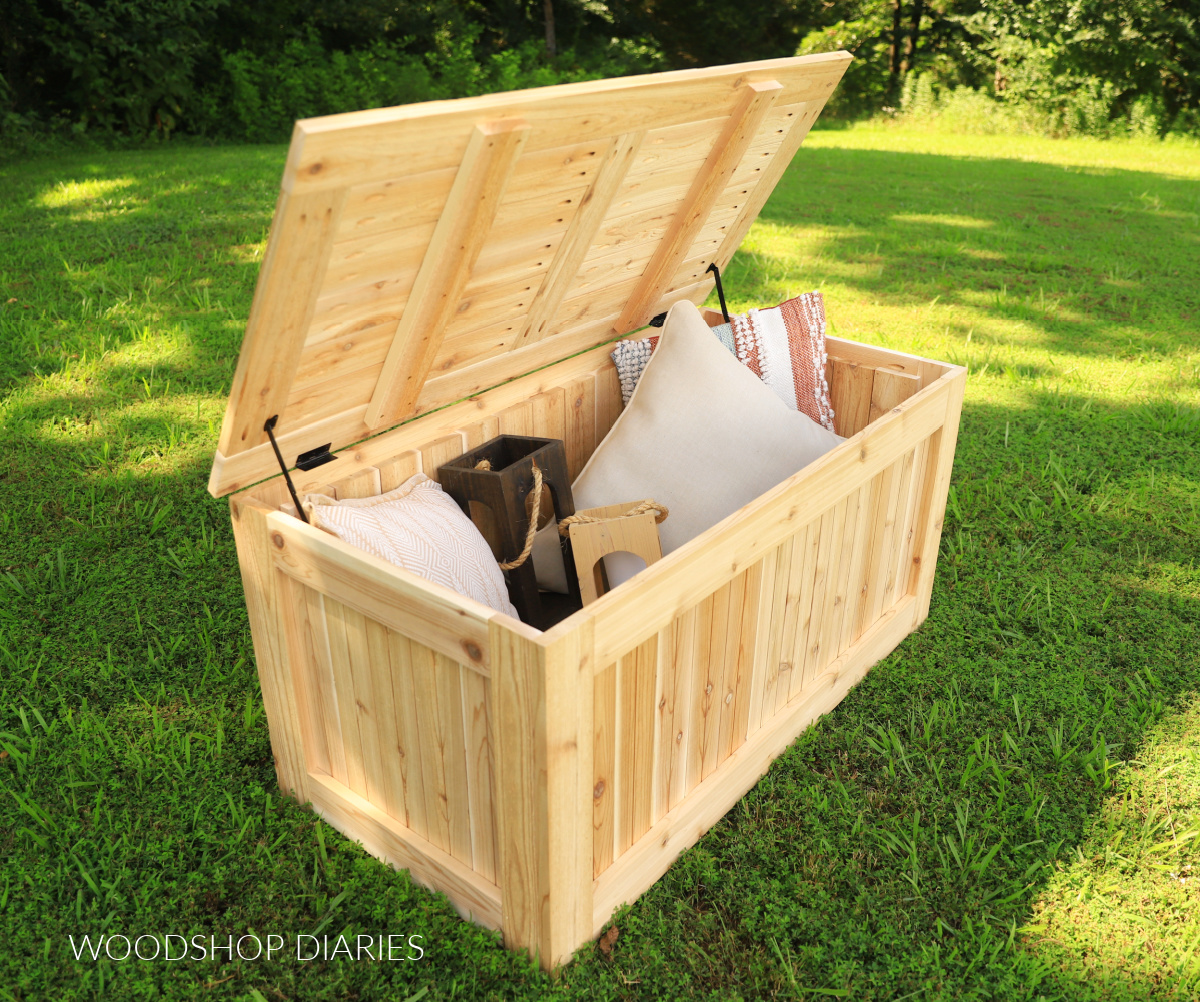
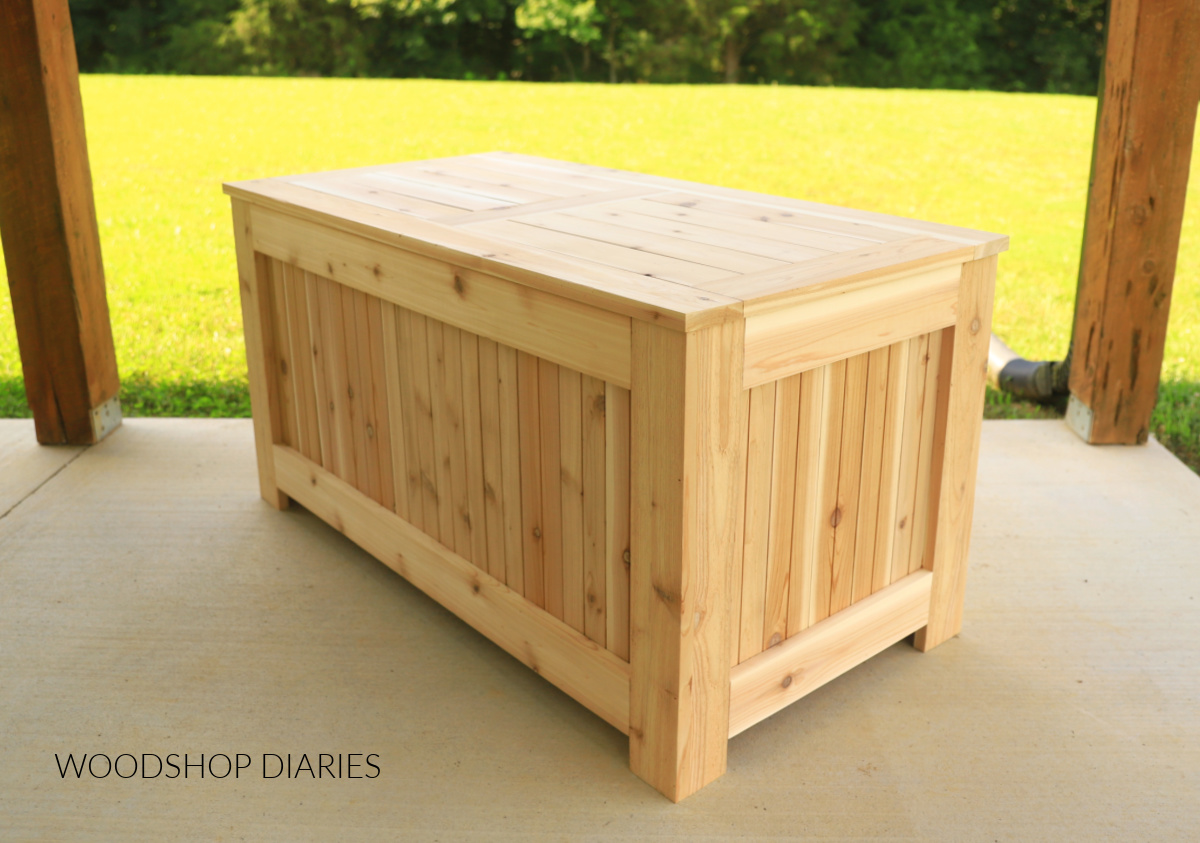
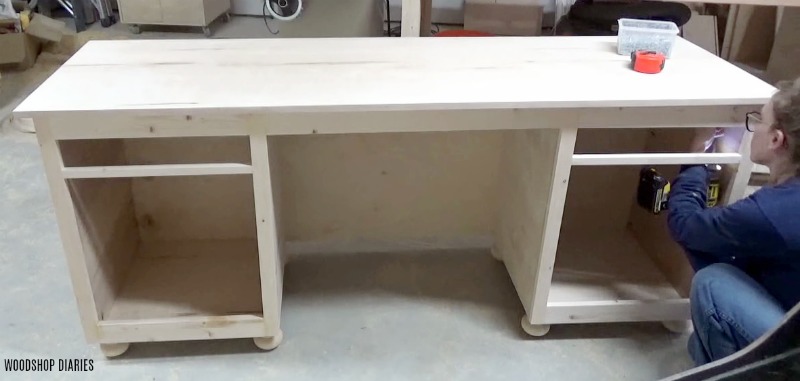
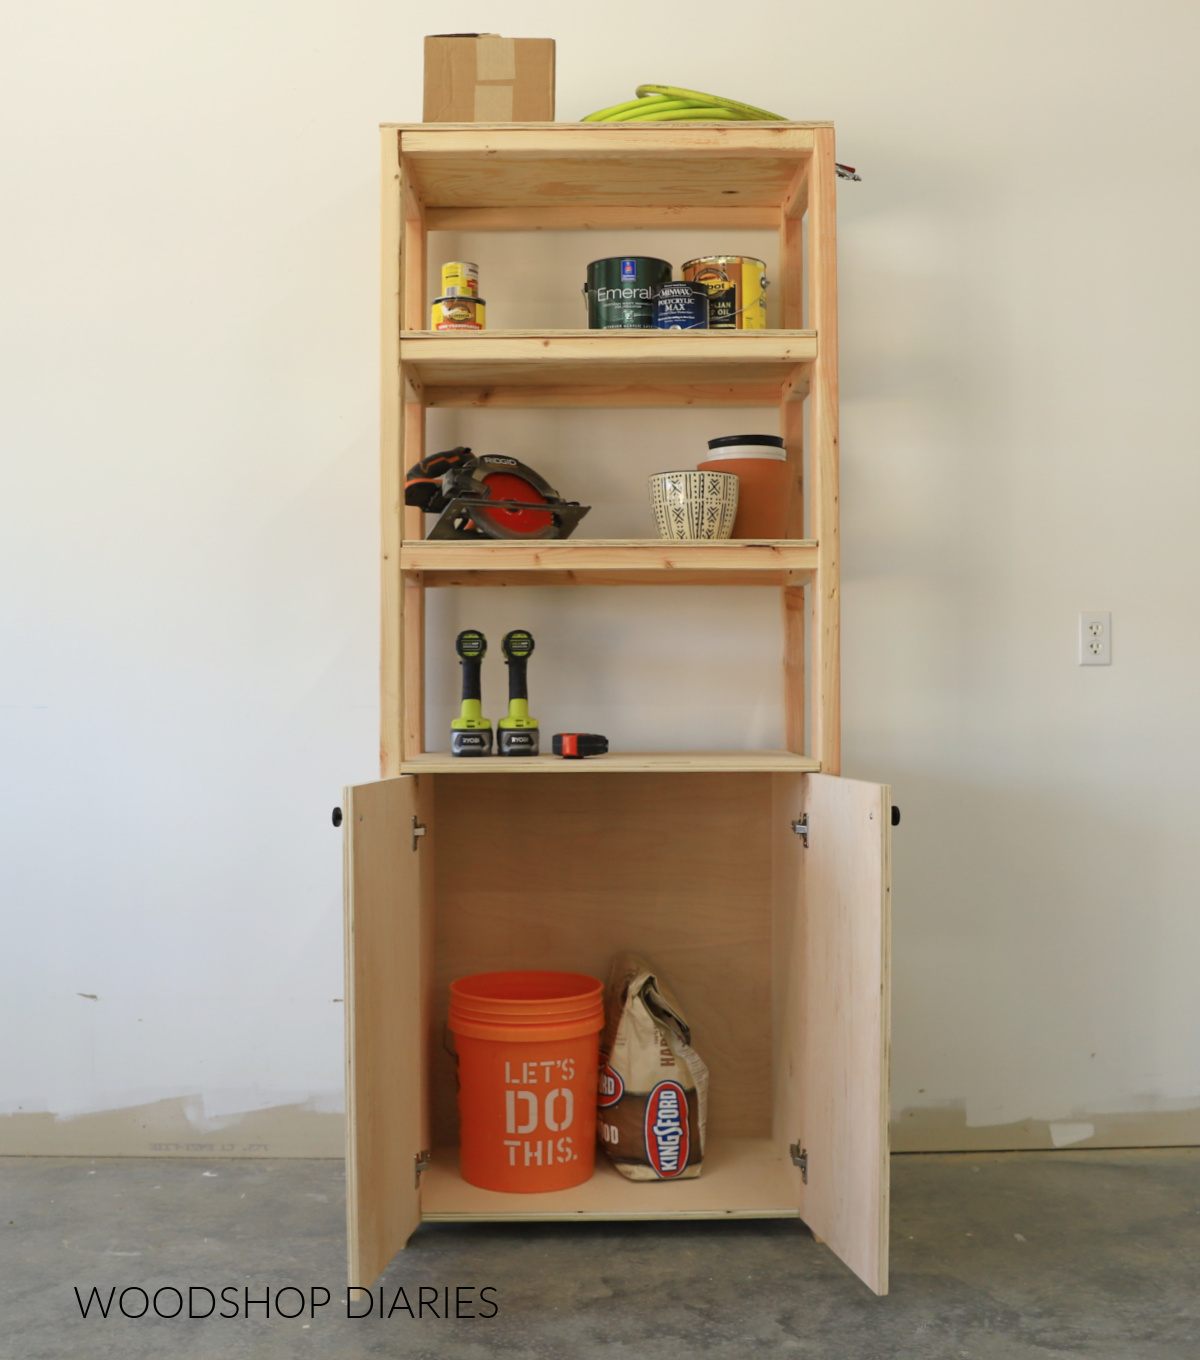
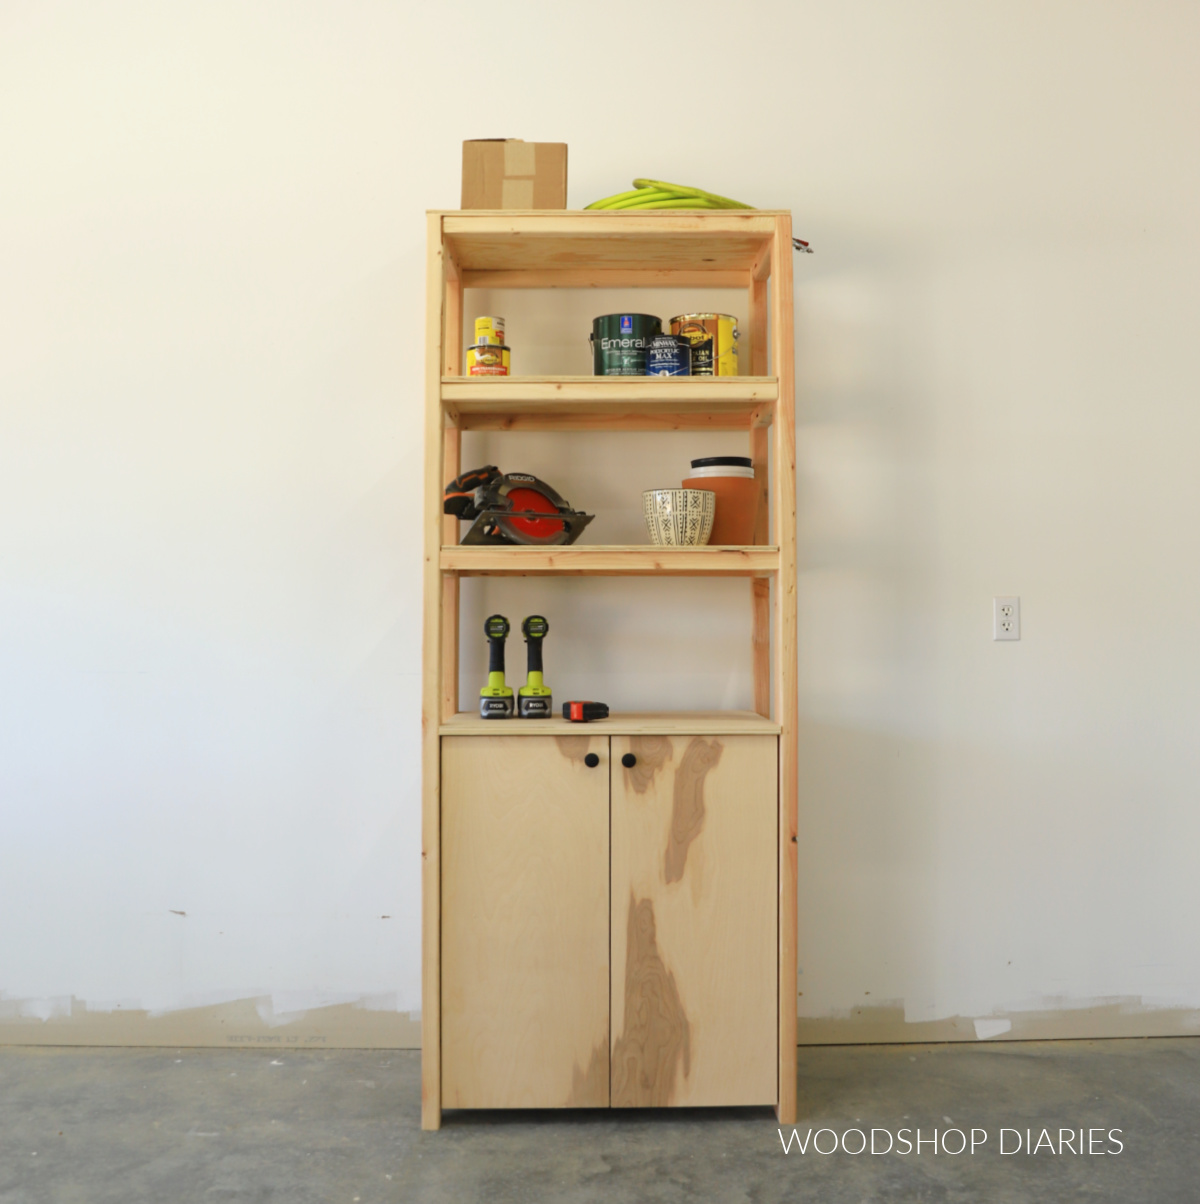
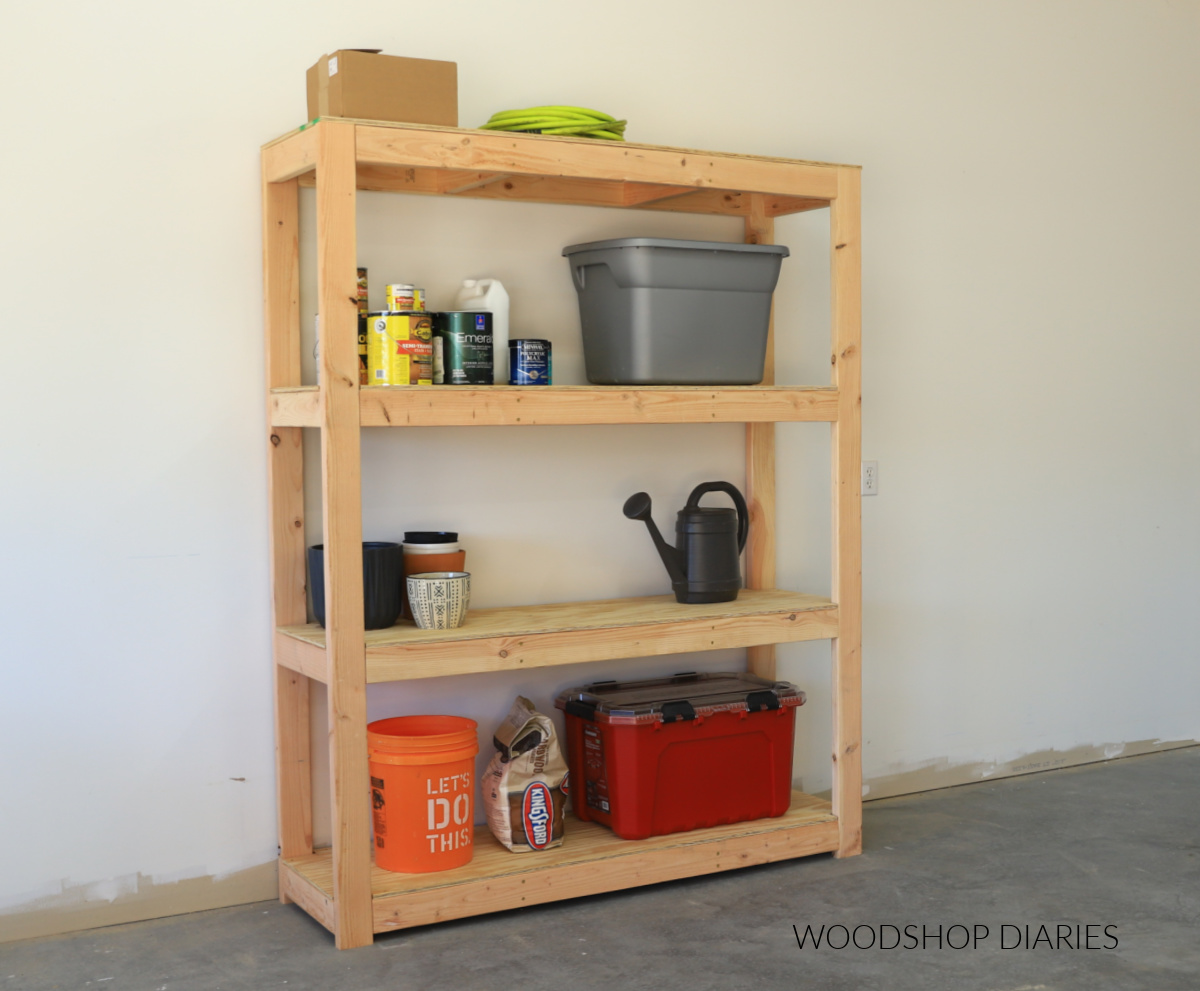
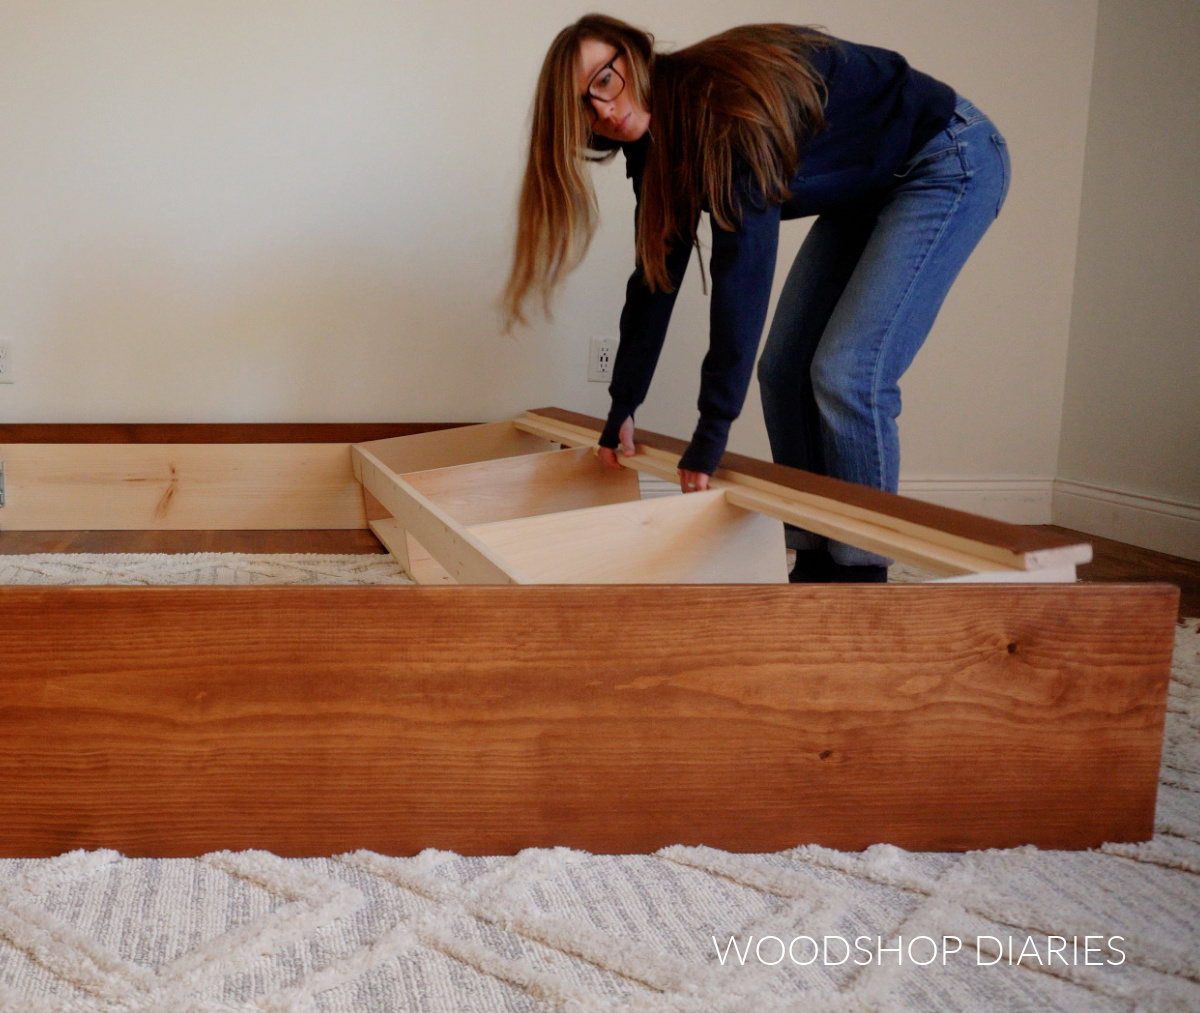
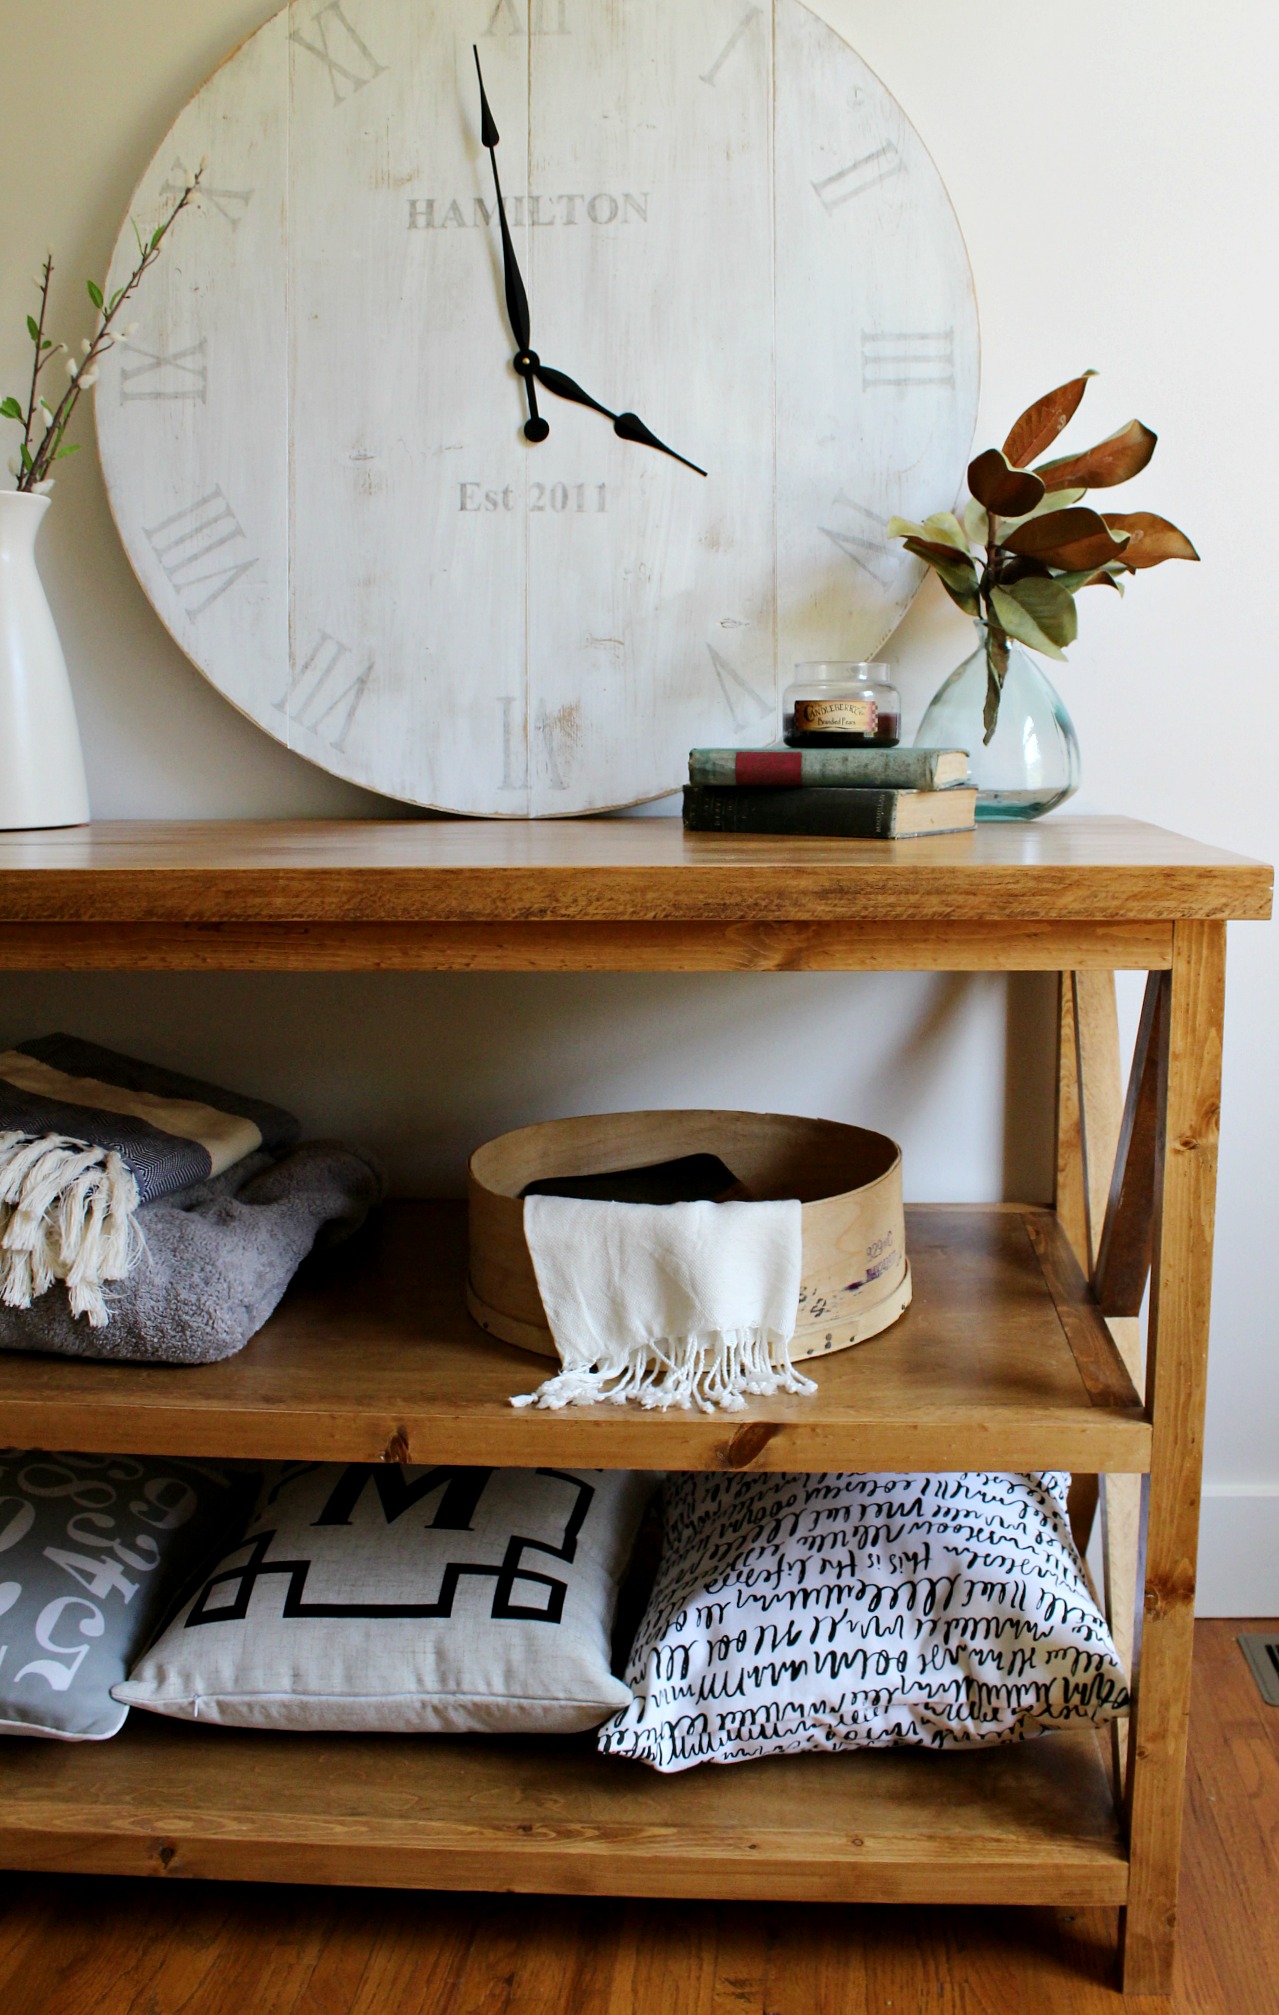
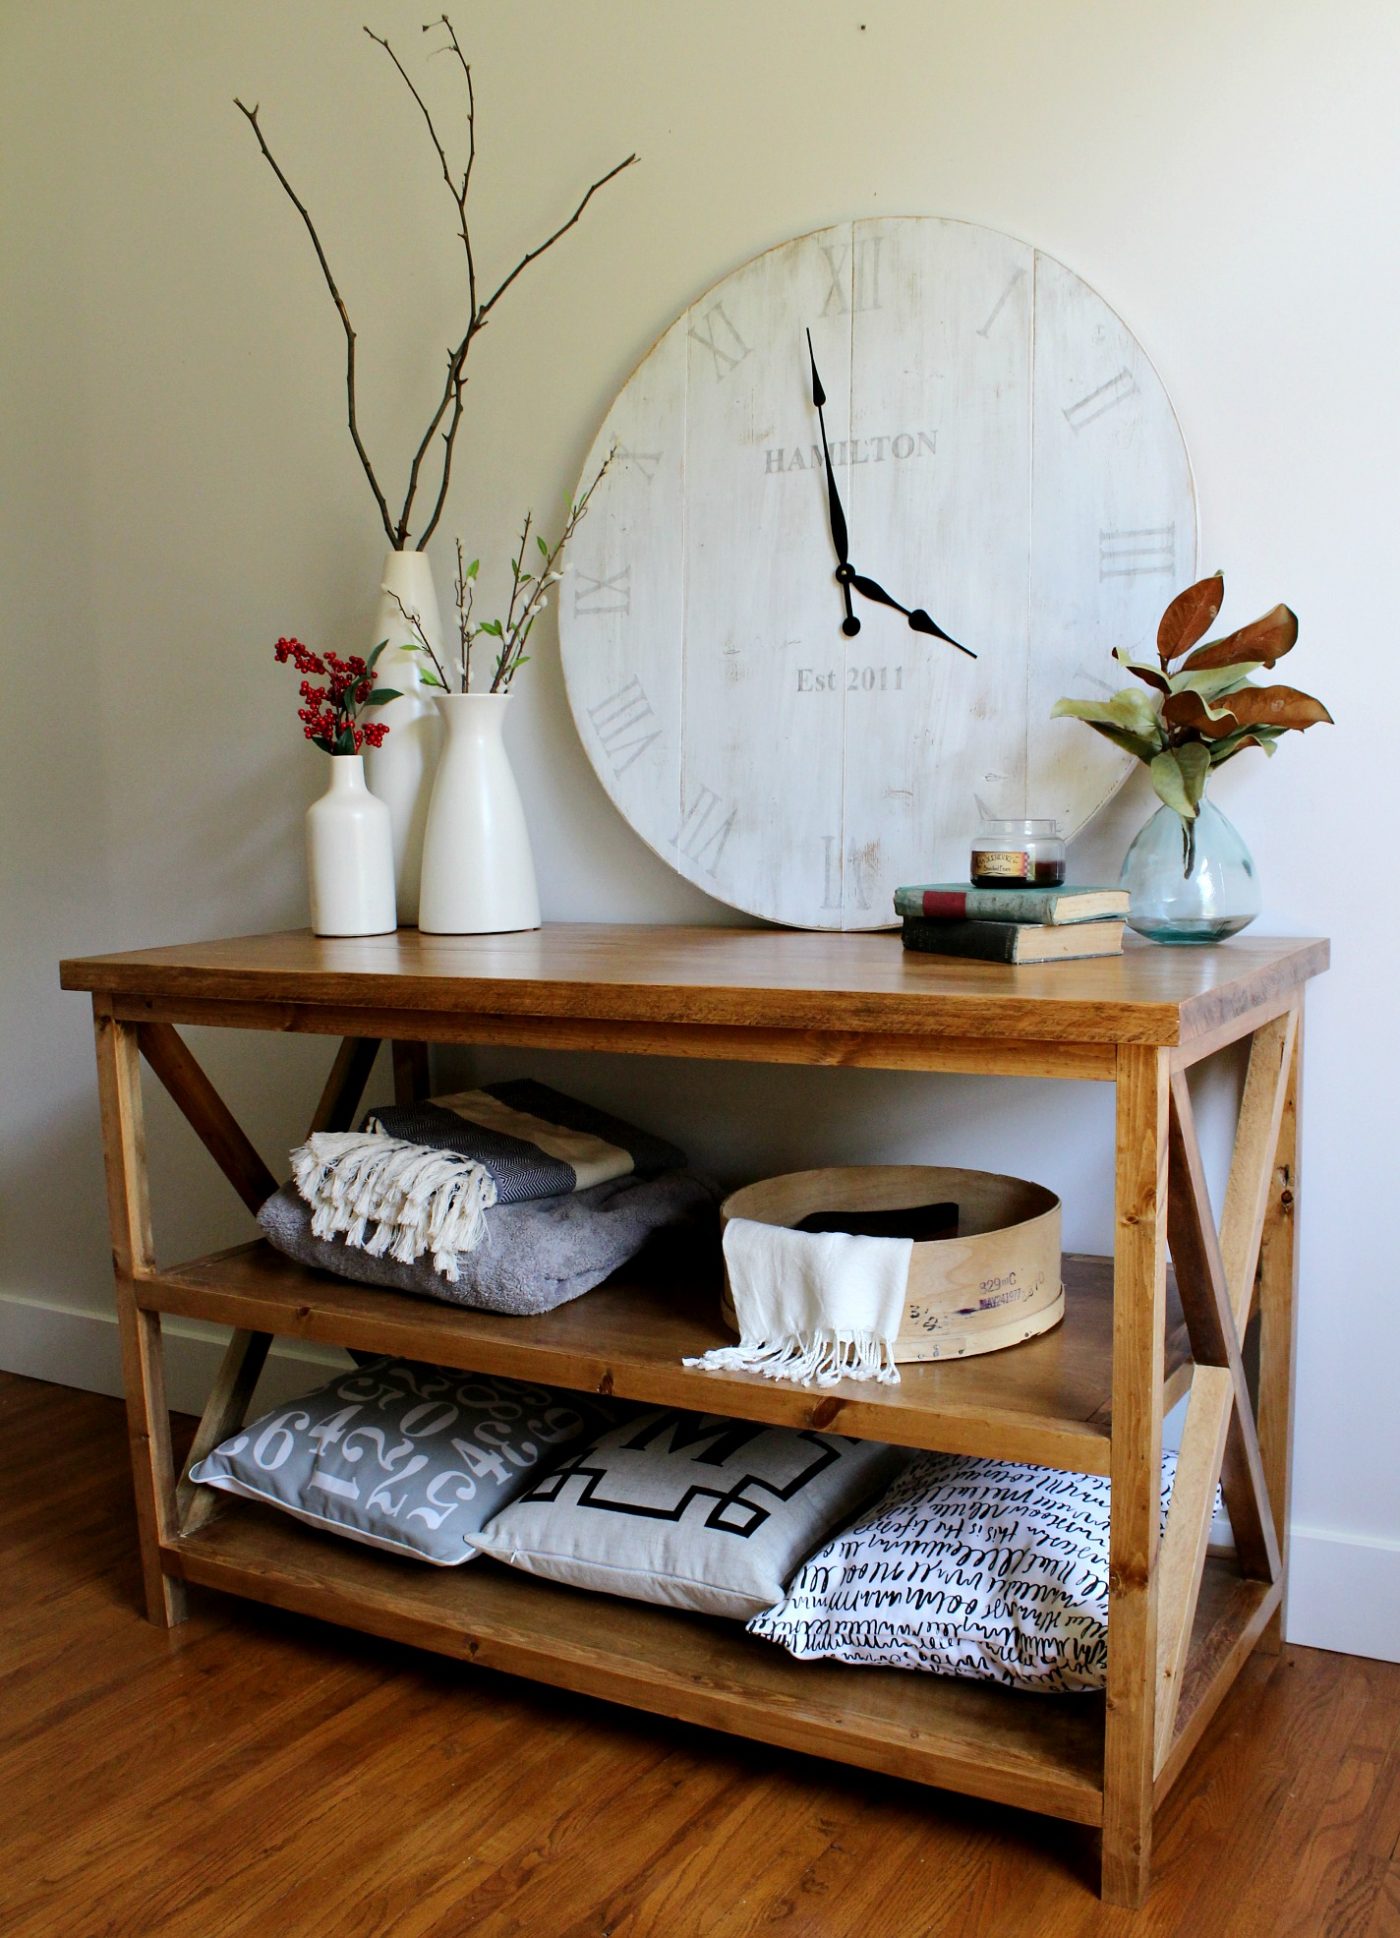
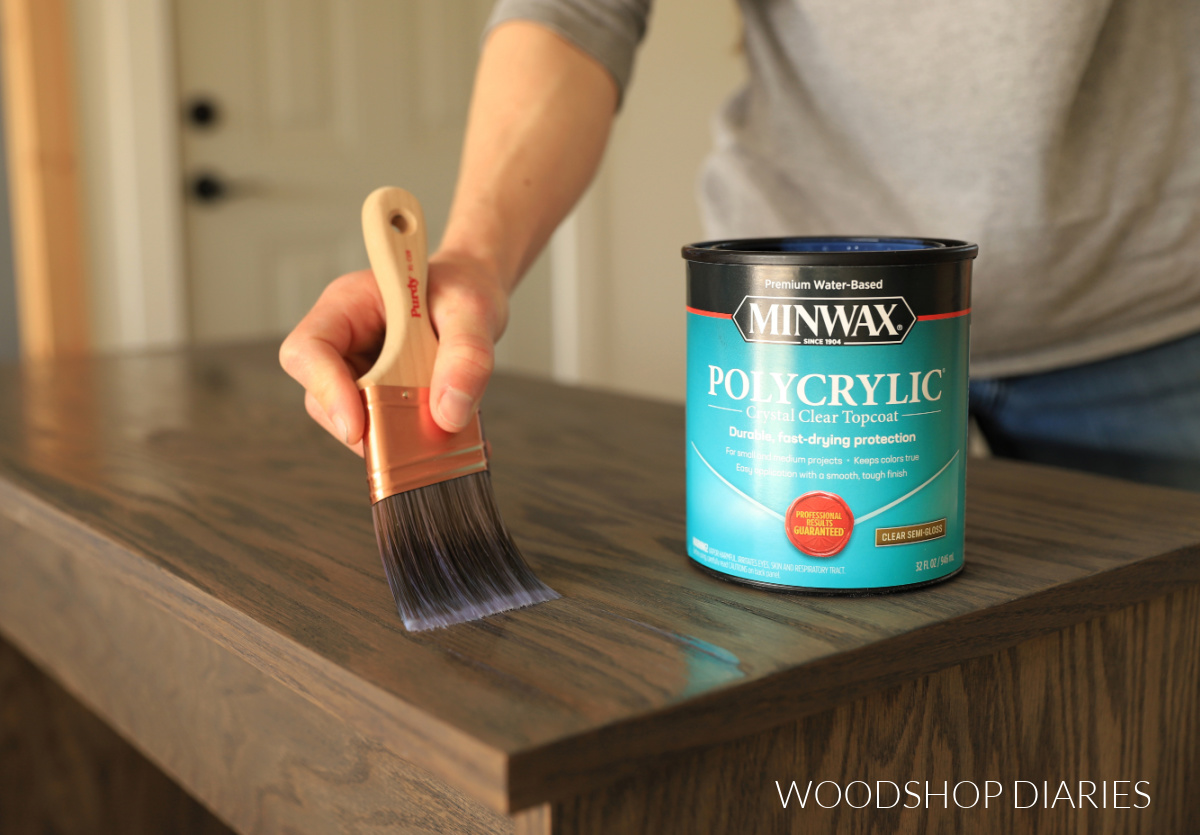
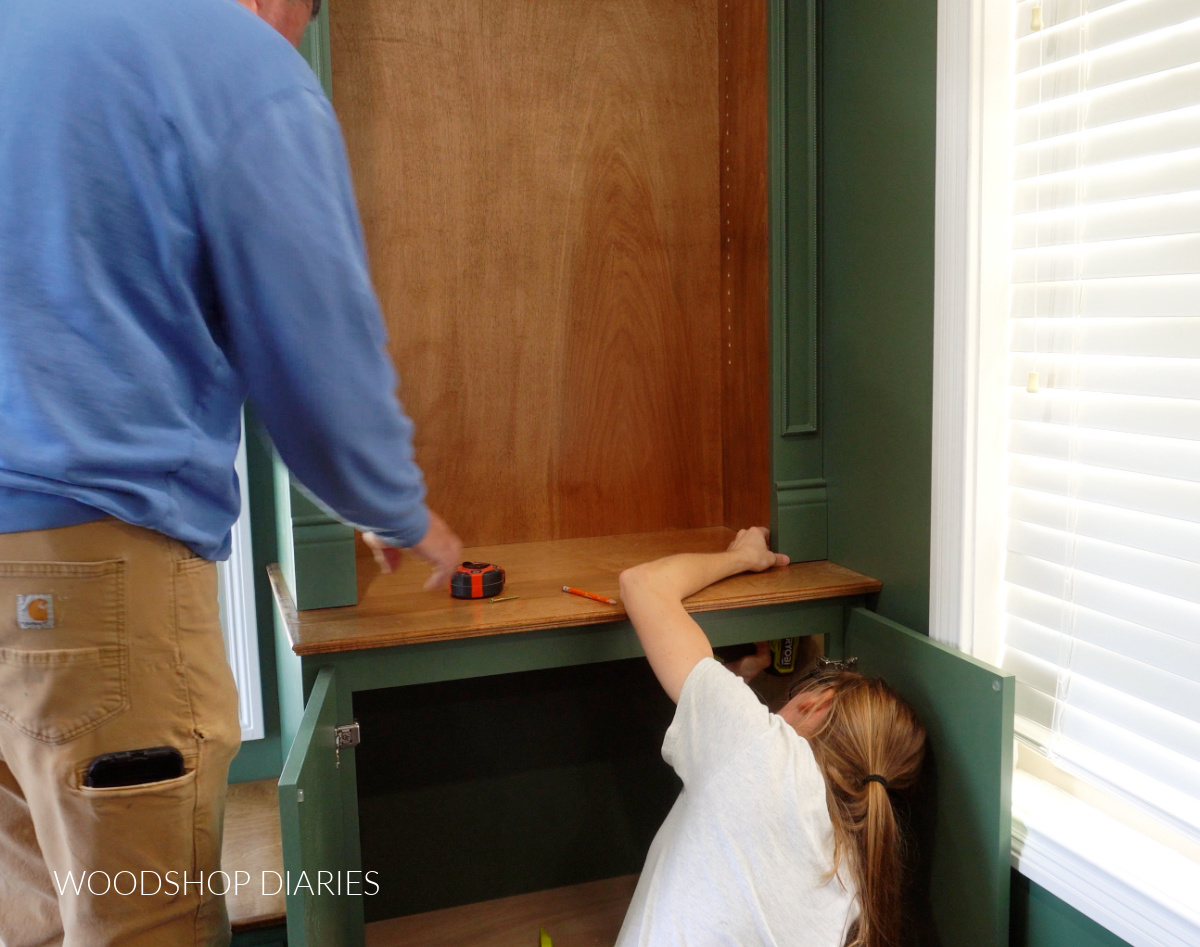
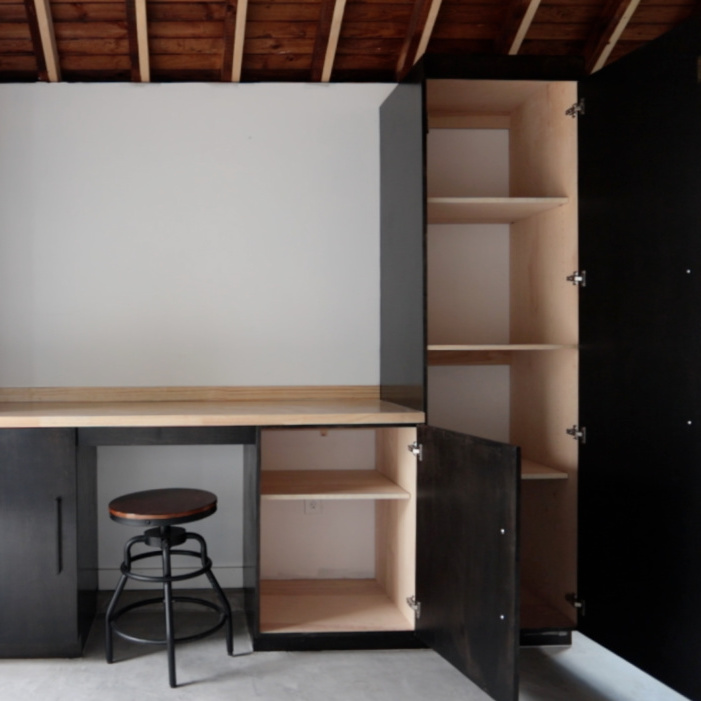
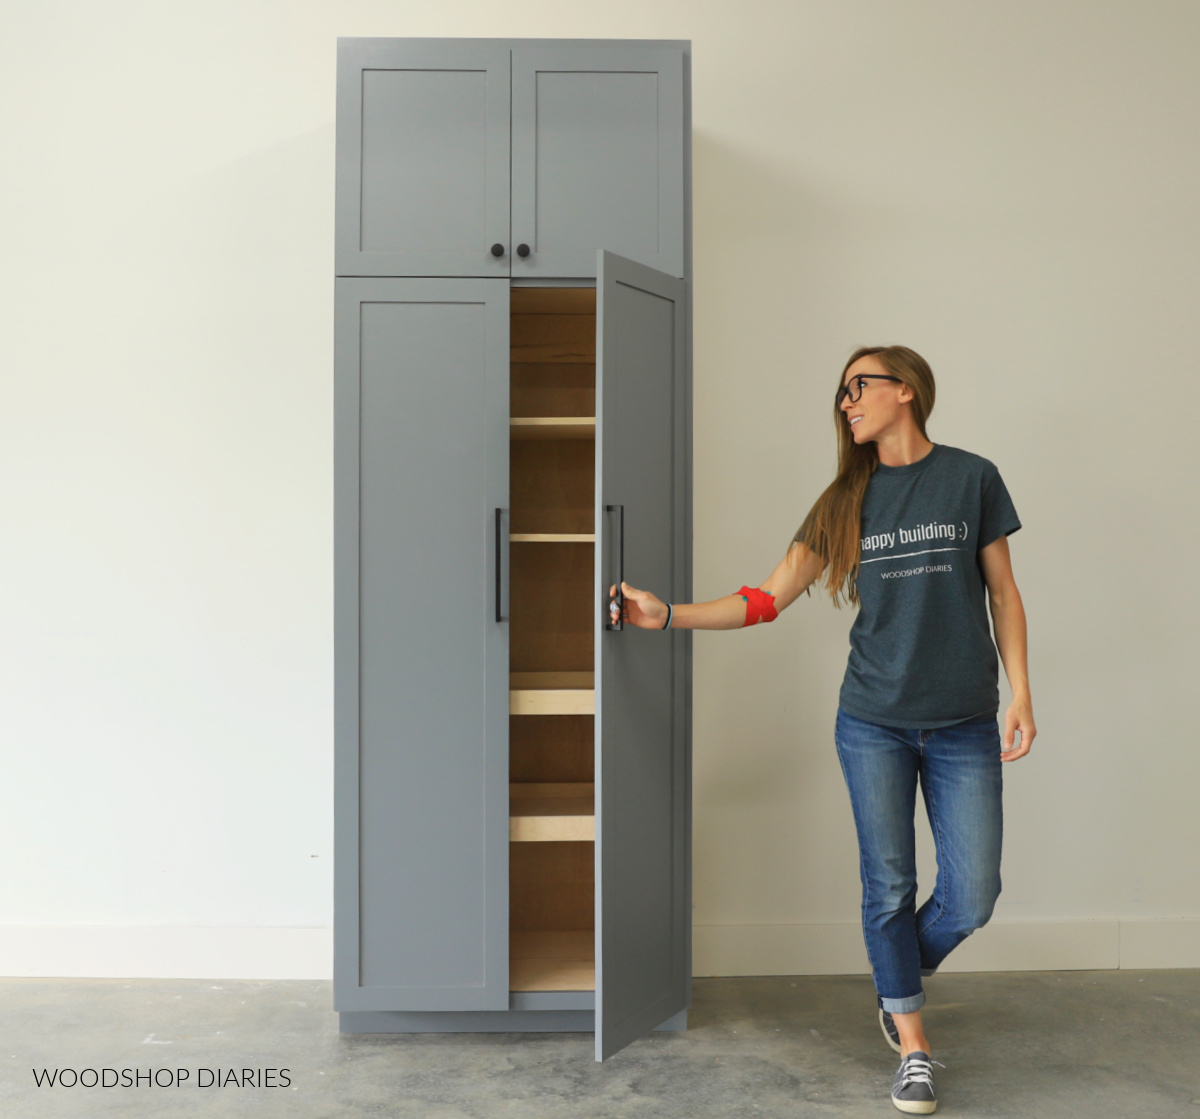
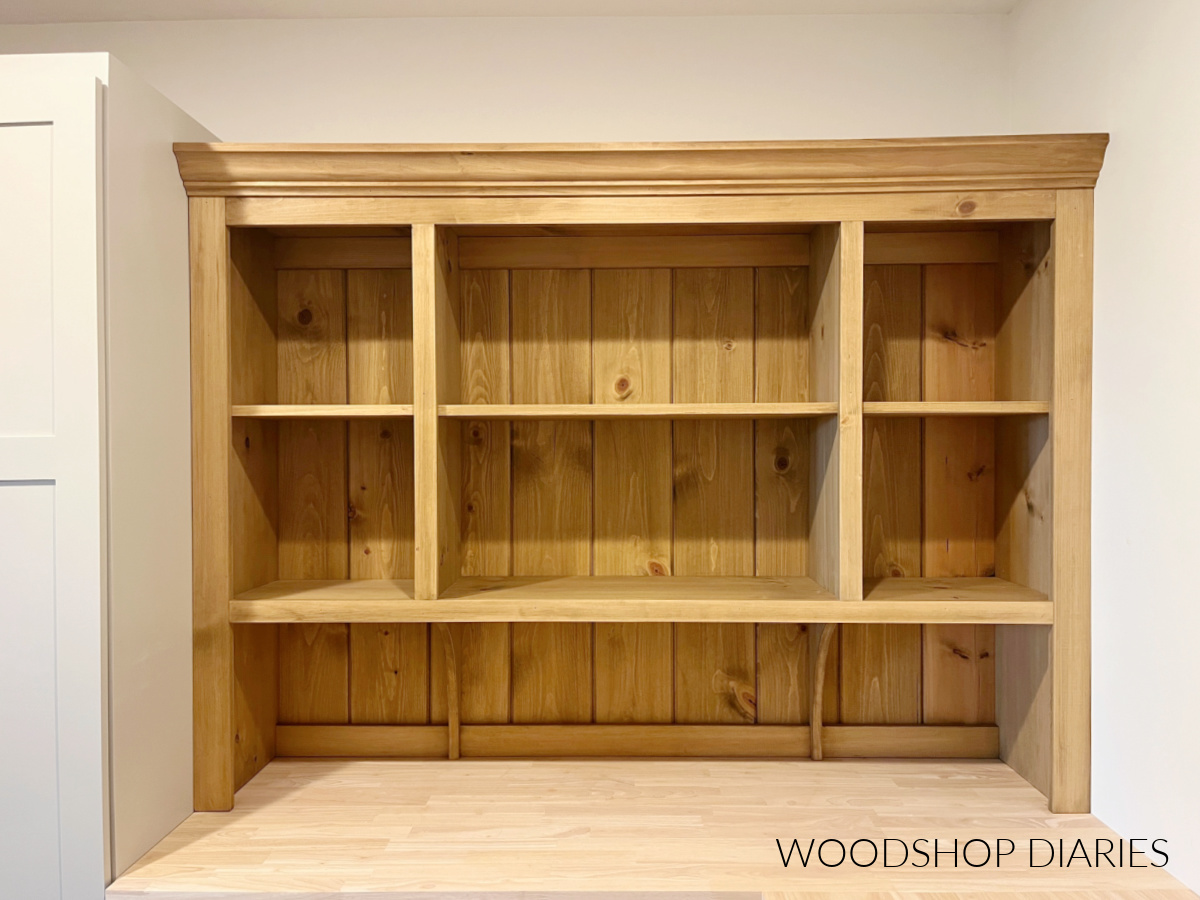
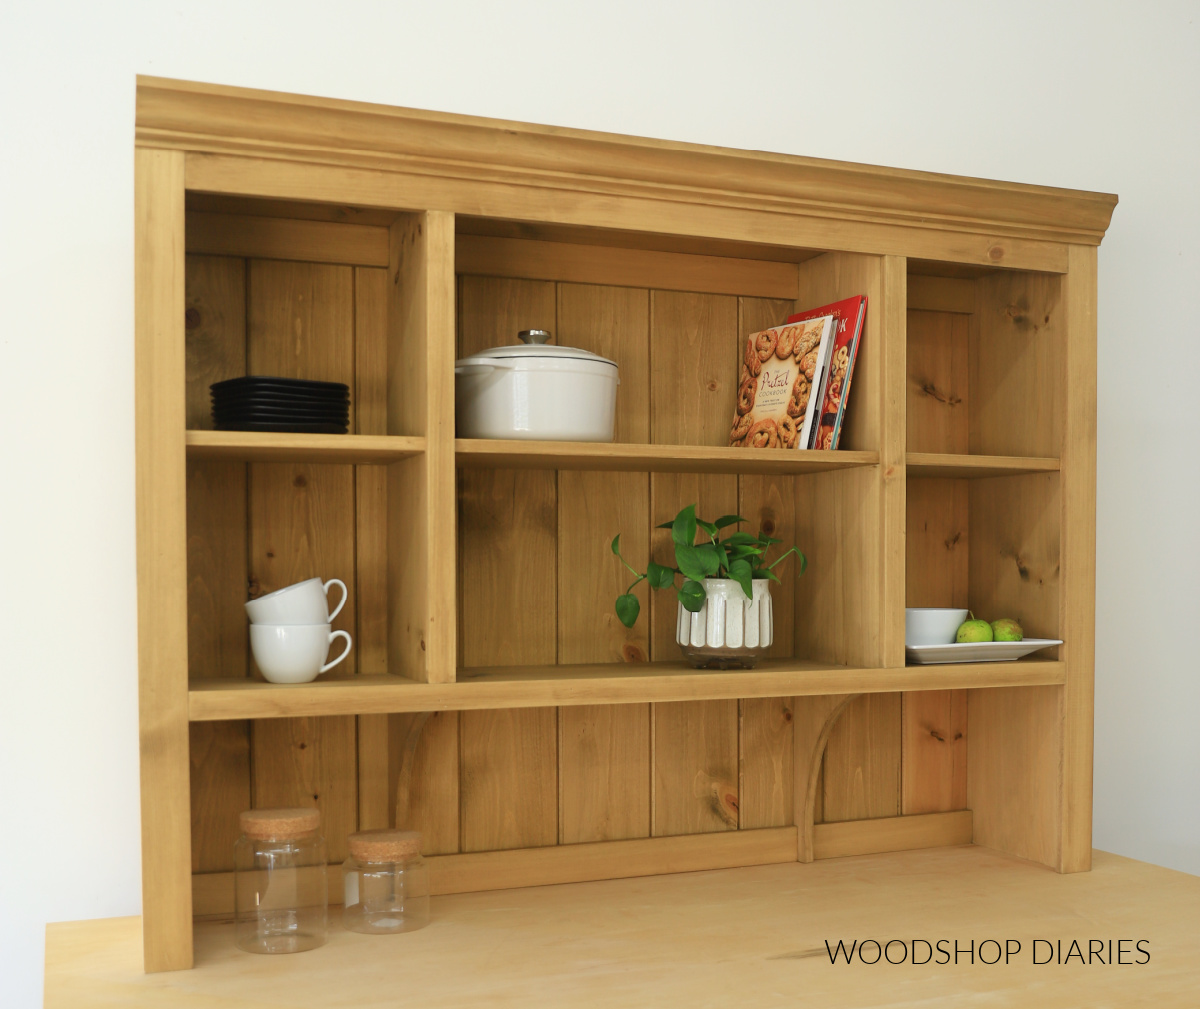
And with that, this simple hutch is ready for a clear coat finish (I already stained it, it just needs a sealer) and to be installed in my pantry.

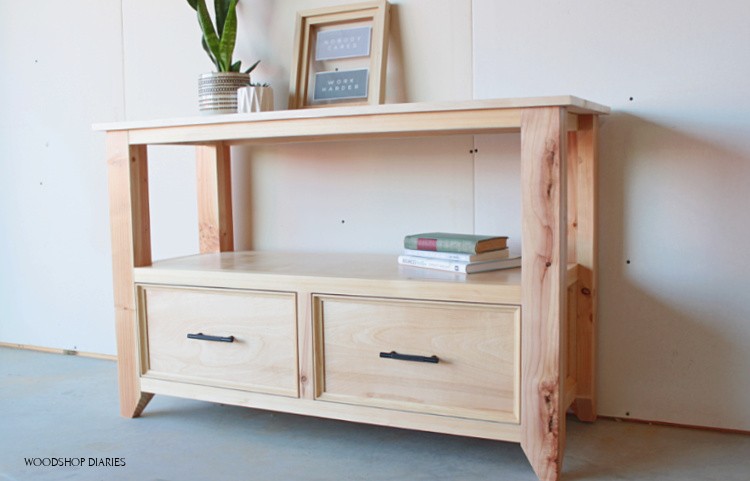
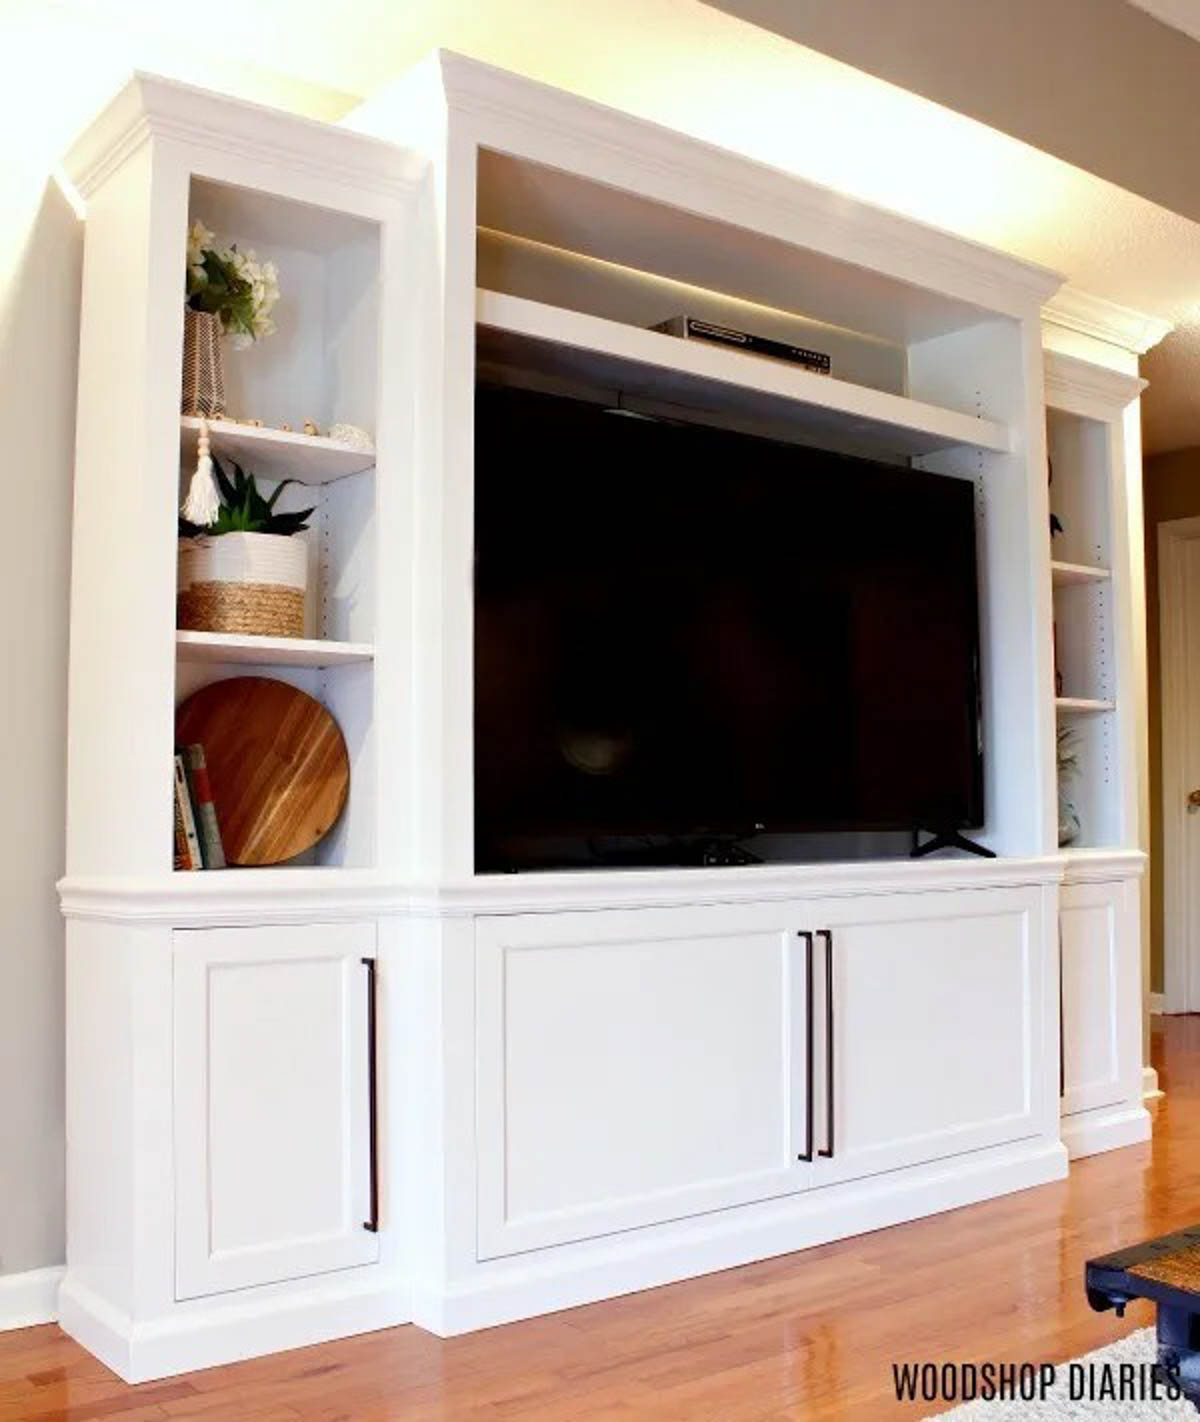
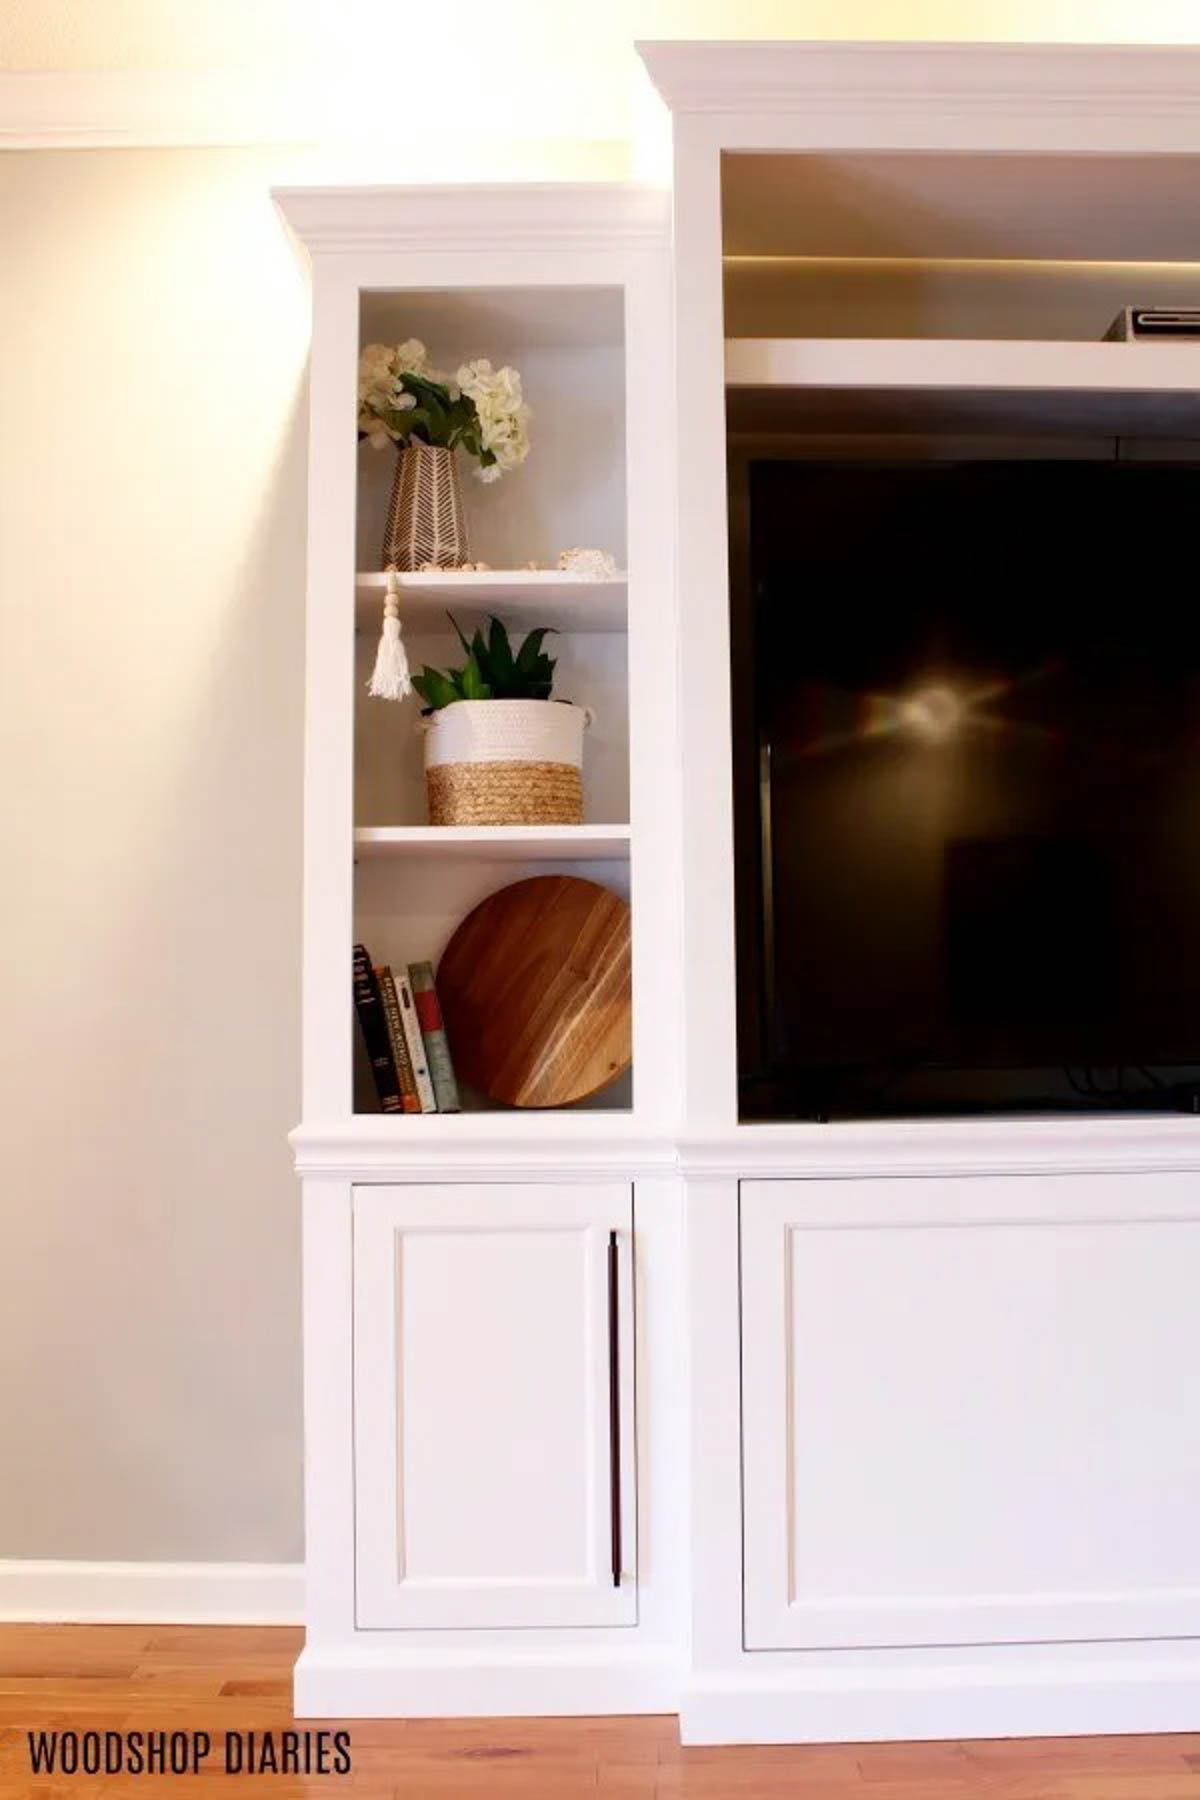
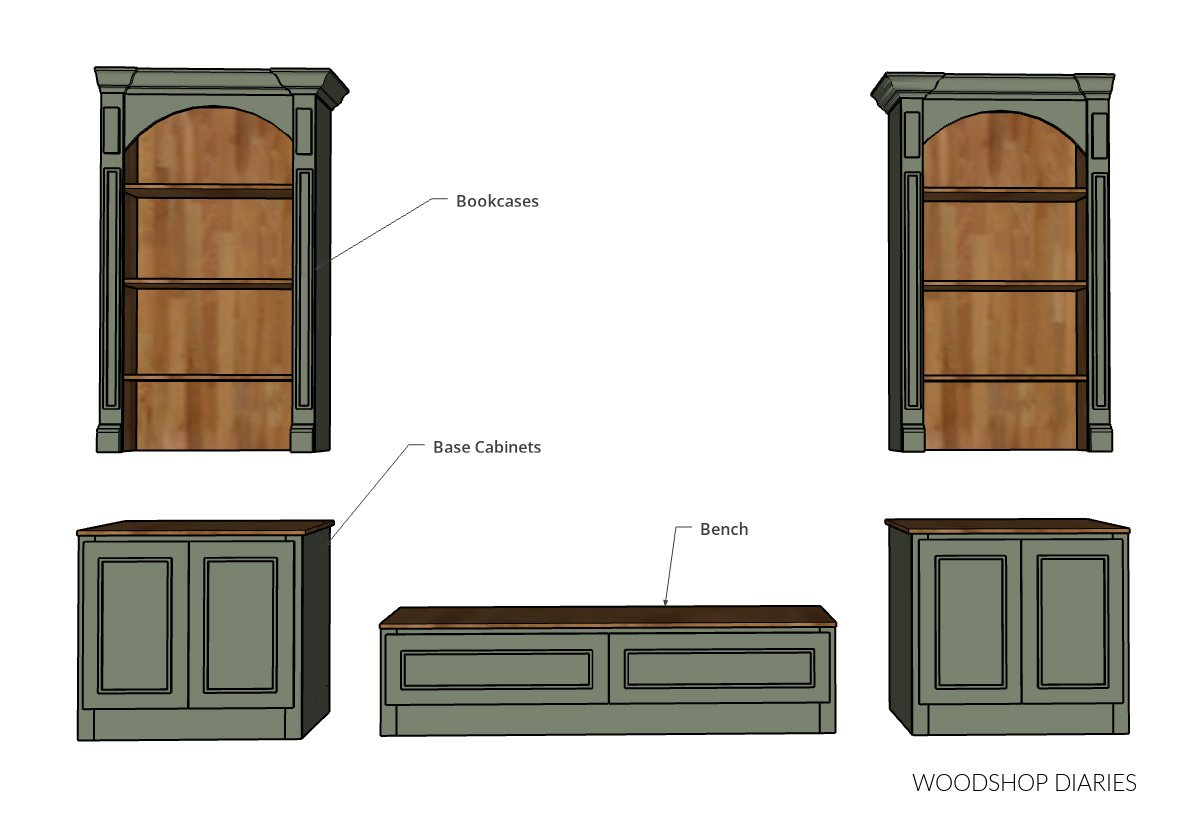
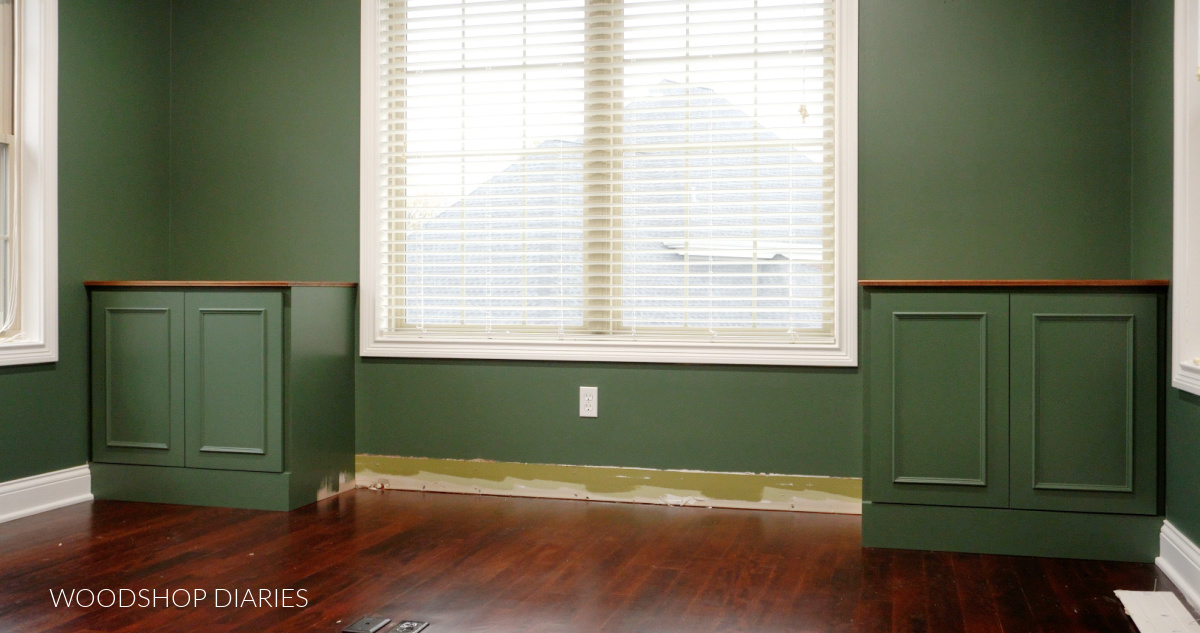
The great thing about a hutch like this is that it can be placed on almost any kind of base. You can build custom cabinets for it to set on, place it on existing cabinets you’ve already got installed, on a console, dresser, etc.
Once on its base, it should be secured through the 1×3 back supports into the wall studs behind it to prevent tip over. In case you’re wondering why it’s not in these photos, it’s because the pantry is so cramped, it’ll be difficult to get a good photo of it after it’s in.
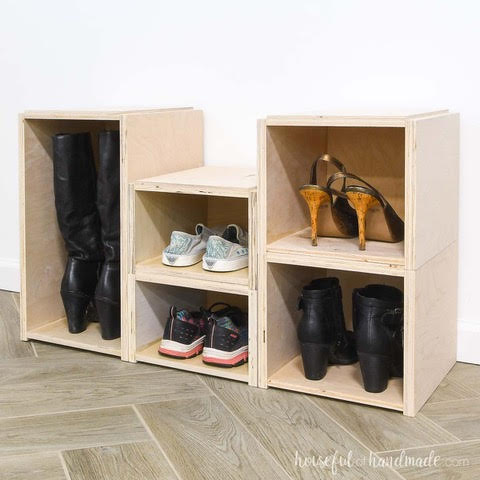
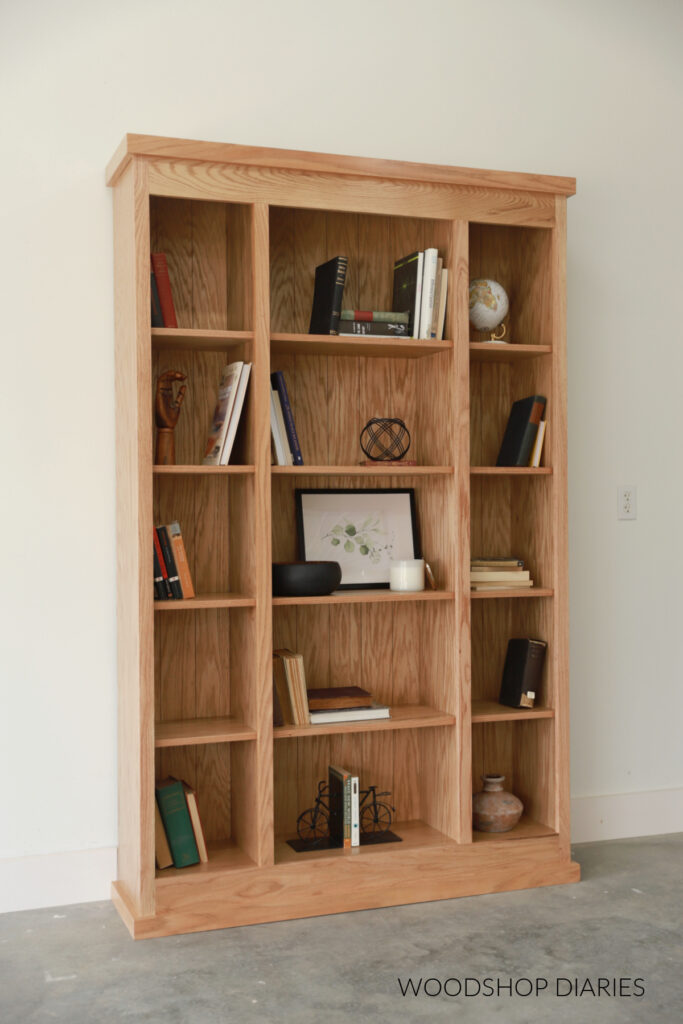
Looking for more shelving ideas?
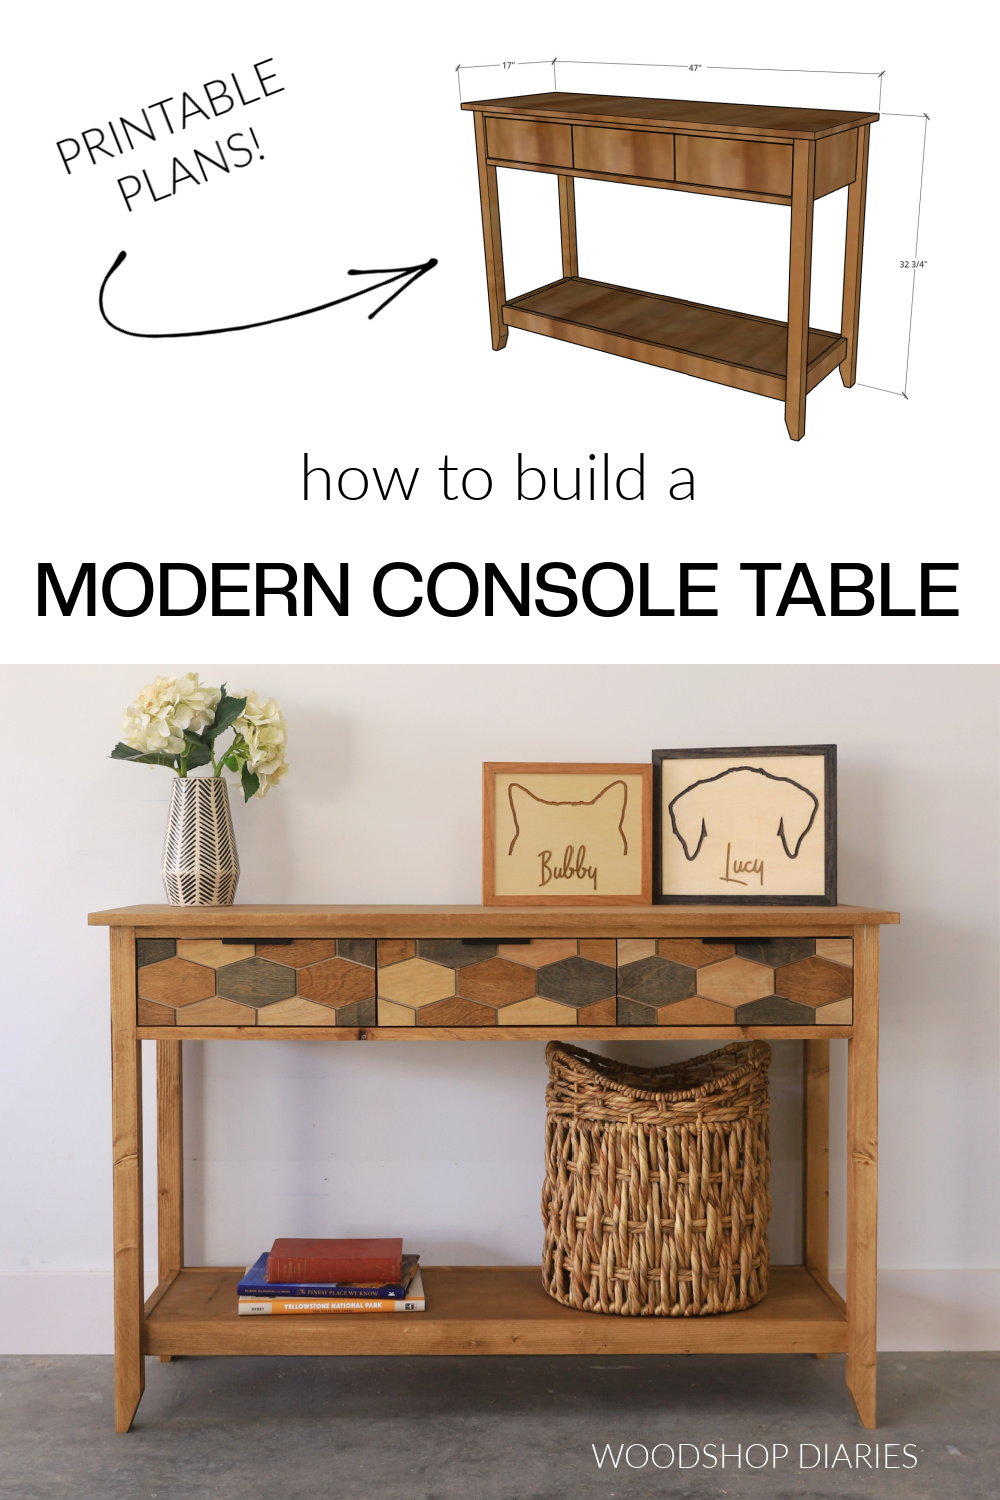
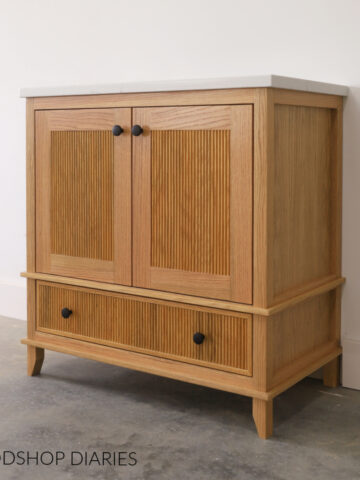
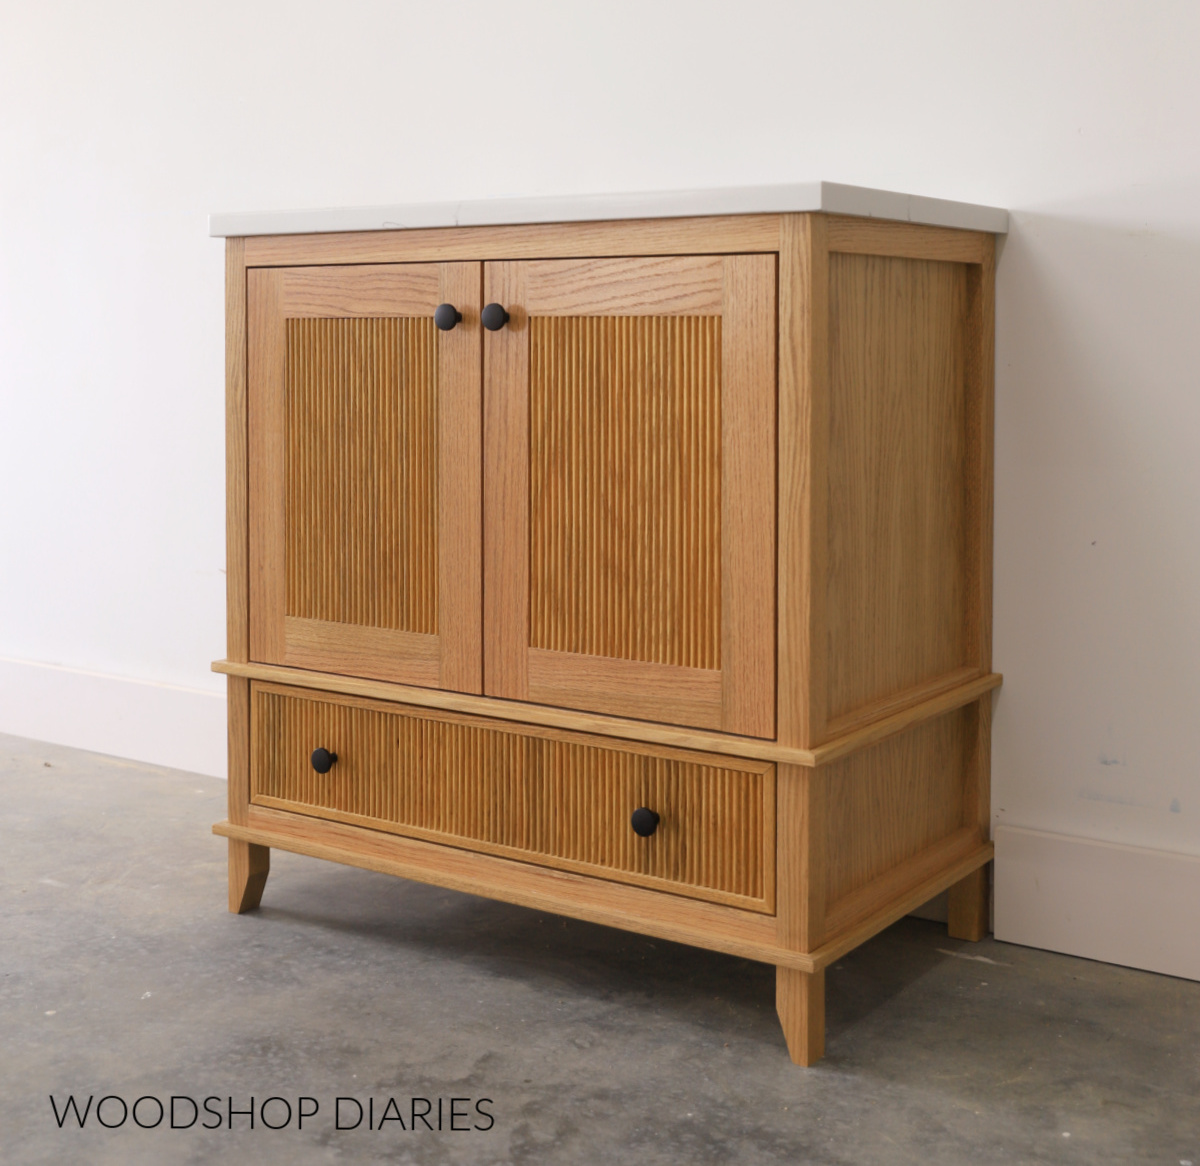
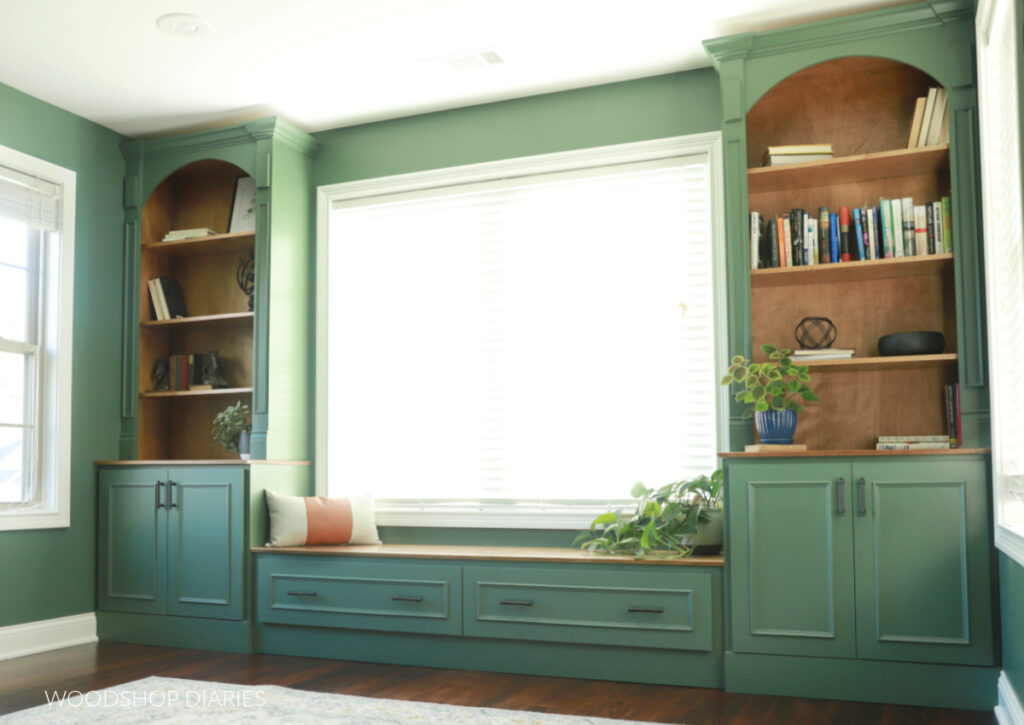
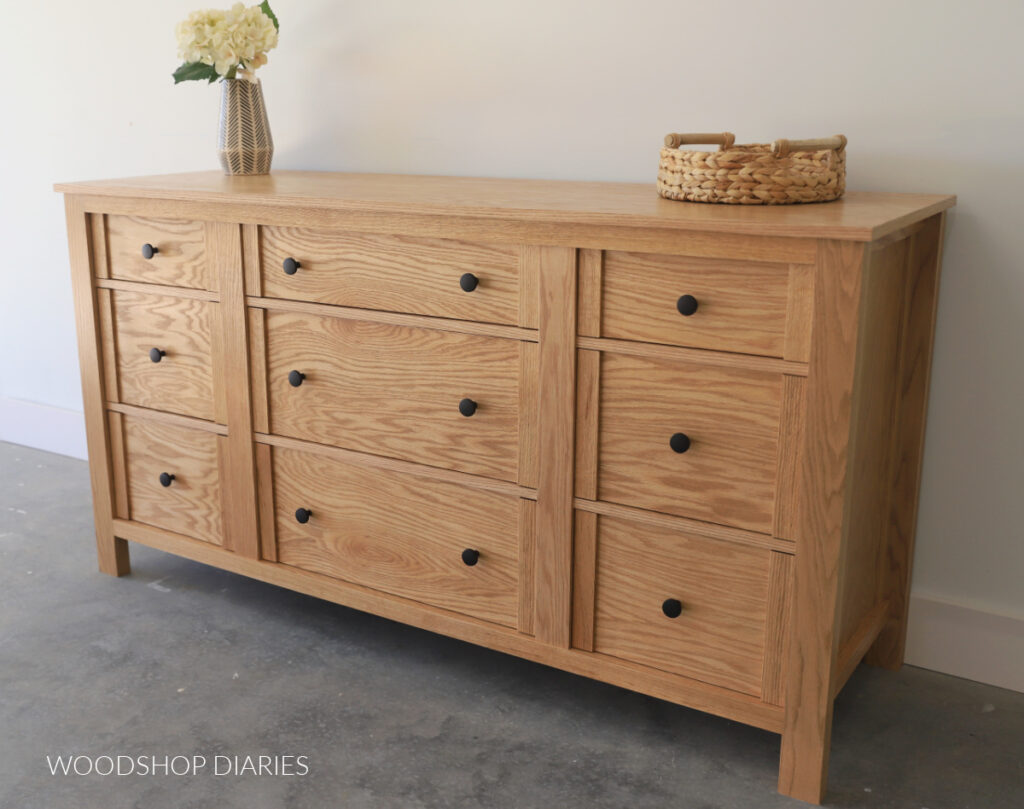
Enjoyed this project, but looking for more DIY shelving ideas? Here are a few favorites you’ll enjoy browsing. Just click on the image(s) below to see how to build it:
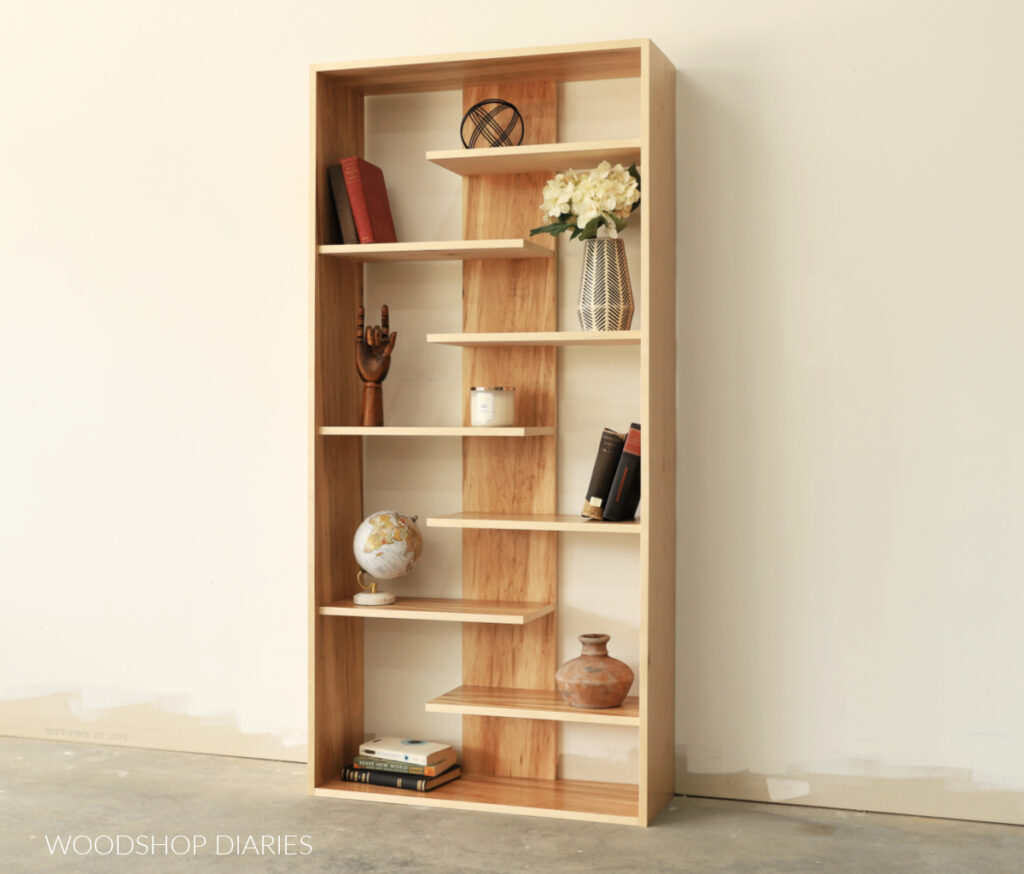
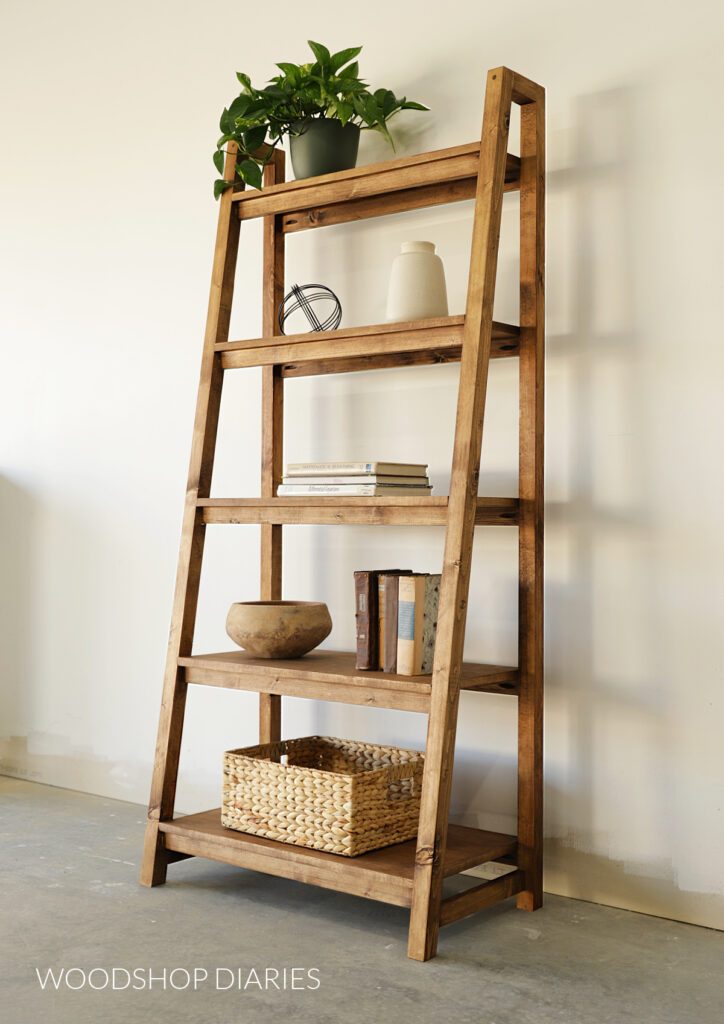
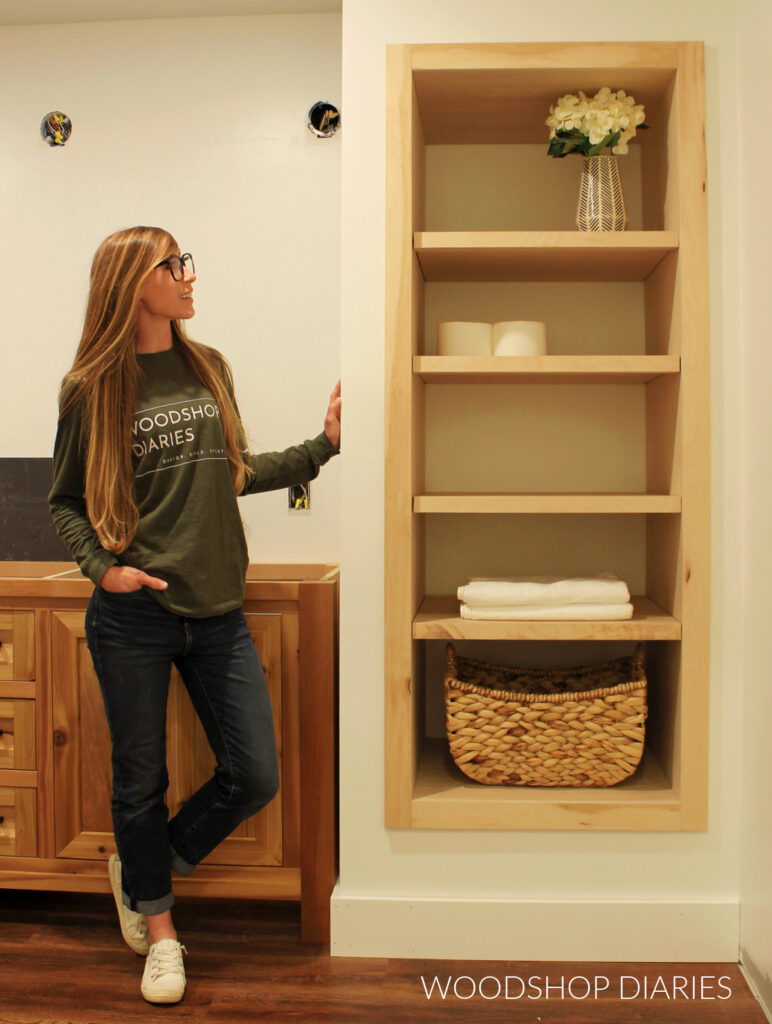
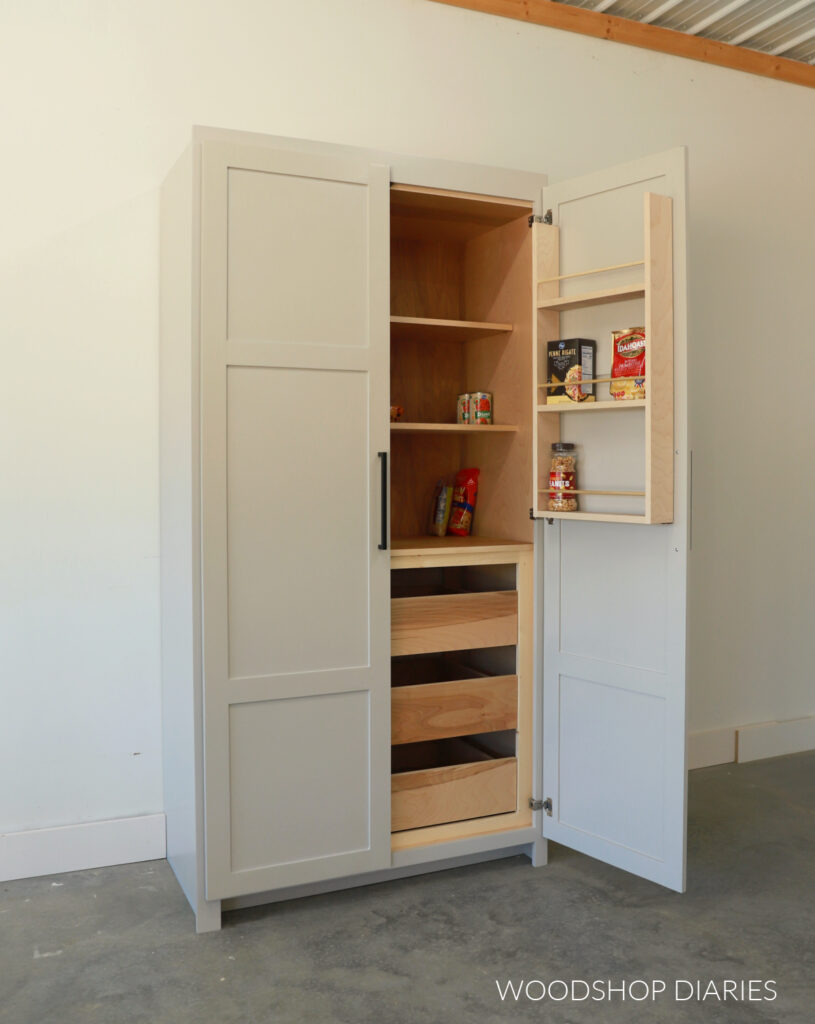
If you would like to save this project for later, be sure to pin it or share to your favorite social platform!
Until next time, happy building!