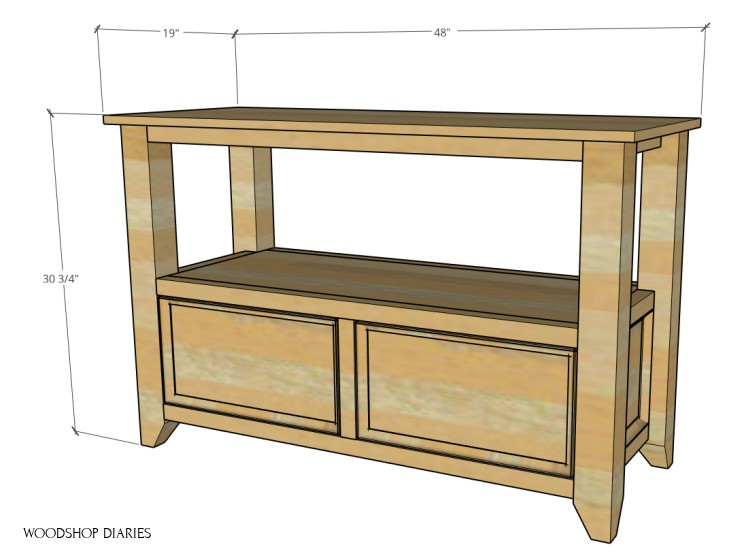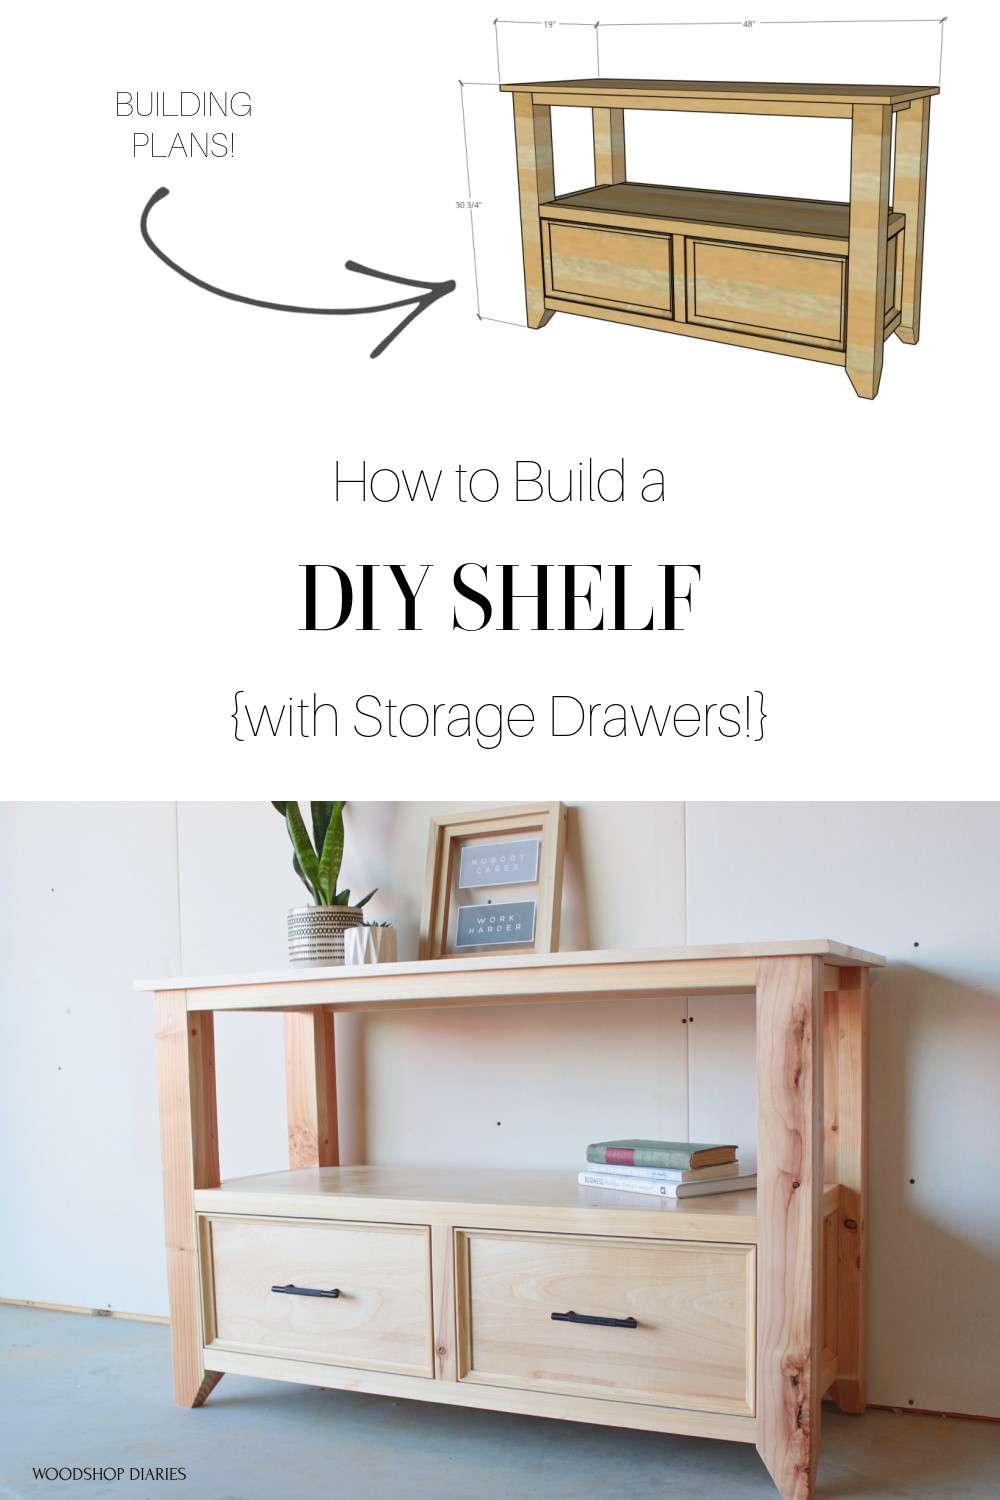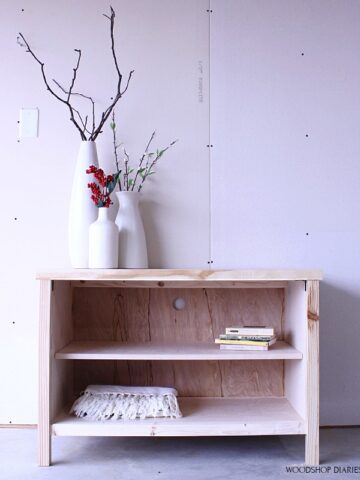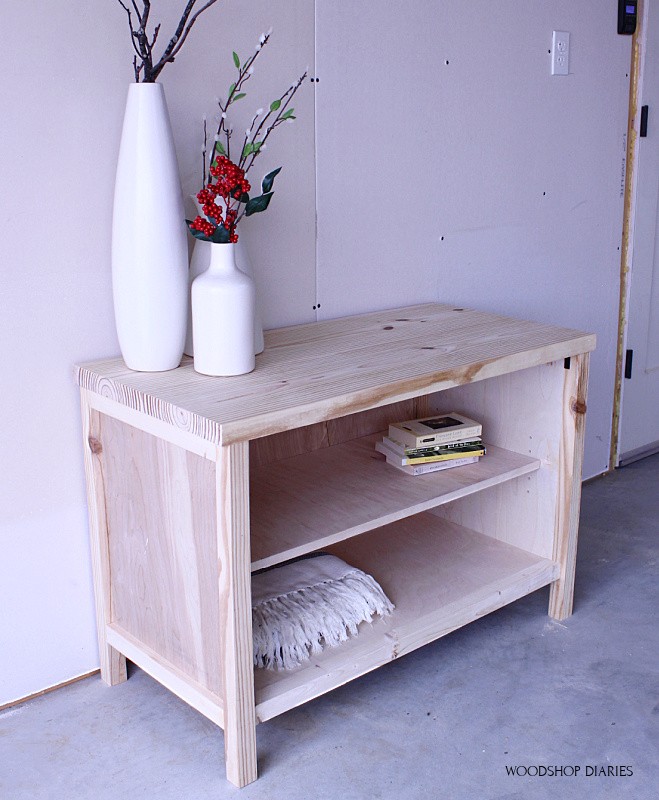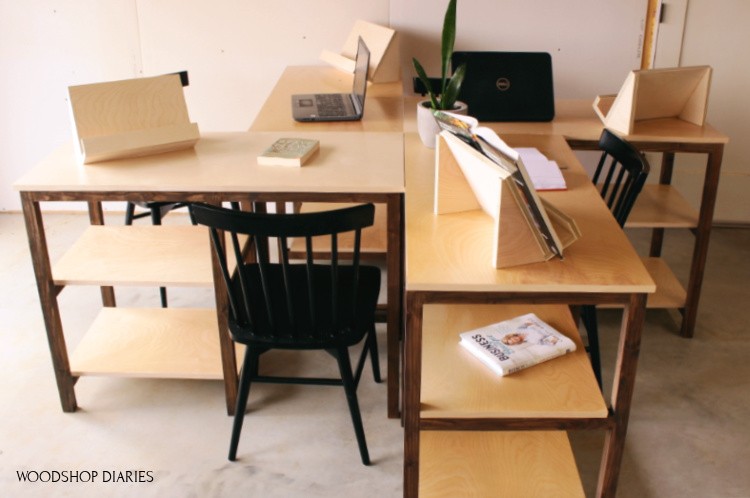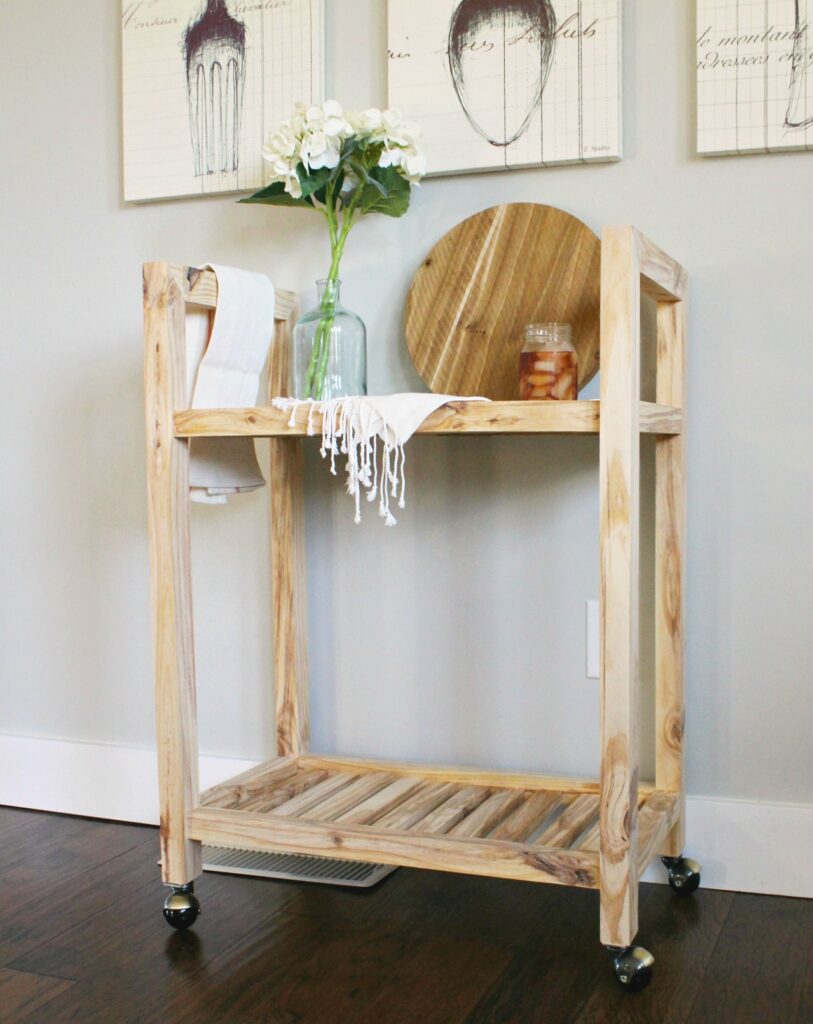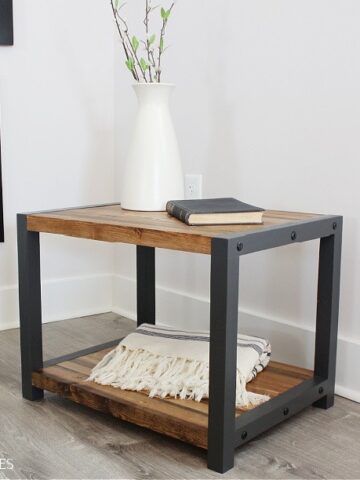
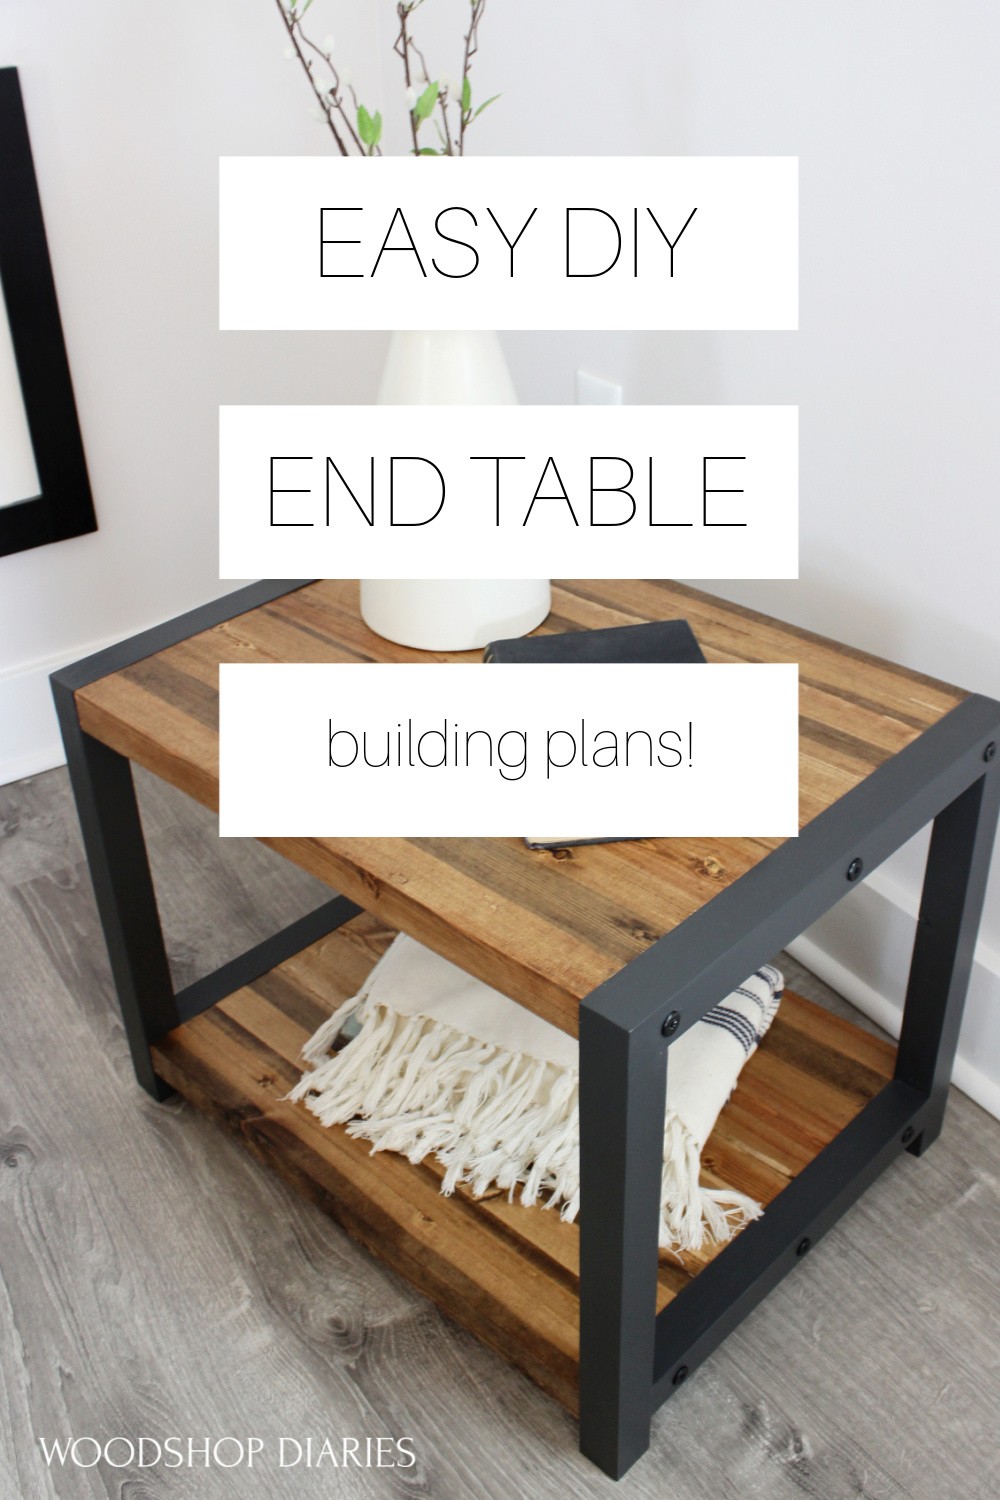
In this post, I’ll show you how to make a simple DIY end table with a shelf using just 2x2s!
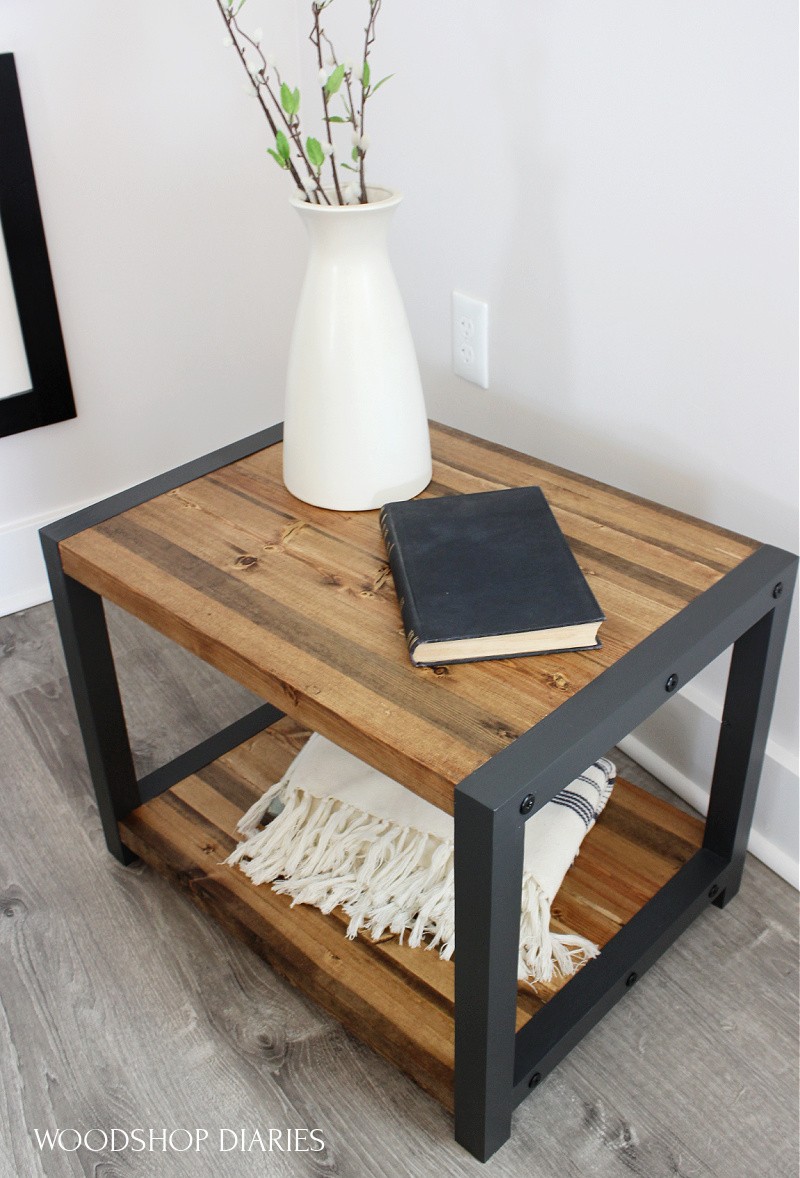
This simple side or end table is a great weekend build and only requires a few basic tools!
.
It’s got a modern industrial vibe going, but you can get creative and finish differently to match your own décor style.
.
So if you’re ready to get building, let’s go 🙂
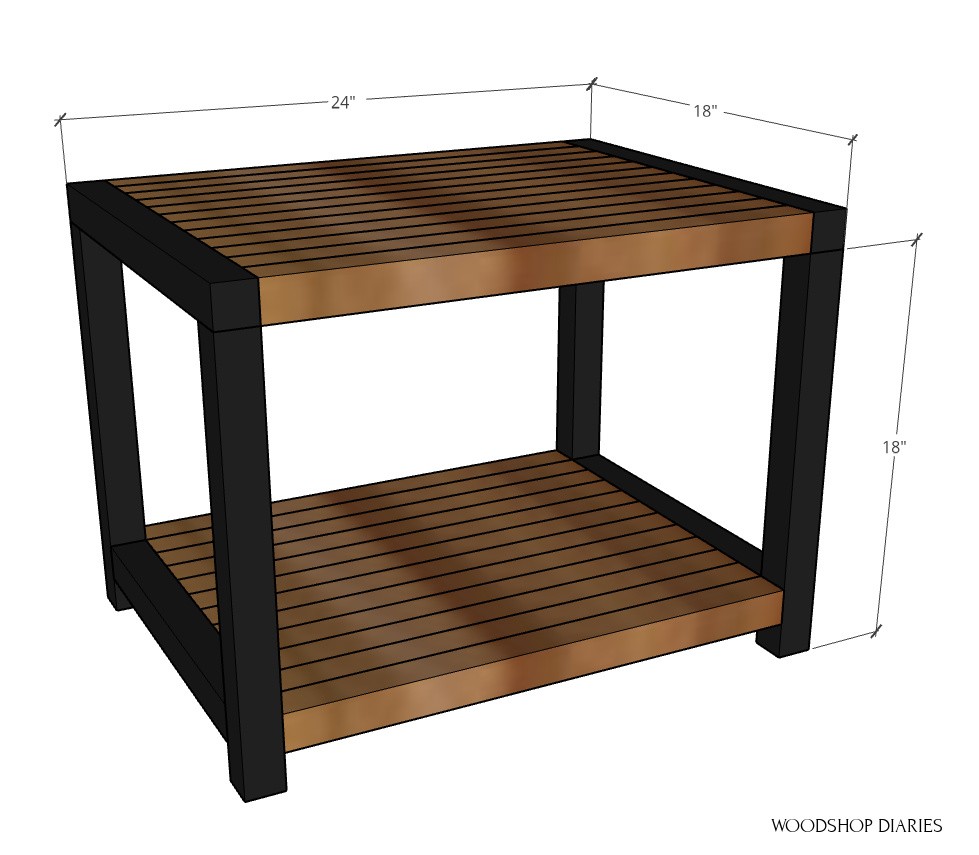
How to Make a DIY End Table
This post contains affiliate links. See policies.
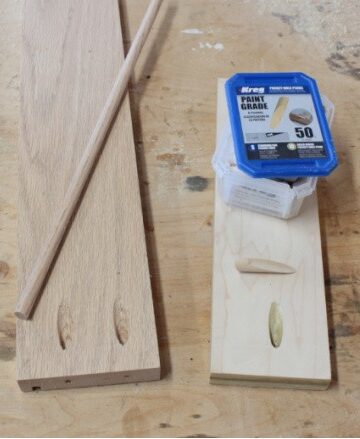
Tools and Materials
For this Basic DIY End Table, You Will Need:
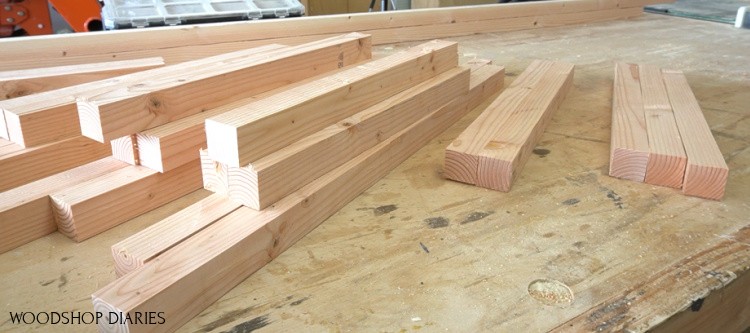
- (8) 2x2x8 (Or cut your own 2x2s from 2x4s with this tutorial)
- Saw (can use jig, circular, or large miter saw for this)
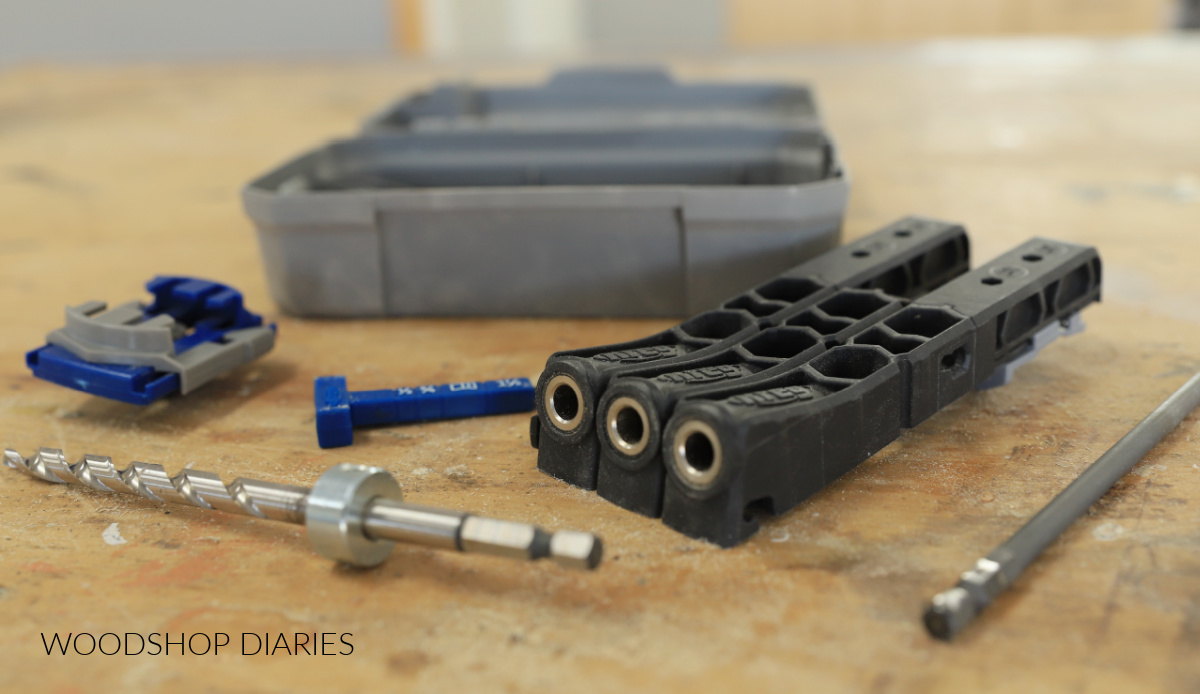
- Drill/Driver
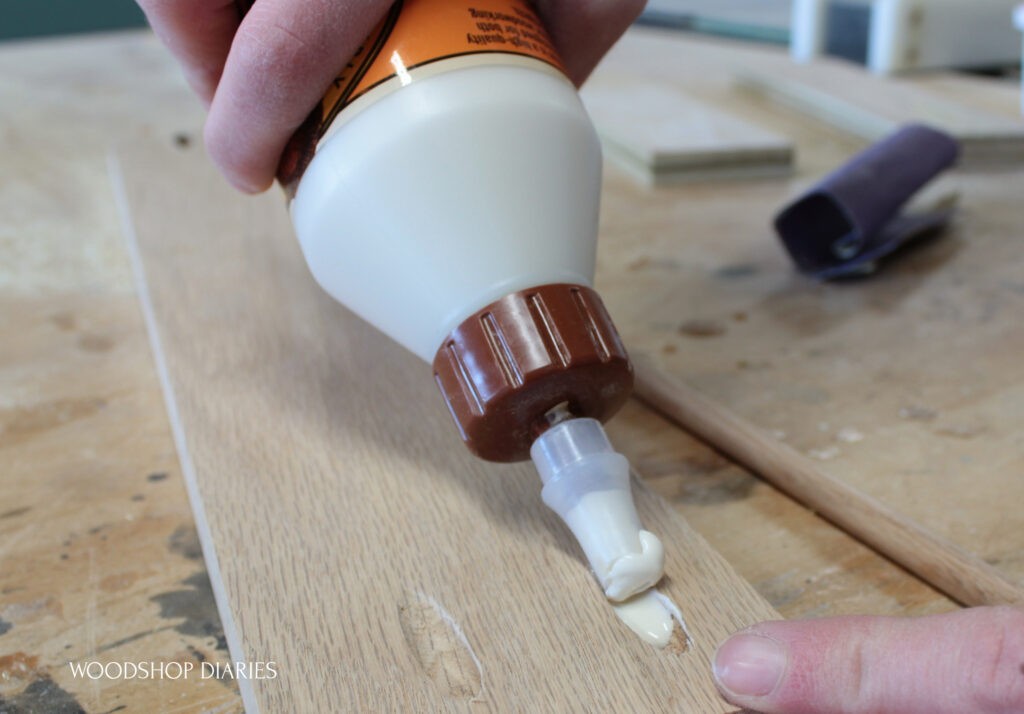
- Wood Glue
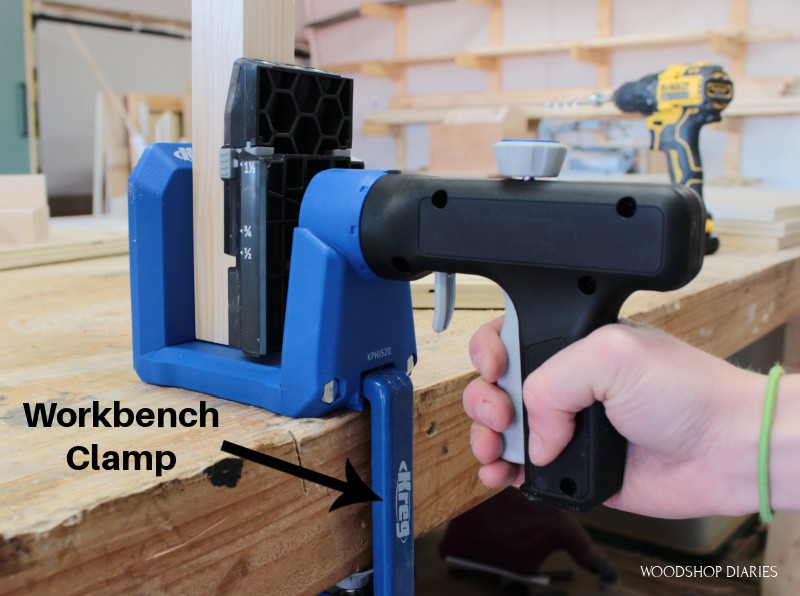
- Clamps (long bar or pipe clamps are best)
- 2 ½″ wood screws
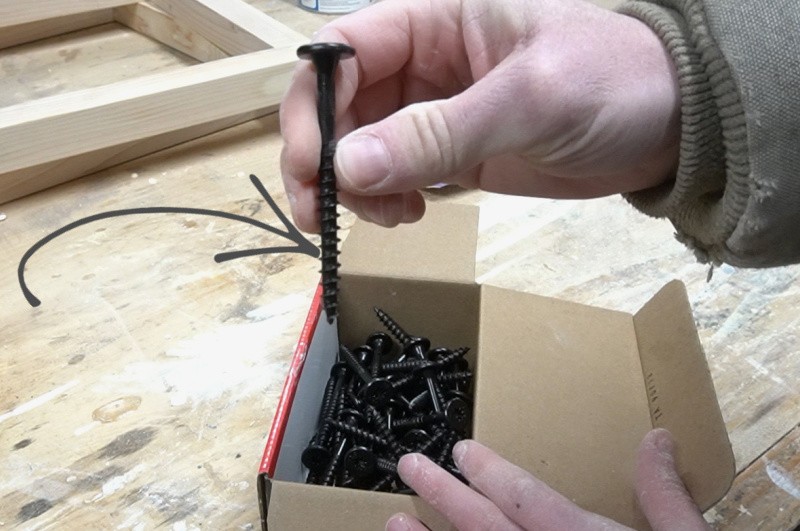
- Black timber screws (I used these–you need 12 screws per table)
- Sander
Step 1: Assemble Top and Bottom DIY End Table Shelves
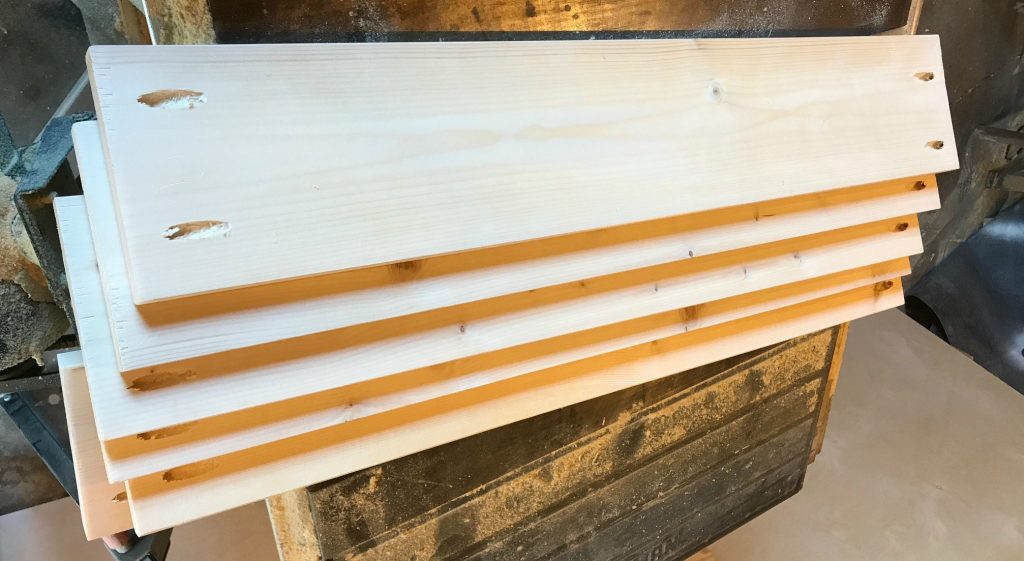
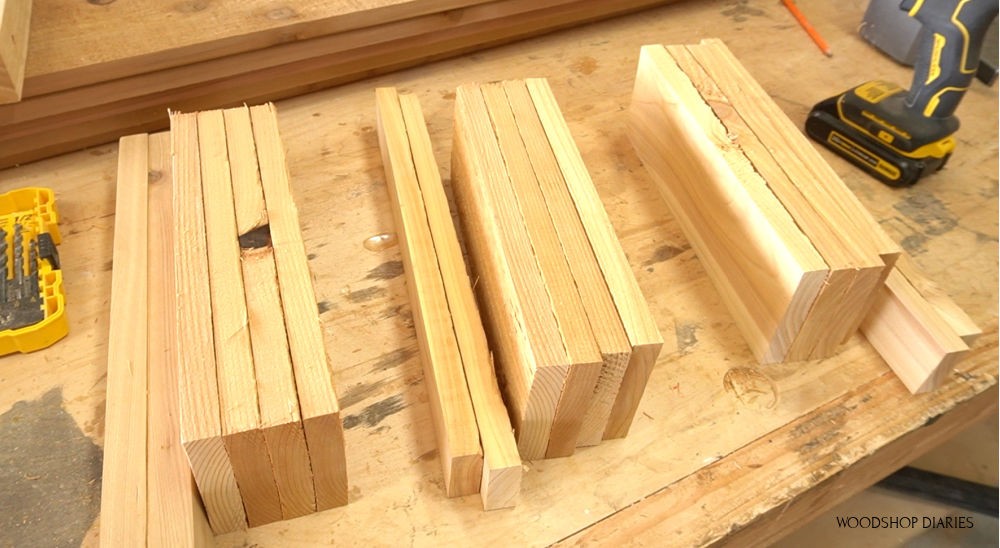
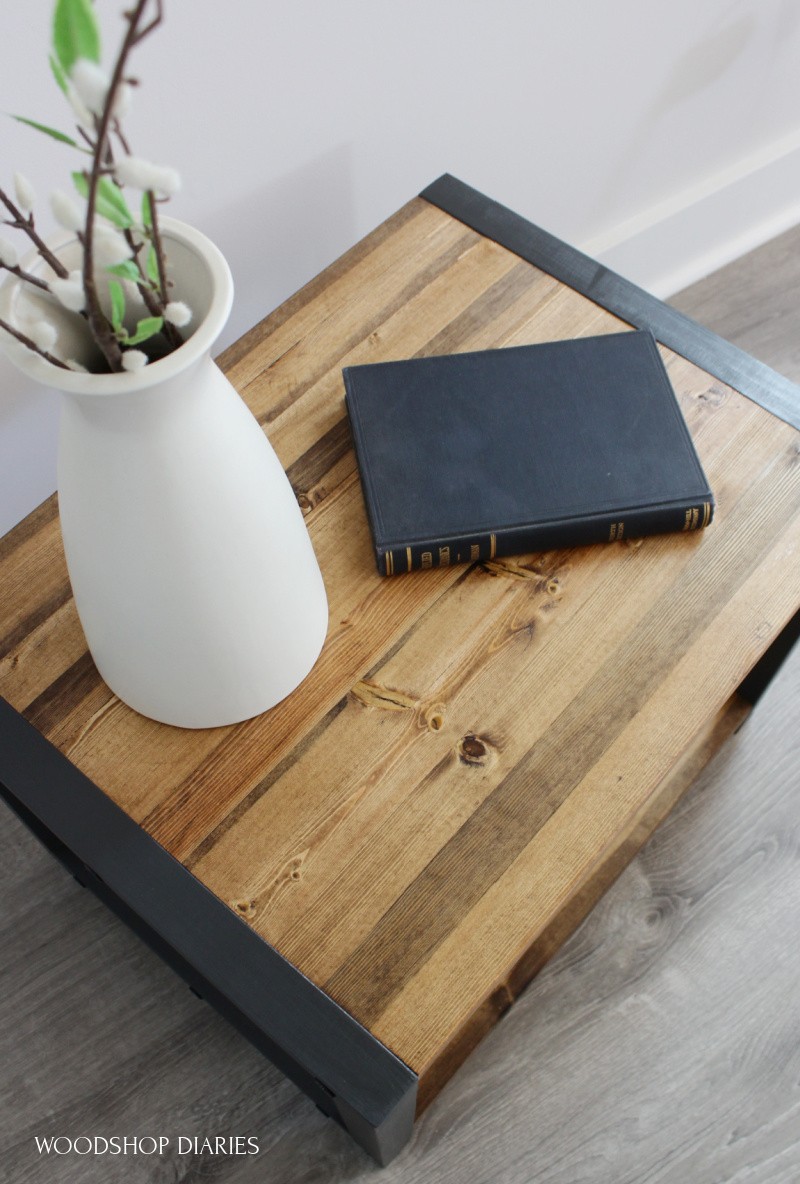
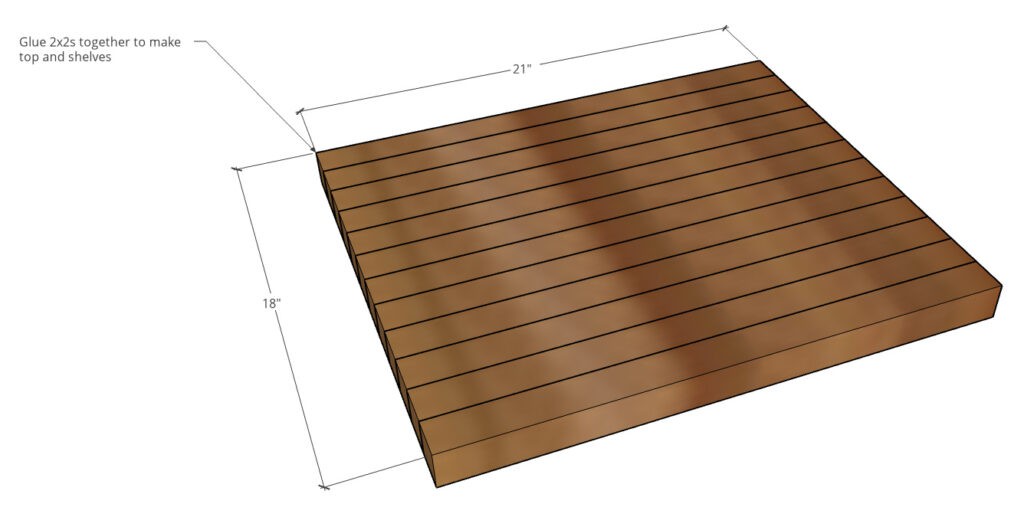
The top and the bottom shelf of this end table are made up of 2x2s glued together.
.
Obviously, you can use other lumber sizes here instead as you wish, but I just liked the “butcherblock” look of the 2x2s.
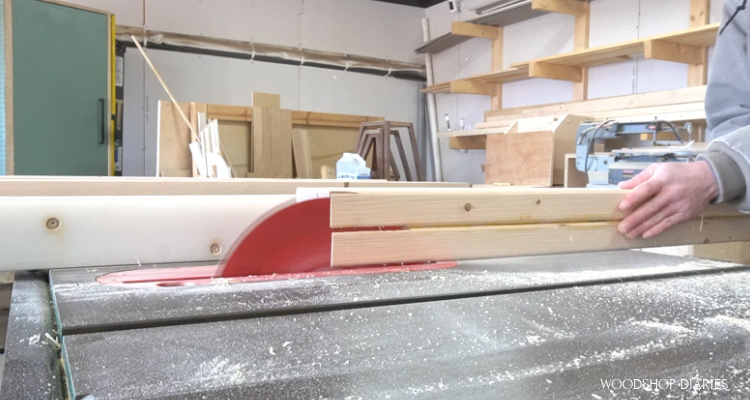
Now, I make my own 2x2s from 2x4s using my table saw. You can learn about how to make your own 2x2s in this post. BUT, if you don’t have a table saw, using 2x2s straight from the store is fine.
.
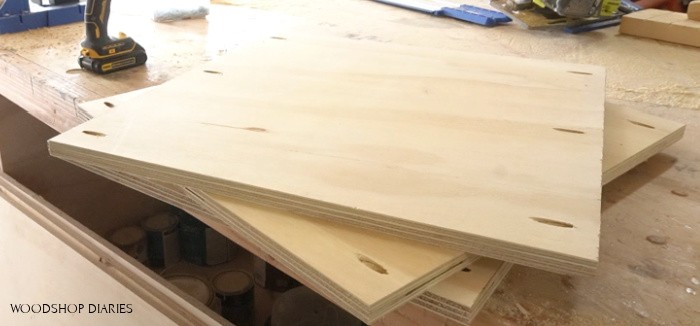
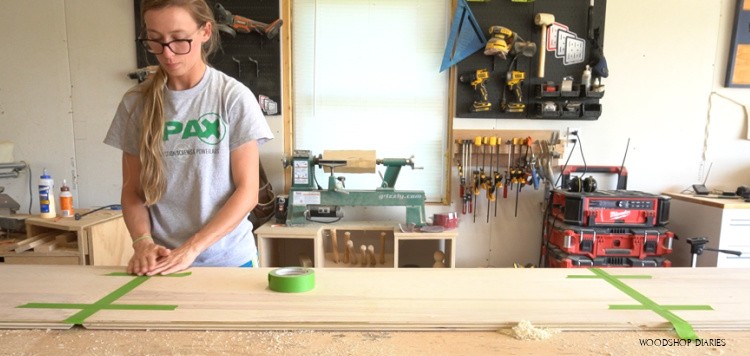
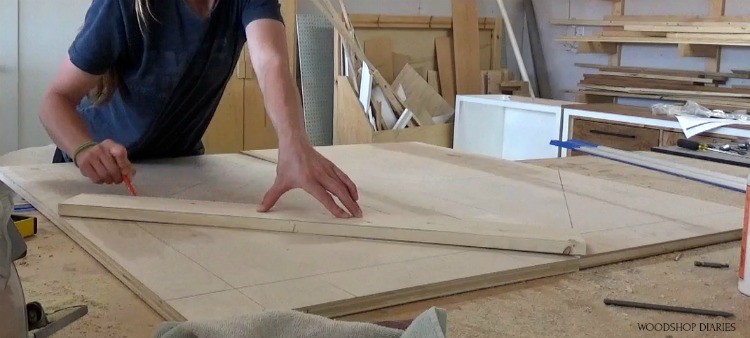
First, I cut 6 of my 2x2s in half to give me 12 total 2x2s about 48″ long–it doesn’t have to be EXACT. I’ll be trimming this down later.
.
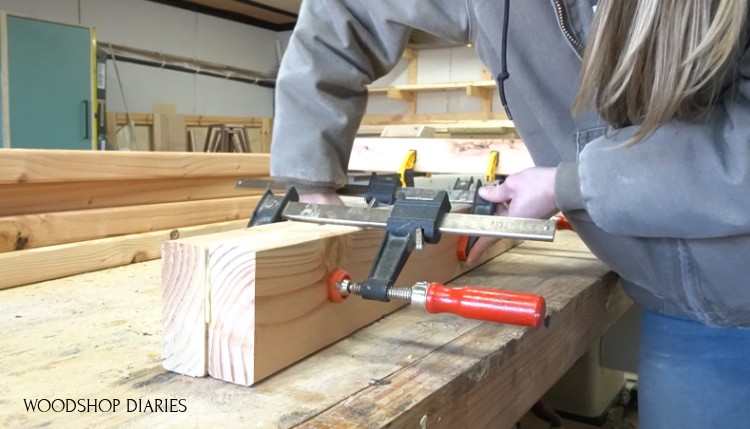
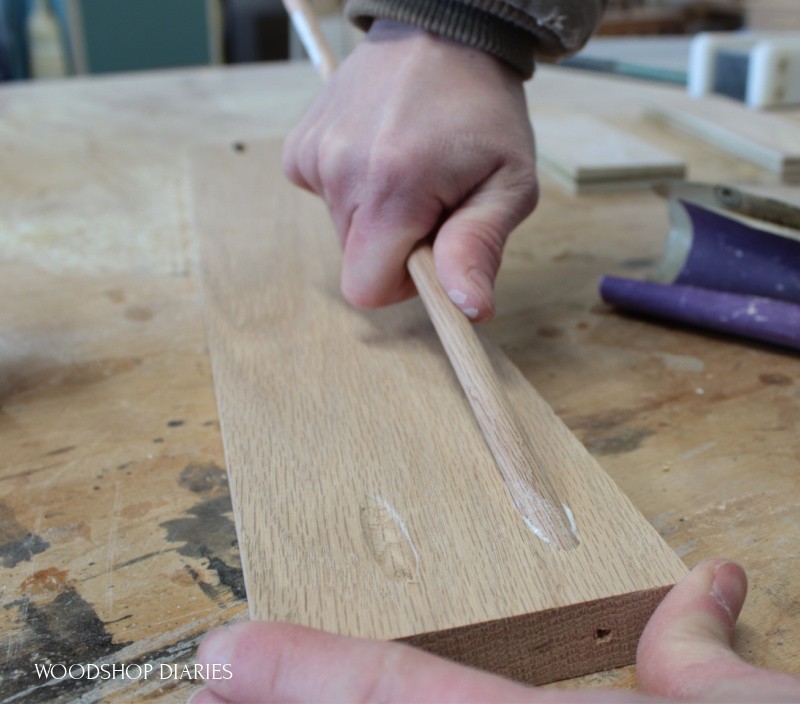
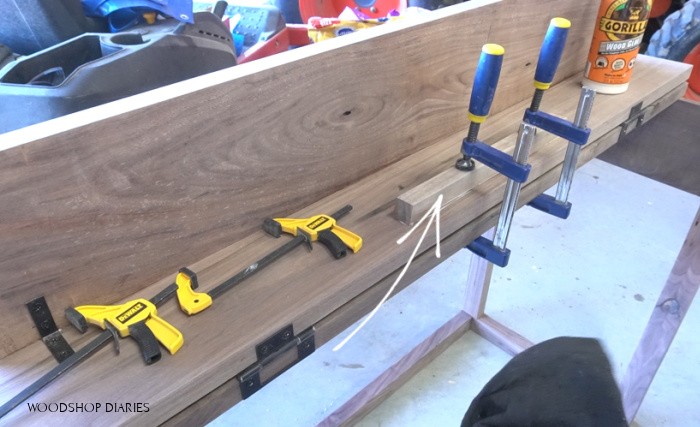
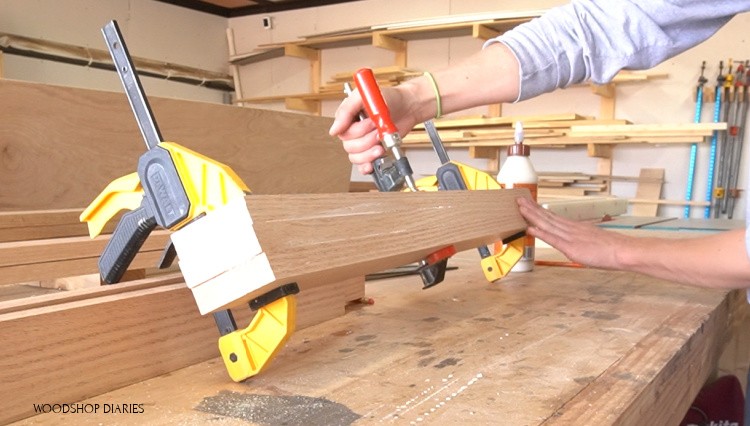
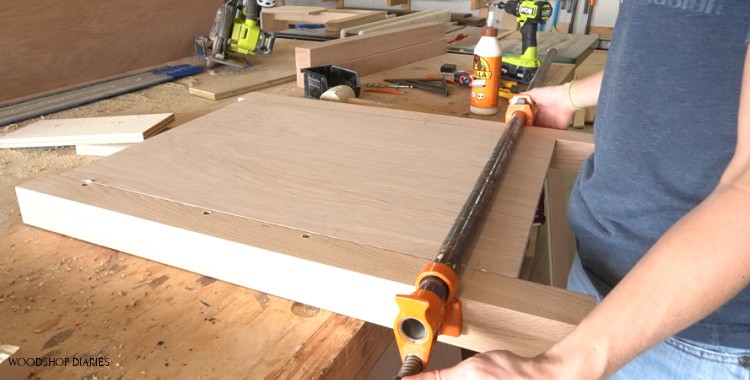
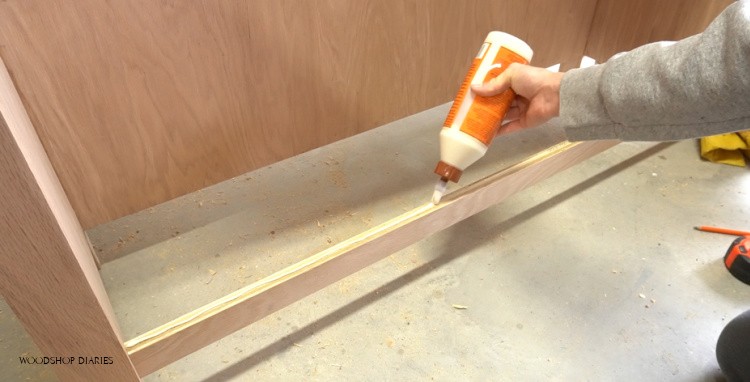
I separated these into two sections of 6 and glued up 6 at a time using wood glue and pipe clamps. You can glue up all 12 at once, but I think it’s easier to do it in sections.
RELATED: Check out this post for how to glue up panels for some helpful info about glue ups!
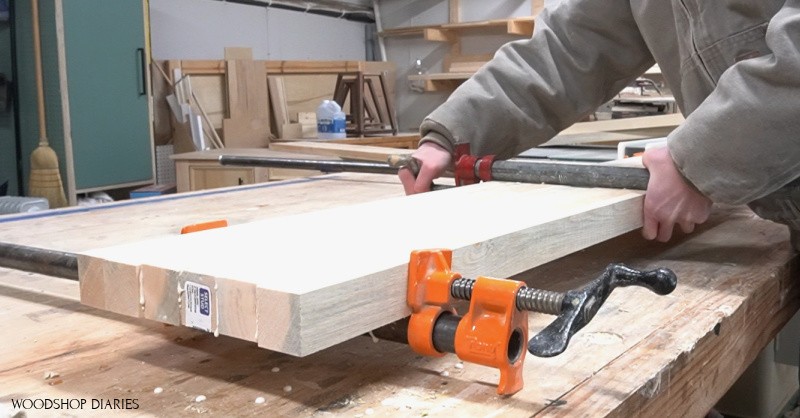
This gave me two separate panels about 9″ wide and about 48″ long.

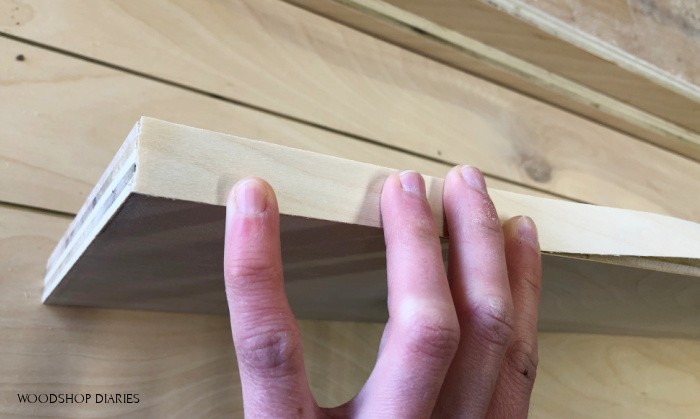
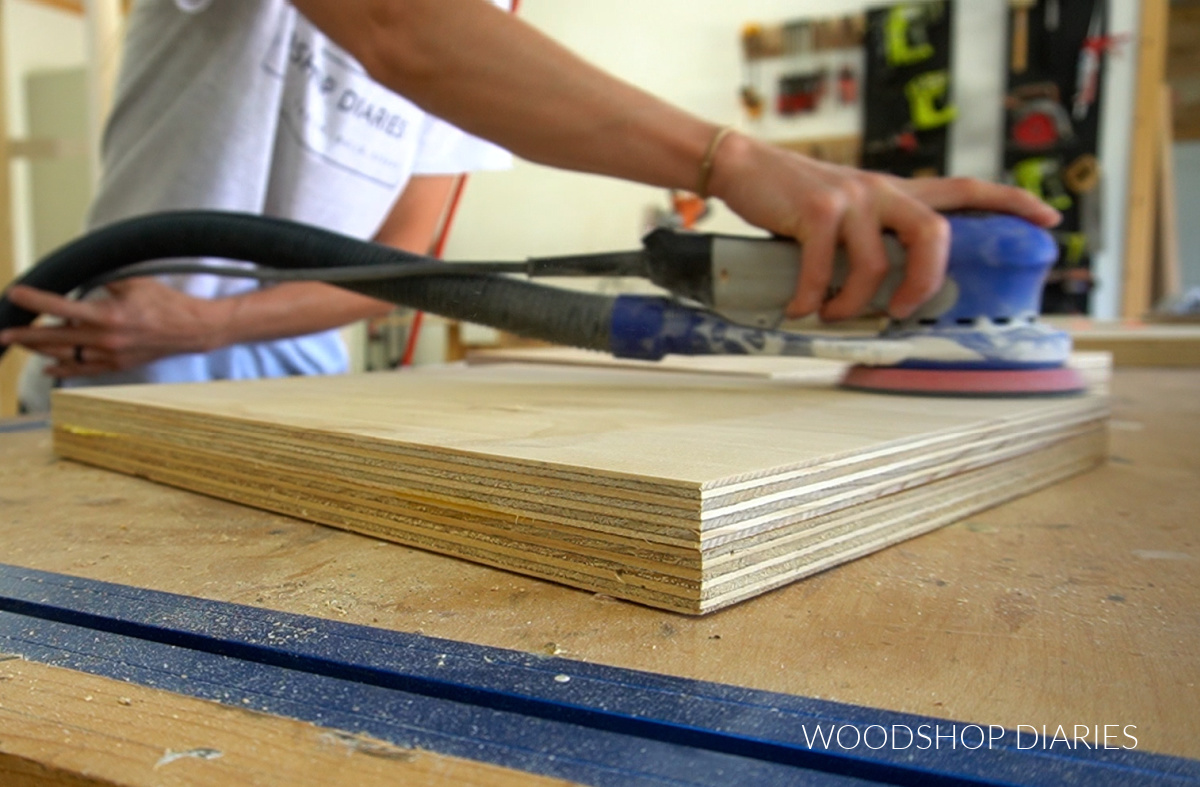
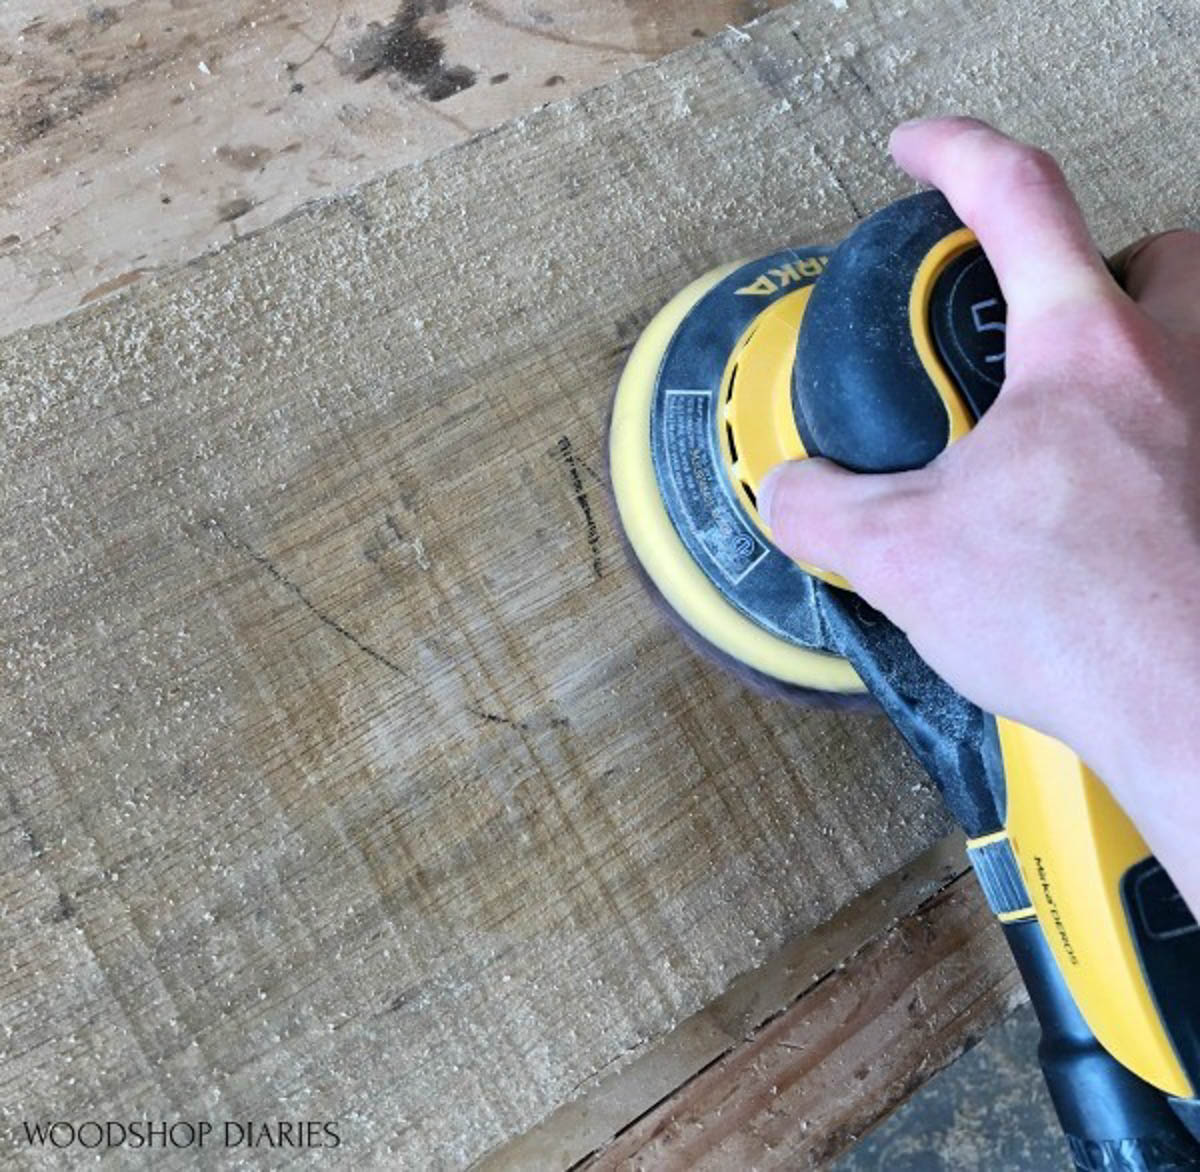
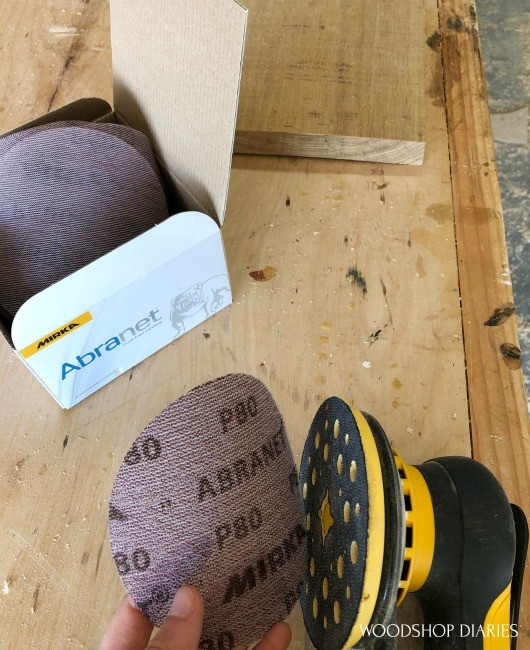
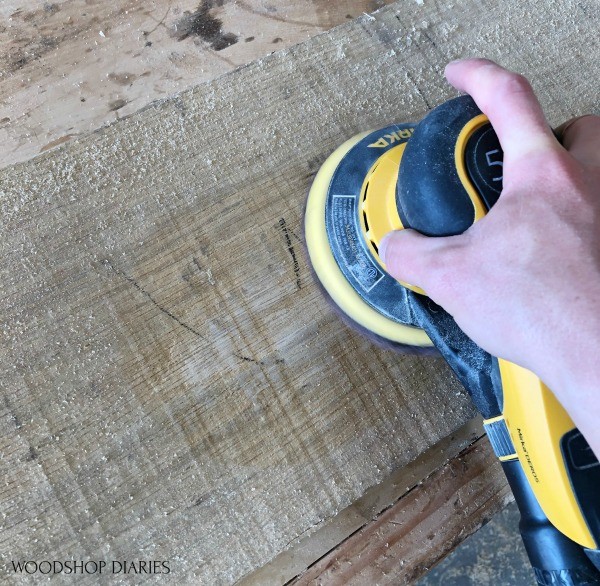
Once the glue dried on each section of 6, I sanded the tops smooth. If you have a planer, you can plane each section smooth, but if not, a belt sander or orbital sander works, too.
.
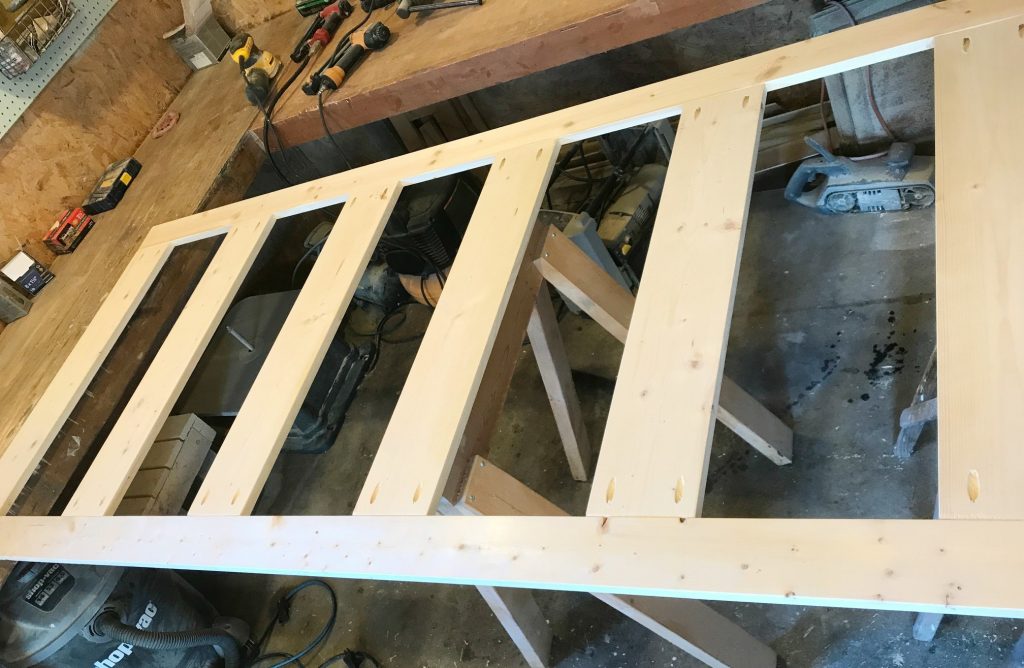
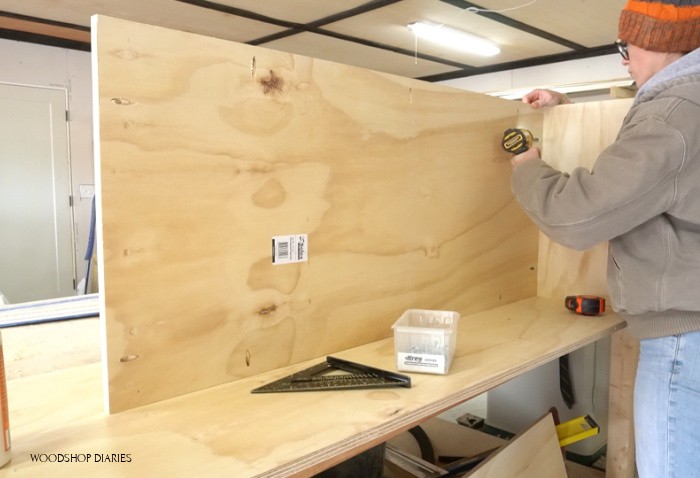
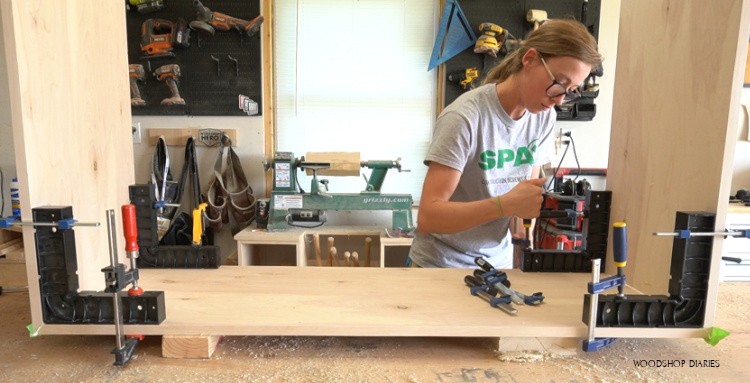
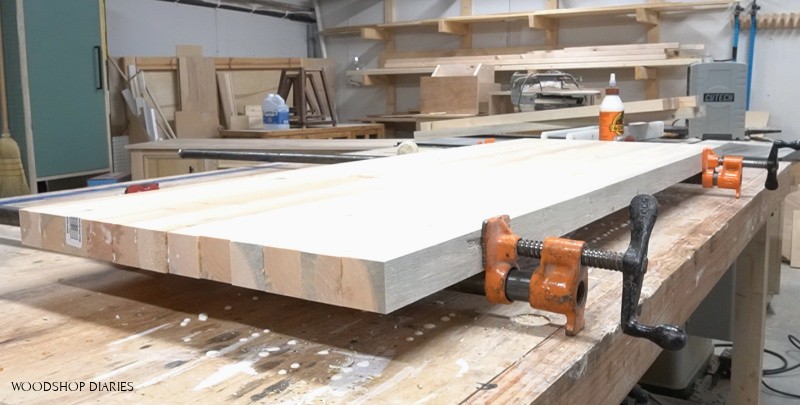
Then, I glued these two panels together. This gives me one large panel about 18″ wide and 48″ long that is made up of twelve total 2x2s.
Again, if you didn’t want to use 2x2s here, you could glue up another size here as long as you end up with it being 18″ wide at the end.
.
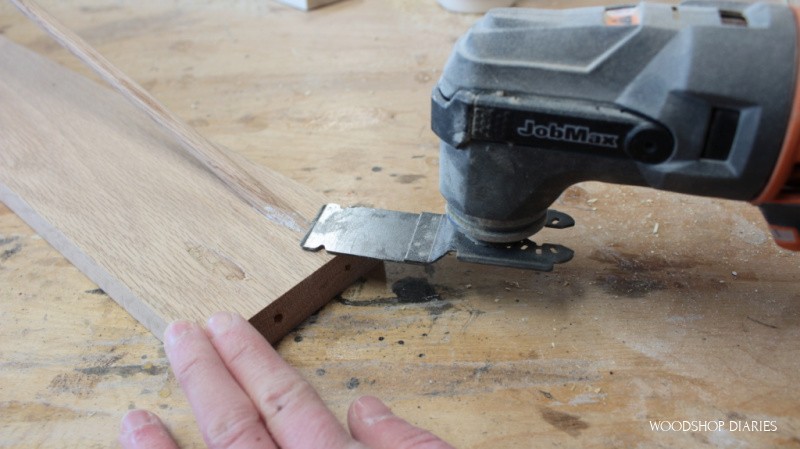
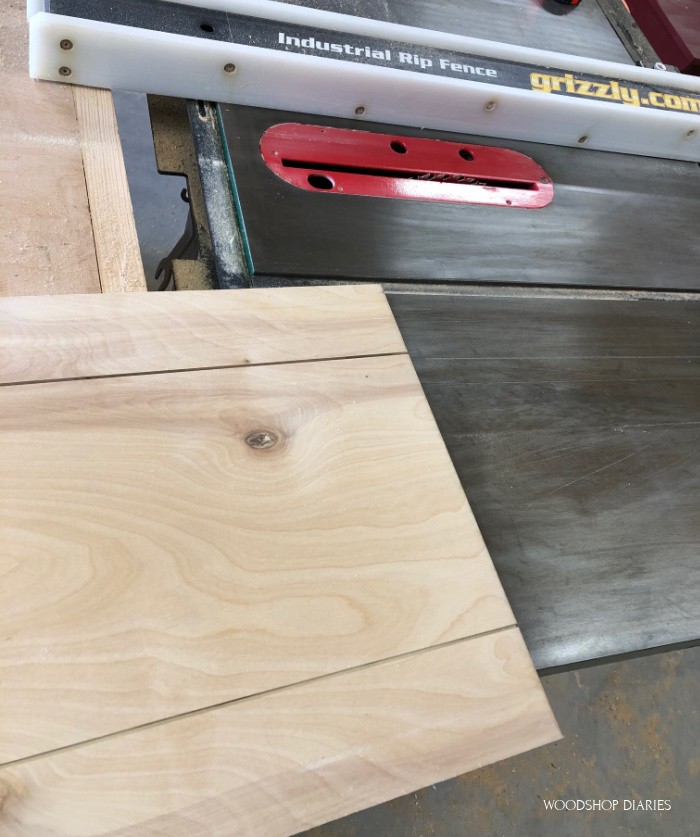
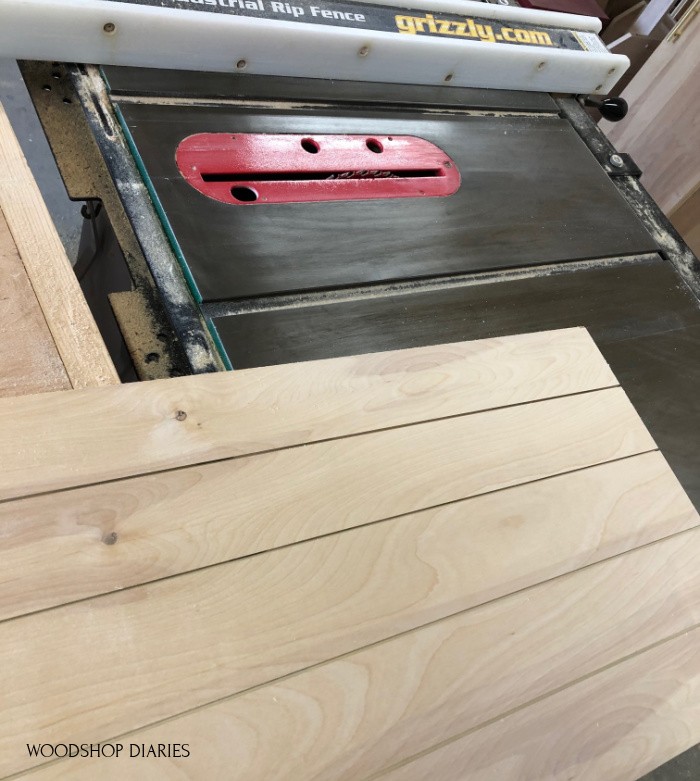
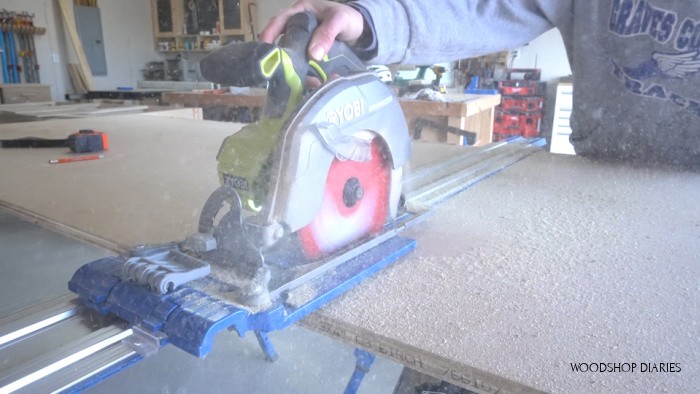
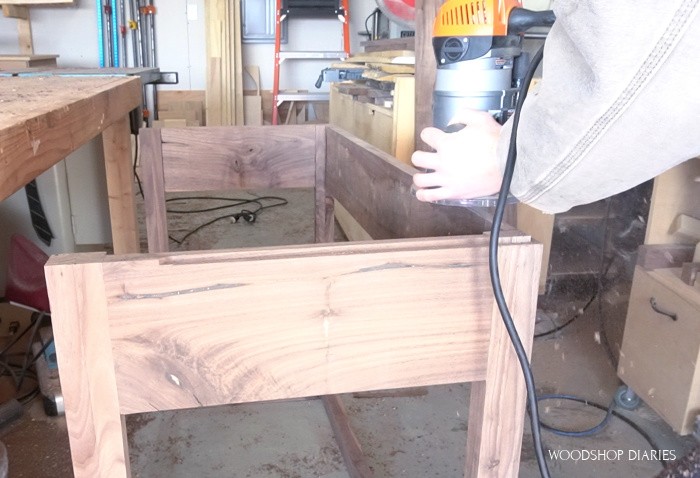
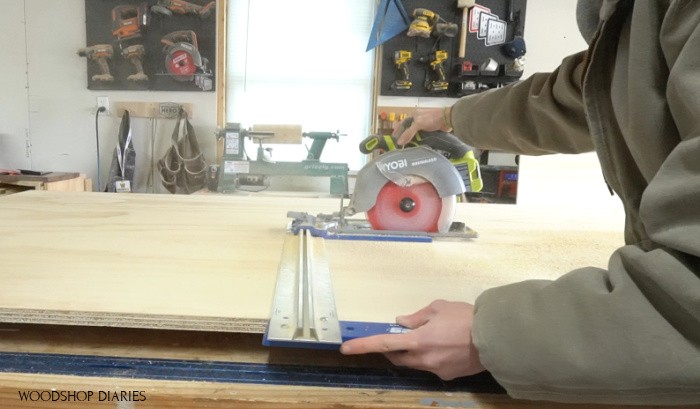
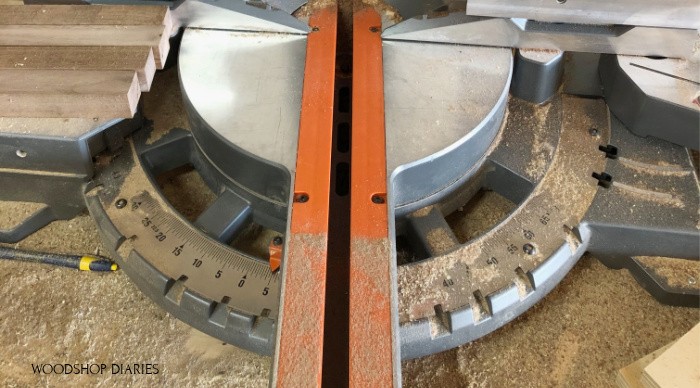
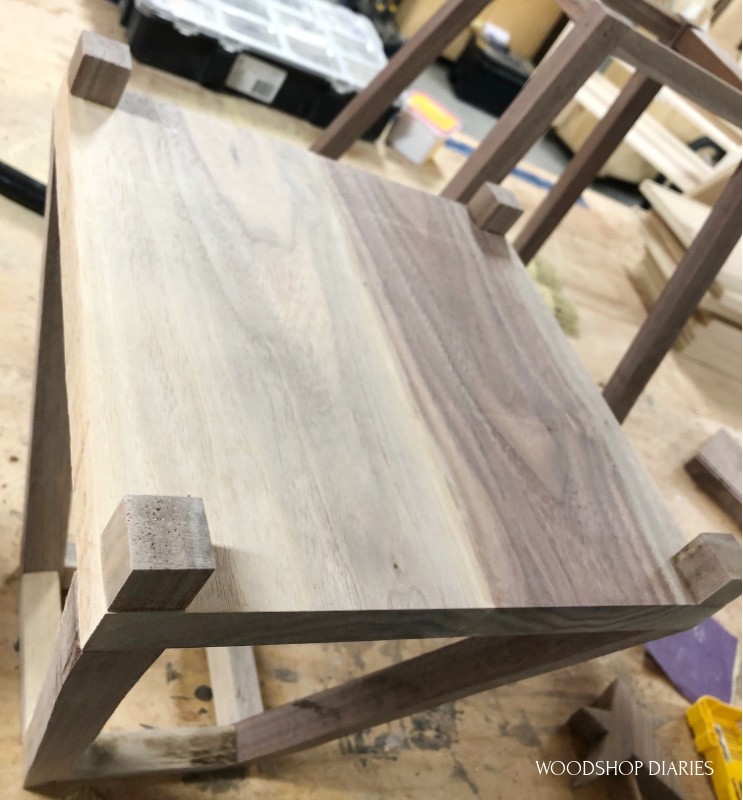
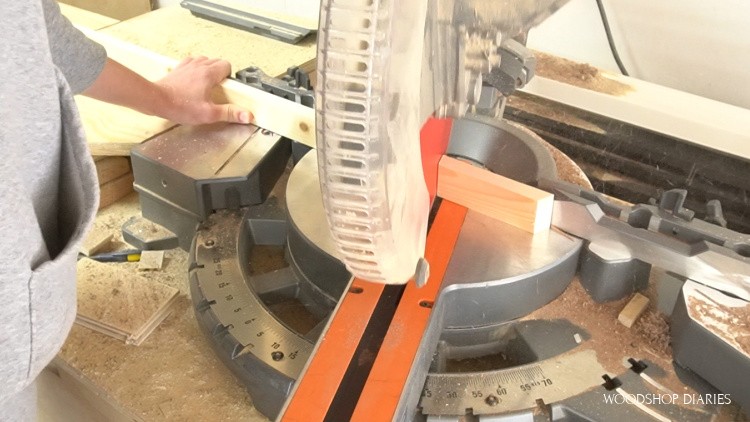
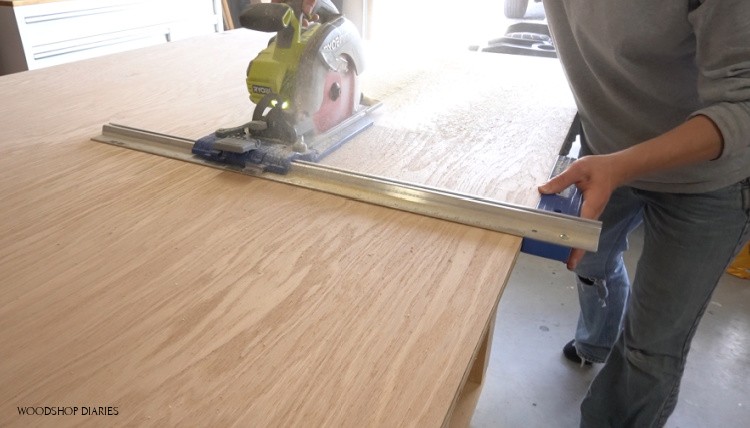
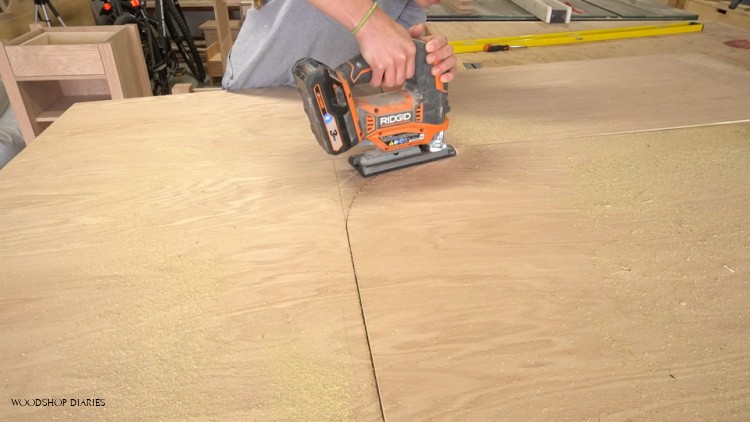
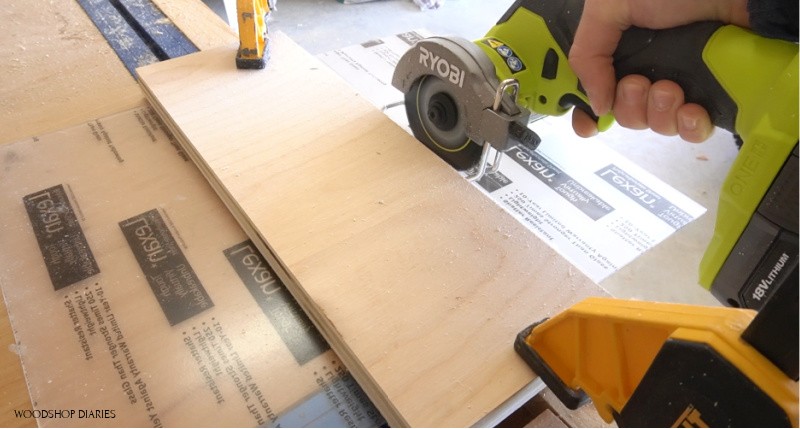
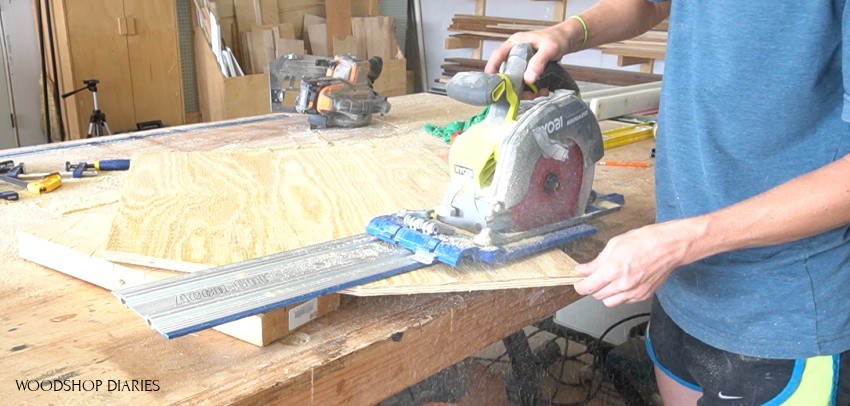
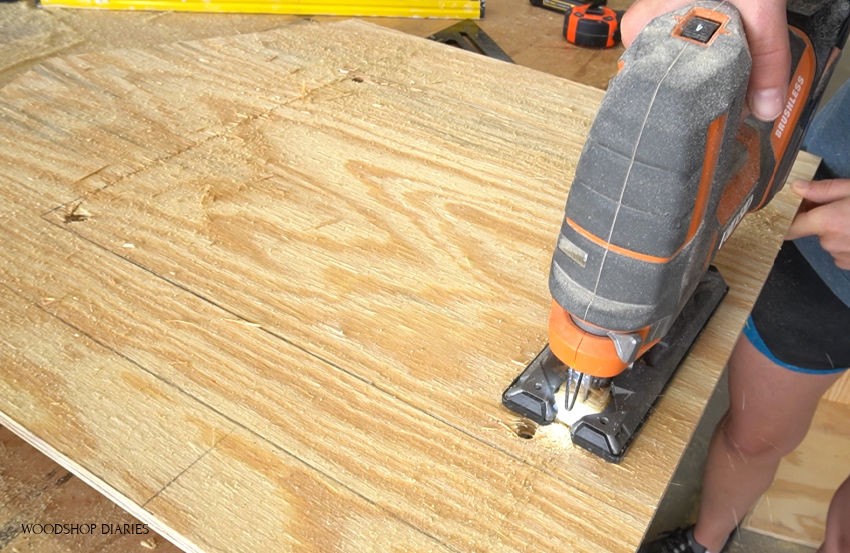
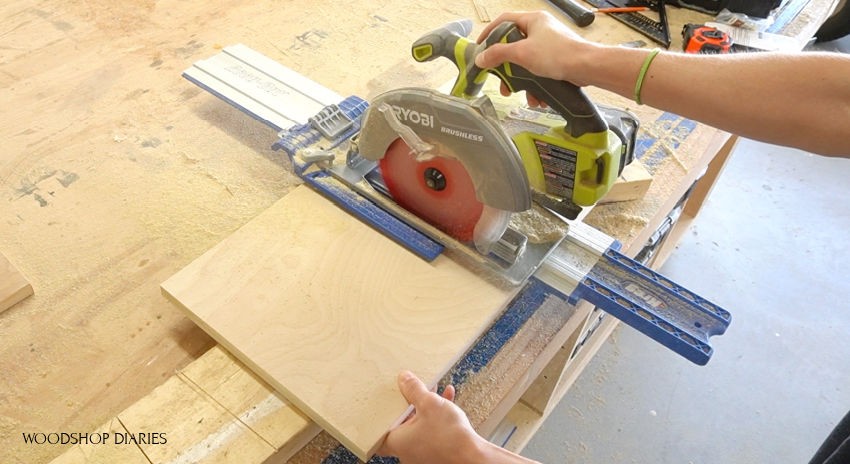
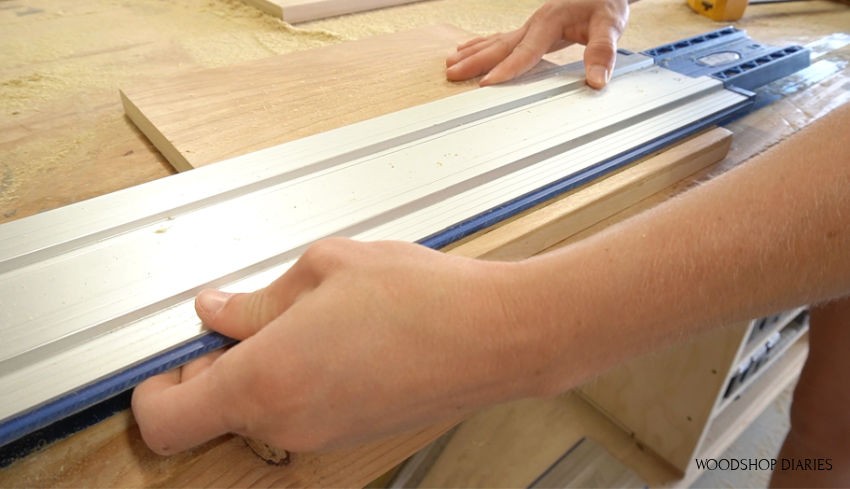
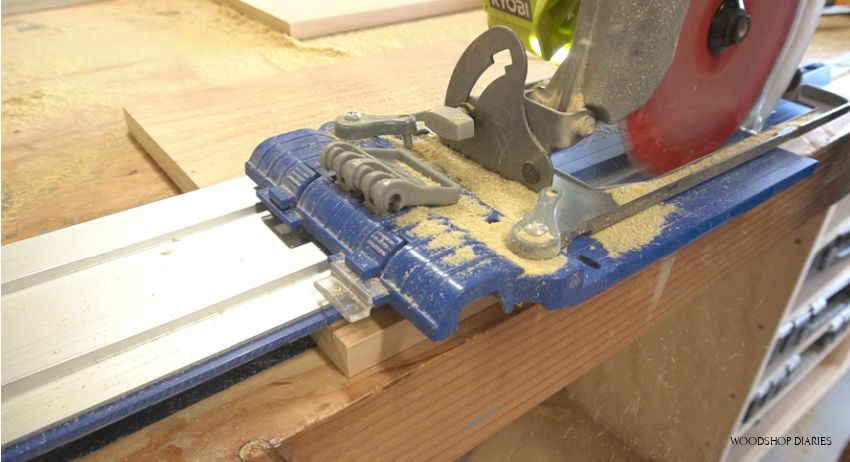
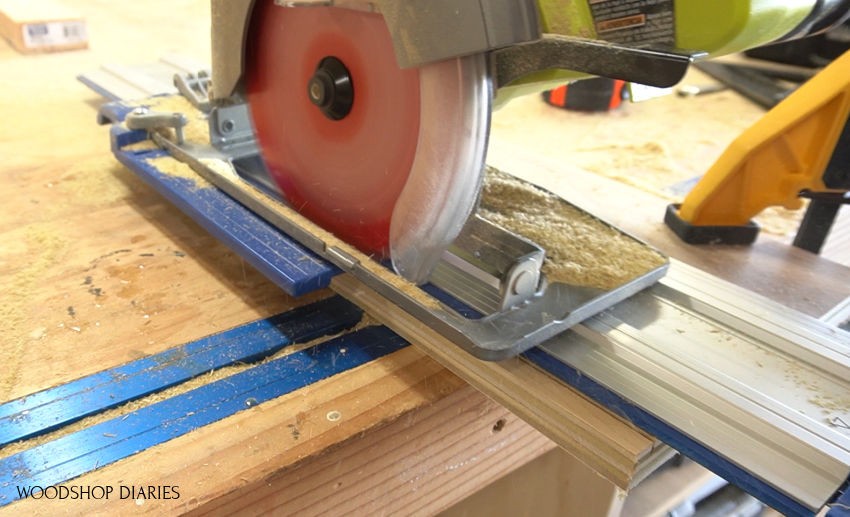
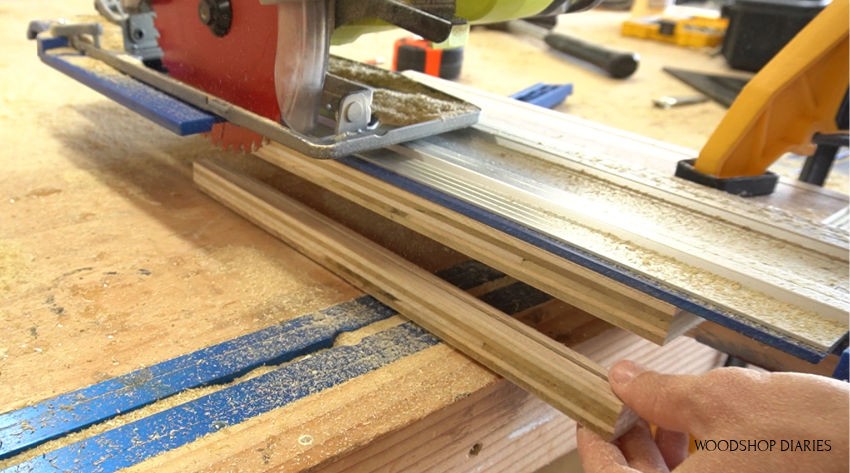
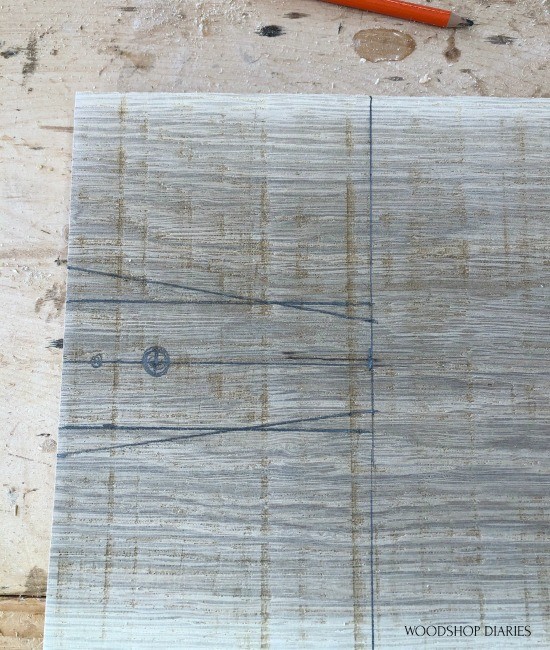
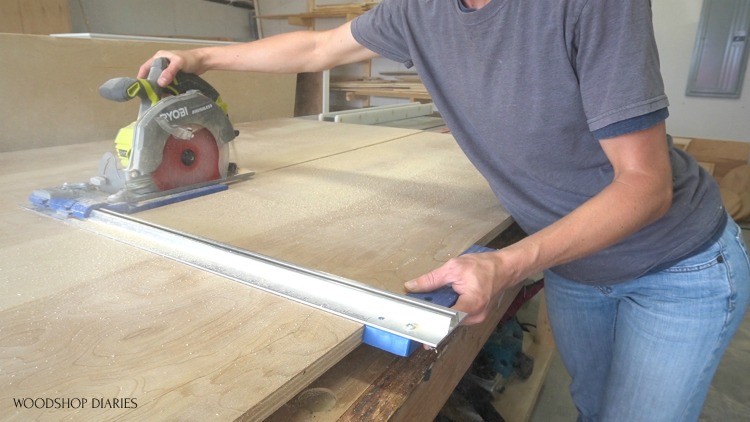
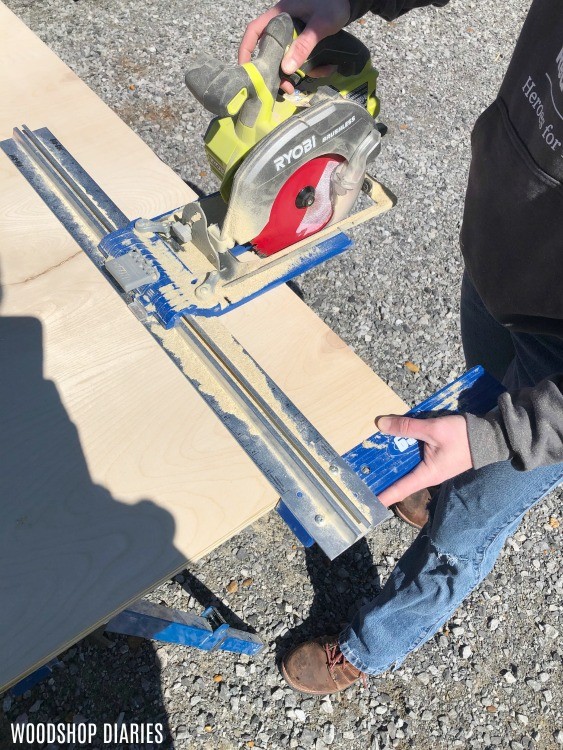
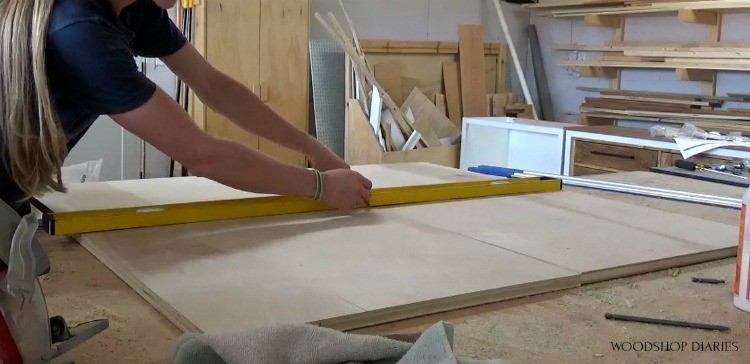
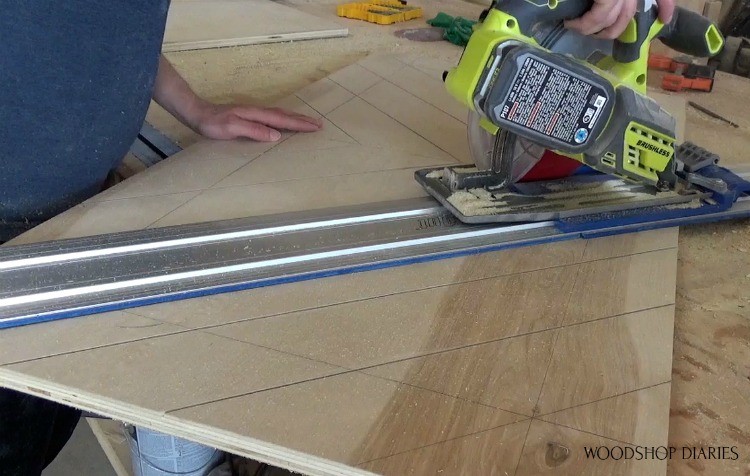
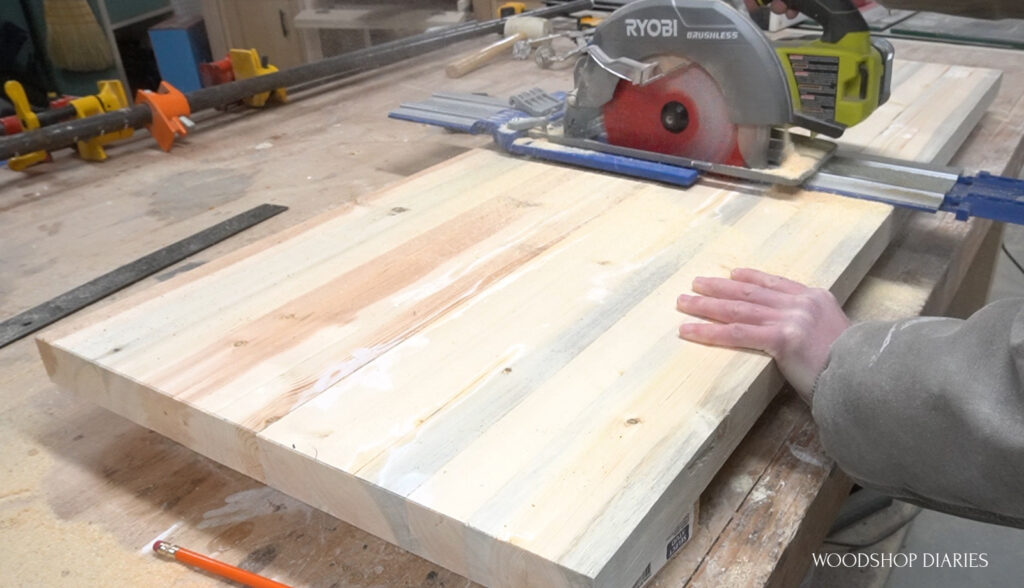
Once the glue dried on the whole panel, I used a circular saw and an AccuCut (or a straight edge works, too!) to cut two shelves.
RELATED: Check out how to use the AccuCut in this post!
.
You could also use a jigsaw here or a miter saw if yours is large enough.
.
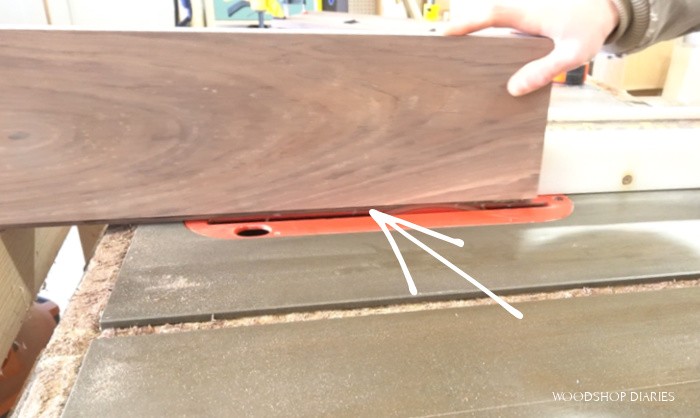
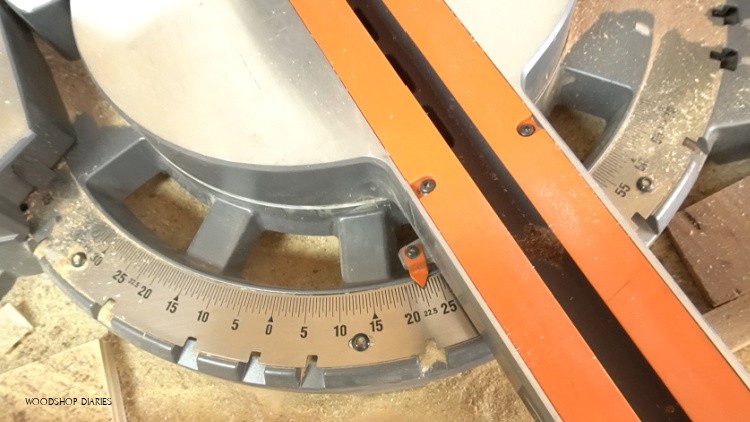
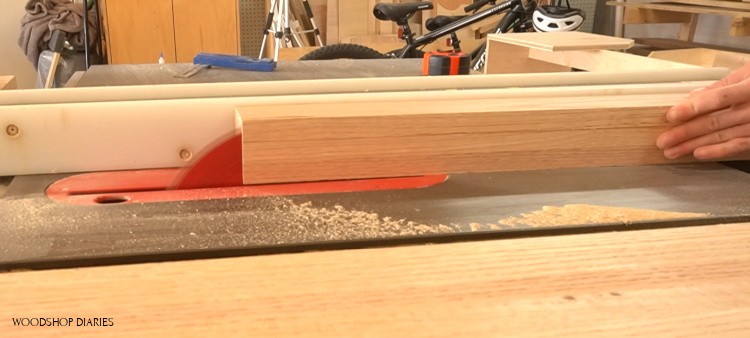
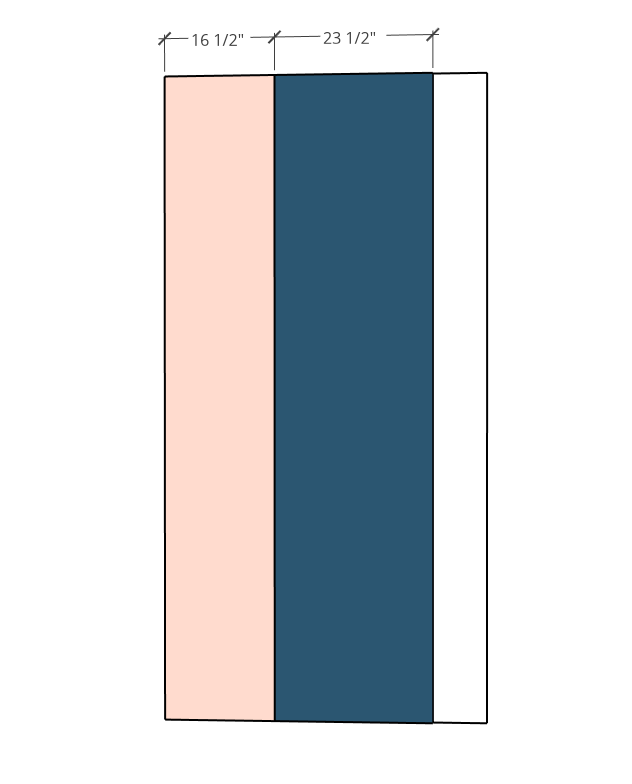
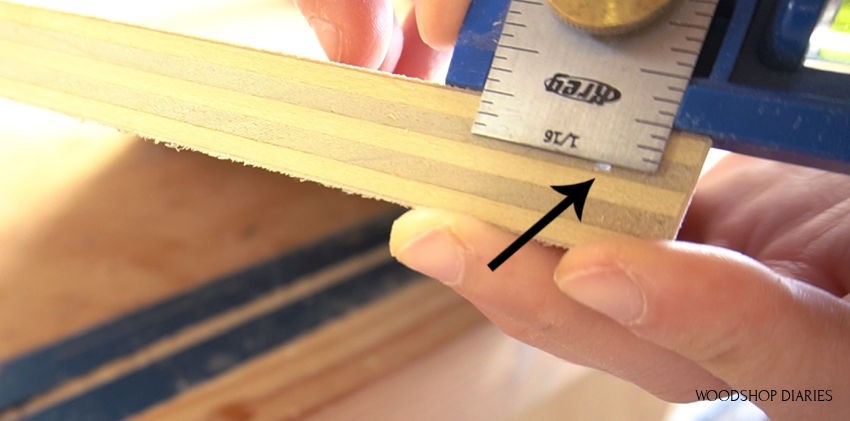
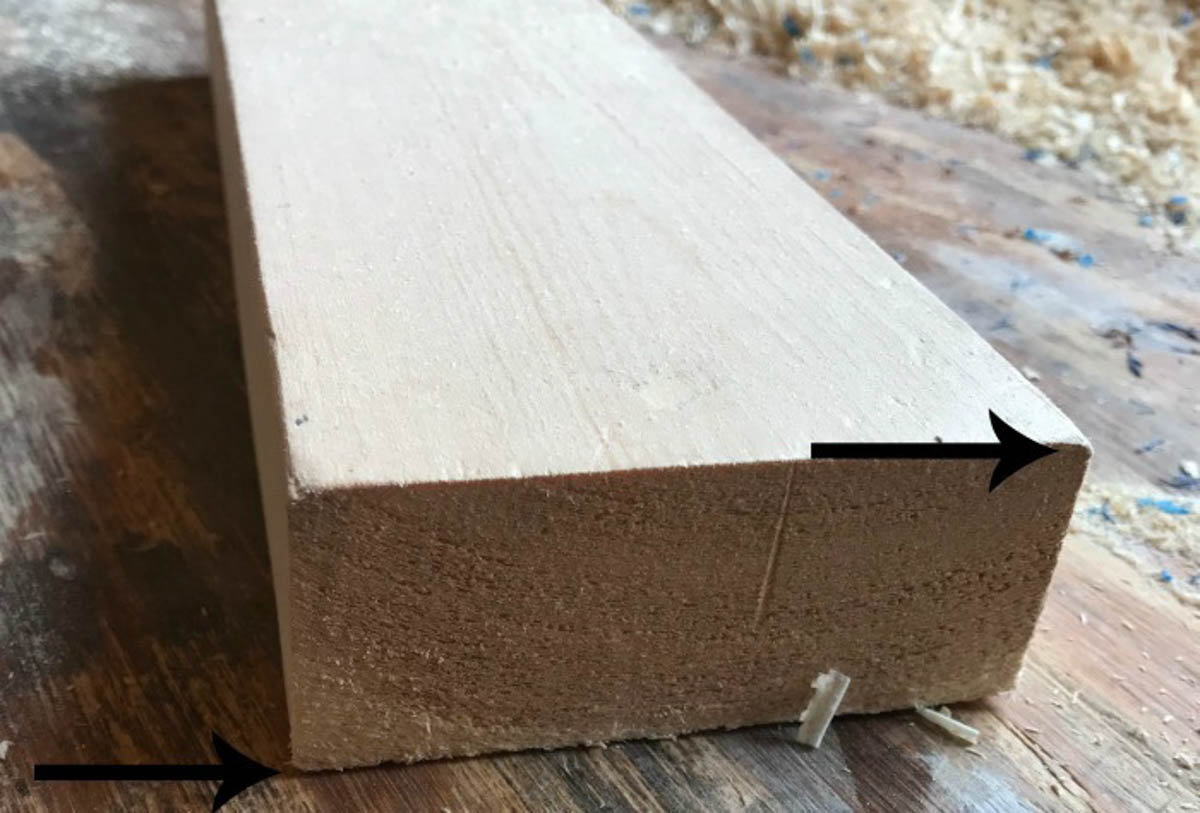
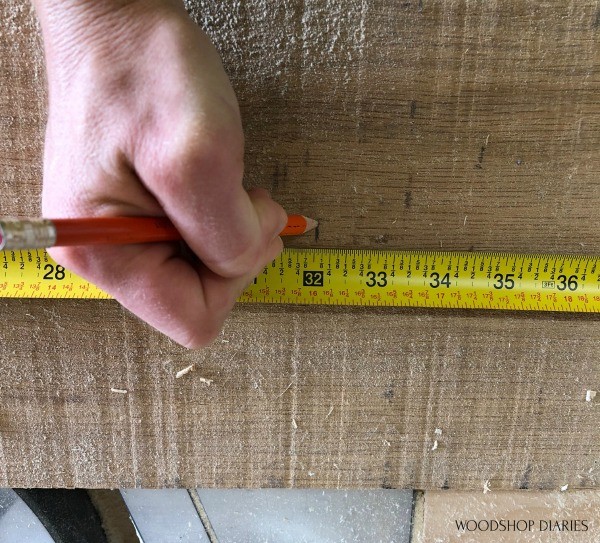
I trimmed about 1″ off one edge to give me a smooth edge to start from first. Use a square to ensure you cut this 90 degrees.

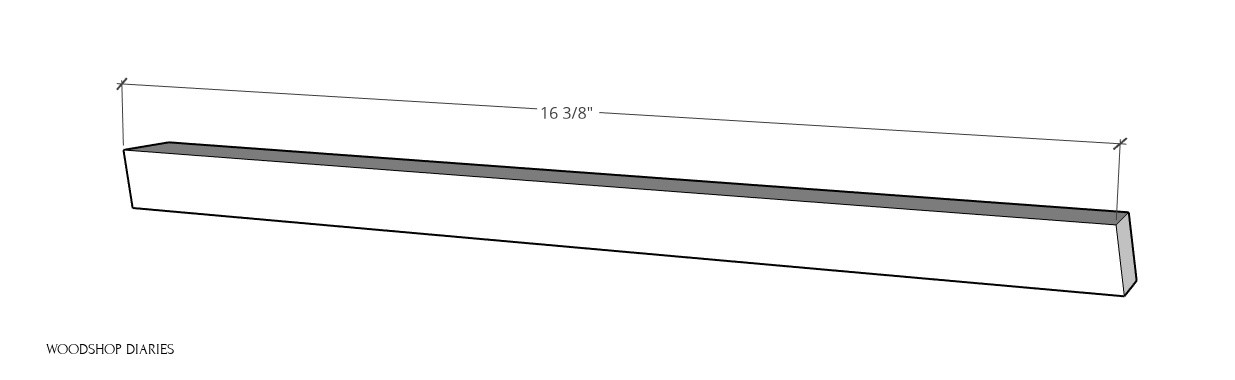
Then, I measured from the smooth edge and cut two pieces 21″ long to make the top and bottom shelves.
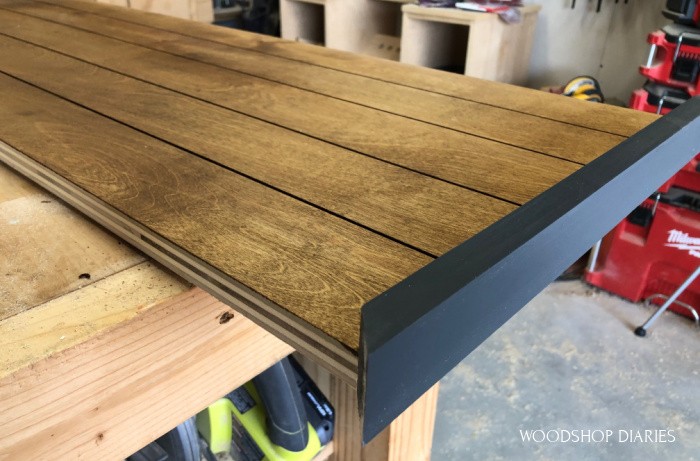
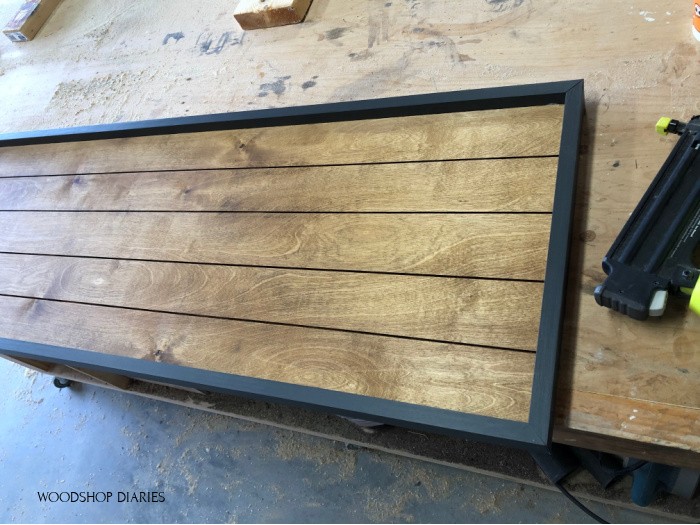
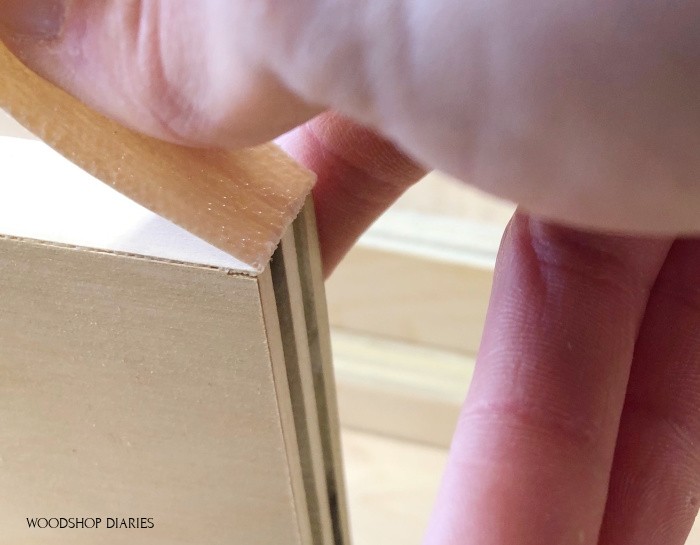
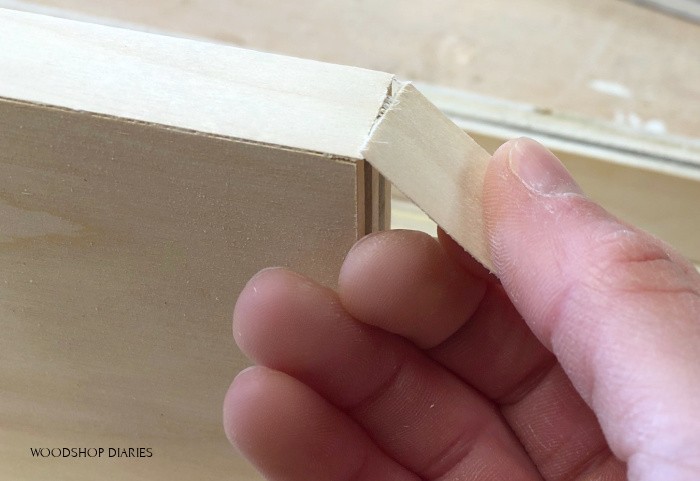
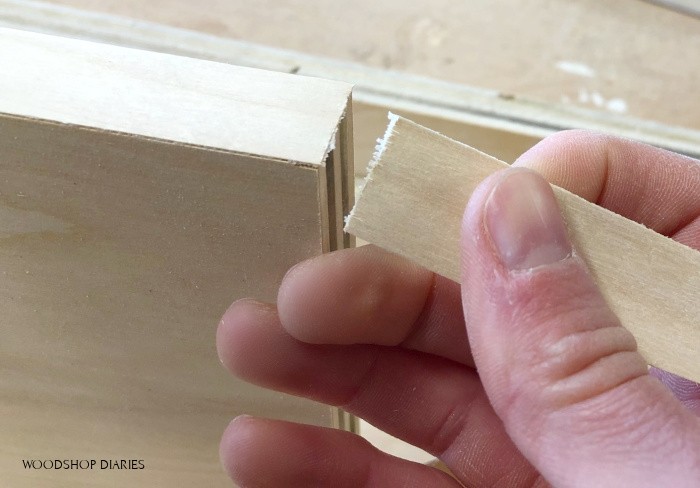
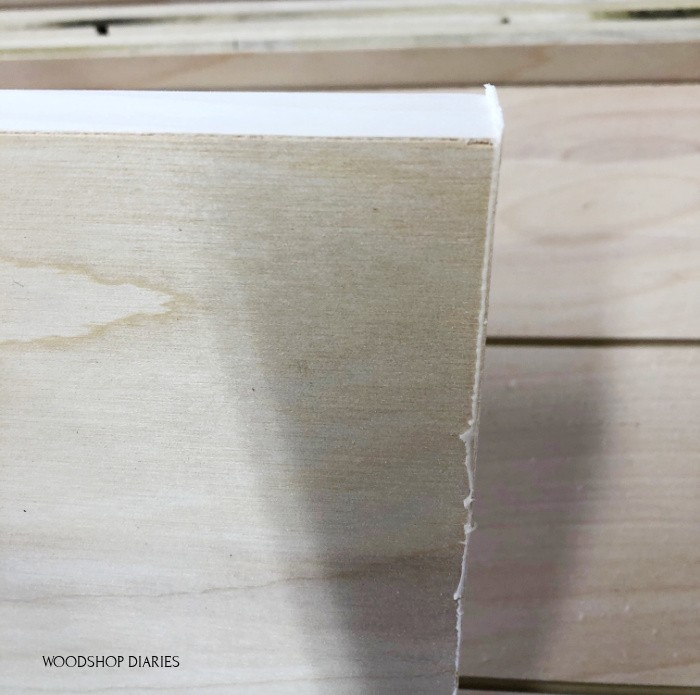
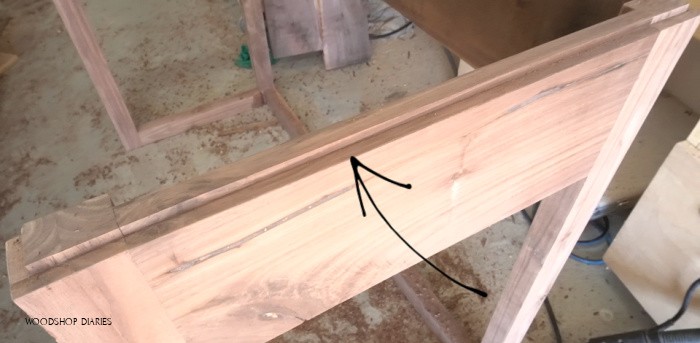
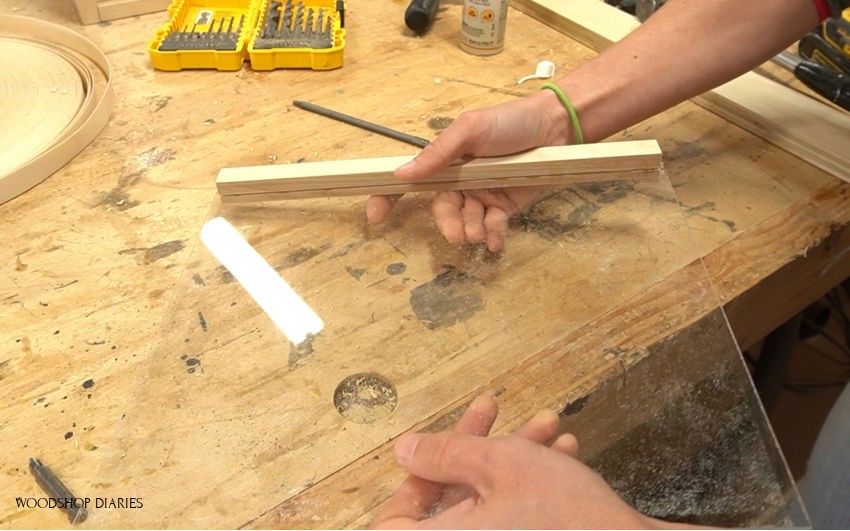
Sand well to remove all glue residue and, if desired, go ahead and stain/paint as desired. I stained these Minwax Provincial.
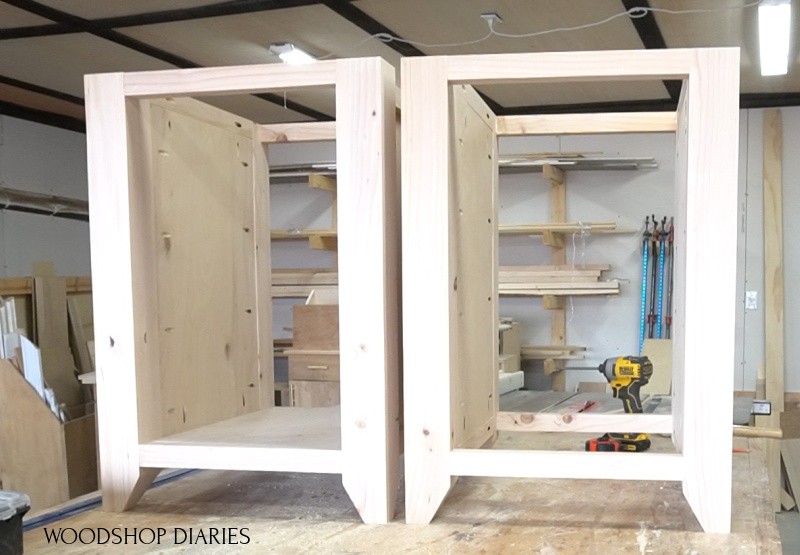
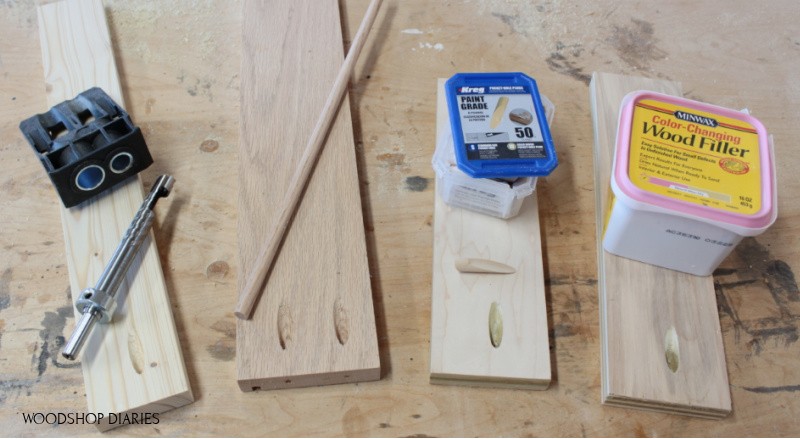
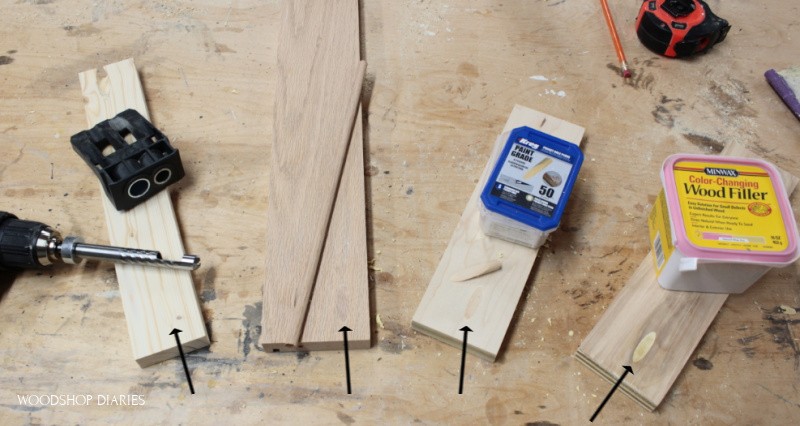
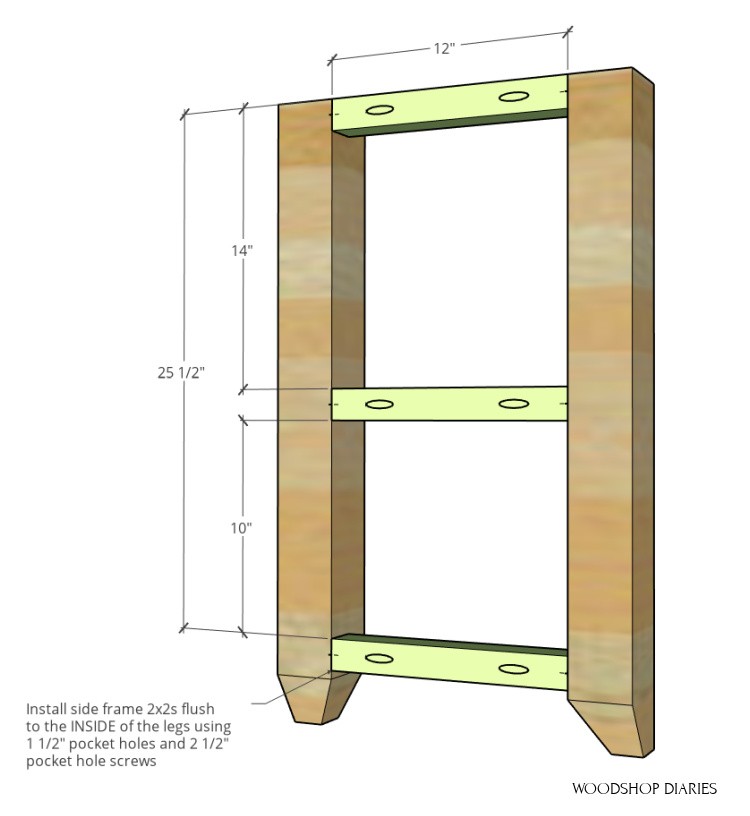
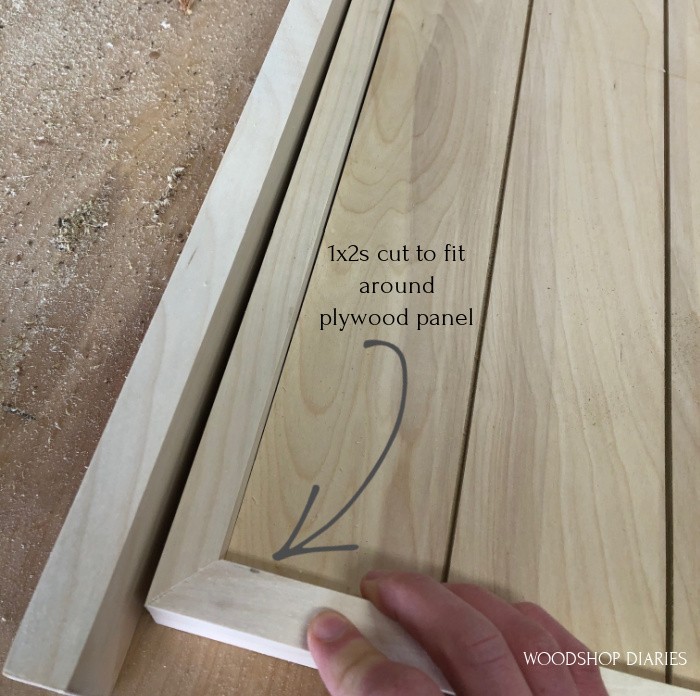
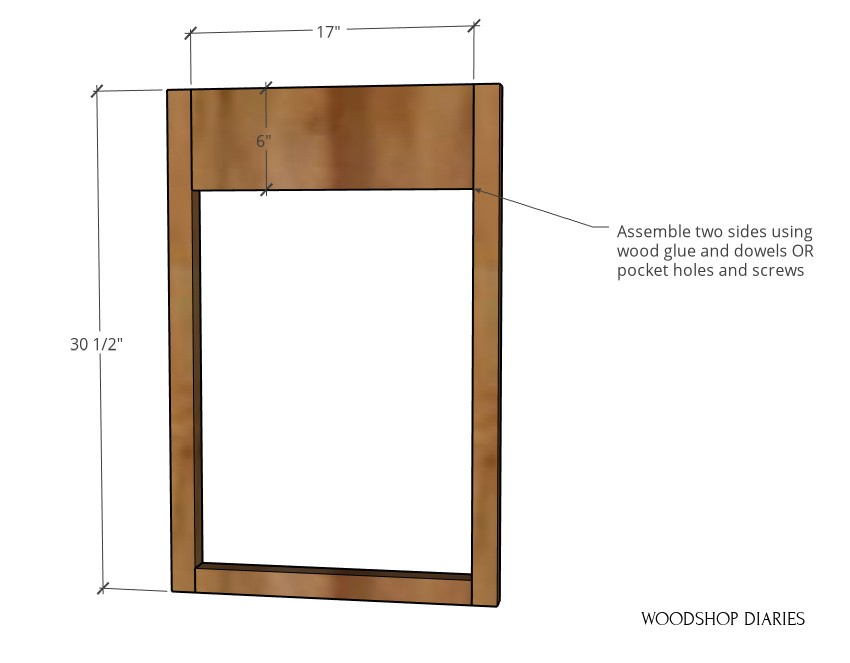
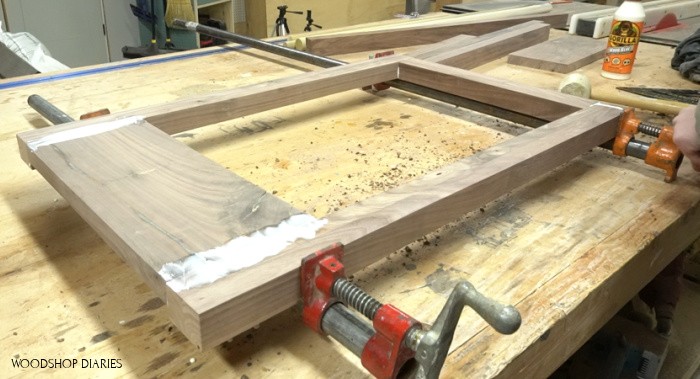
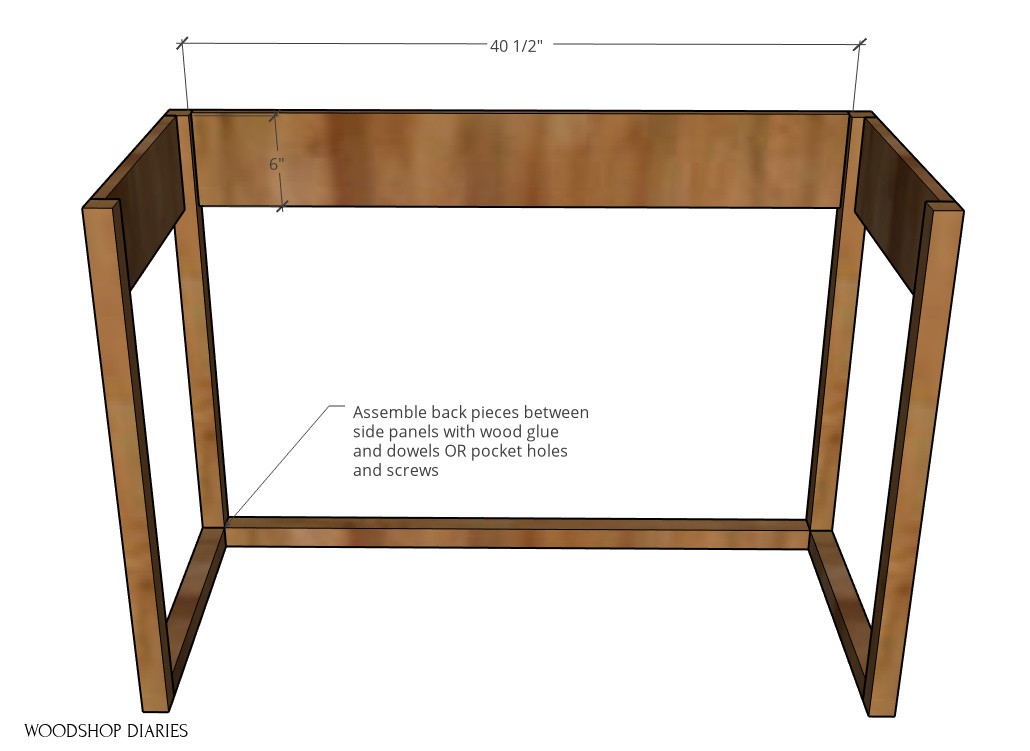
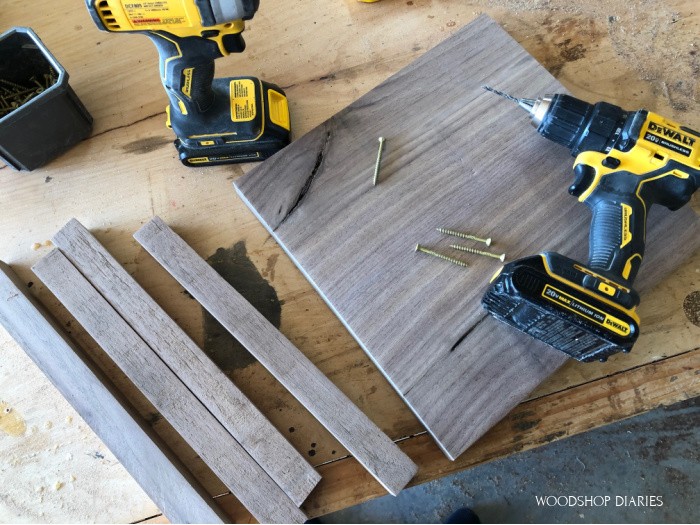
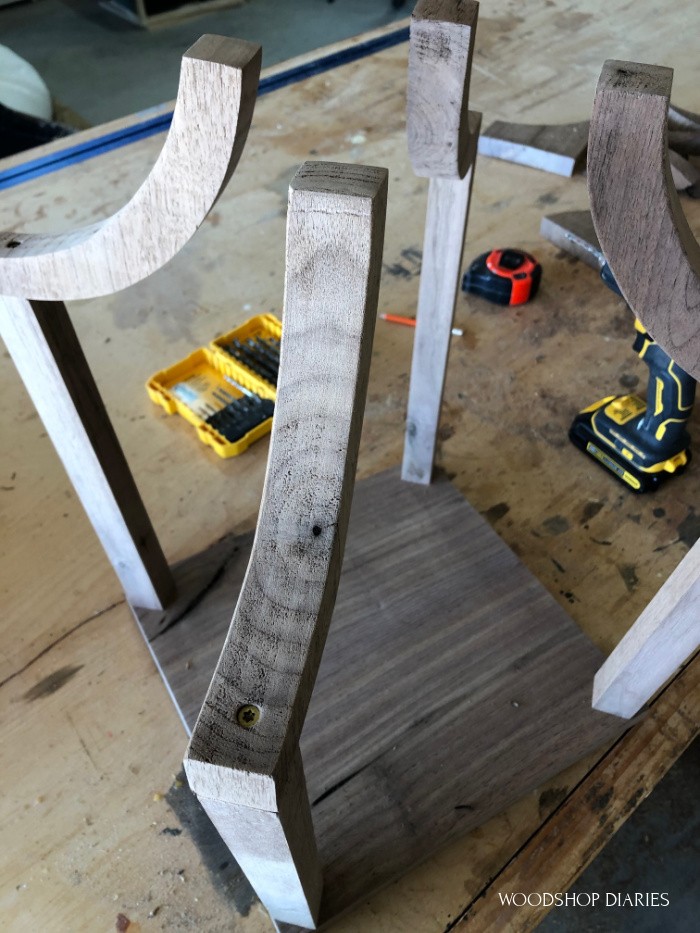
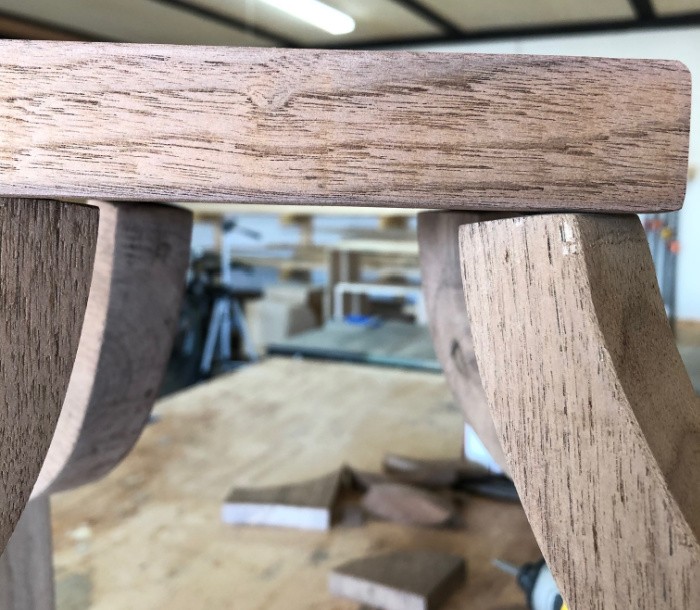
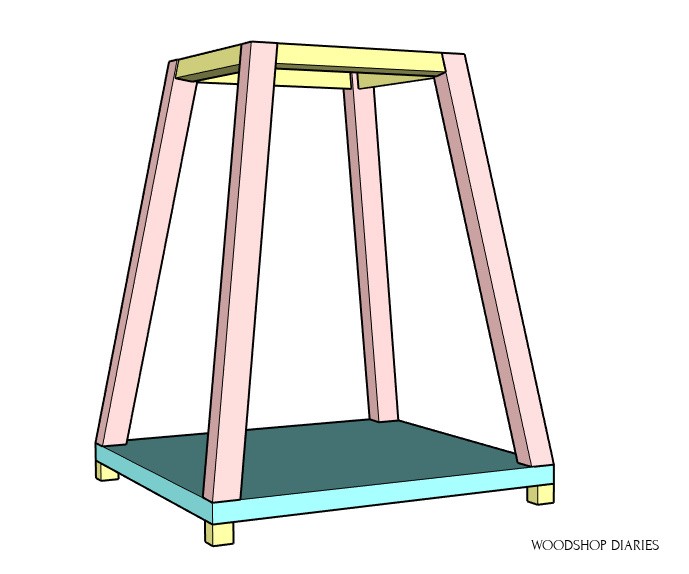
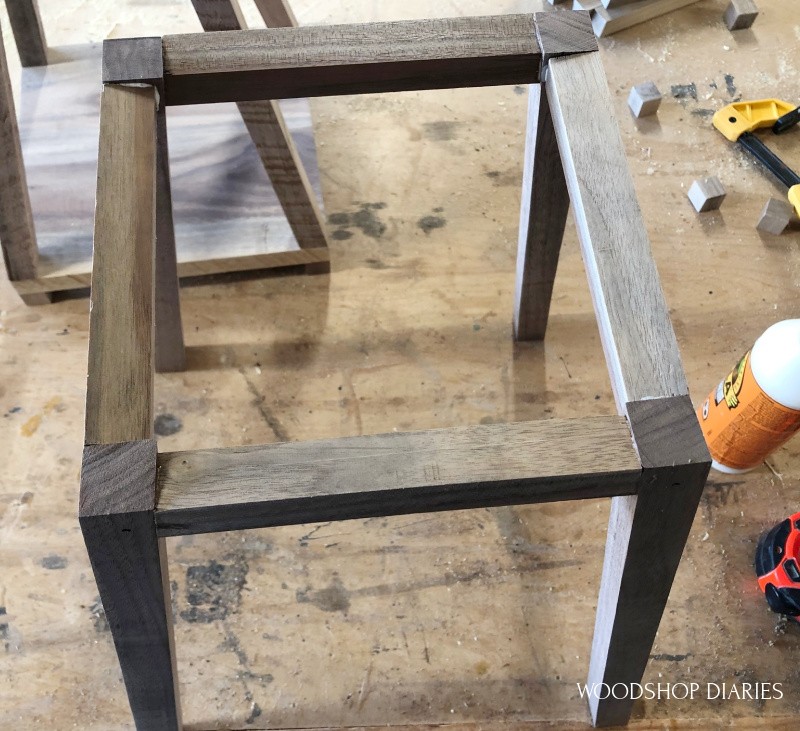
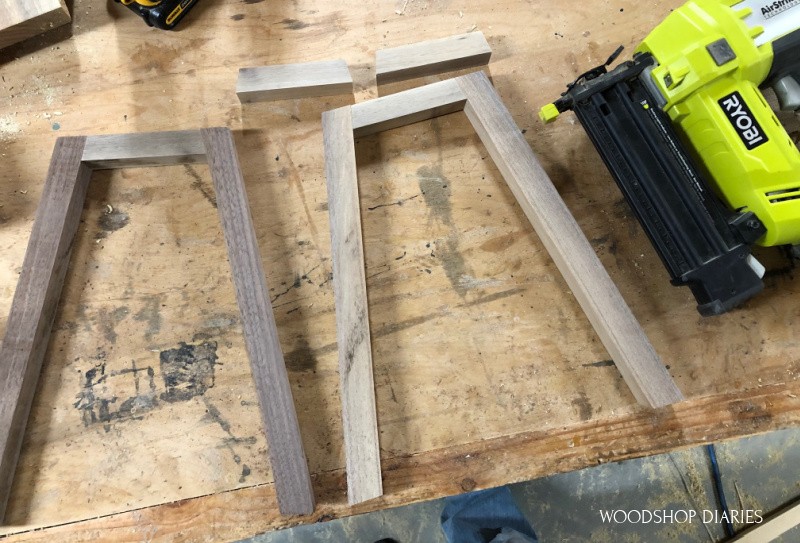
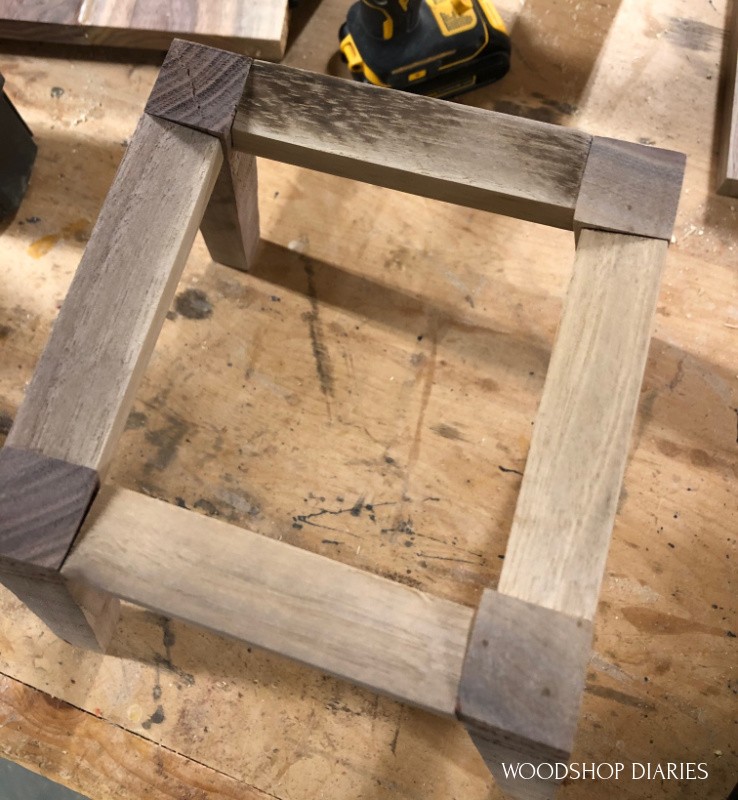
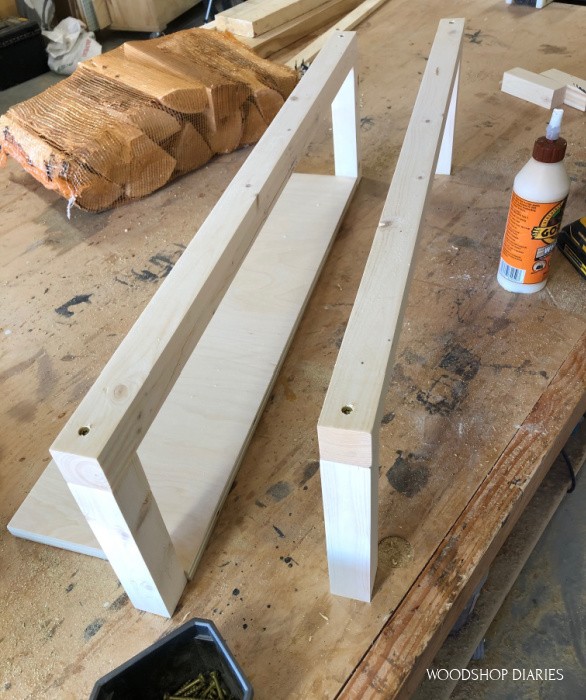
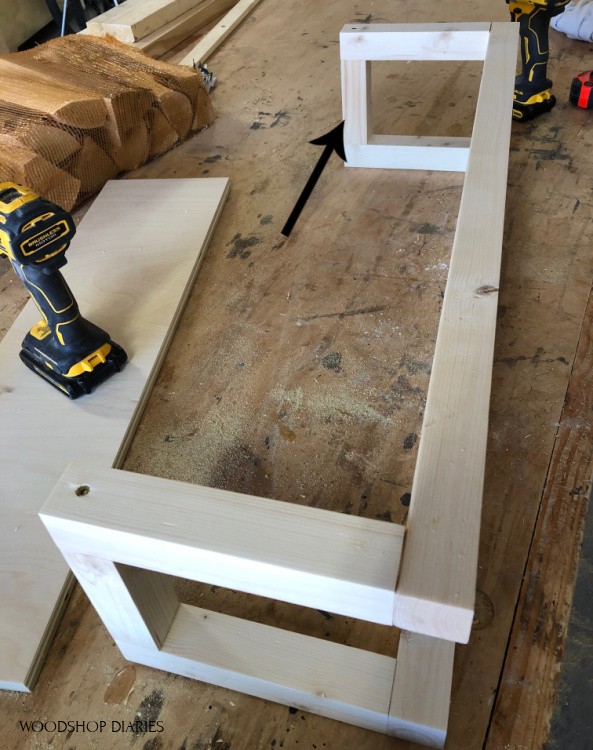
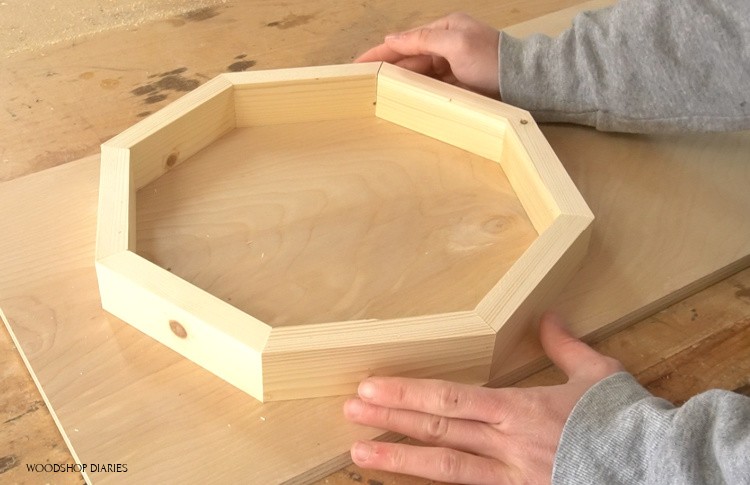
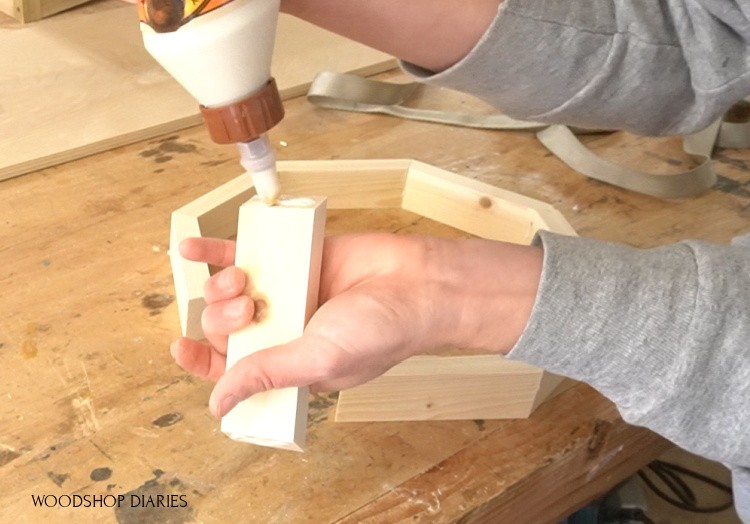
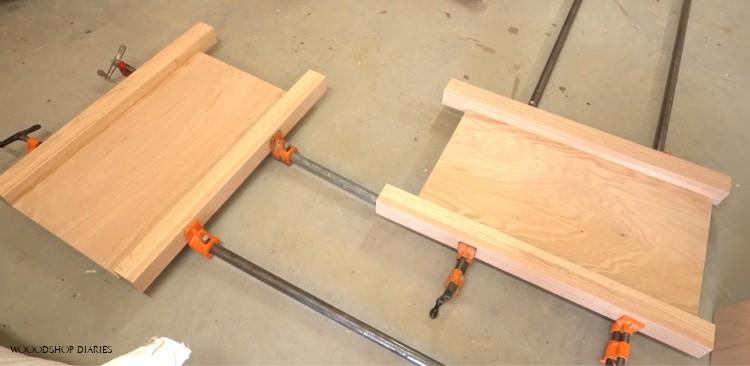
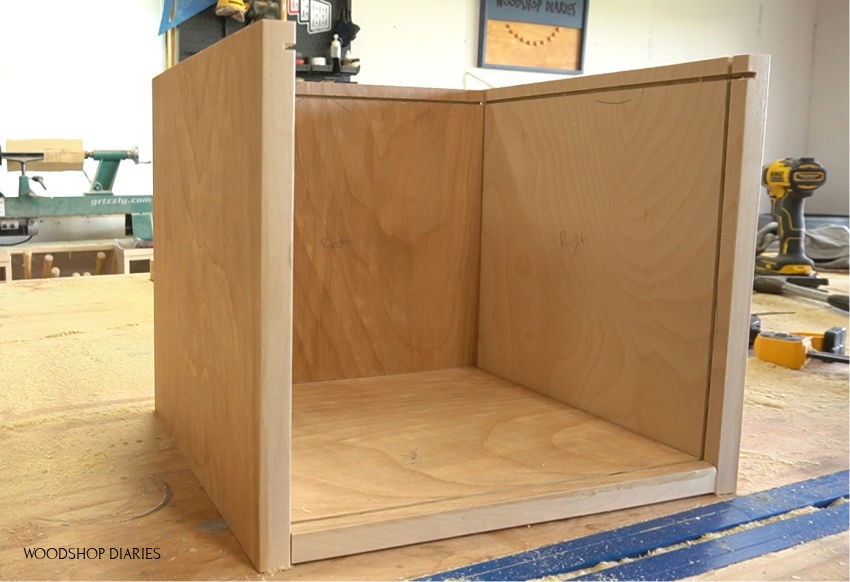
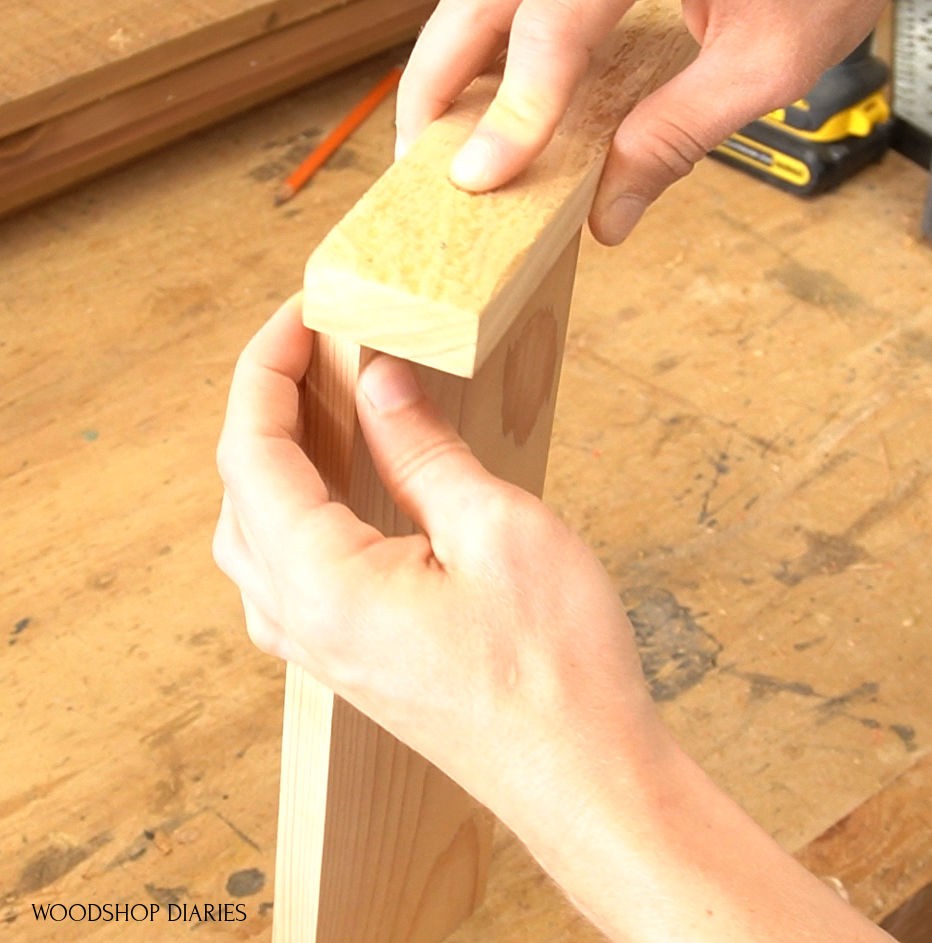
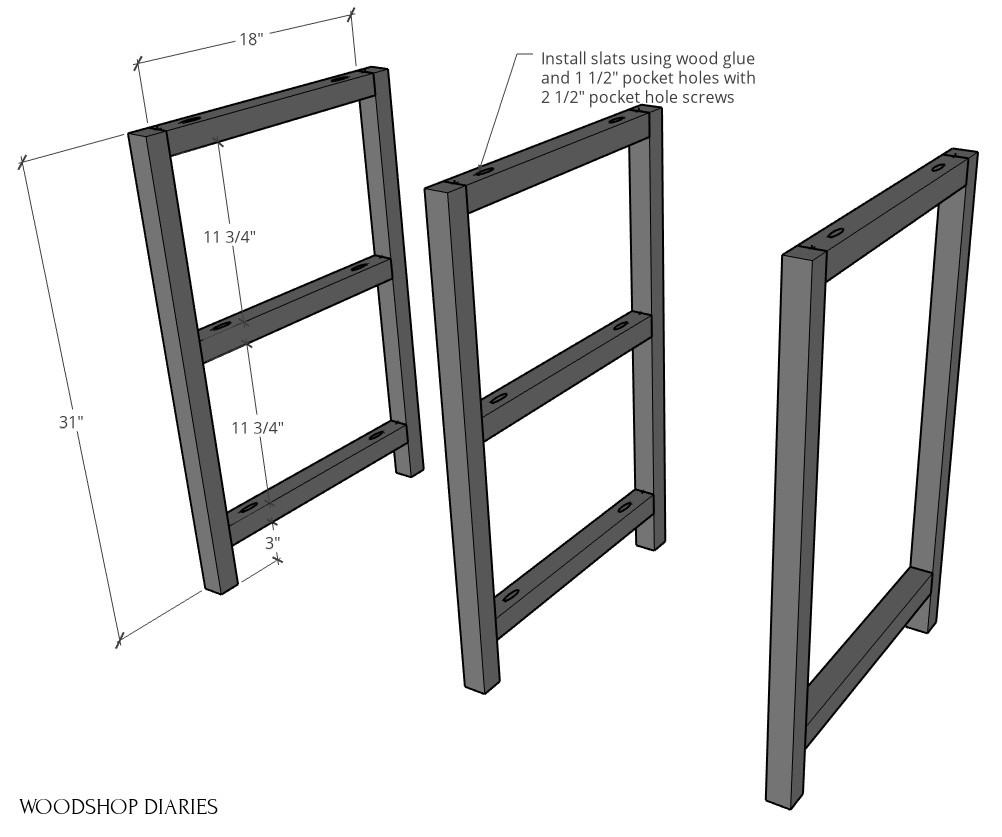
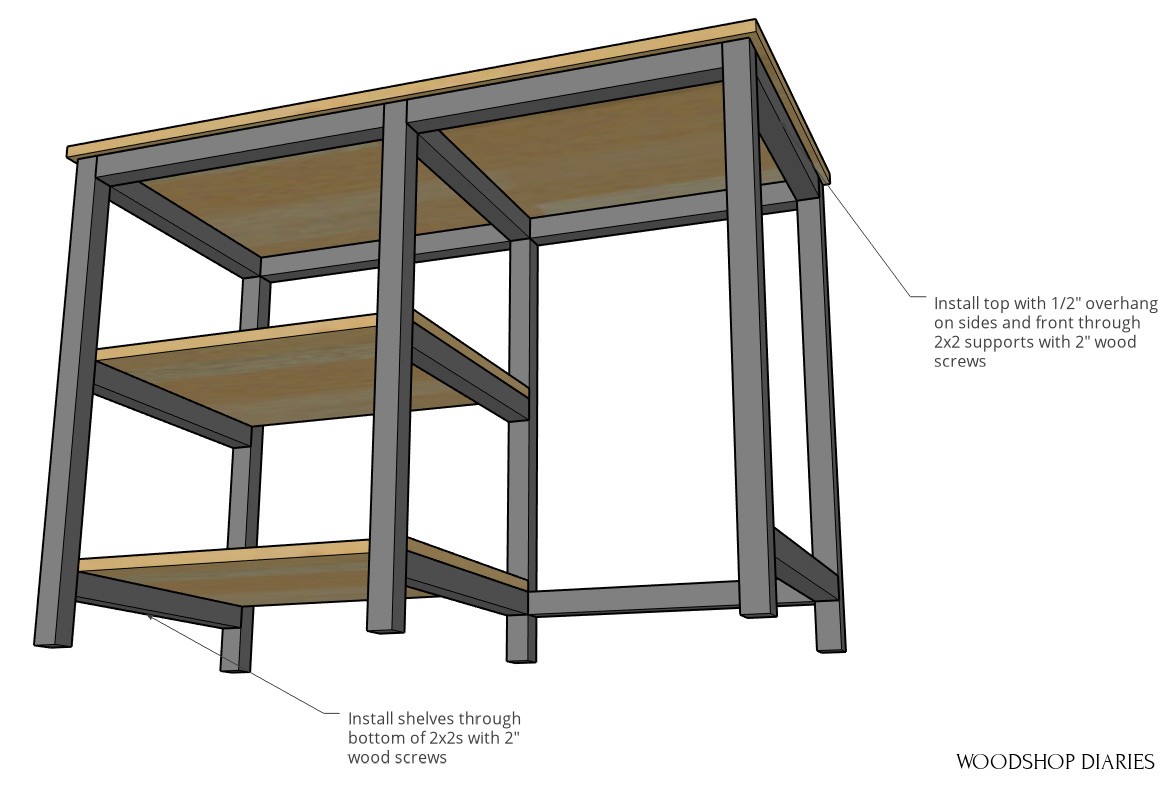
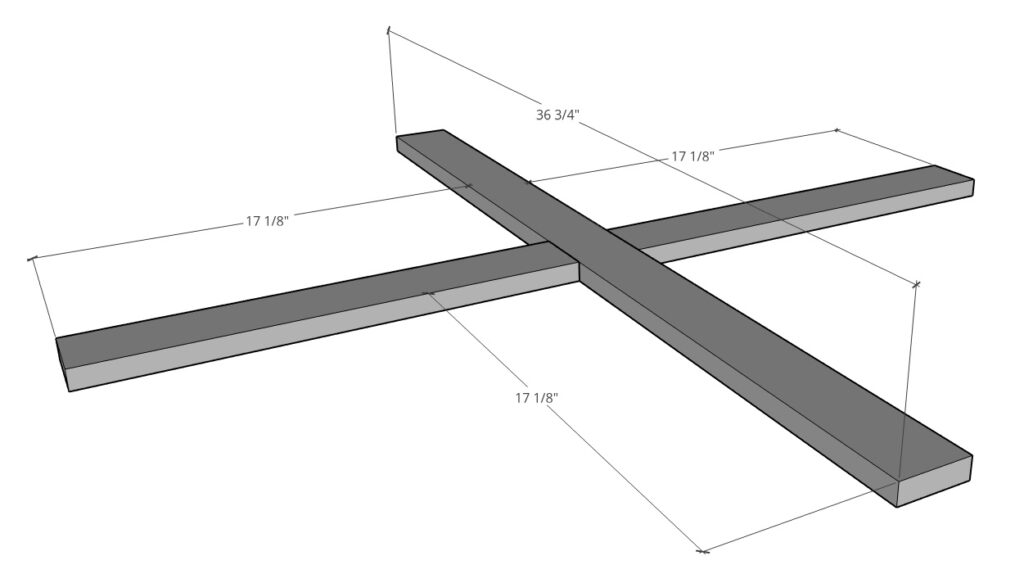
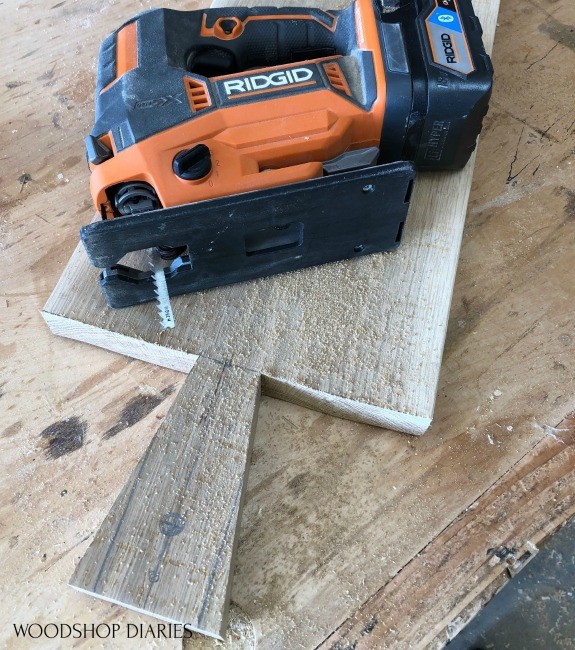
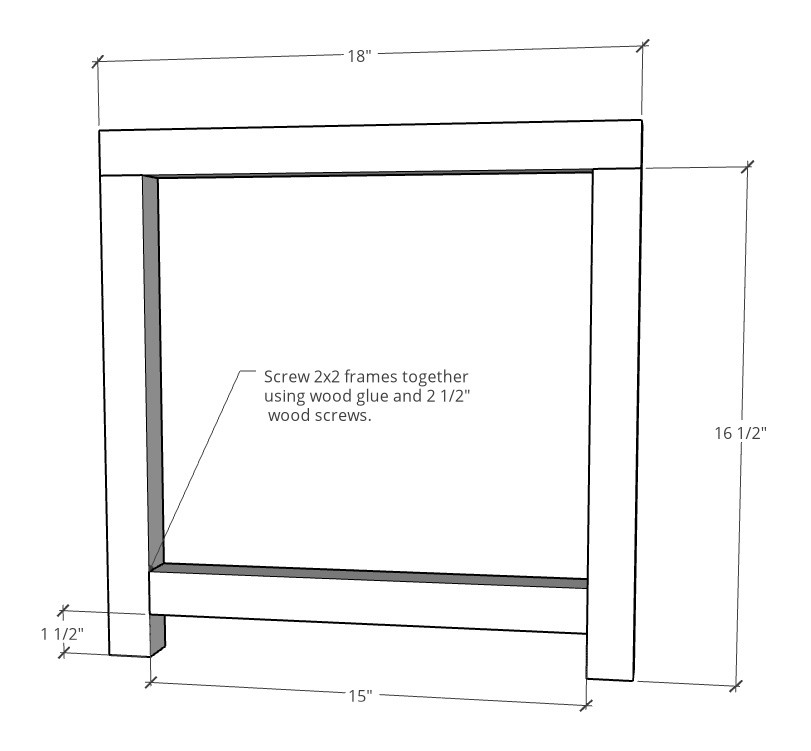
Step 2: Assemble End Table Frames
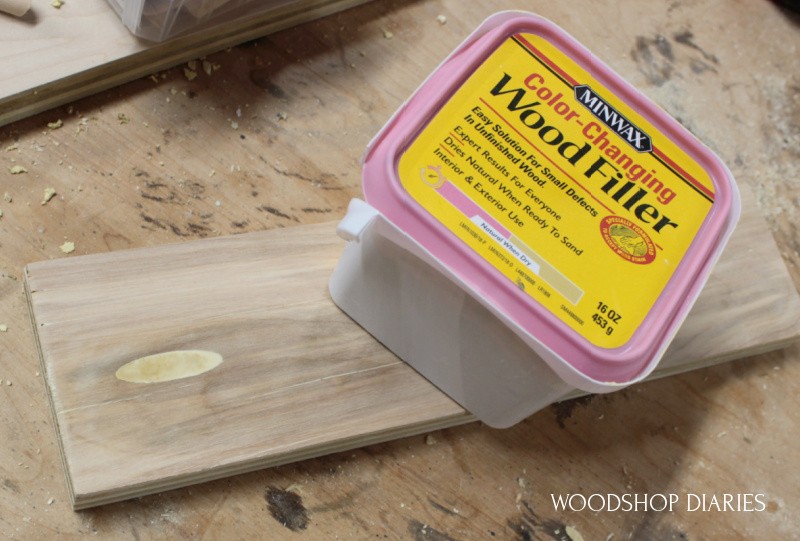
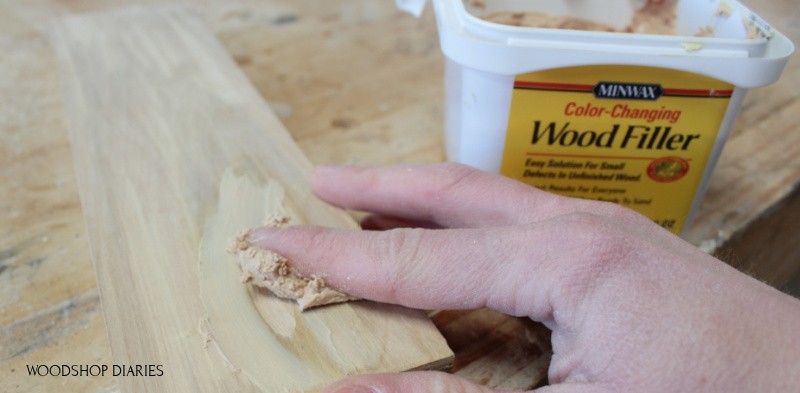
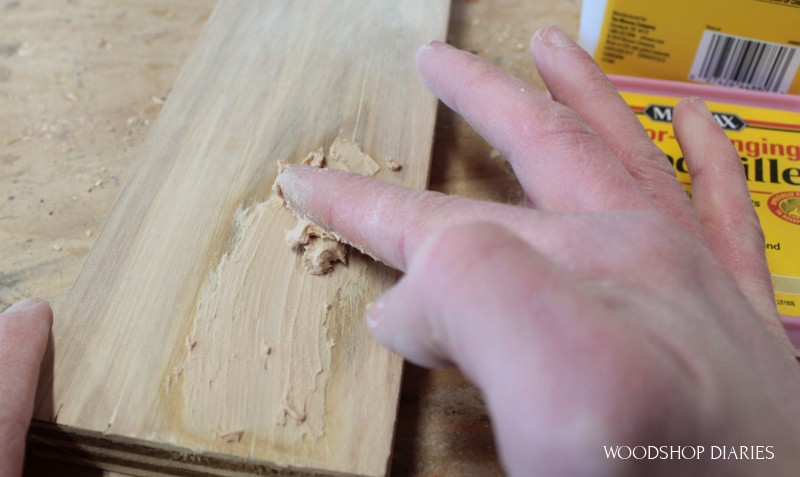
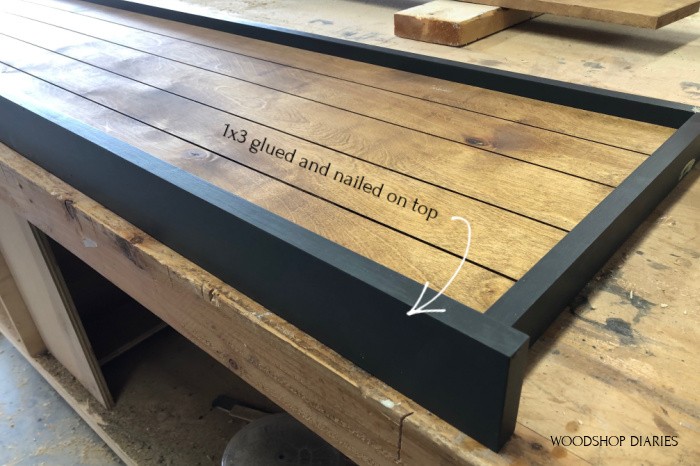
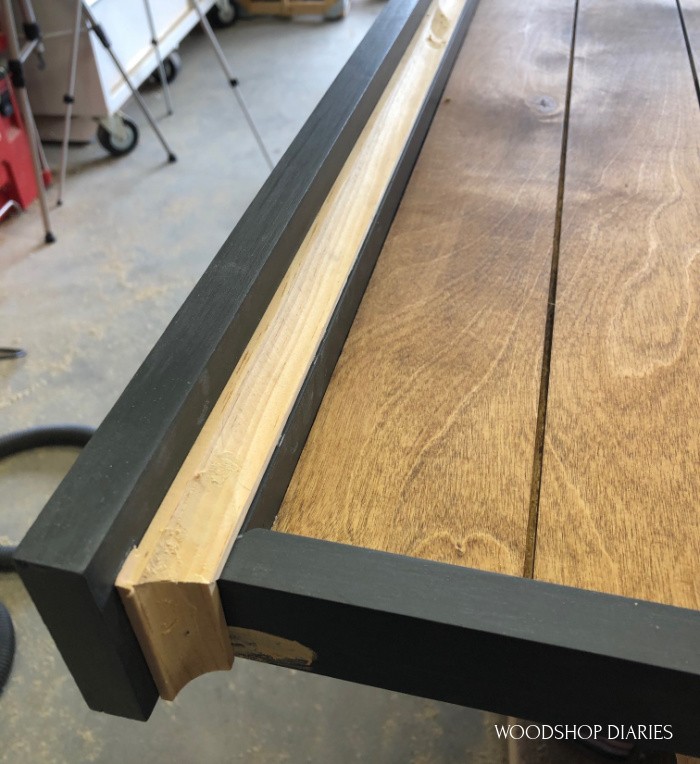
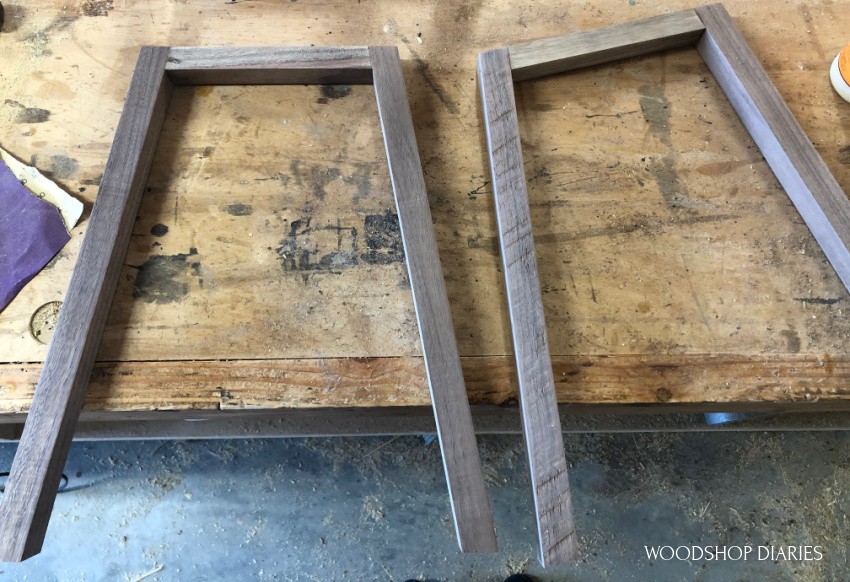
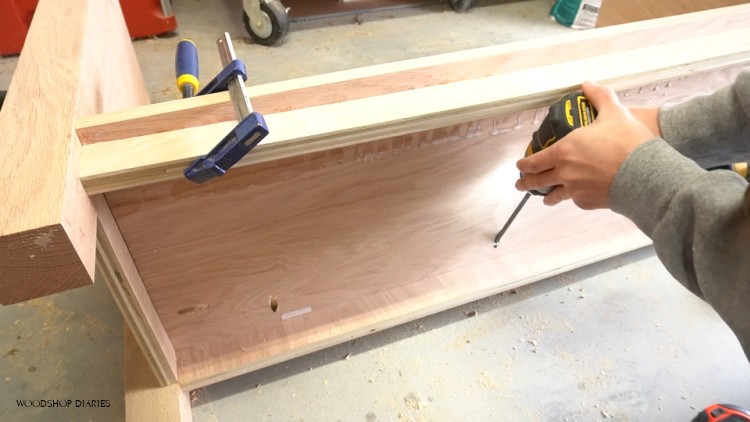
These frames were also made from 2x2s. Since they will be painted, I simply glued and screwed them together. Once it was assembled, I could putty over the screw holes.
.
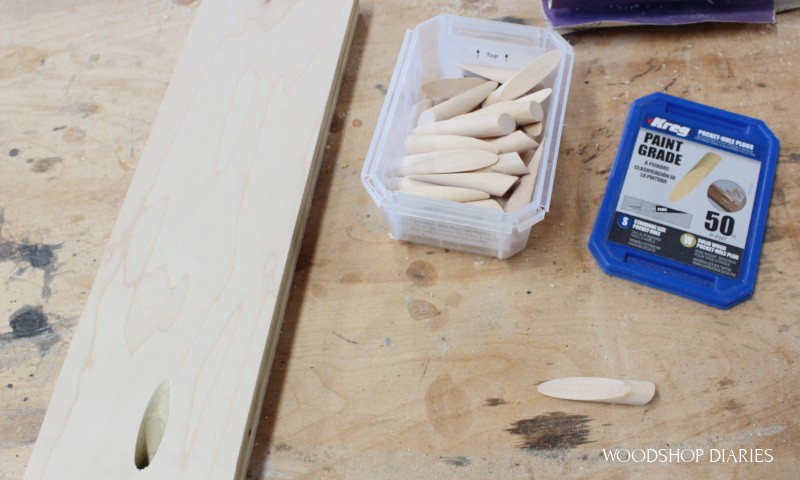
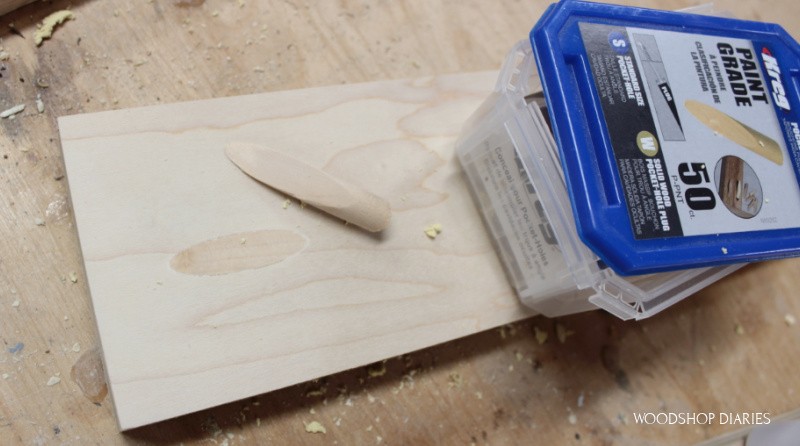
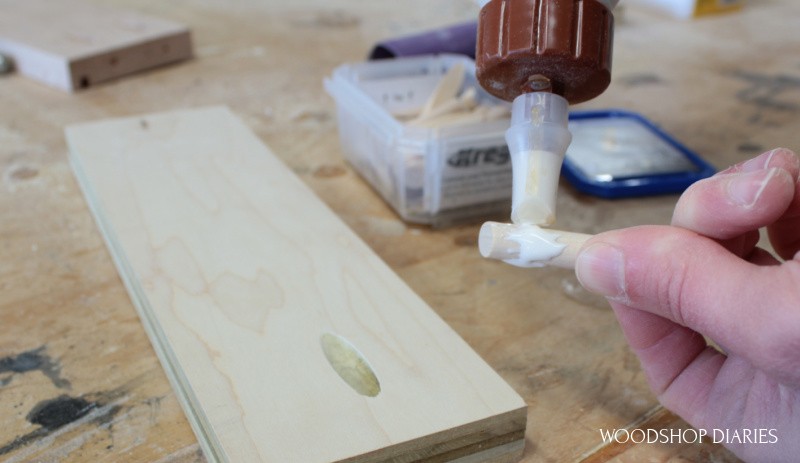
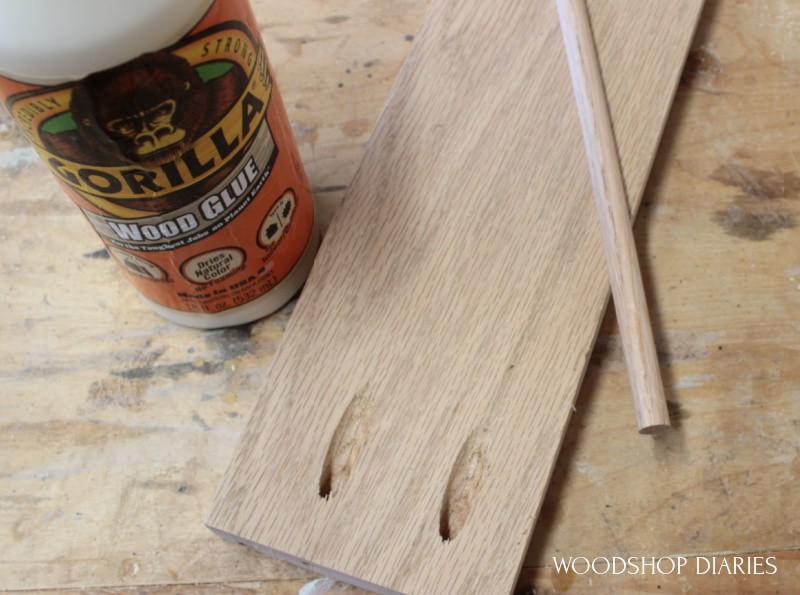
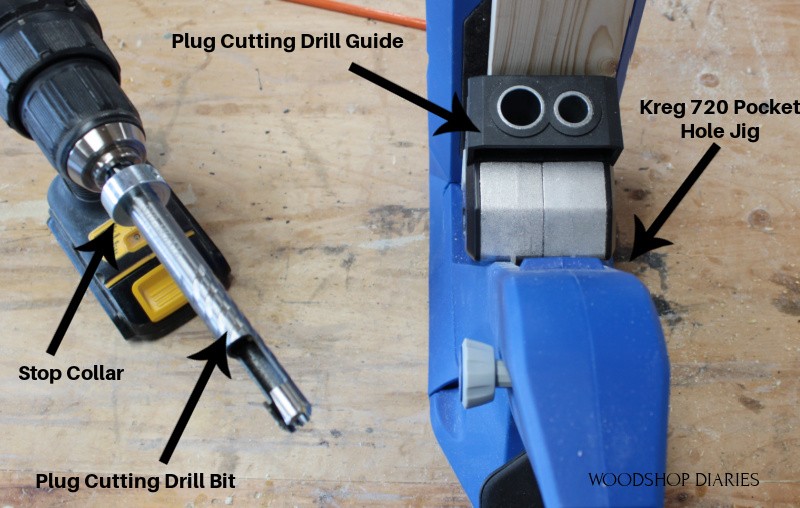
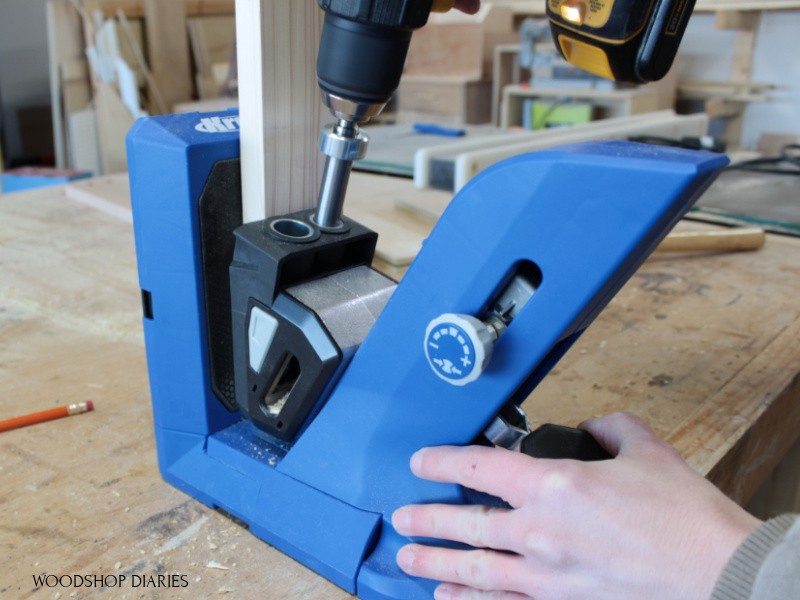
However, if you plan to stain and don’t want to see the screw heads or the putty, you can use dowels or pocket holes instead.
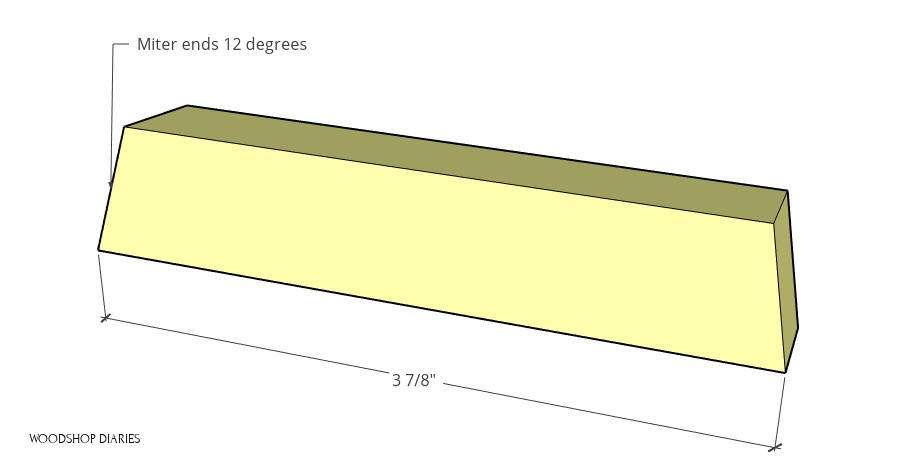
.
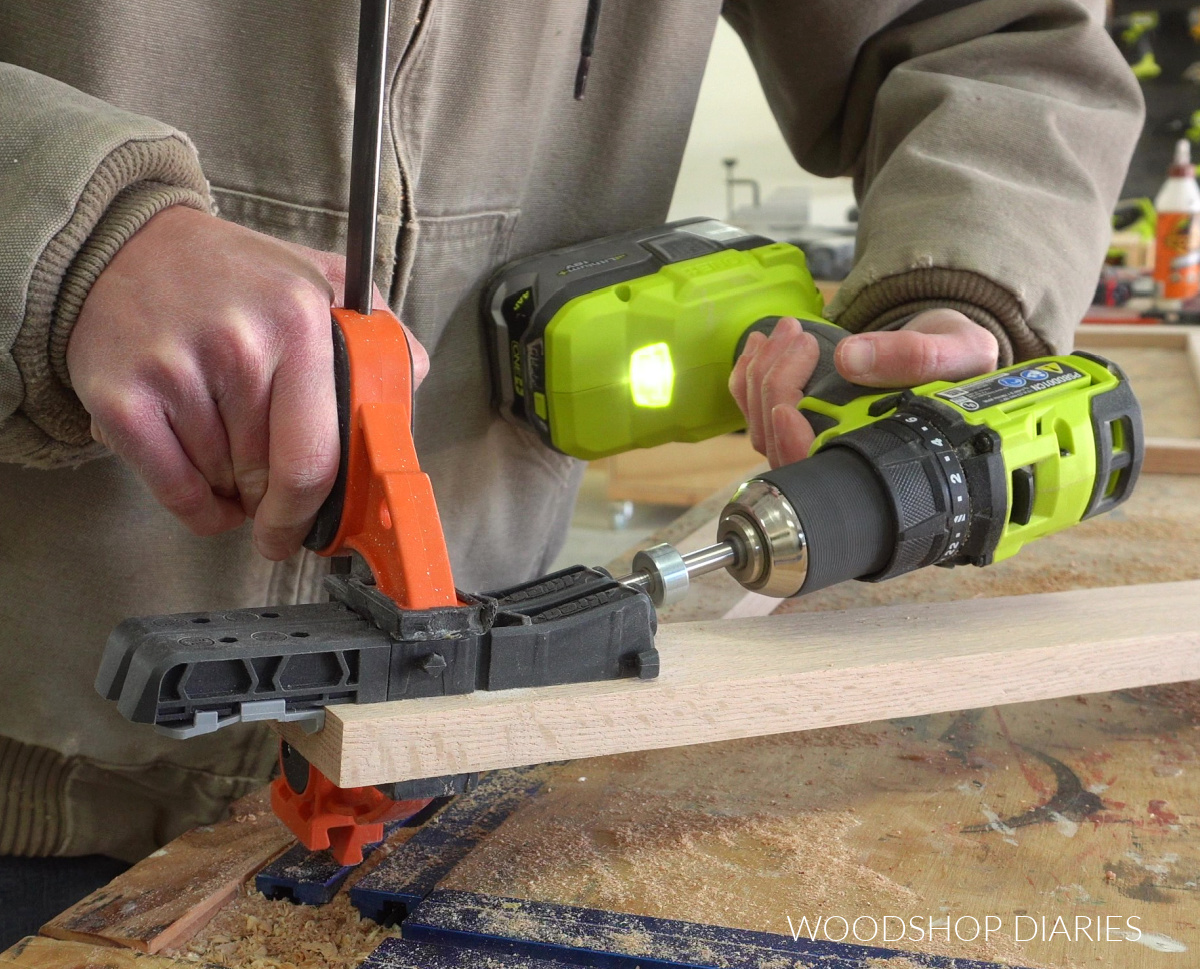
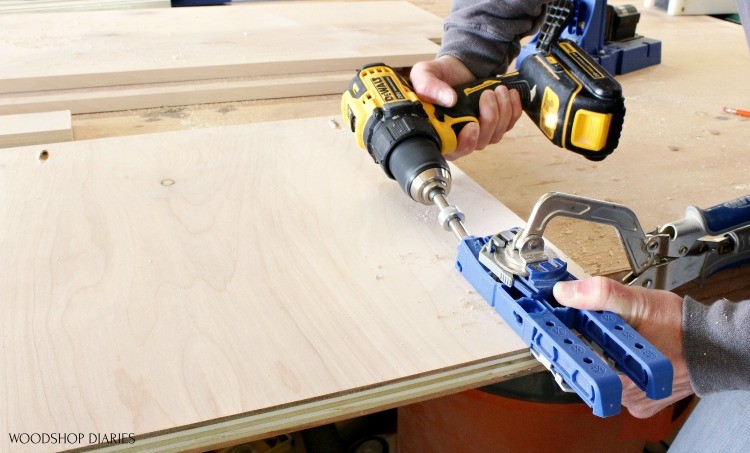
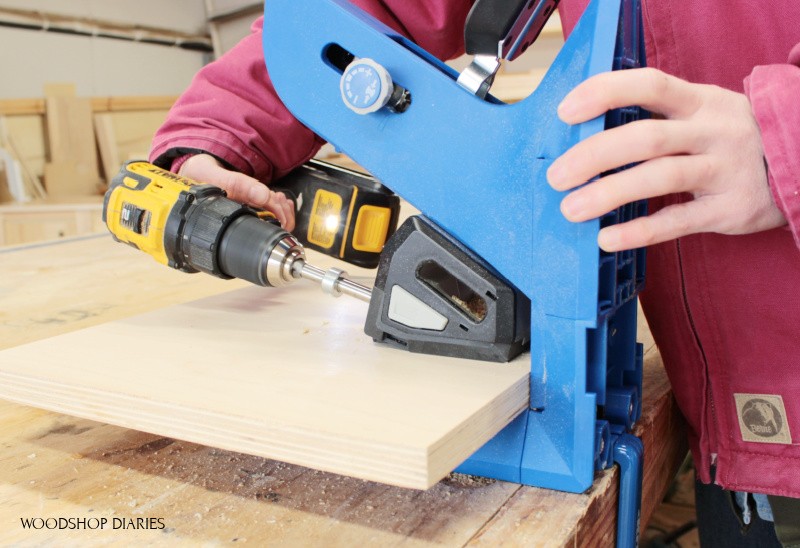
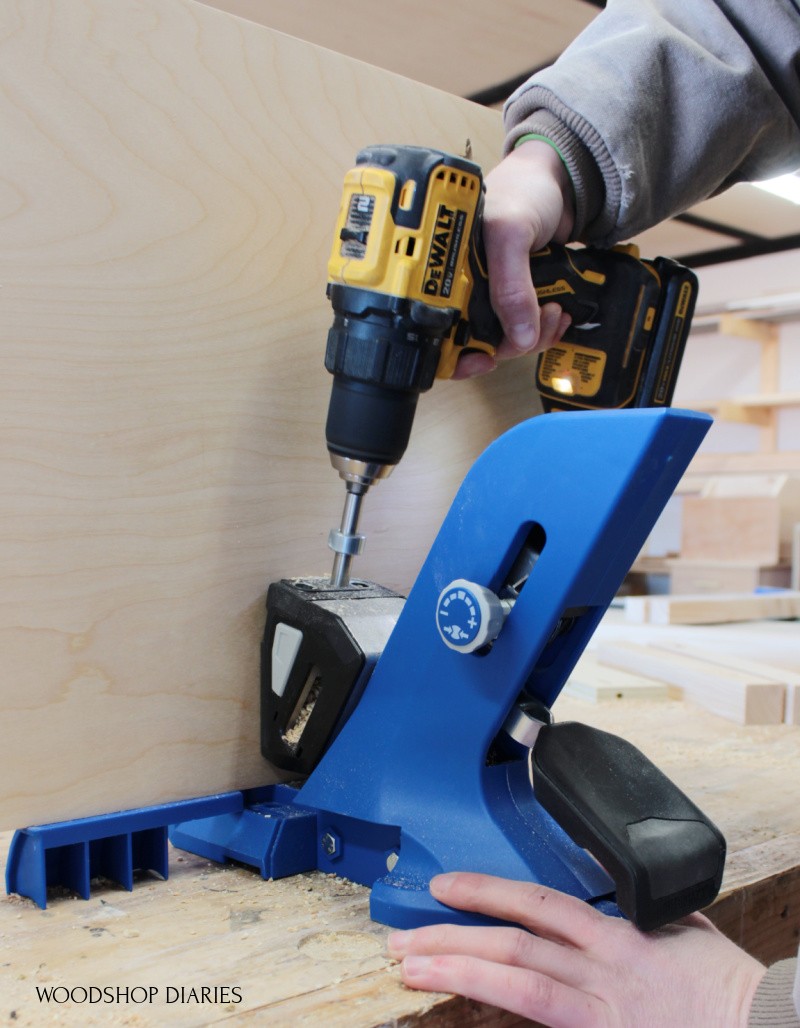
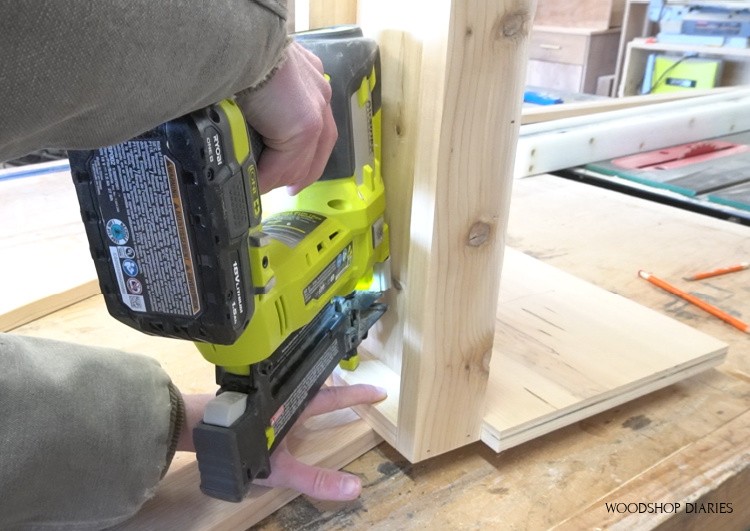
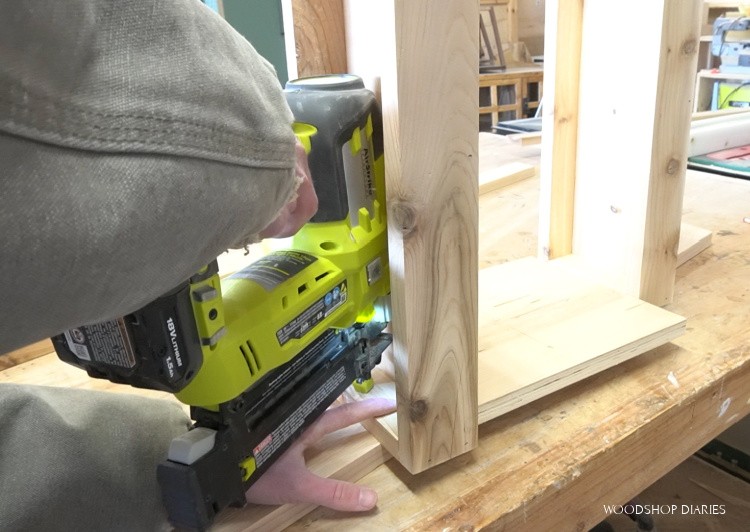
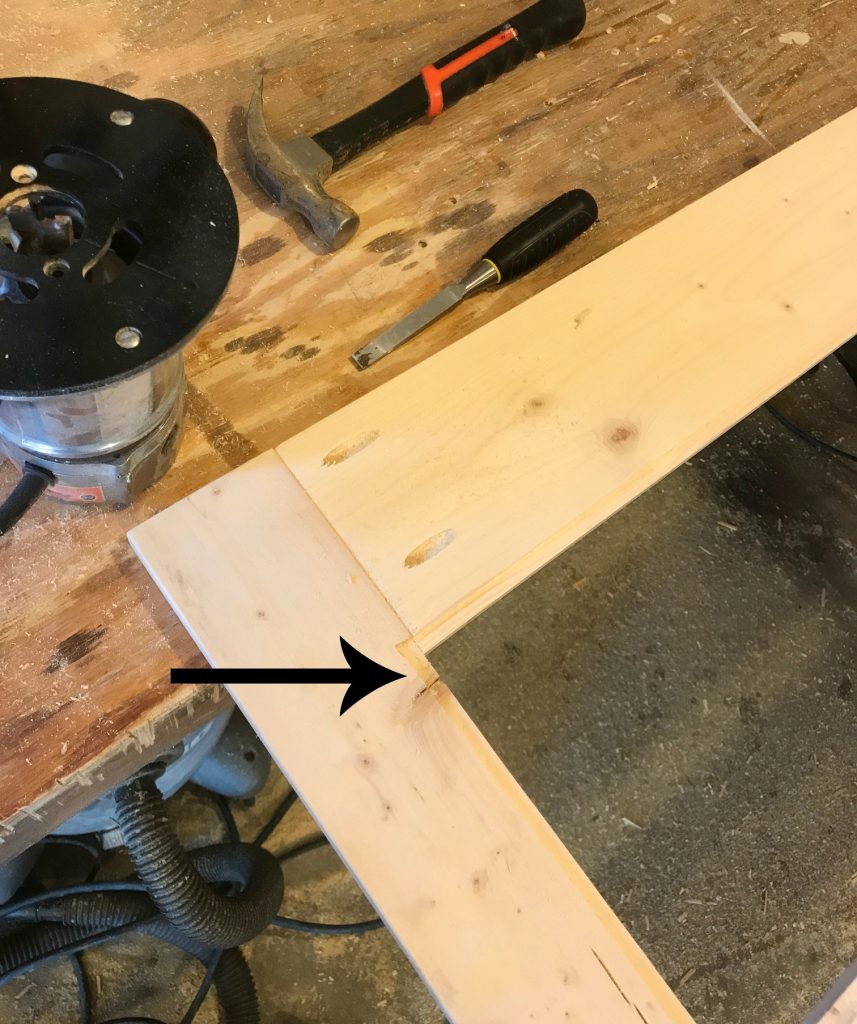
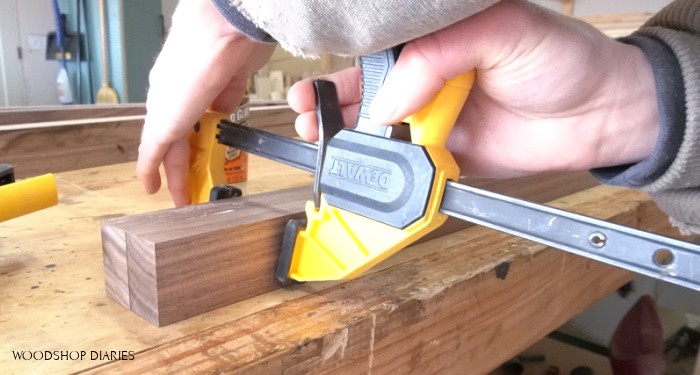
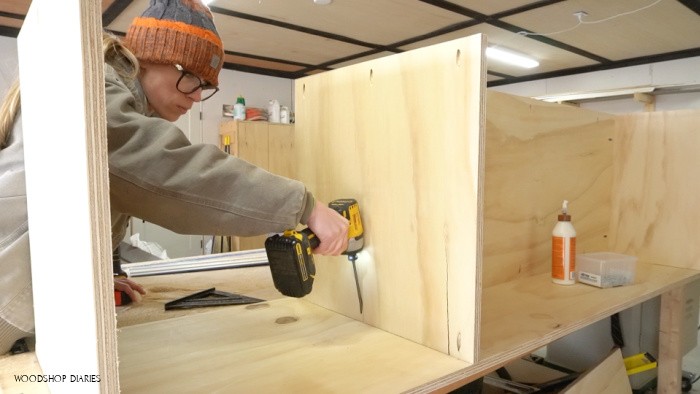
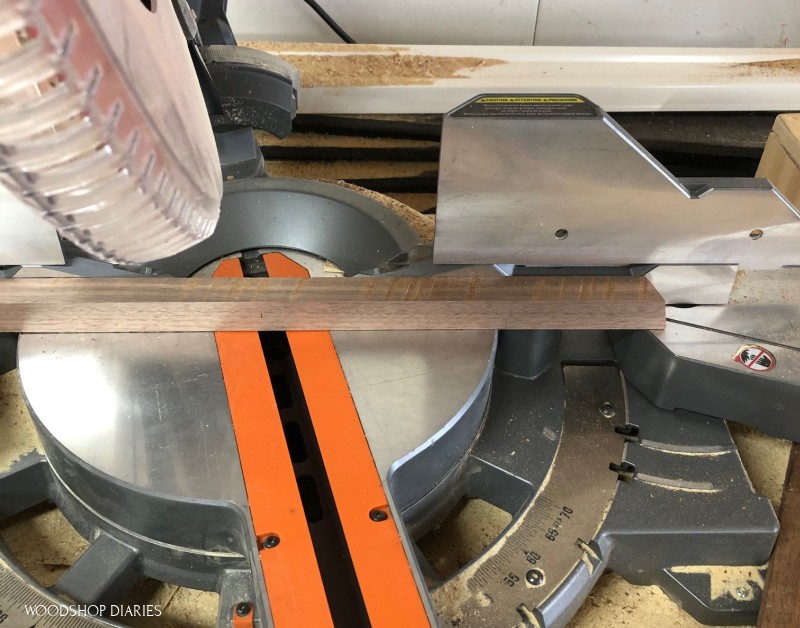
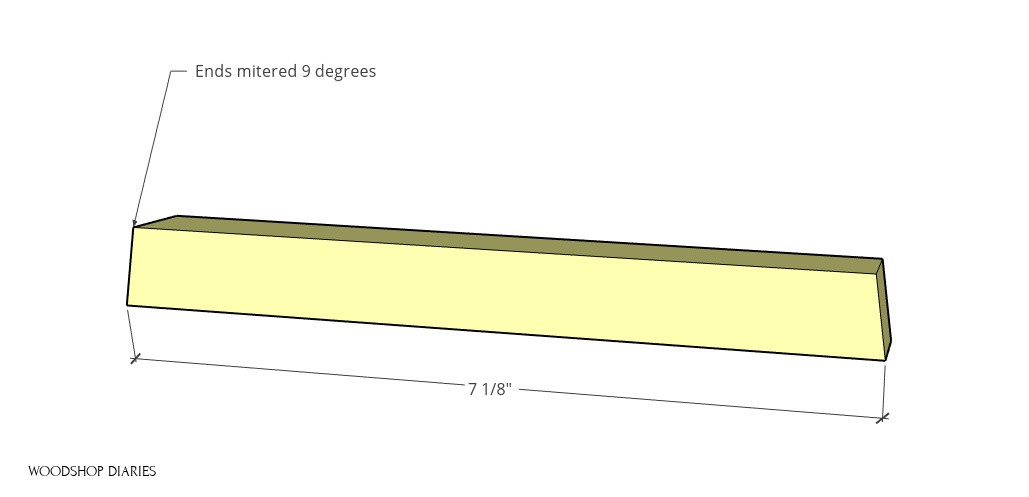
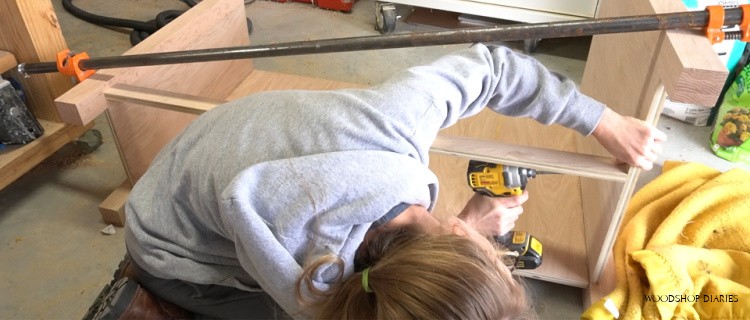
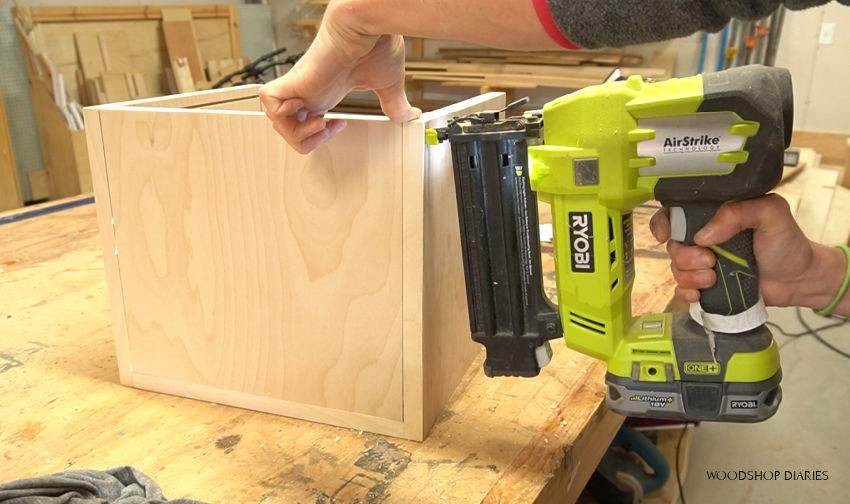
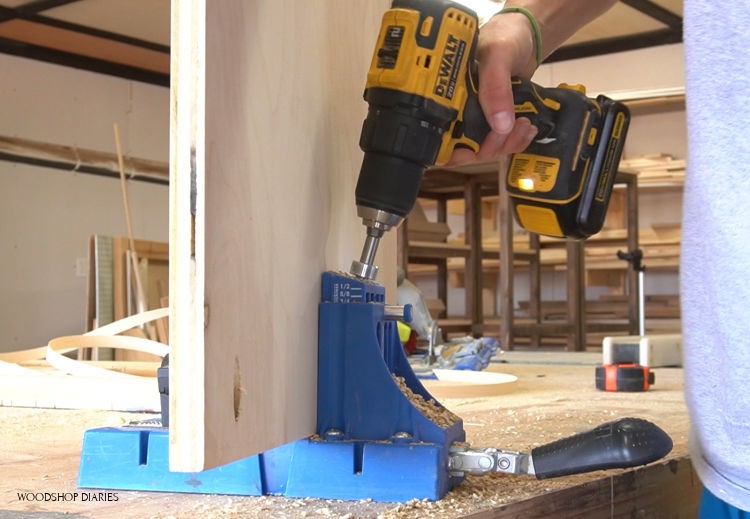
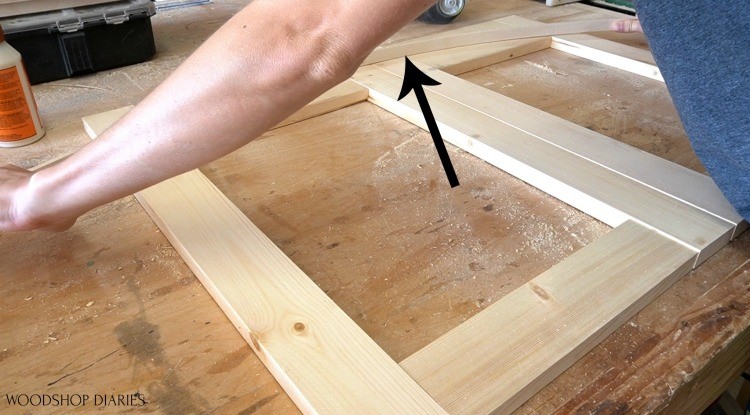
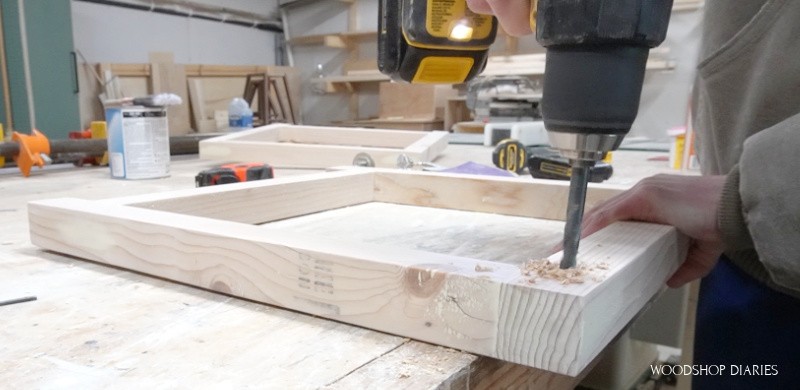
I cut the 2×2 pieces and assembled two frames as shown using wood glue and a 2 ½″ wood screw at all the joints. NOTE: Don’t forget to predrill before driving the screws!
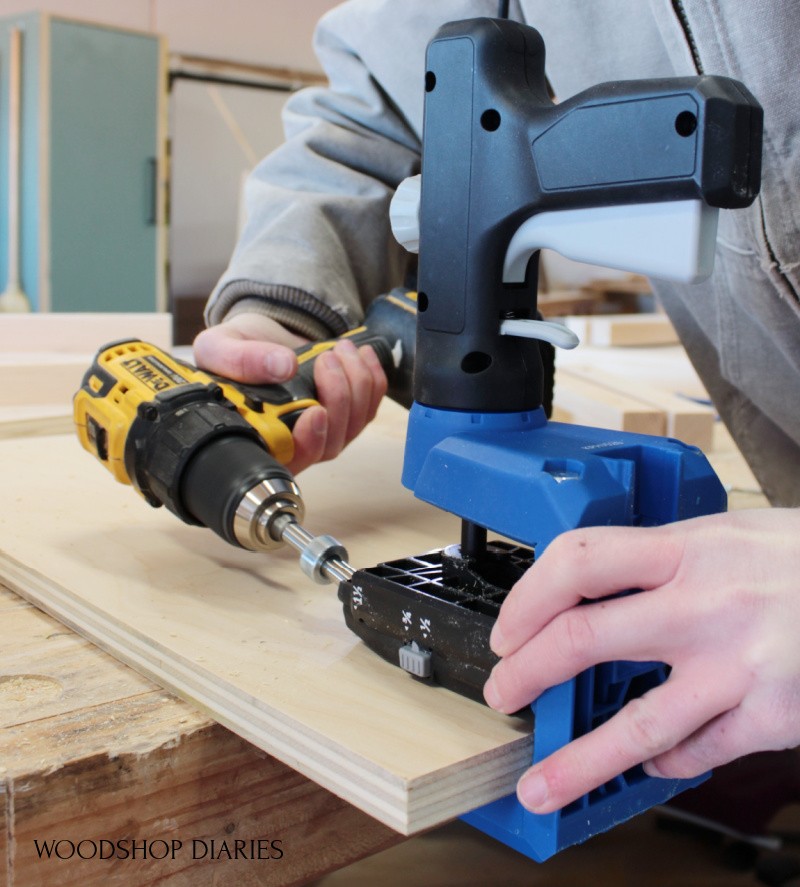
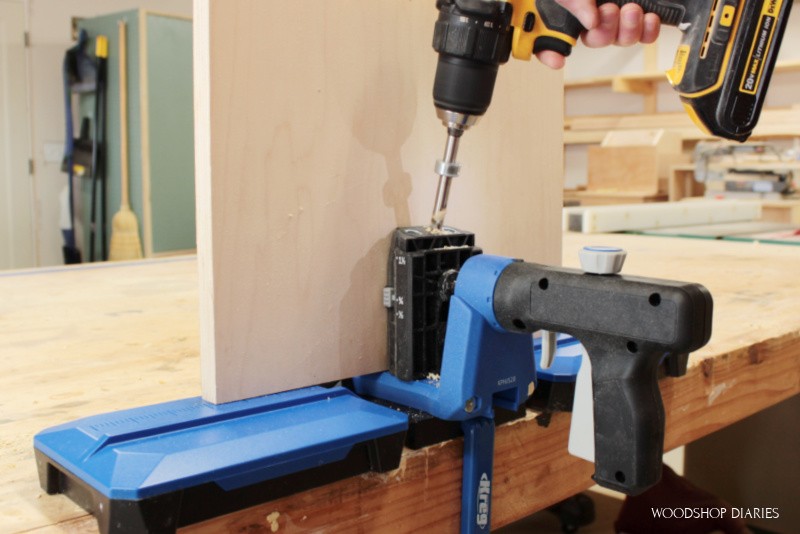
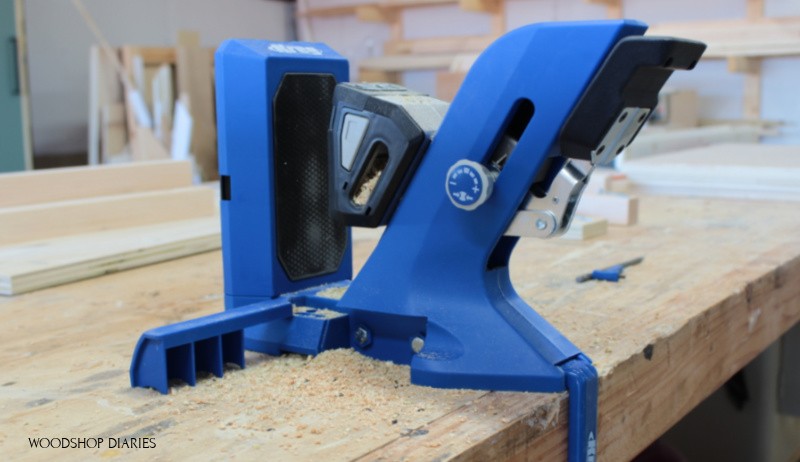
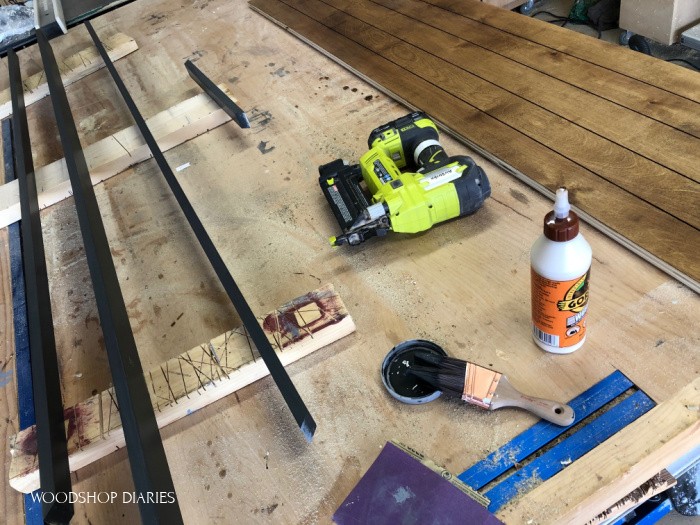
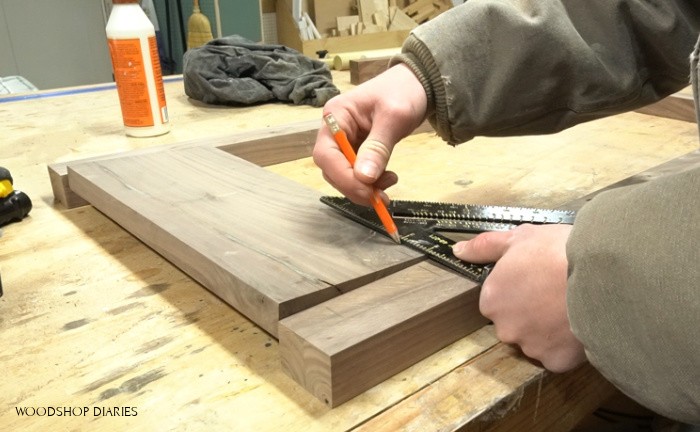
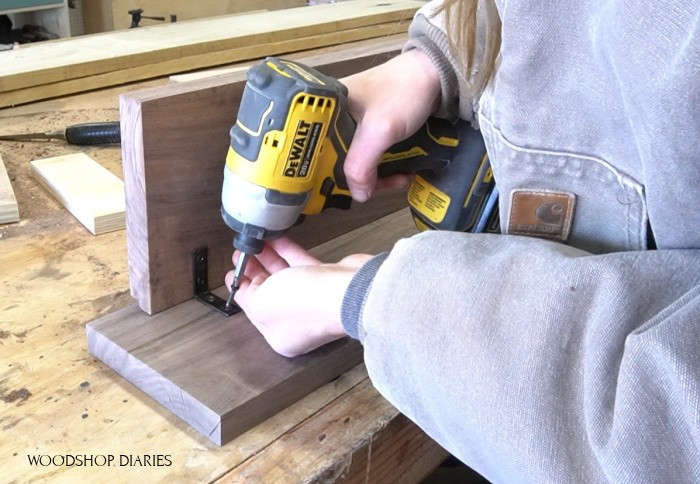
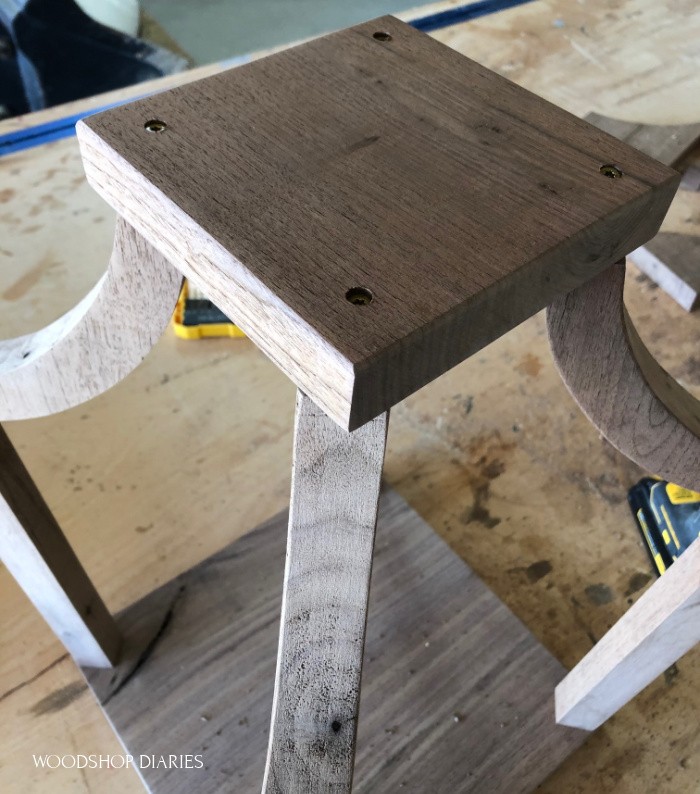
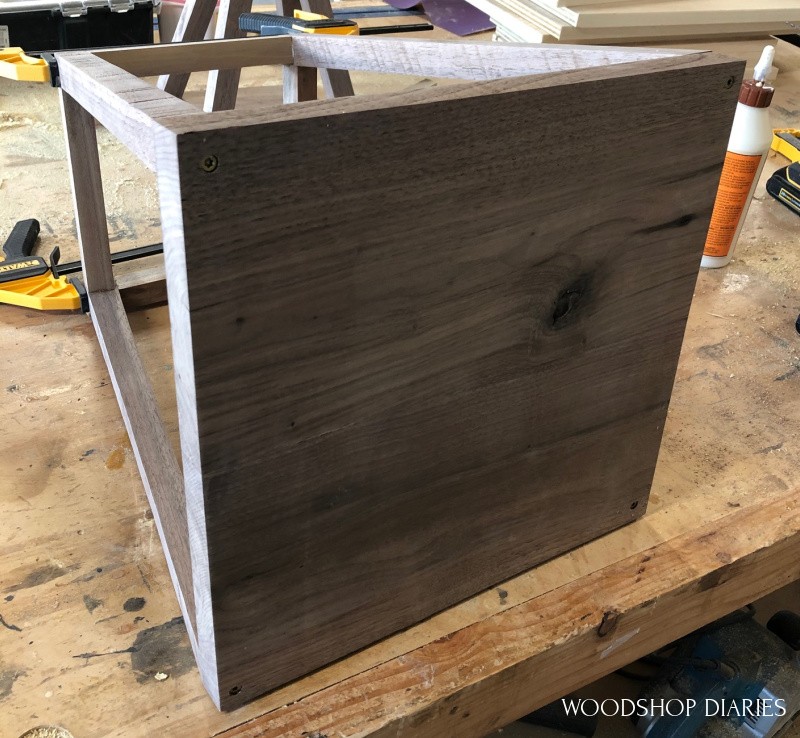
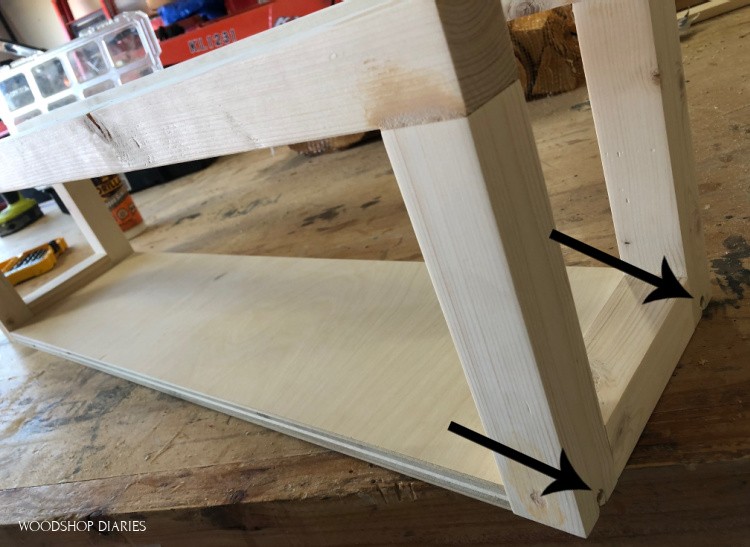
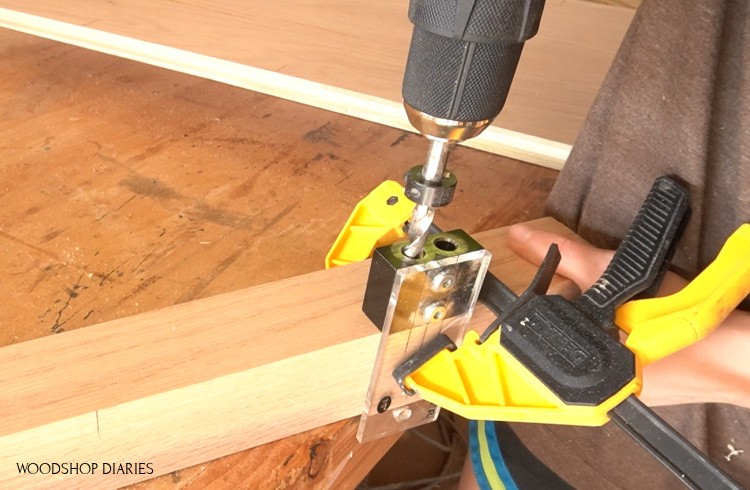
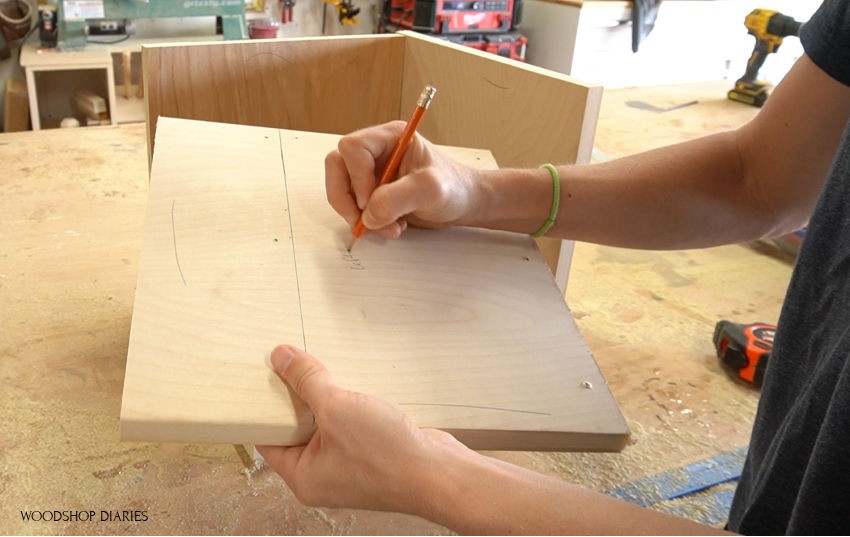
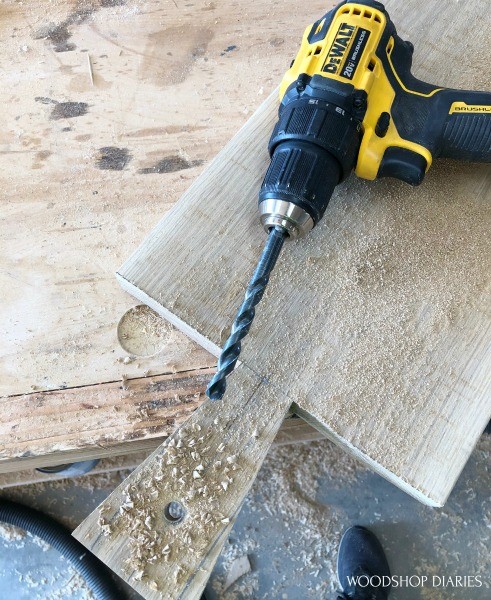
Step 3: Drill Pilot Holes in Side Frames
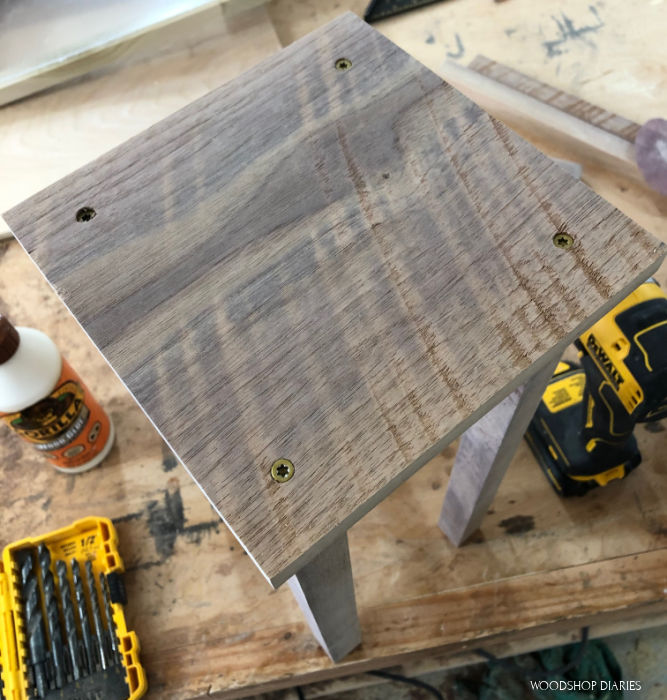
To give this little DIY end table an industrial look, I used these black timber screws in the side frames to attach the top and bottom shelf.
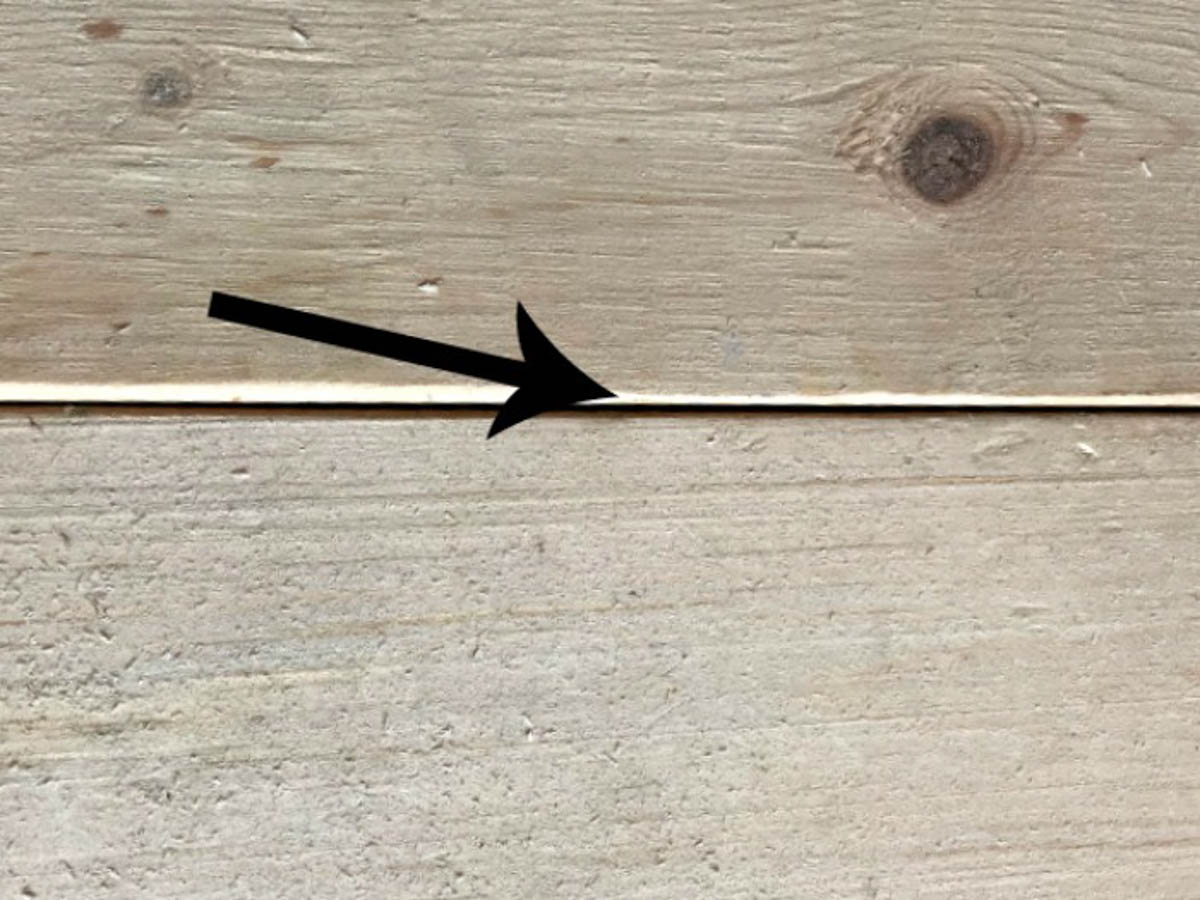
But with changes in temperature and humidity over the seasons, the top and bottom shelf may expand and contract and cause a split.
.
So to help prevent this, I drilled pilot holes into the side frames to give the screw some “wiggle room” to move around as needed.
.
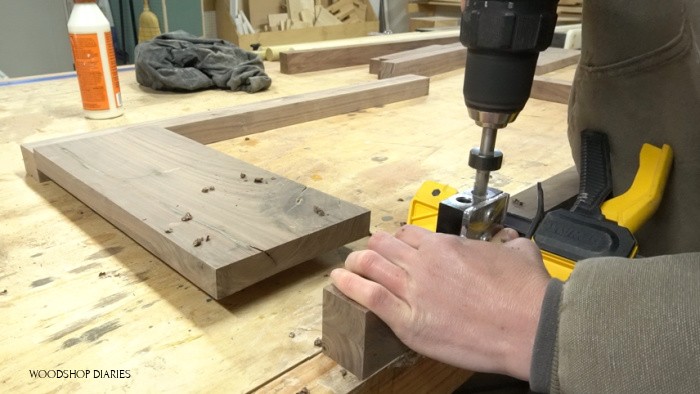
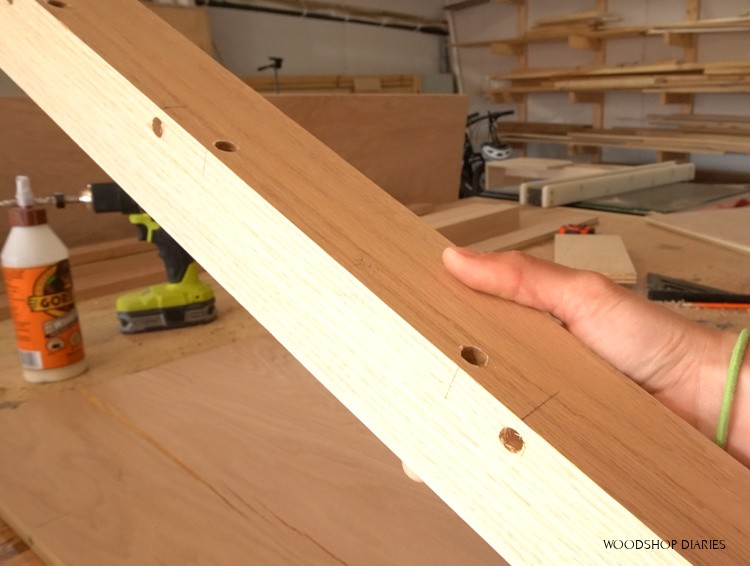
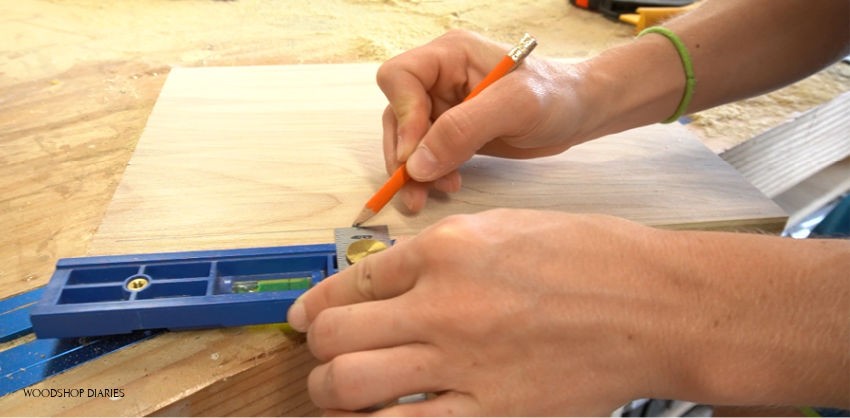
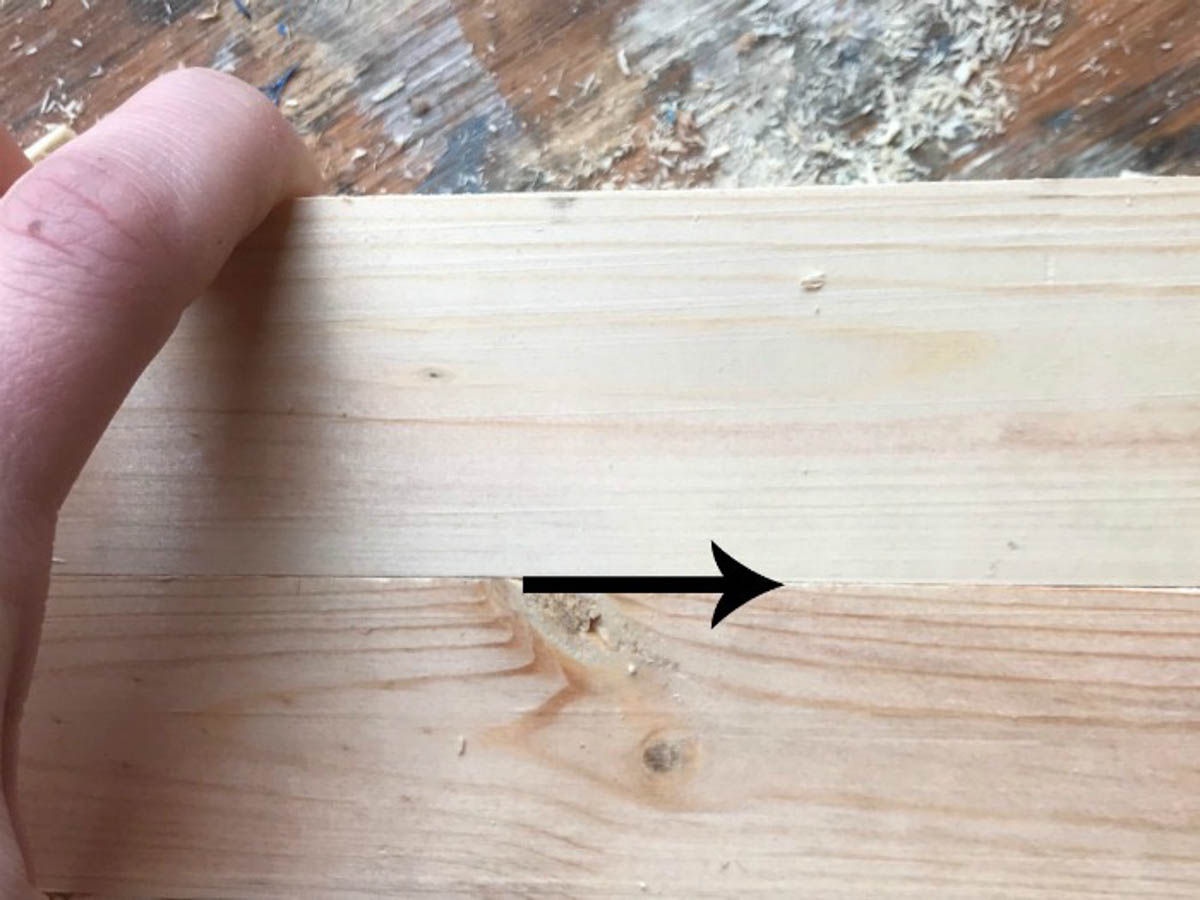
I marked these locations on the frames and used a small drill bit to drill a hole at each spot. NOTE: The holes on the bottom need to be at least 2 ¾″ from the edge to avoid hitting the wood screw from step 2 🙂
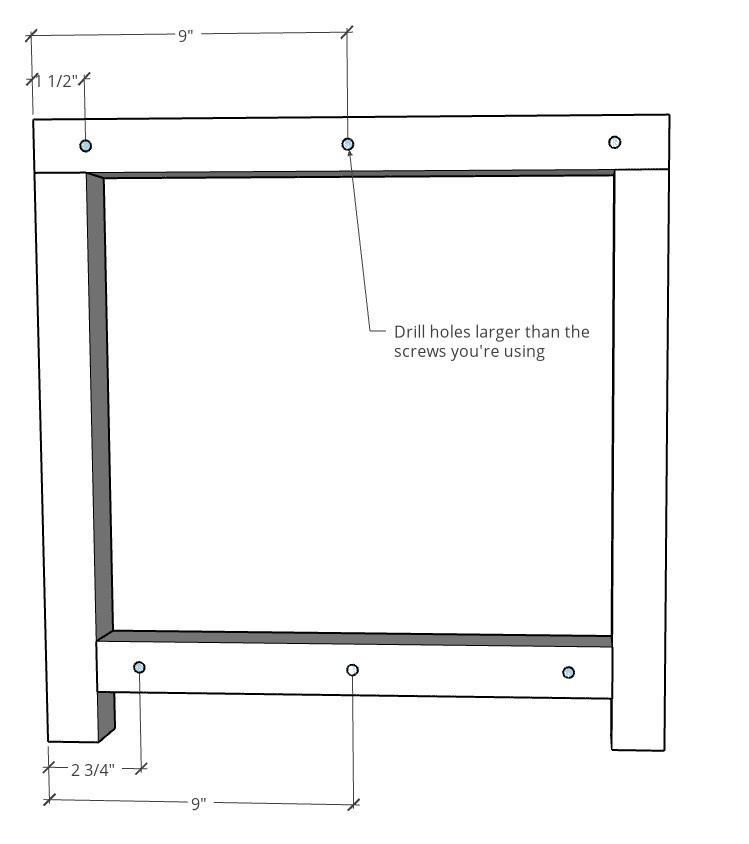
Then, I found a drill bit that was slightly larger than the screw (5/16″ seemed to work well) and drilled out these holes.
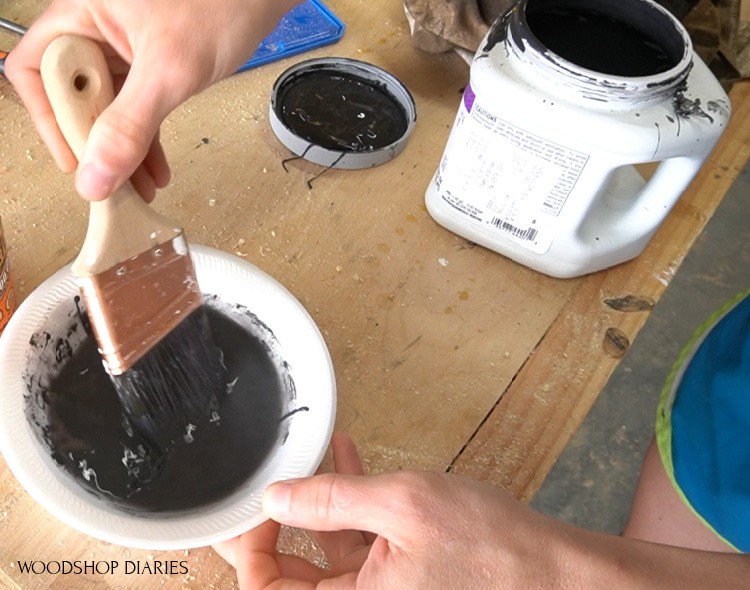
Once all six holes were drilled in each frame, I puttied as needed, sanded well, then primed and painted them SW Iron Ore.
RELATED: Check out this post to learn more about how to finish raw wood furniture!
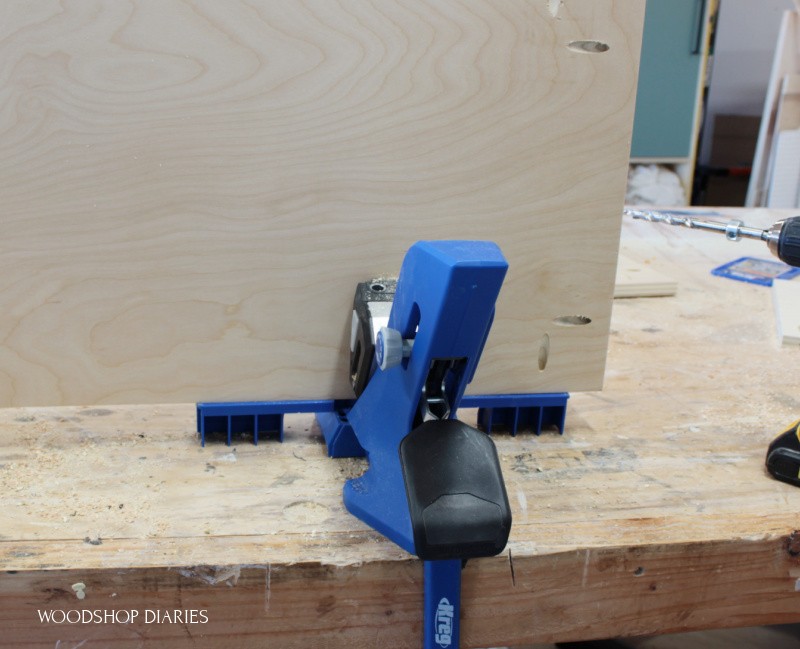
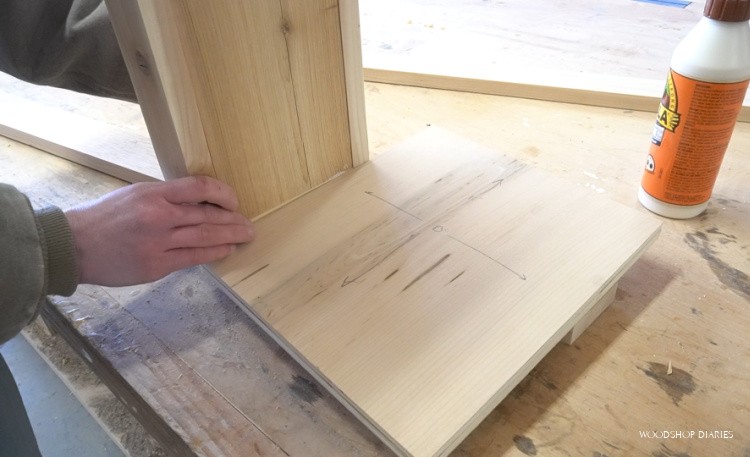
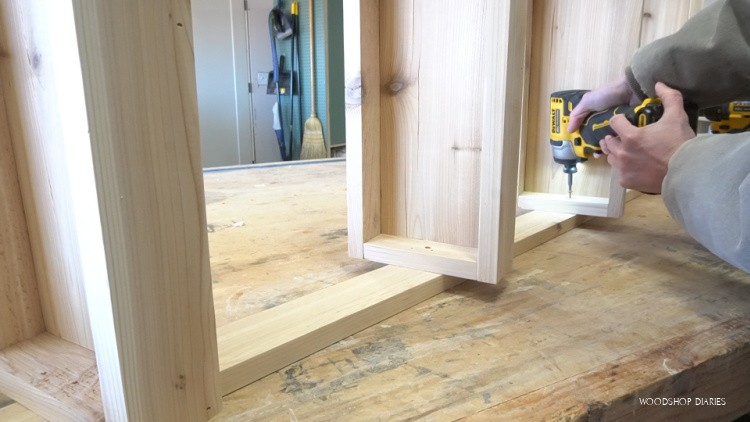
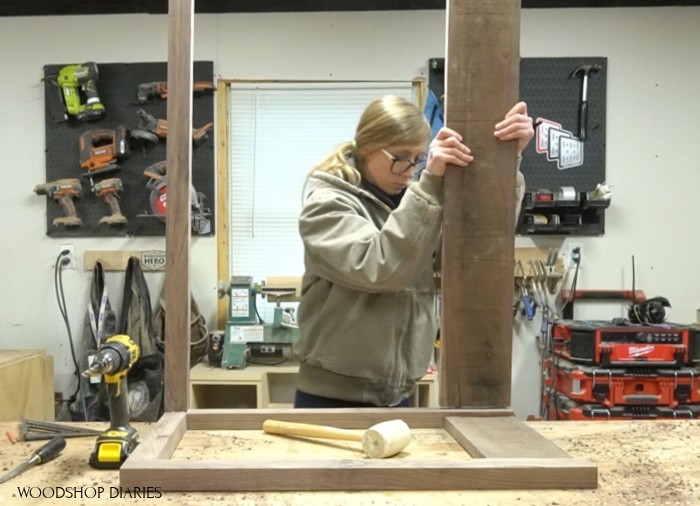
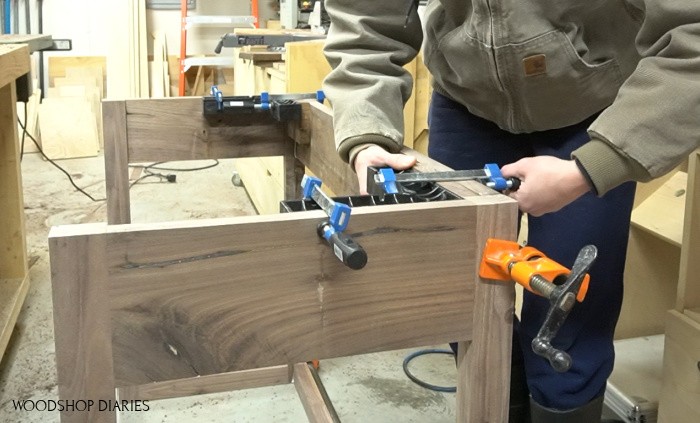
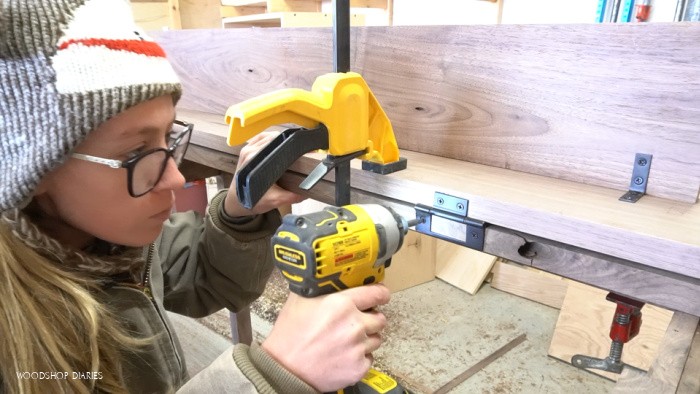
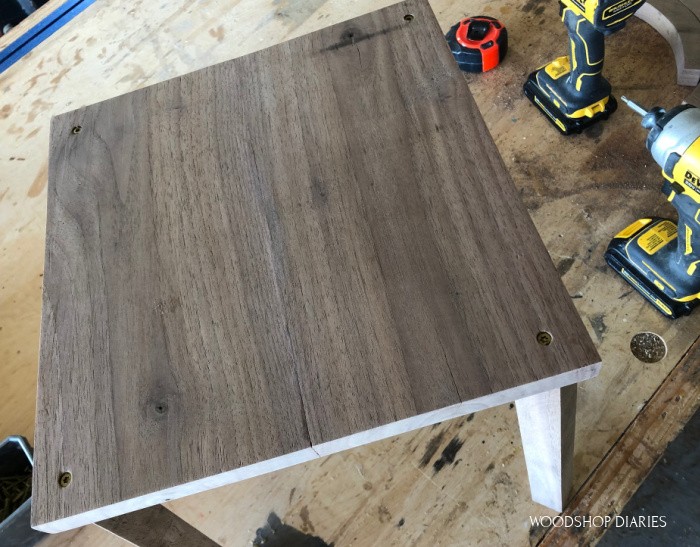
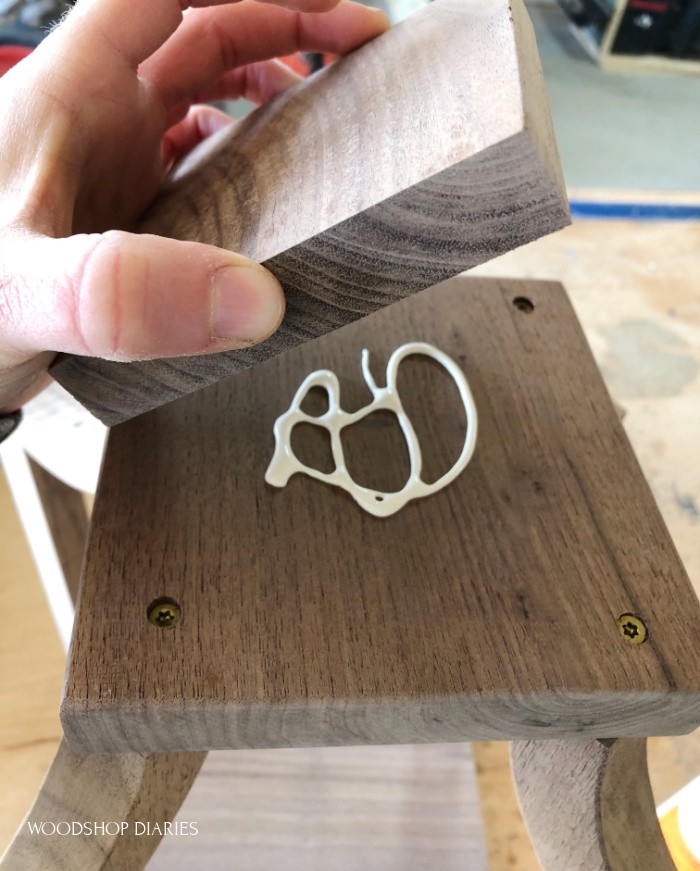
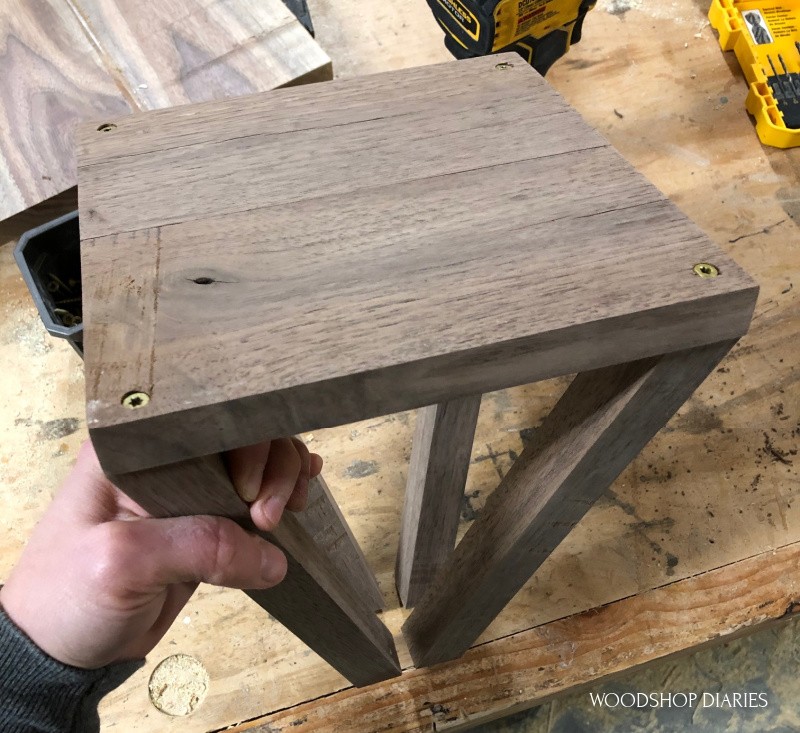
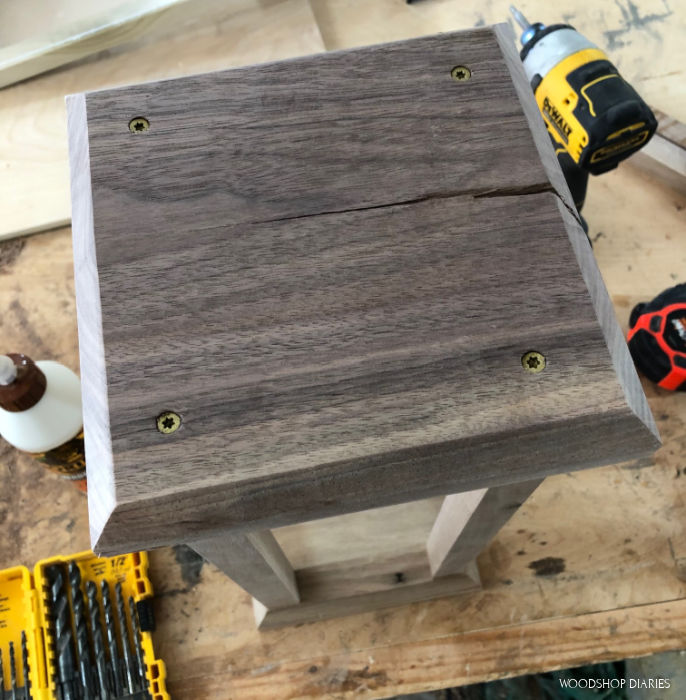
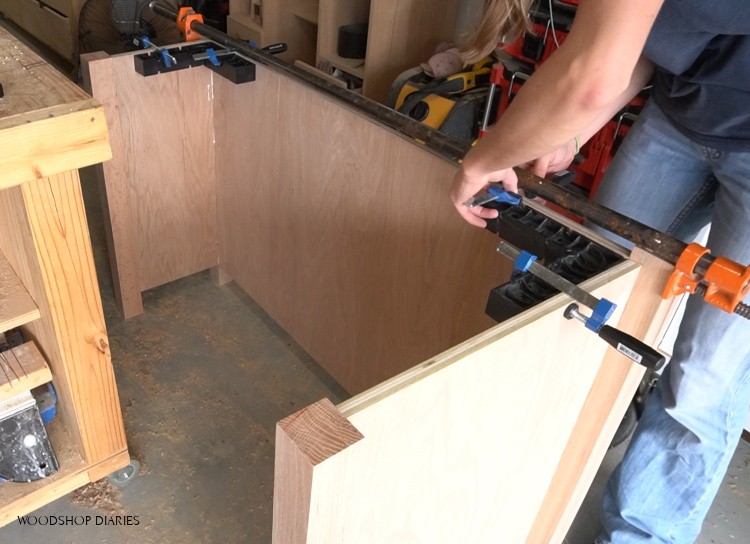
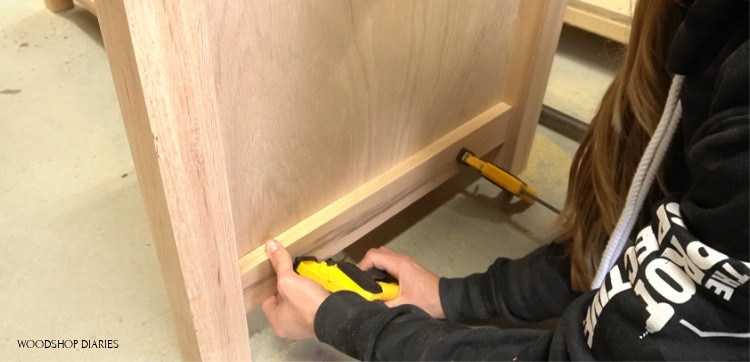
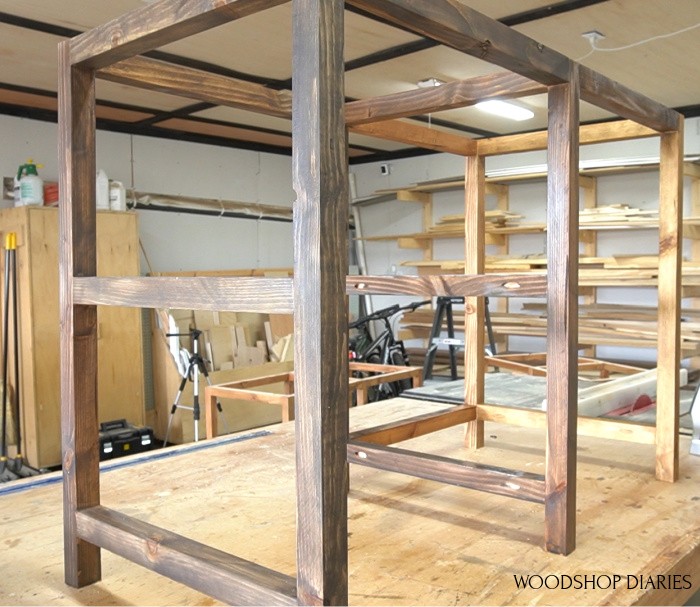
Step 4: Assemble End Table Together
Once the paint and stain was dry, I attached the top and bottom shelves between the two side frames using the 2 ⅞″ black timber screws.
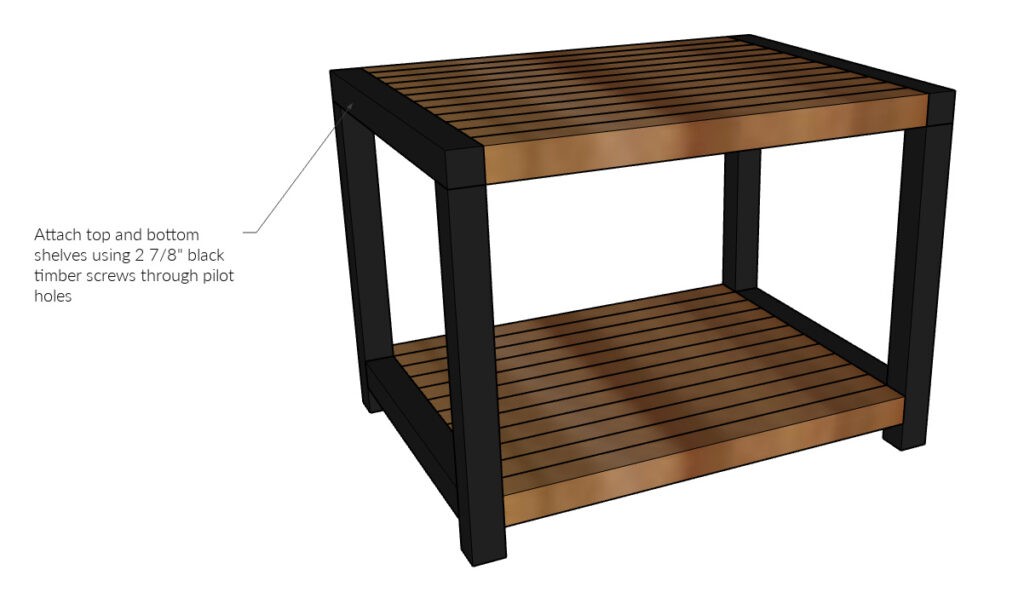
It’s important to predrill here as the top and shelves can split with these large screws.
.
It’s also important to assemble these pieces square. If you have some corner clamps, or a speed square, either clamp it square while you assemble or check for square after each screw.

You don’t want to end up with a lopsided or “leaning” end table 🙂
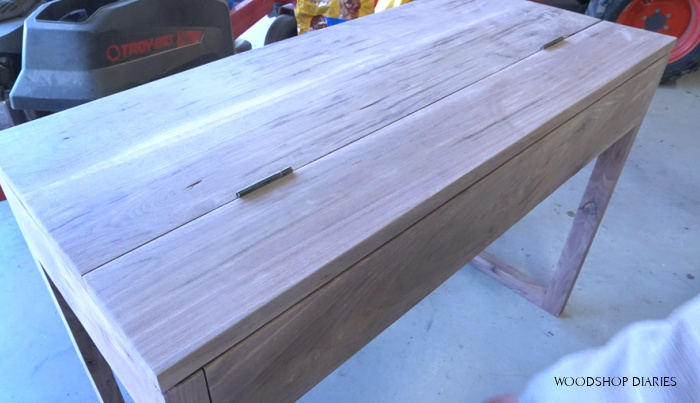
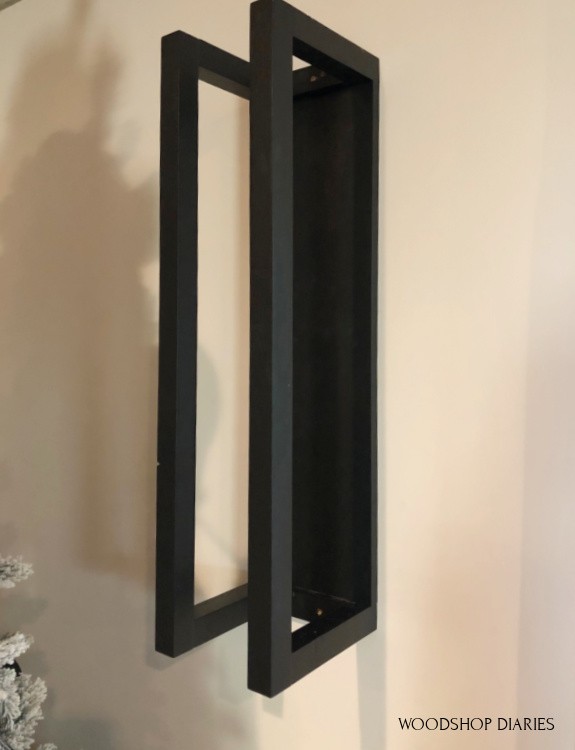
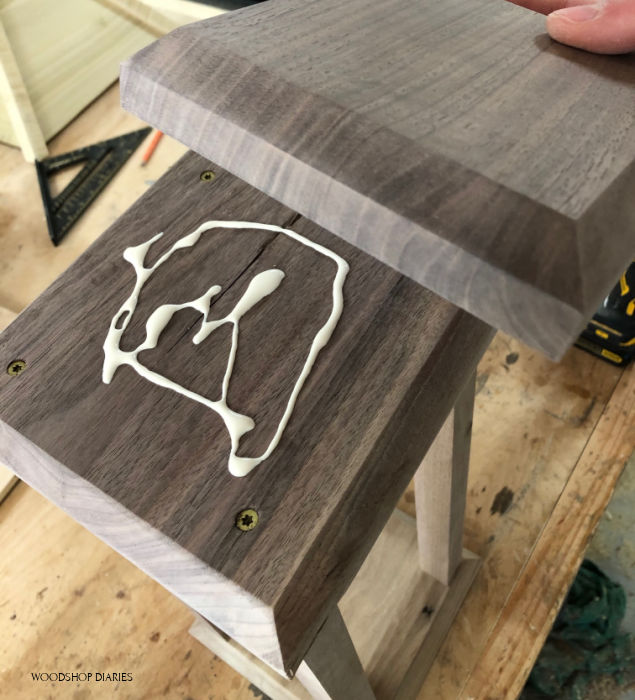
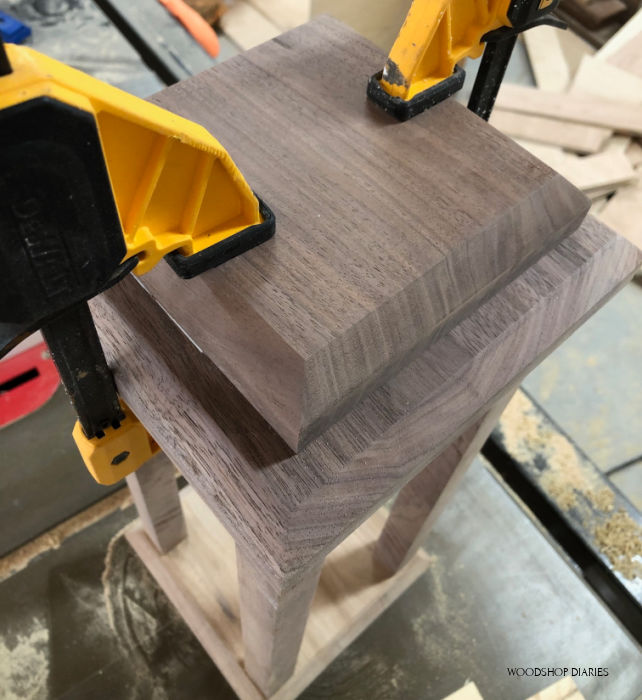
Step 5: Finish End Table
Once the table was assembled, I applied a couple coats of poly (I used Minwax Polycrylic) to seal it all and protect it, and then it was finished!
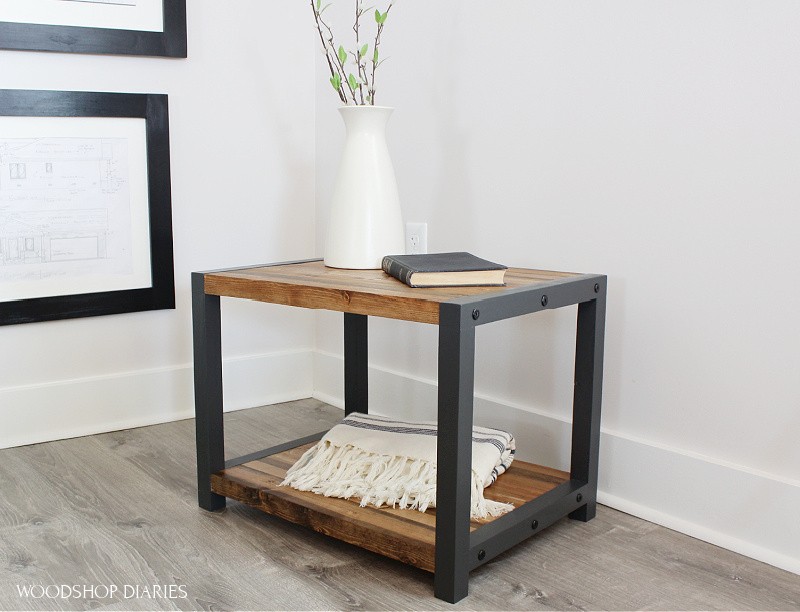
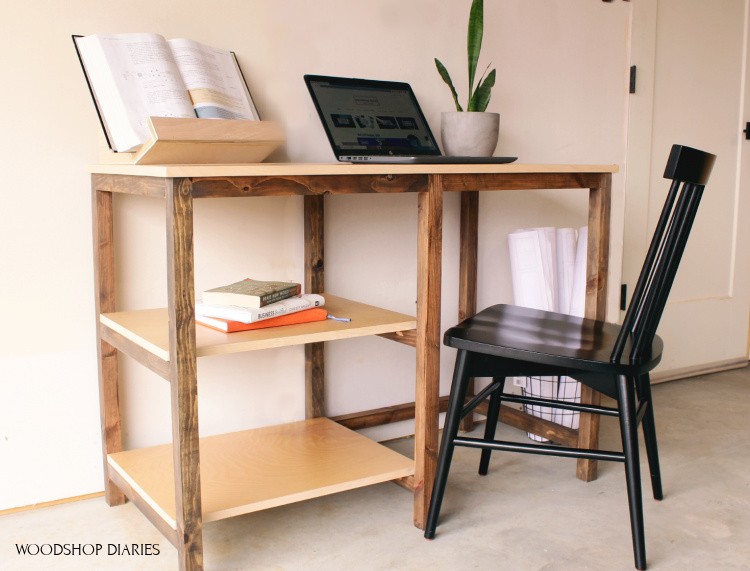
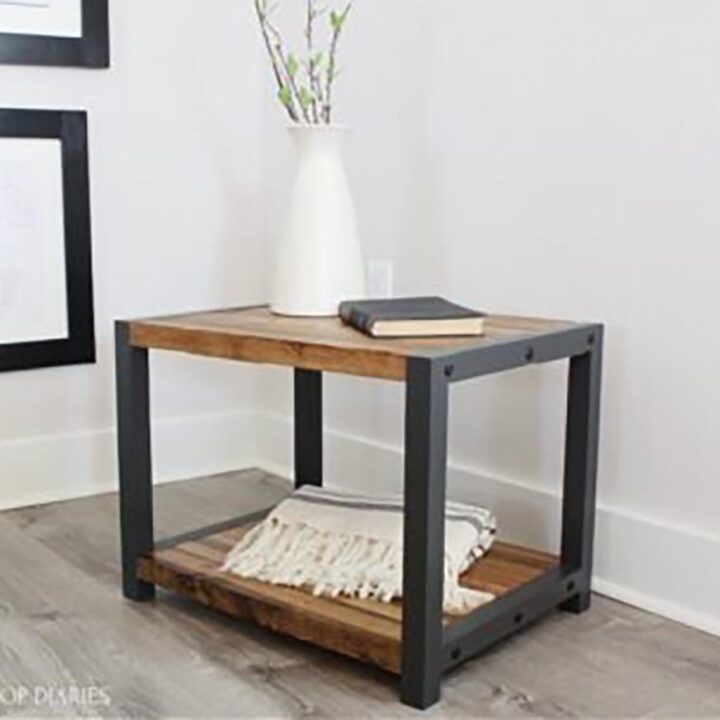
A simple DIY end table with a bottom shelf. The perfect addition for beside the couch, a recliner, or any seat in the house. You could even use it as a nightstand.
.
Do note that this table is 18″ tall. If you wanted a taller table, simply cut the legs on the side frames a little longer and everything else stays the same 🙂
.
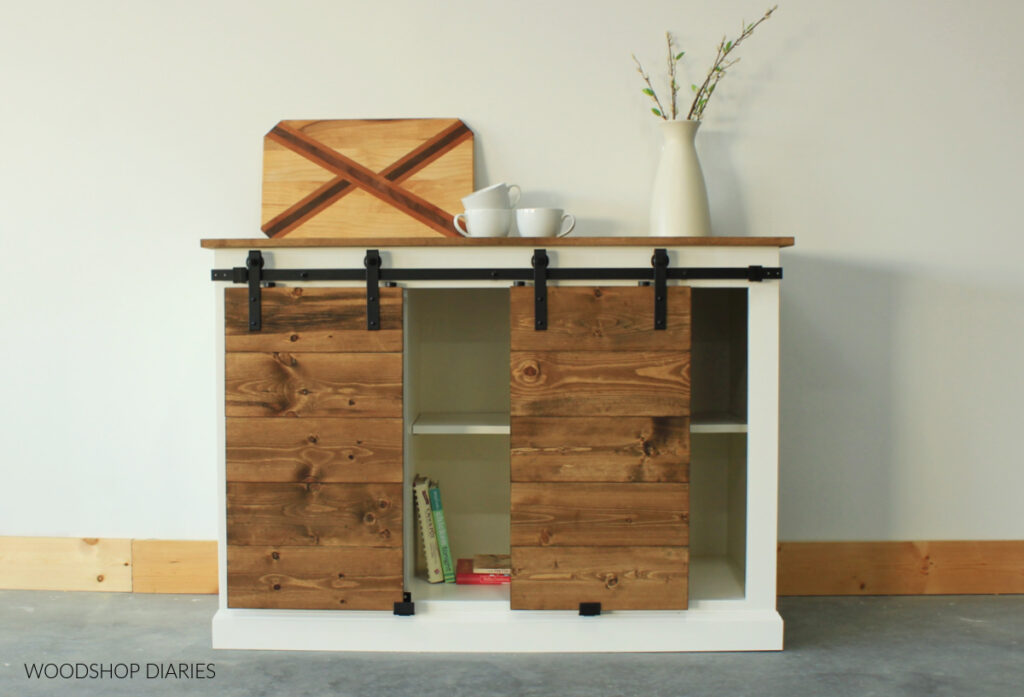
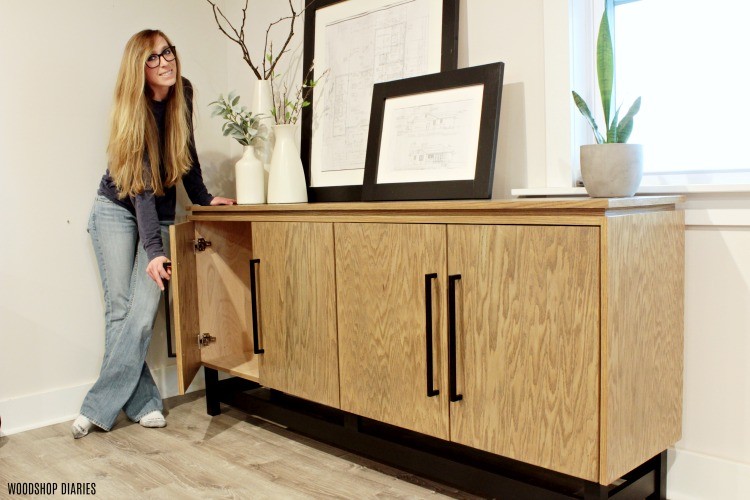
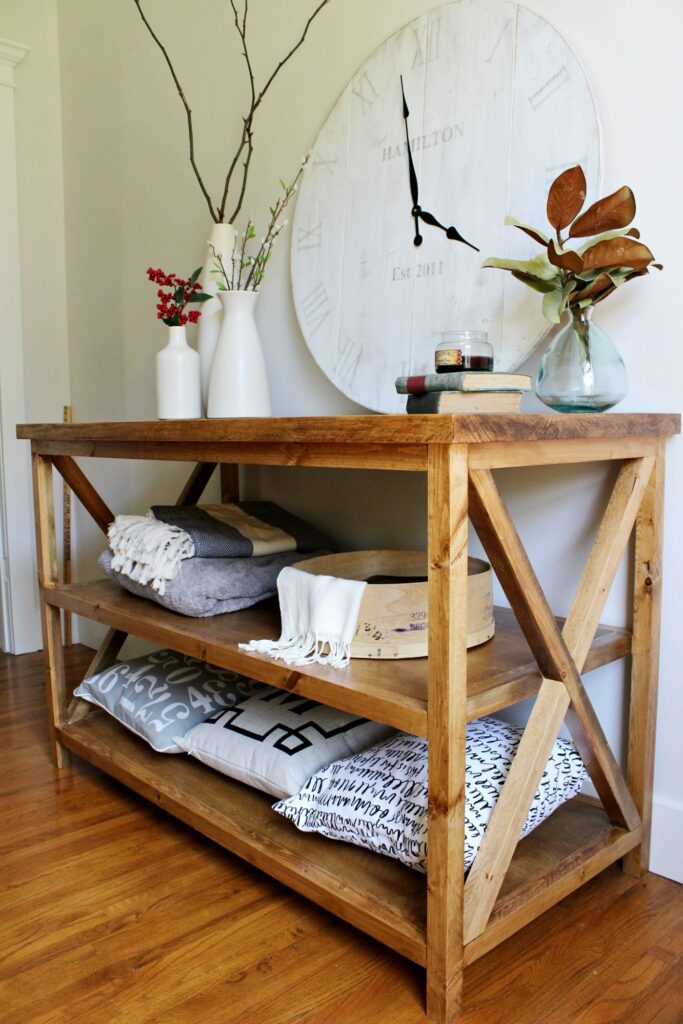
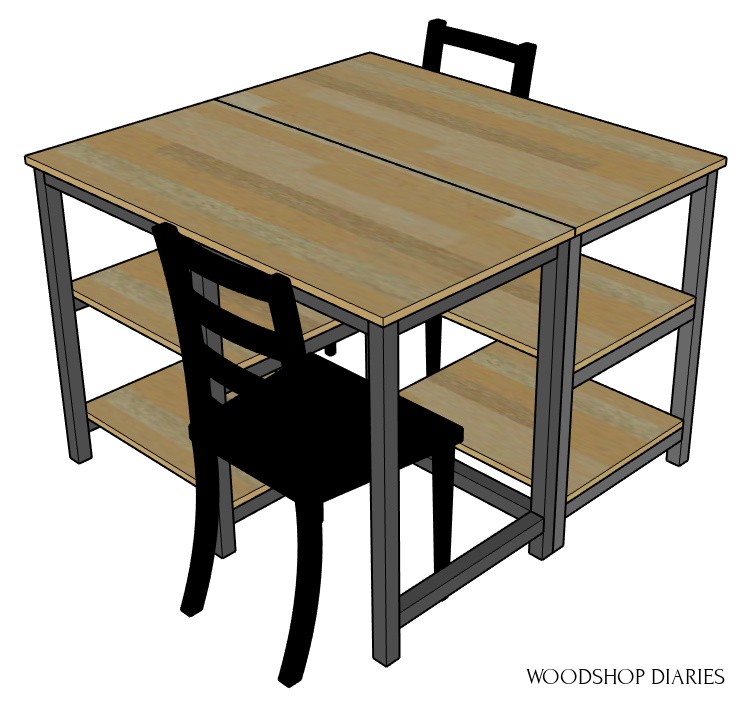
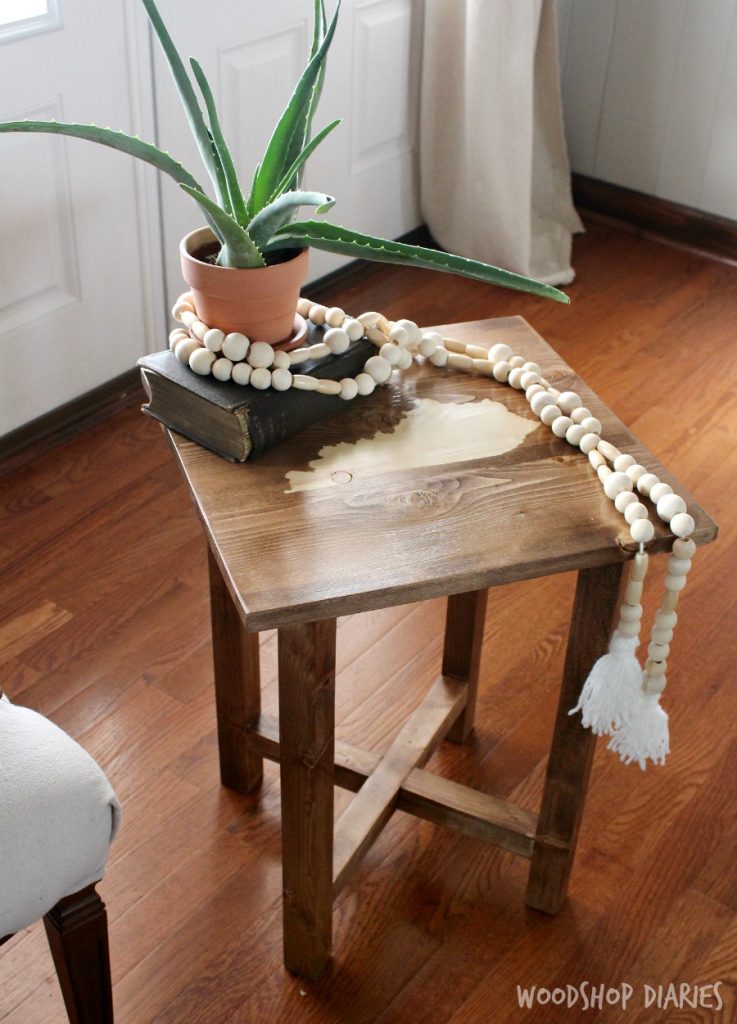
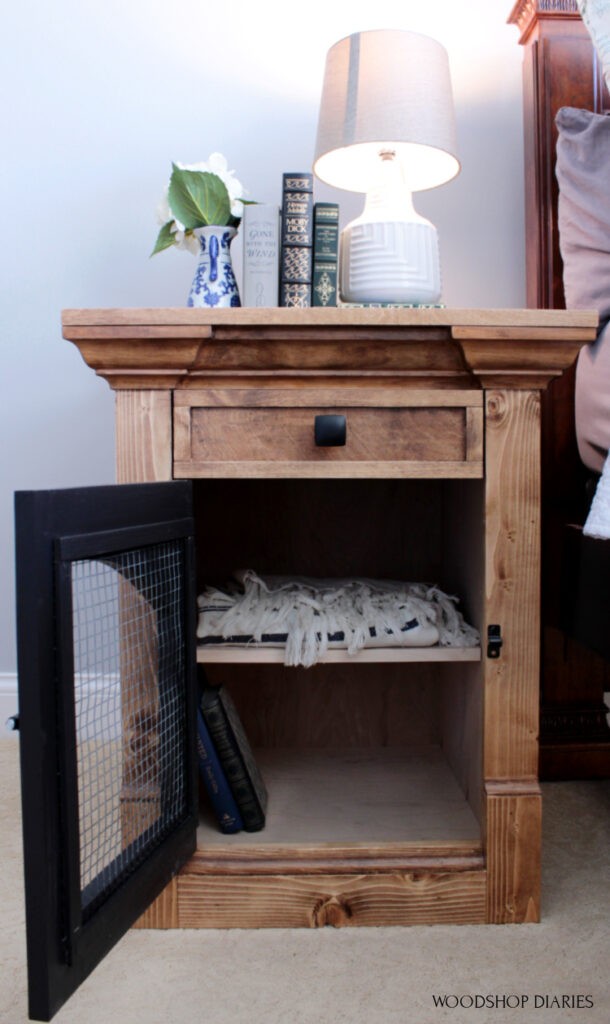
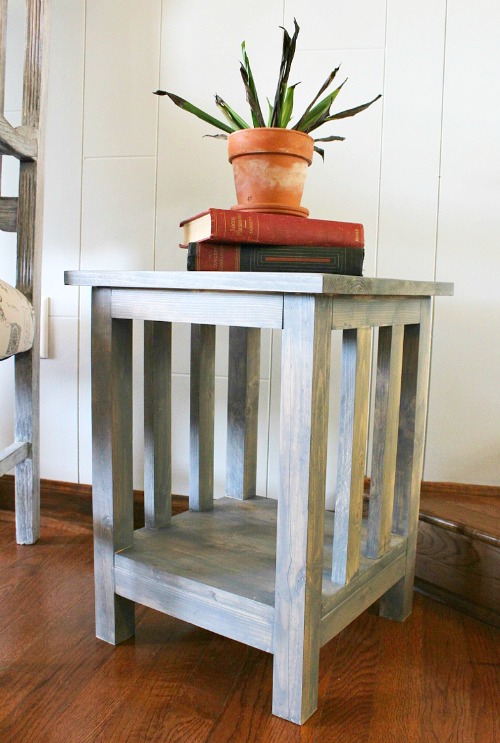
I hope you’ve enjoyed this simple little weekend woodworking project and if you’d like to check out more end table ideas, here are a few of my favorites!
If you liked this project and want to see more, be sure to subscribe below to the newsletter when you will be the first to learn about new project posts, tips, and the latest happenings on Woodshop Diaries.
.
If you’d like to save this for later, don’t forget to pin it!
Until next time, friends, happy building 🙂
DIY End Table with Shelf
Build your own EASY DIY end table with a shelf using just basic tools and 2x2s. This design has a modern industrial style to fit any room!
Materials
- (8) 2x2x8
- Saw (can use jig, circular, or large miter saw for this)
- Drill/Driver
- Wood Glue
- Clamps
- 2 ½" wood screws
- Black timber screws
- Sander
Instructions
- Assemble the top and bottom shelf from 2x2s.
- Assemble the DIY end table frame from 2x2s.
- Drill pilot holes in side frames.
- Put the end table together using 2 ⅞" black timber screws.
- Finish by applying a couple coats of polyacrylic to seal and protect.
Notes
Do note that this table is 18" tall. If you want a taller table, simply cut the legs on the side frames a little longer and everything else stays the same